[ Previously… Unboxing - 1 Base - 2 Skeleton - 3-4-5 Showcase and hull - 6 Lower deck - 7-8 Decks and hulls of stern - 9/10 Bow decks and port hulls - 11 More details]
After almost two months… I’m bringing you the end of my Titanic journey. So far at least, since I haven’t added any customizations like Jack and Rose (@Orangesareus knows what I’m taking about) or, idk, a fake iceberg or something. But hey! It was a satisfying end of crafting full of tiny details and almost nothing truly annoying to deal with.
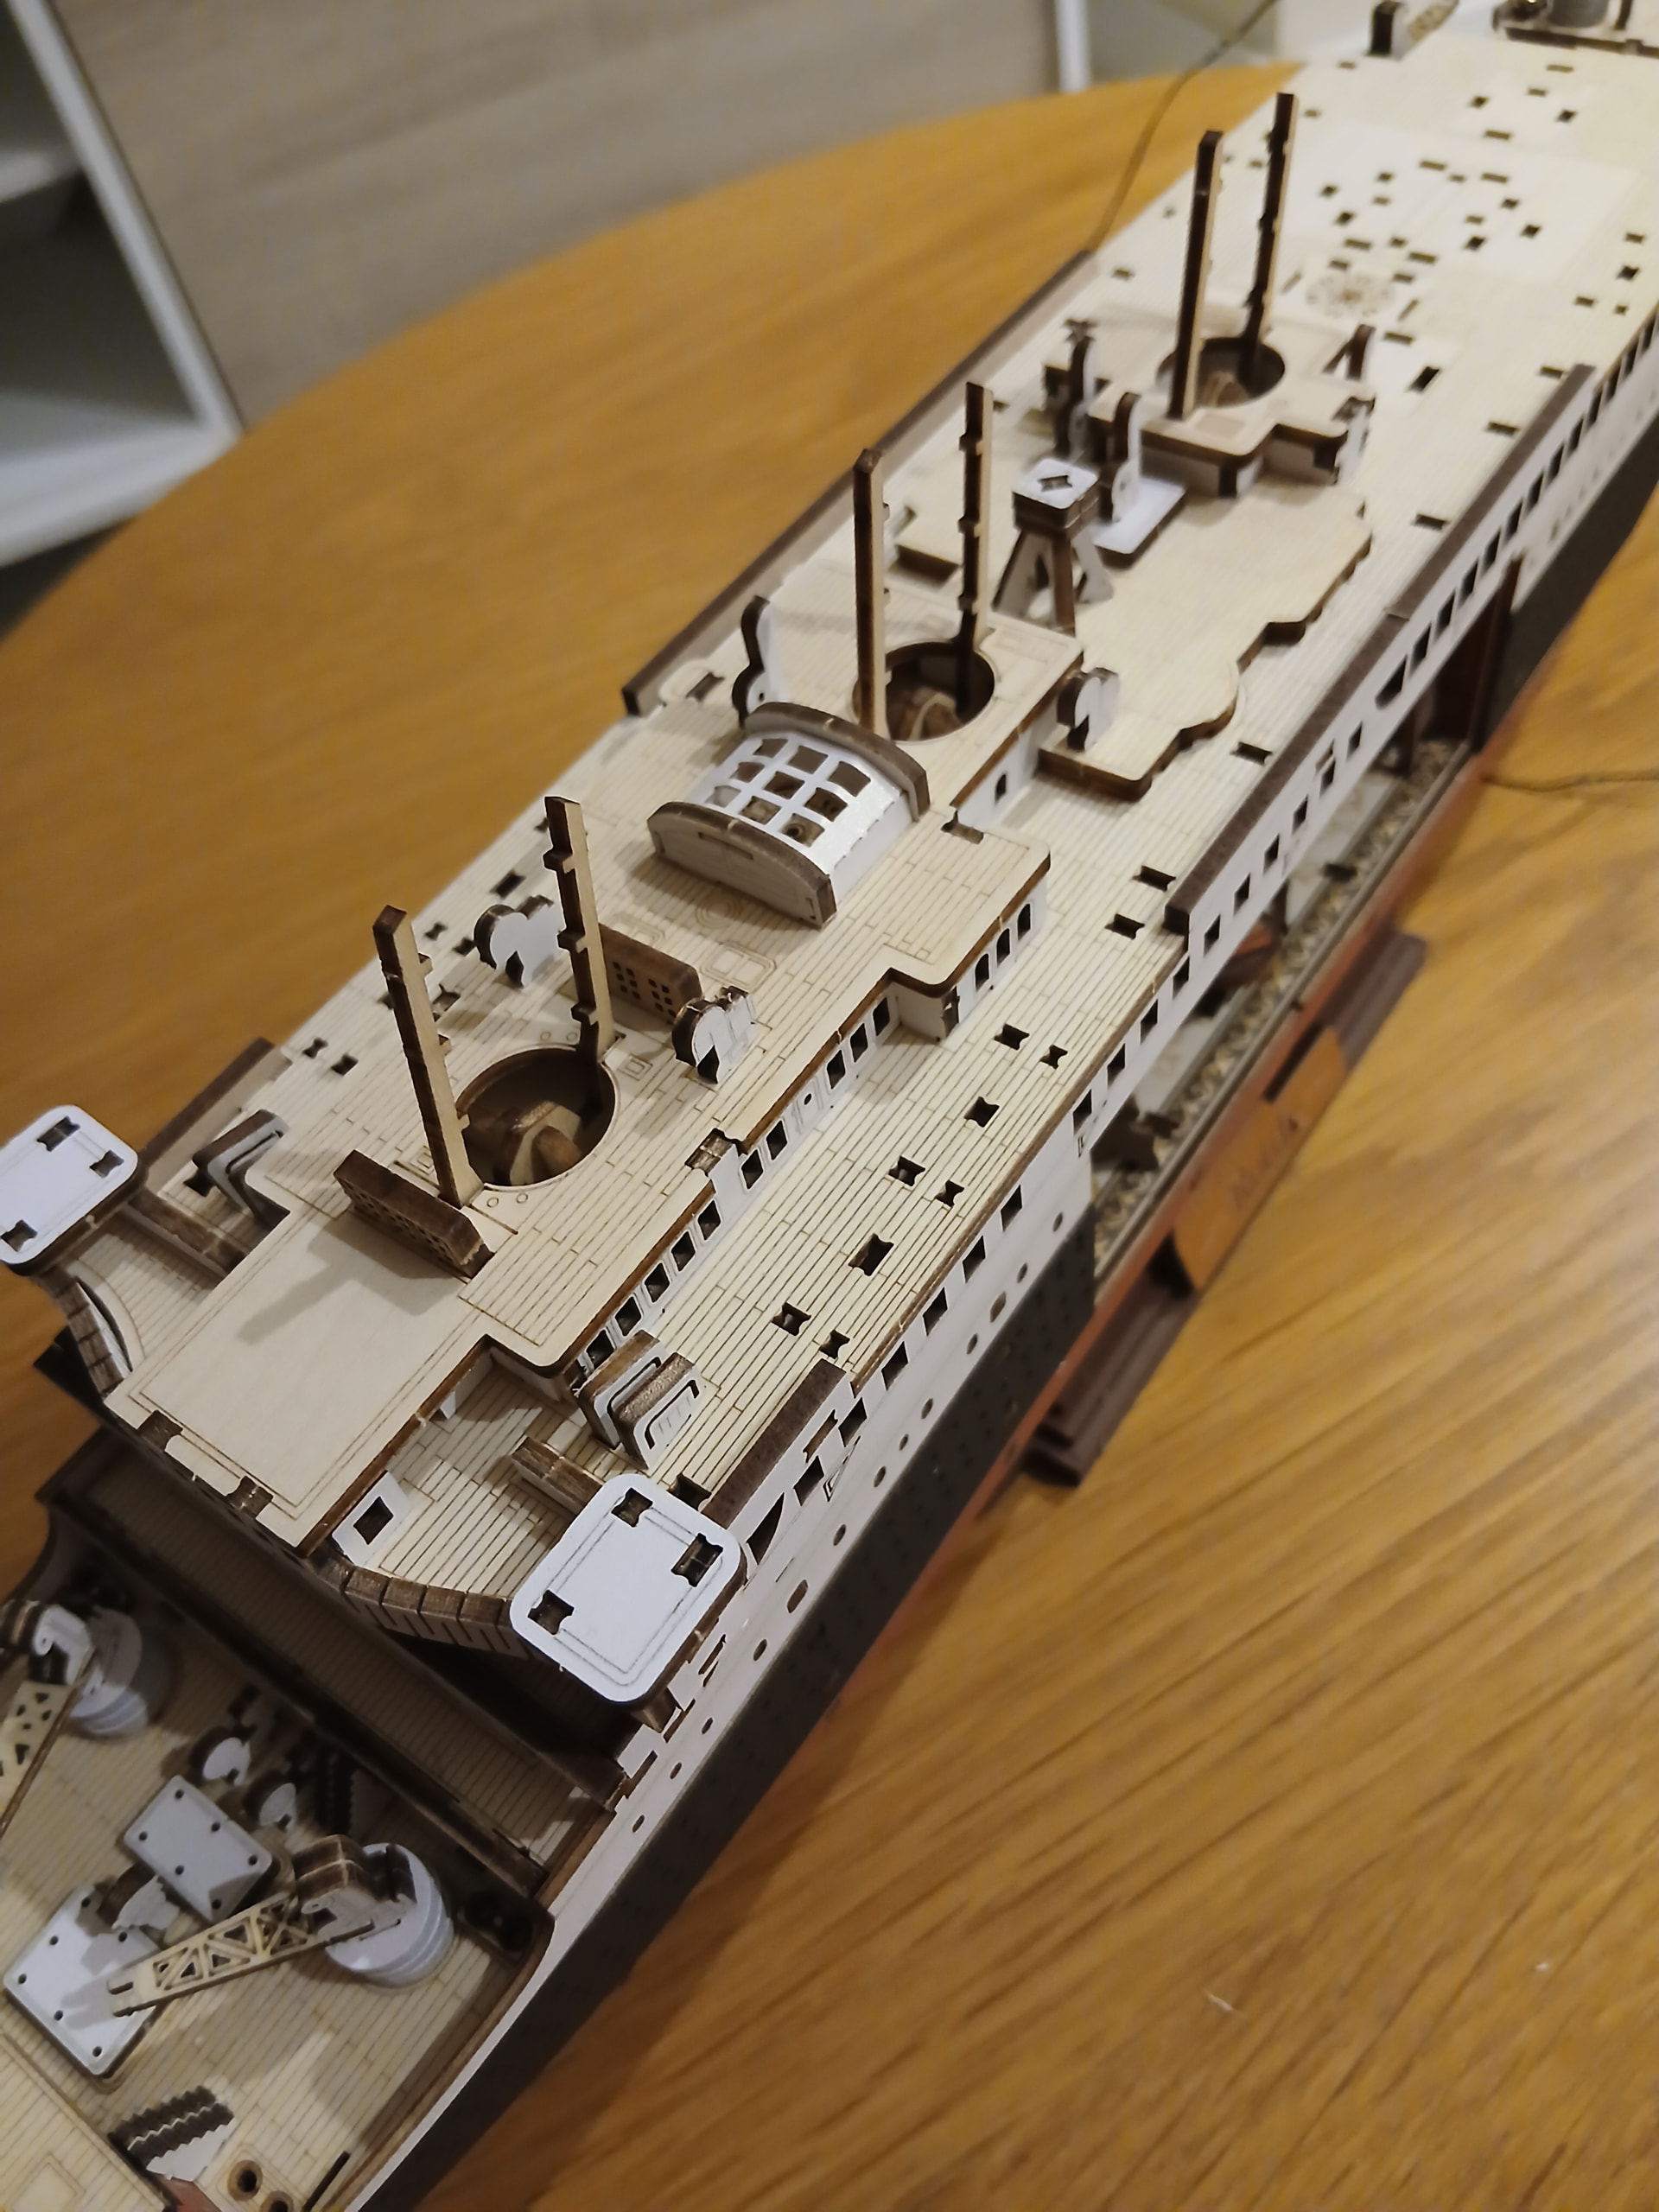
This is kind of how I’ve left you last time; I was about to add the Main Deck and start adding the last many details to all the decks available on the ship. That was gonna take some time, foooor sure.
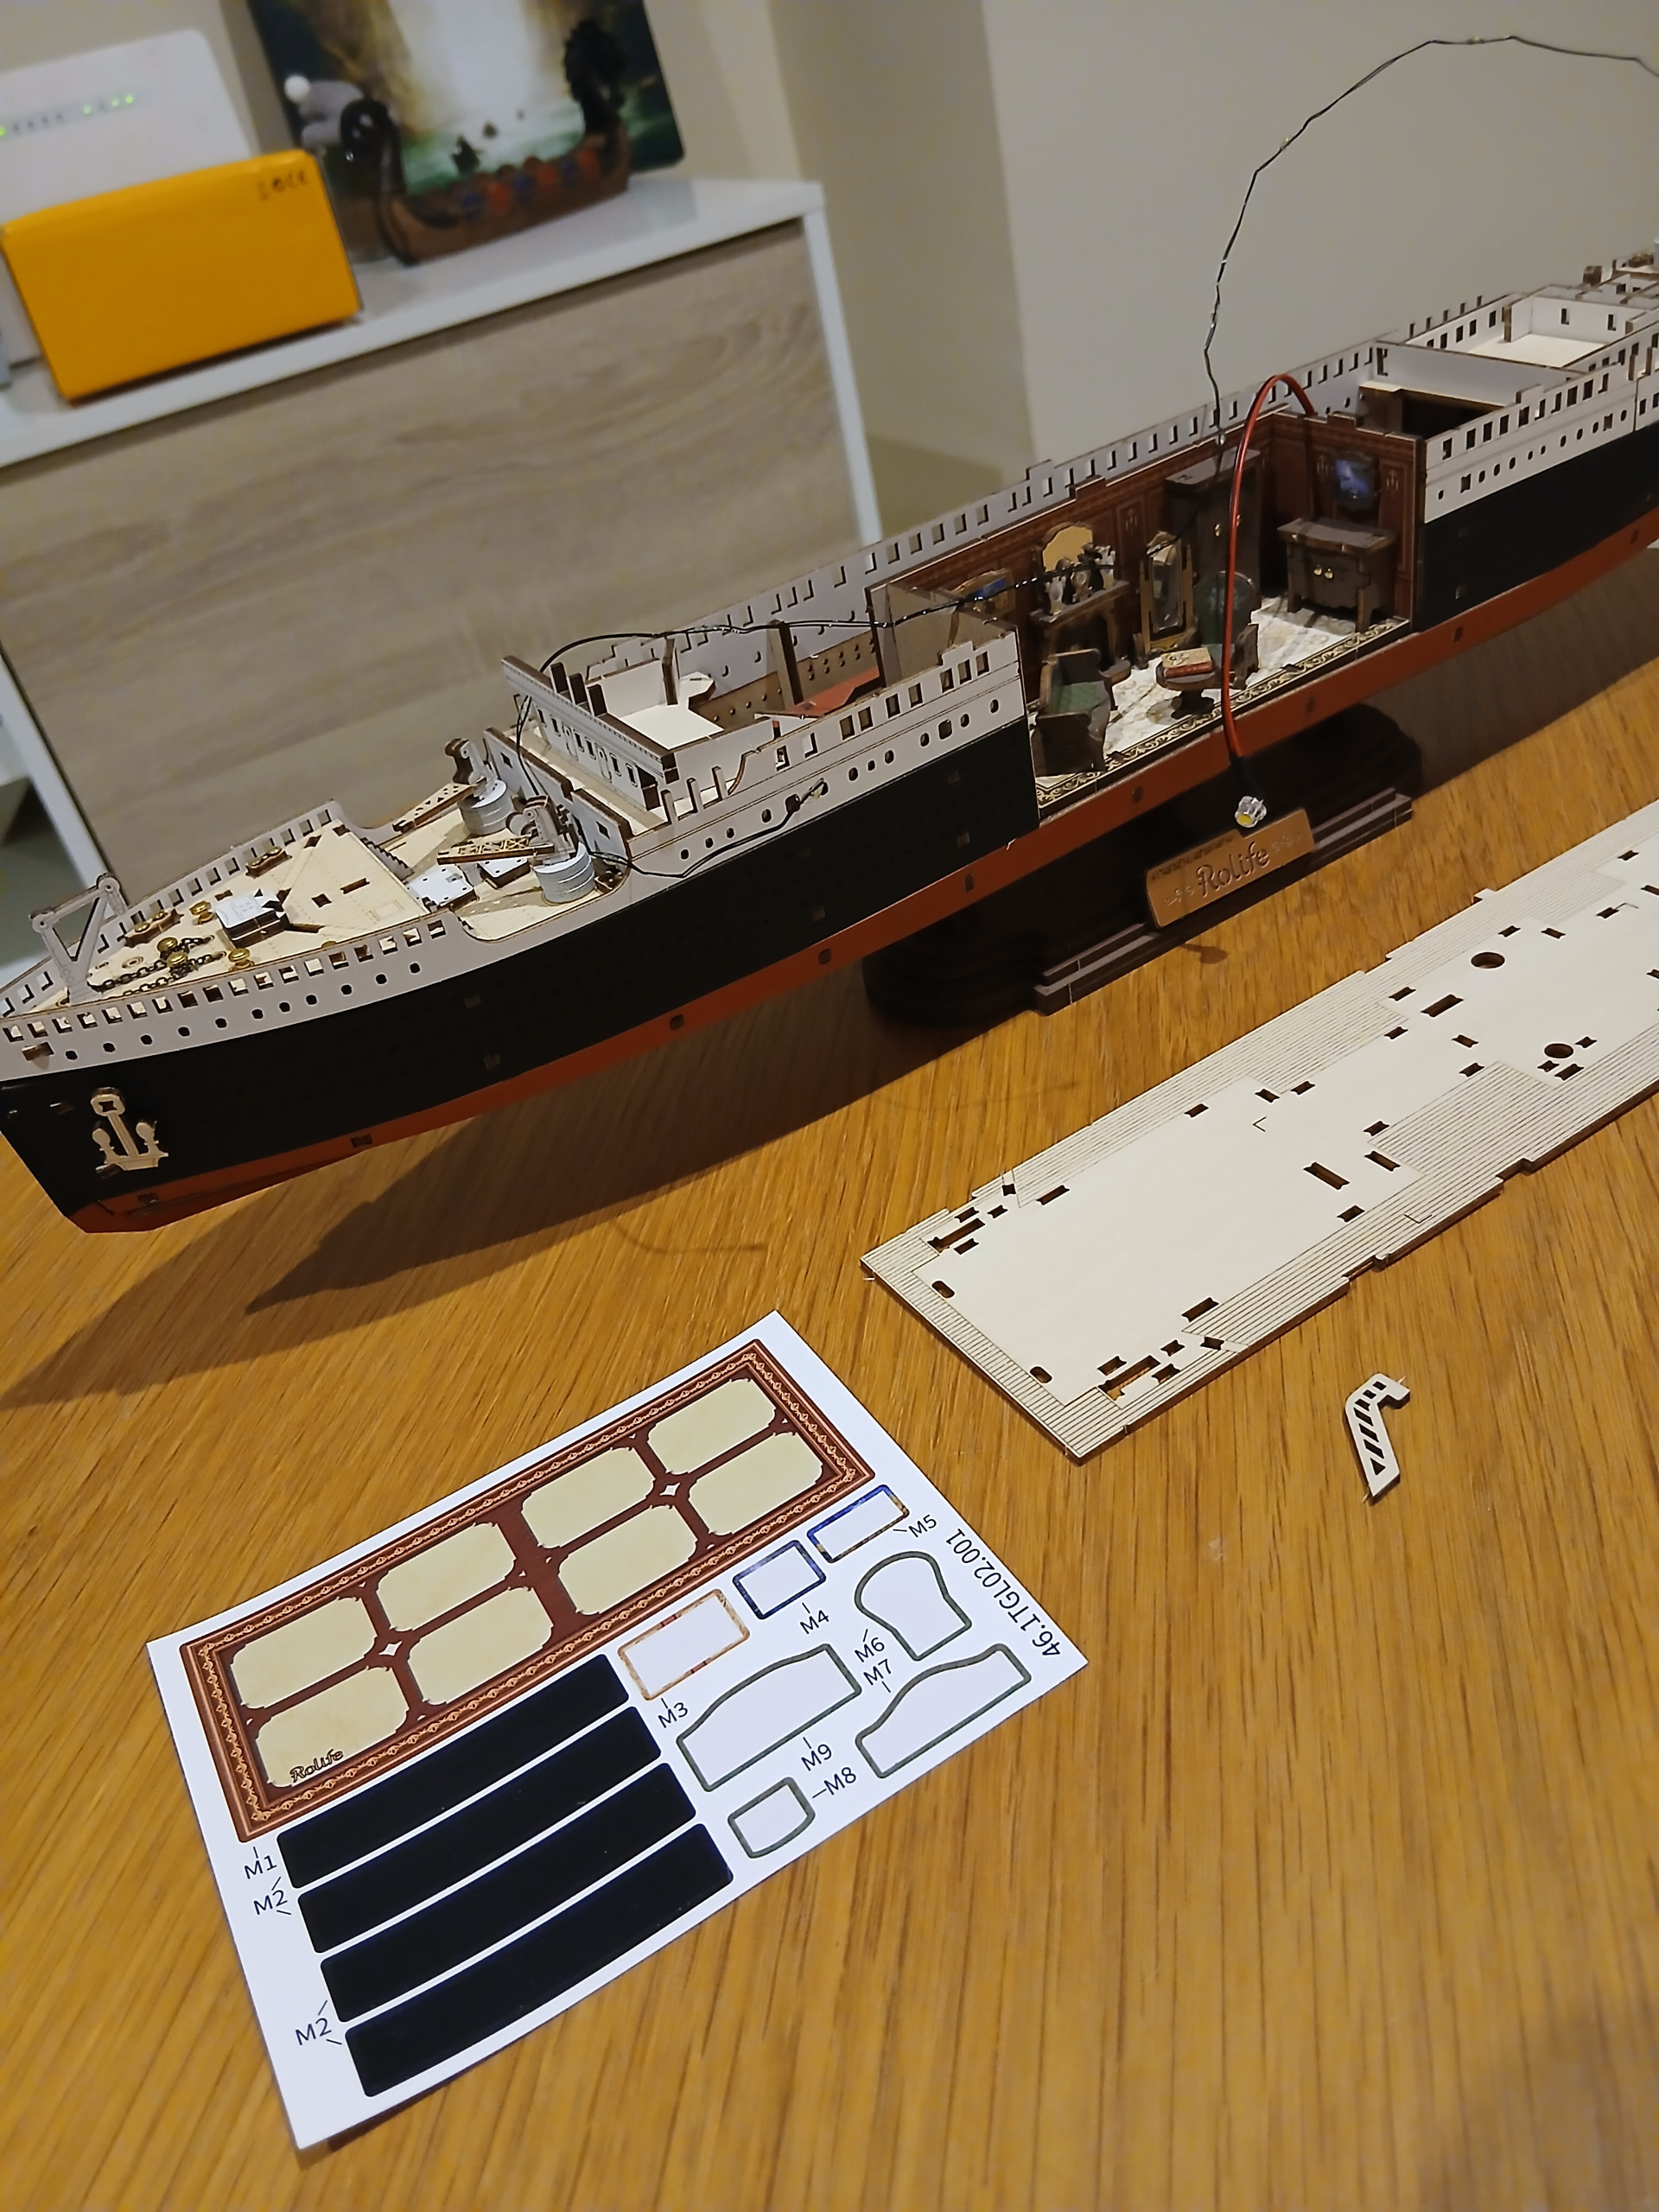
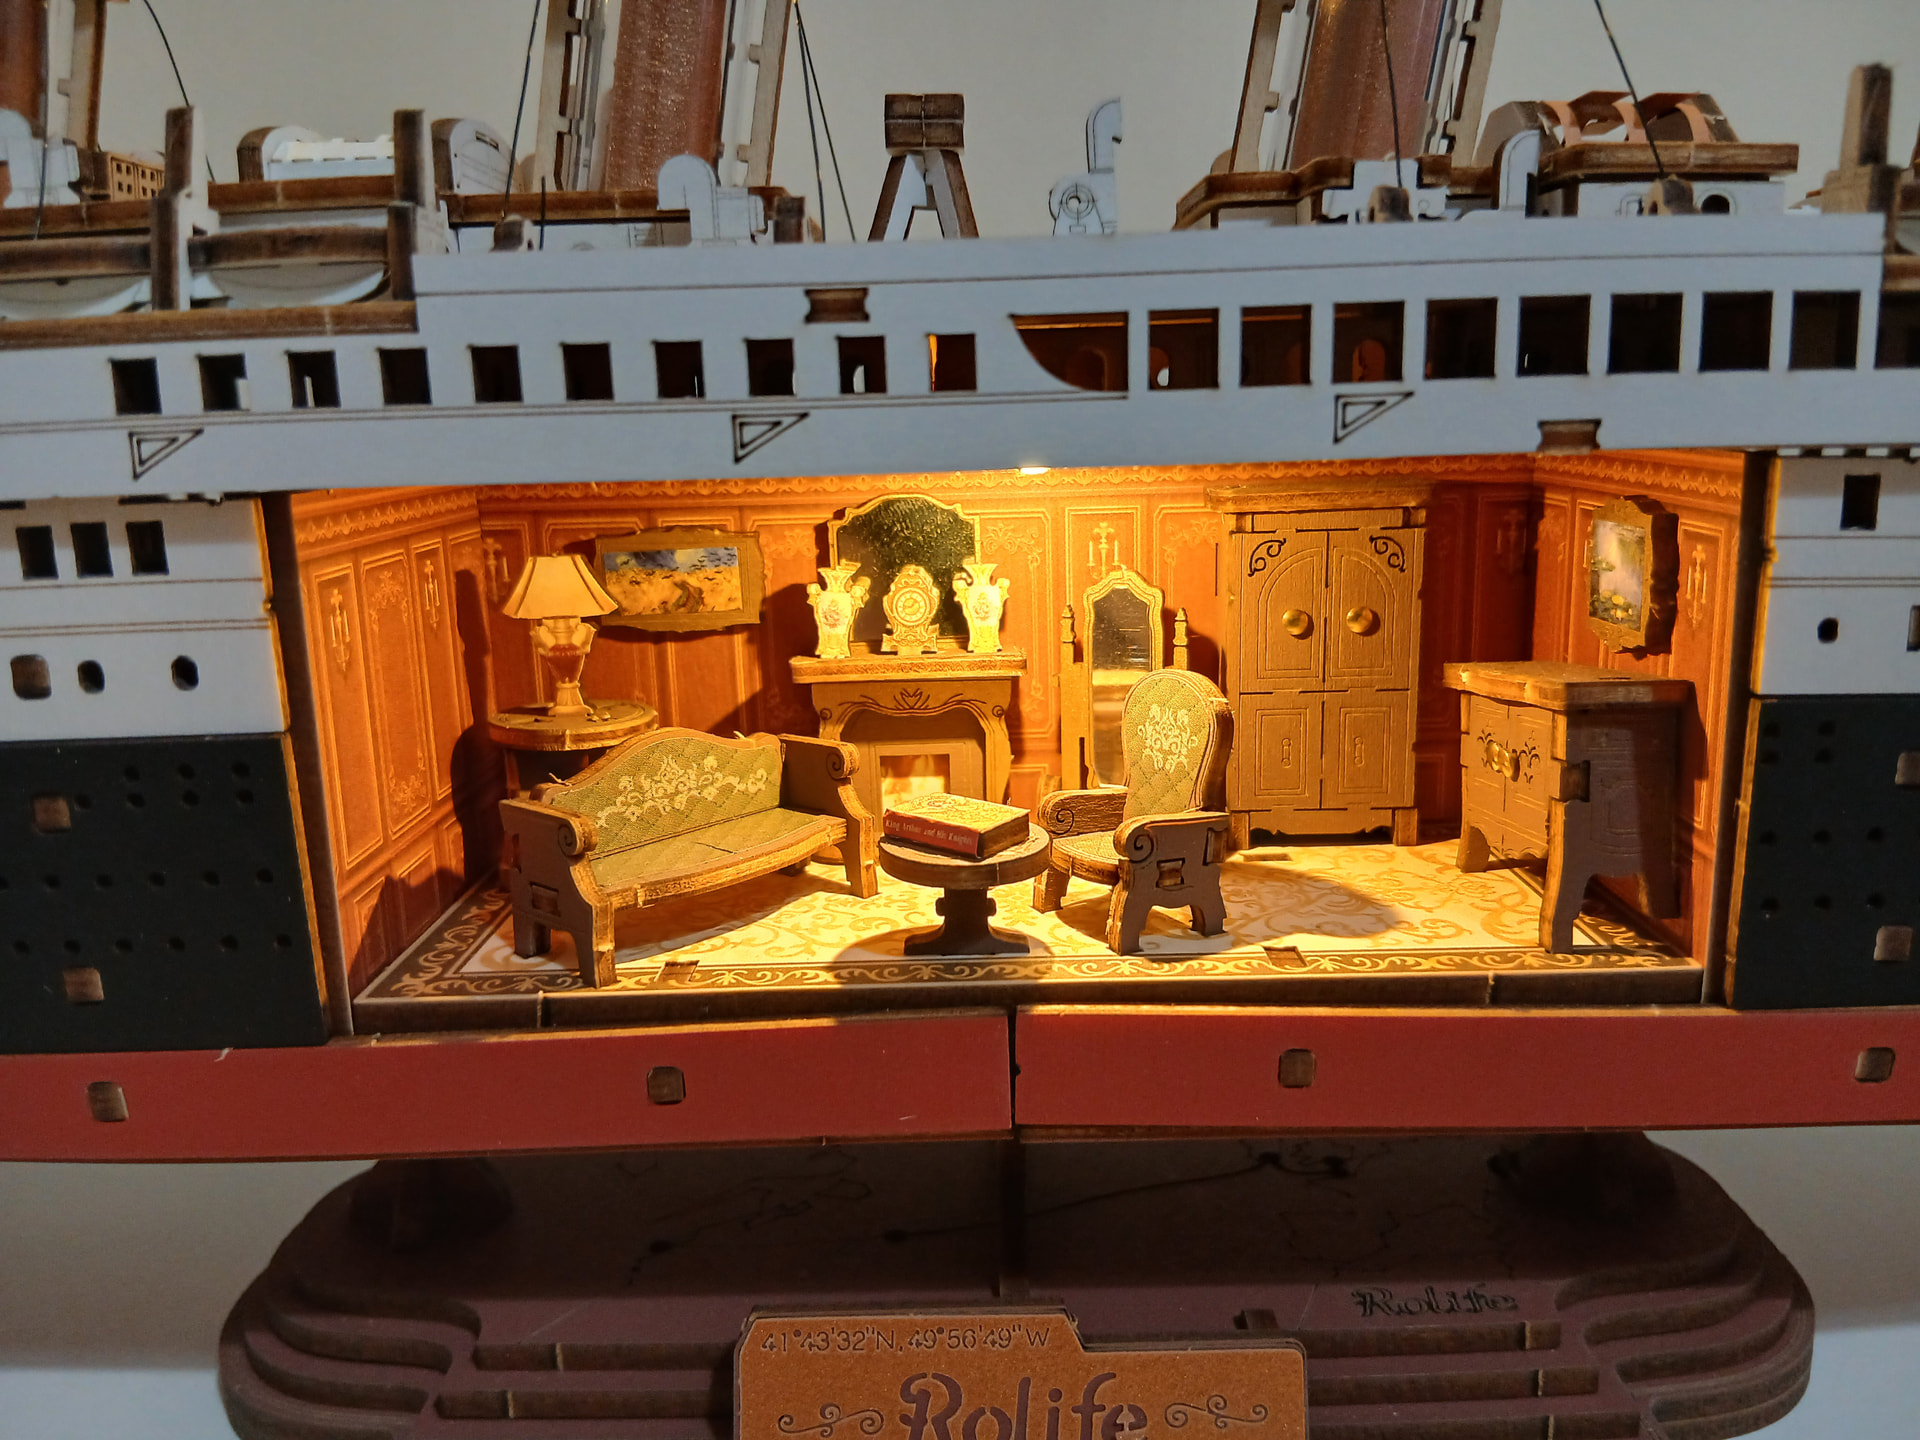
So yeah, the main deck came with more adjustments to the strings of lights, the last details for the showcase room (ceiling and light, basically), a couple of cranes, and a loooot of holes to deal with. As you can see in the following pictures, many of those holes were waiting for cabins and the base structure for the future chimneys.
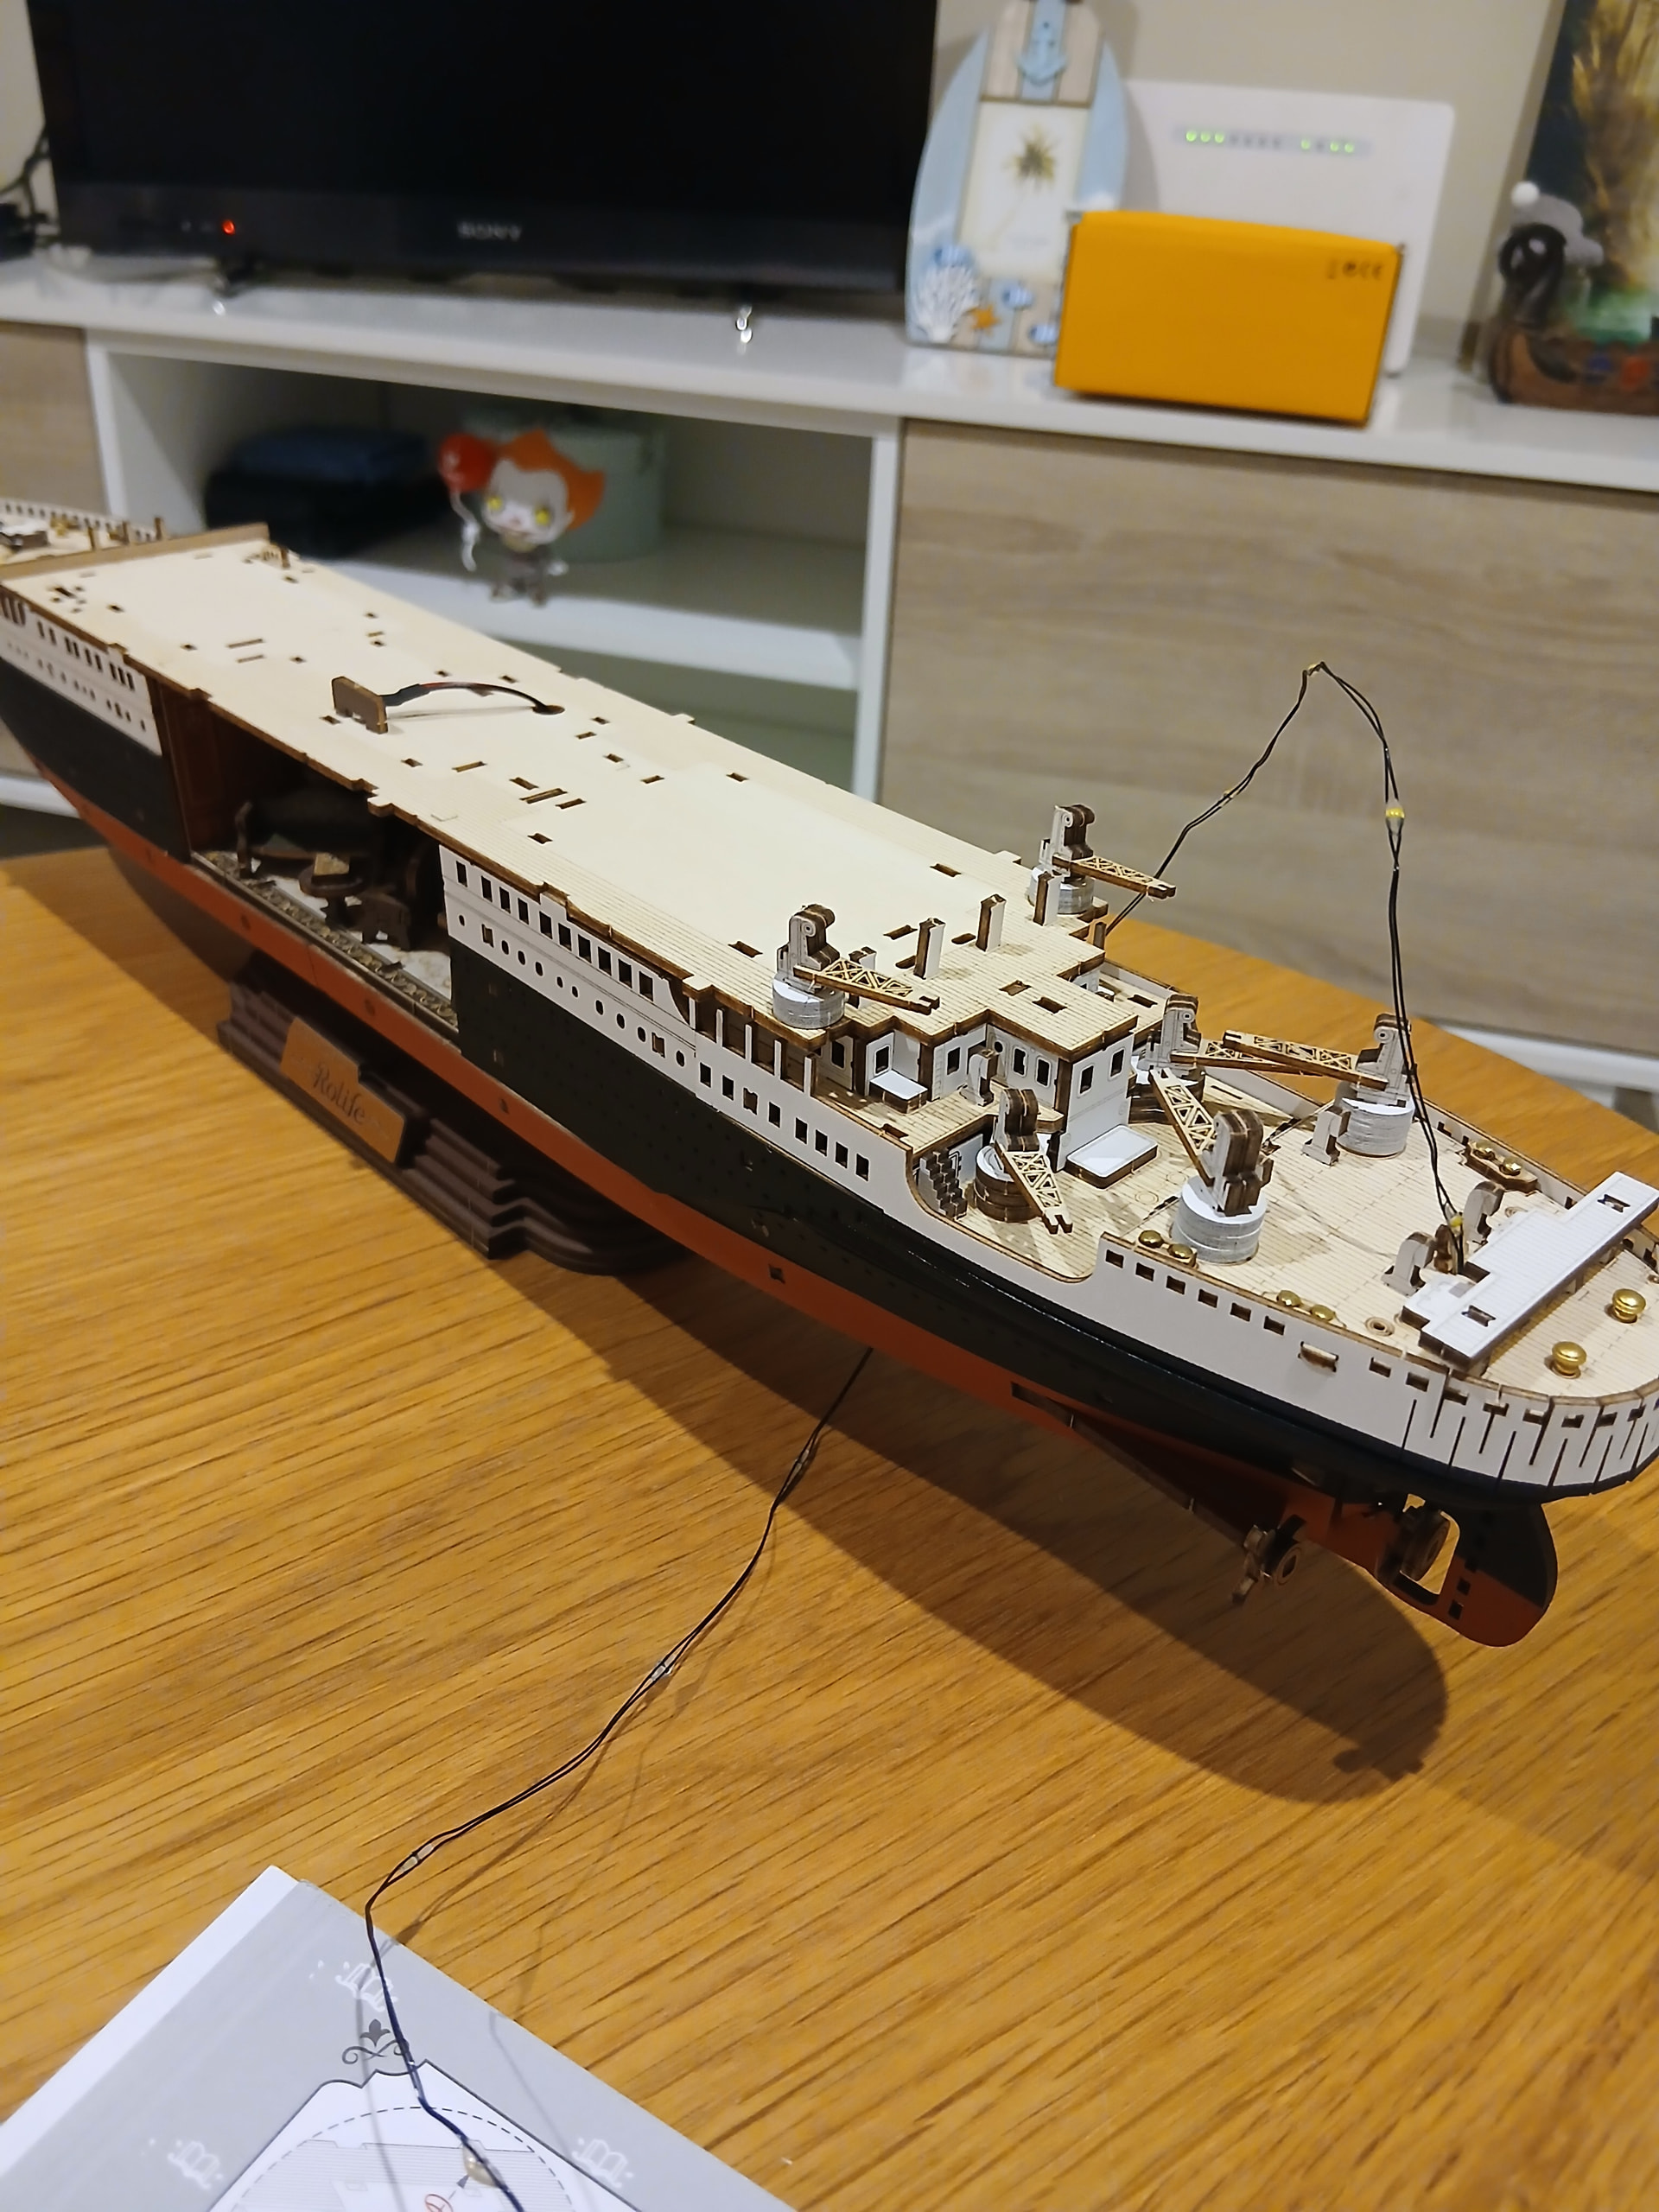
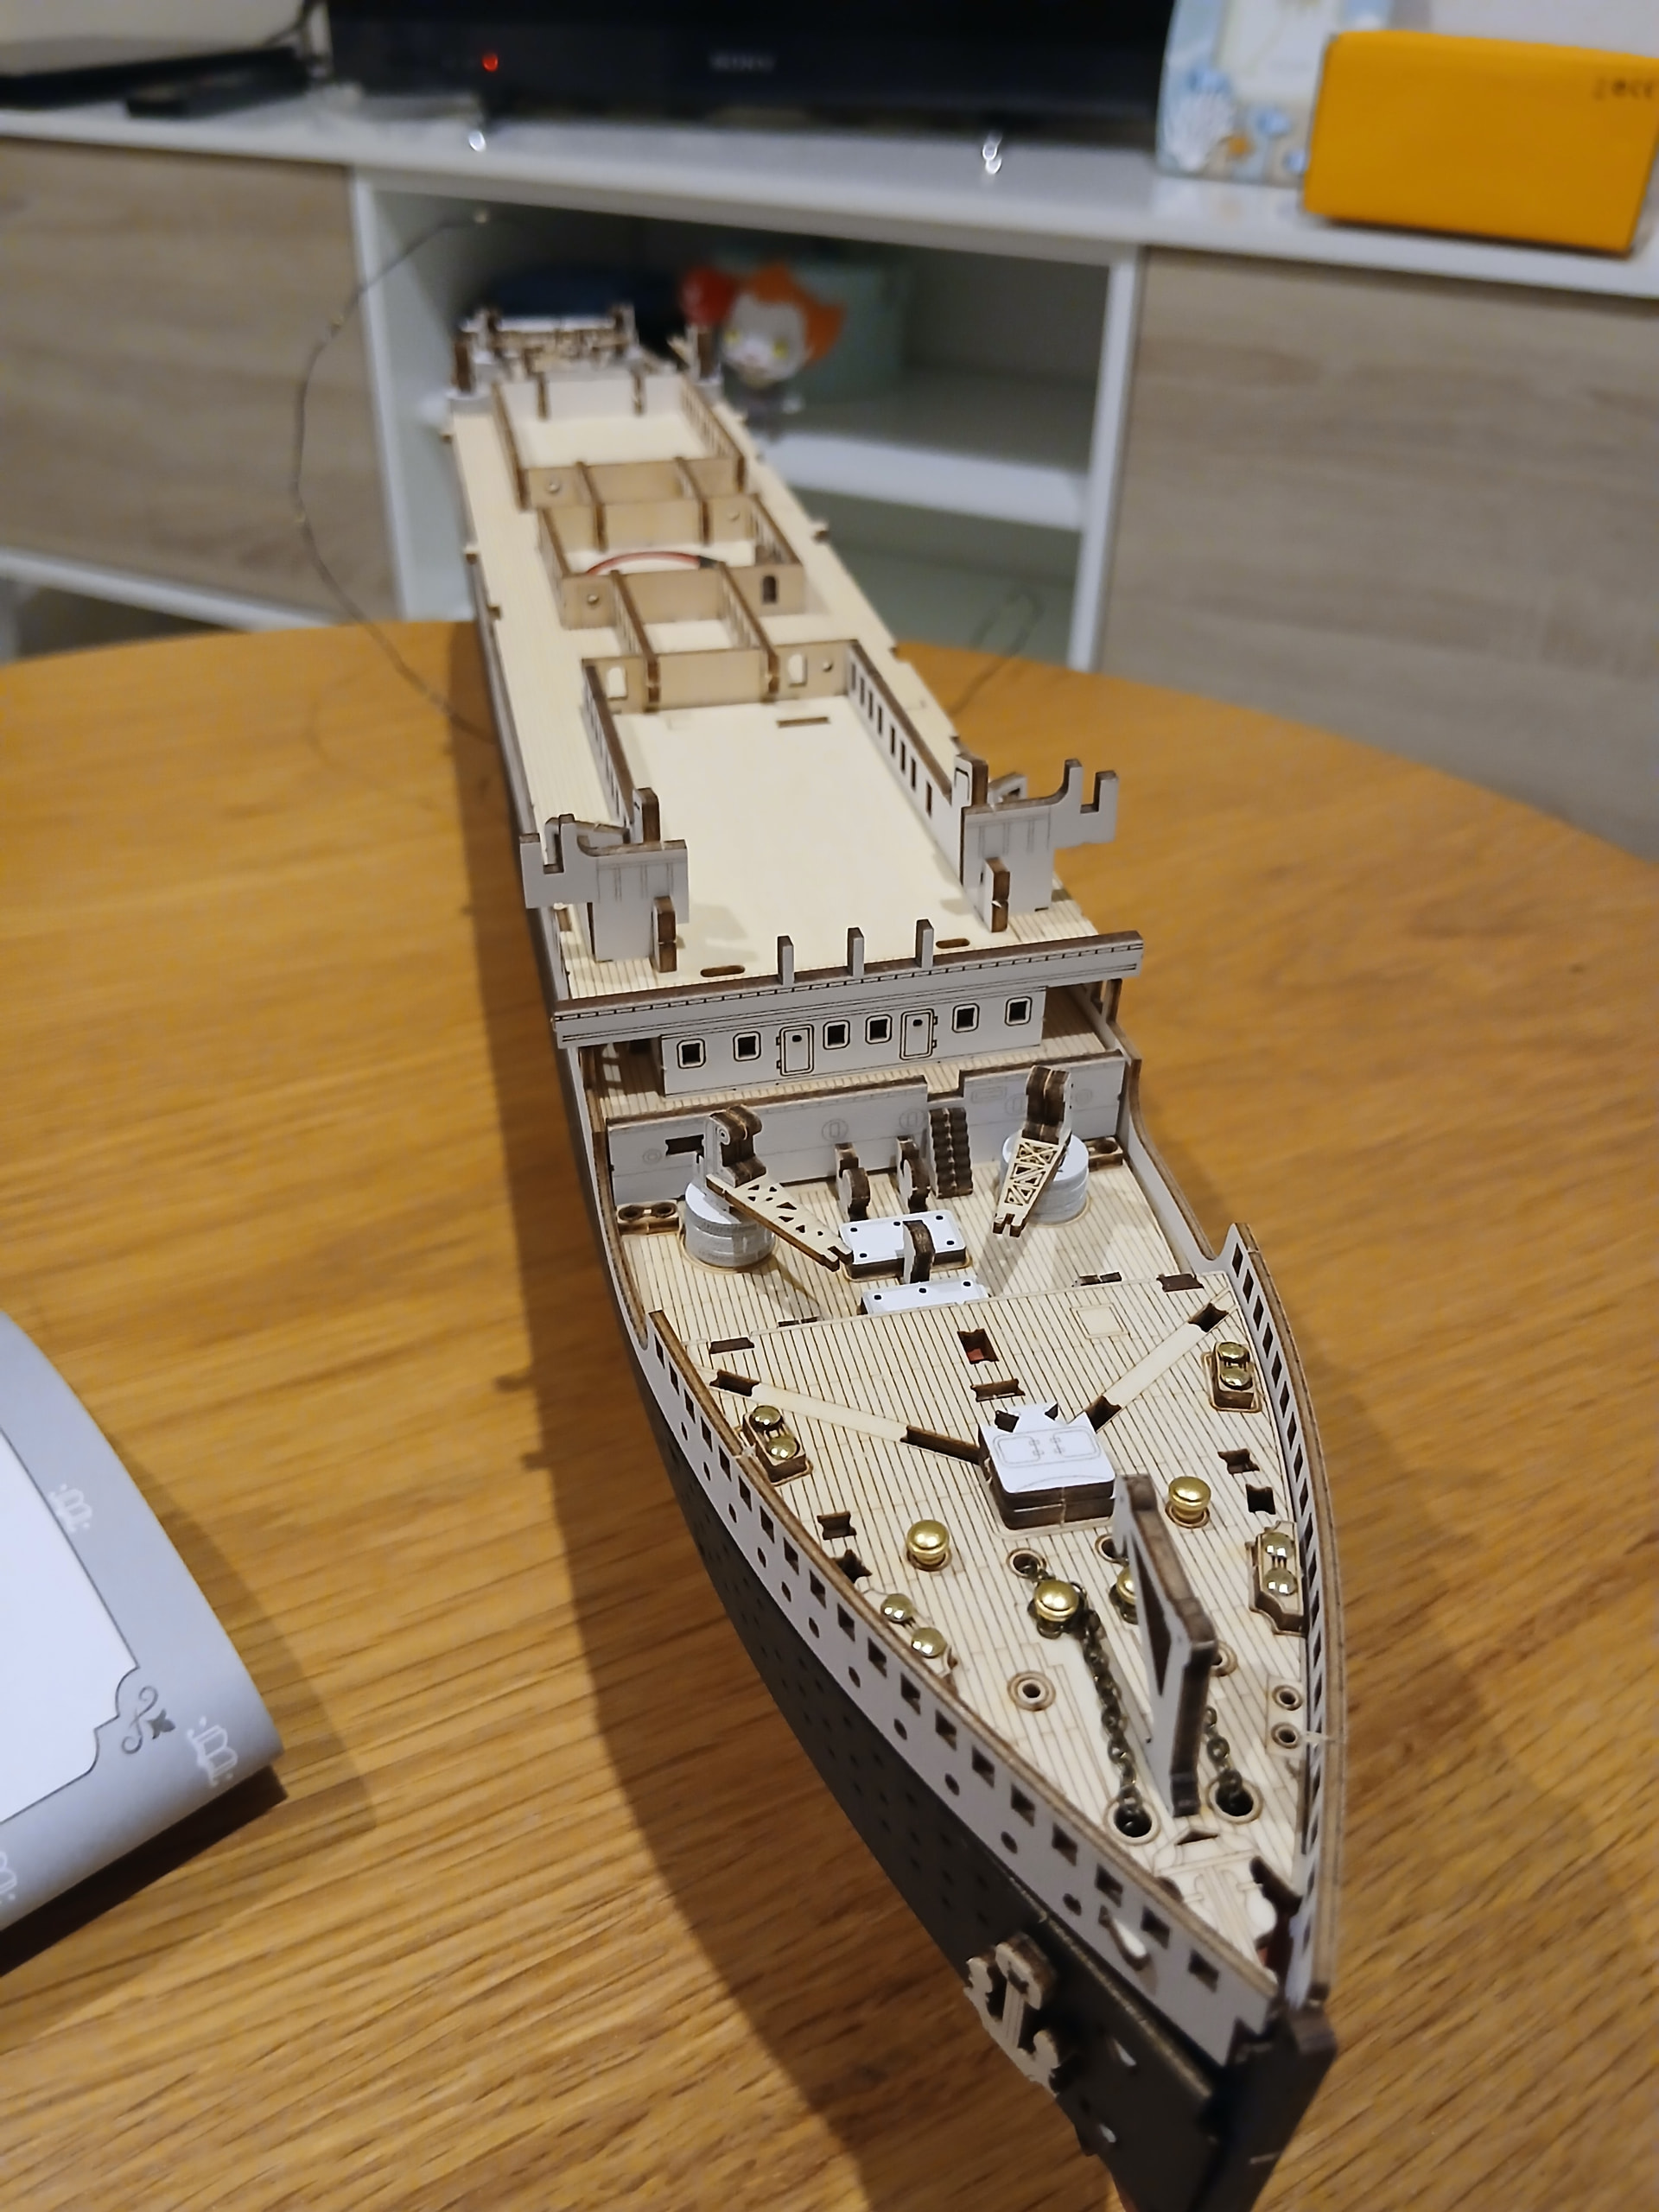
After most of those details were put together (I truly love how the Titanic was looking this far, everything was truly coming together! I was so, so, so happy about it), it was finally time to use the long roll of thin black rope that came with the kit. The purpose of that rope is to hold together the structures for the chimneys. It was a bit tricky but, honestly, once you’re putting two or three of them together and you get the point of them, the rest of them (you’re attaching four of them on each side of the deck) are pretty straightforward to deal with.
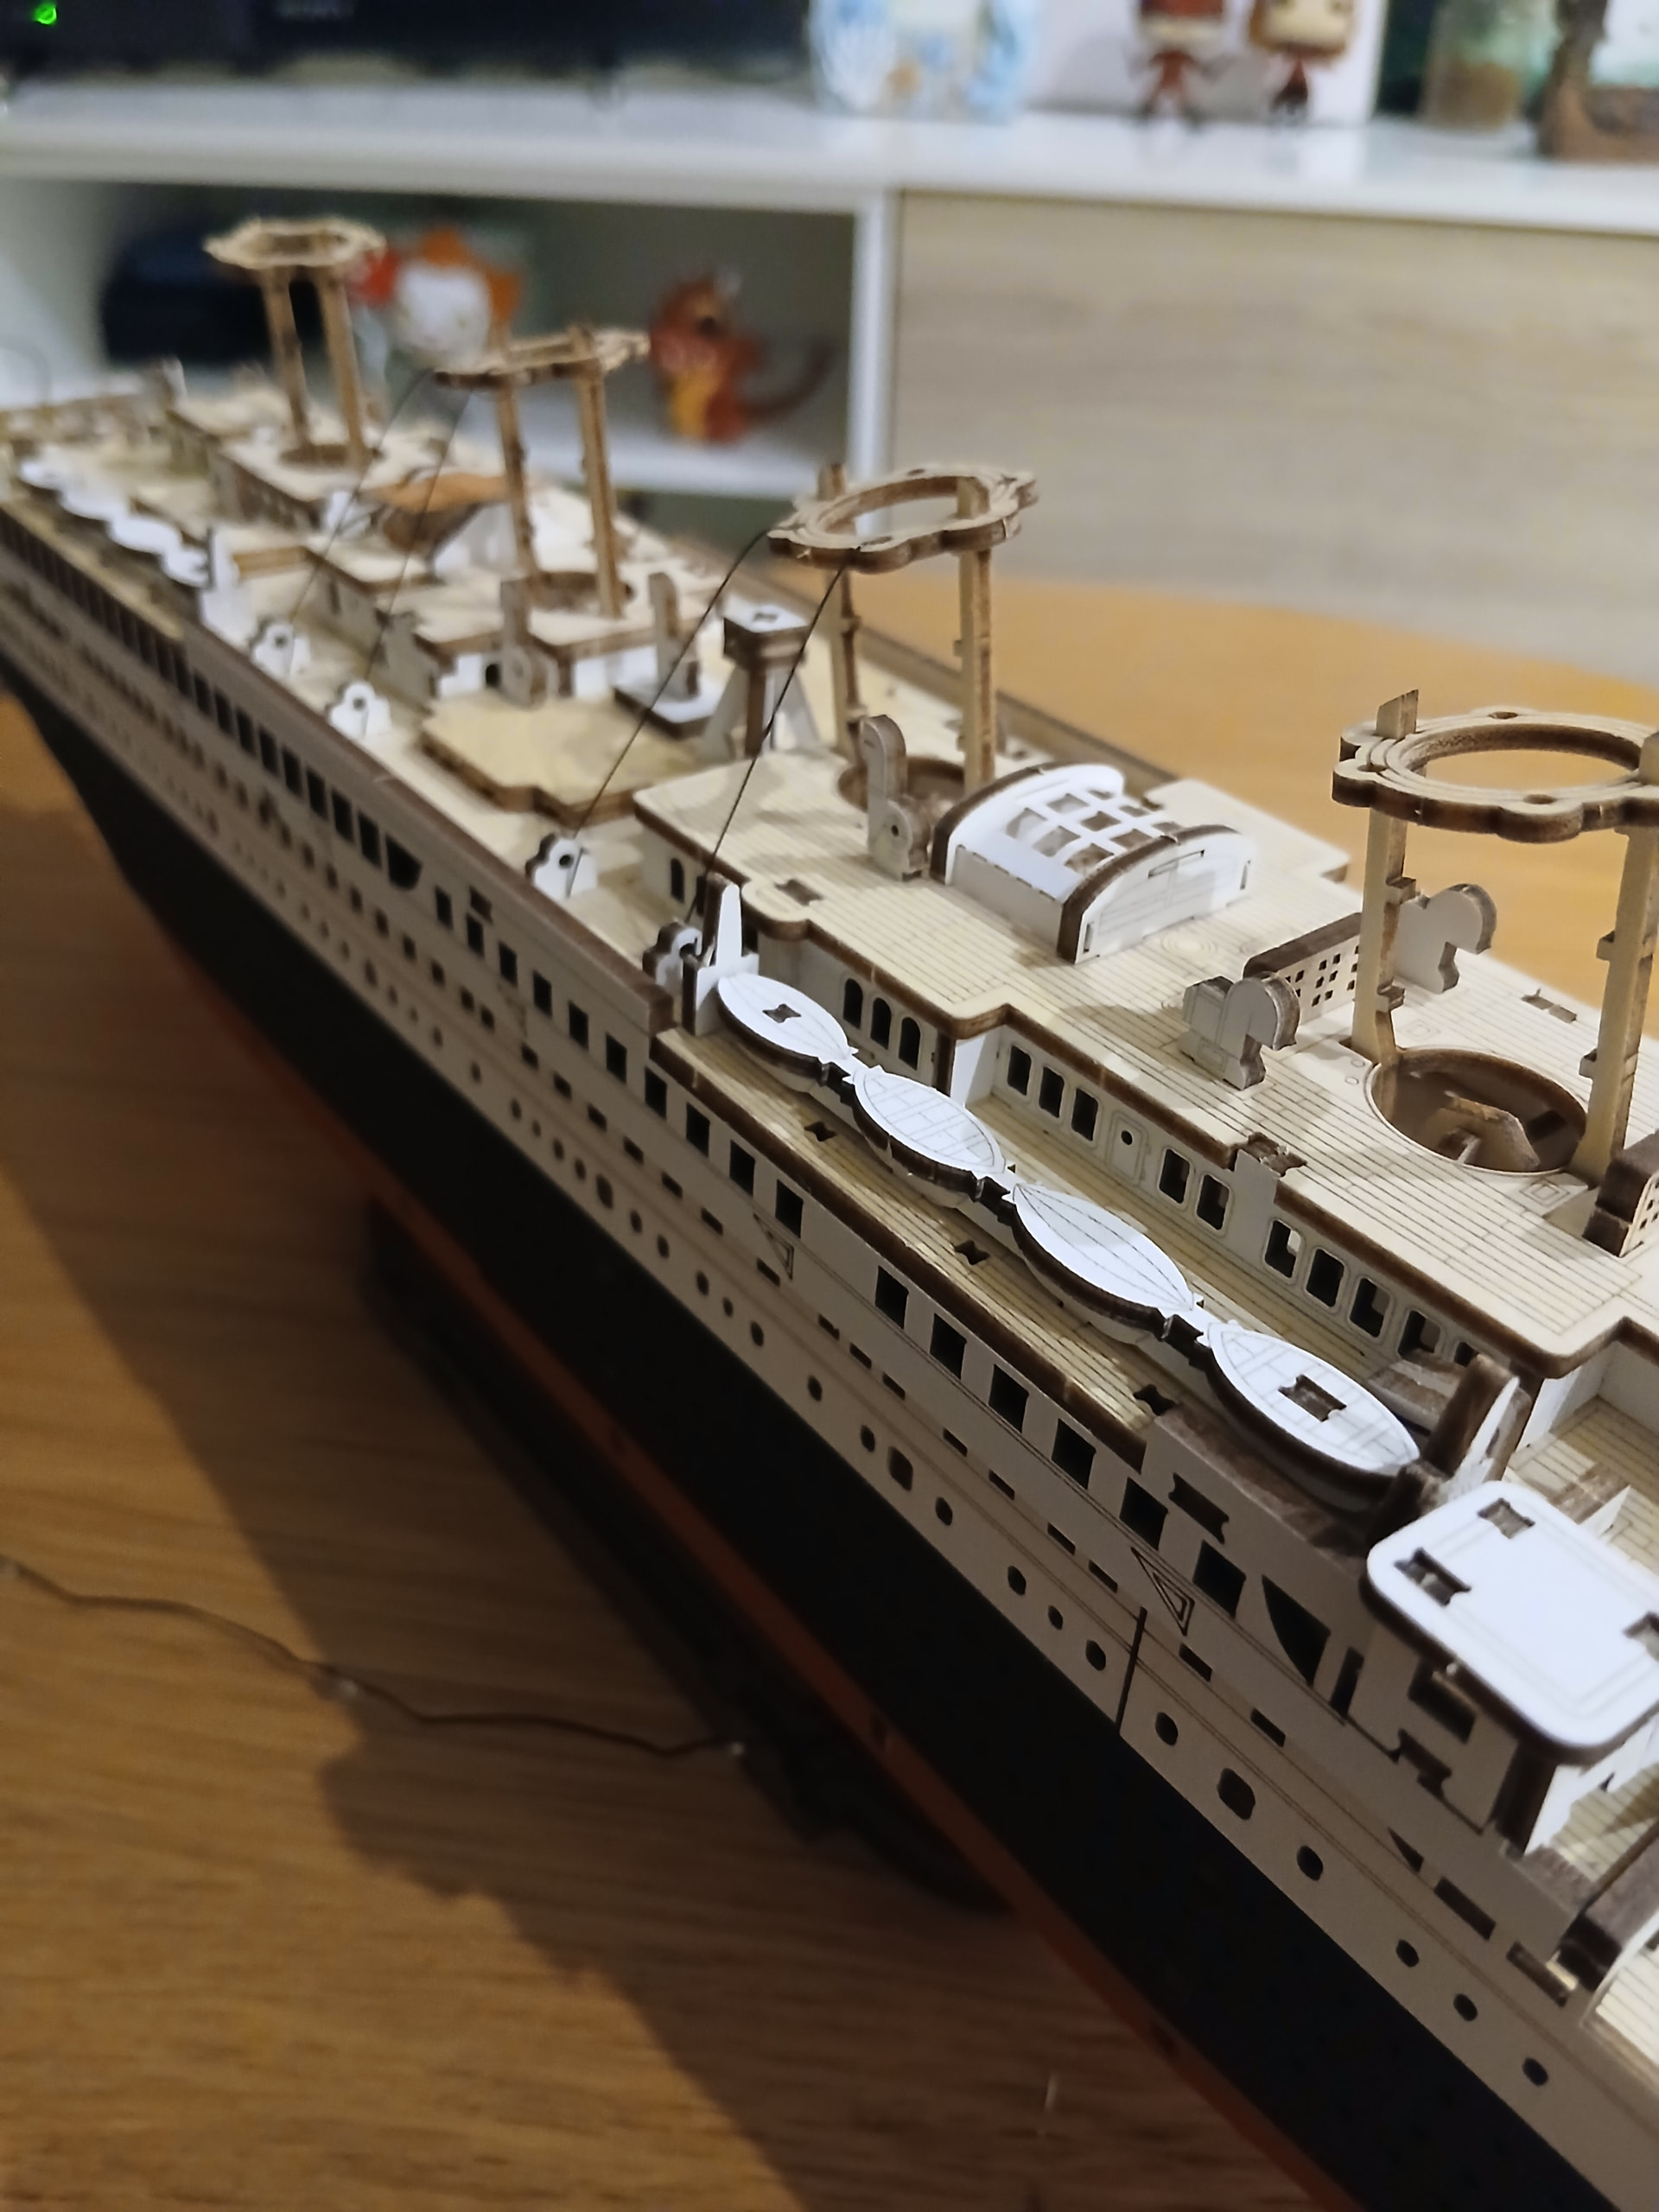
(Yeah, I know, it was also a bit annoying for me to see the string of lights hanging here and there all the time ![]() )
)
And after that… It was almost done! It’s always bittersweet when you’re almost done with a kit, isn’t it? But still, it’s been such a great and satisfying journey. And a kit I’d recommend to all of you to try!
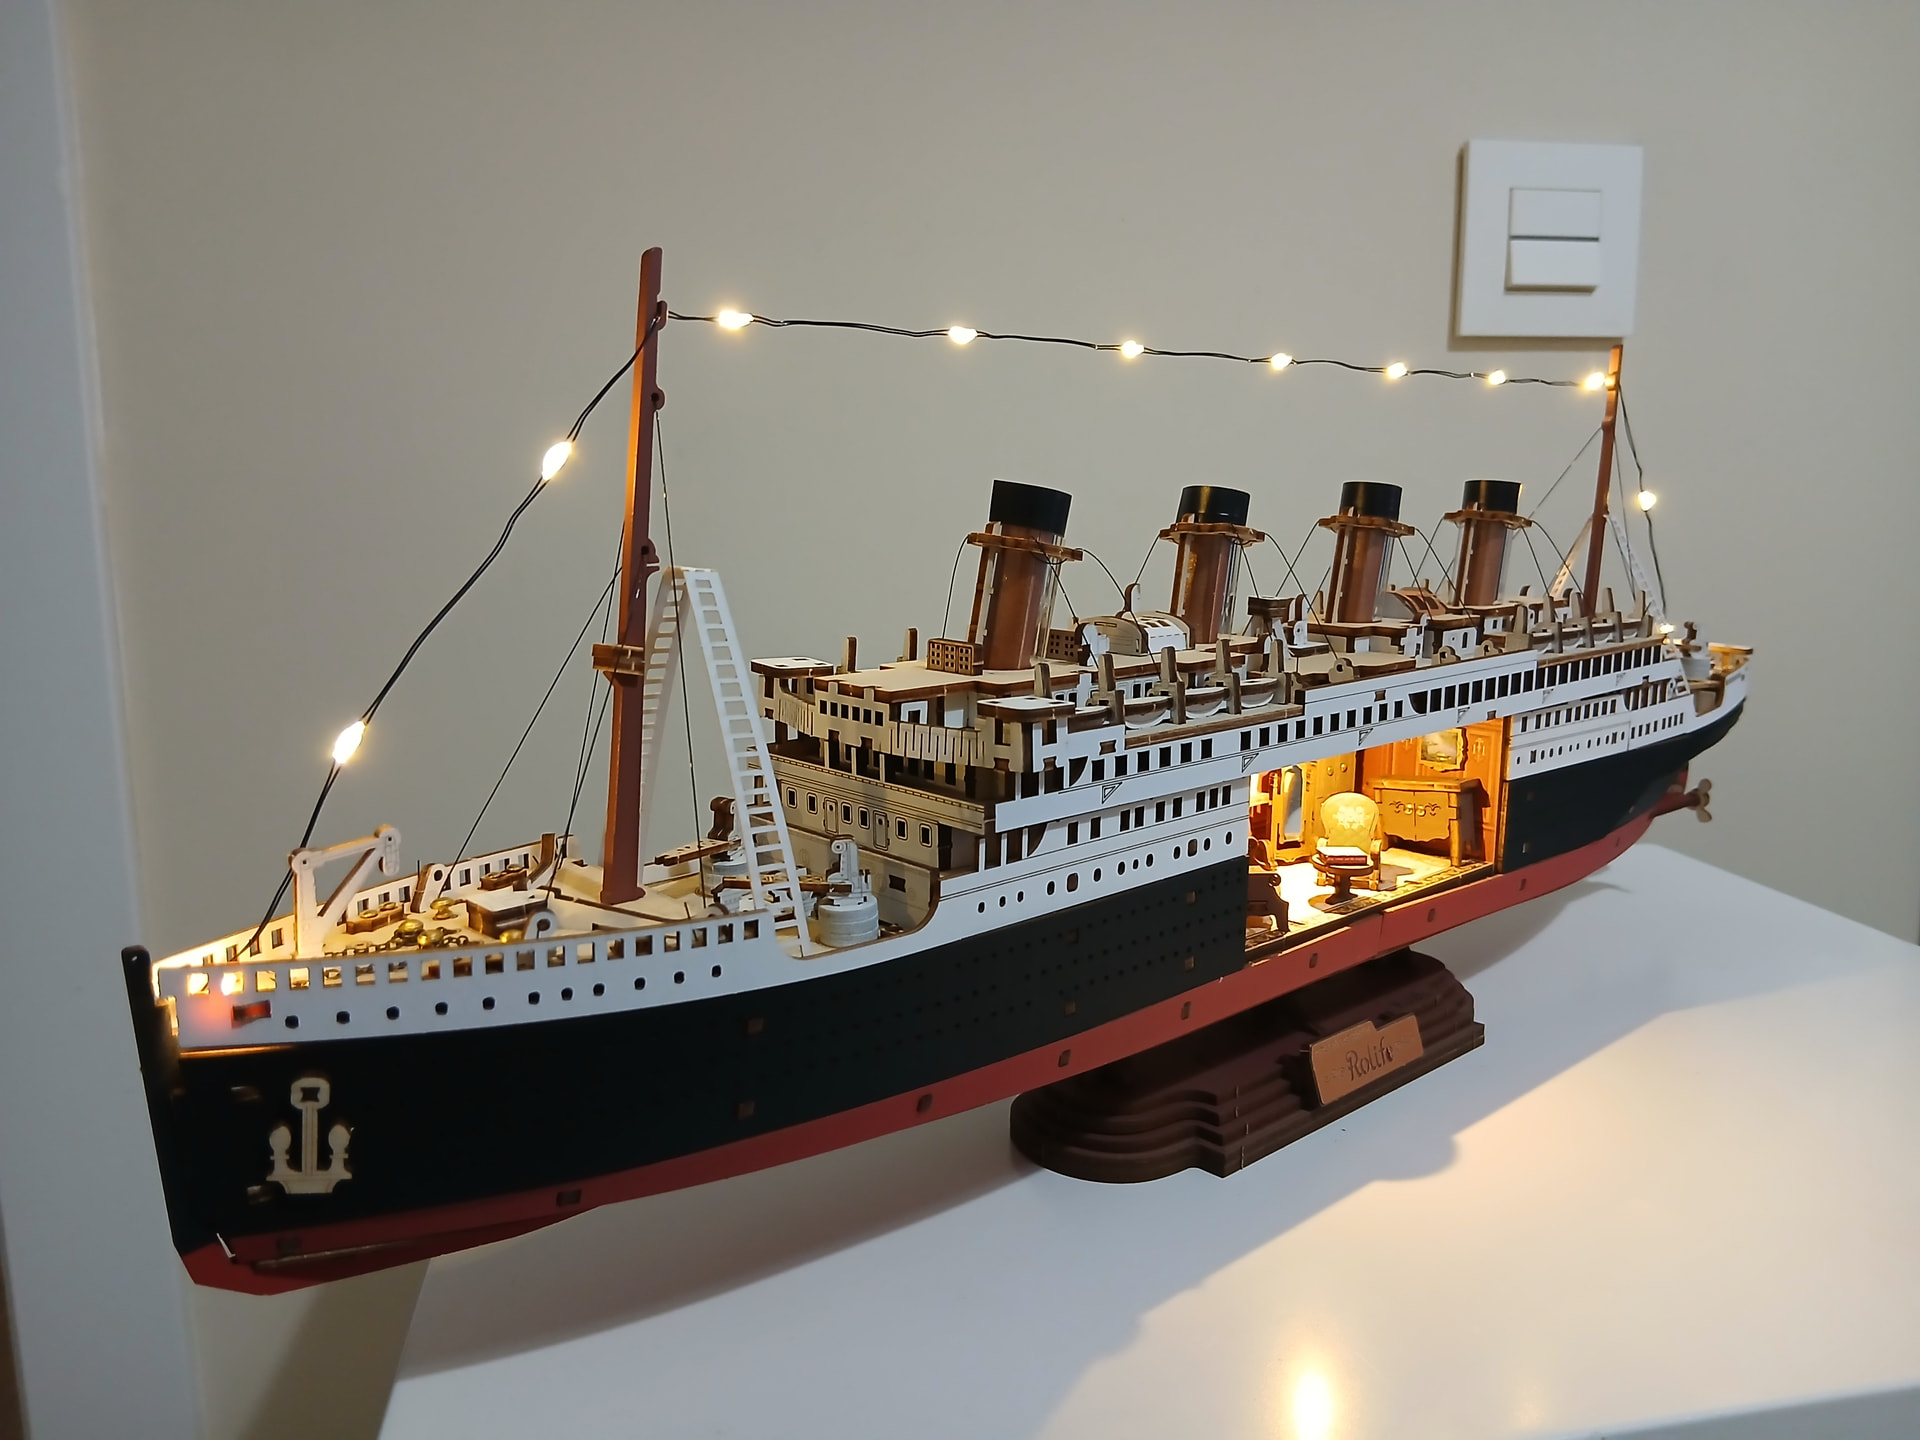
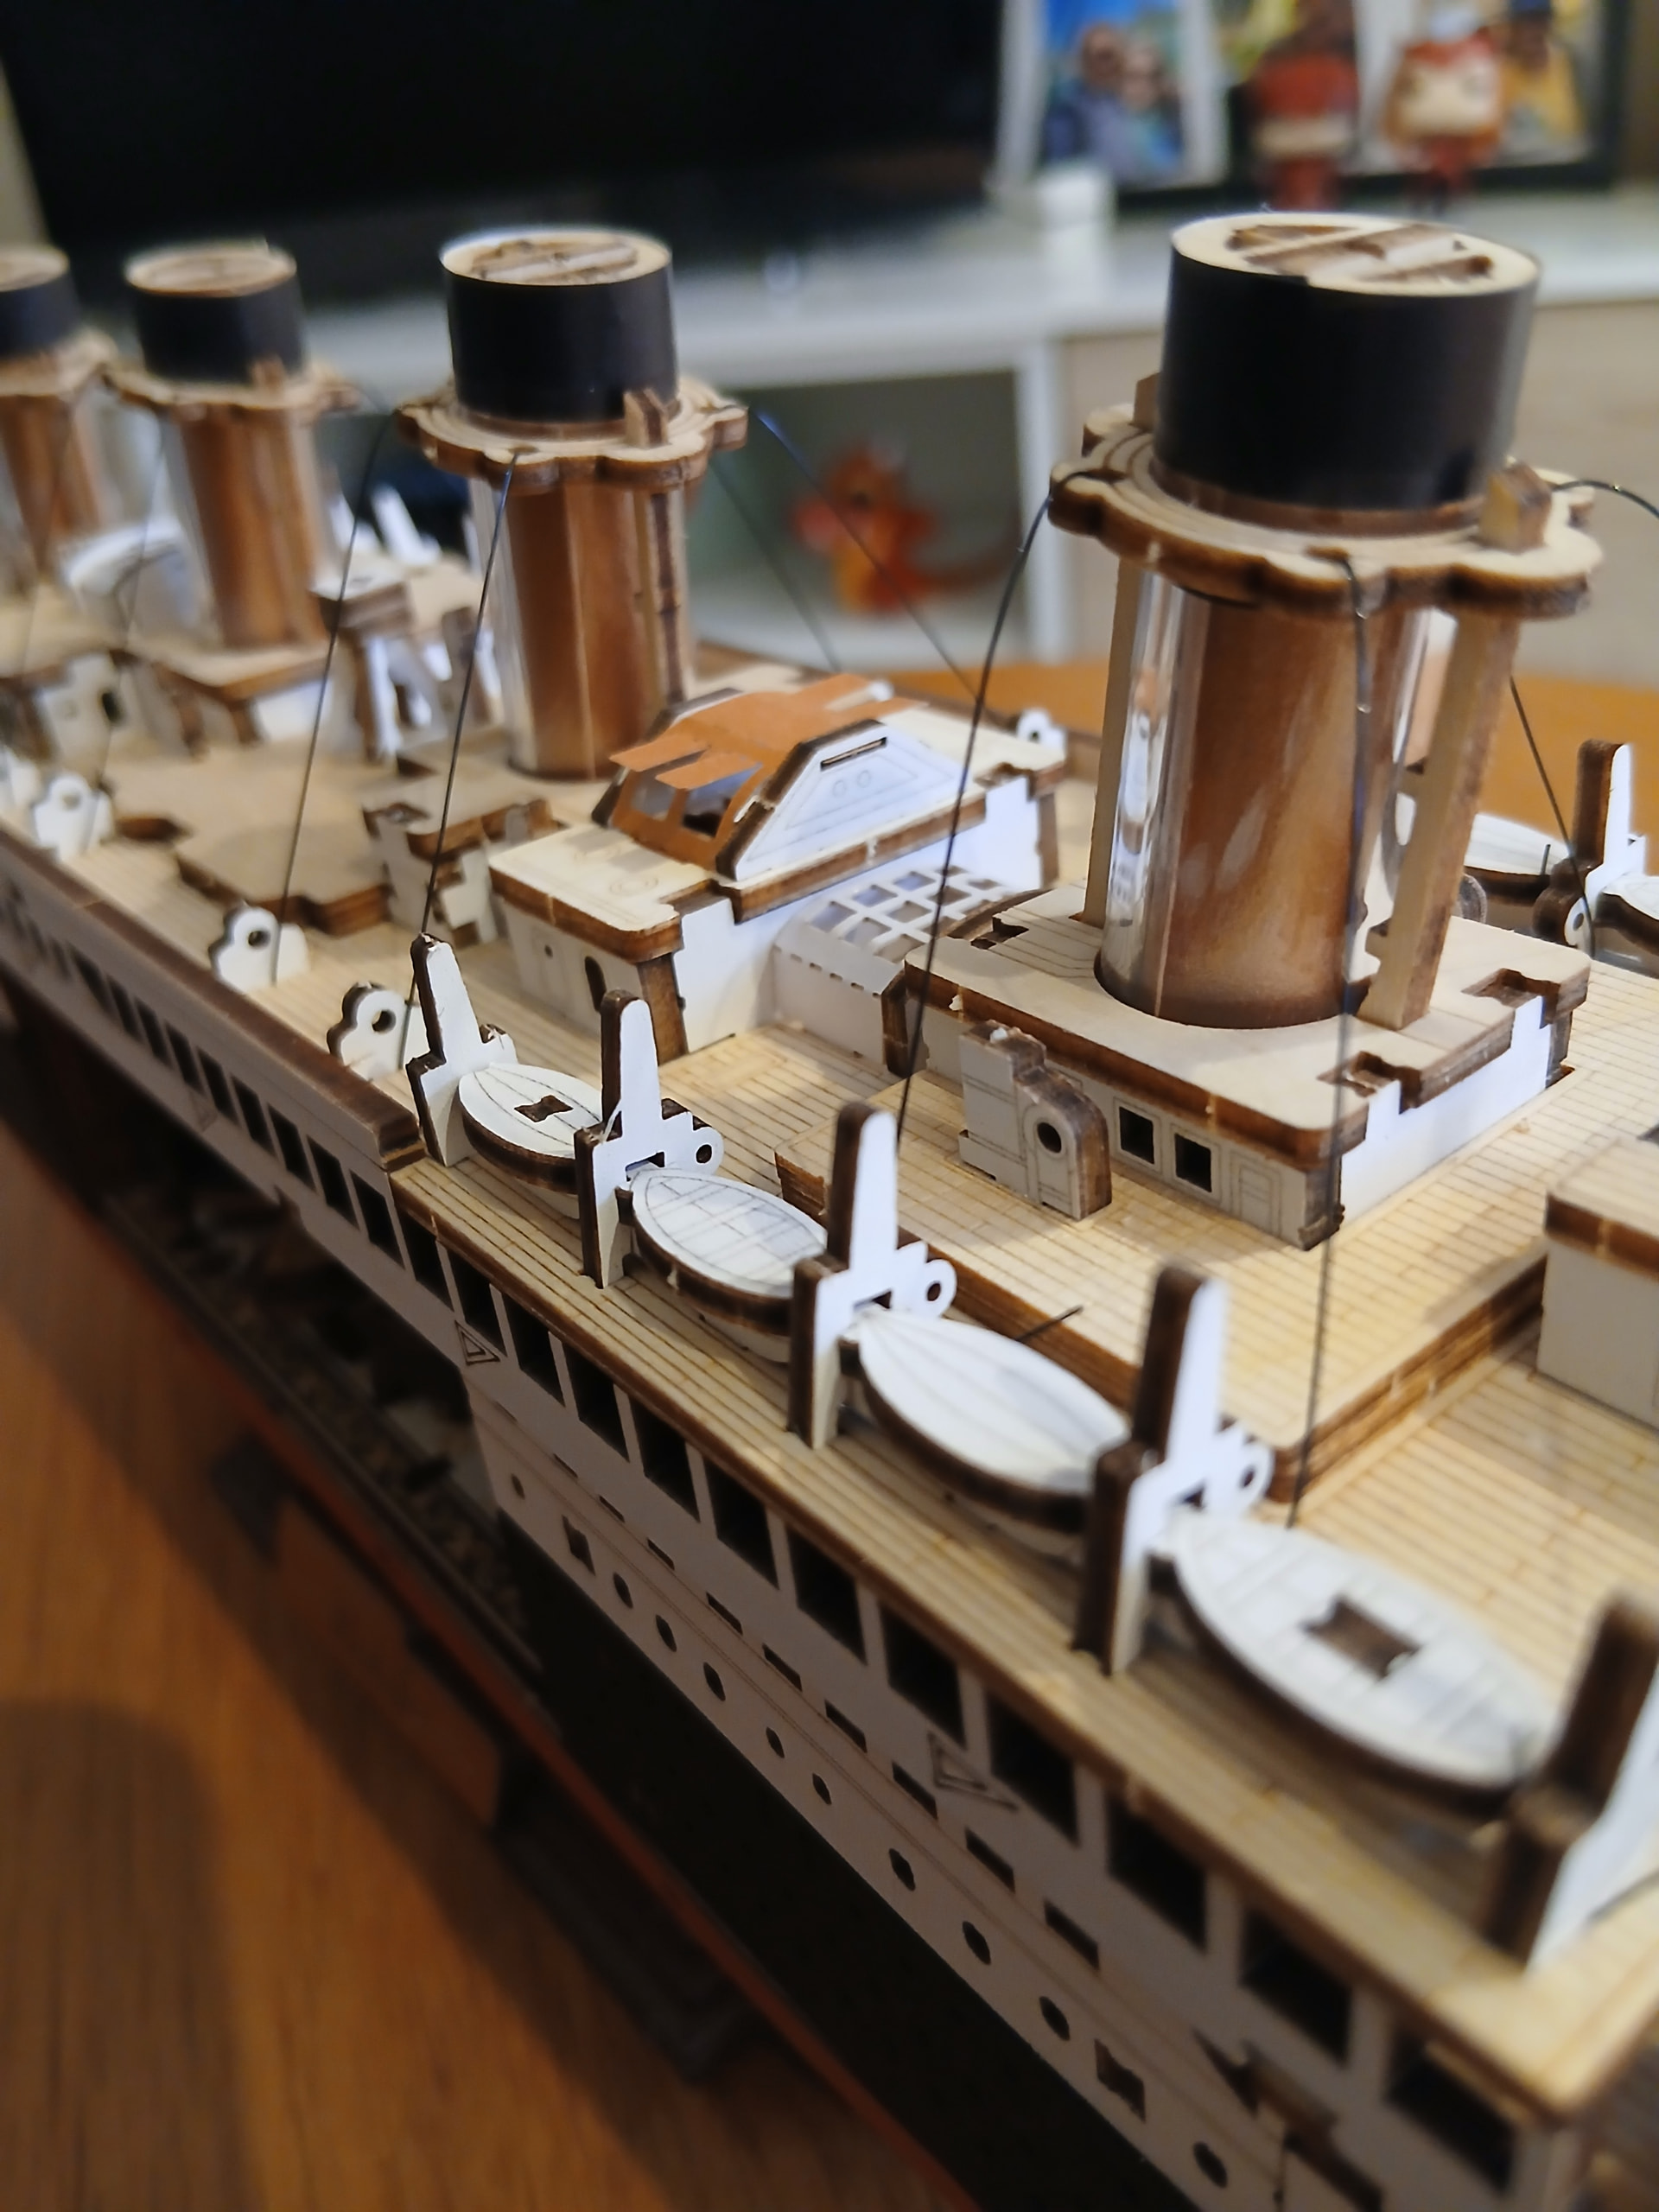
But hey, we’re not done yet, what am I saying. After the black ropes, it was time to build and fit the chimneys themselves! It was fun and… Weird? You get four glass transparent tubes and you have to roll and put in them some brown papers. They didn’t really roll… Properly, I think? But they do the job! And then with the black stickers and the last pieces on top, you do get your chimneys for the Titanic. Awesome!
It was a bit tricky to fit them through the structure prepared for them, so I decided to wax a bit. Nothing too complicated though! The only thing I couldn’t (or didn’t know how to) fix is that once I’ve properly fit the chimneys, maybe because of the effort and pressure put on that process, the black ropes that were holding the structure were a bit loose. But it didn’t really affect the final image in the end, so… Phew.
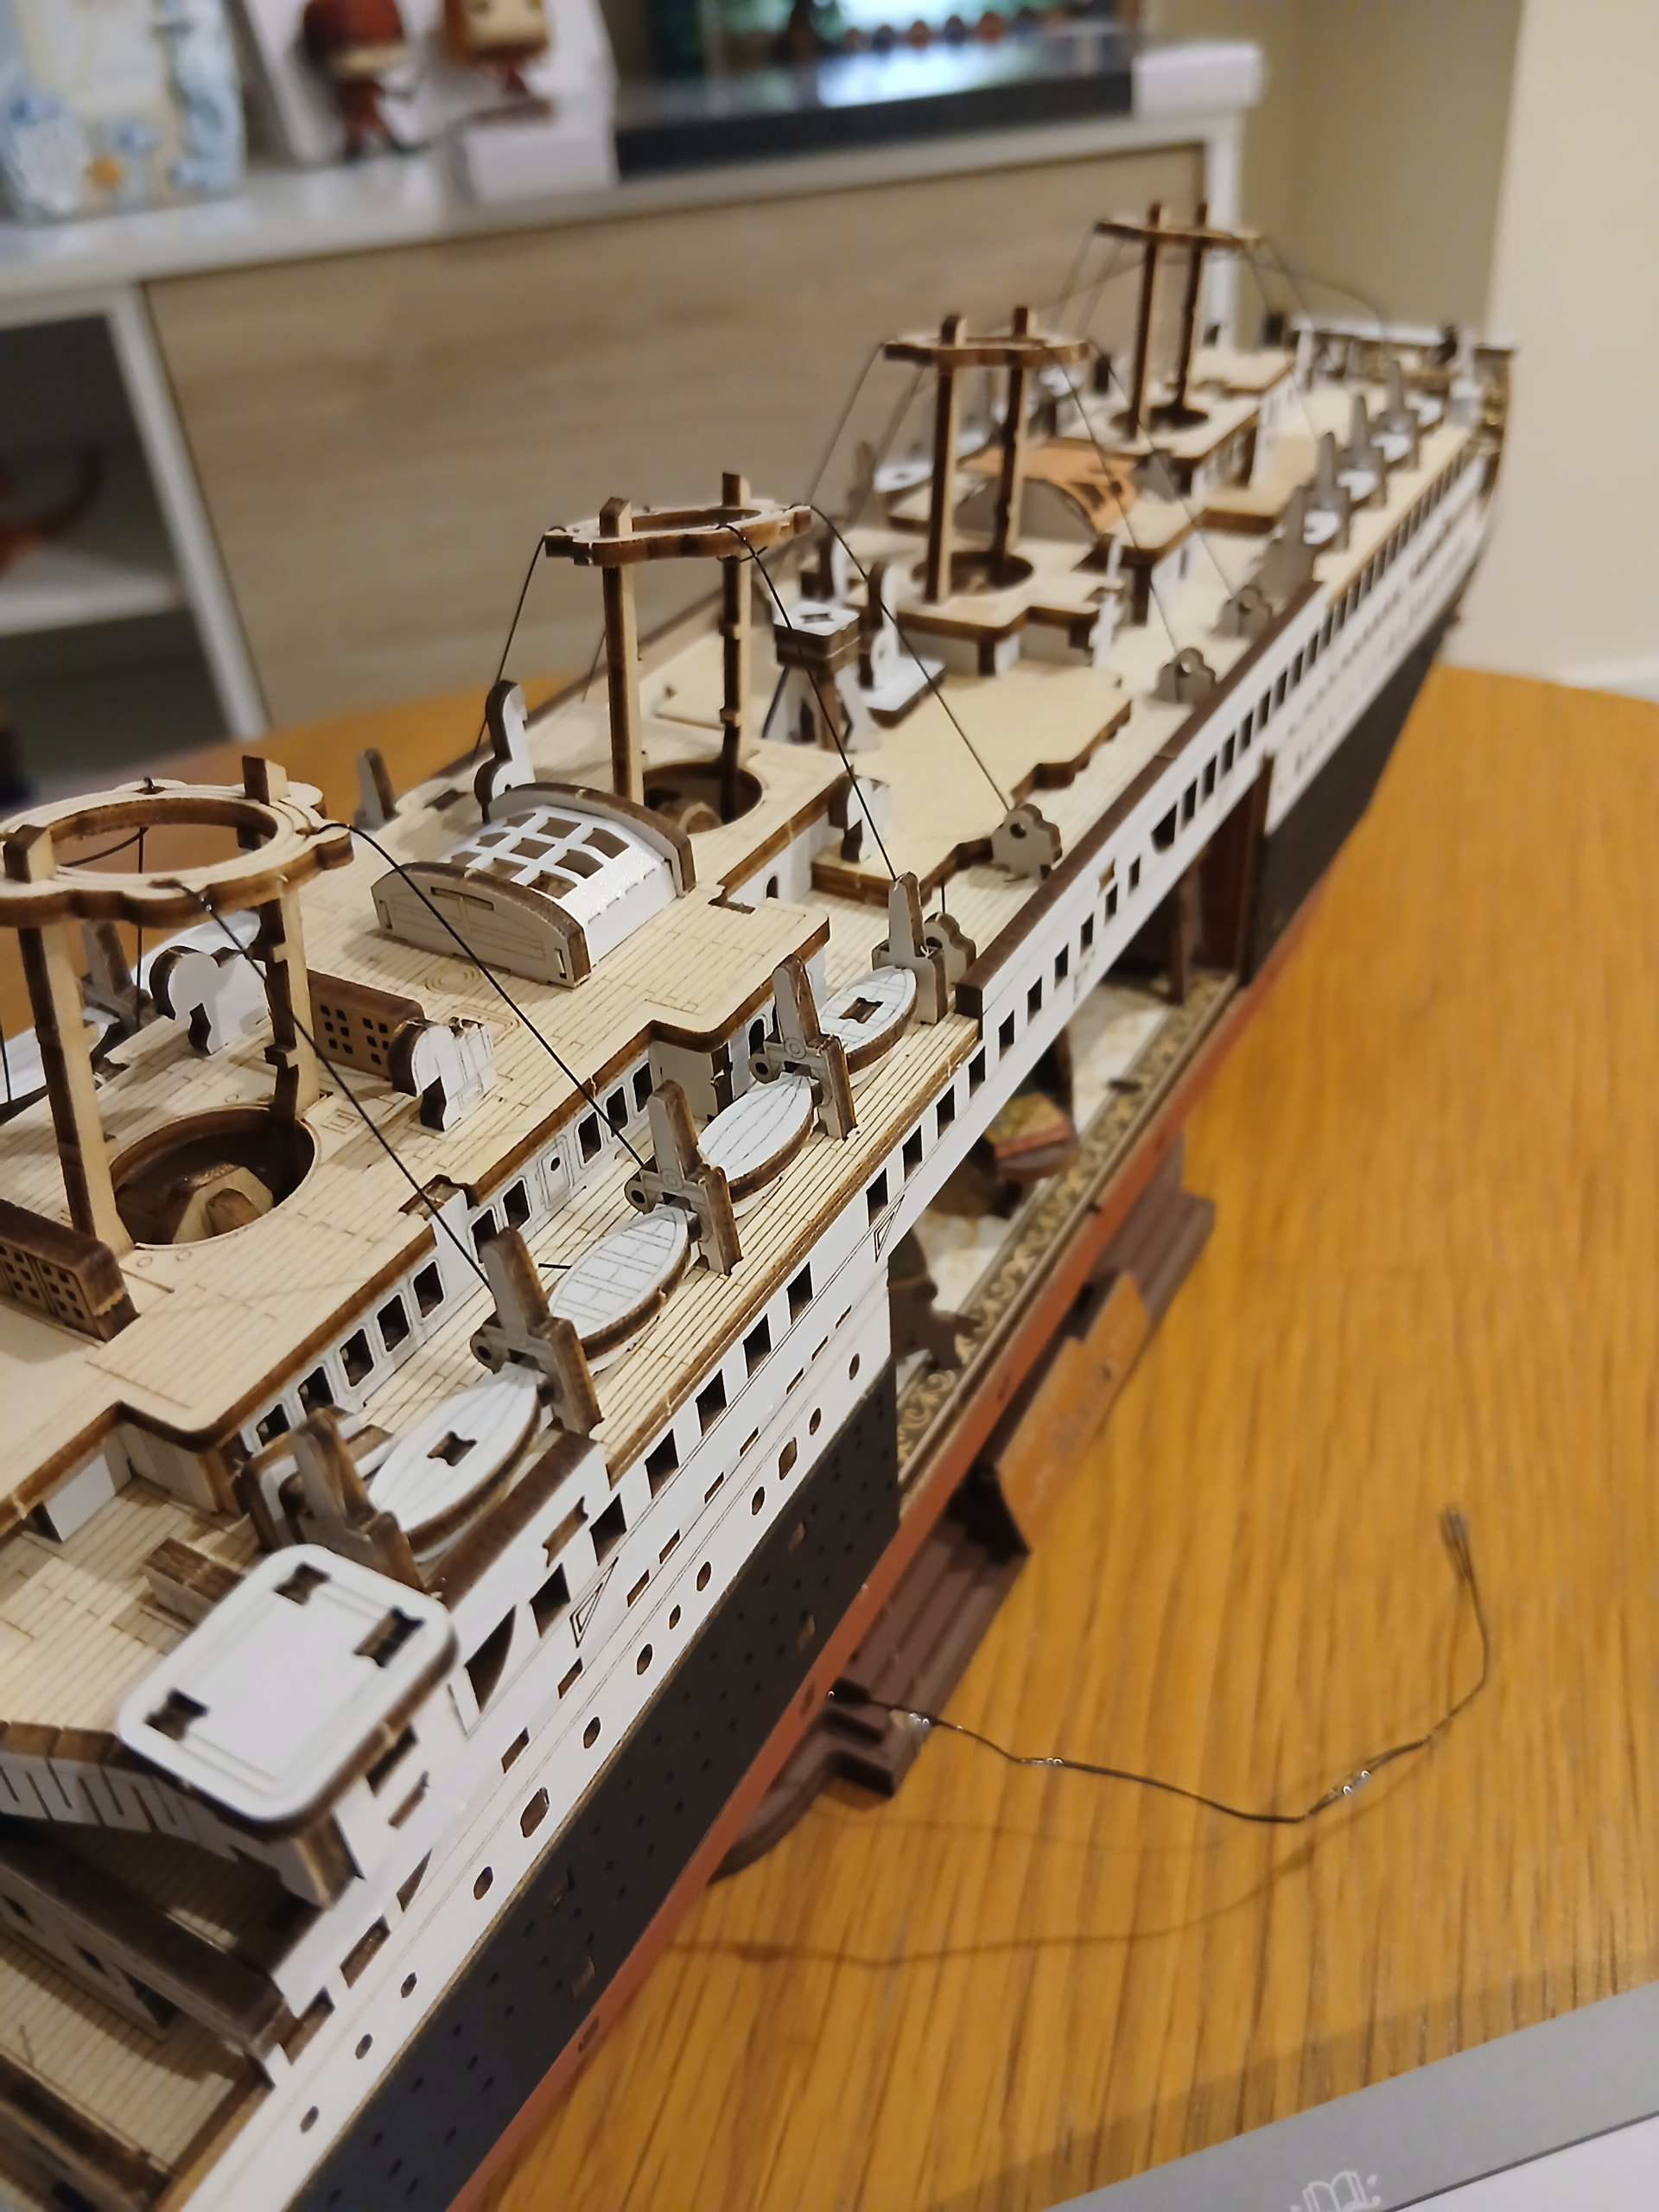
Then… Time for the last details! Meaning you’re adding the masts (and more black rope to hold them) and the ladders for them. Said ladders are made of some kind of paper, so be careful how you fold them!
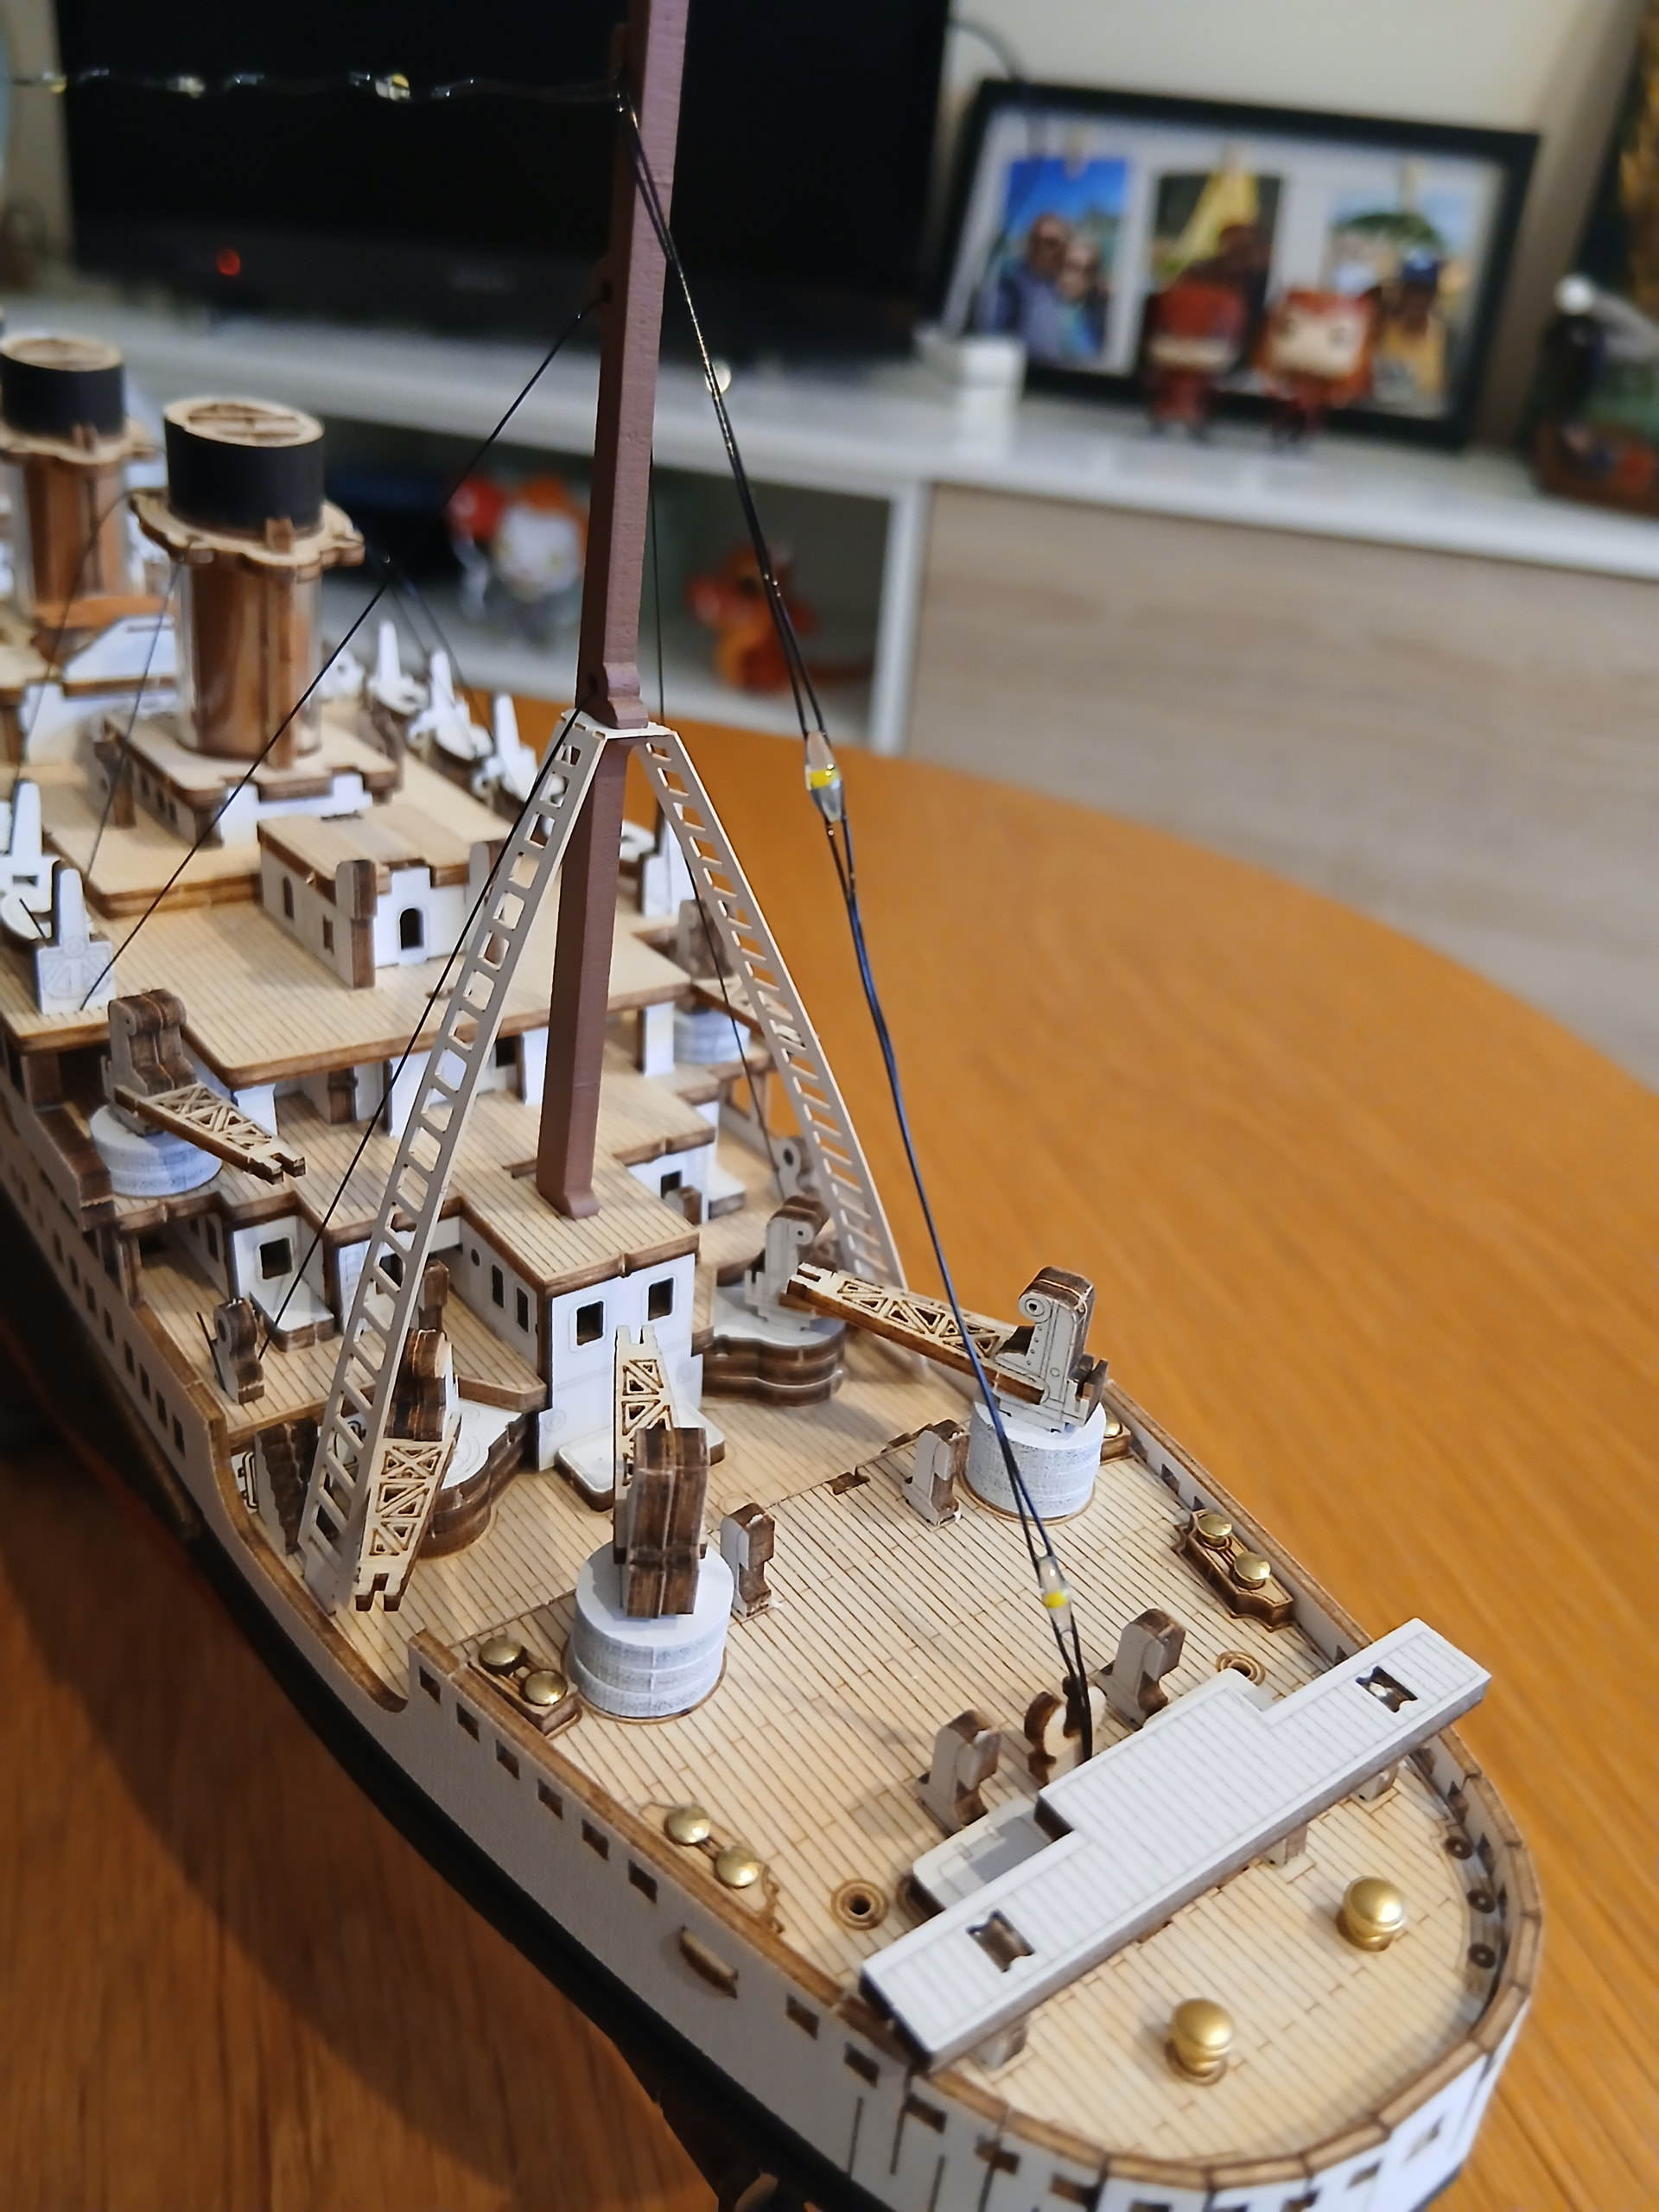
And, finally, you’re adjusting the string of lights. It comes all the way on top of the ship through the masts, and as @jeanneL has posted as well, it’s a bit tricky to fit the very end of it to hold into the pointy end of the bow base. But it’s not impossible!
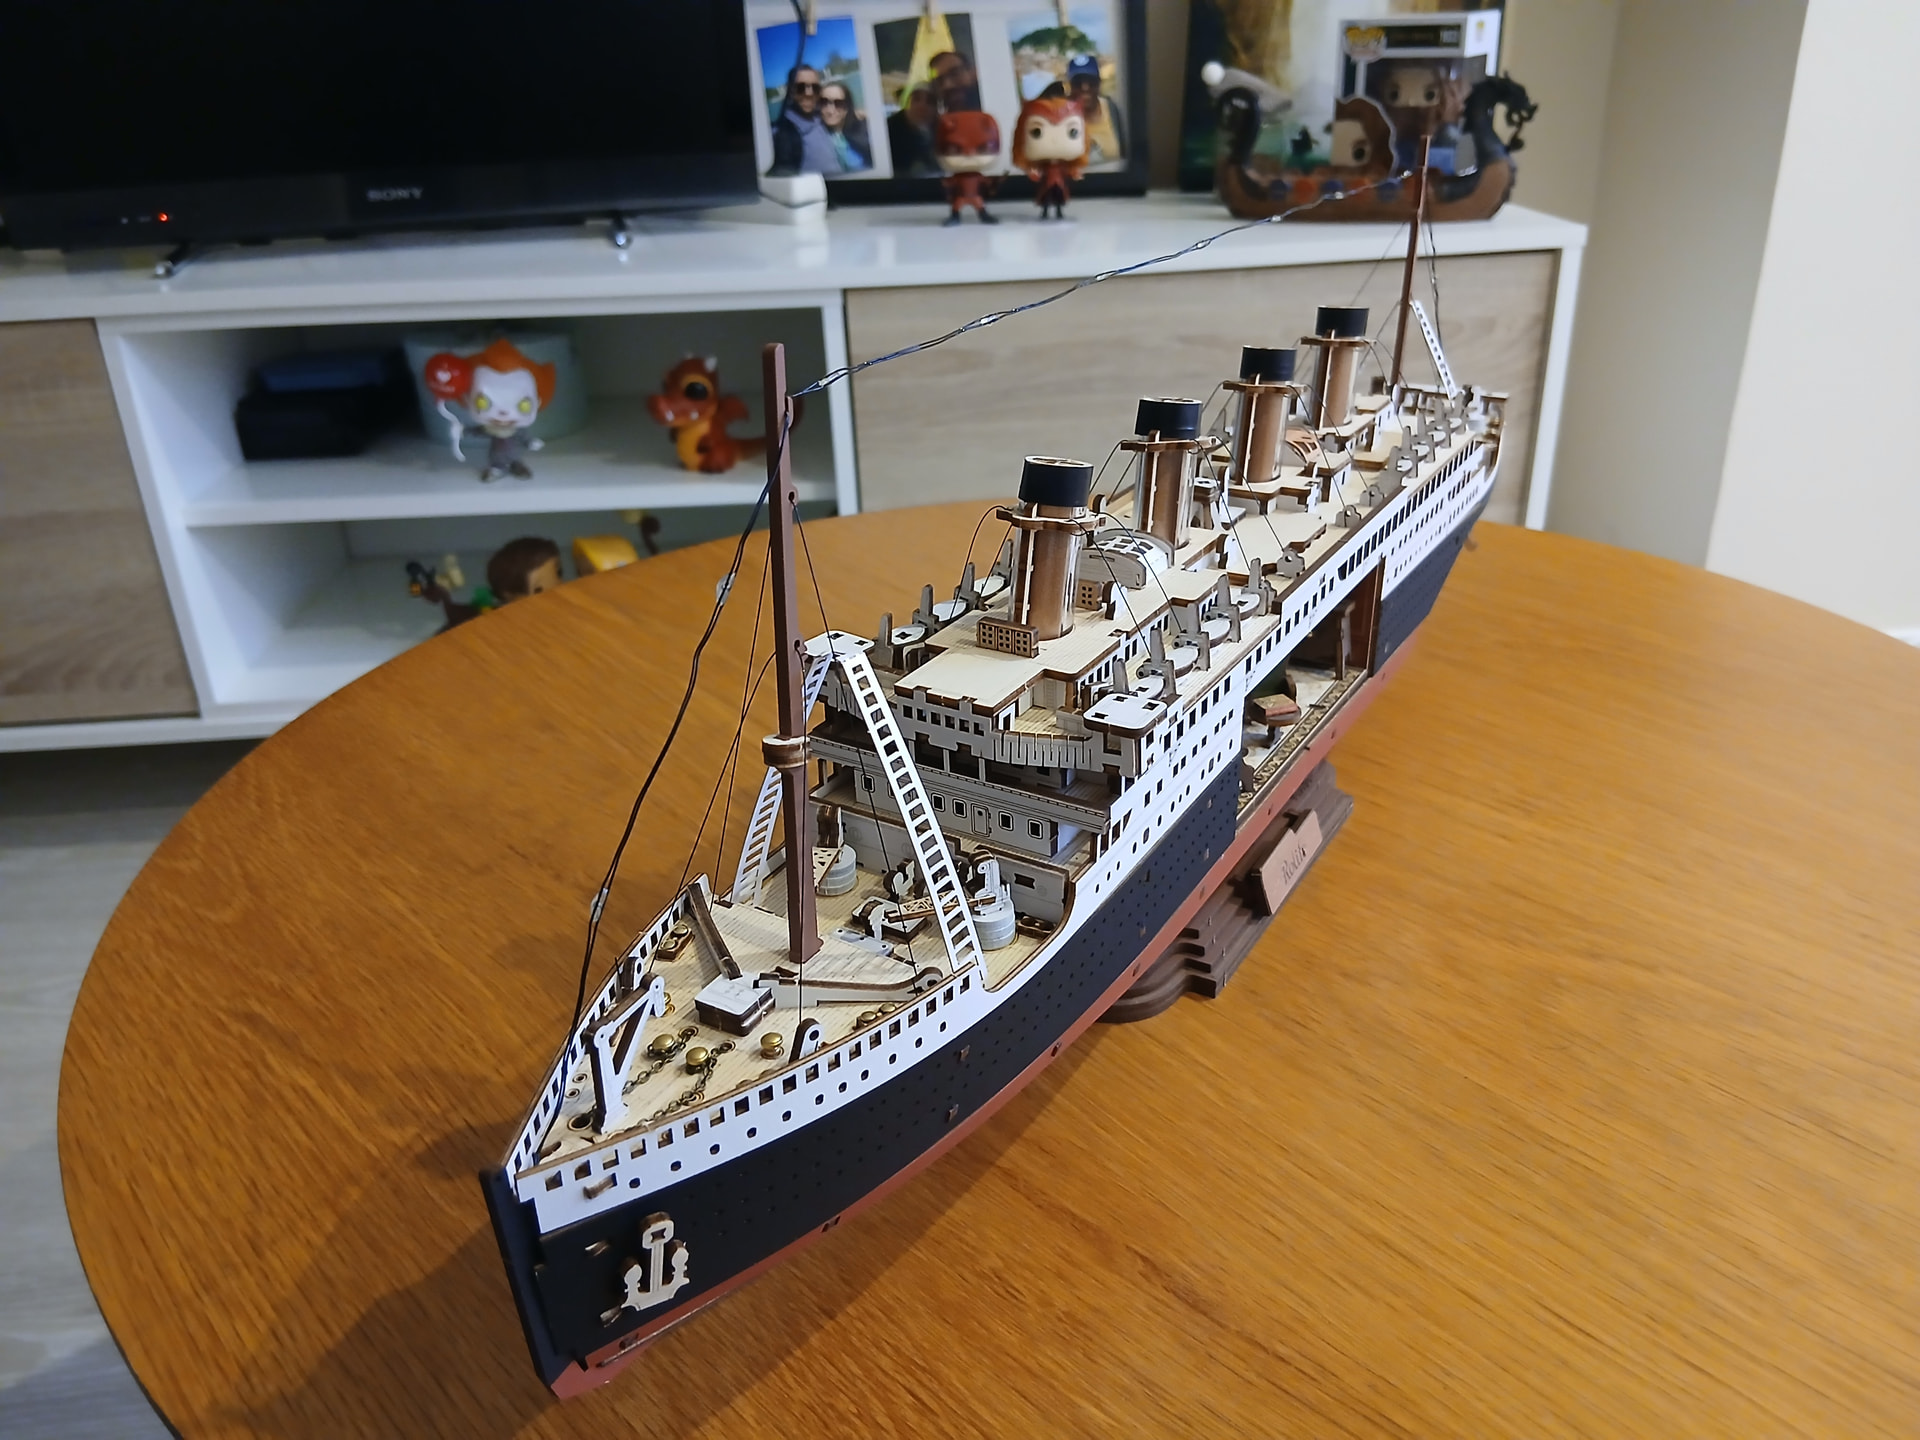
And, once you’ve done it… You’re done. You have your very own Titanic without and iceberg to make it break and fall into the abyss! Well, that’s everyone’s choice really, but you get my point.
Thank you for teading! It’s been hell of a journey, and sadly I had to take a break from here for a while due to my personal reasons. But I’m back for more. Next week you’ll hear from my Cuckoo Clock since it’s arriving today, fingers crossed!