
Previously…
Well hello there!
How was your weekend? I hope it was well! Here in the capital of Spain it was a nice warm welcoming-Easter weekend, so Saturday I took my car and went to the countryside! I’ve thought of taking a hike, but in the end I enjoyed a quieter and nicer path through some plainer fields and woods to reach a lovely lake.
A lot of people enjoy and love fishing. I’ve gotta say I find it somewhat… Boring? But I’m hooked to my latest bought Brandon Sanderson book, so I took my chances! And the reading part made it entertaining enough…

I didn’t catch a single fish though.

Afterwards I took the chance of visiting my brother. Maybe some of you remember last year I’ve built the Bookstore Book Nook and gave it to him as a Christmas gift? He really enjoyed it, and he turned it on for the visit ![]() It looks amazing between some of his books!
It looks amazing between some of his books!
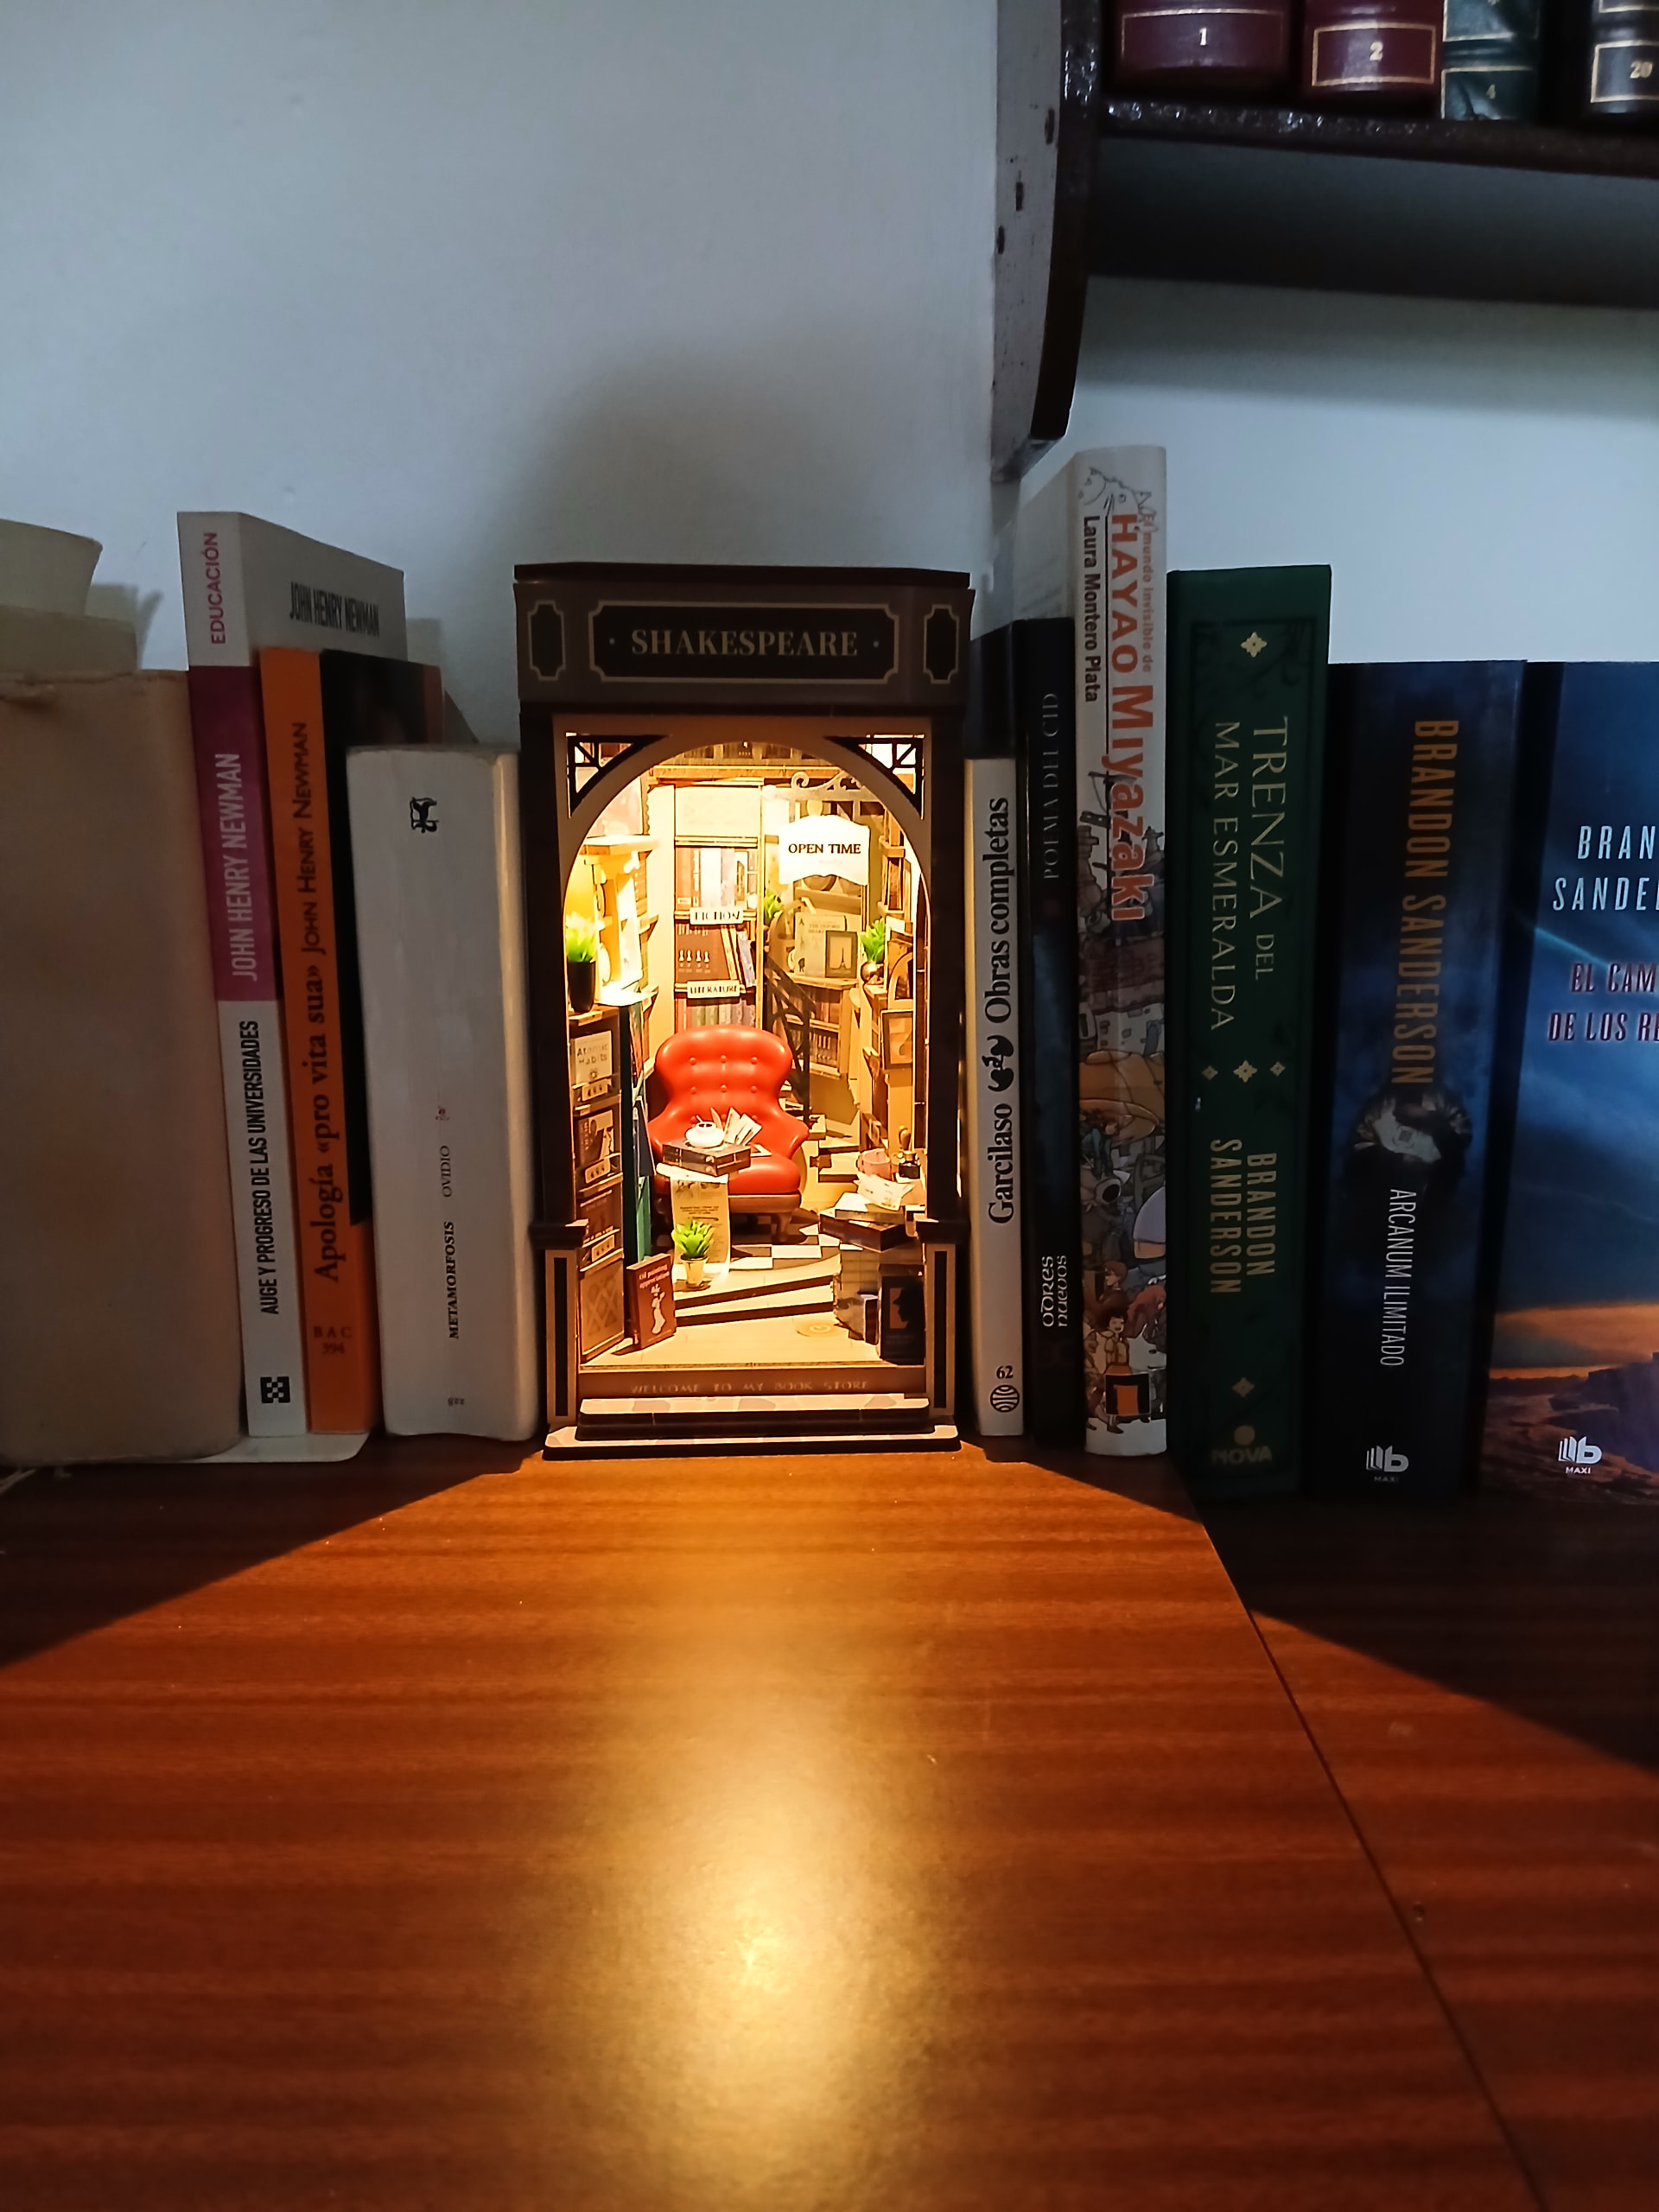
And yeah, he’s also a Brandon Sanderson fan, what can I say ![]() I’ve spread the word.
I’ve spread the word.
WELL THEN.
That’s it for the weekend recap. Now, for the main event…

Let’s move on to the build I’m currently working on, the Romantic Venice Book Nook.

Thank you, thank you, there was no need!
Okay then. This is how we left it last time, with the first wall almost finished:

It was only missing two plantpots! That was actually the last part of step 3, but after dealing with my almost-broken theatre sign, I dropped it last time lol. Sorry not sorry.

Those plant pots were easy though! You just need the already classic plastic plants, the pots and a couple of scissors. They look nice at the sides of both doors!
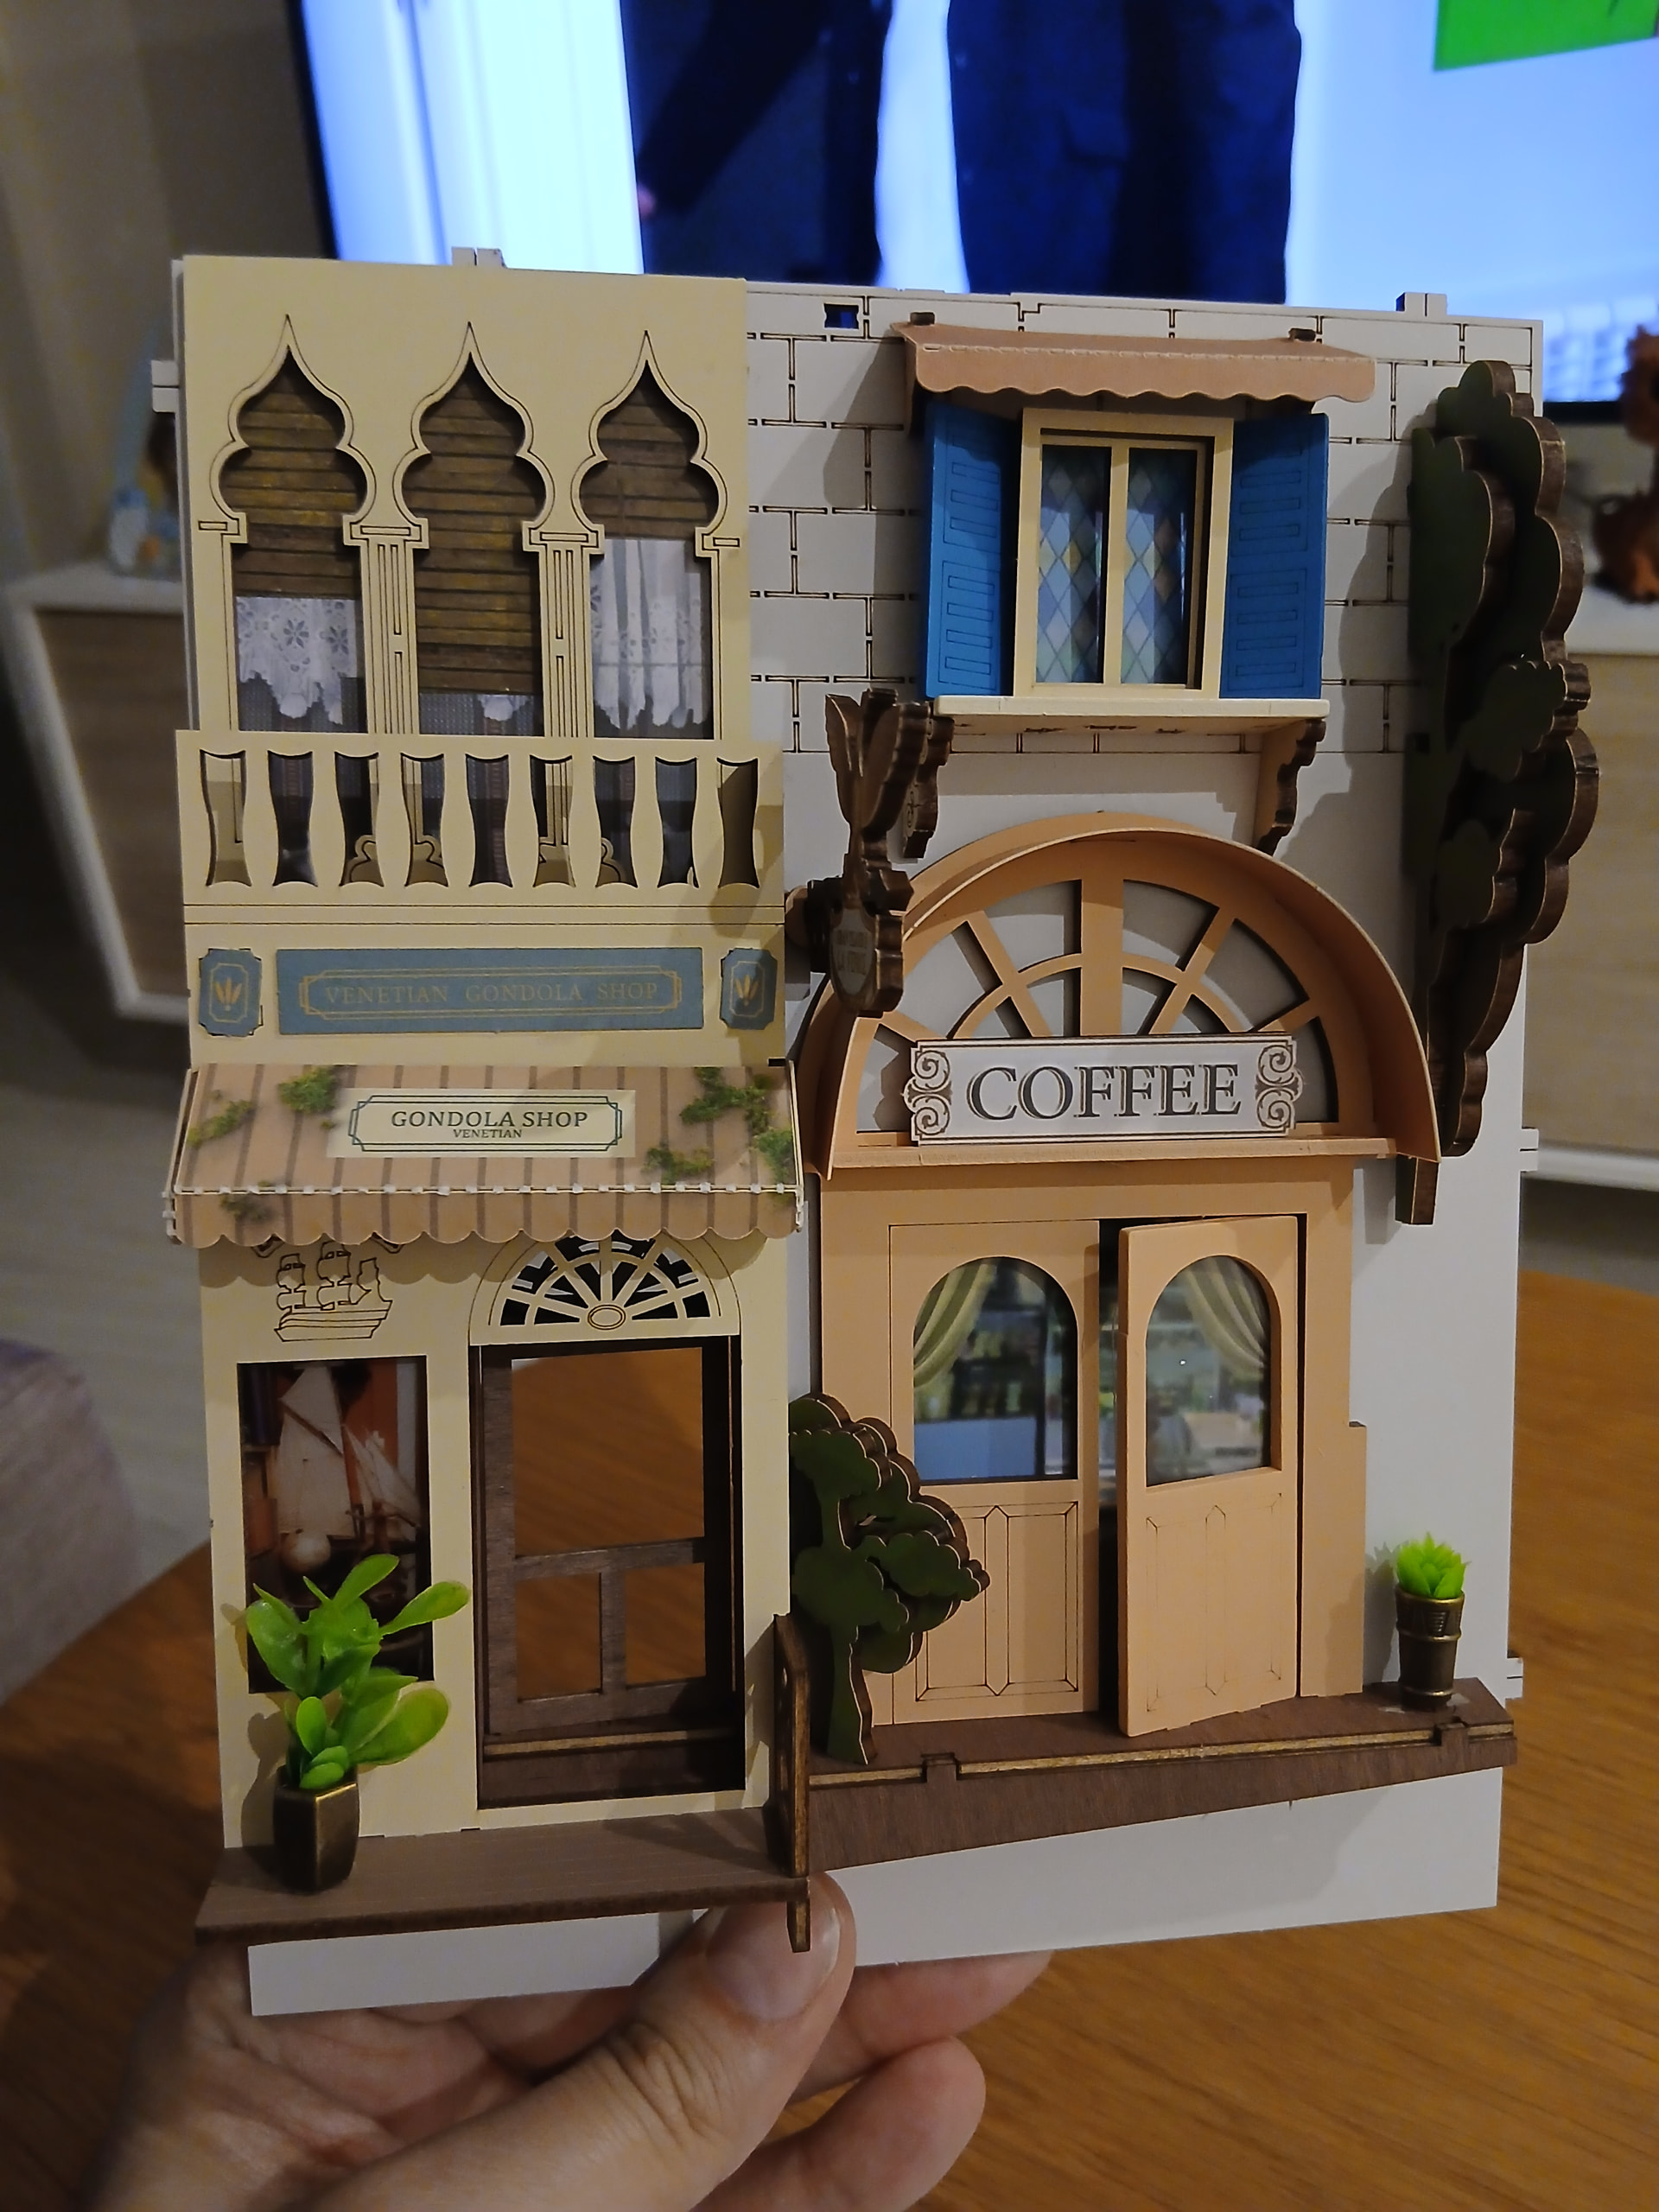
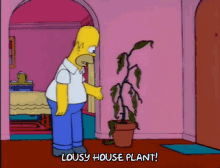
The bigger pot on the left side kept falling when I knocked the wall down on the table though, maybe those double-sided tape stickers are not strong after all. Nothing that a drop of glue can’t fix! Now that pot is not going anywhere. Bad plant.
But well, the good news are that the plant pots are placed, so we can move on to the actual Step 4 out of 9 in the manual! Our first wall can rest now since it seems like this time we’ll be working with the ground level. Or, well… The water level. The Venice canals are coming, folks! C’mon, join me in this and let’s all become Italian people.

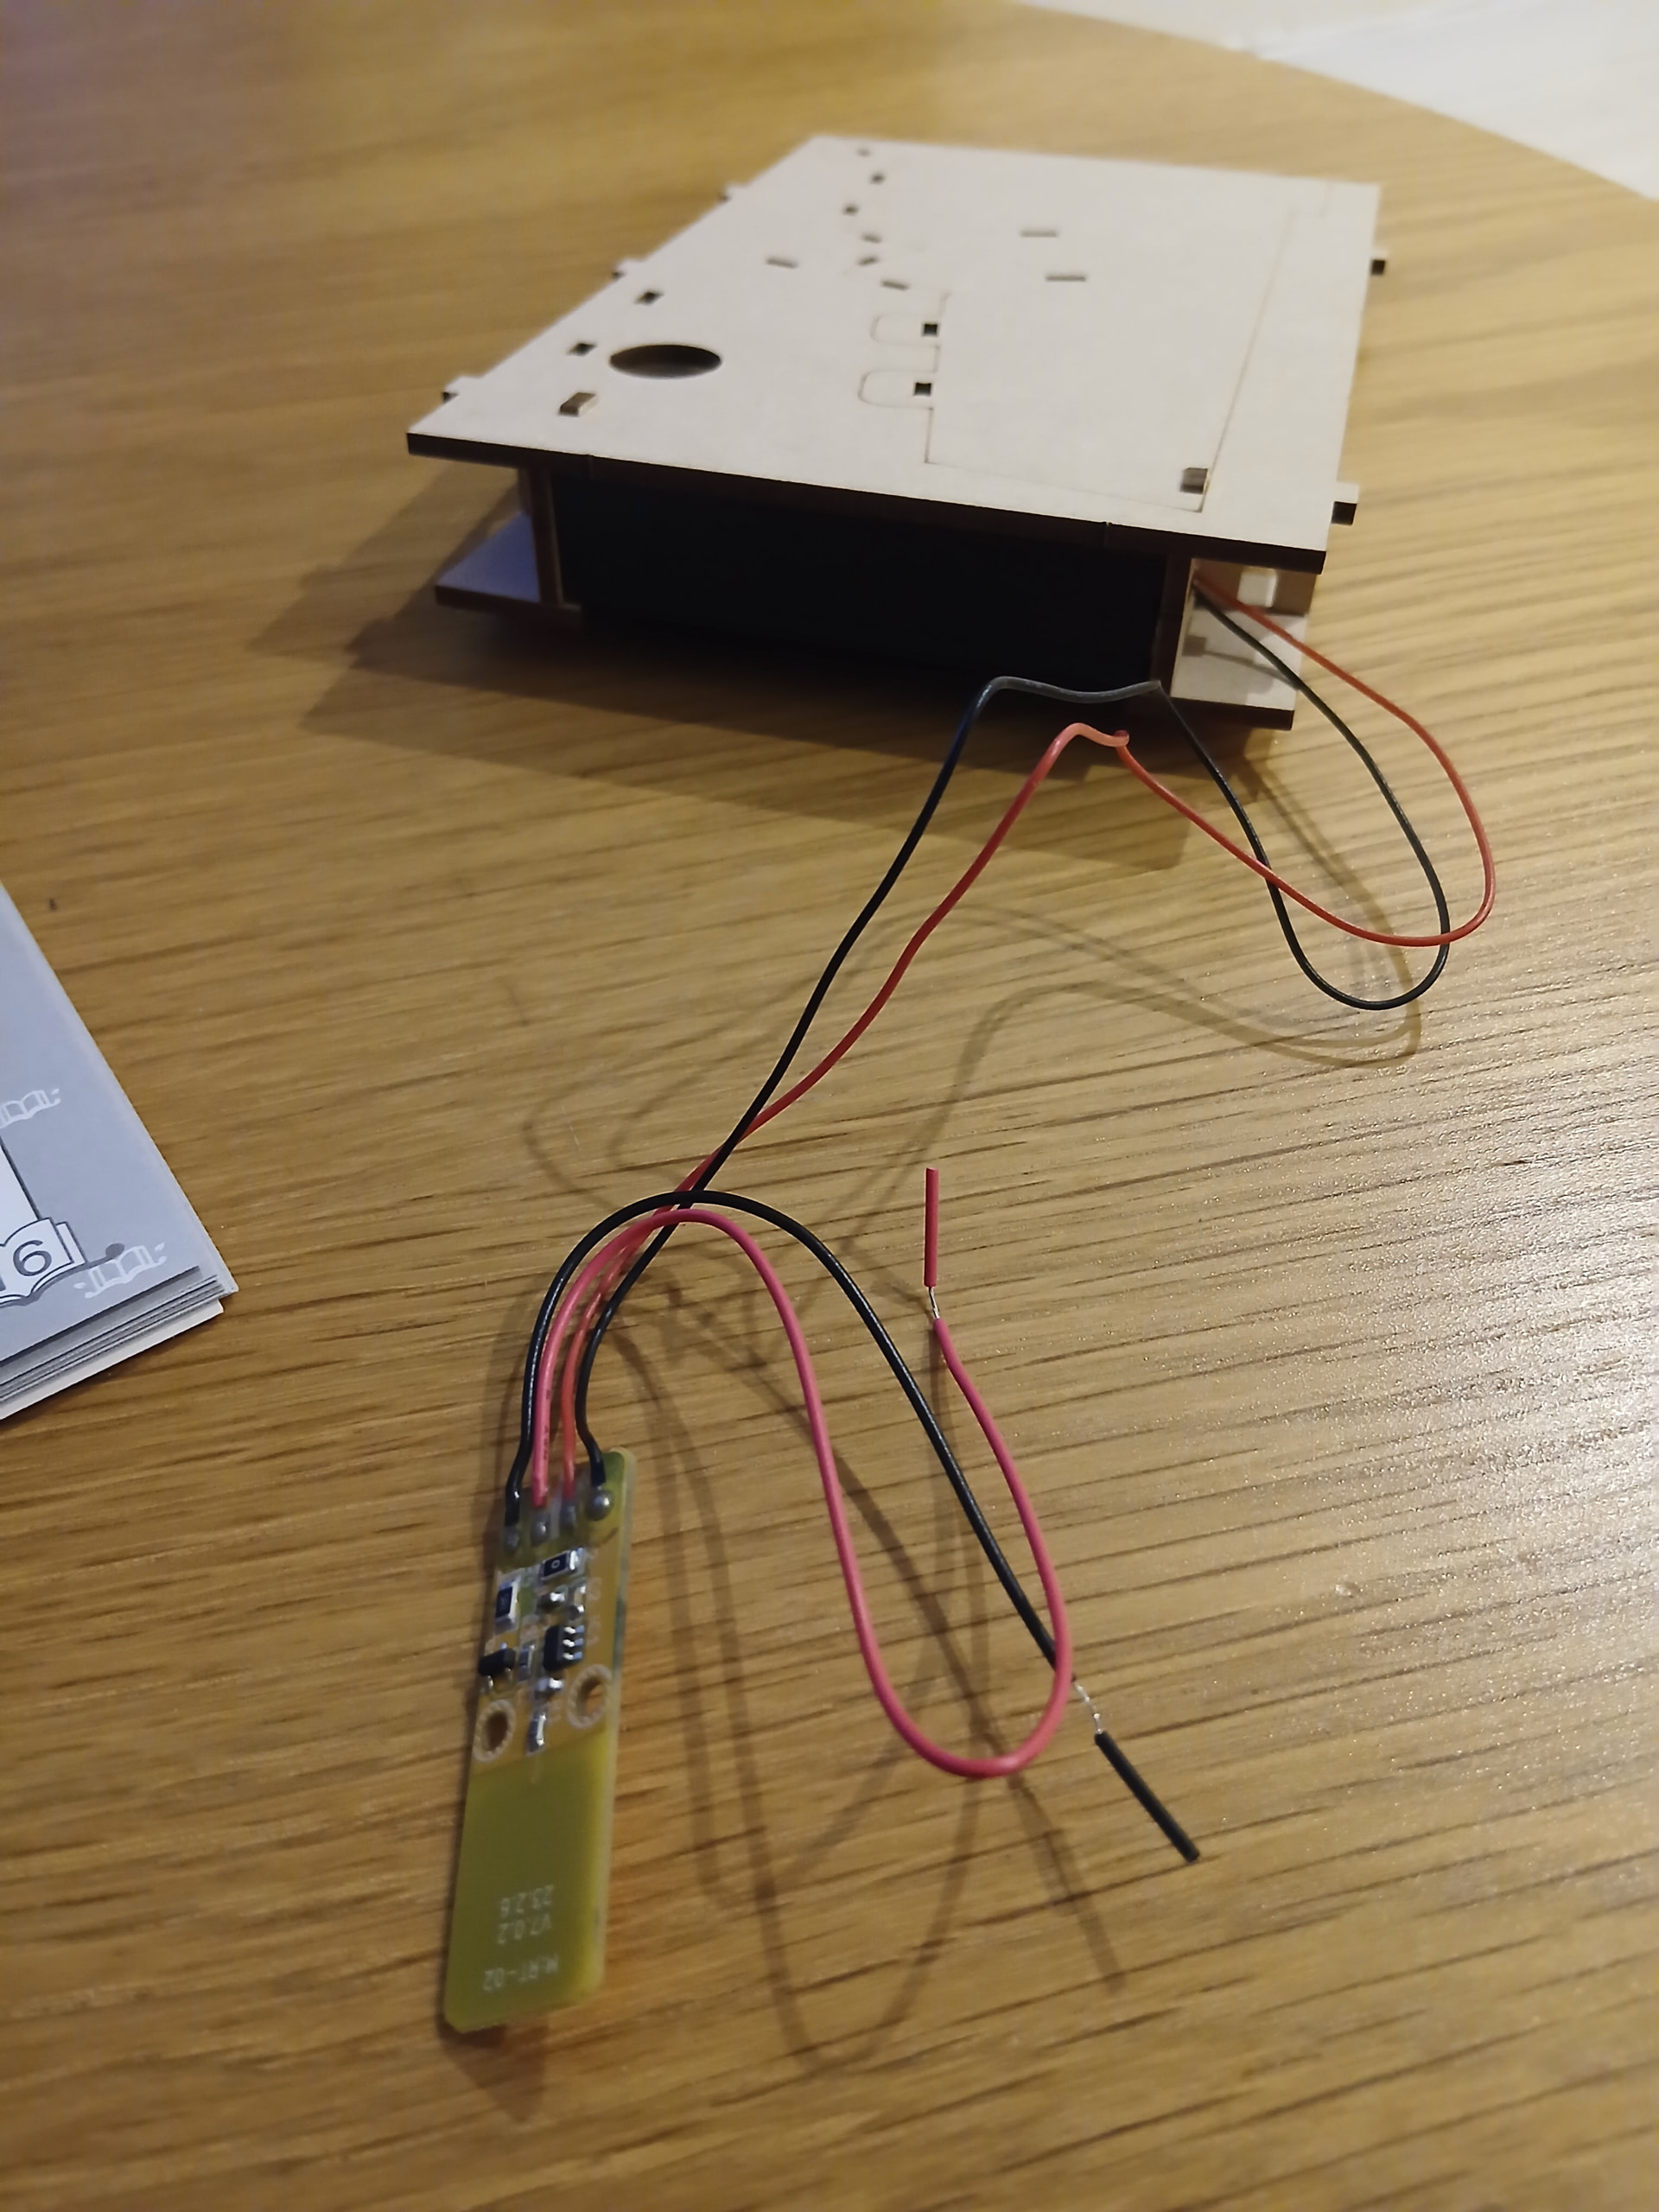
We’re not only working with the floor/water level but we’re also setting the battery box:

So all those parts coming together will look like this:
I’m not sure yet wether there’ll be something else raising the base of the Nook from the other side or if the final build will be looking this tilted though. We’ll see!

For now we’re adding some steps to the ecuation, so it seems like the water will be right there.

Are those steps meant for us to be able to jump on our gondola without getting wet feet? It seems so!

So yeah, after those steps, it’s time to add the water layers and the sidewalk! This is getting smoother and looking like something, folks. That’s always exciting!

Now, focus on the floor in this last image. You see that space with some lines around it and the number of the wooden part in the middle? Remember how I was recently talking about the tricky “stick your stickers precisely where they’re supposed to without an inch of deviation”? Well, that issue strikes again here ![]() and this time you really need to be precise.
and this time you really need to be precise.

This particular sticker comes with a couple of holes and you also can’t cover the wooden holes that are right next to it. I was trembling a bit! But hey, I was completely unexpectedly able to do it perfectly at the first try! I still can’t believe my luck!

I mean, honestly, look at this. You REALLY need to do it with 100% focus on the holes around it and in it ![]()

And what’s that rug for? That’s the Mask Shop! Who doesn’t like those Mask dancing events we all see in movies and series of those times?

Not that kind of mask or dance lol. But you get the point.
Now we’re adding two of the walls for the shop! Those we particularly tricky to fit on the ground part though. It took some heavy waxing and I also had to slightly force the wall parts to make them trough. Tough! But not impossible.

But I think the water is missing something important, doesn’t it? What do you think?

Oh, you’re absolutely right! The Gondola! Let’s fix that, shall we?

It looks stunning there. I’m loving it already! So for the last detail of the day we’ll be adding the third (and front) wall of the Mask Shop. Which may sound a bit odd when there are still walls and roof missing there, but hey, I’m not the architect!

So we’re done with Step 4, folks! This is how it looks and everything we’ve been able to put together so far:

Lovely, isn’t it? That wall won’t be in that side though, but the left one, right in front of the Mask Shop. We’ll get there eventually. Not today! Now it’s time to watch some Doctor Who. I’ve been recently hooked to it and I just can’t stop! I’m a bit sad though since I’m about to say goodbye to my most favourite Doctor so far.

Anyway! I hope you have the greatest of Mondays.
See you/read you around!