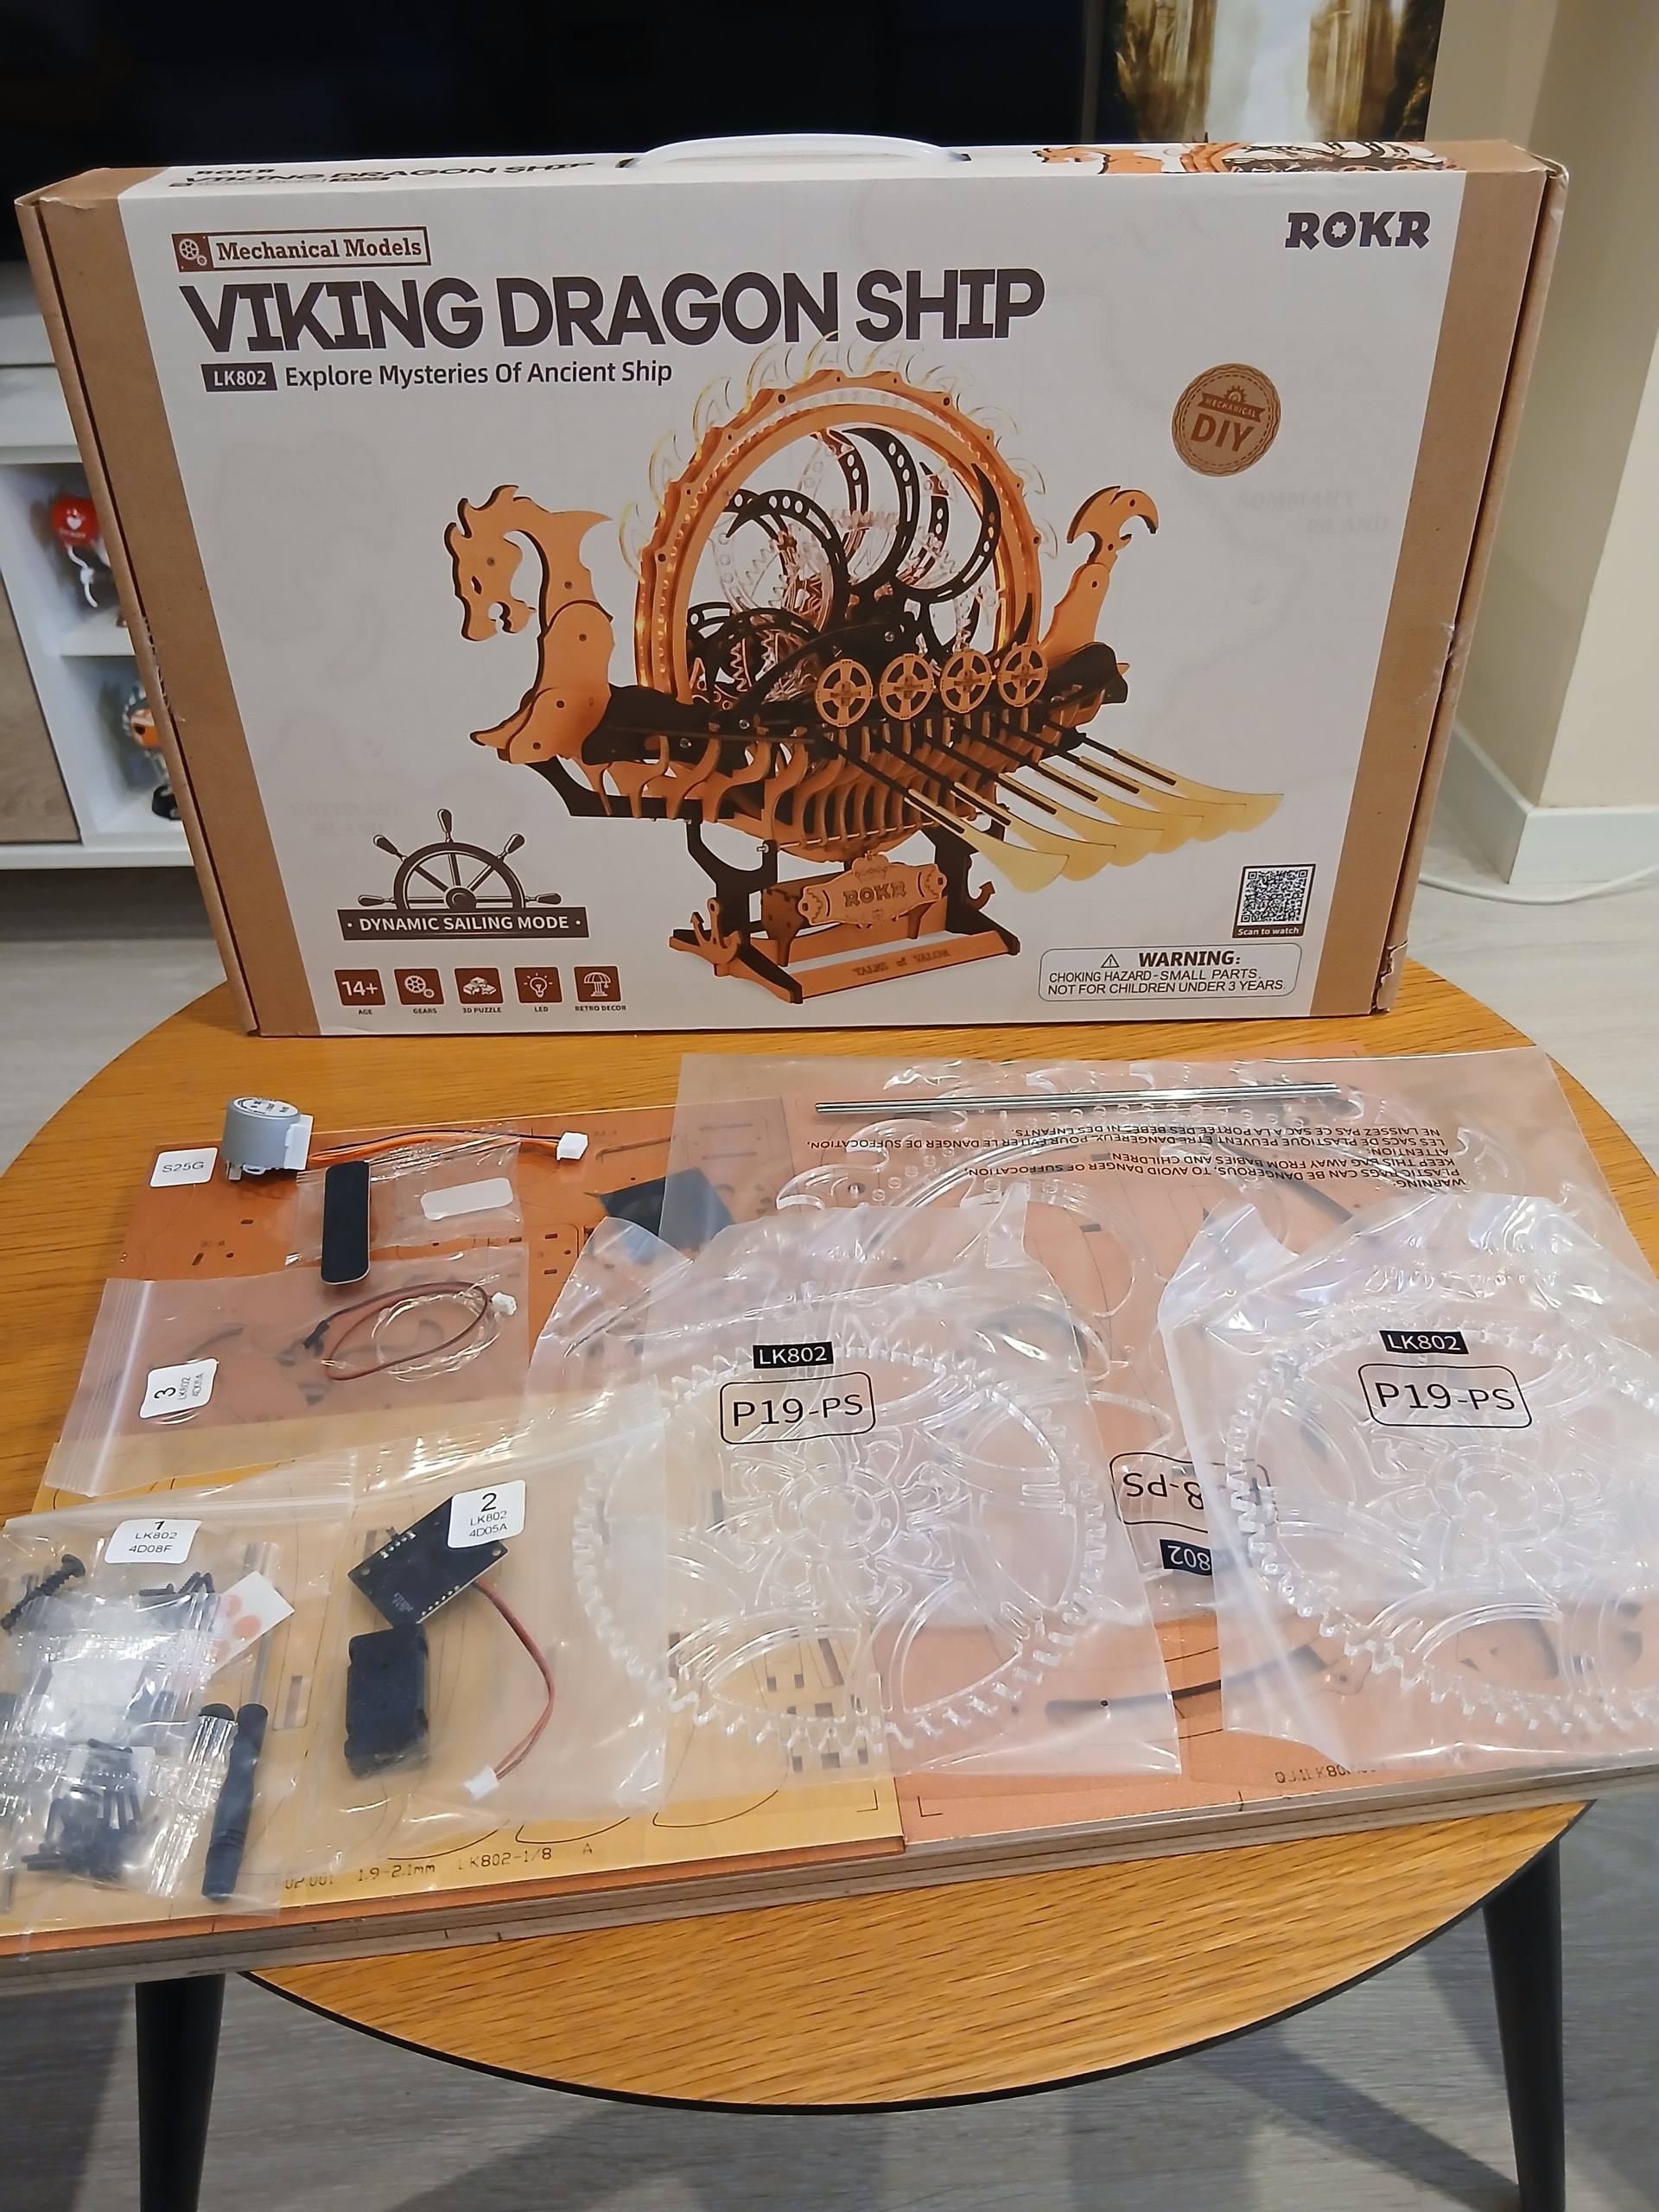
Well my dear ladies and gentlemen! Eloy The Ship-Obsessed was missing one important ship from Robotime. The one and only Viking Dragon Ship! So I just run and asked for it as my February Leaderboard Prize. I was so excited! Thanks again for this @Robotime.
I’m so sorry Cuckoo Clock, I know it’s about time I build you, but ships are ships. Just wait for a week or two, I’m not going anywhere!
It’s interesting how I haven’t seen a single post here about anybody building this beauty, really. But hey! It’s never too late. So let’s get into it! Since ROKR kits have the instruction manuals split into numbered sections that are longer and more “detached” from each other than the ones in the Rolife kits, I usually decide to do one numbered step every time I sit to work on it (unless one step is too short, or I have more time, or whatever). The Viking Dragon Ship manual comes with 7 numbered steps, so there we go! Let’s make Floki the Boat Builder proud.

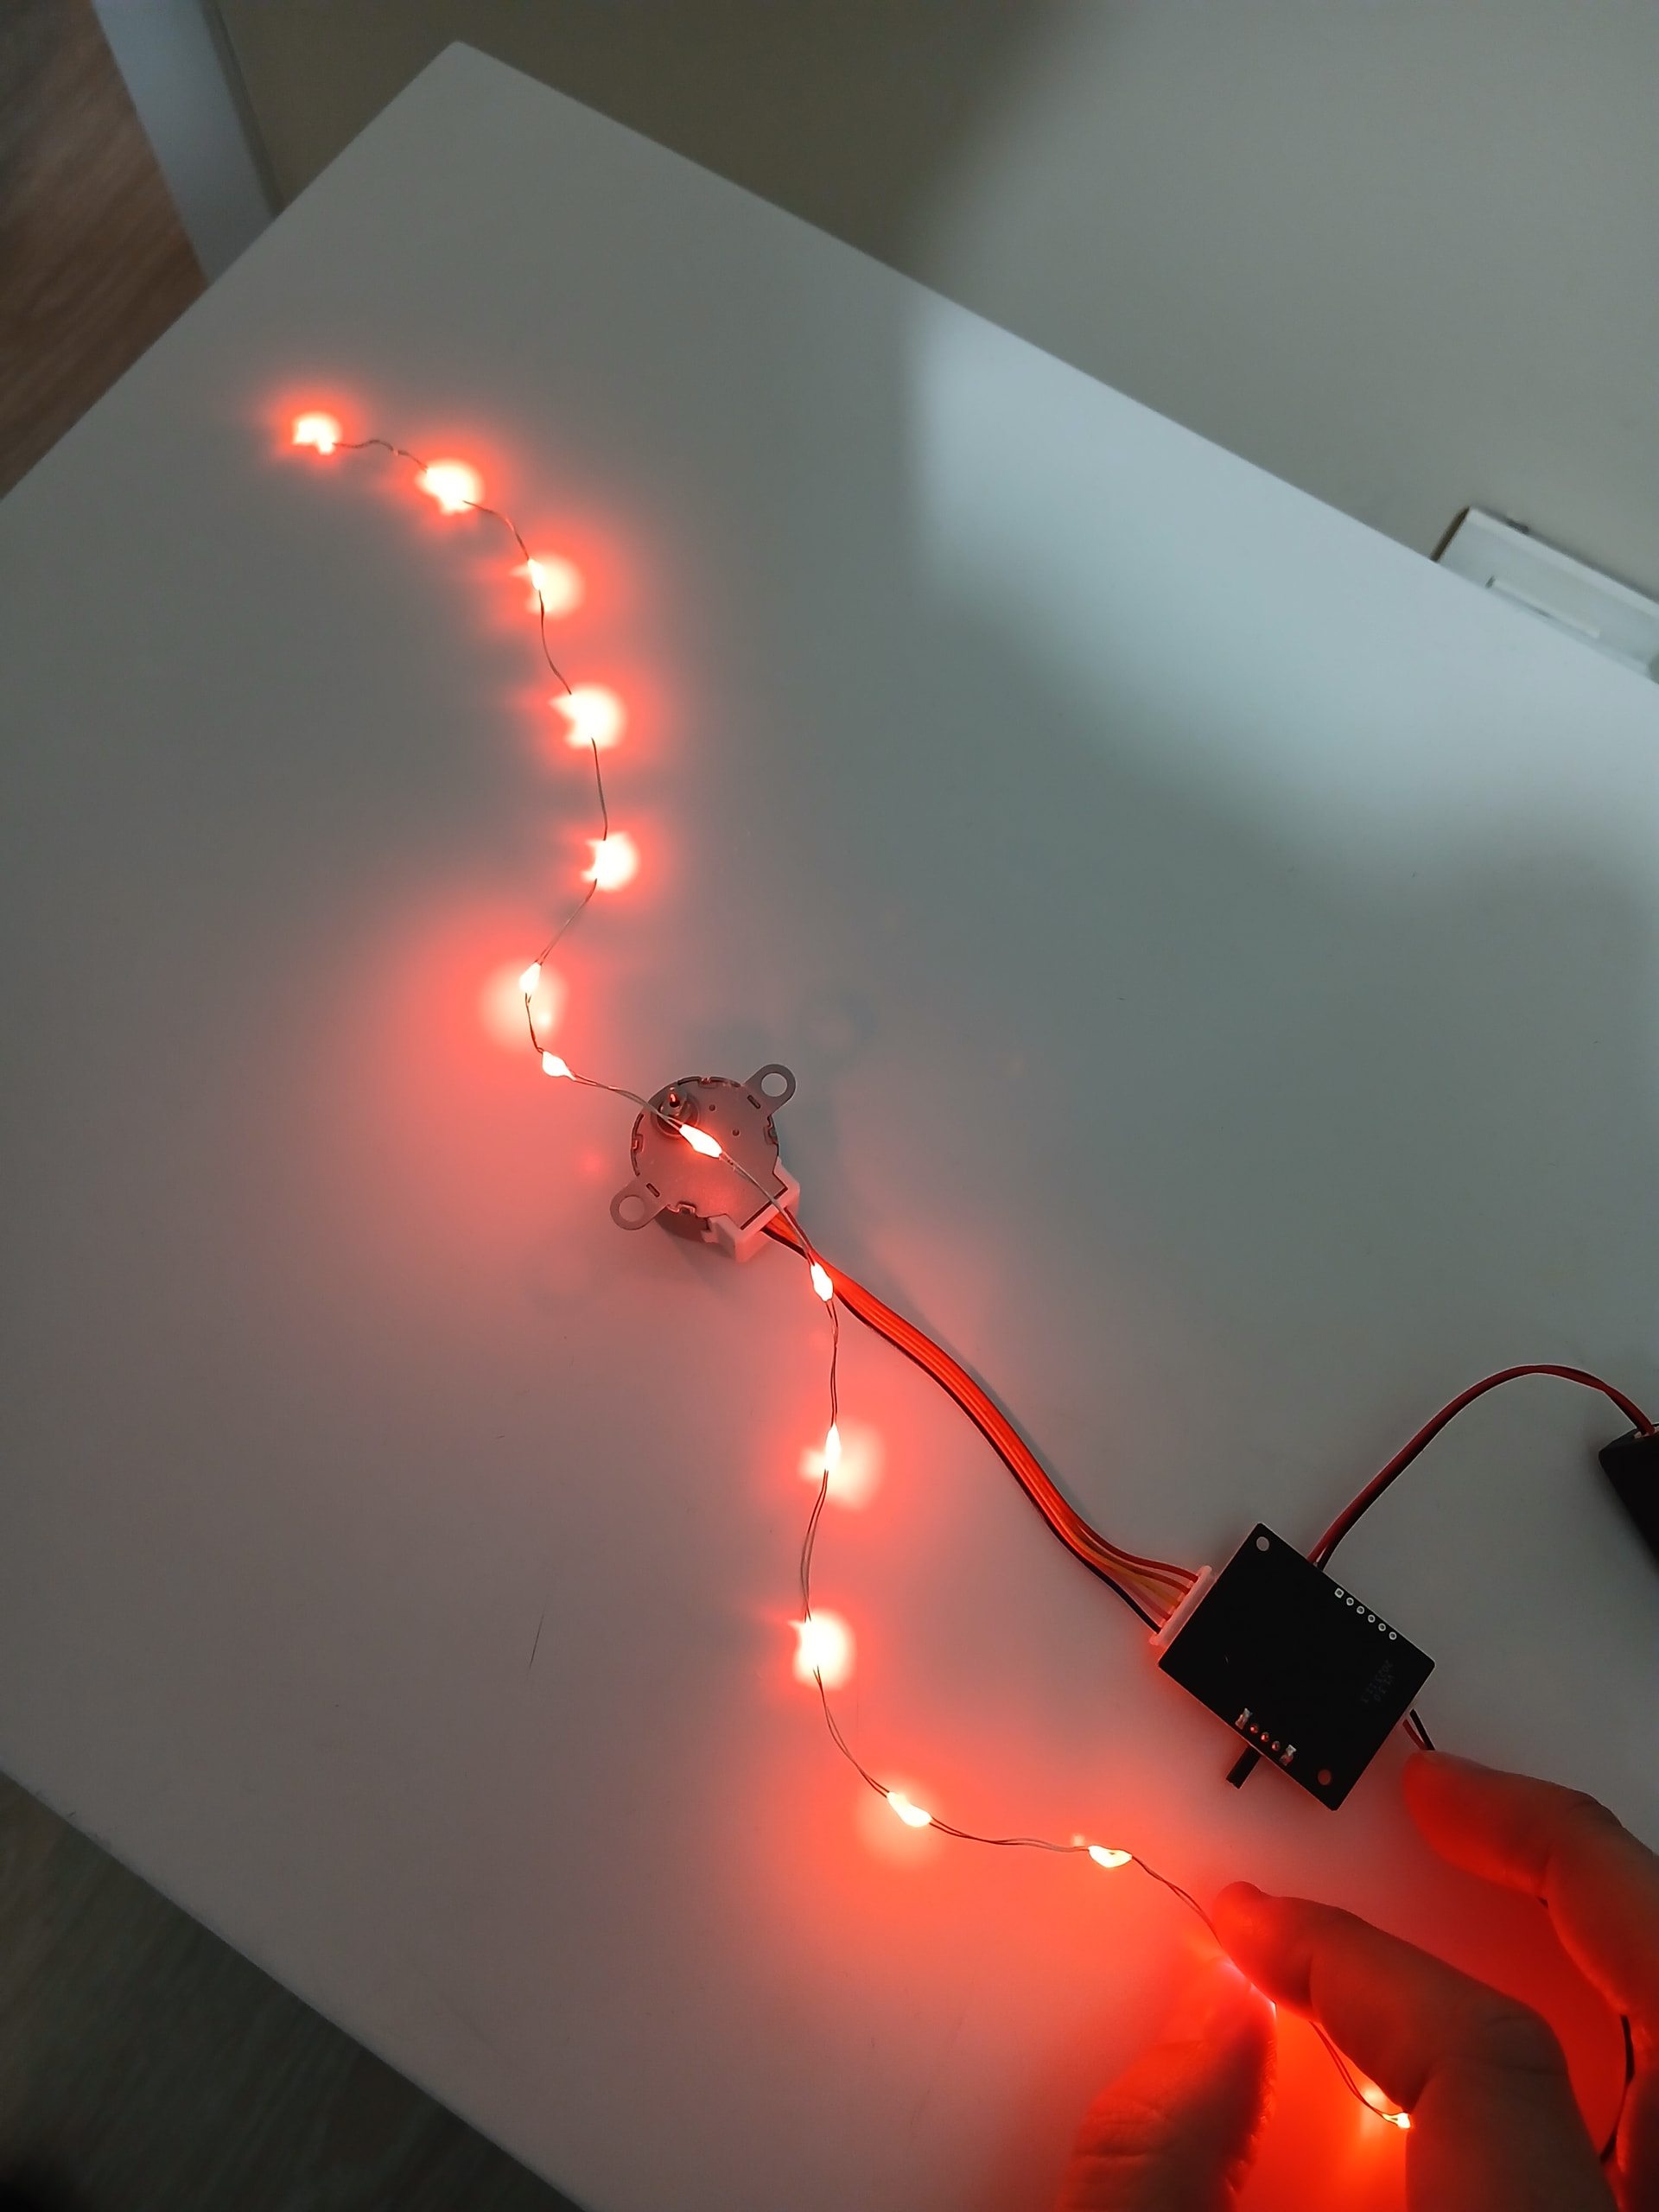
First things first. Before starting the proper building process you’re prompted to test the lights, and then craft a small and interesting tool.
Lights work properly! And the gear is turning around, so it’ll do the job, apparently. We’re good.
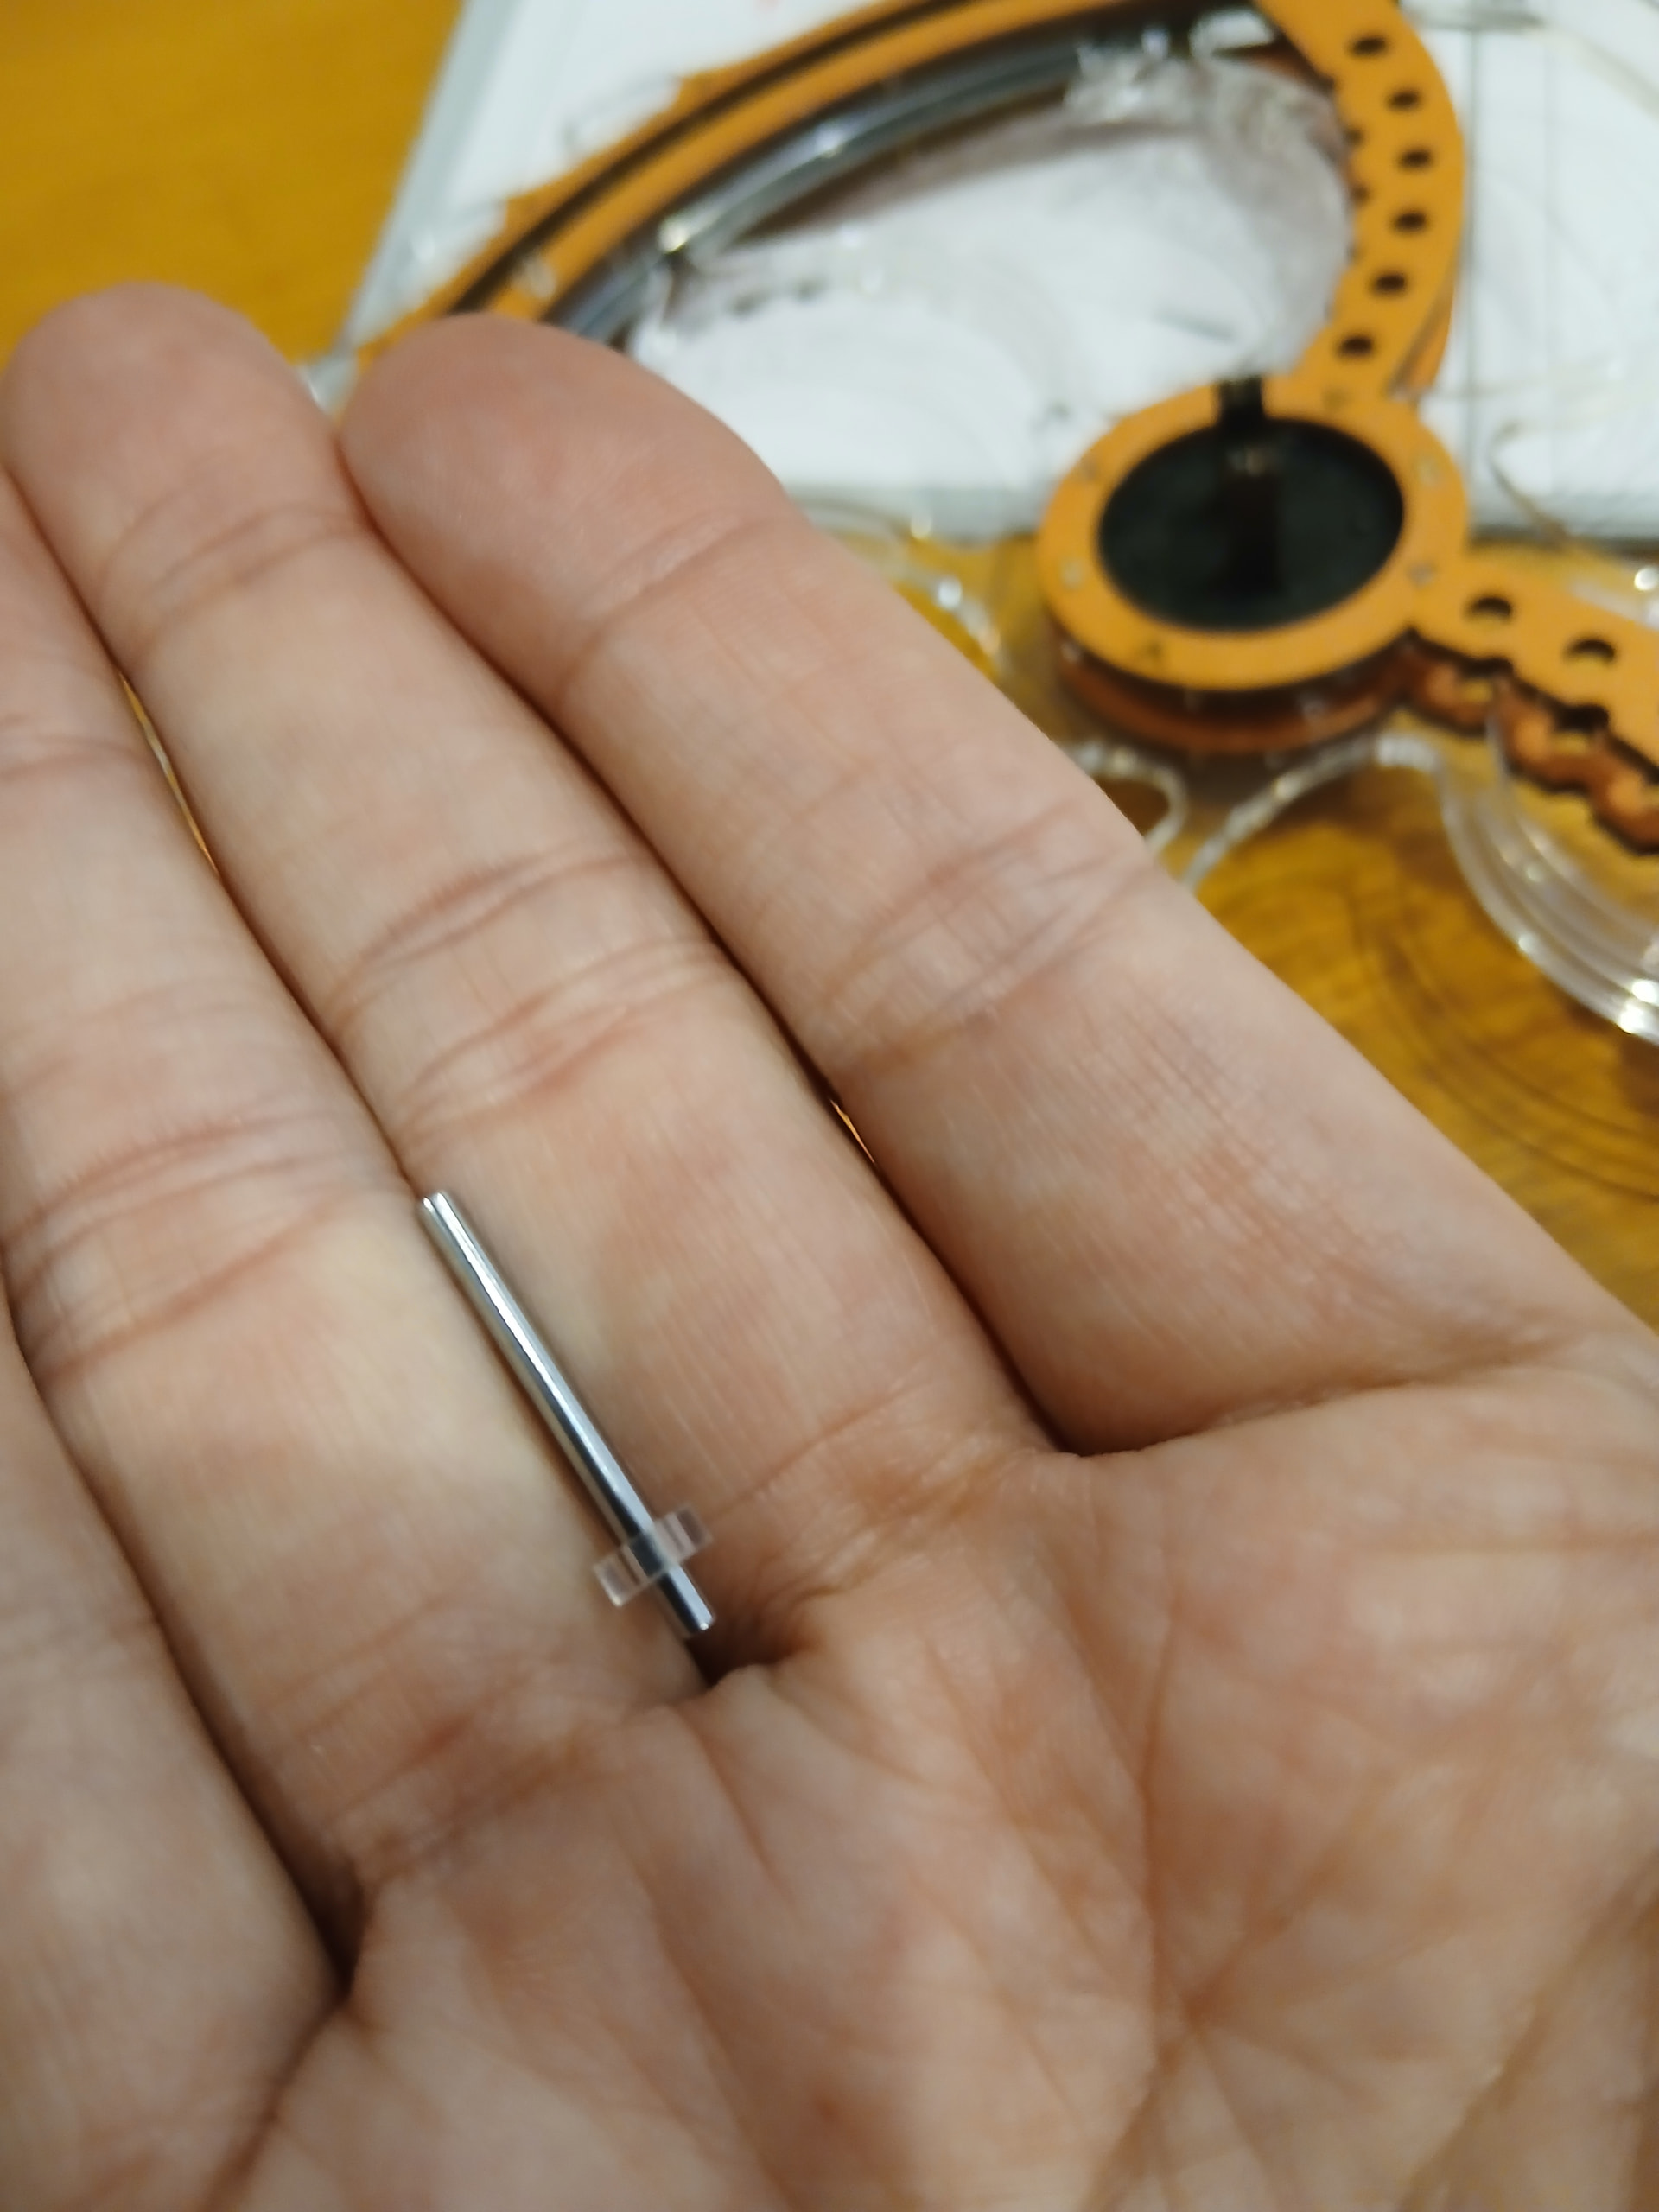
And this is the misterious hand-crafted tool I’ll be using:
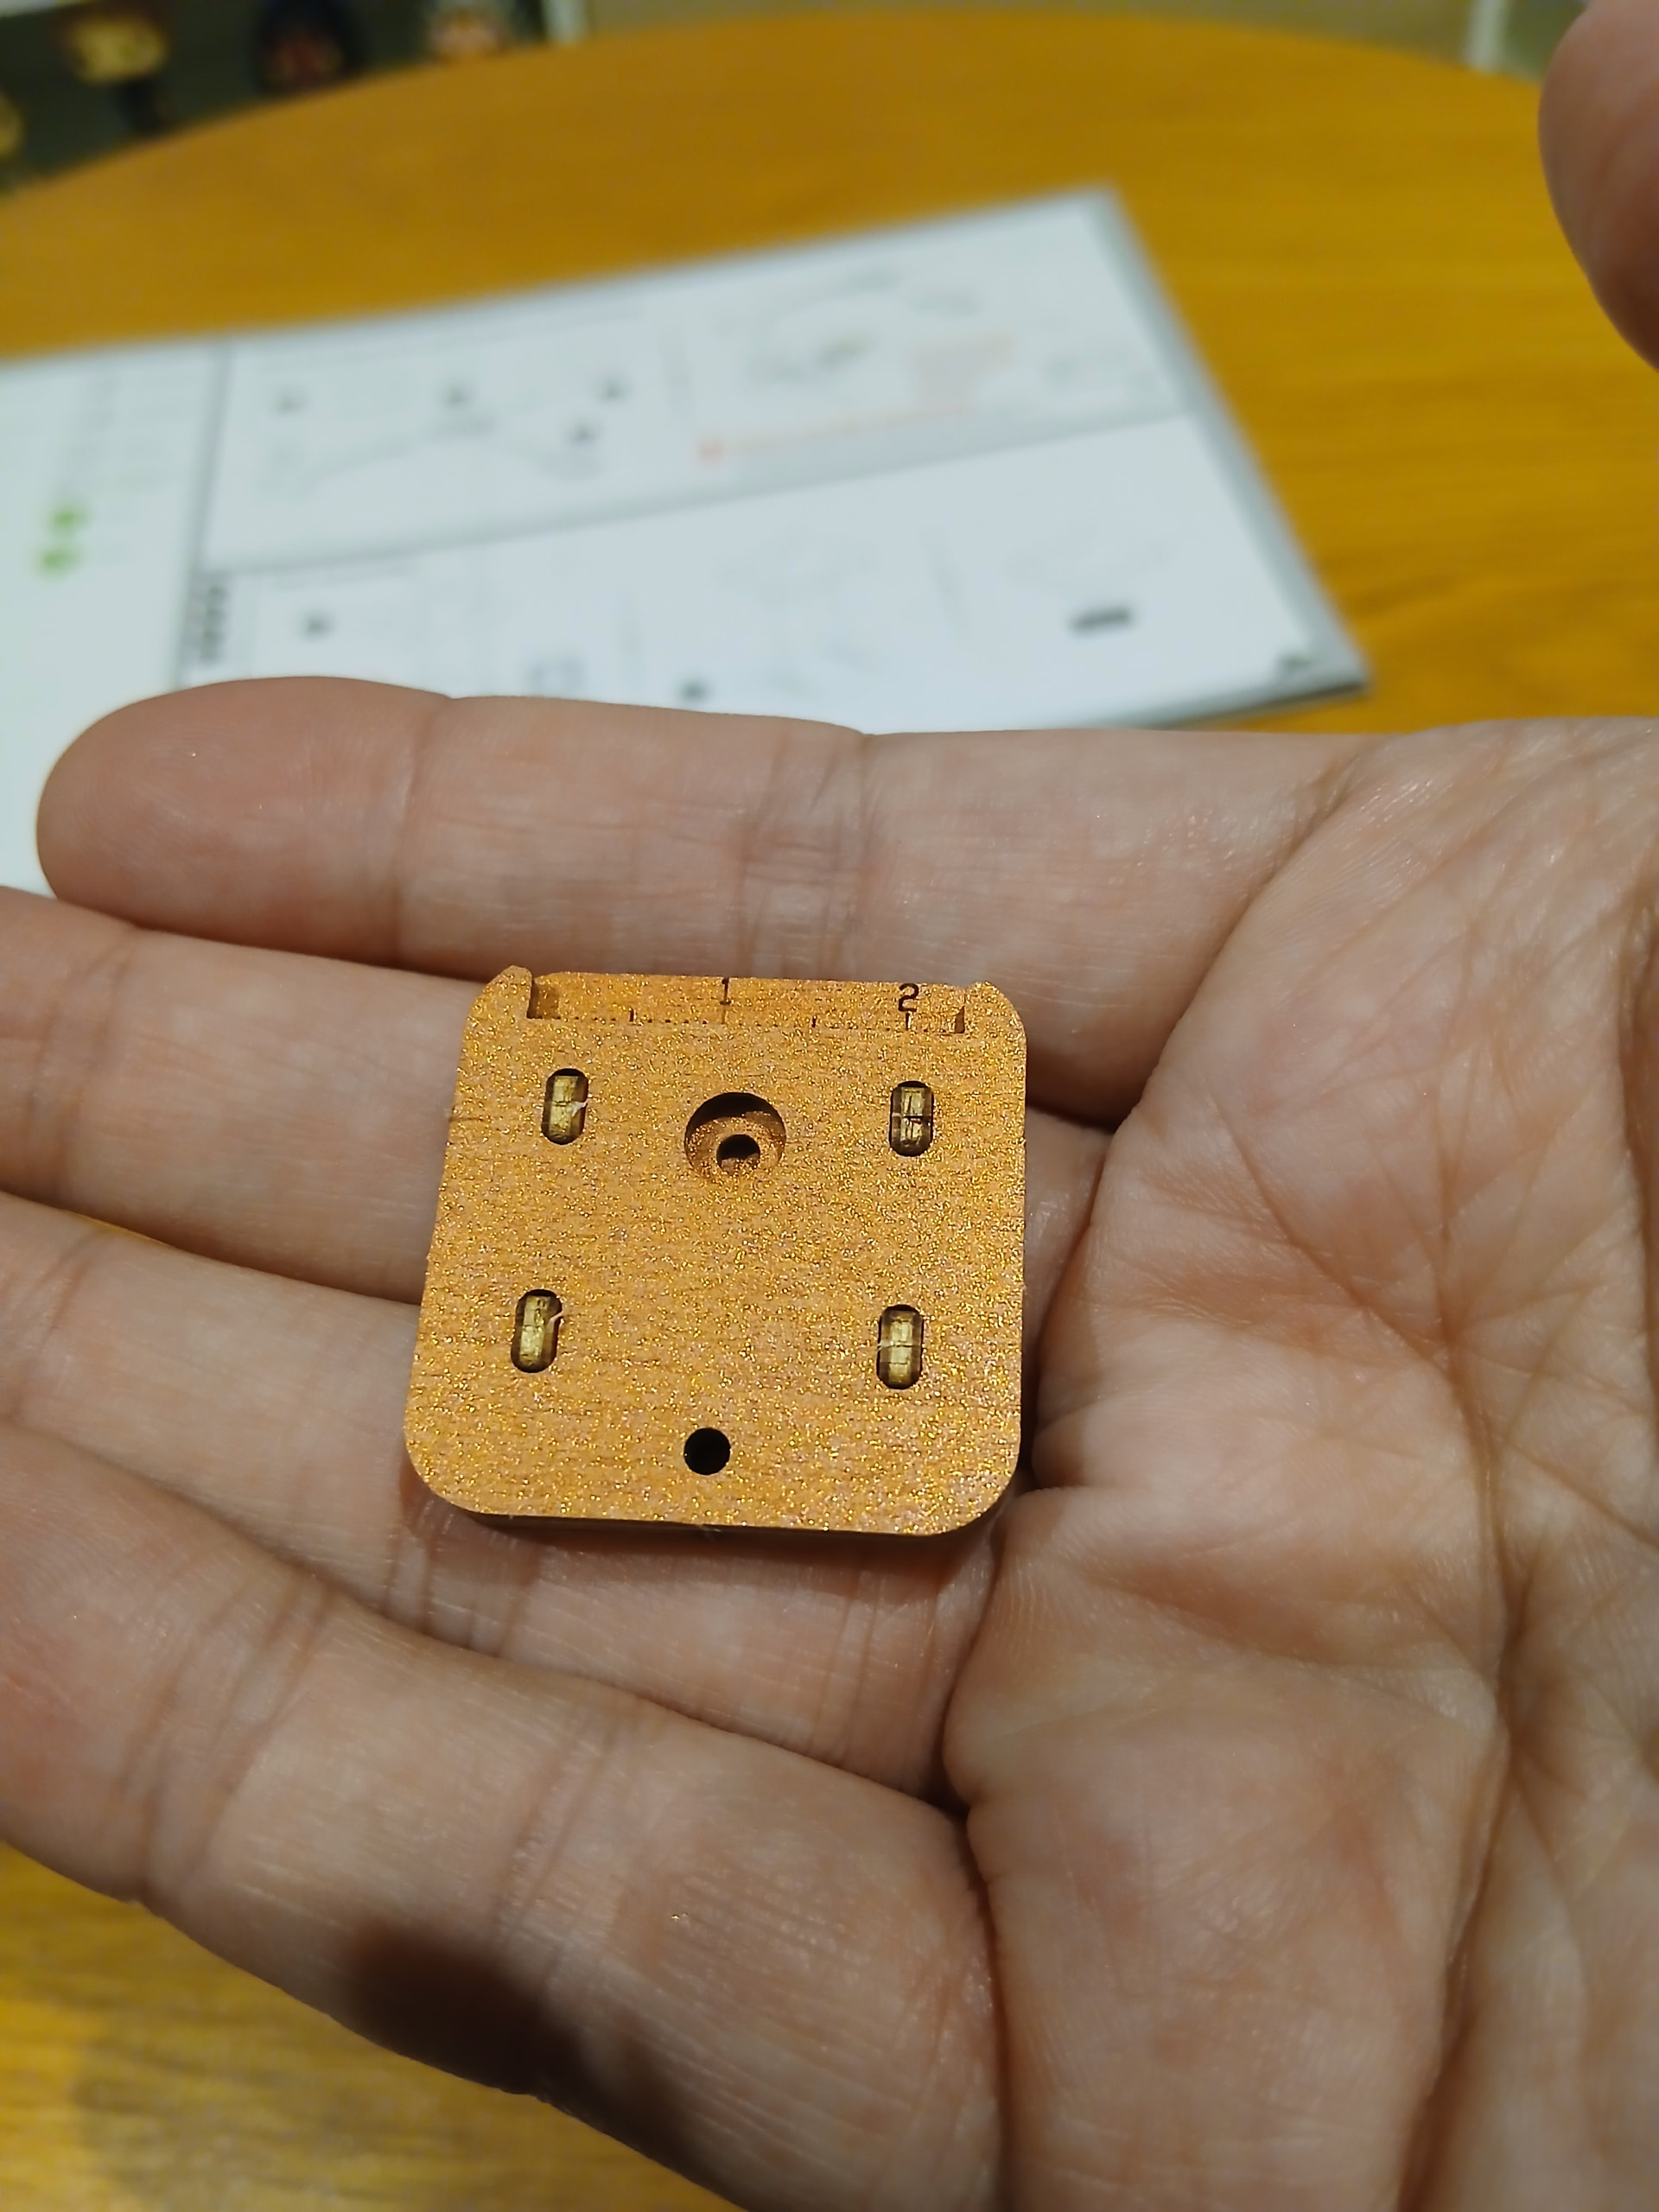
See that hole with a hole? That’s actually useful! It makes it easier to put these things together without getting round marks in your fingers:
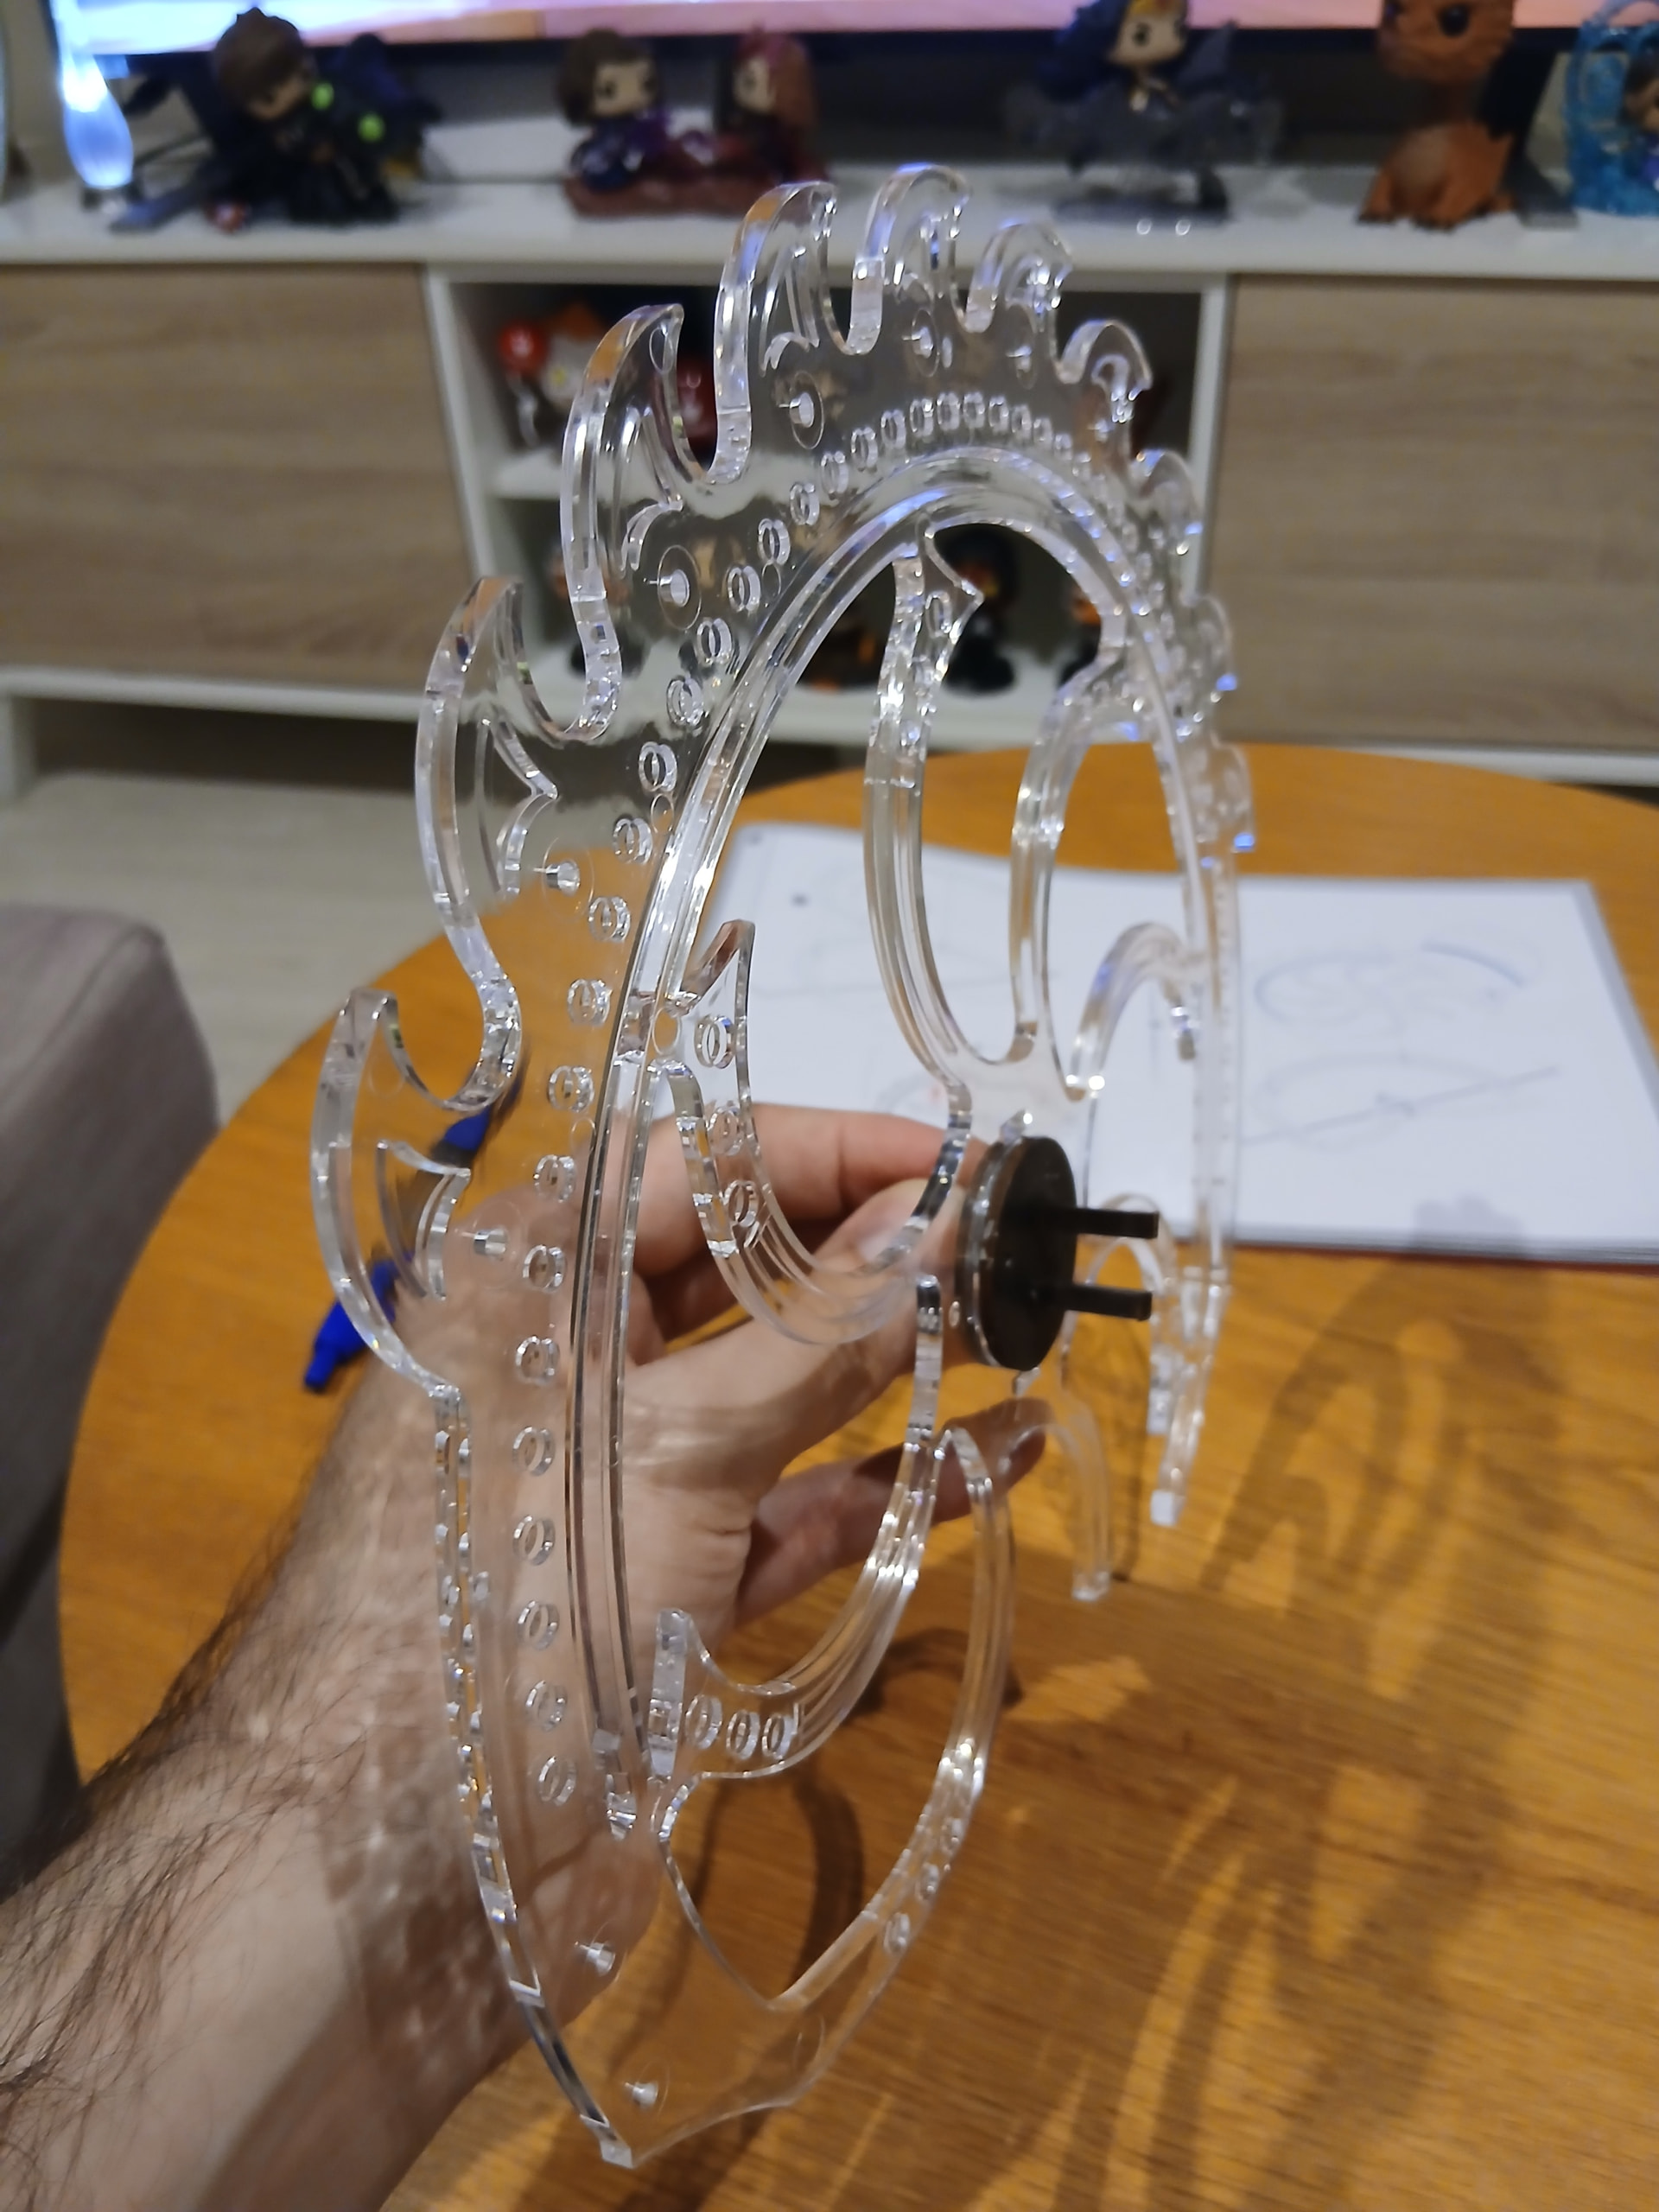
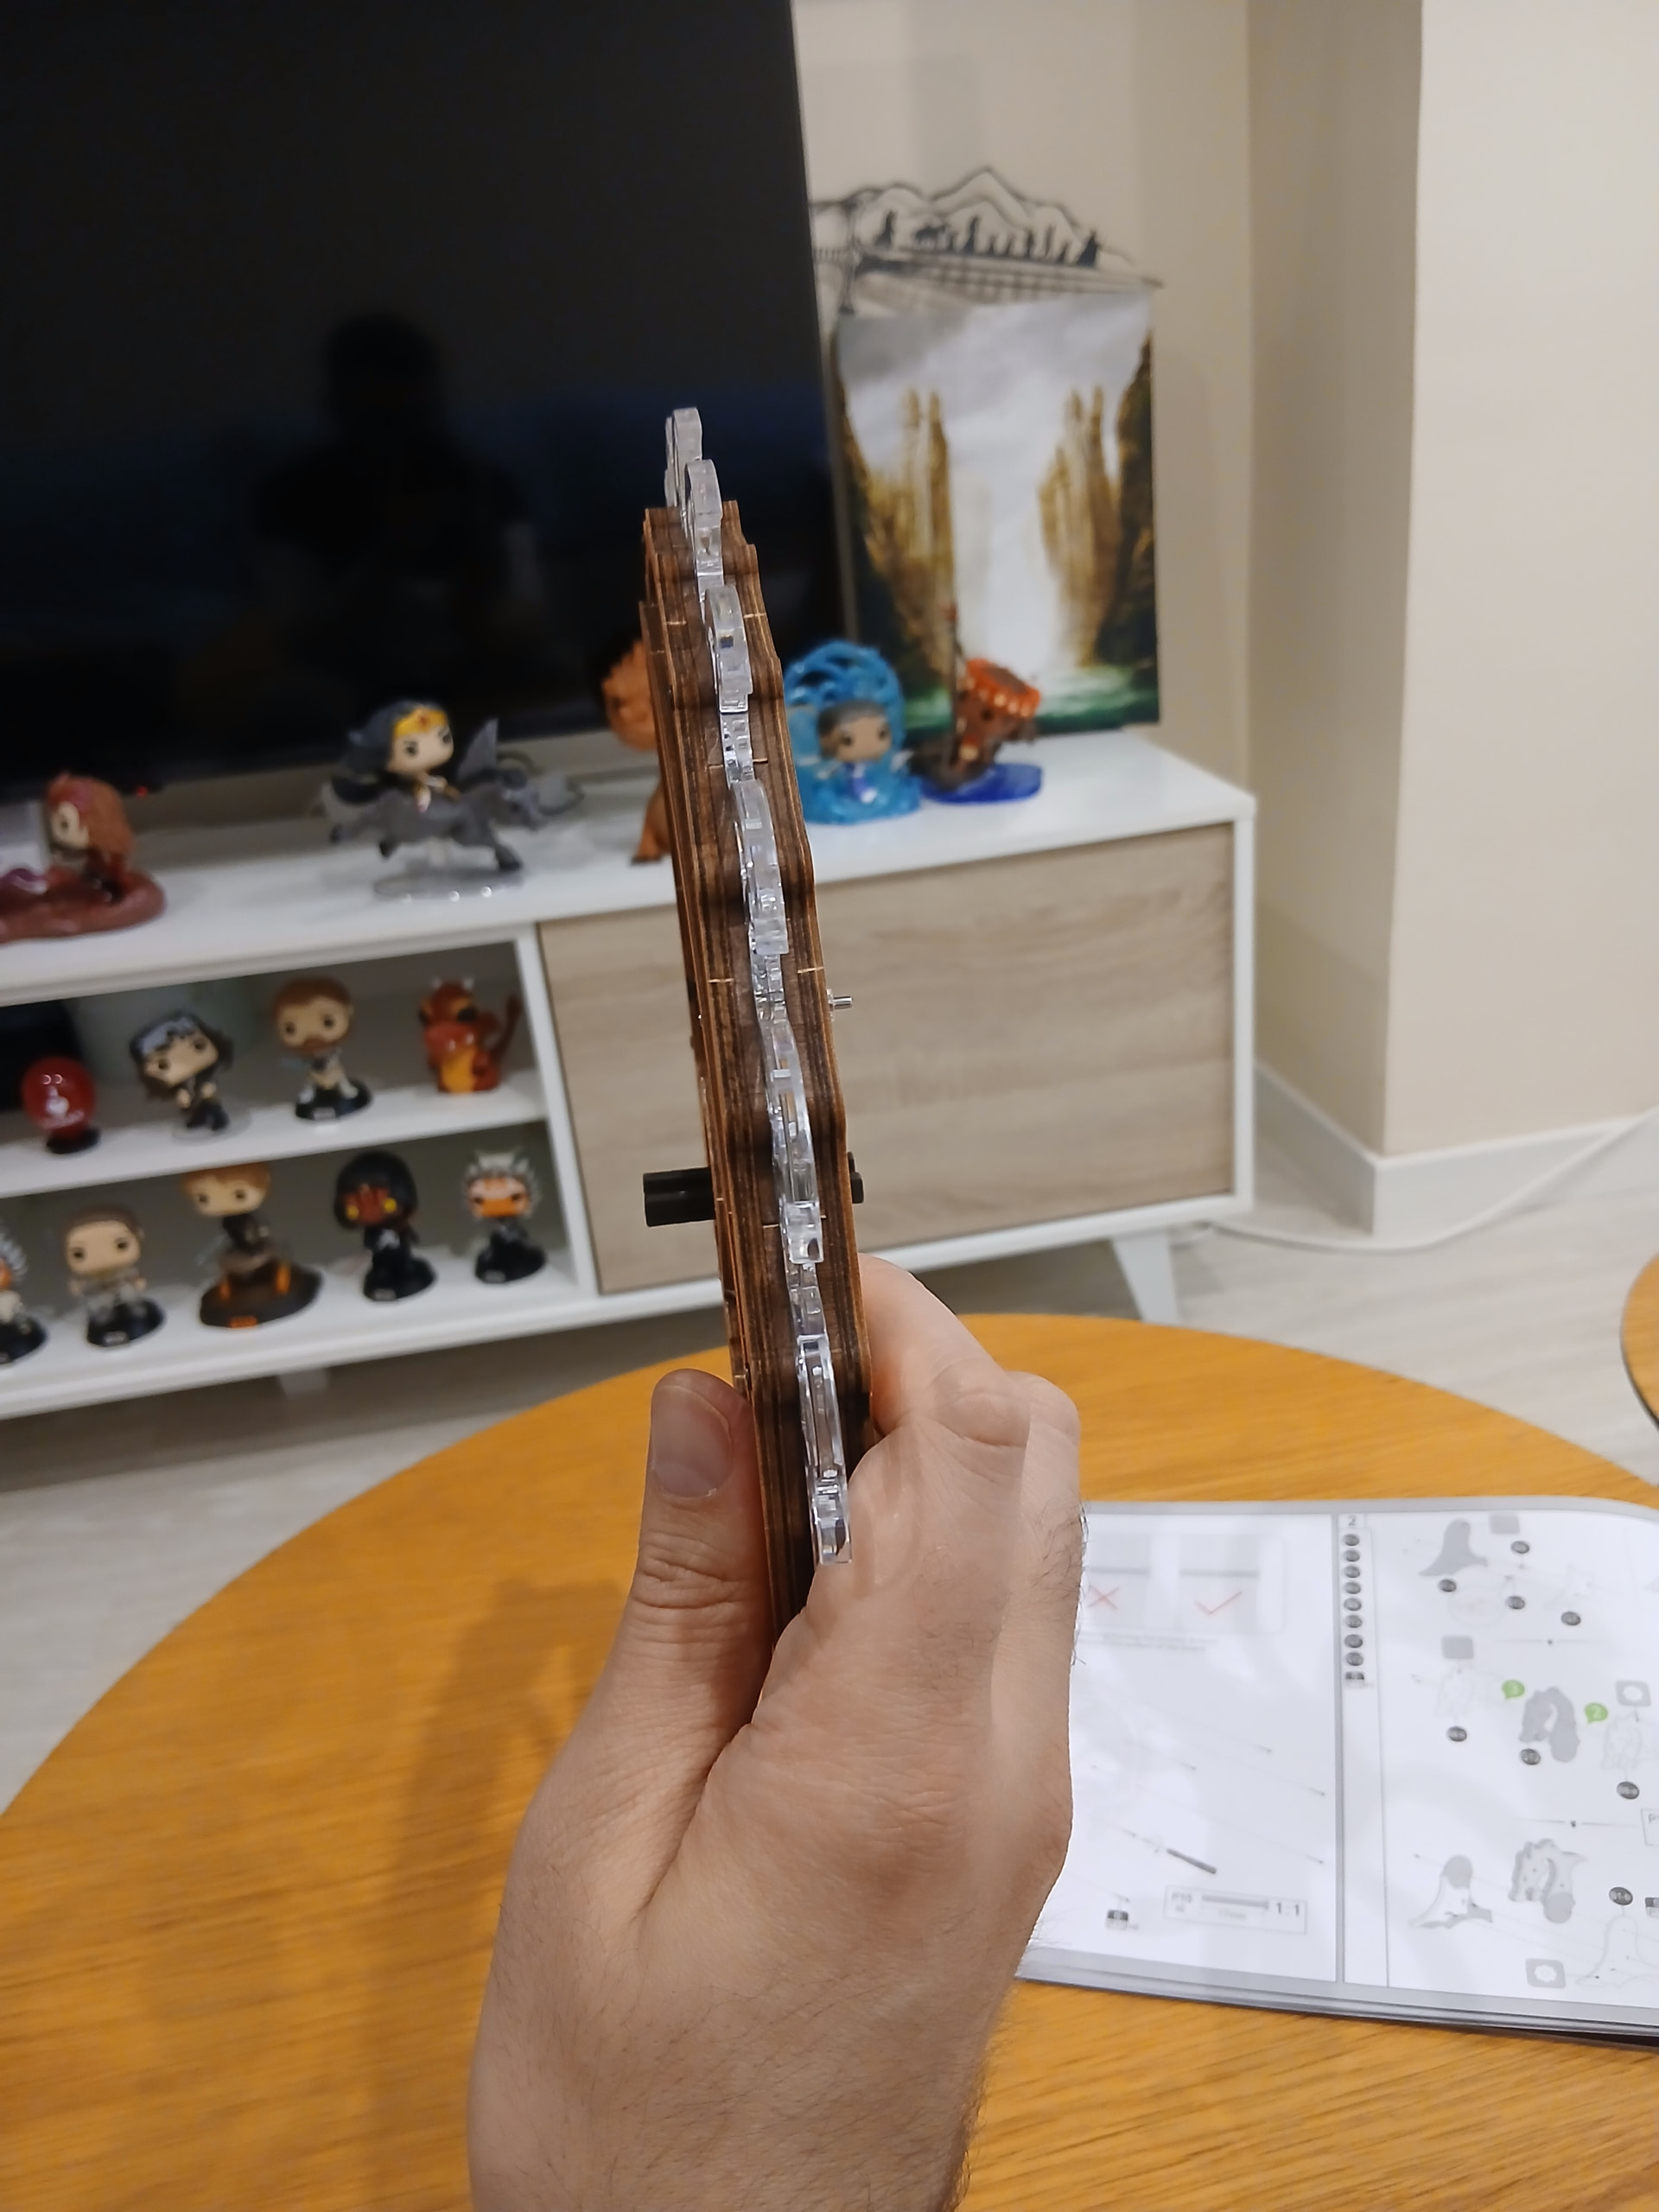
Anyway! Let’s go with the main event. For the first step out of seven, you’ll be assembling the central wheel of the ship. I still don’t know why this viking ship design comes with that curious big wheel with lights, but hey! It’s looking good according to the photo of the finished design, so who I am to complain?
Oh, and this is a mechanical kit, so… I wasn’t sit for half an hour and I was waxing parts together already ![]()

I’m still amazed at how big and hard the wooden (and not wooden) parts in this kit are compared to the previous kits I’ve built. This is gonna be a gigantic moster! I better start thinking on where the heck am I gonna display it ![]()
Okay, this was pretty straightforward. What now? Well, at some point in mostly every kit I’ve built there’s a crazy part where you need five hands, because the manual prompts you to hold many parts together while fitting something through them. I still have no idea how my mind comes with these ideas using fingers and table and sometimes even my chin to accomplish that ![]()
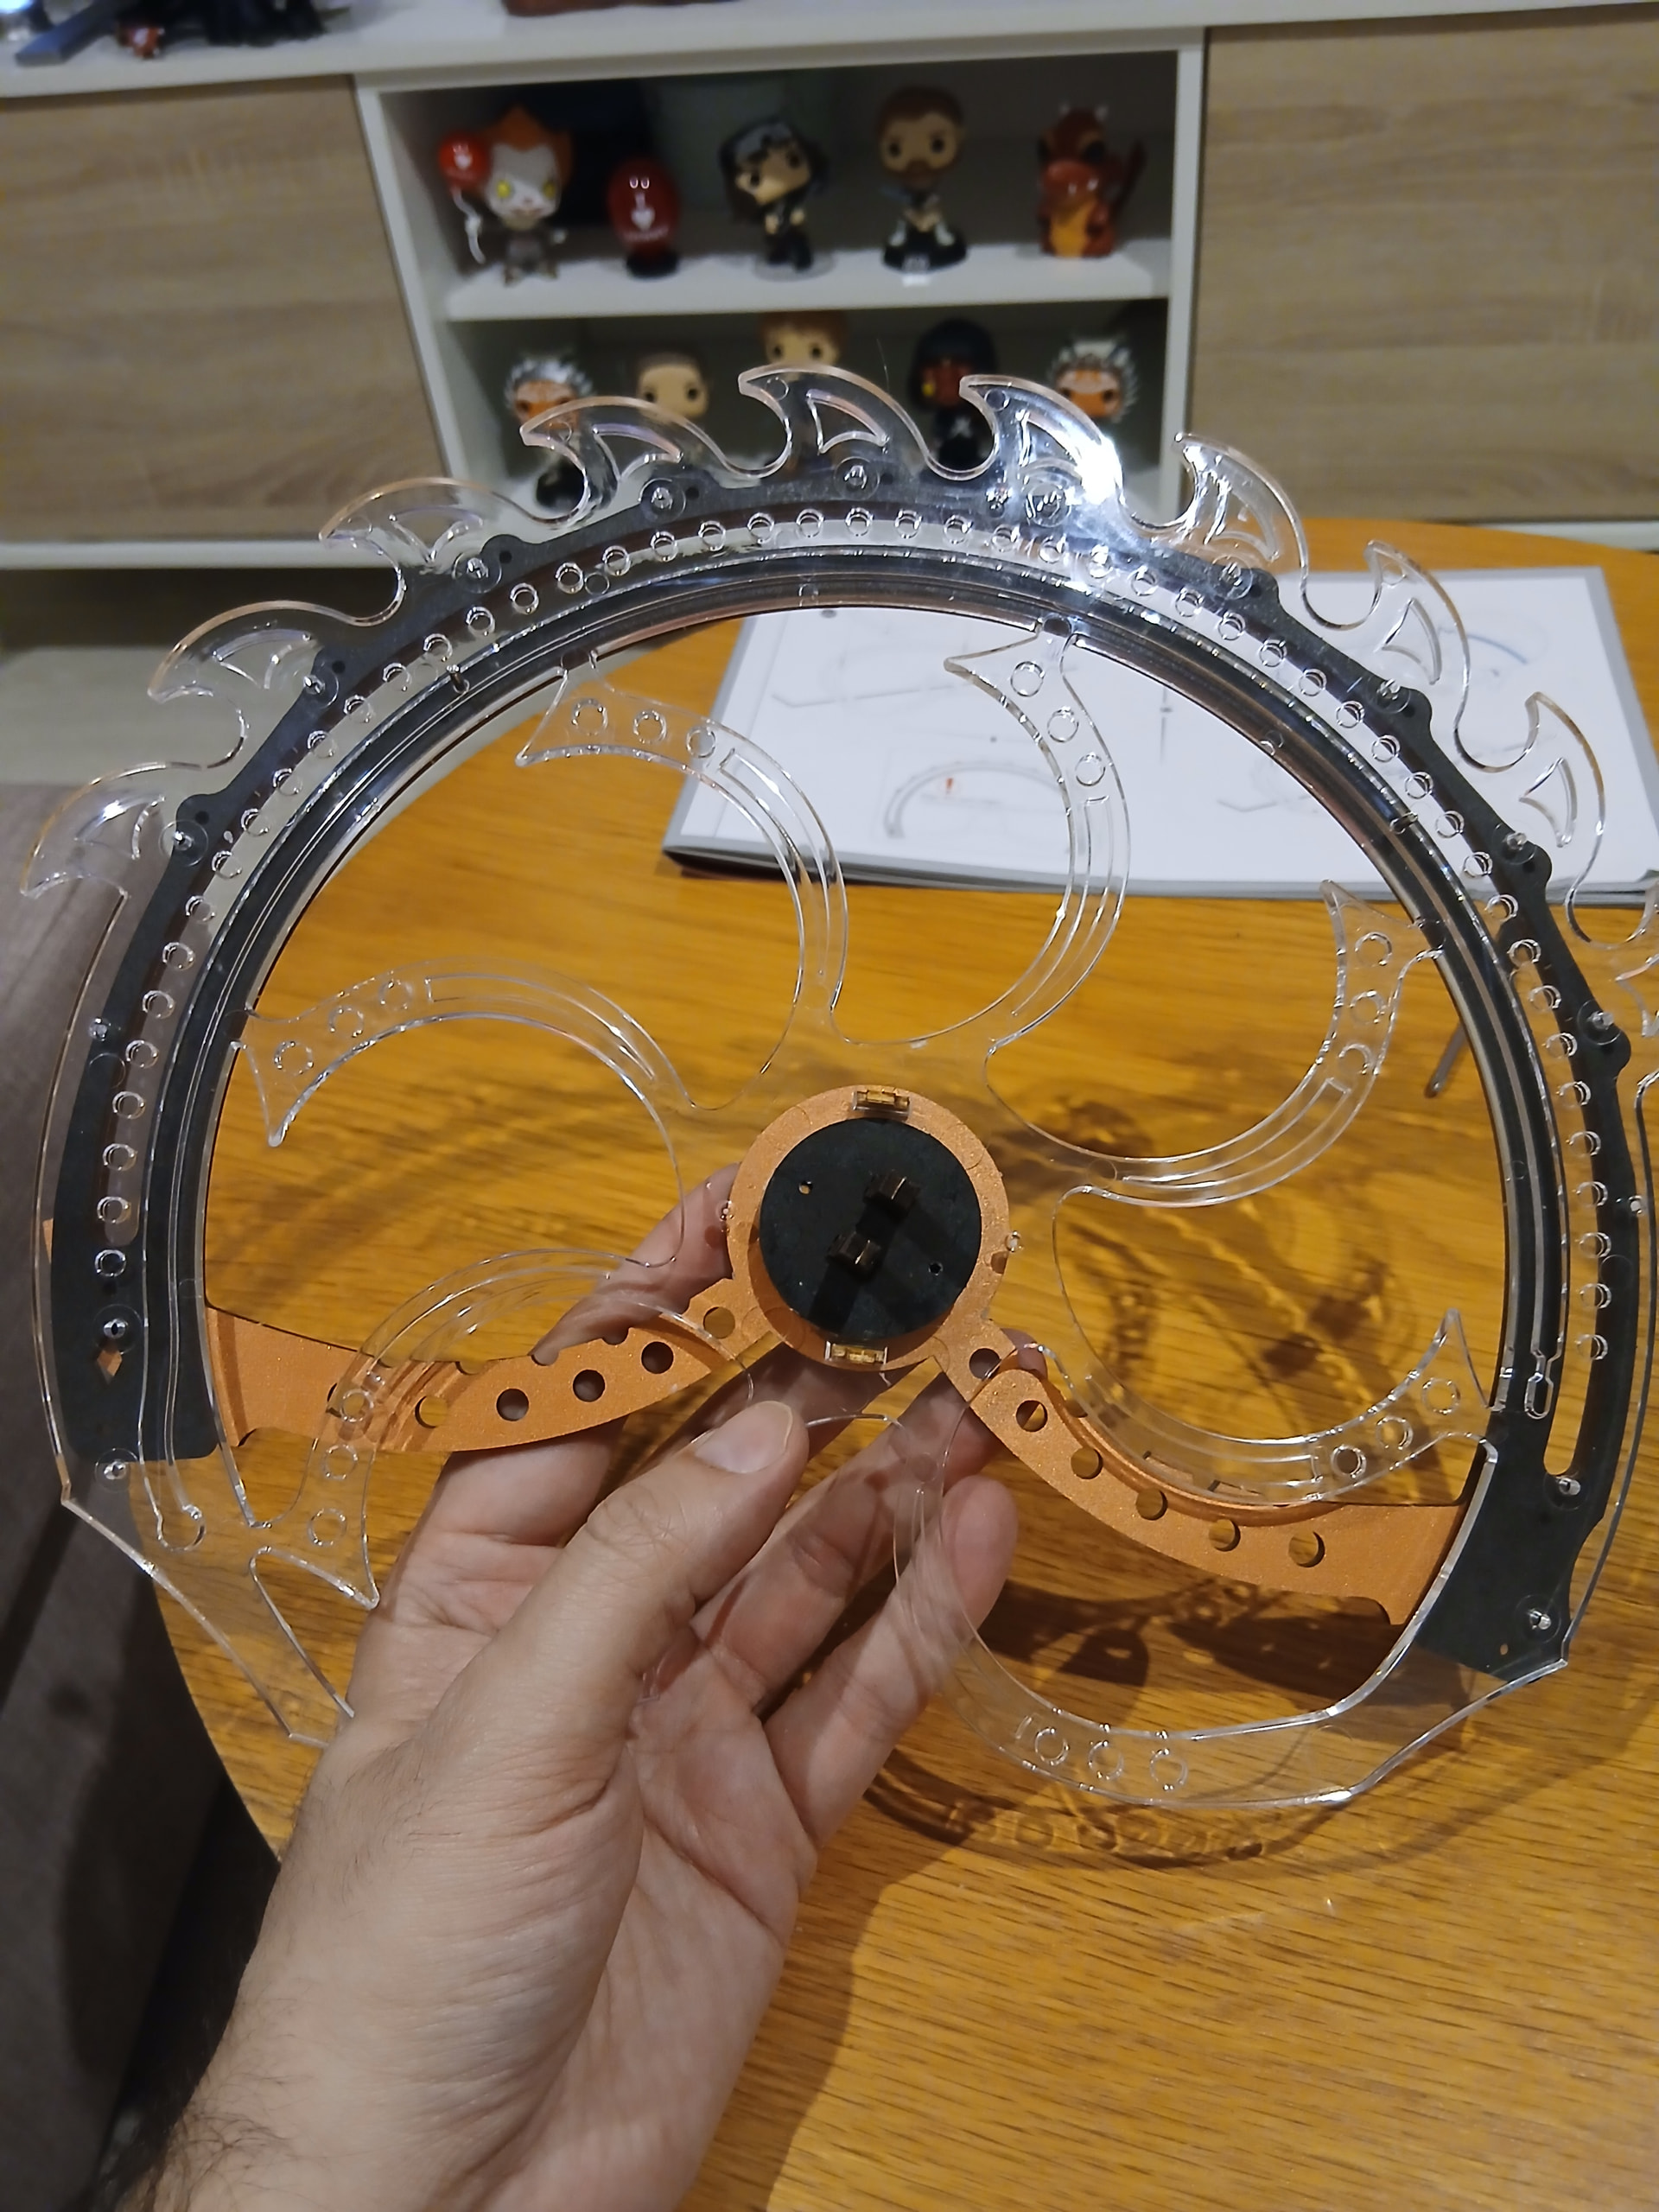
I really like the colours here though. It may not be noticeable in the photos, but the orange parts bring some sort of slight shiny effect. This is gonna be amazing, guys.
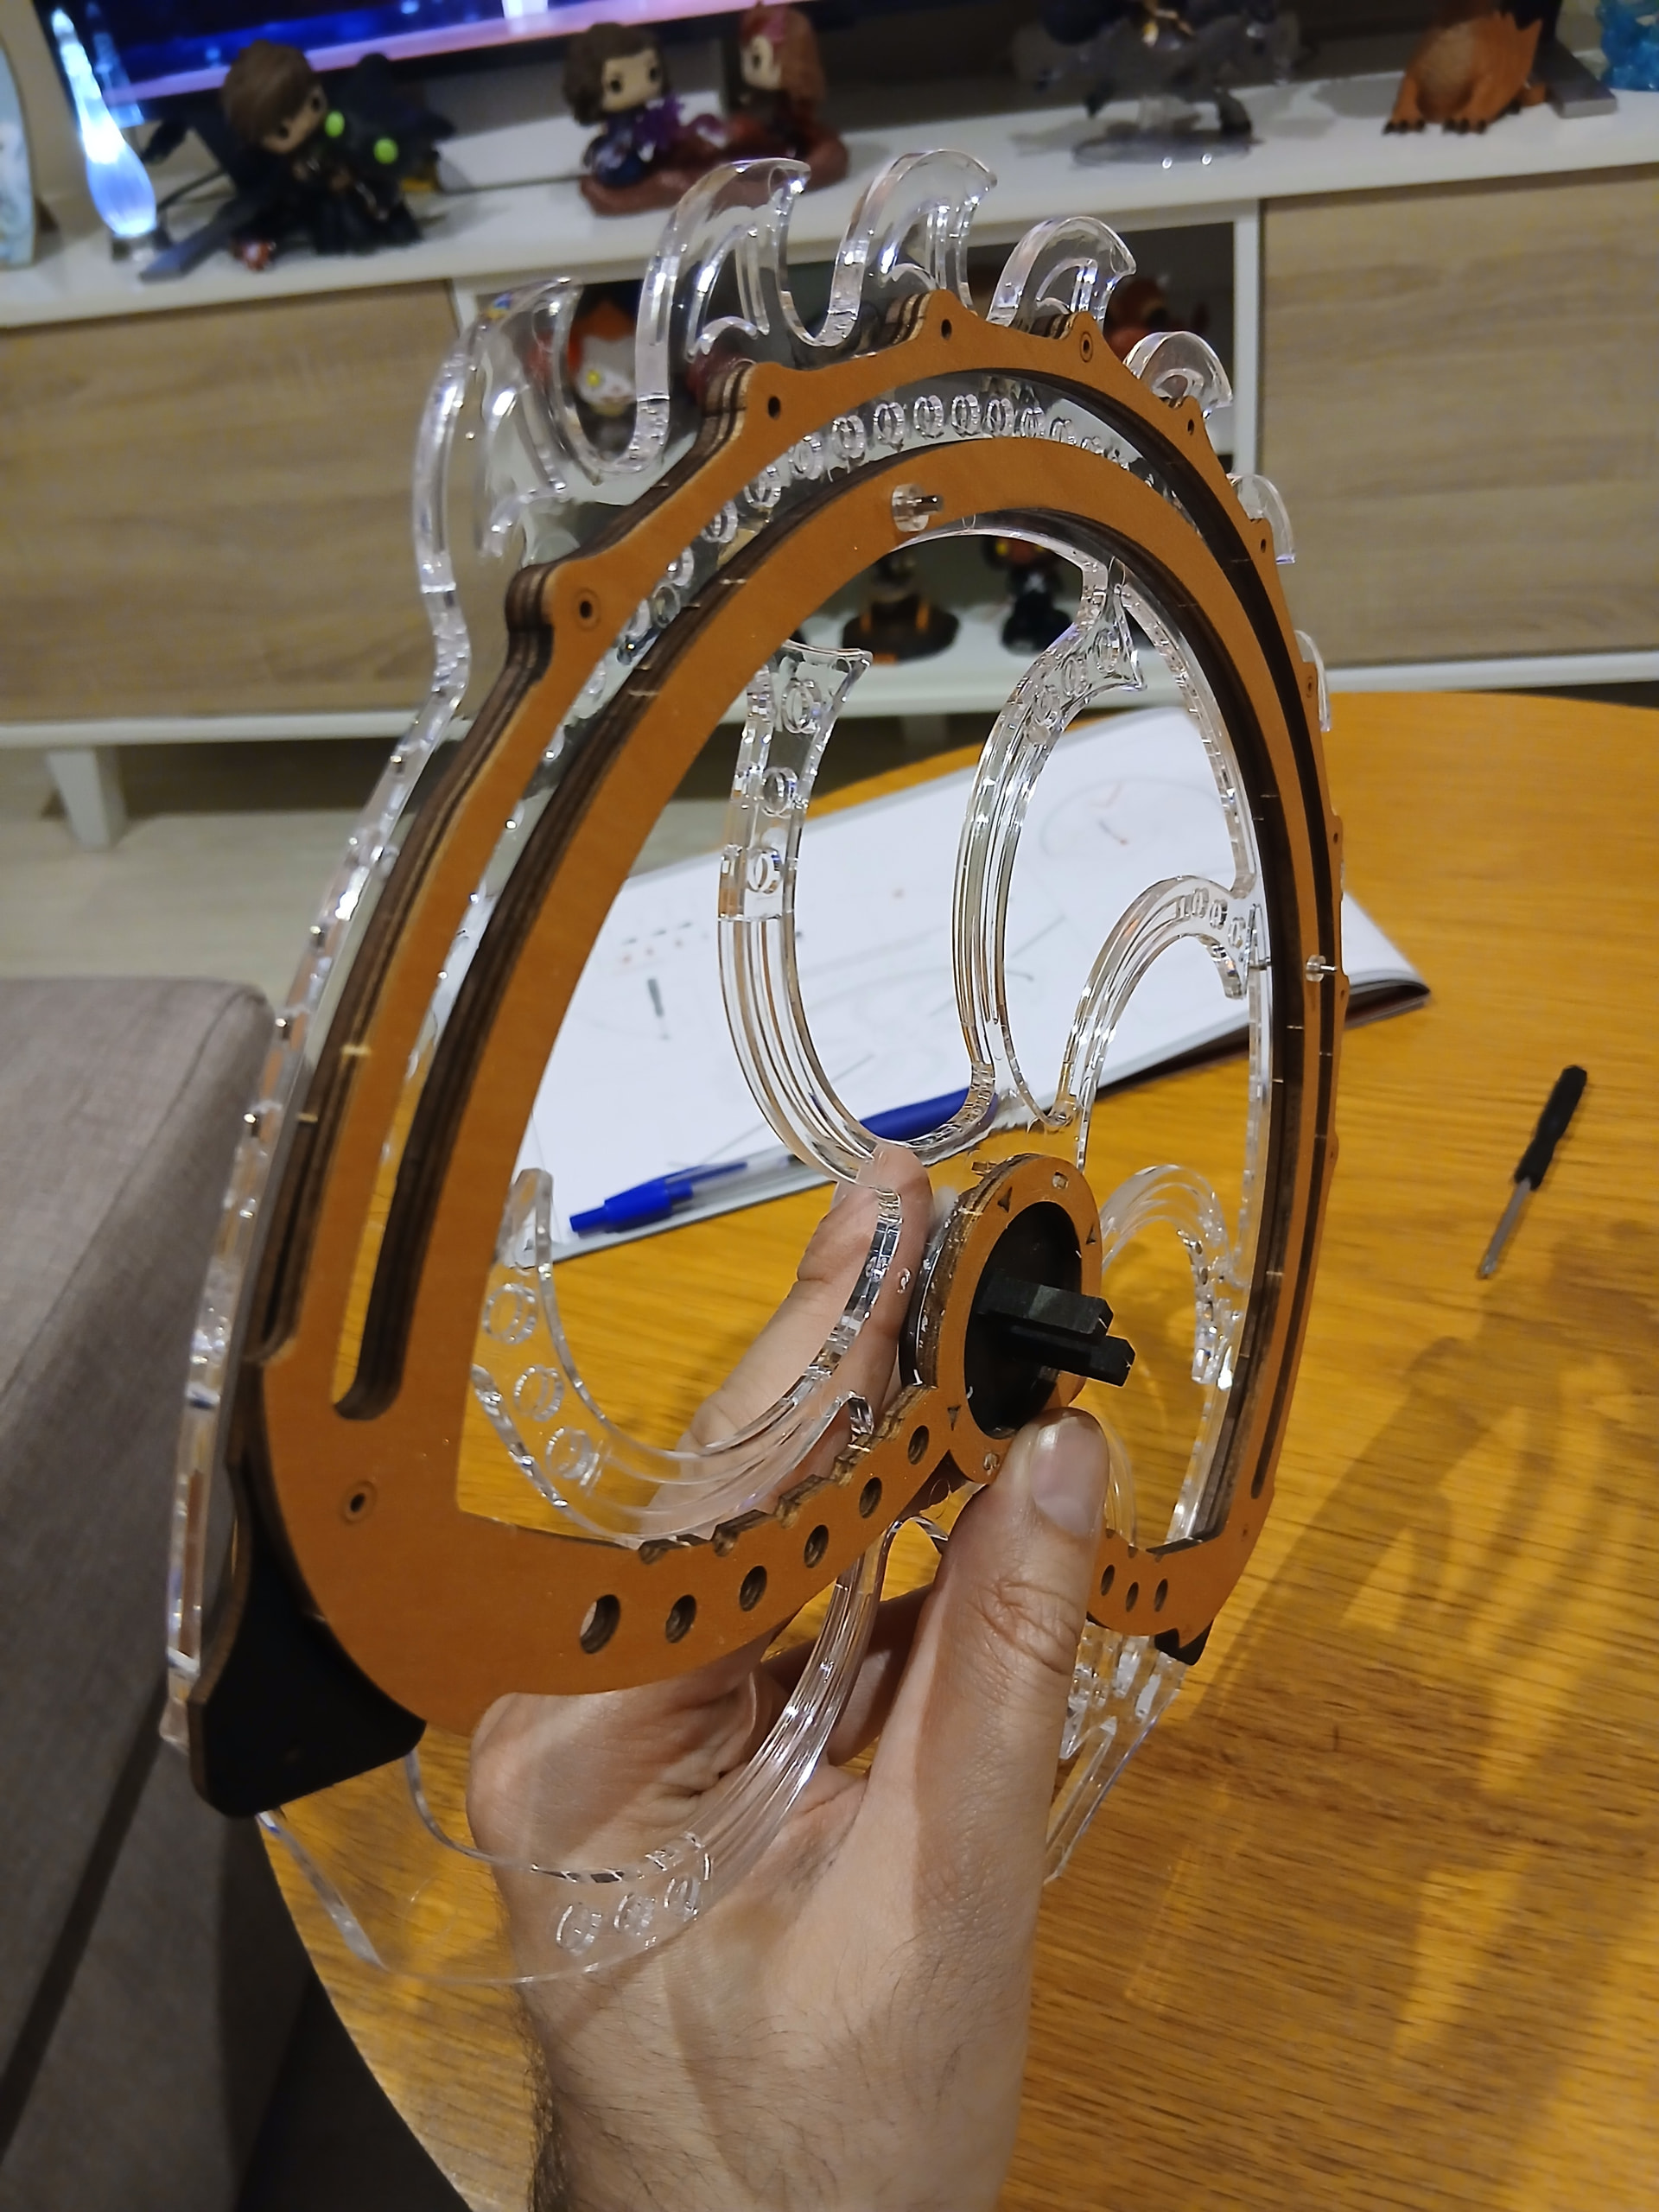
So basically you’re surrounding the glass-like part with similar things from both sides. Of course, in between you need to stick a string of lights that won’t be seen from the outside (it’s covered by the following black semicircle part) but I guess it’ll spread the light through the wheel when plugged in. Lovely!
The manual asked me to do so (sticking the lights, I mean) by using three or four double-sided tape circles. I did manage, but in the end I also added a little bit of glue here and there. You don’t want your lights wondering around in your viking ship wheel!

Almost there! Another orange part to cover the red one, and then it’s all about screws. It required more strength than expected to hold all the parts together and make the six screws go through all of them, but hey, challenge accomplished! And now everything is properly staying together.
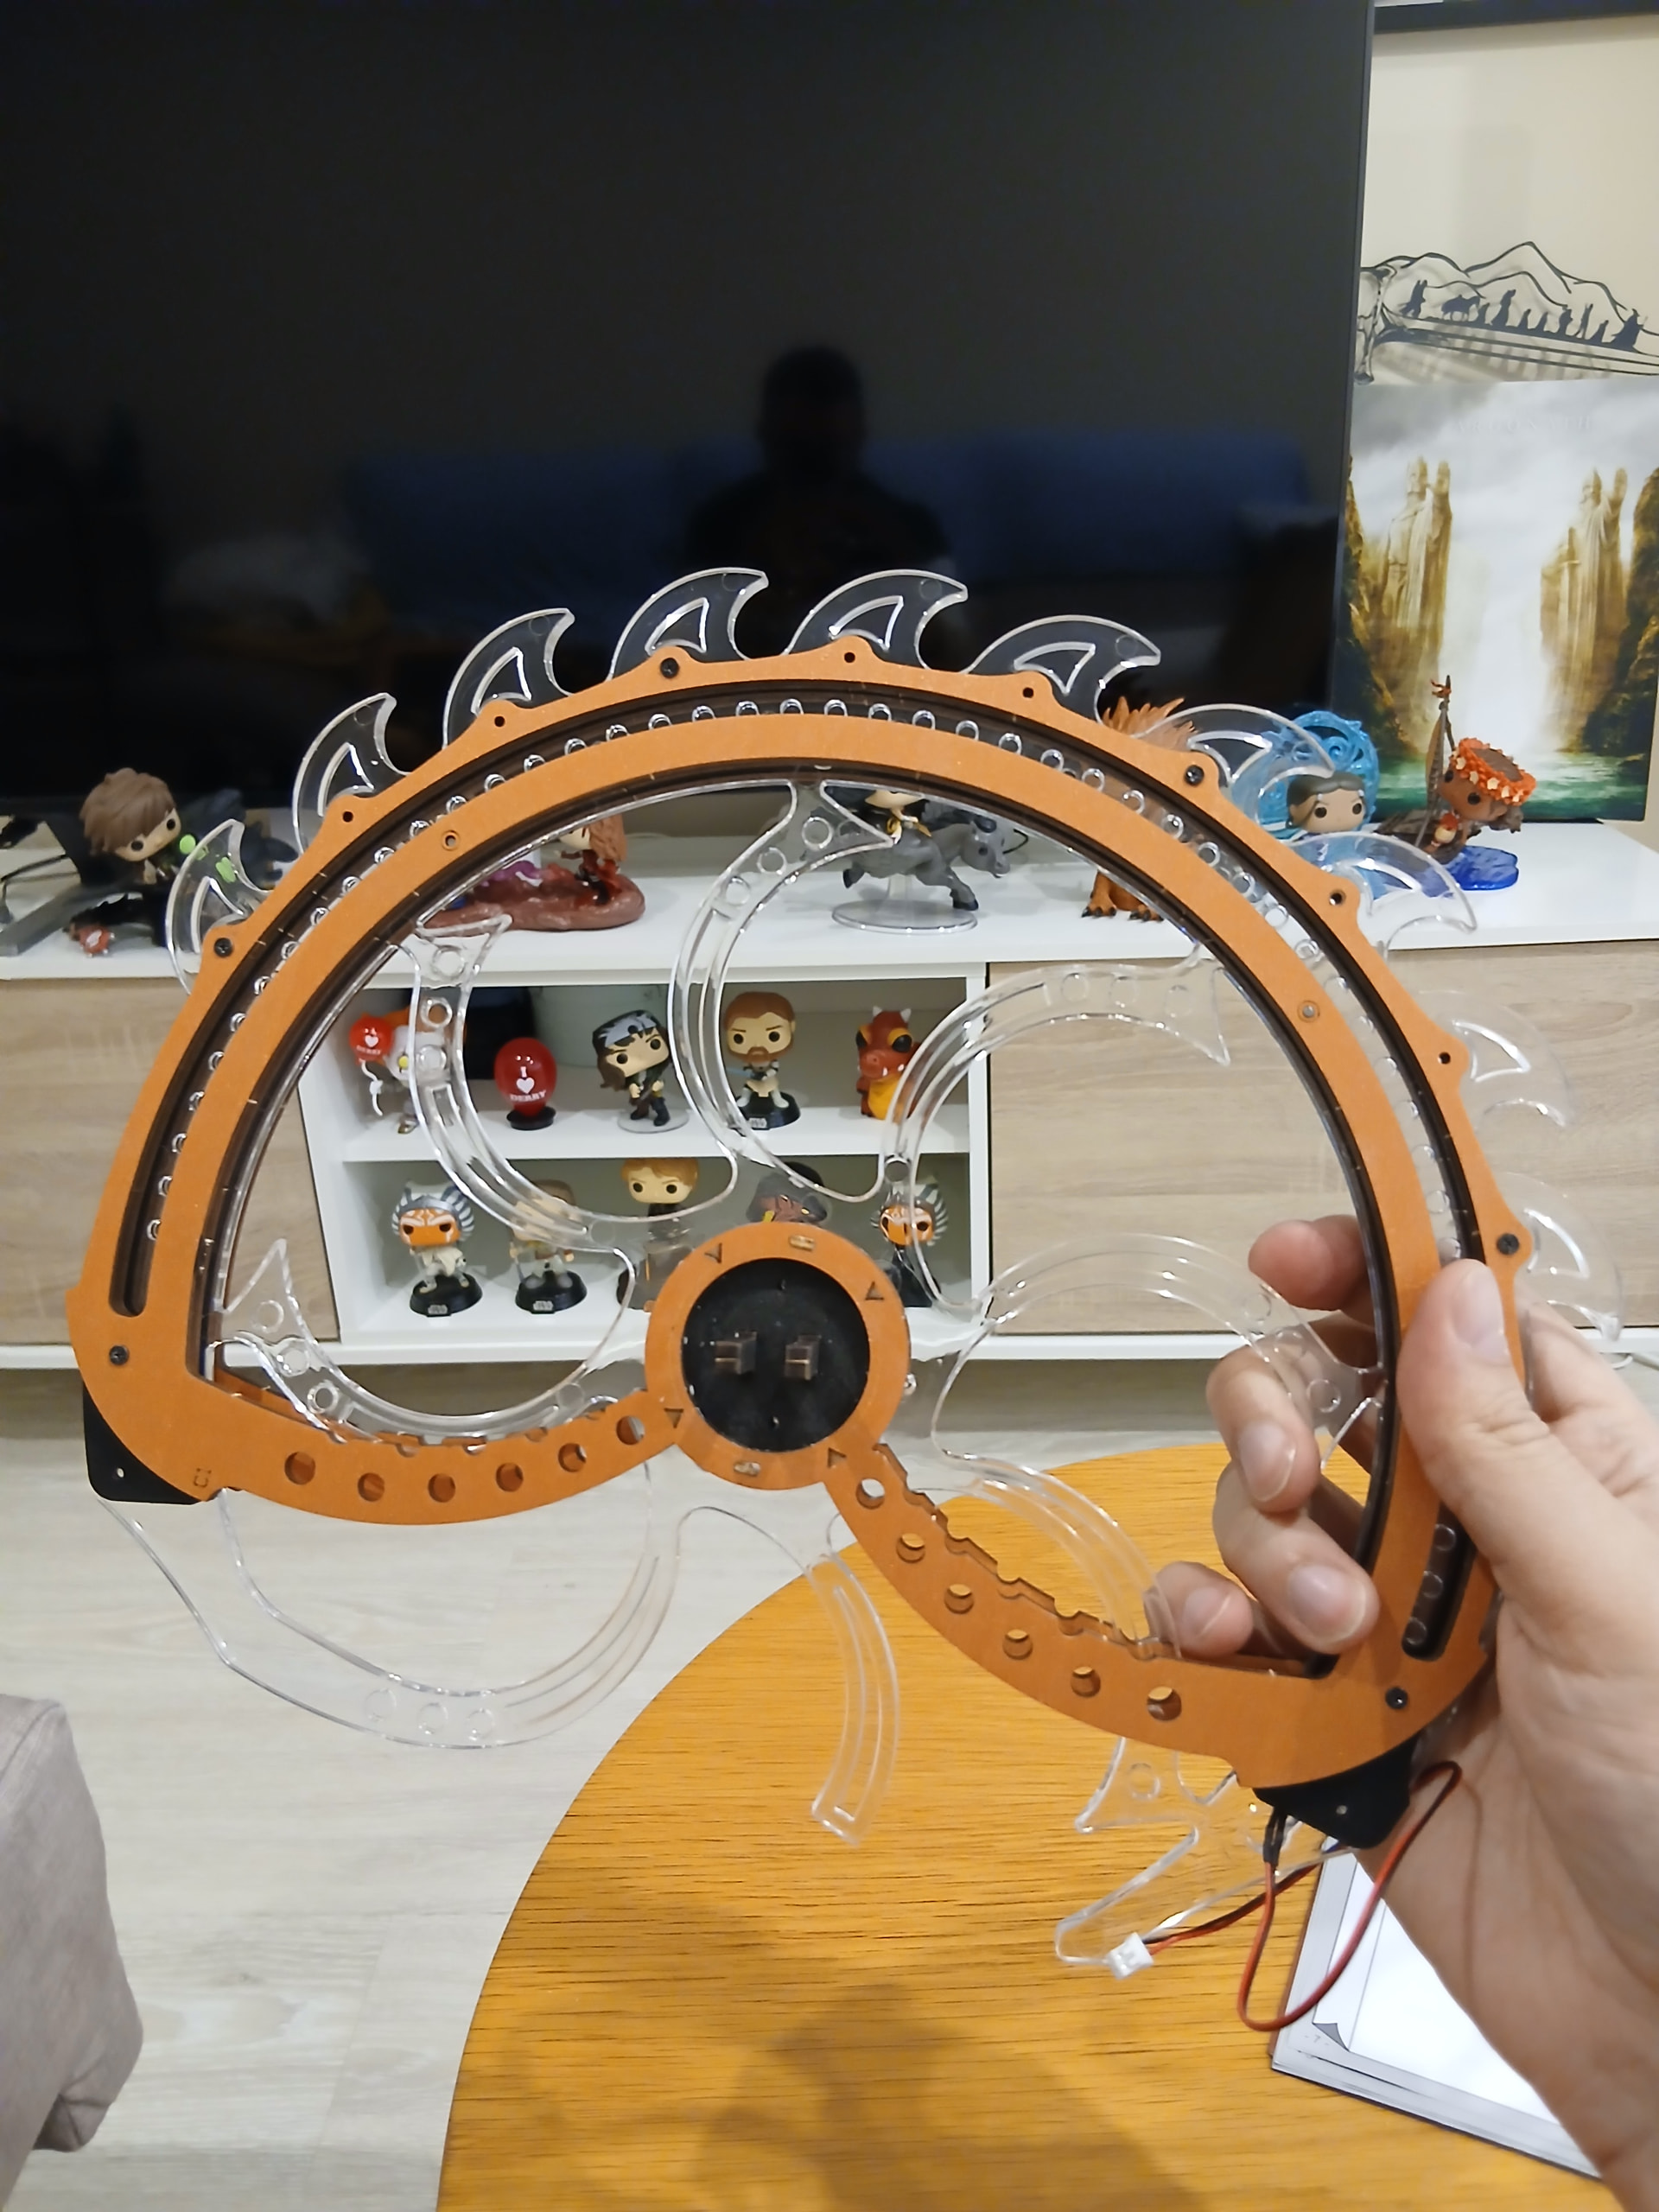
Can’t wait to keep putting this together! I was missing a nice mechanical build, folks. It’s been a while since my beloved Dream Gift Factory. And this one I’m gonna enjoy, I already am!
See you/read you around!