It’s finally here!
Eloy the mechanical kit lover who hasn’t build a proper mechanical kit since last year. Eloy the guy who always talks about the Cuckoo Clock but never builds it. That’s been me for a while now.
But that is over! My Cuckoo Clock journey has finally began ![]() and I can’t be more excited than this!
and I can’t be more excited than this!

I don’t know if you people realize how MUCH excited I’ve been about finally building this kit.
You just can’t.
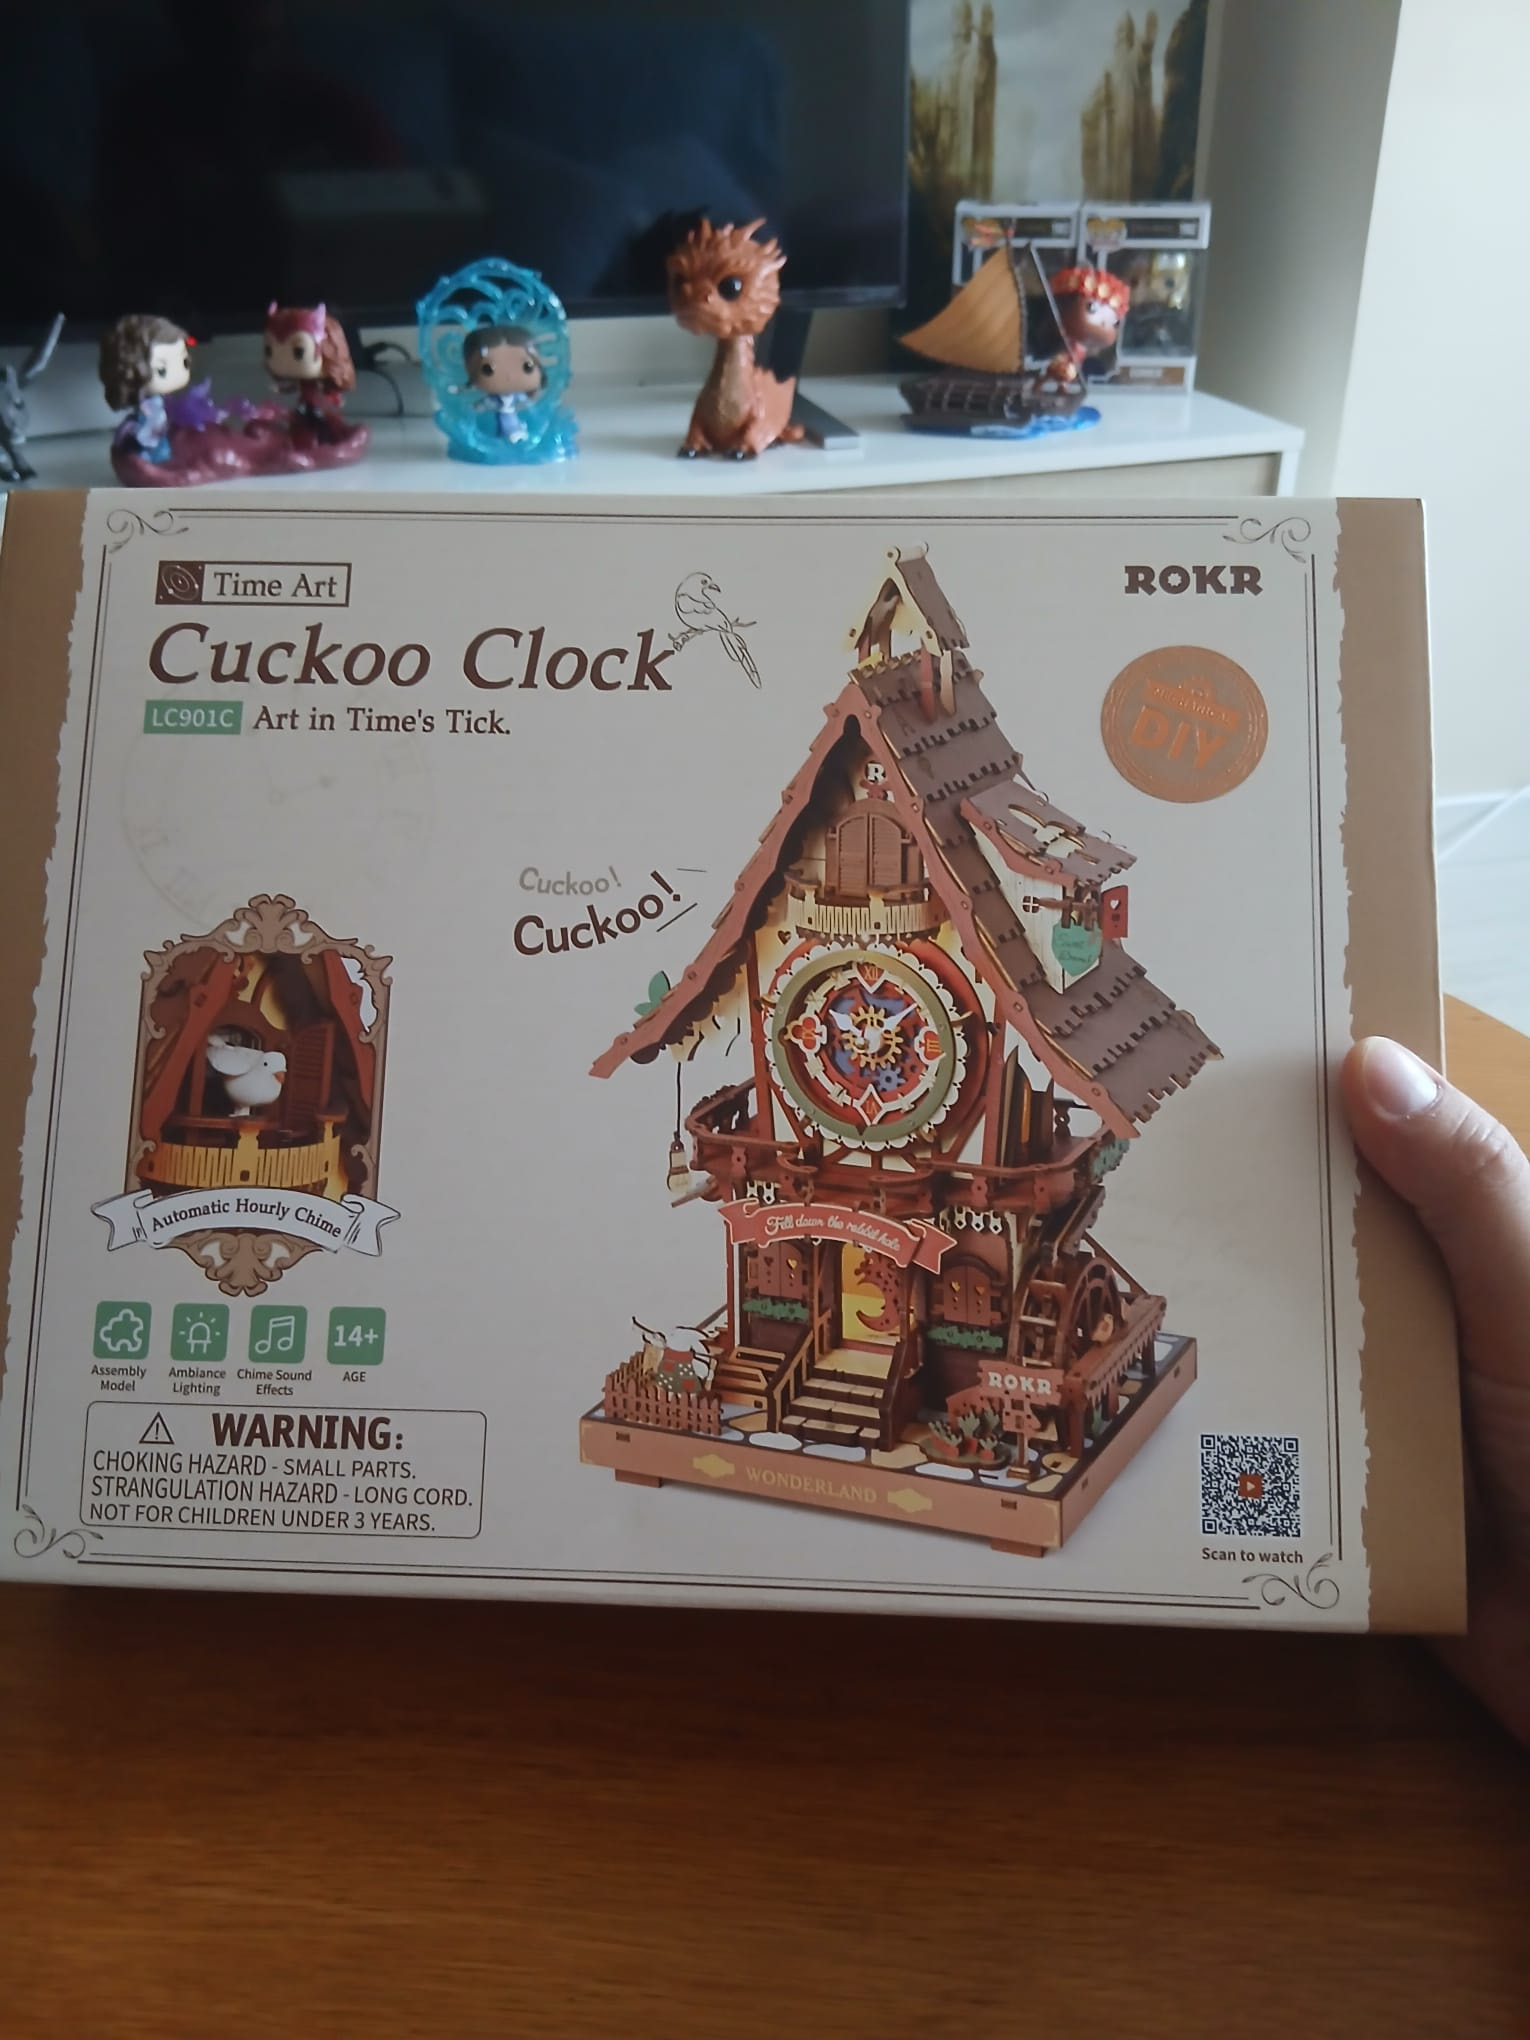
Okay then! I’ve been getting ready for this, and I’ve been giving @Robotime’s pro guide a proper read; it’s also saved on my bookmarks and I’ll be checking it again every time I sit for this. I’ve gotta be honest! This is probably the build I’ve been the most excited about building since the Dream Gift Factory was done. And it’s been half a year since then! You can totally understand my excitement at this point, I’m sure of it.
So let’s go for it! It’s been a complicated weekend for my for some emotional reasons, so I decided to start building the Cuckoo Clock already so my mind would be focused on other things. And I’ve done more than I expected ![]() so, and this is as warning, this post won’t be a short one.
so, and this is as warning, this post won’t be a short one.
Then again, when have I done a short topic?

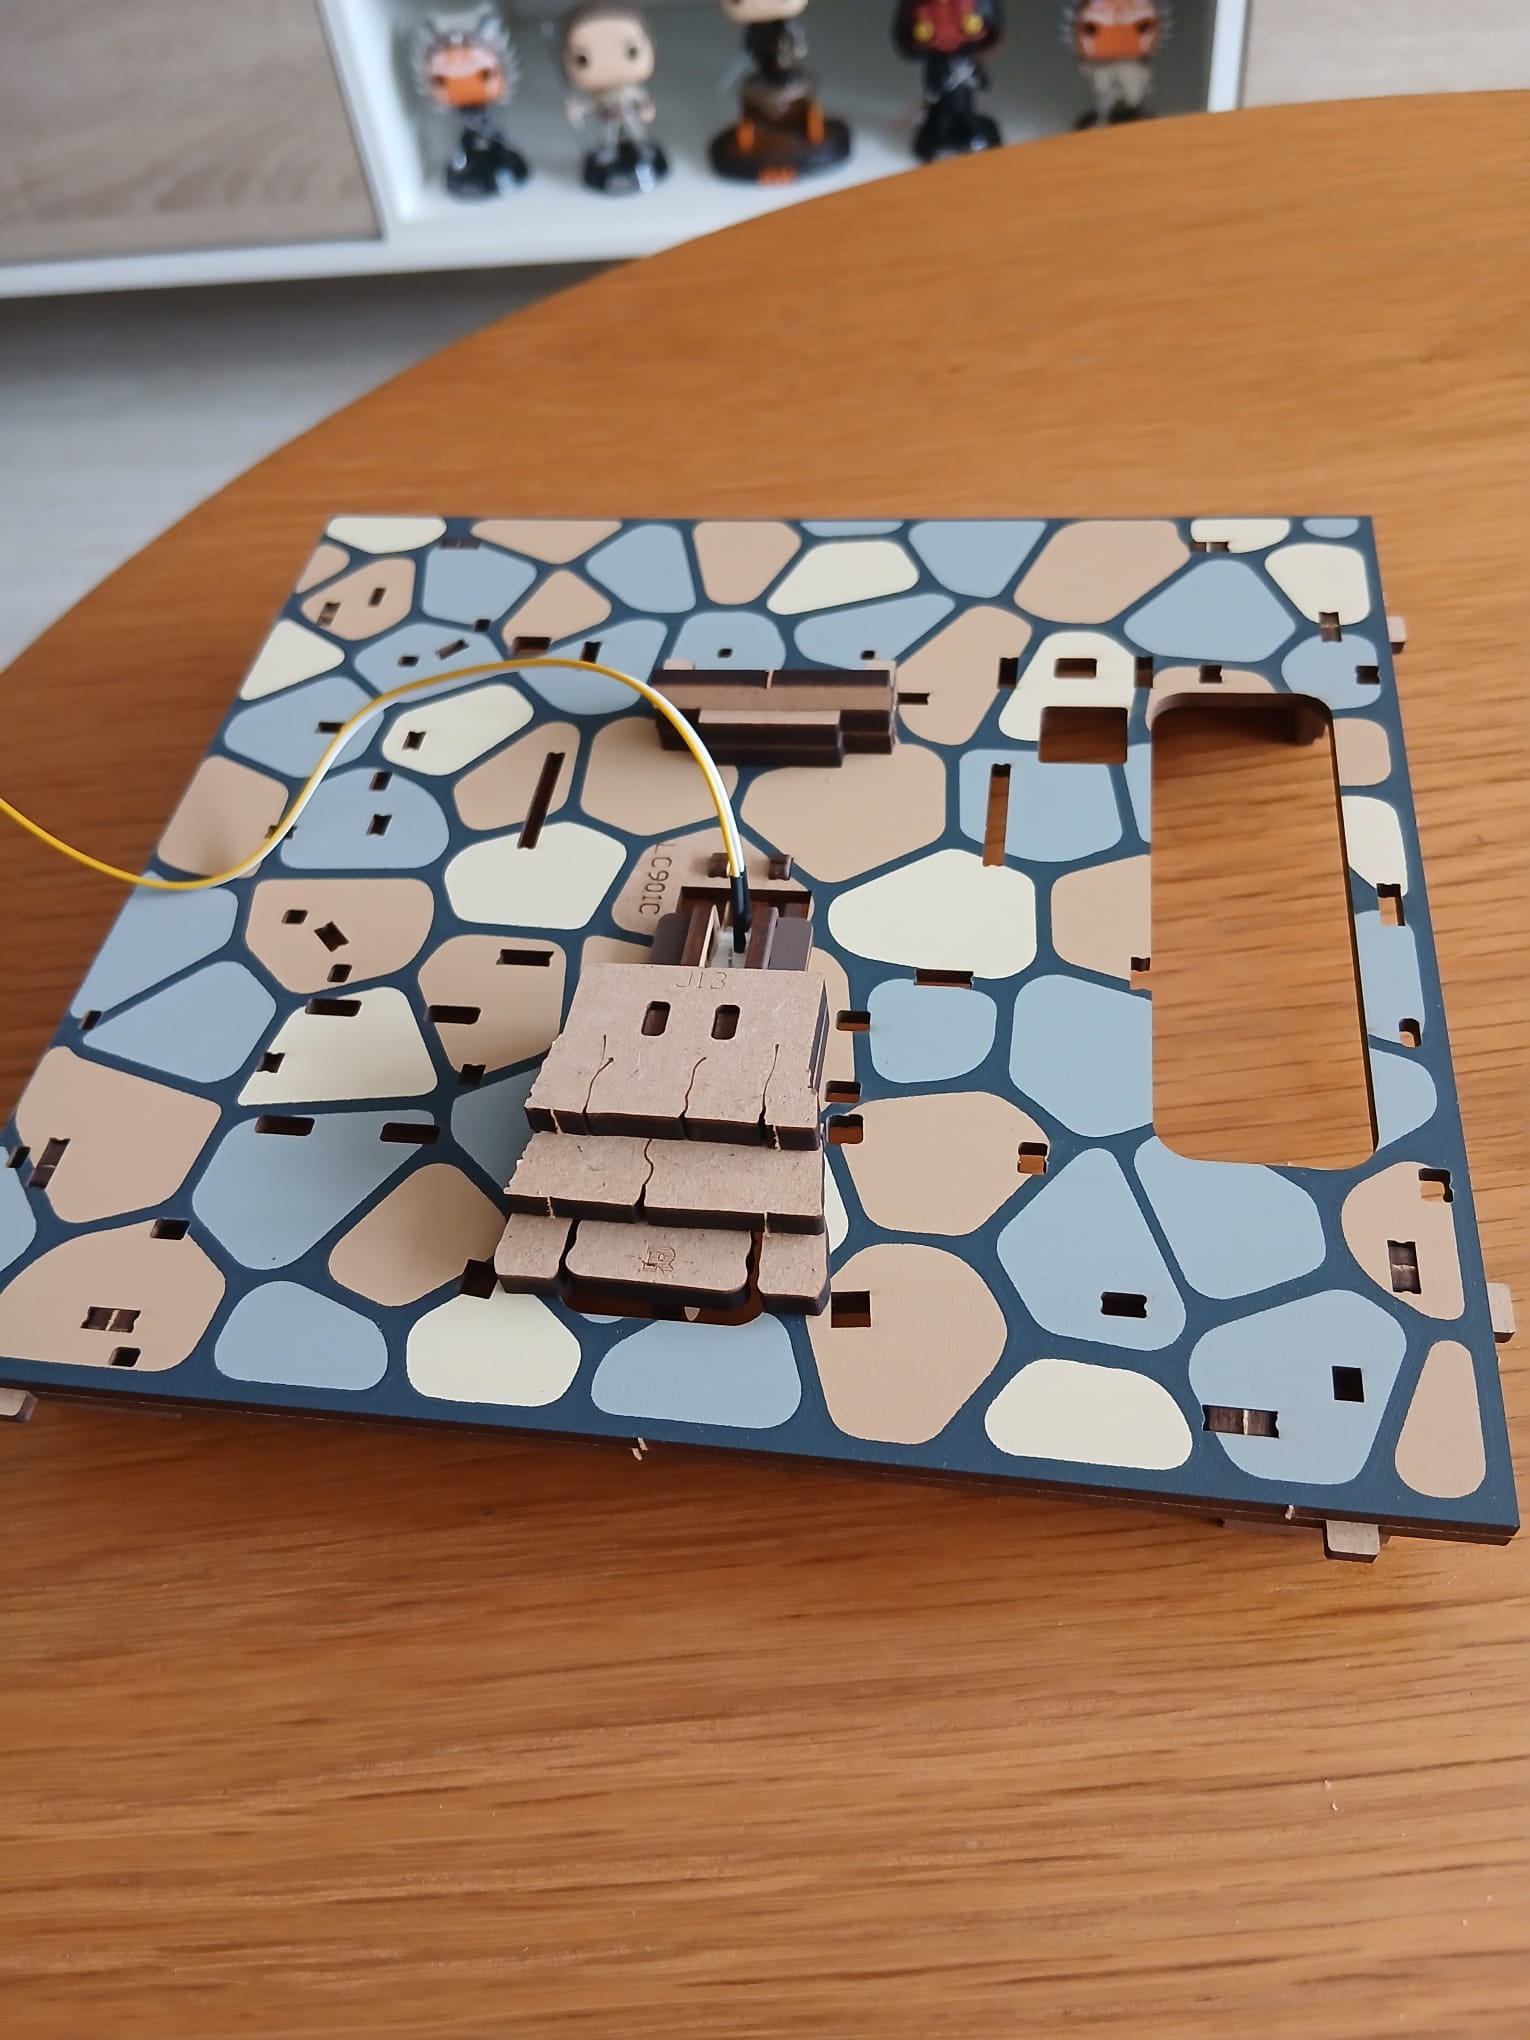
Let’s start this amazing journey then! The first thing to do is to build the… Cuckoo House? And the cuckoo to live in it lol. So we start straight with the first mechanisms, adding some engines to the ecuation.
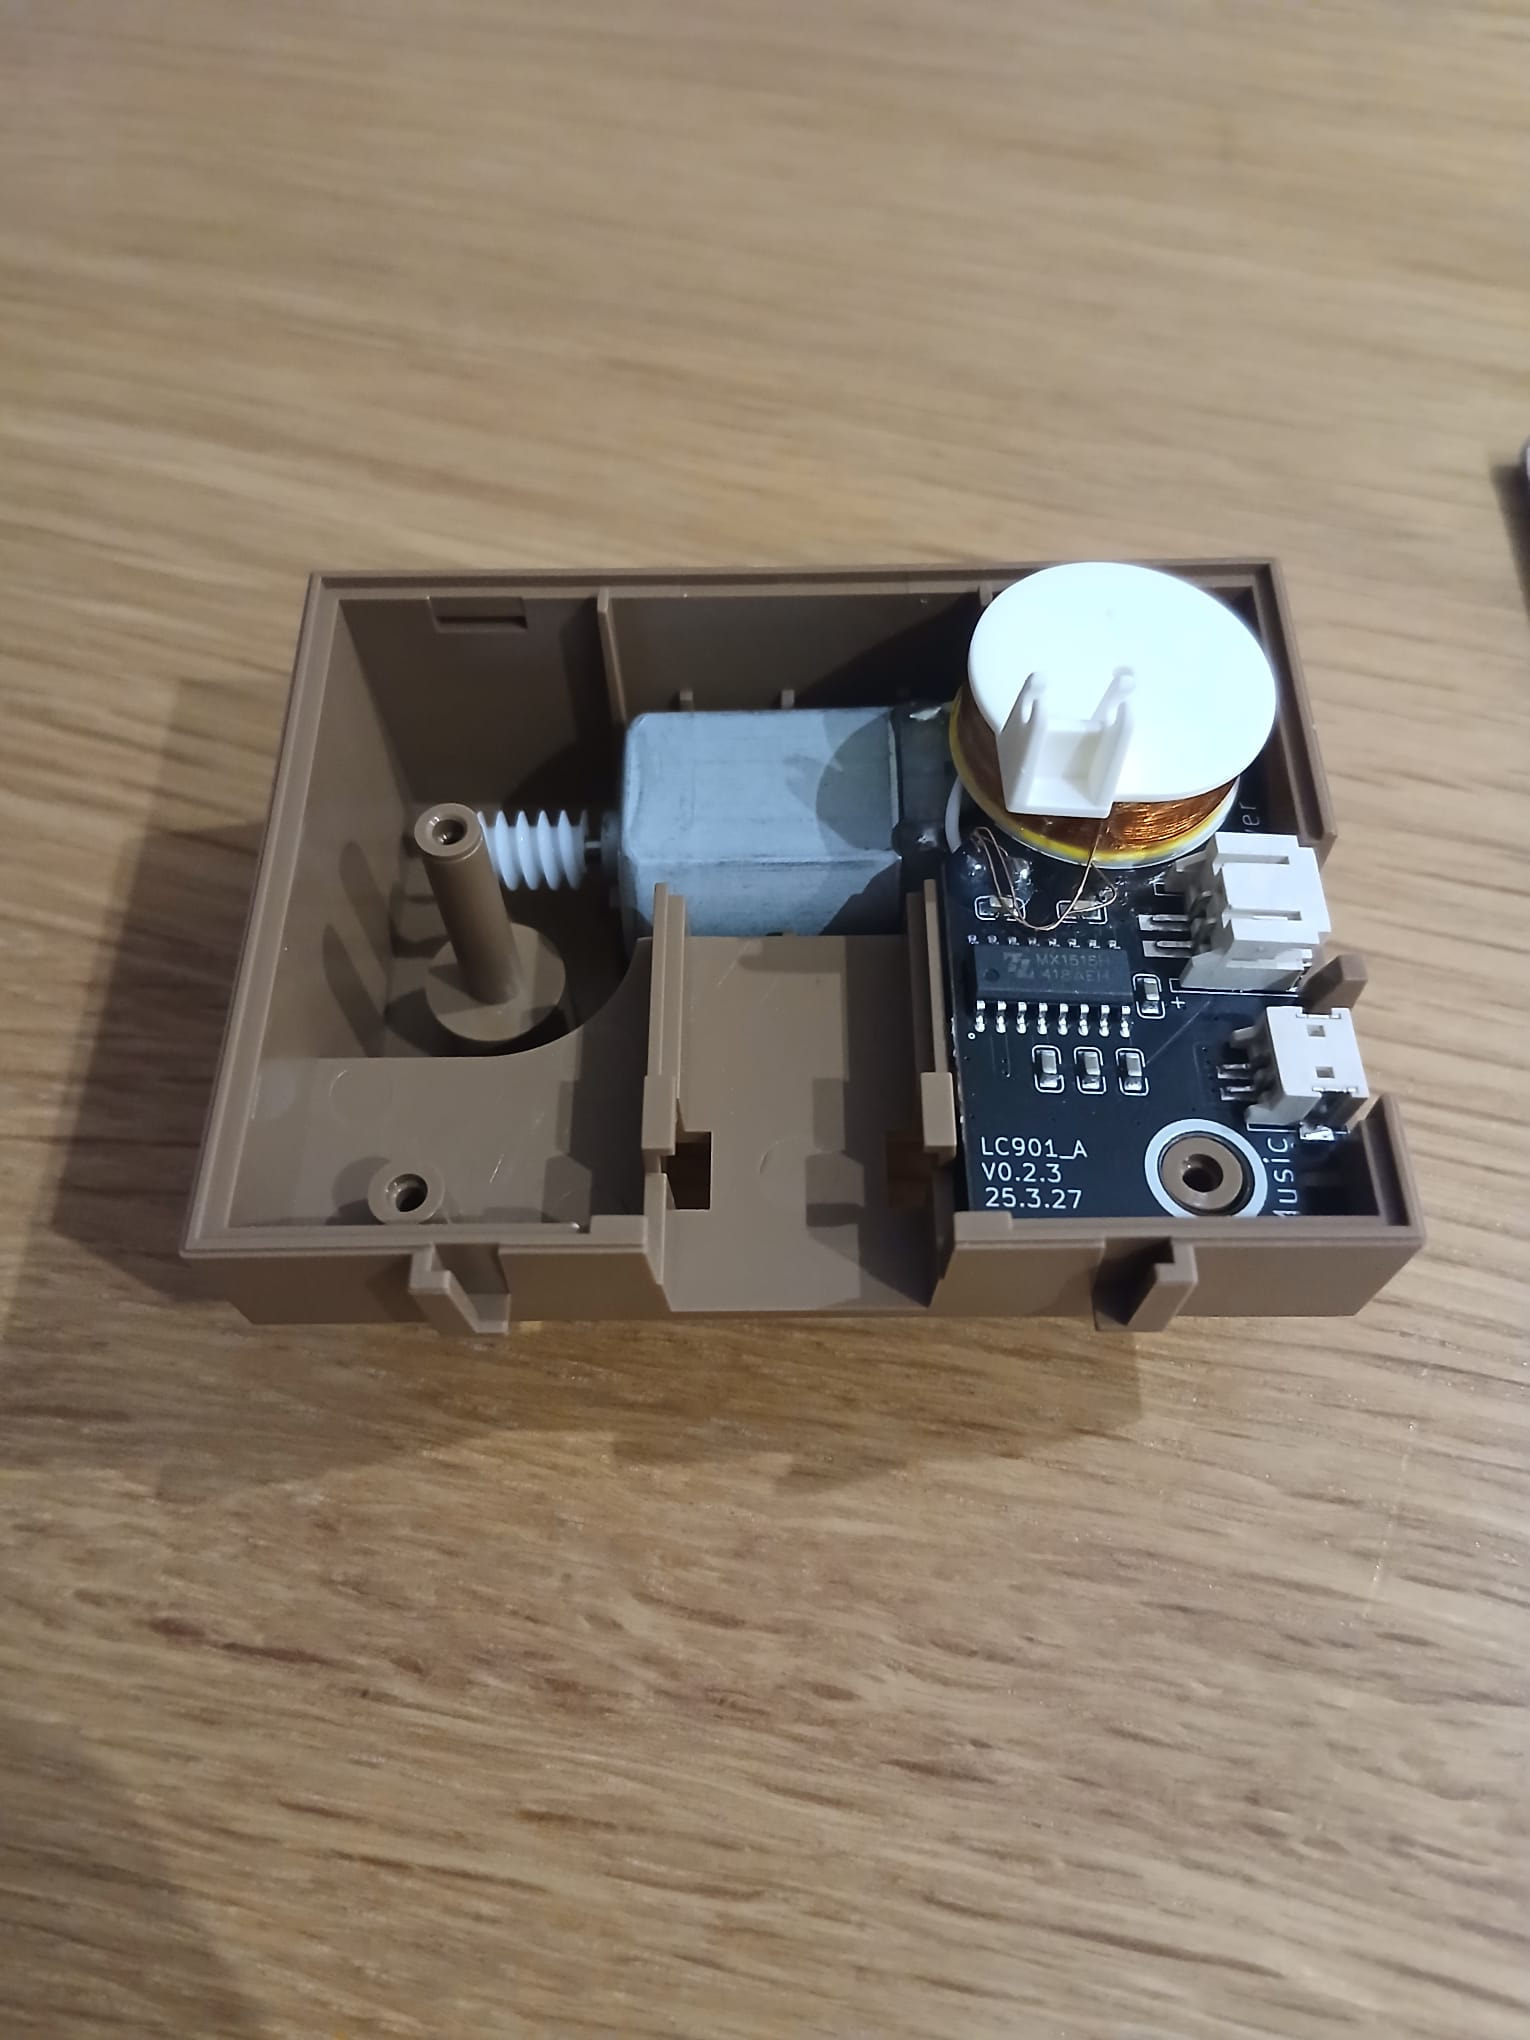
I already knew at this point that the Step 1 of the manual would be important and I’d need to fit and align things correctly for the cuckoo to properly work from the beginning, no joking here! So I was focusing like I haven’t focused at any point in my life. Not even when I had to earn my driving license!

But yeah, I was finger-testing everything even at this early point. Here’s my finger doing my finger-testing.

Okay, jokes aside.
The base of the house was prepared so it was time for the cuckoo to come to life!
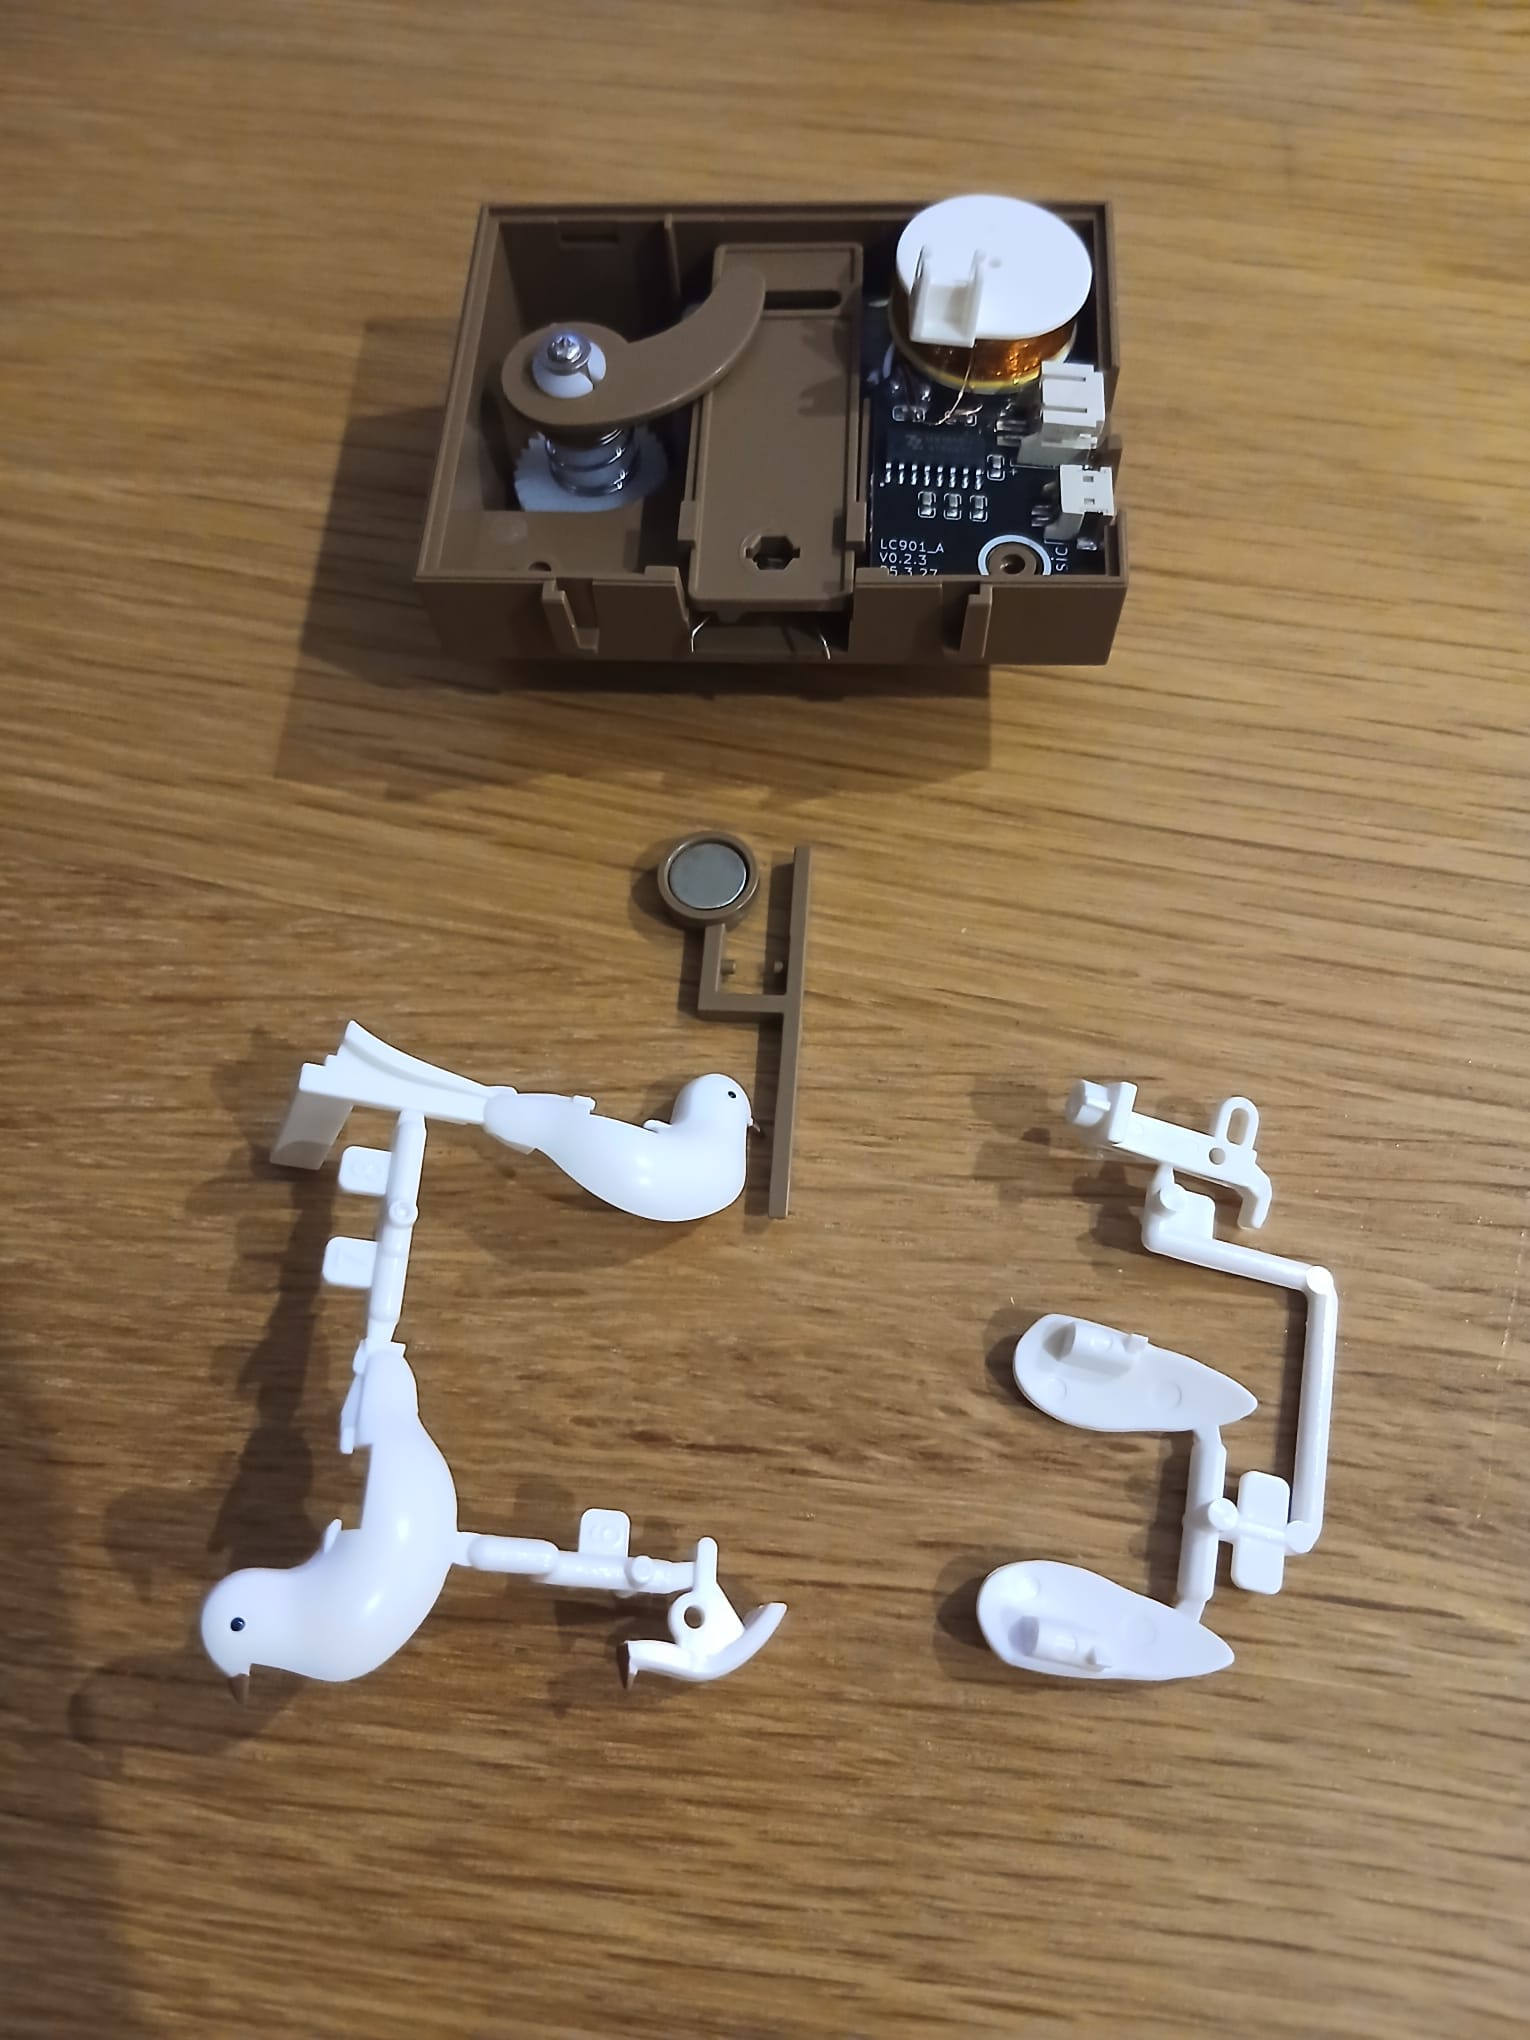
The manual prompted me at this point to paint the bird as I wanted to, but… I wasn’t gonna do that. You know that already, don’t you?

So yeah, my cuckoo is white as it comes.

Now I had to properly and carefuly align it in the box-house, so it wouldn’t find any issues coming out later!
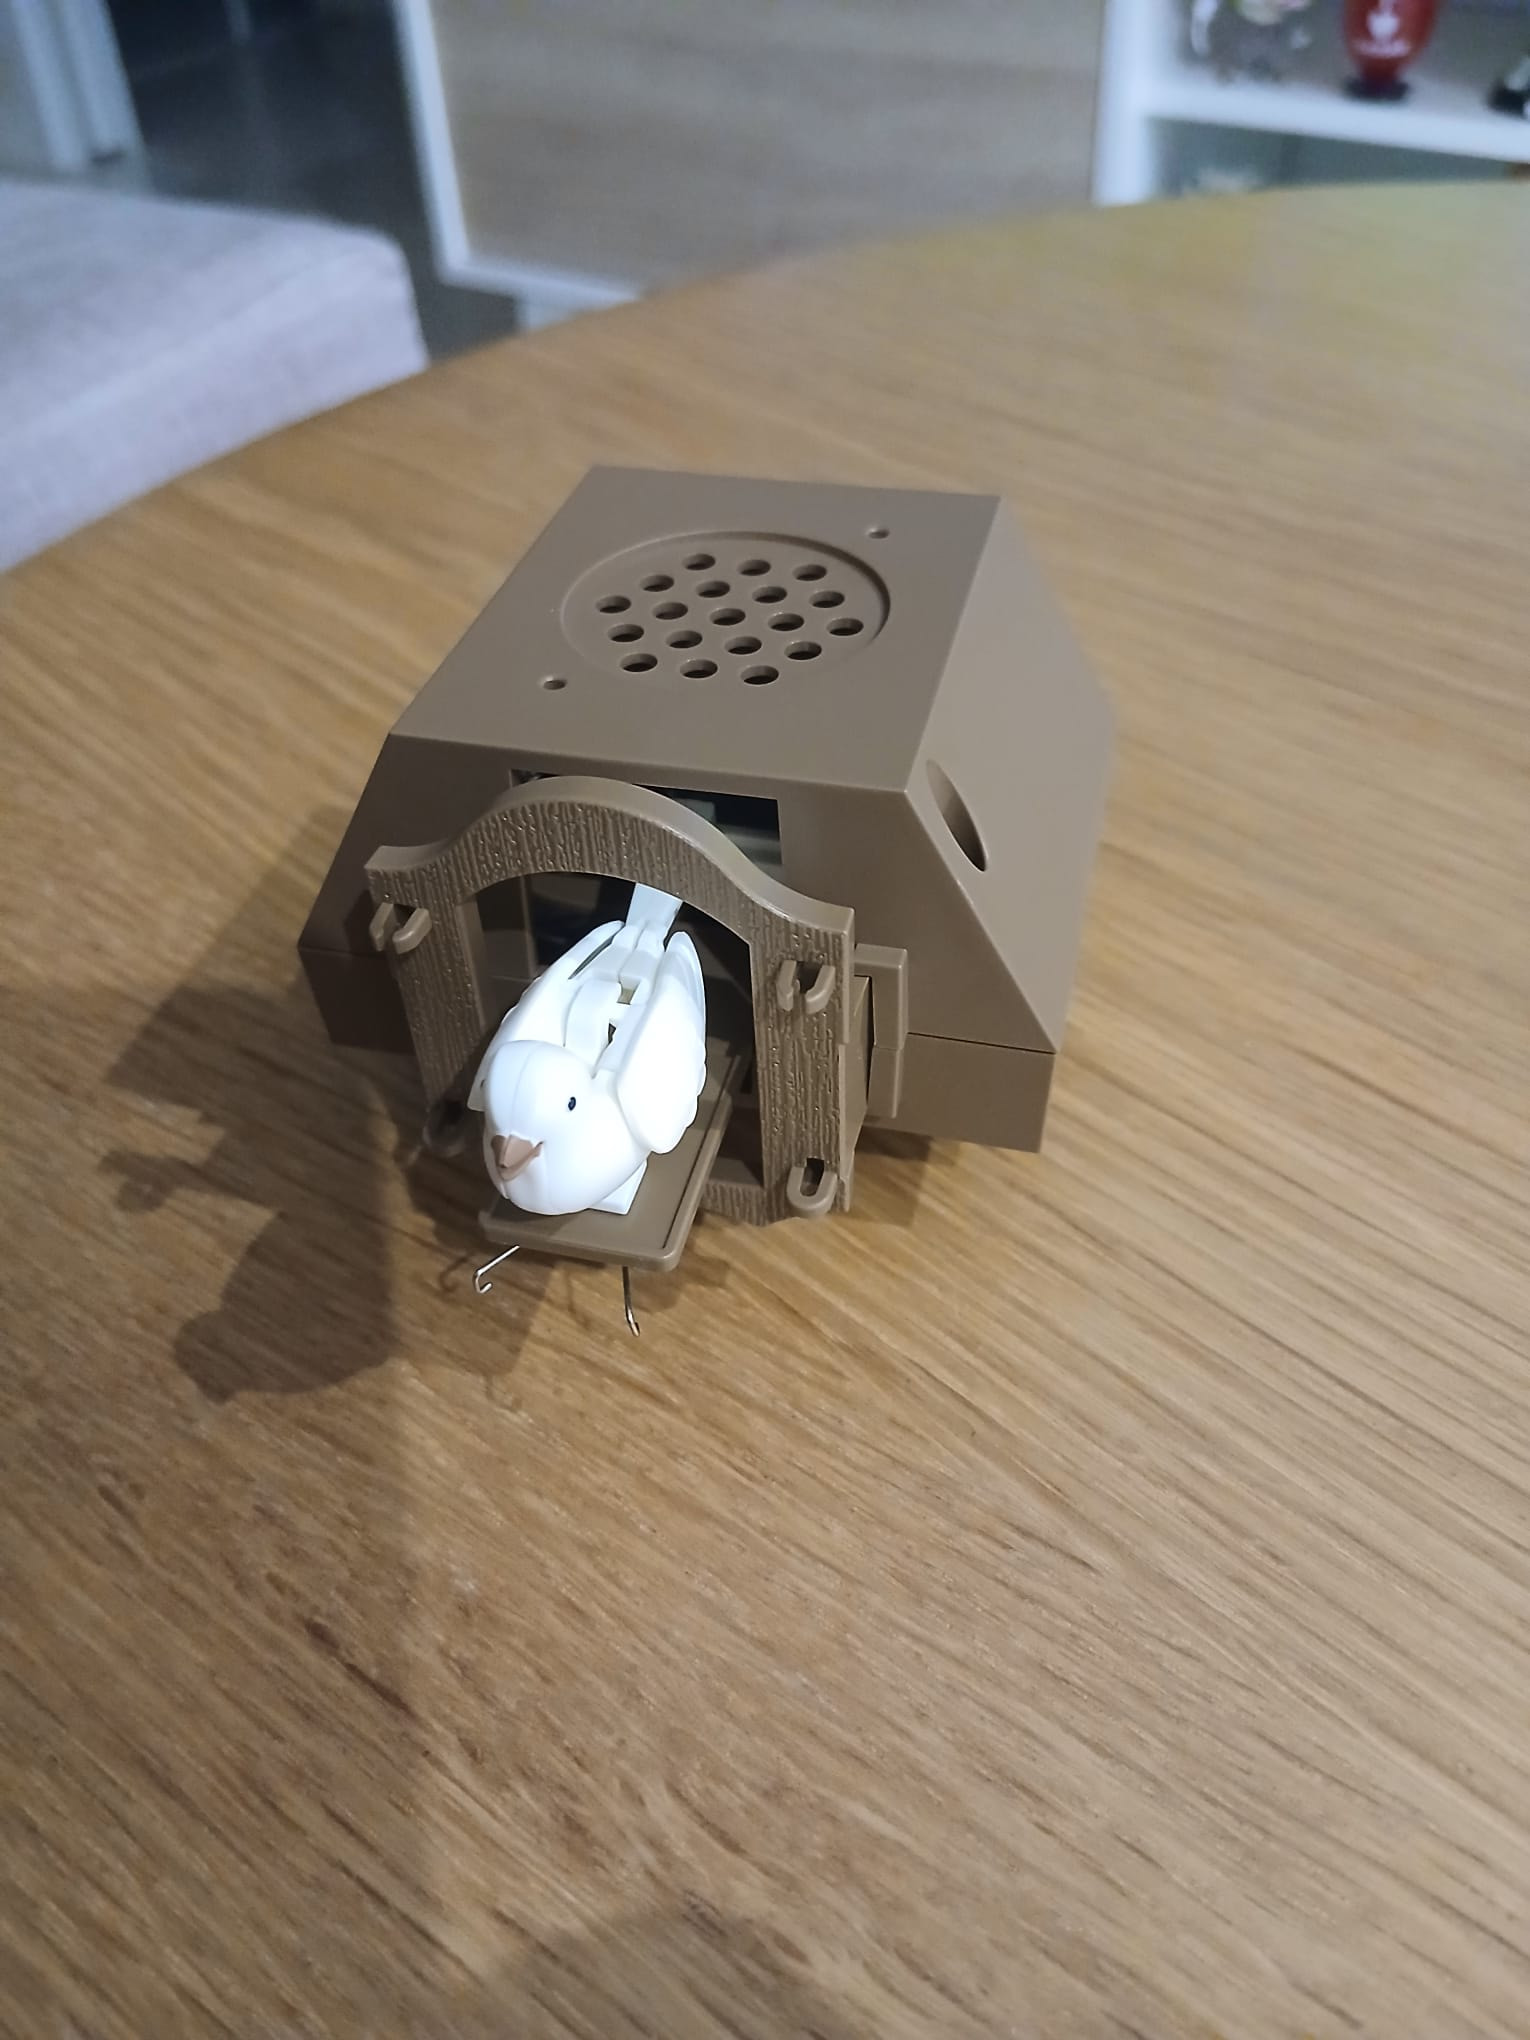
And then the tiny little doors. It’s so cute how they’re attached to those little wires to make the open-close effect, isn’t it?
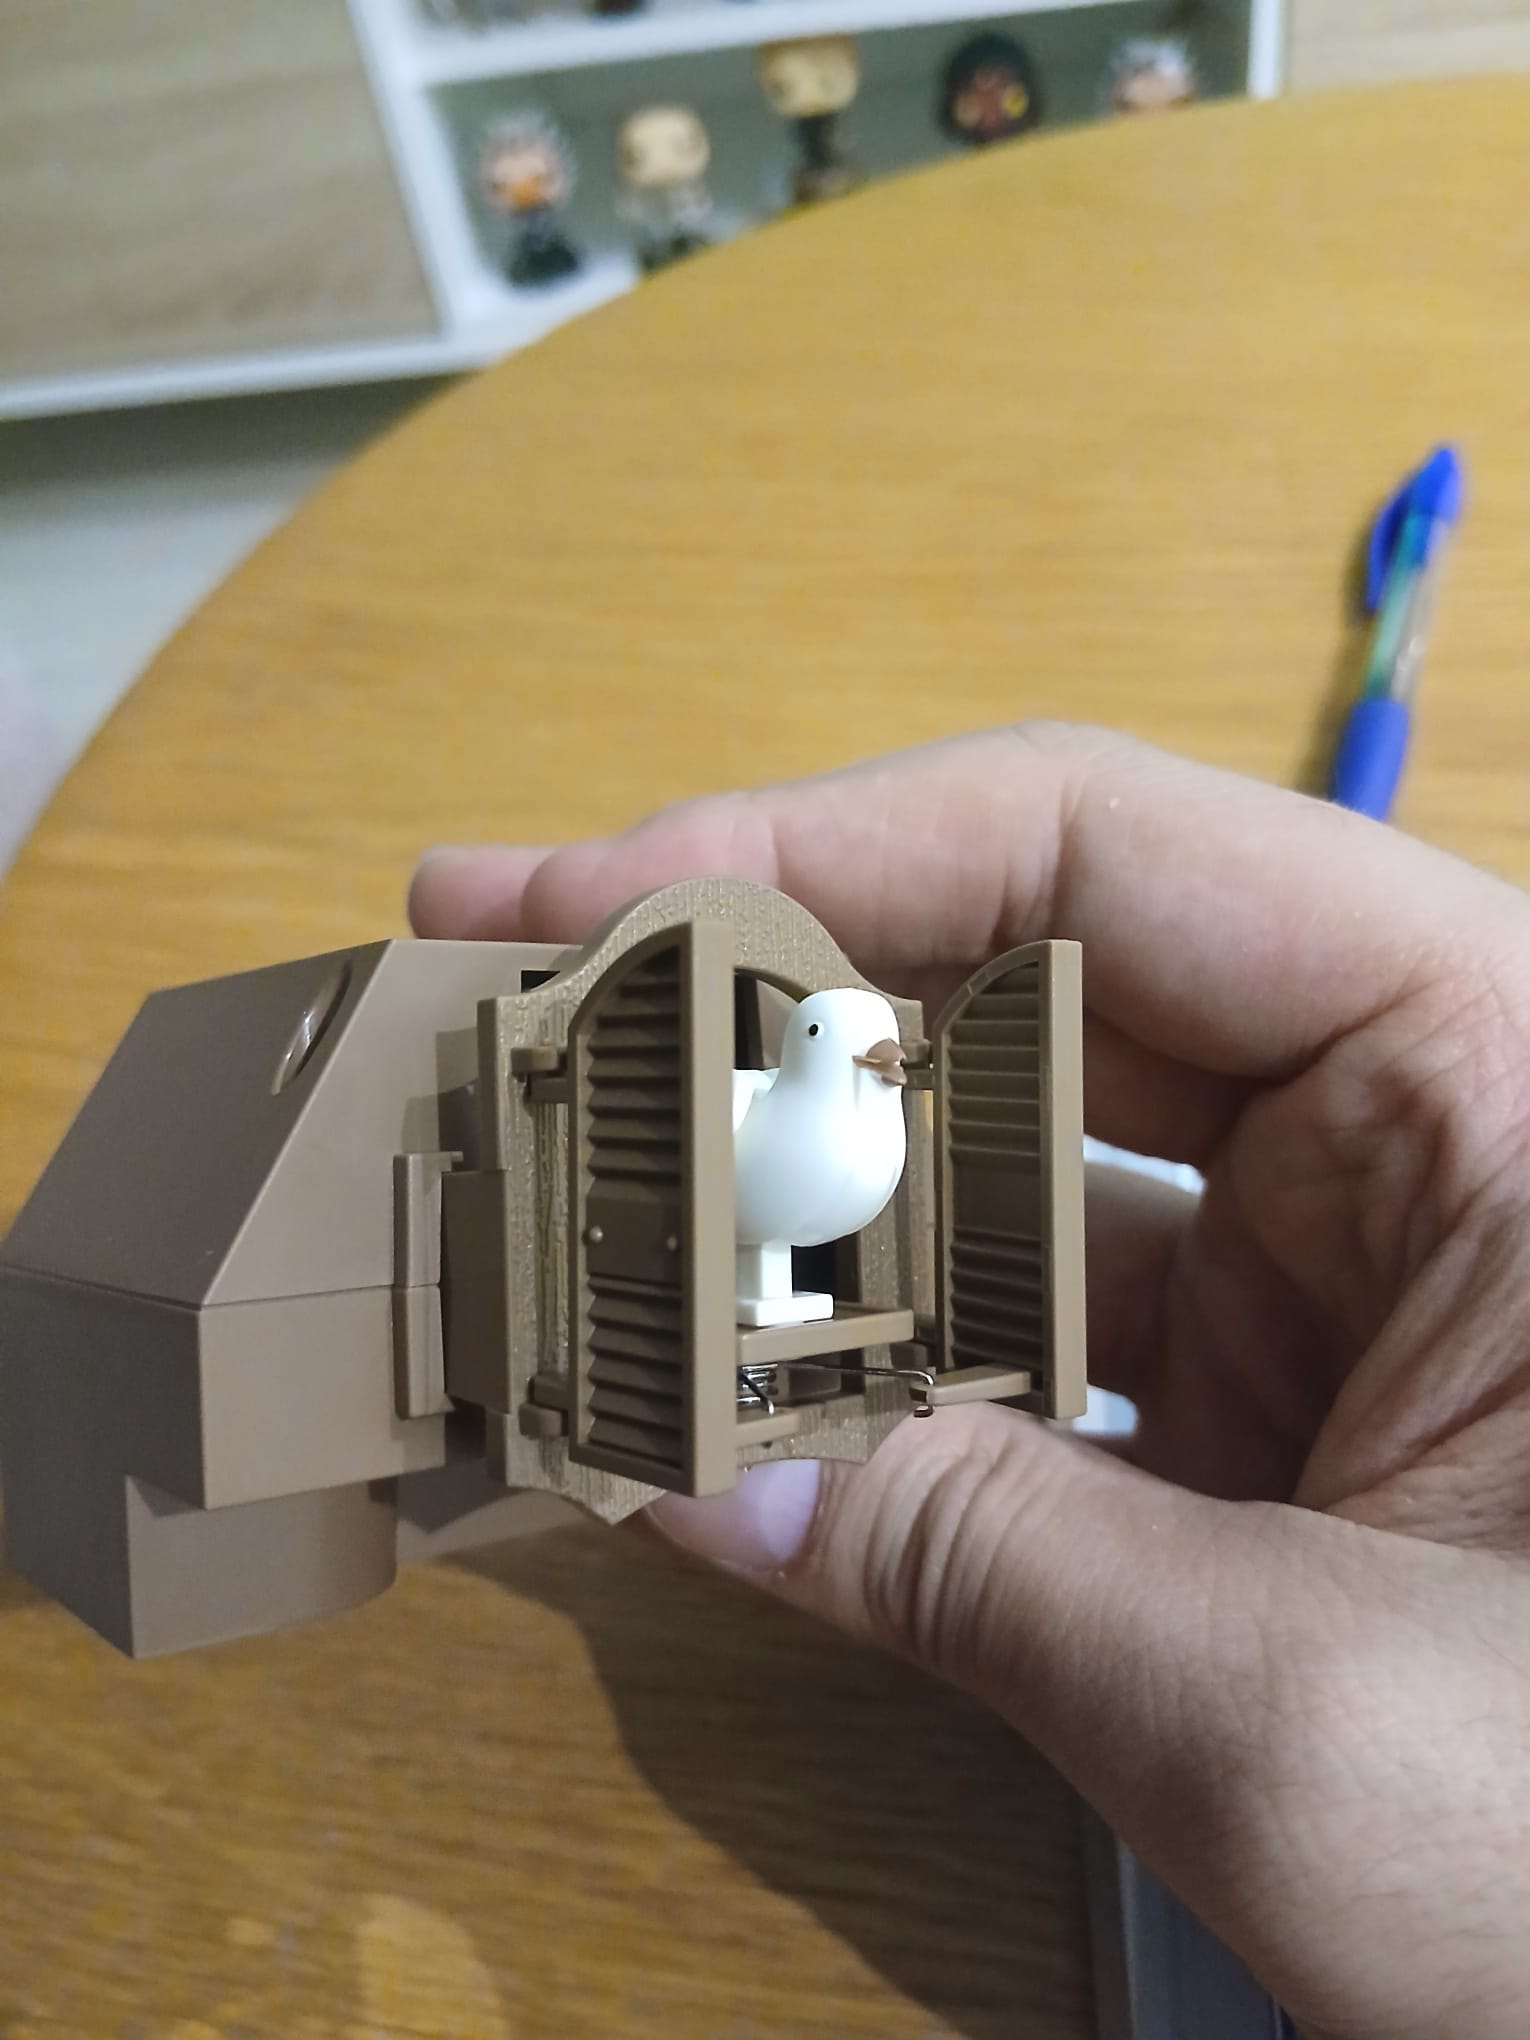
And now… TEST TIME! I was trembling at this point. It was the moment of truth!
Buuuut…It was working perfectly, yay! I love the sound of it lol. What can I say.
Okay, that’s for steps 1 and 2 of the manual!
But I’ve made it through two more, lol. It was a pretty empty weekend, so I had plenty of time to kill. I didn’t wanna rush the build, but then again, it wasn’t gonna hurt to build a little bit more, right?

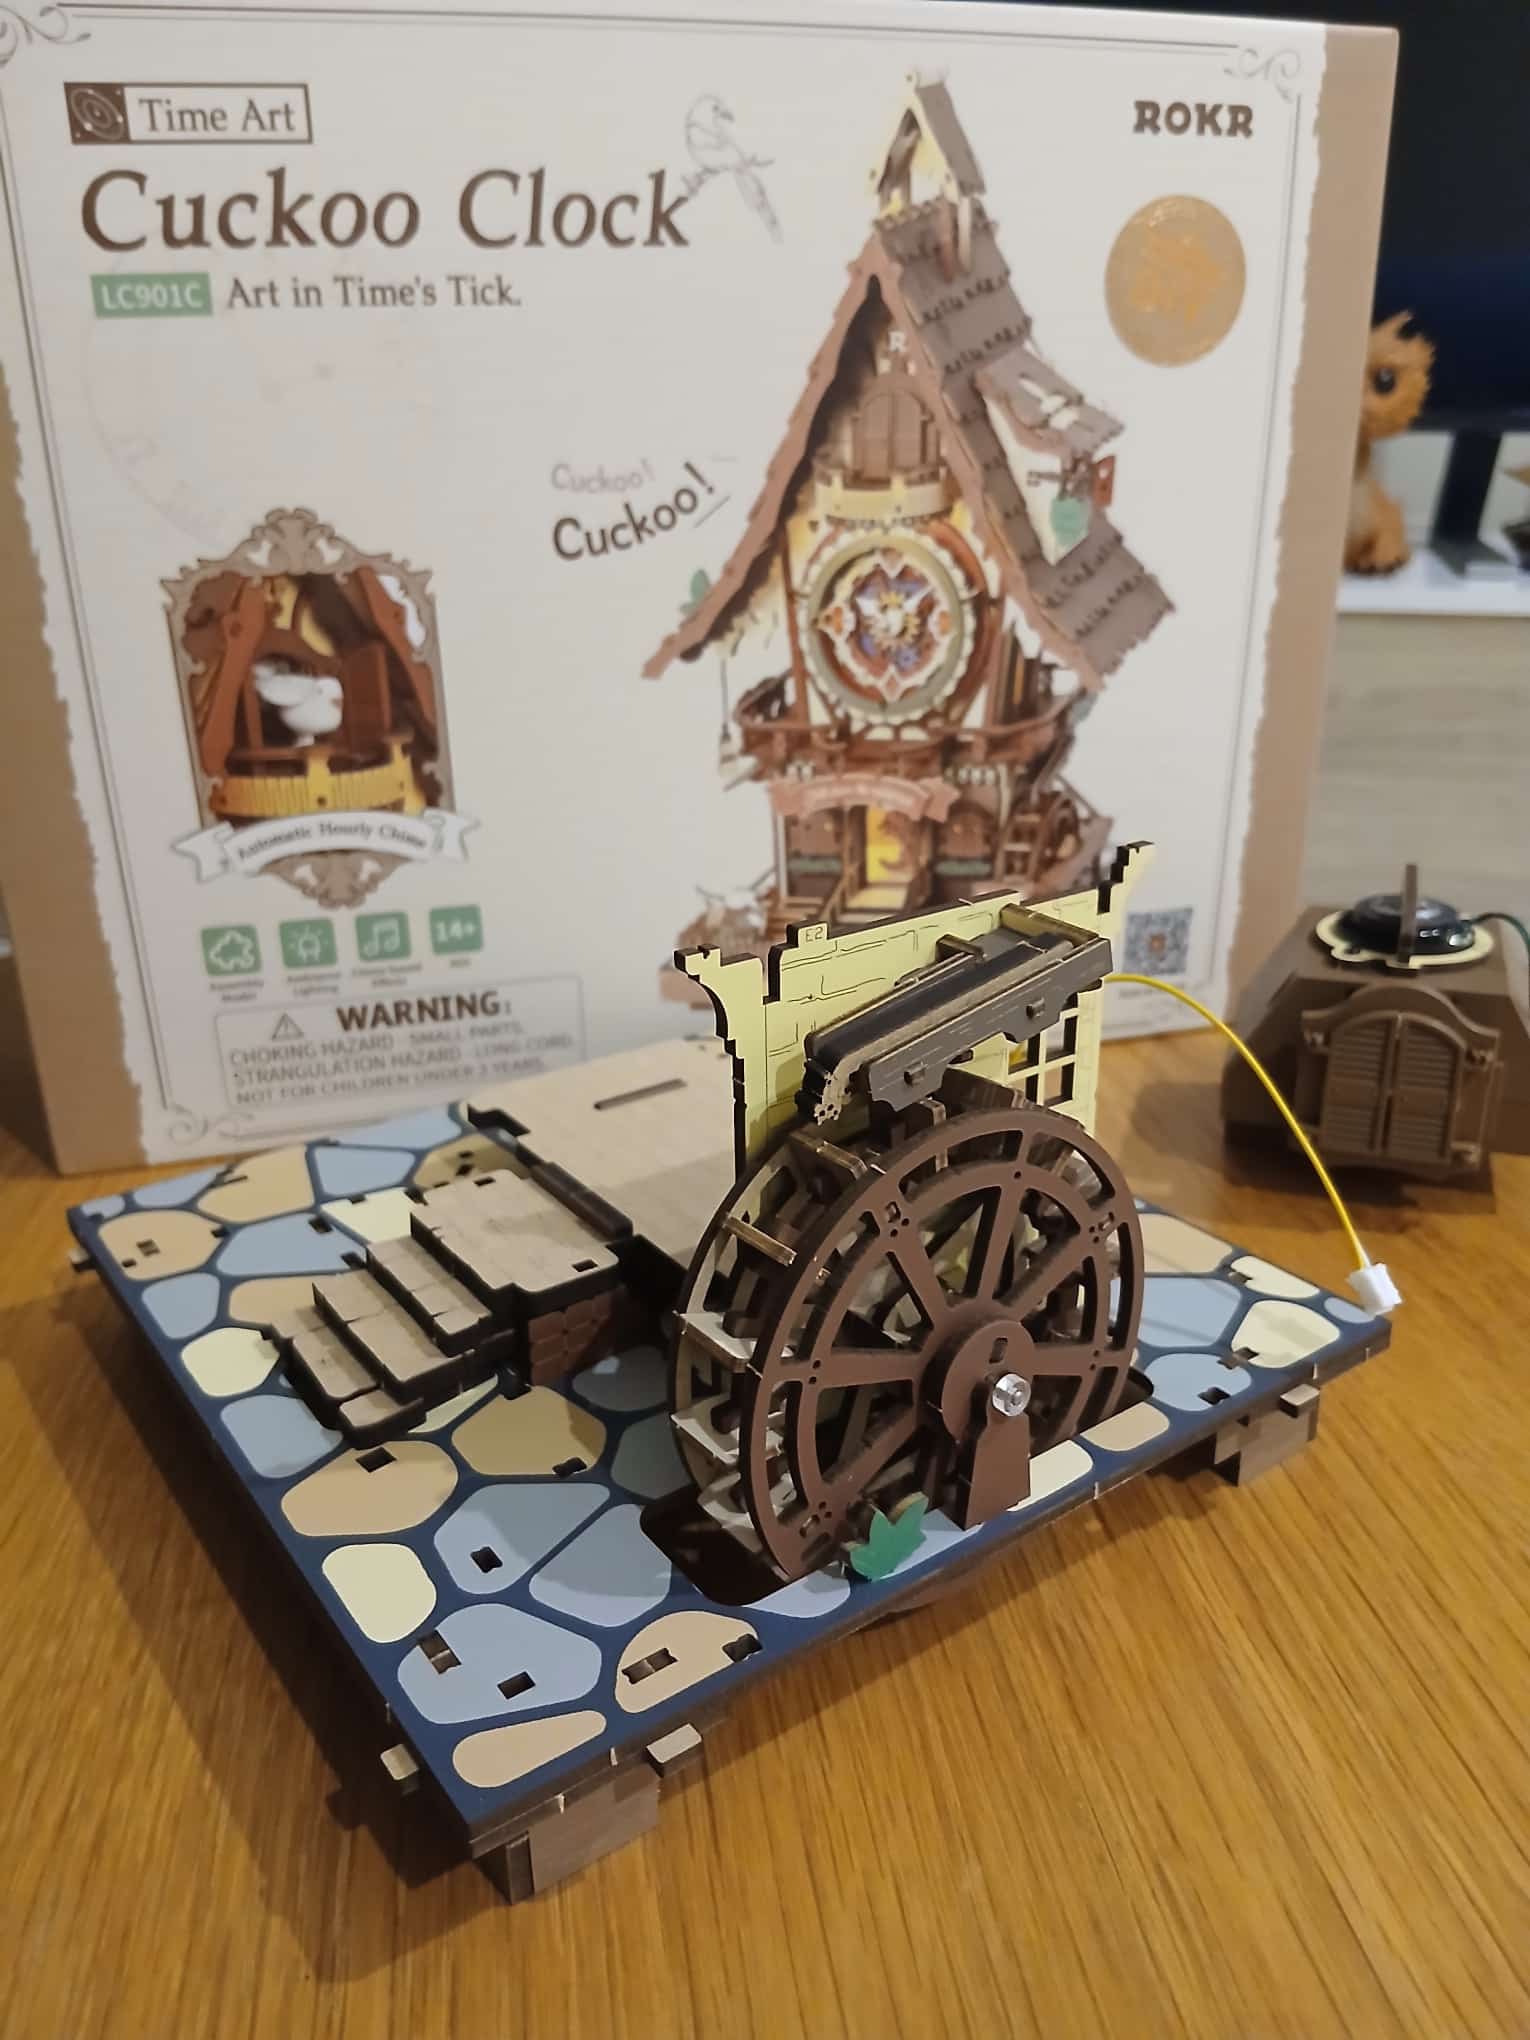
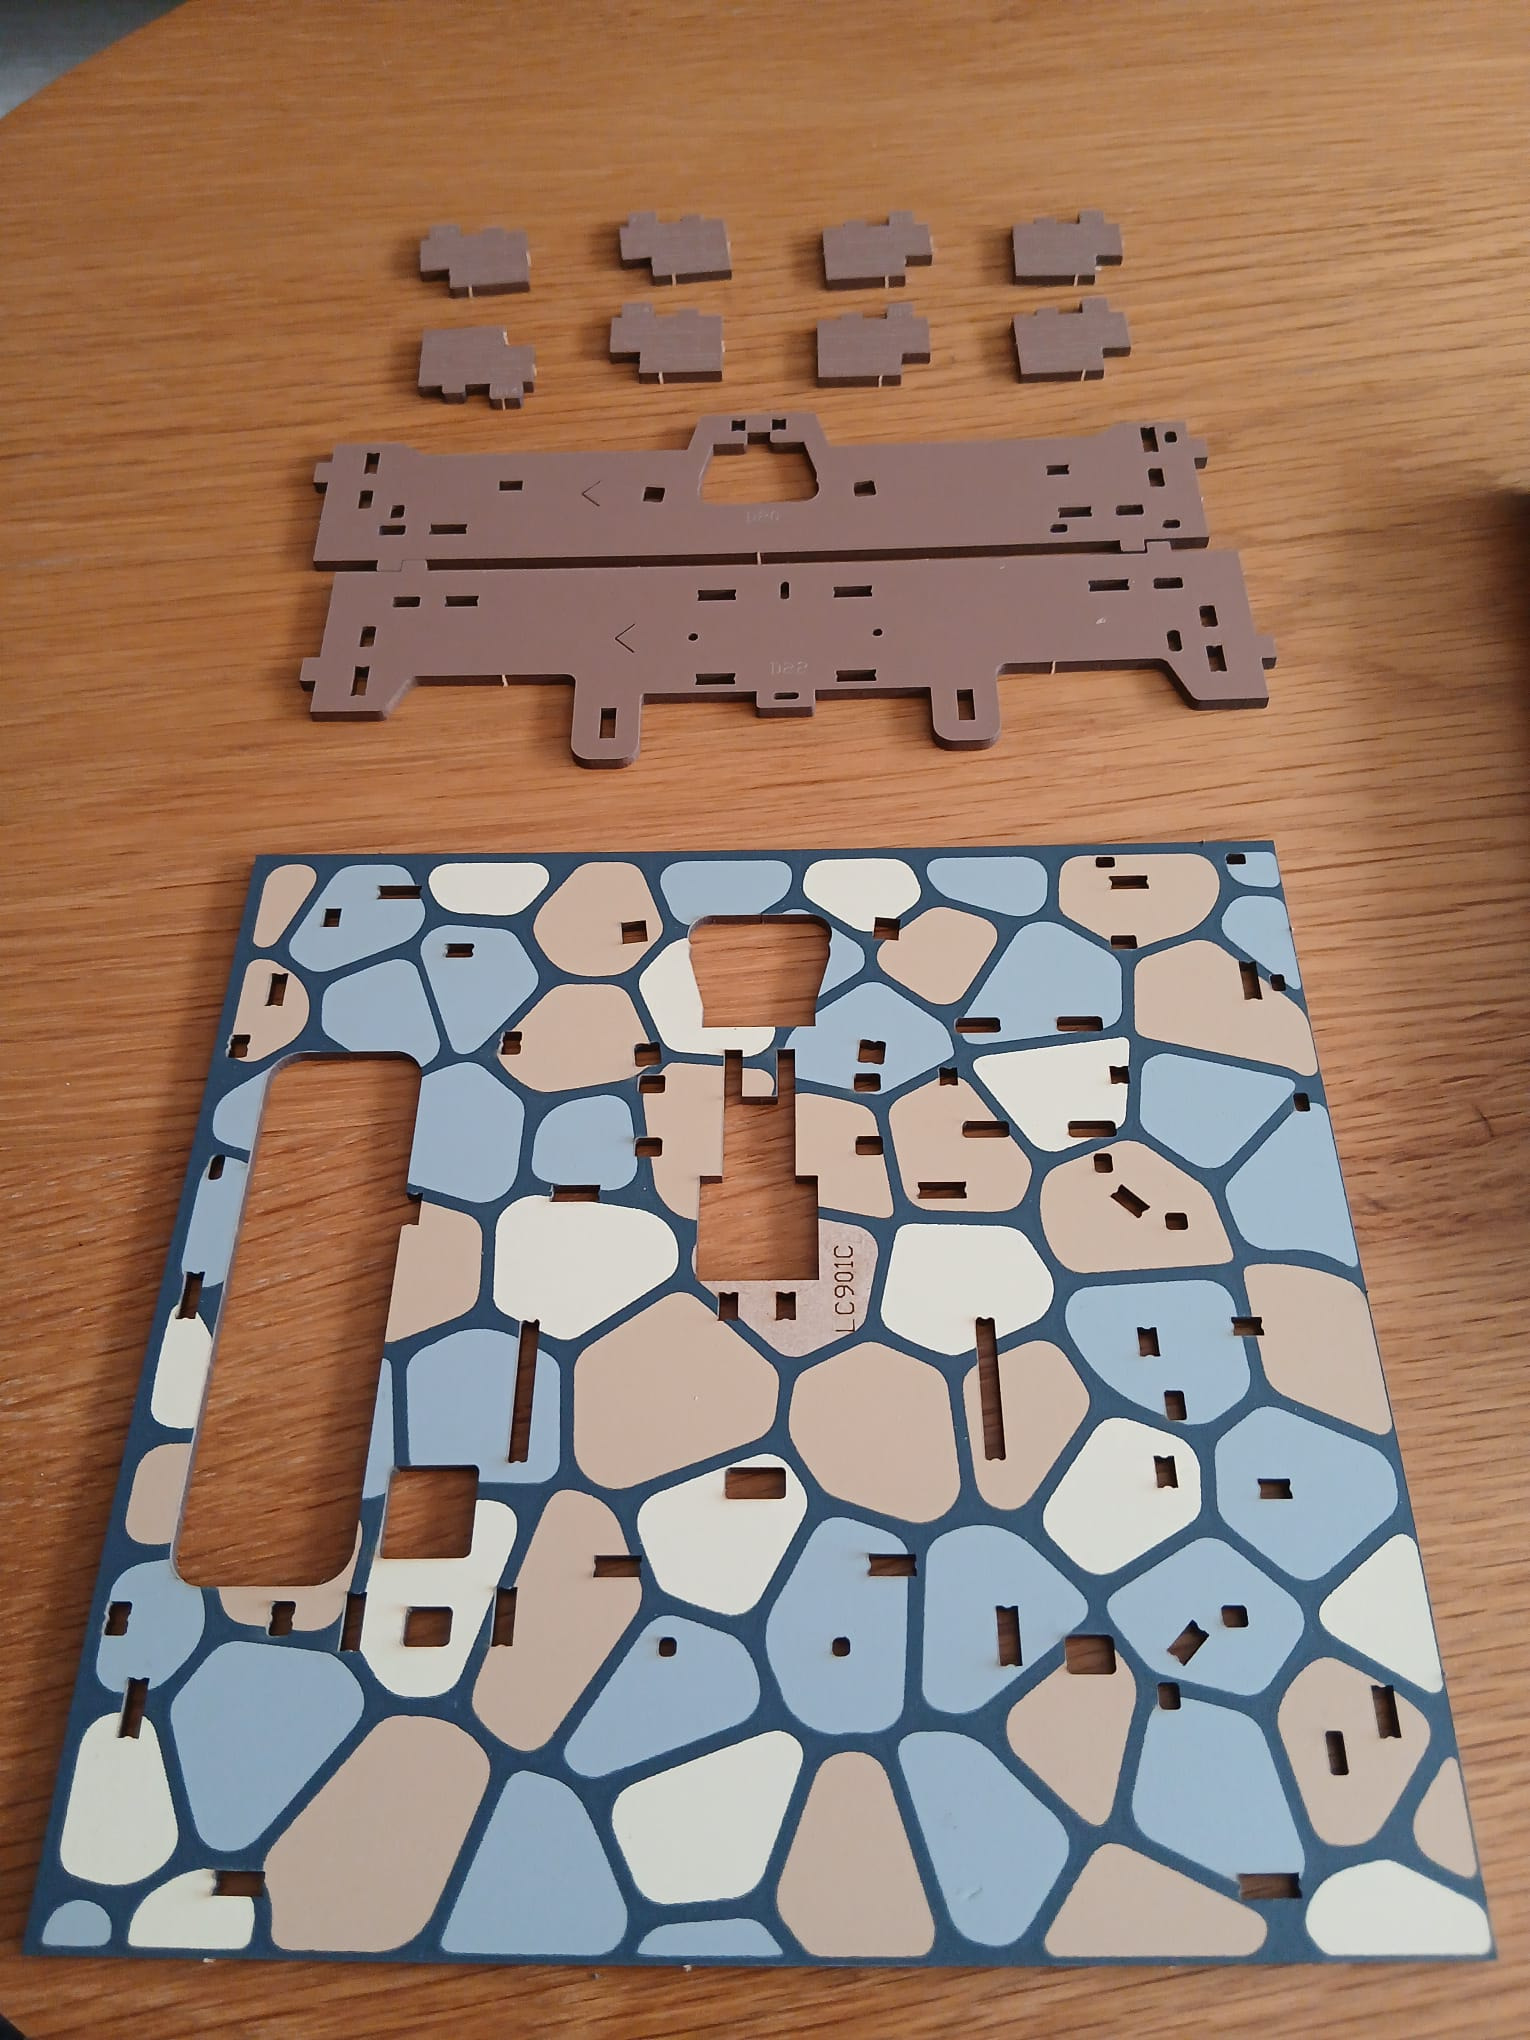
So let’s put aside the cuckoo’s house for the moment and start building the structure of the clock itself! Now we’re talking.

We’re starting from the bottom of it, obviously! The base, that is. Which is also nice since at this point I kind of knew the space of surface this will cover, so I could start thinking about where to display it once it’s fully built ![]()
There’ll be time for that though. So we’re starting with that for the base:
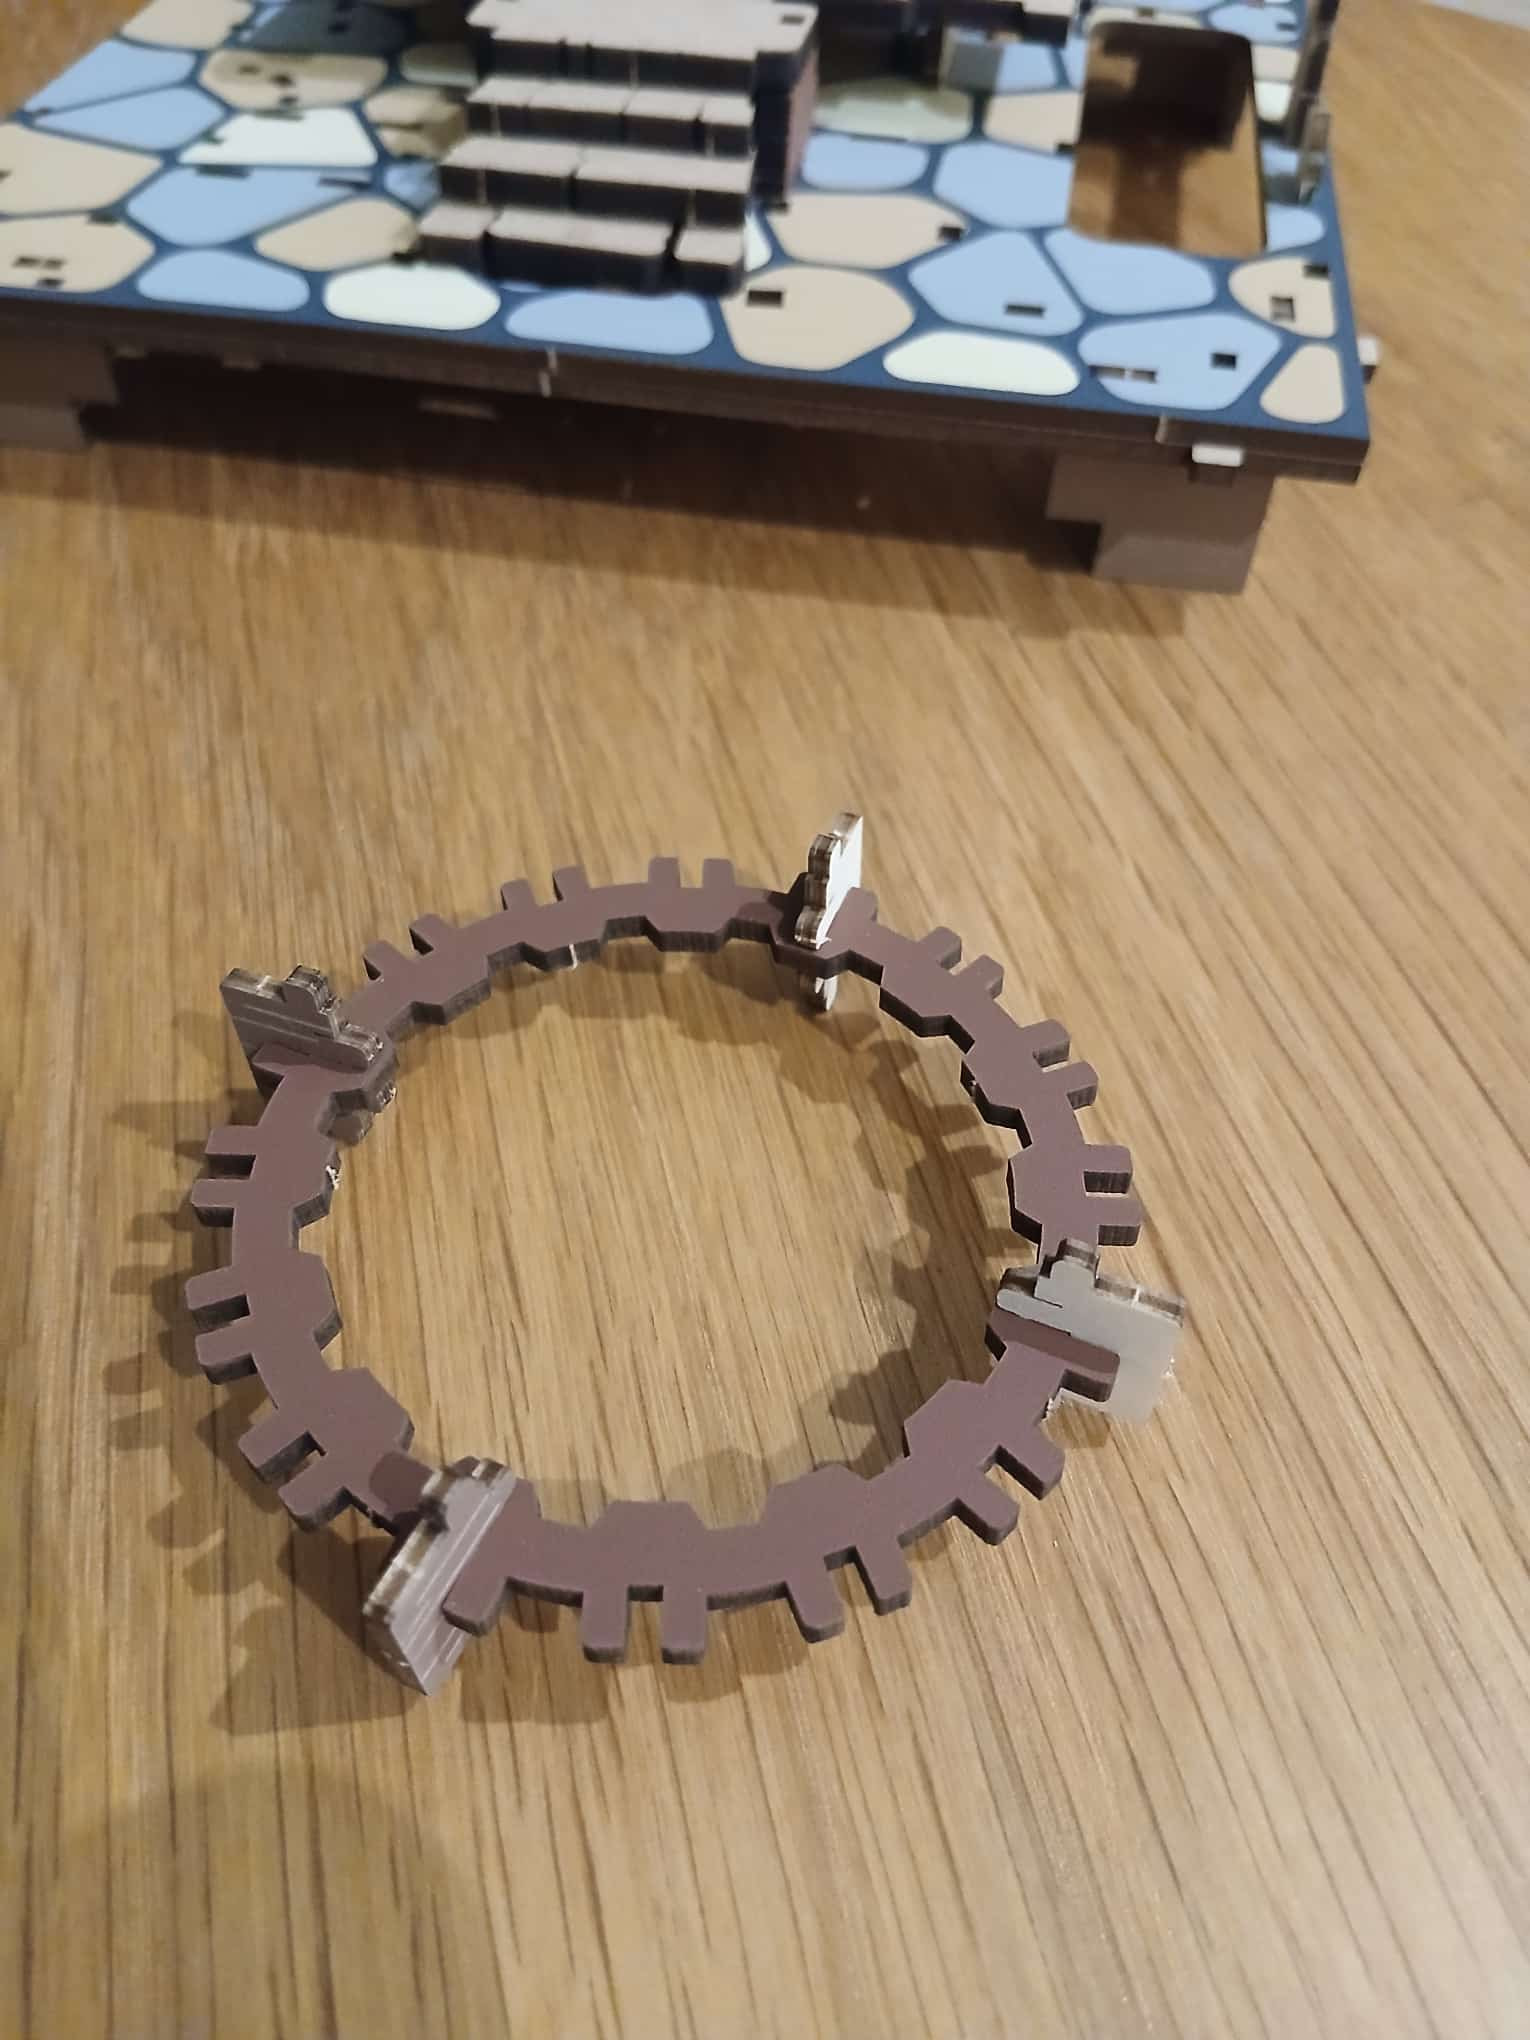
And once it’s risen over its “legs”, it seems like we’re adding our first mechanical system to the ecuation!
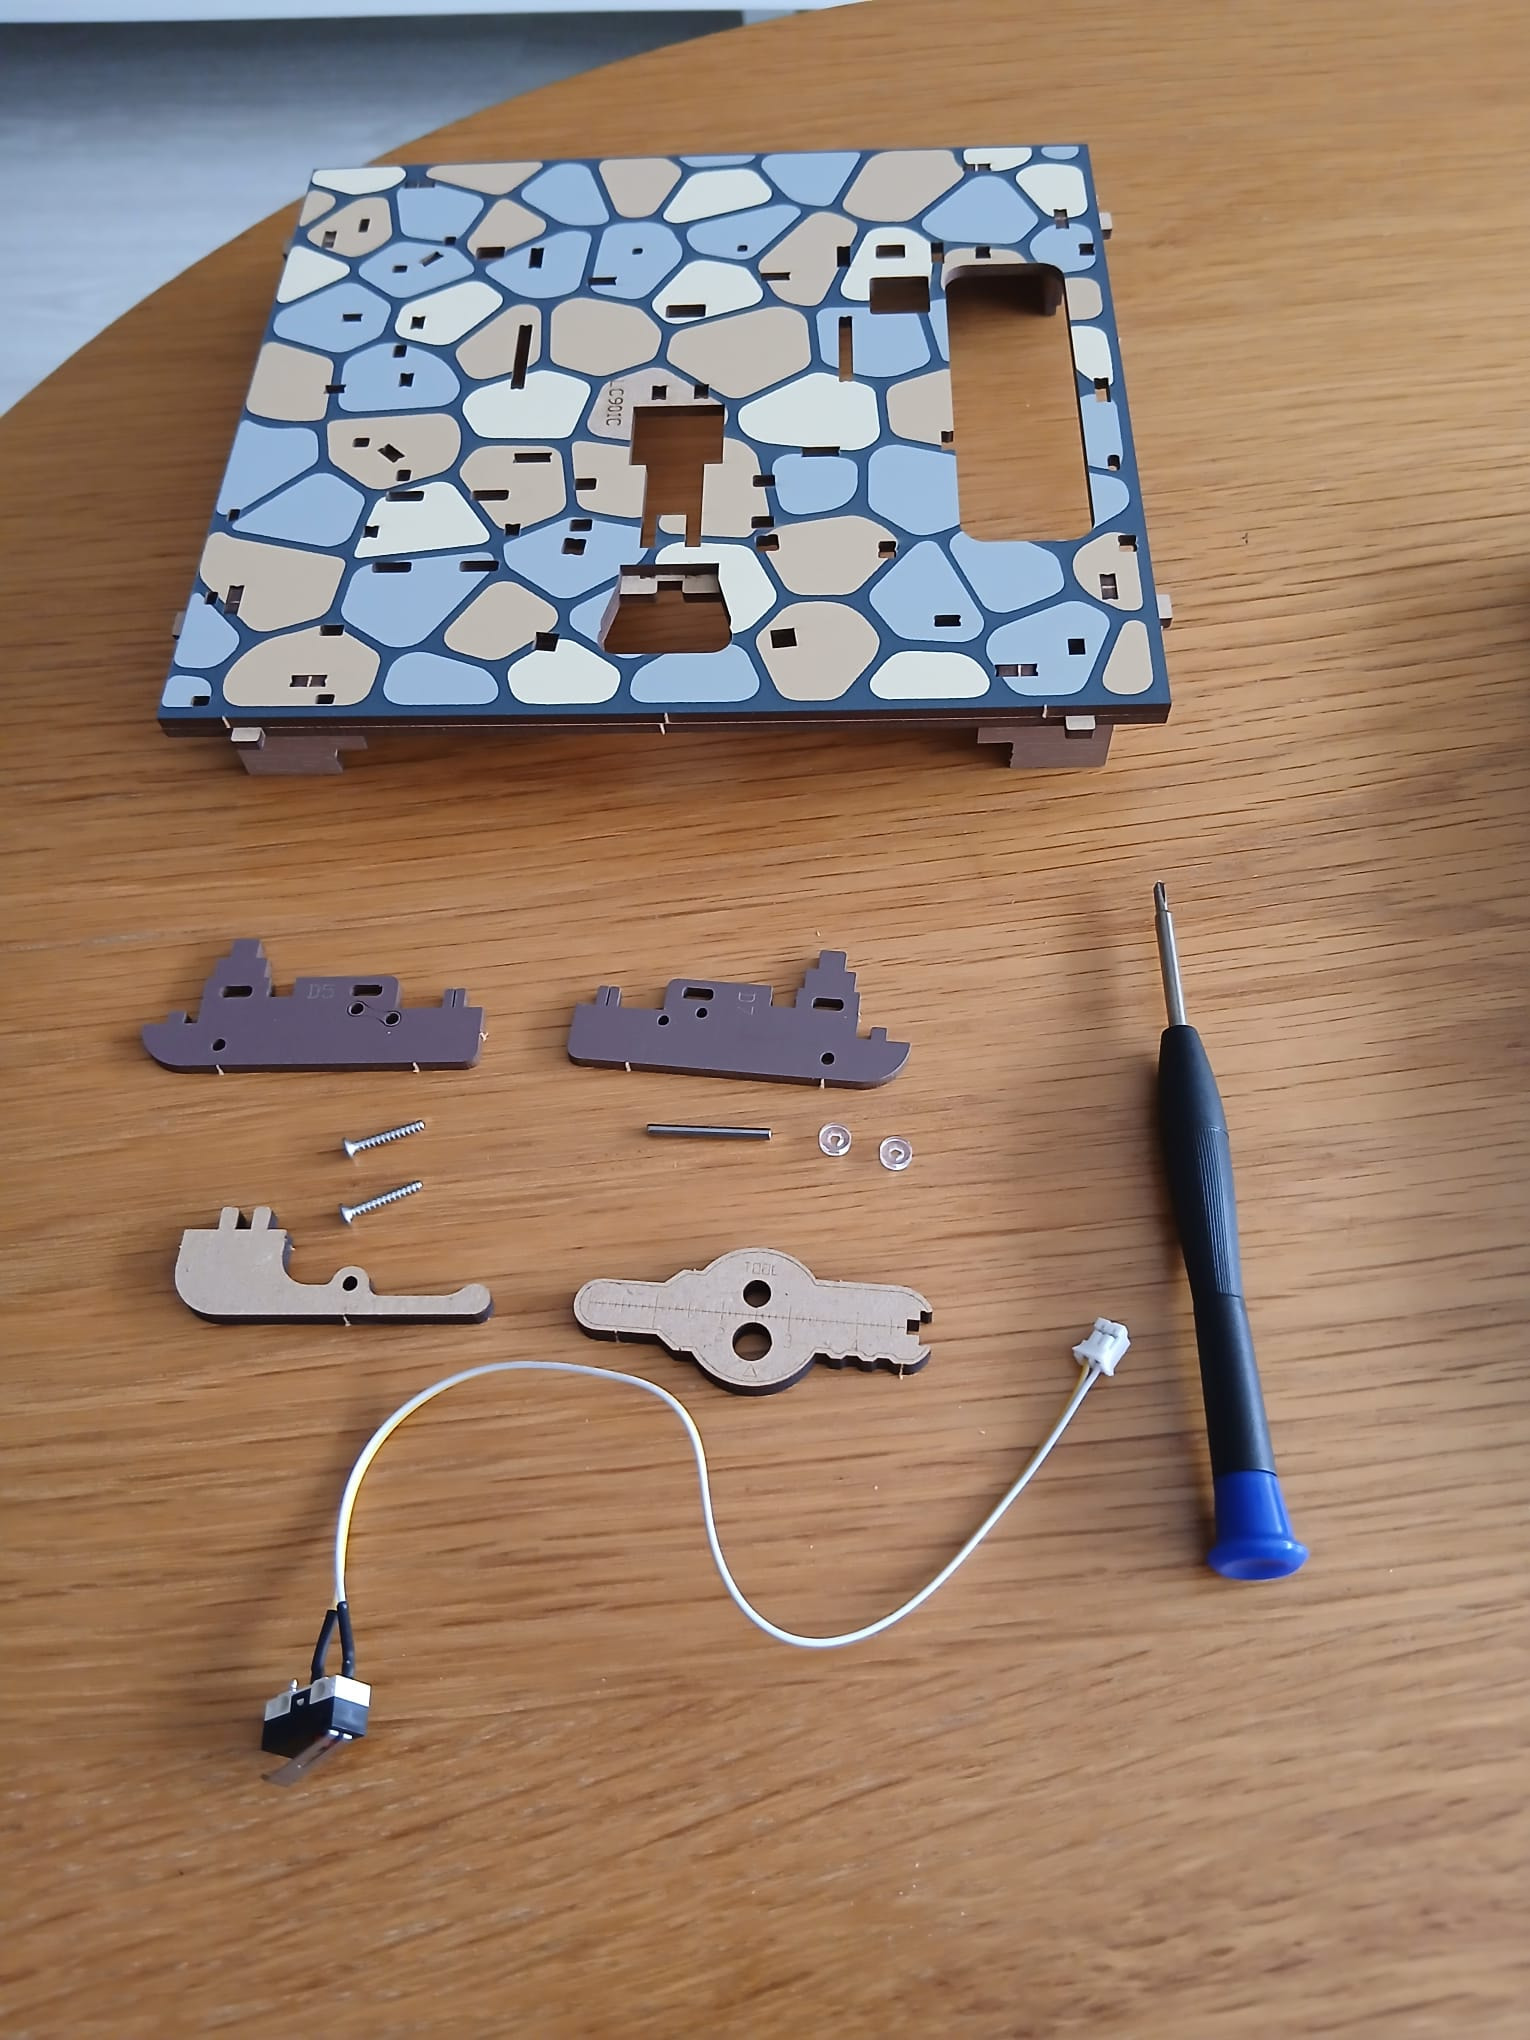
This will be the… Push-button, not sure for which function yet? Lights? Cuckoo? We’ll see!

Once we’ve built this we place it underneath, just like this:

And we add the steps. So that’s it! The push-button turns out to be hidden as a step of the clock-house:
It’s just so addictive to press it, LOL.
Let’s move on lol. It’s not my fault! It’s just so… Pressable?

Anyway. Let’s add an upper floor platform.
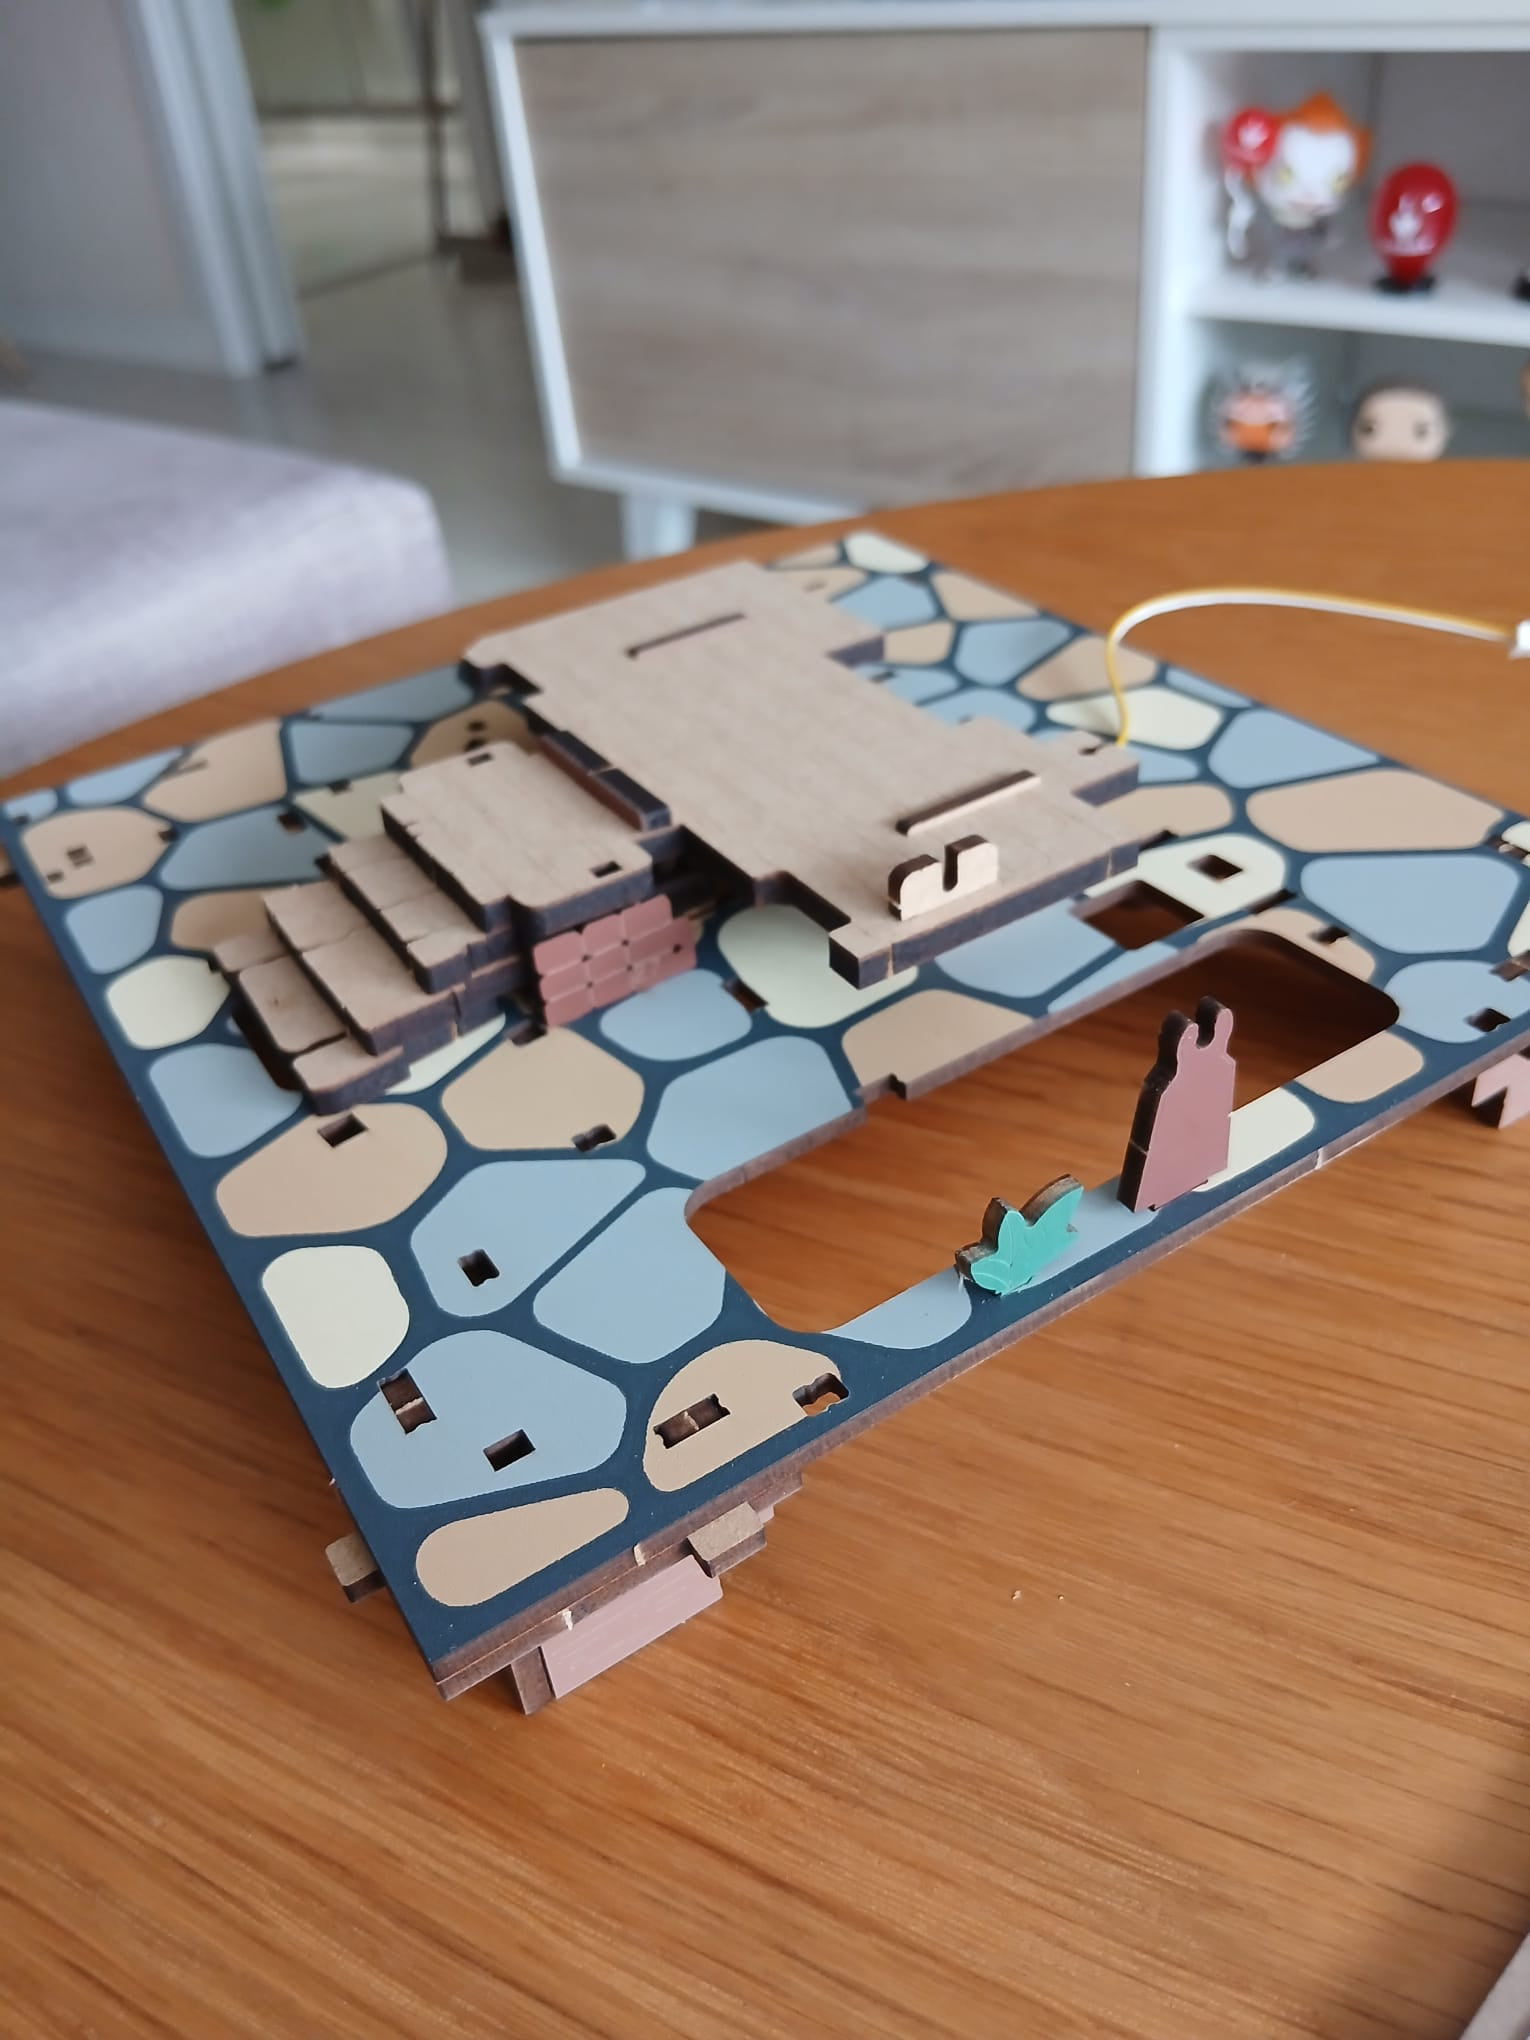
At this point I was getting tired and it was getting late, but… I wanted to get the water mill done at least! And by doing so, to fill that big gap on the base of the structure.
It was an easy and pretty straightforward thing to do! You start by adding some layers to the first circled part:
And after a few more steps through it, it turns out perfectly looking! Just look at that cutie.
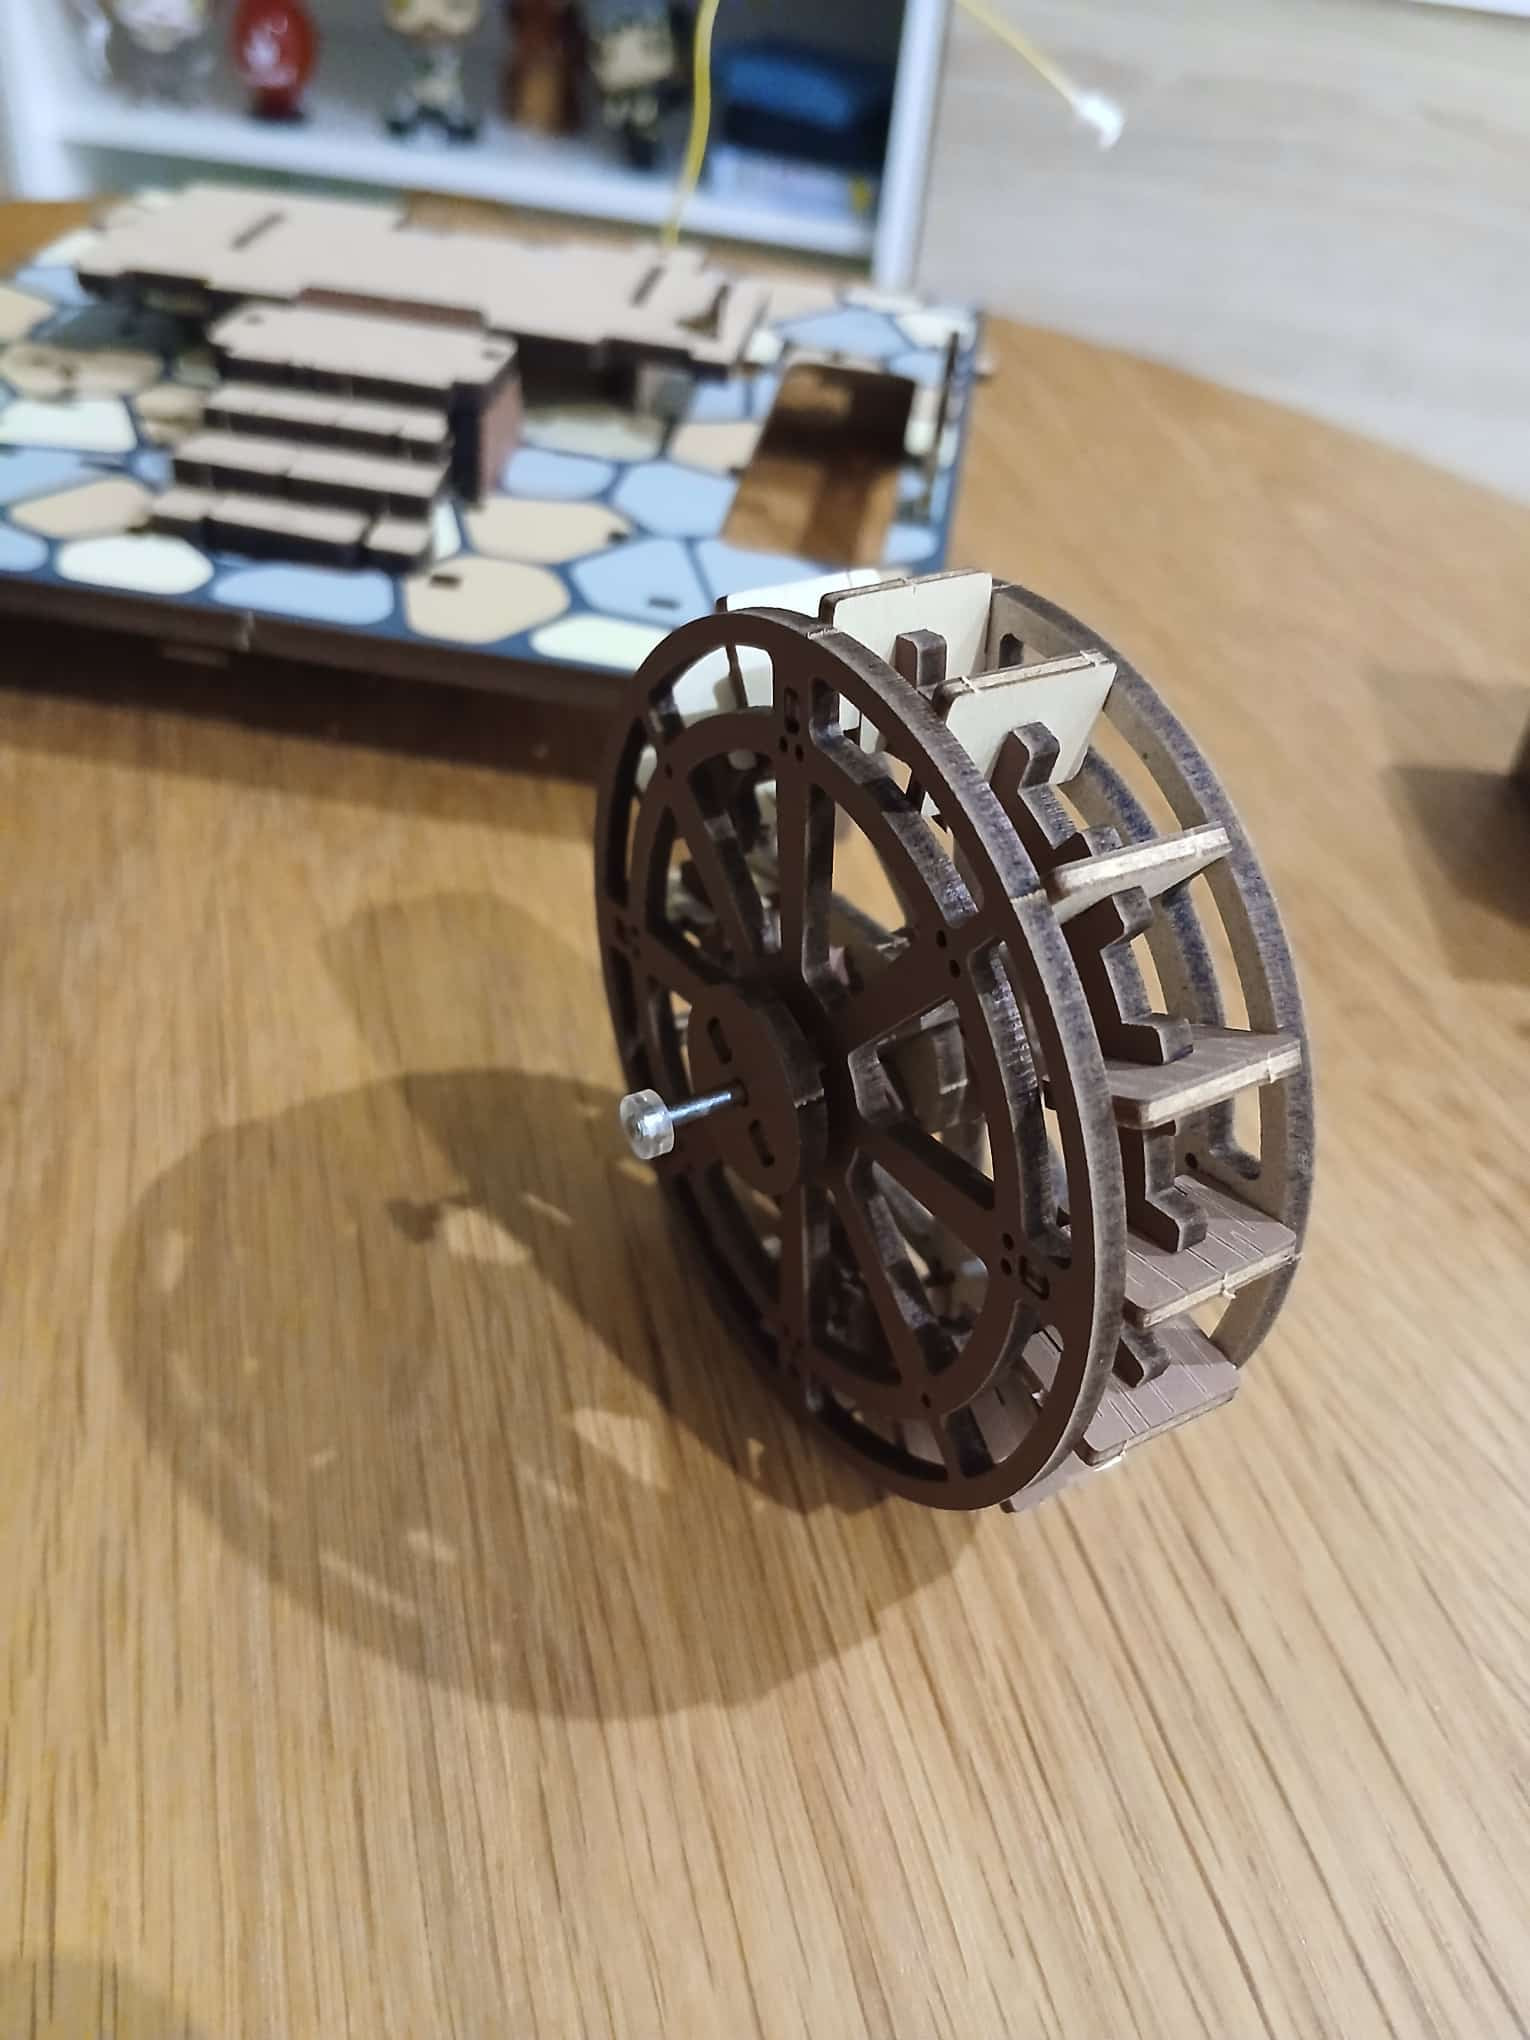
Then we place it on the spot prepared for it…

We add a couple more things, and… Look at that, it’s moving!
(I know, the button-step is just so tempting ![]() and I shouldn’t spam it once everything is connected and functioning, so it’s now or never lol.)
and I shouldn’t spam it once everything is connected and functioning, so it’s now or never lol.)
And that’s it for now. I’ve been doing a decent amount of it already, so today I’ll let it rest, since there’s a decent amount of work waiting for me.
Either way… I’ll be doing more soon, I just can’t help it! I’ve just been waiting for too long already to start building this beauty. So you’ll hear (read) from me soon again.

See you/read you around!