Wow wow! Eloy, what are you doing? Your first ever meetup is coming in FOUR DAYS and you still have one more kit to build for it! What were you doing building a Book Nook first, are you nuts?

Well, no need to loose it! ![]() There’s plenty (ish) of time. As you know I’m hosting my first ever Meetup this very Saturday (I’m so excited, guys!) and I’m building every single kit people will be doing there, for two reasons:
There’s plenty (ish) of time. As you know I’m hosting my first ever Meetup this very Saturday (I’m so excited, guys!) and I’m building every single kit people will be doing there, for two reasons:
- I’ll know the whole building process so I’ll be able to properly help them without getting lost about it
- I can bring them all as a showcase so they’ll see how their kits will look once they’ve finished them
And this is the last one!

The Meetup Kits Journey:
-
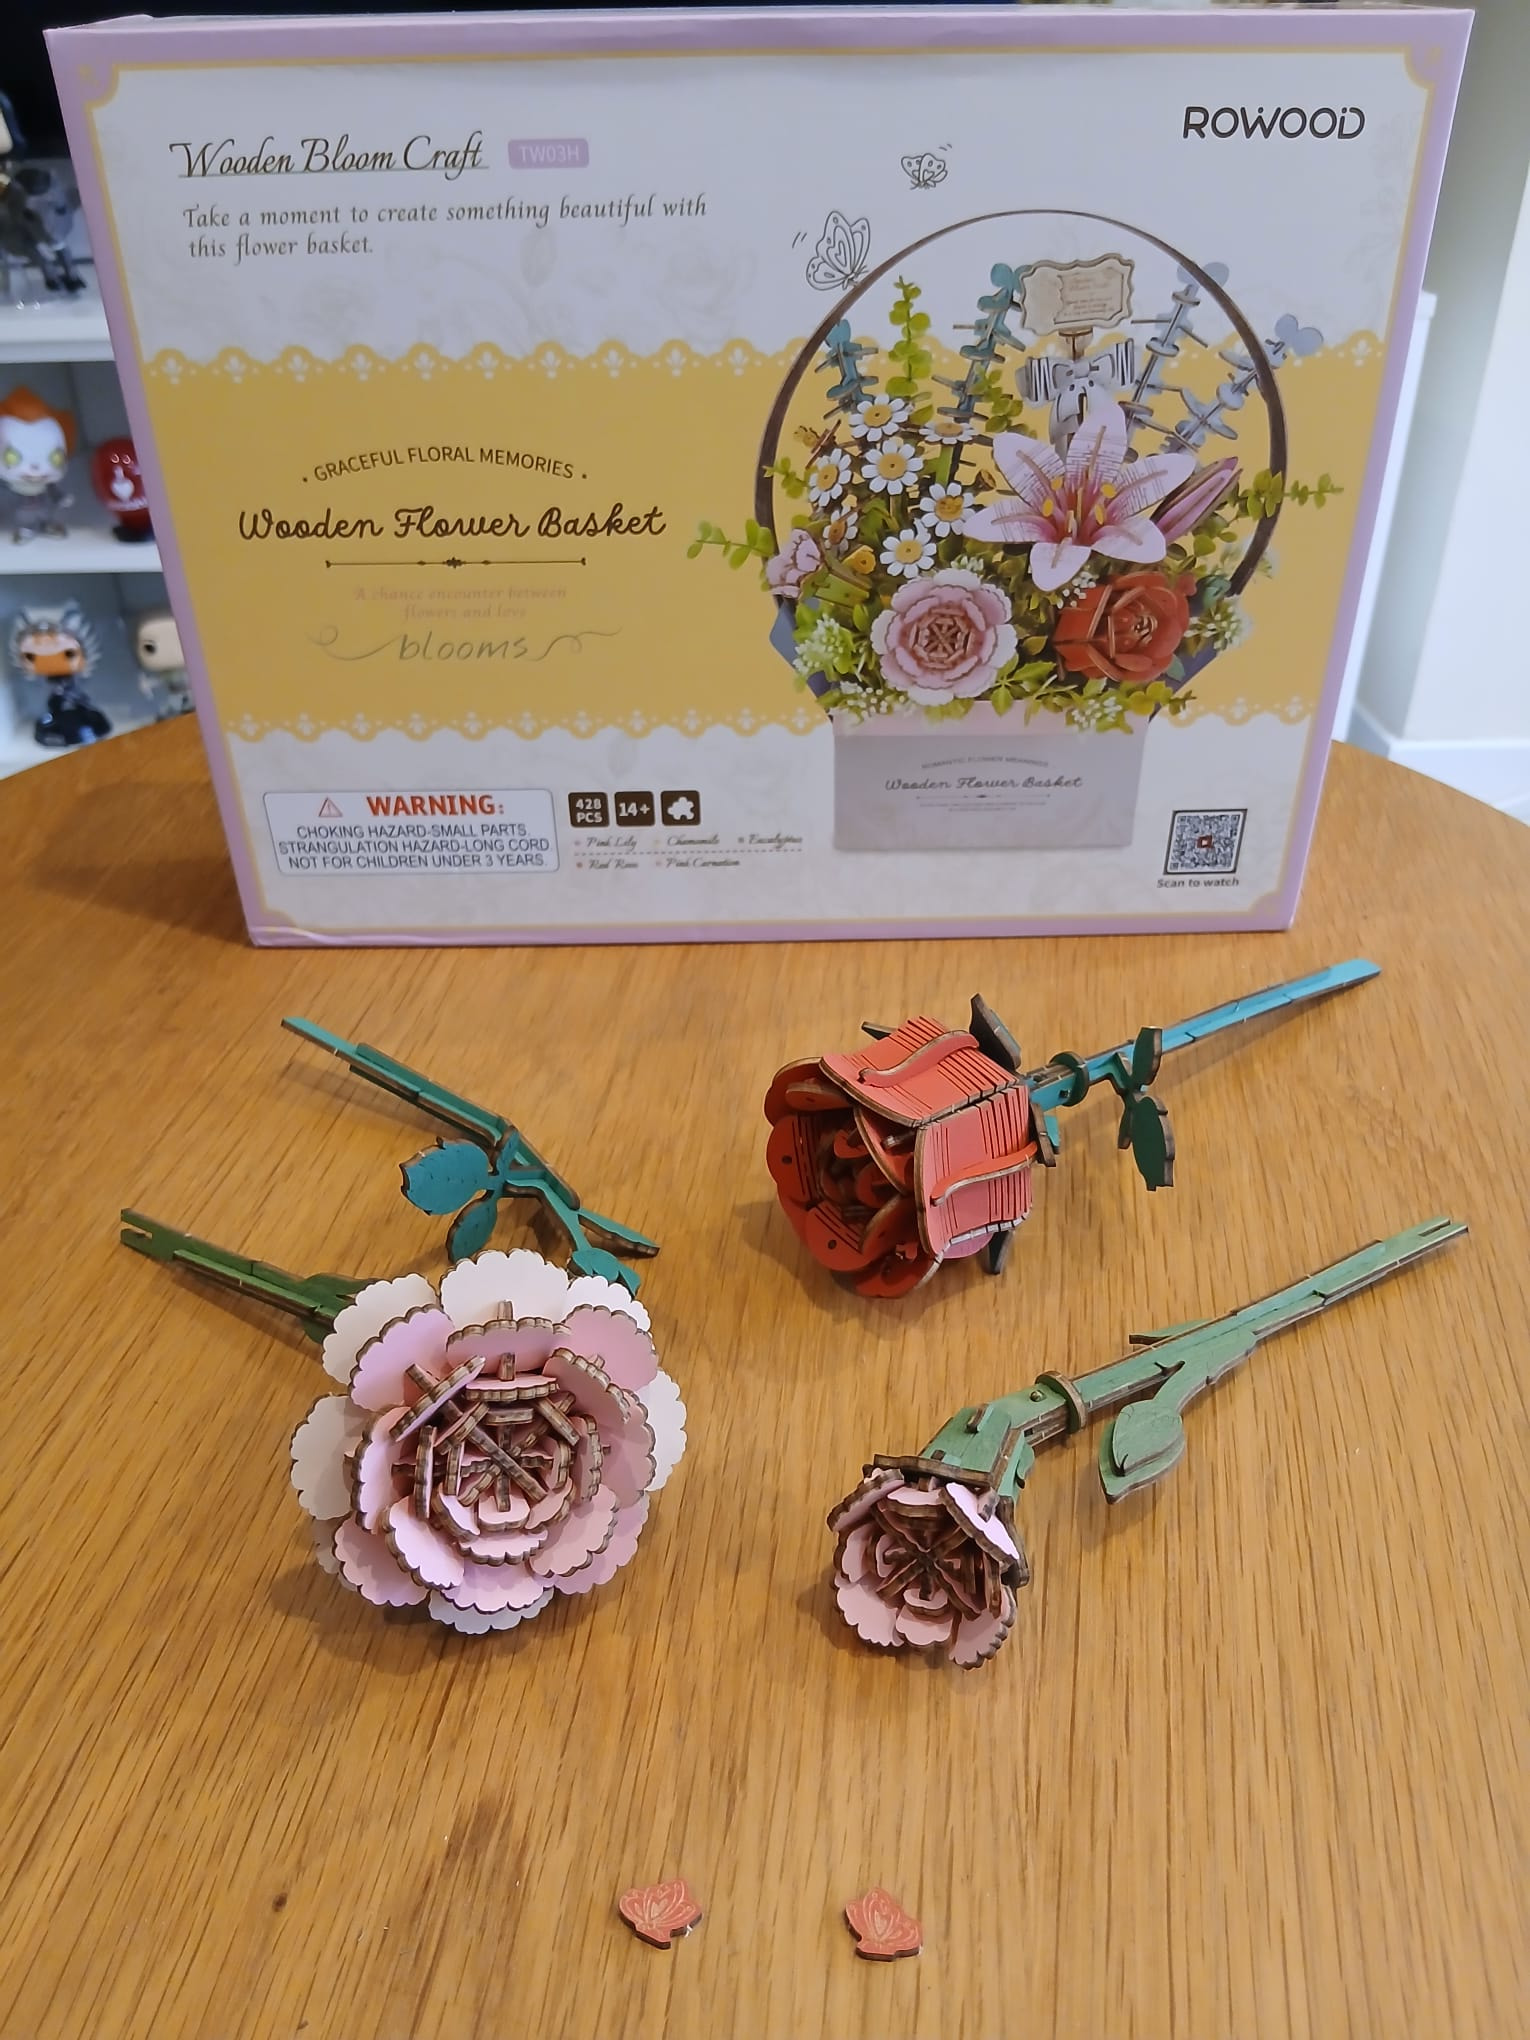
Wooden Flower Basket
So let’s get into it, shall we? Since I don’t have a lot of time to build during the weekdays due to work and stuff I’ve decided to divide it in three days. Today I’ll be doing the first two flowers, tomorrow I’ll build the other three, and Thursday we’ll finish this build! At least, that’s the plan lol.

The Wooden Flower Basket has a similar building process as the Wooden Blooming Book: it comes with the “main flowers” in their own separated mini-kits, and then the main build for it. So this is the unboxing part for the “main flower mini-kits” included:
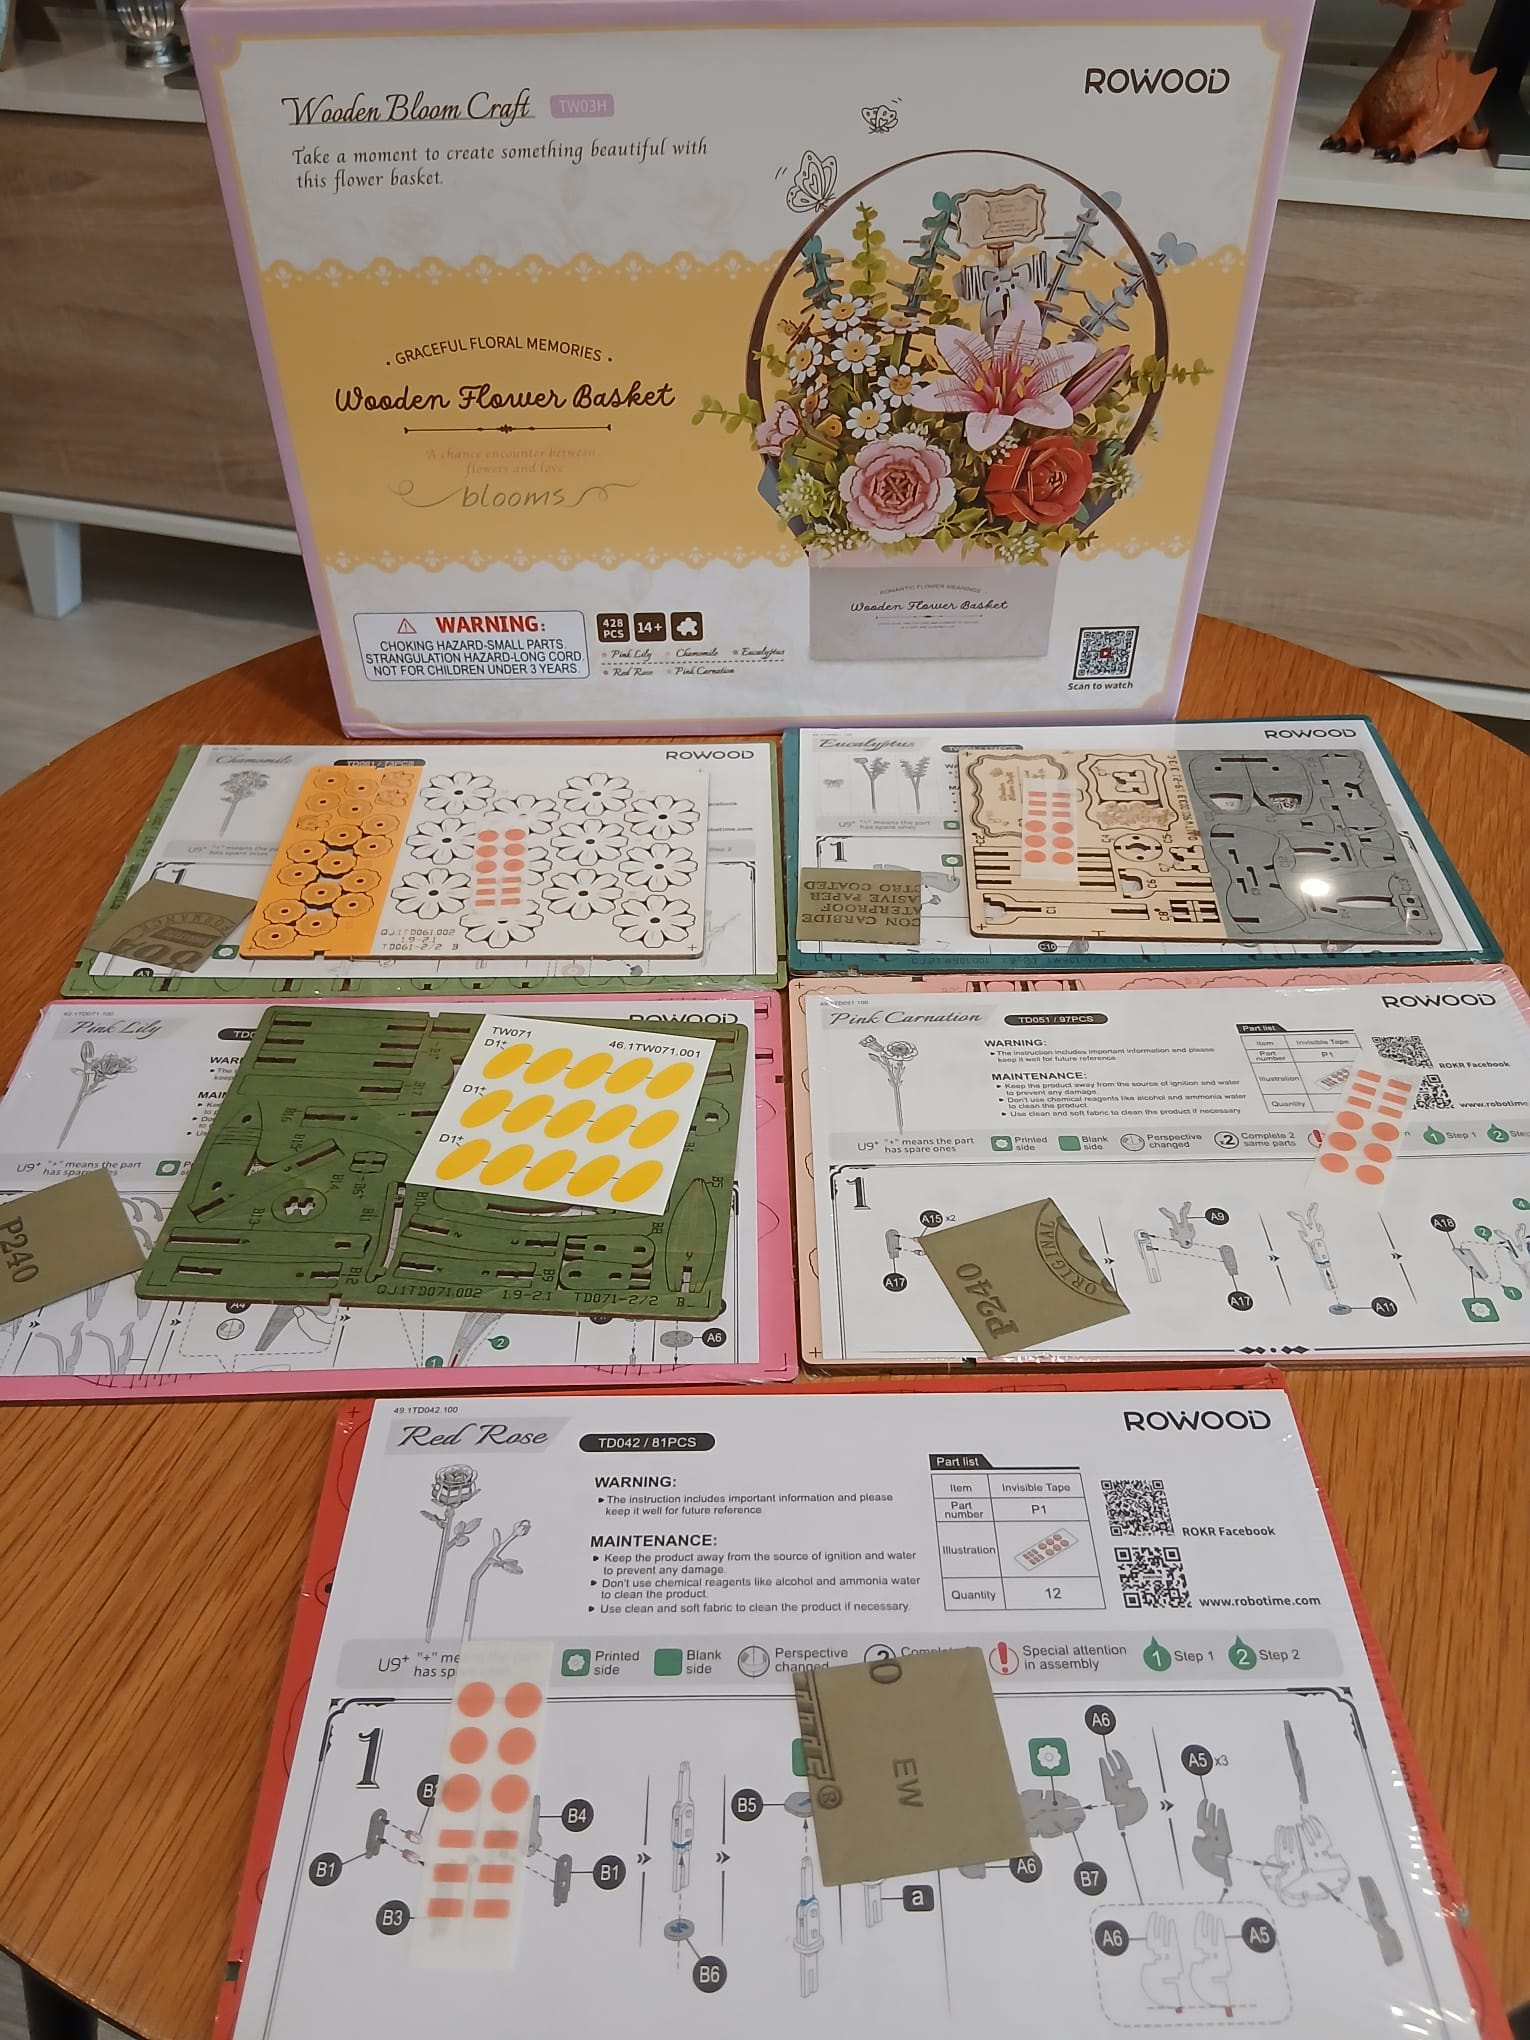
Three of them are new to me, while the eucalyptus and the camomile I’m already familiar with ![]()
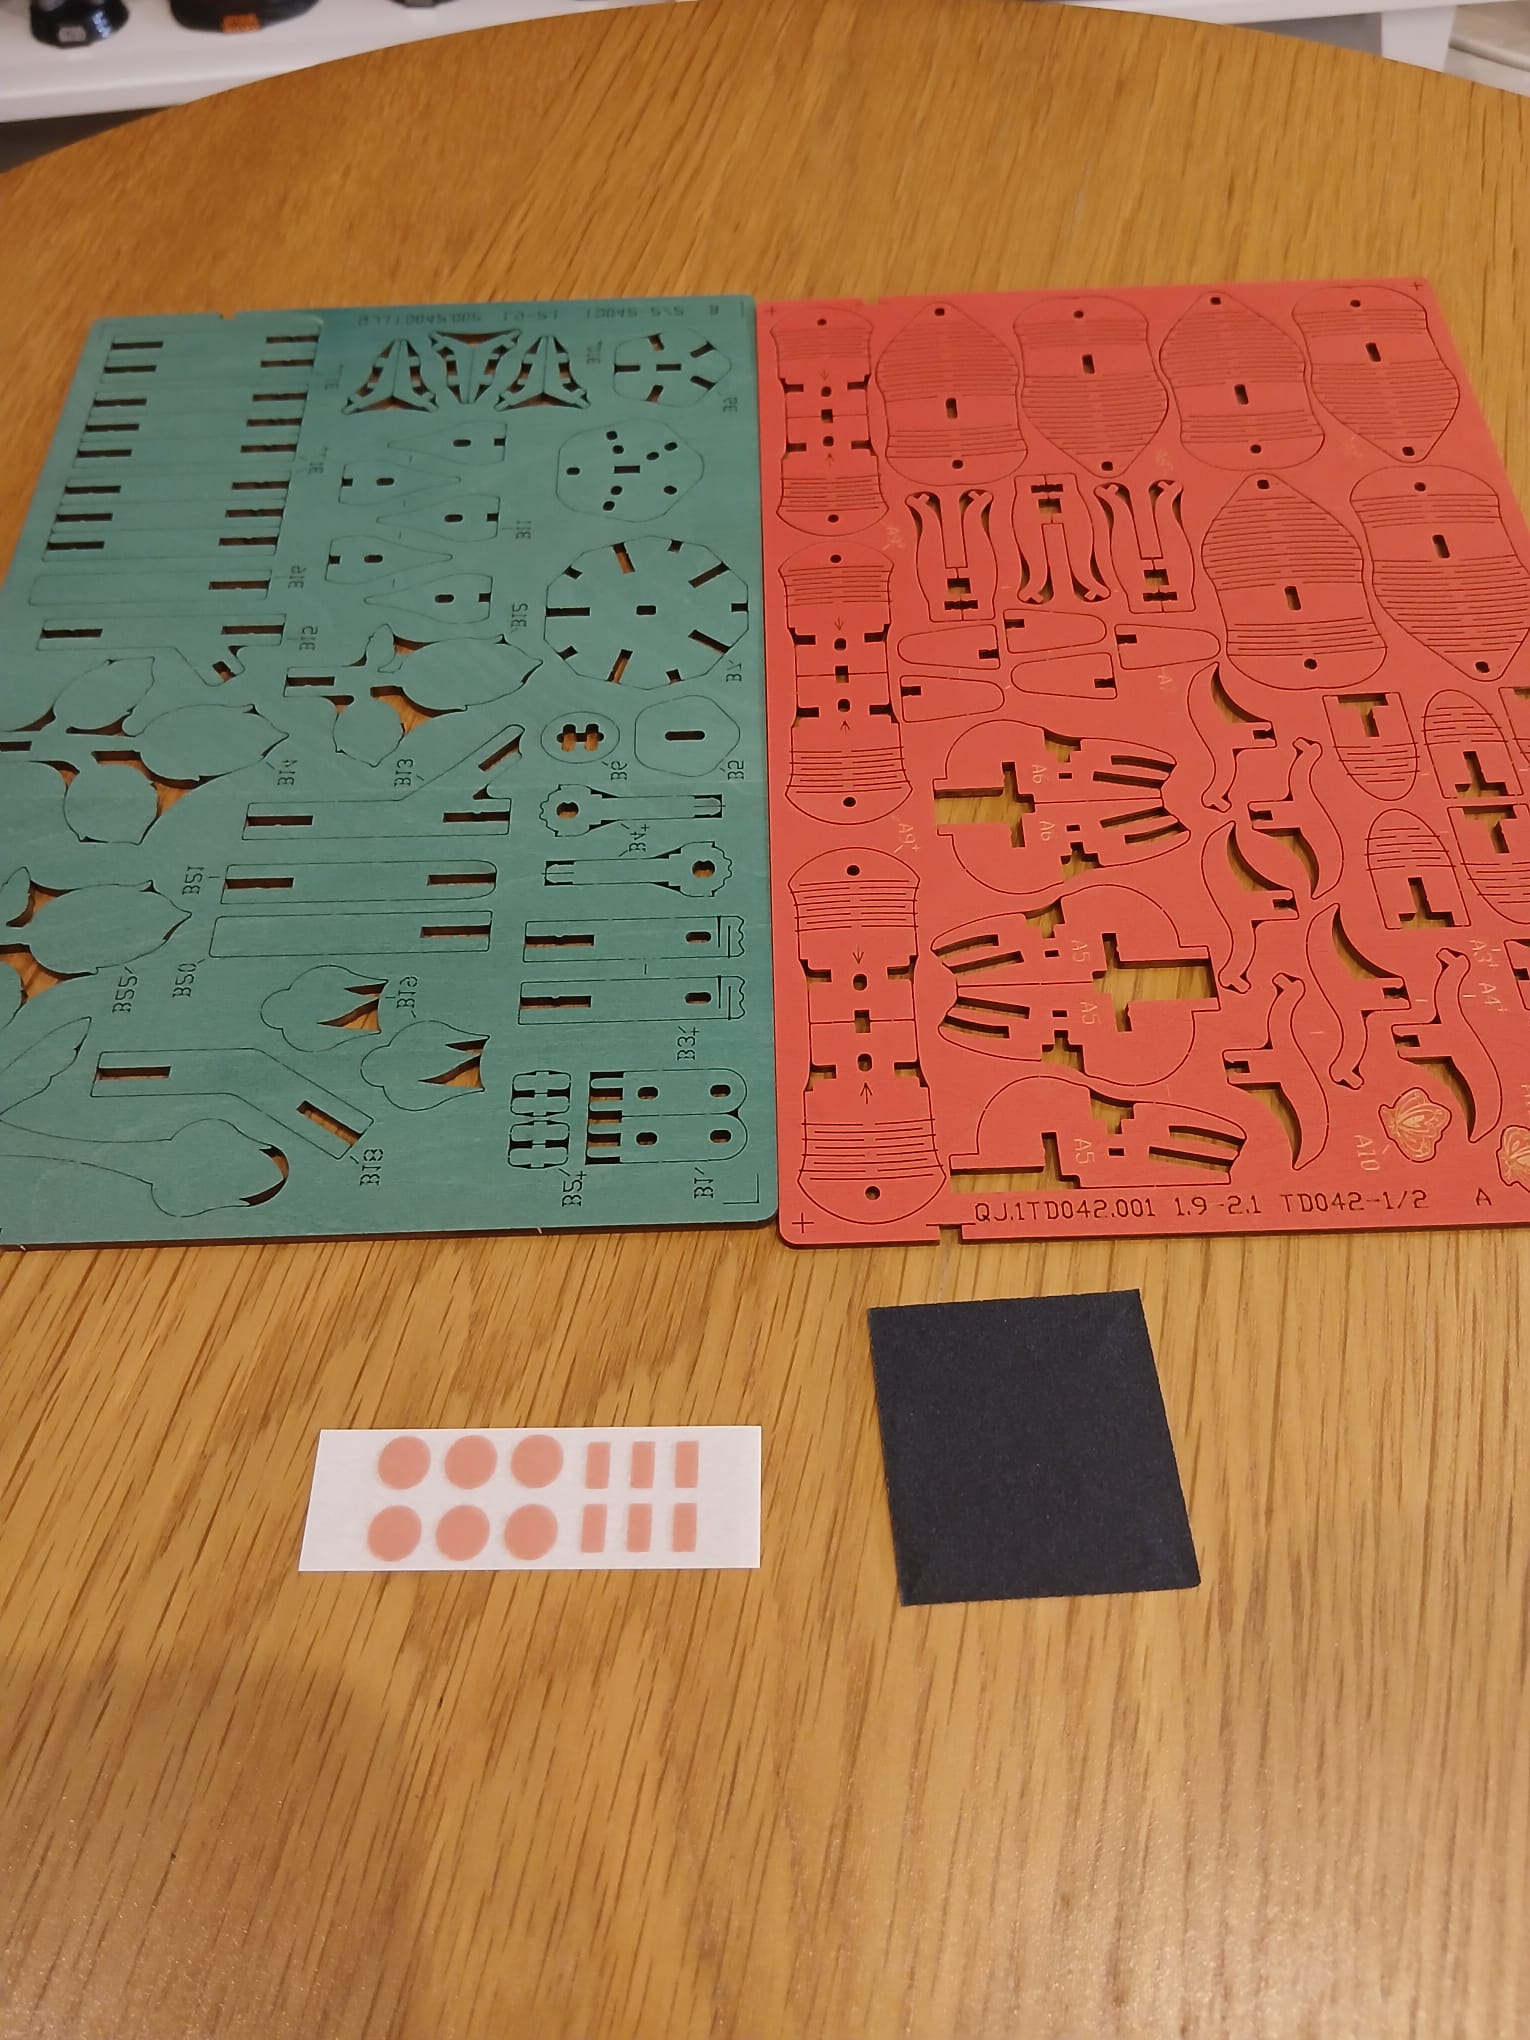
Let’s start with the one that probably is the most cliche flower in terms of flowers and giving them to others: the Red Rose!

All these flower mini-kits come with two wooden sheets (the coloured one for the petals and the green one for the stems and leaves) and other things like the wax paper, stickers, etc:
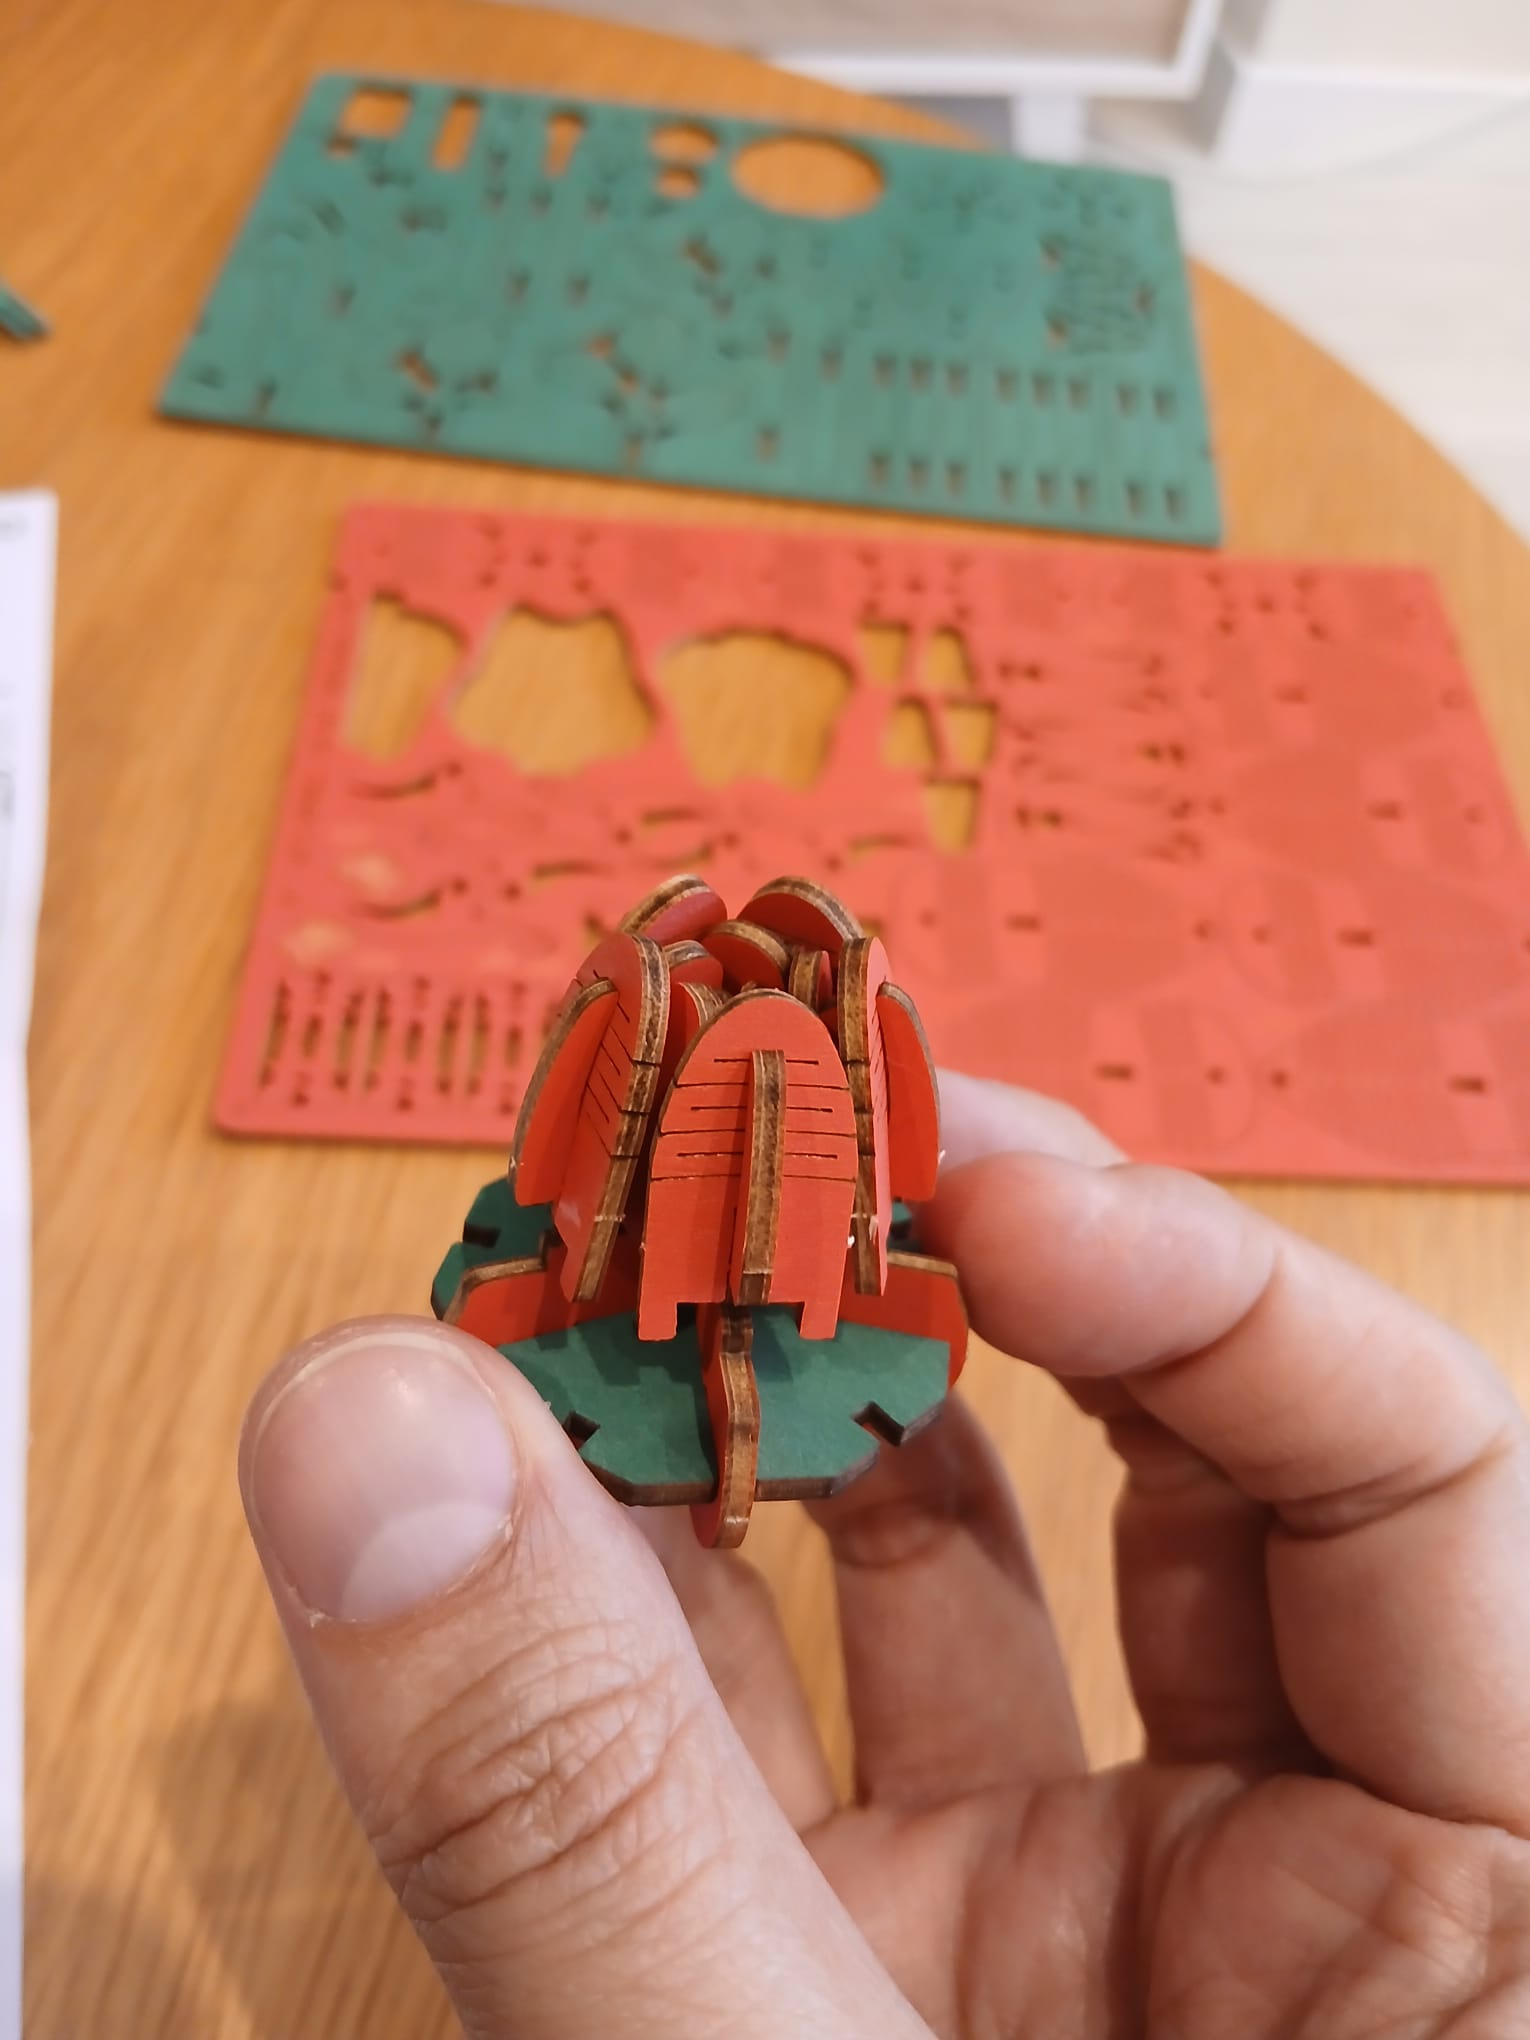
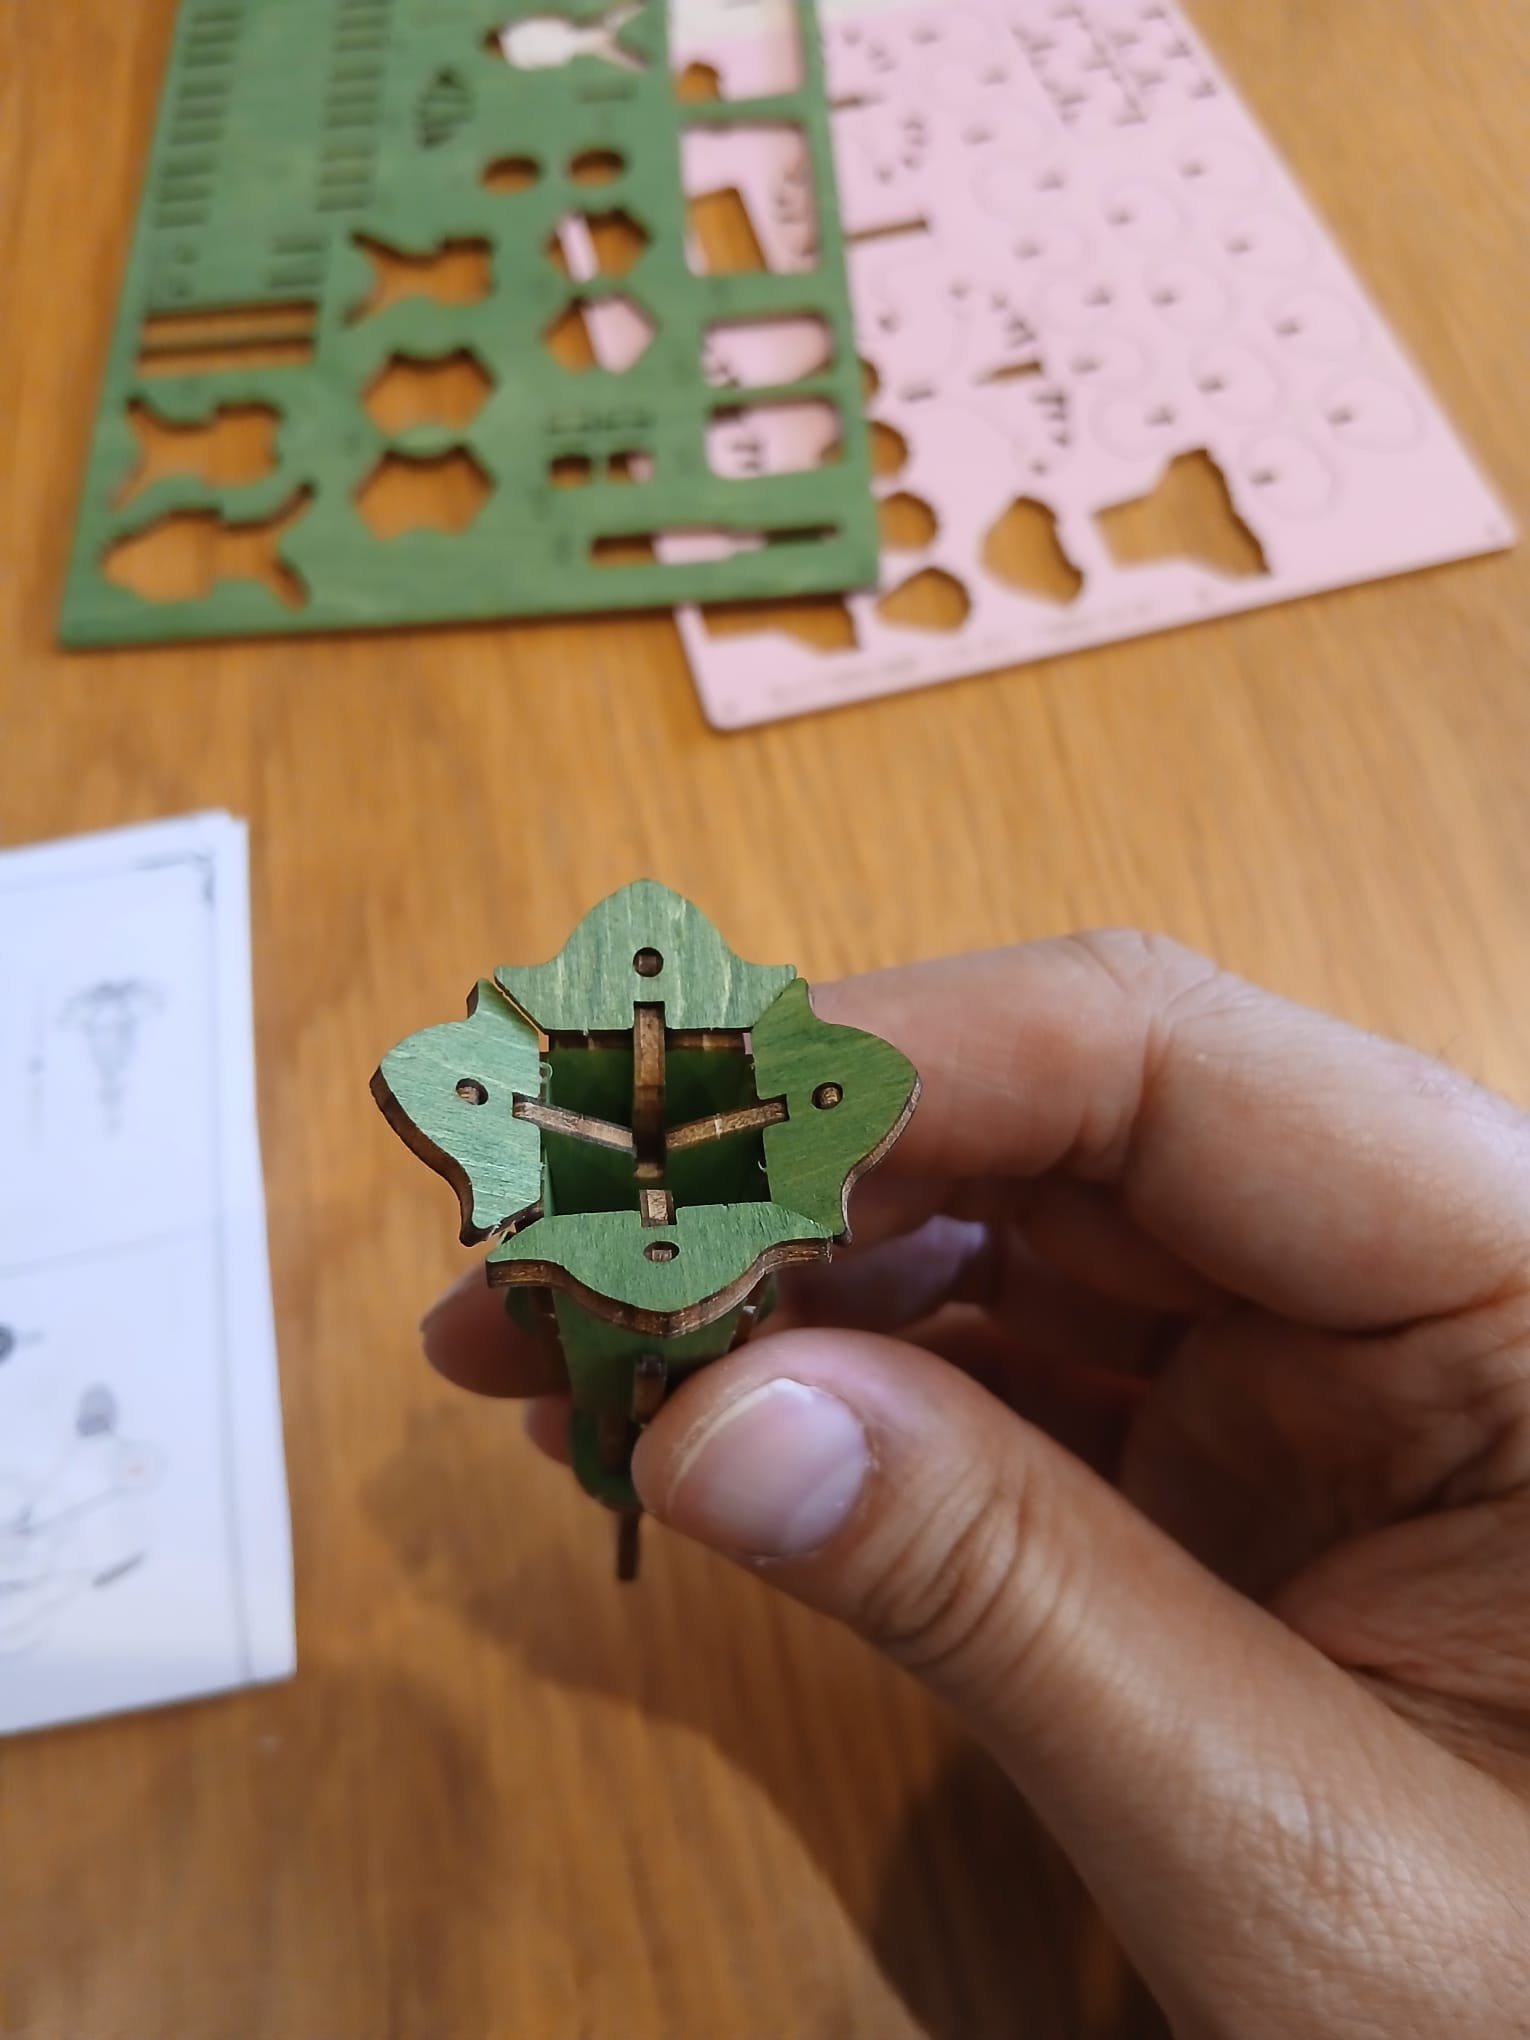
And in most of them you start with the main stem basic structure that will hold the flower, which in this case is this one:
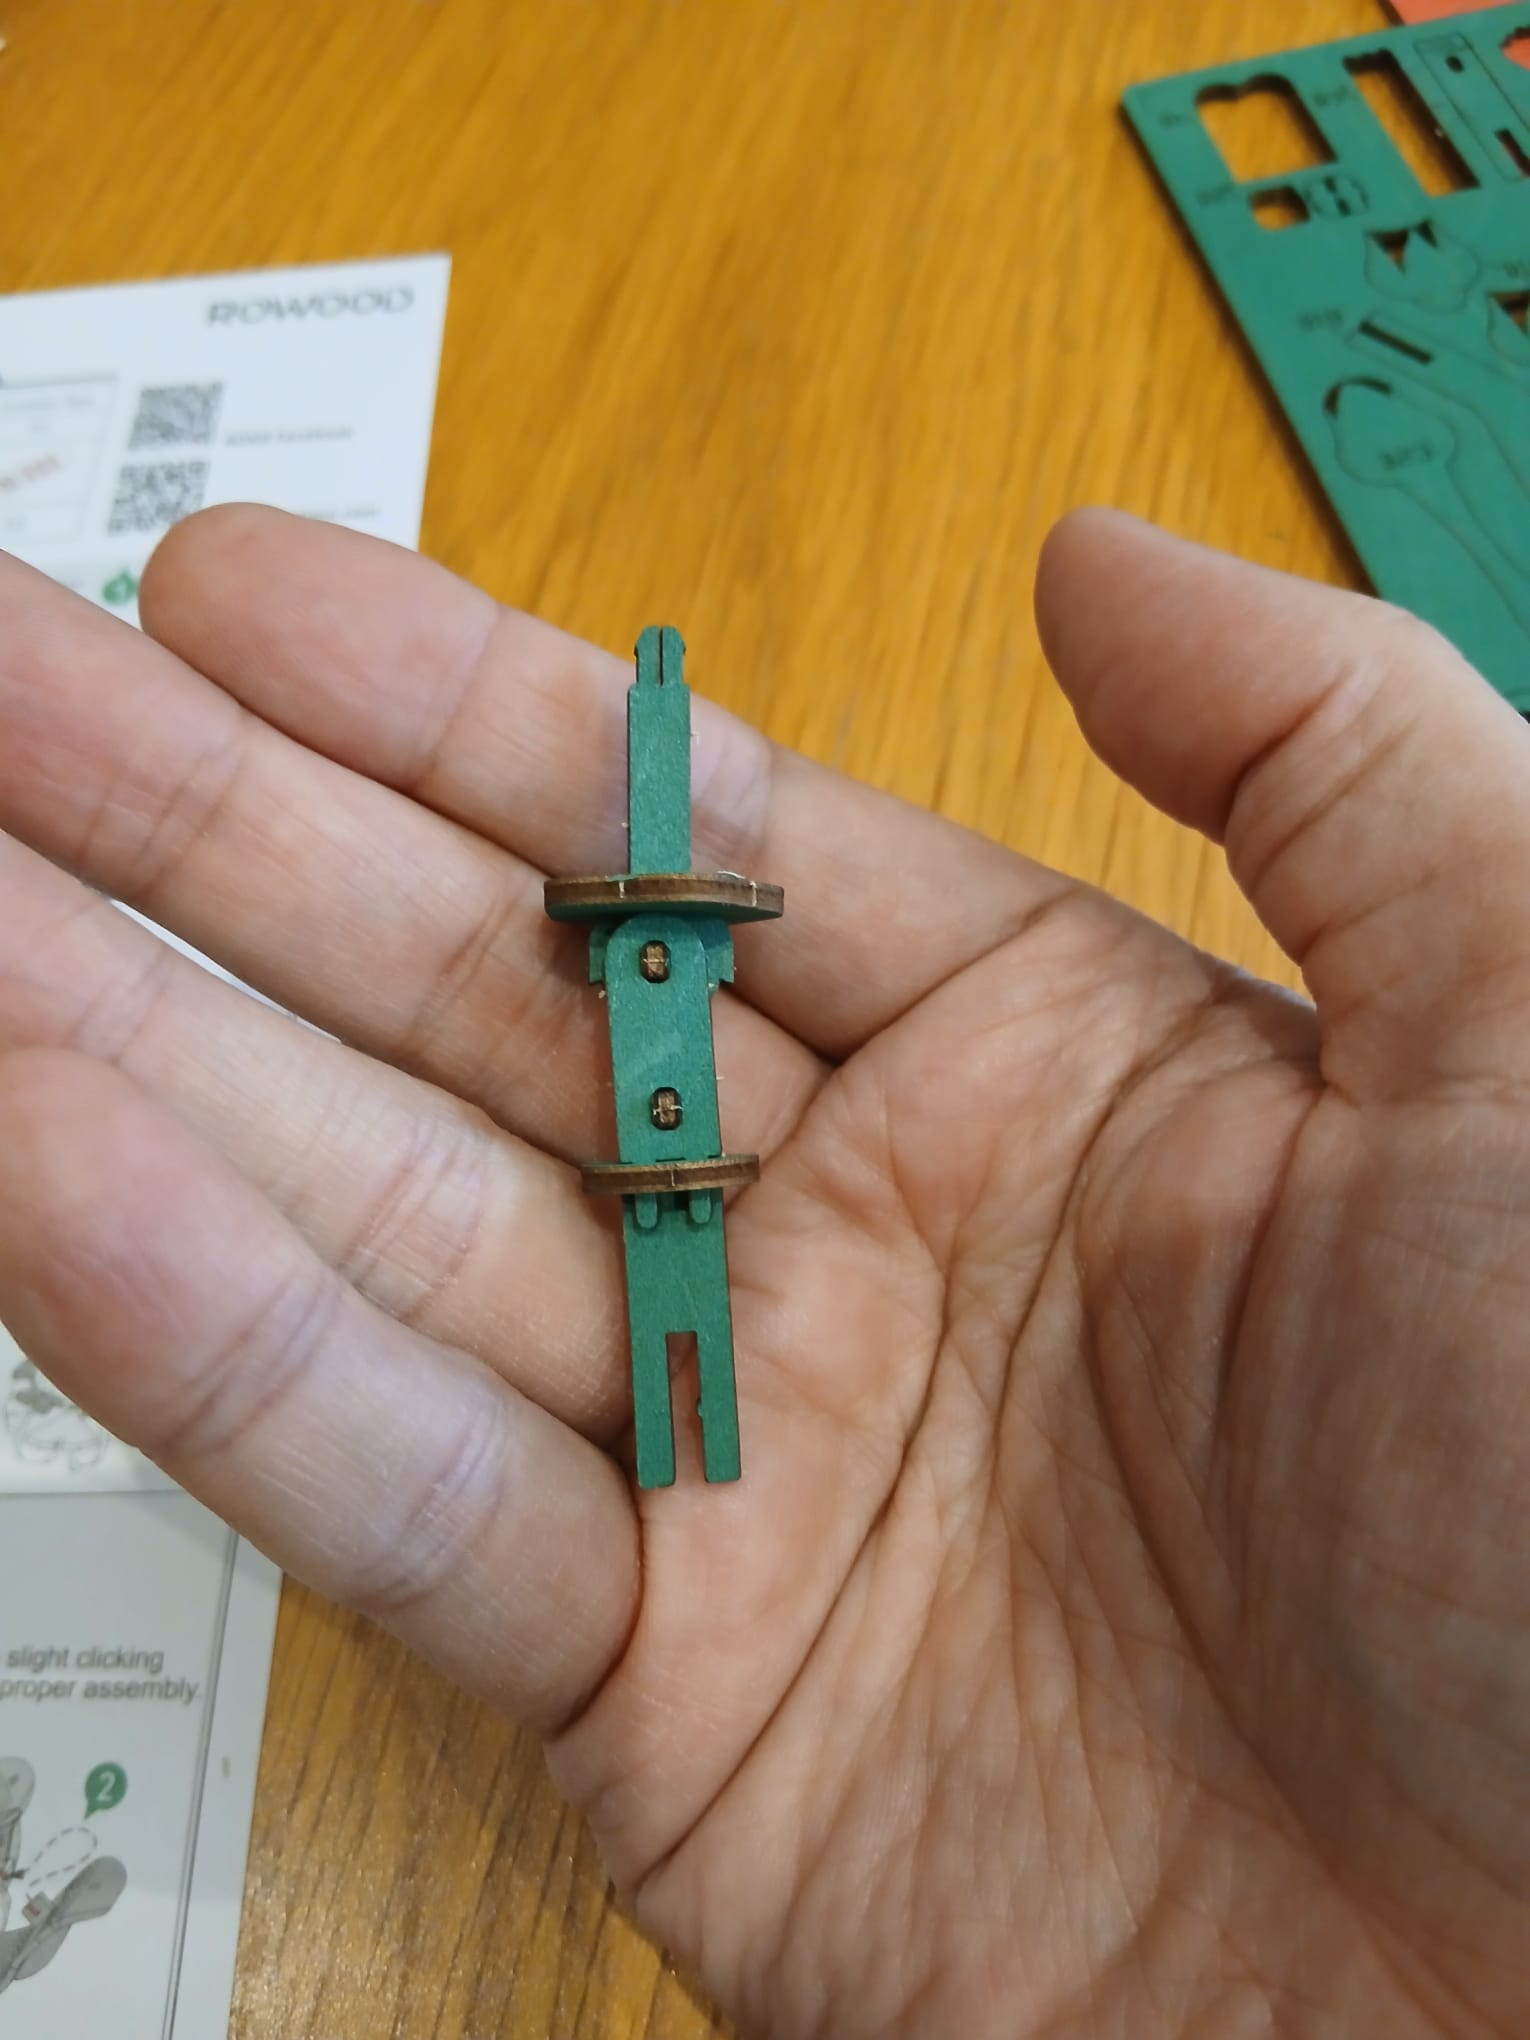
I’m getting pretty used to the stem-making thing!
But, seriously, and I’ve already mentioned this during my Blooming Book building process… Someone should teach the Rowood folks to print the numbers in a colour that can be easily seen.
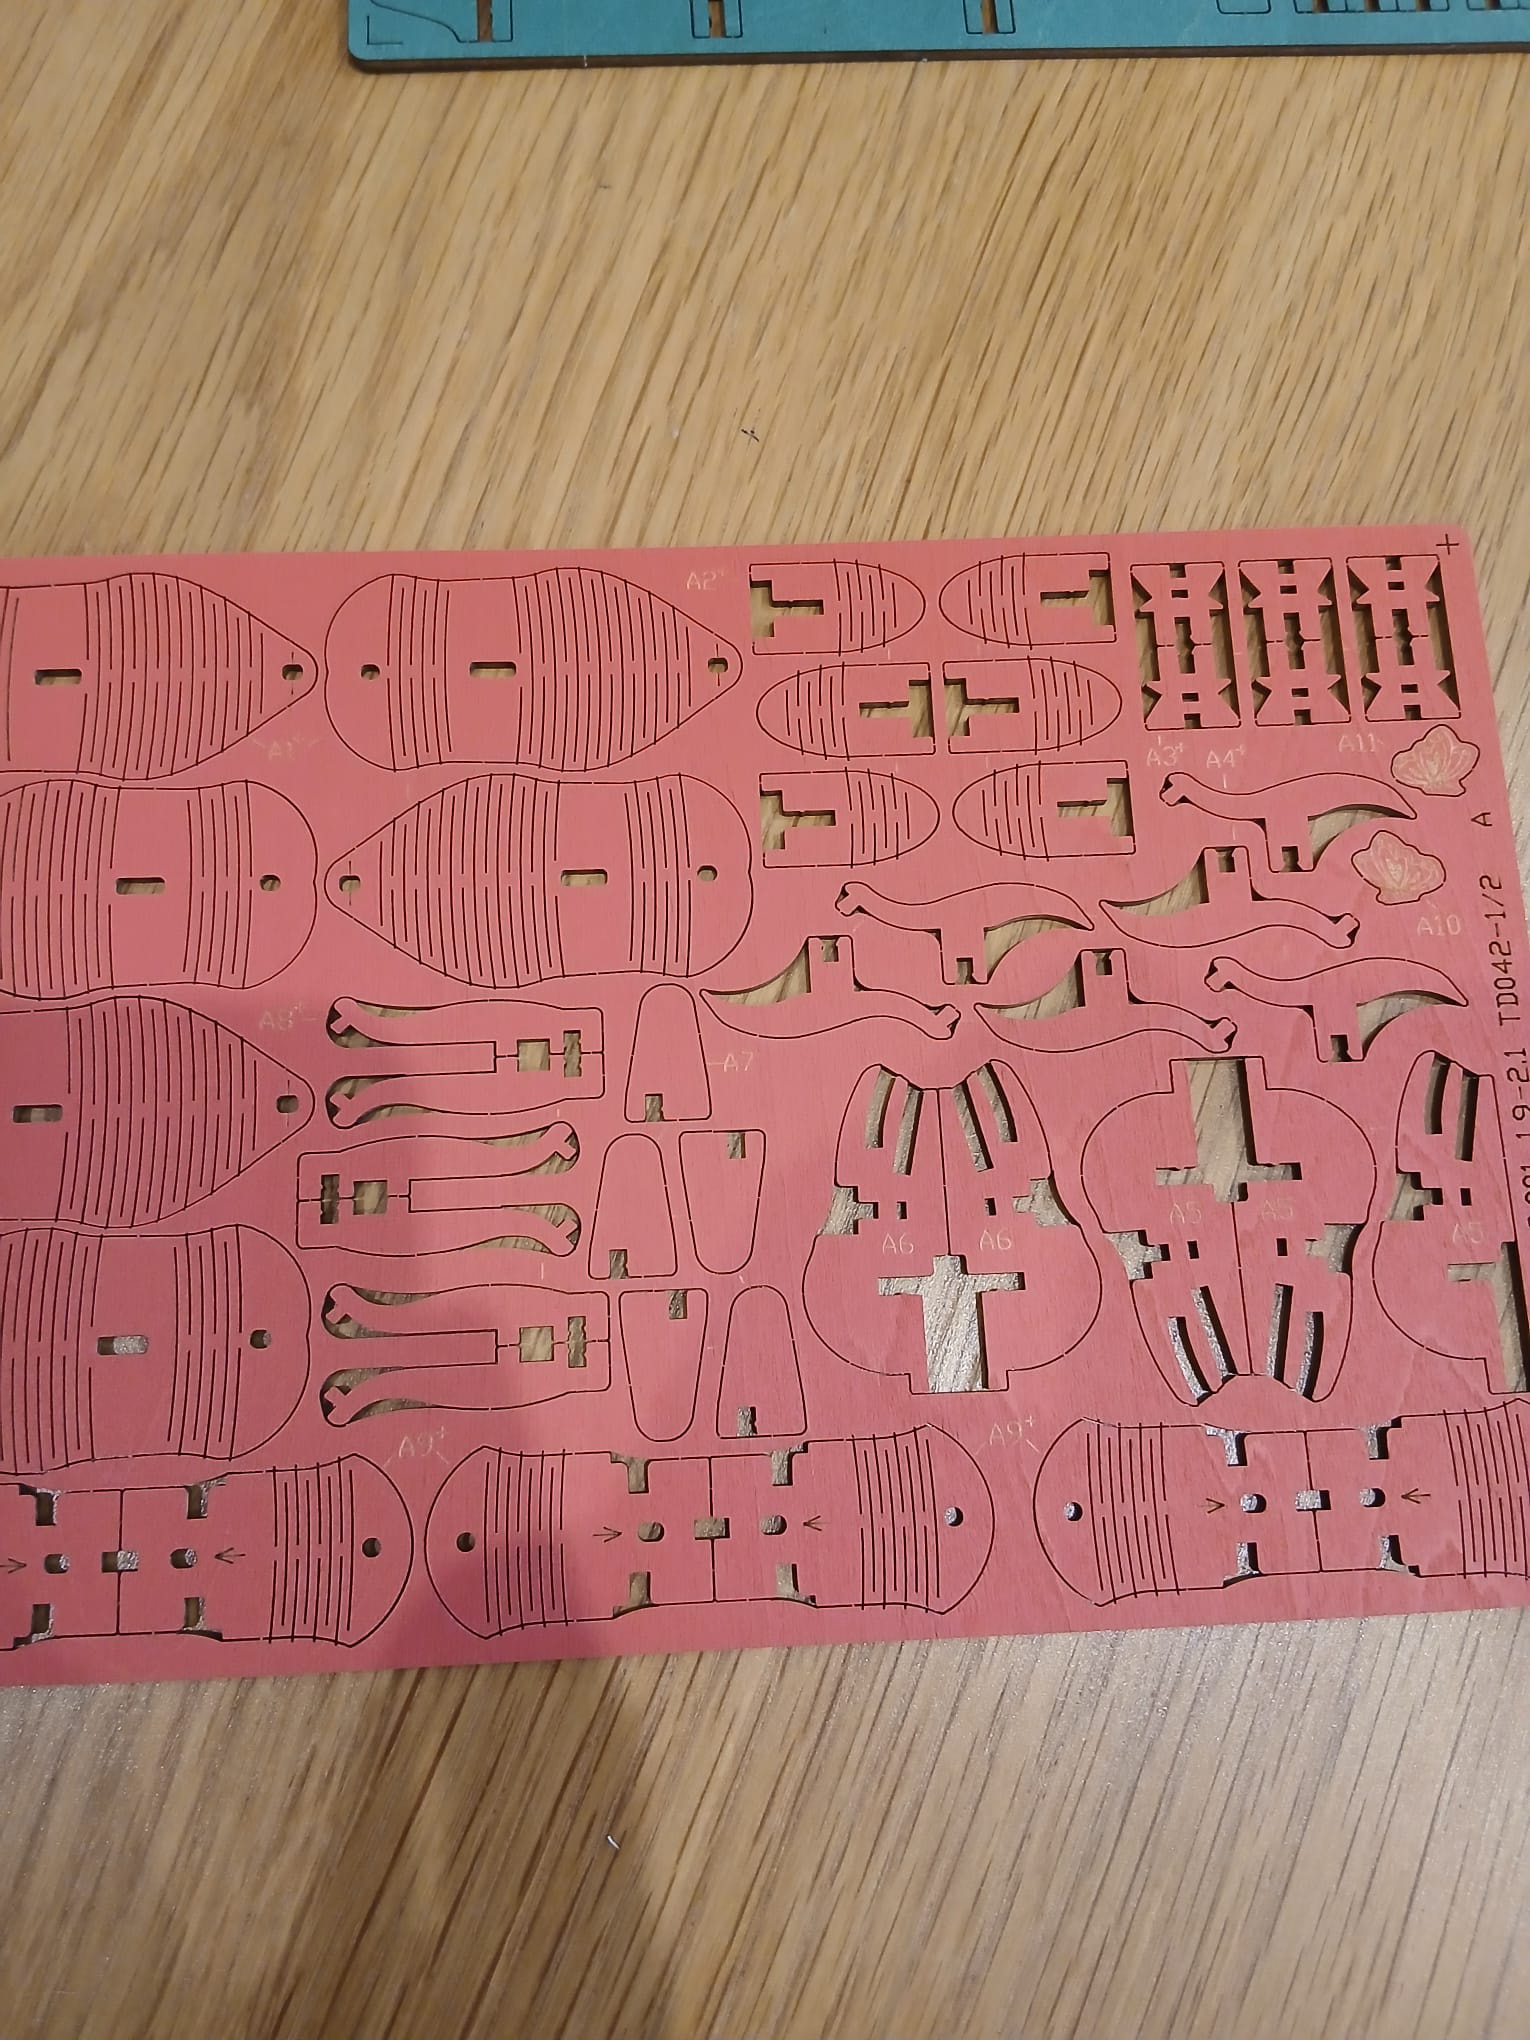
Light yellow over light red is not the best choice, guys, I don’t wanna become blind while building this thing ![]()

Anyway, let’s move on! If there’s one thing that I don’t like AT ALL in some of the Rowood wooden flowers are the folding parts for the petals. Jesus! They’re just SO fragile. I always end up breaking something ![]() and there’s only one spare for each kind of folding petal part. It’s nuts.
and there’s only one spare for each kind of folding petal part. It’s nuts.

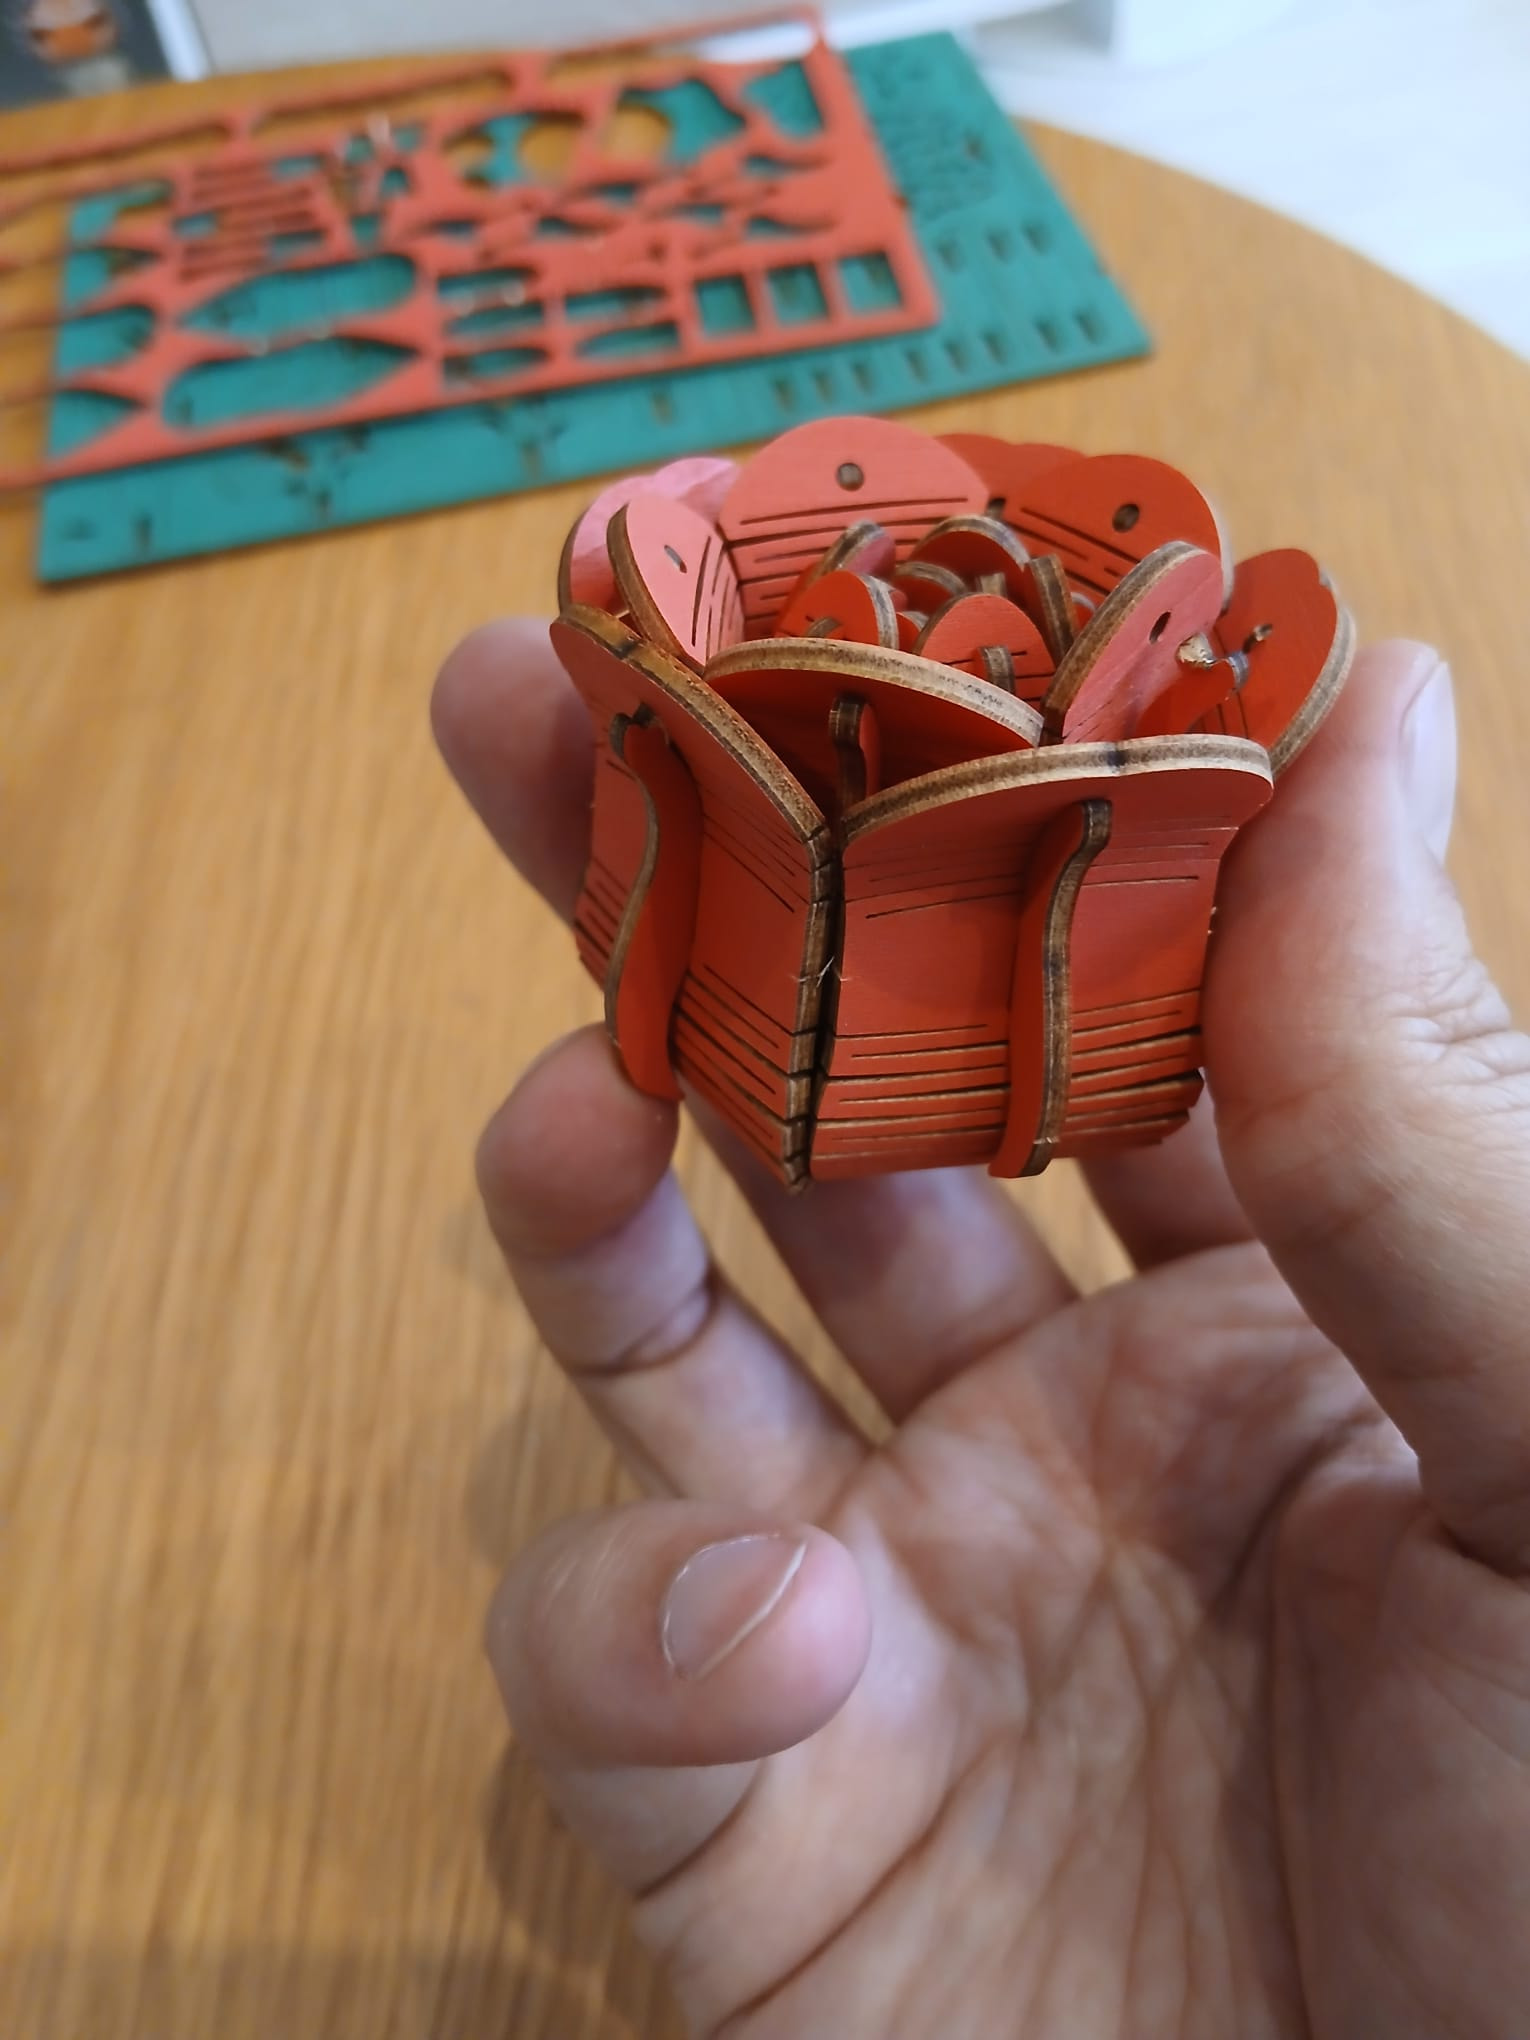
Of course, the petal parts for the Red Rose are all foldable.

So let’s see how this works out!
And hey, I didn’t break any of the first smaller ones!
But… Oops. I’ve jinxed it for the big ones. You know how stressful it is when you only have 1 spare part for 5 main ones, and you break the second one you’re working with? Yikes.


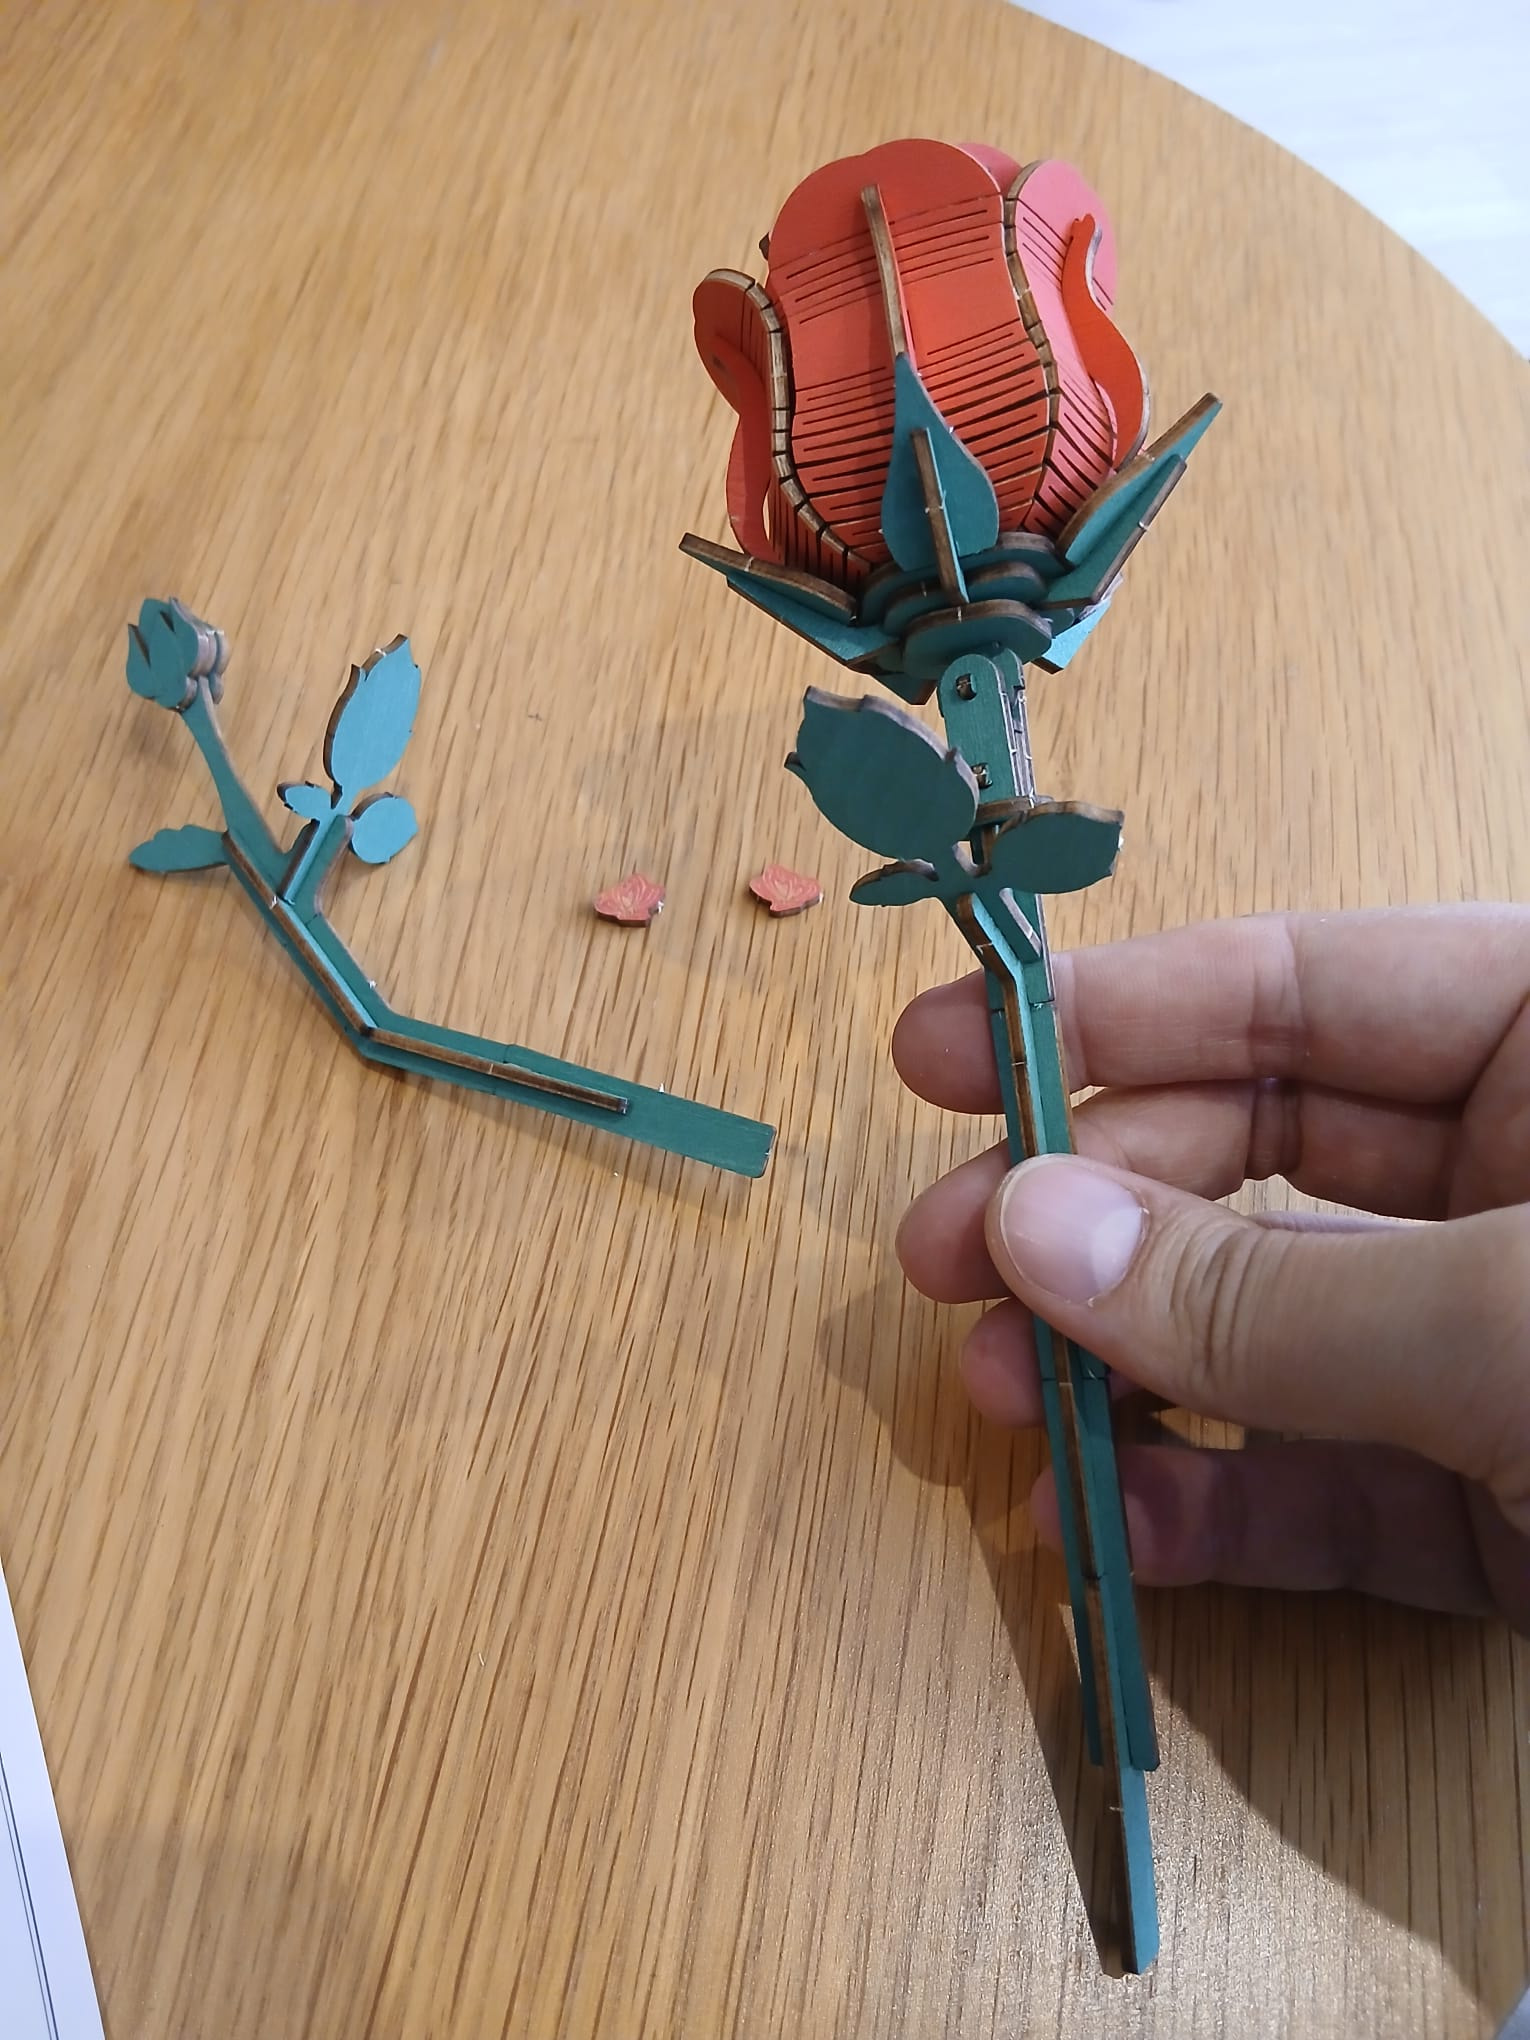
All and all, the Red Rose looks fantastic thanks to the folding petal parts. I just can’t deny it!
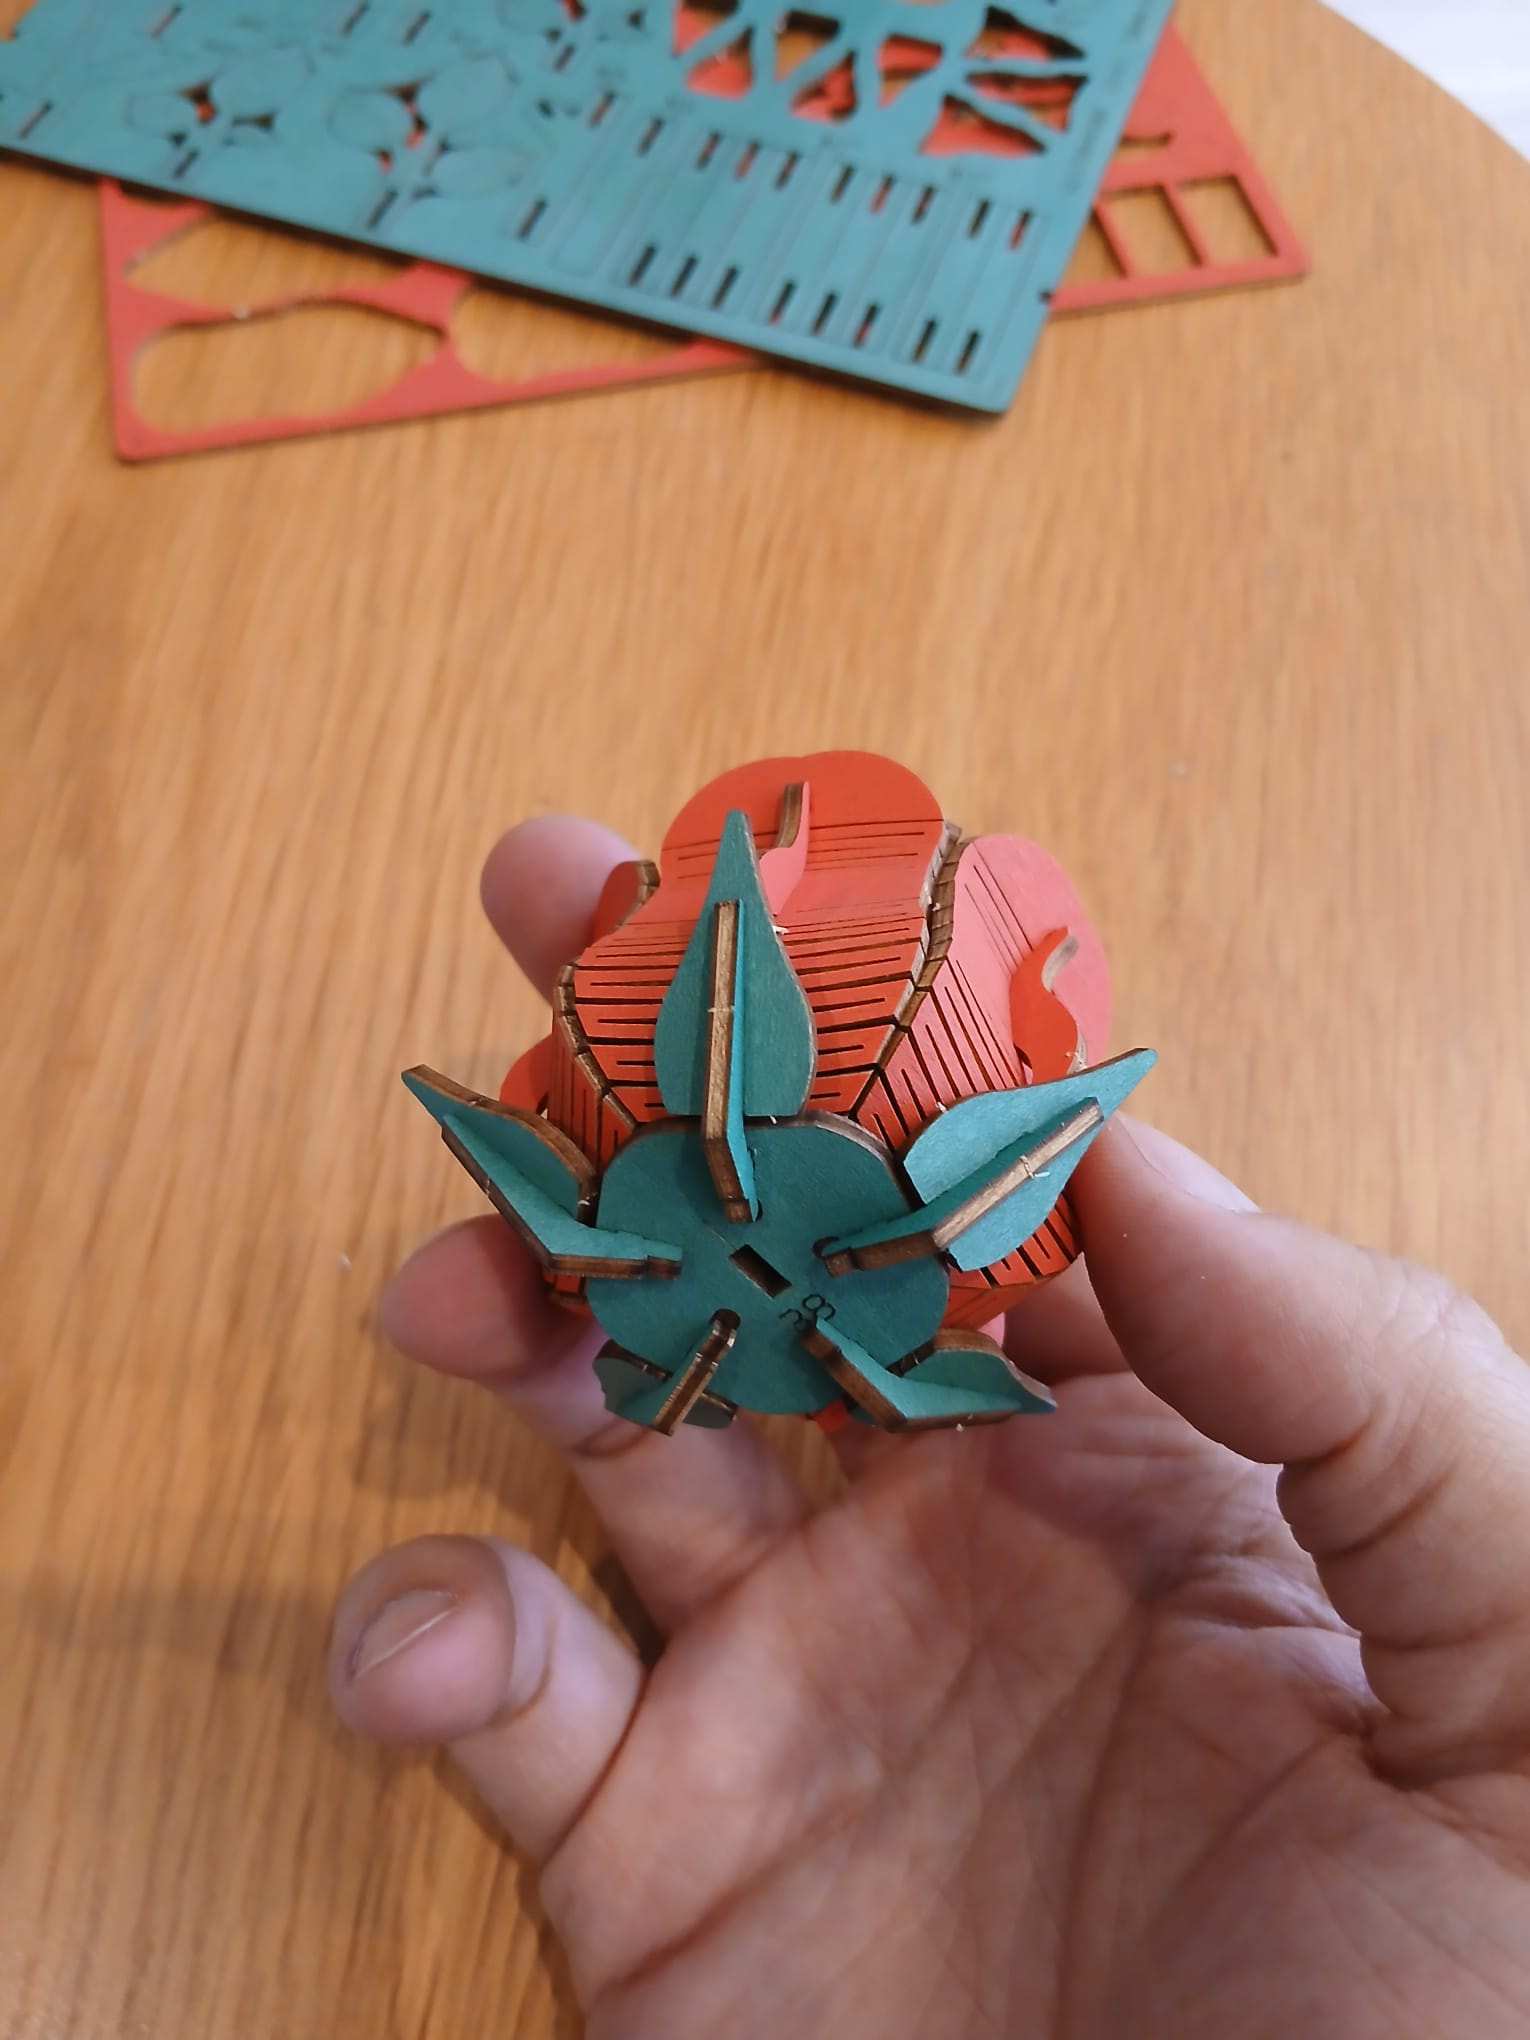
I almost broke one while adding the leaves underneath though. But hey, I managed!
That’s another problem I’ve found several times in the Rowood flower kits: it’s kind of tricky to find where to hold it while you push it!

But I didn’t break any other one! Phew.
So I just had to build the stems… And hey! I remembered the process of the Blooming Book, how I had to remove some stems afterwards to make them fittable for the main event? So this time I went ahead and checked the main manual, so I could make it the proper way. Yassss.

So yeah! Stems up, a side-smaller stem with a rose bud, and… There we go!
Oh, yeah, and some butterflies that will be added in the main event. Don’t forget to save them!
Okay, what now? I’m starting to run out of time, but I can build one more flower. But which one? There are four to choose from! So…

Let’s go with the Pink Carnation then!
Pink Carnation, what a funny name. In Spanish we call a carnation “clavel”, which sounds more like a flower to me. Carnation sounds kind of like meat! Which is carne in Spain, if that makes any sense to you.

Where were we? Oh yeah, the Pink Carnation. This one doesn’t come with ANY foldable parts!

So let’s go then! This one also comes with a longer stem-base-preparation before the flower itself comes to life, but it’s an easy enough and straightforward process.

Those leaves are a bit tricky to fit though! I’ve almost snapped something there. Oops.

Aaaaand…
Oh, okay then. I didn’t realise I was actually building the smaller carnation first ![]()

No worries! Mum is coming next, little one.

So the stem and little leaves process is pretty much the same:
But the base for the petals is considerably bigger lol.
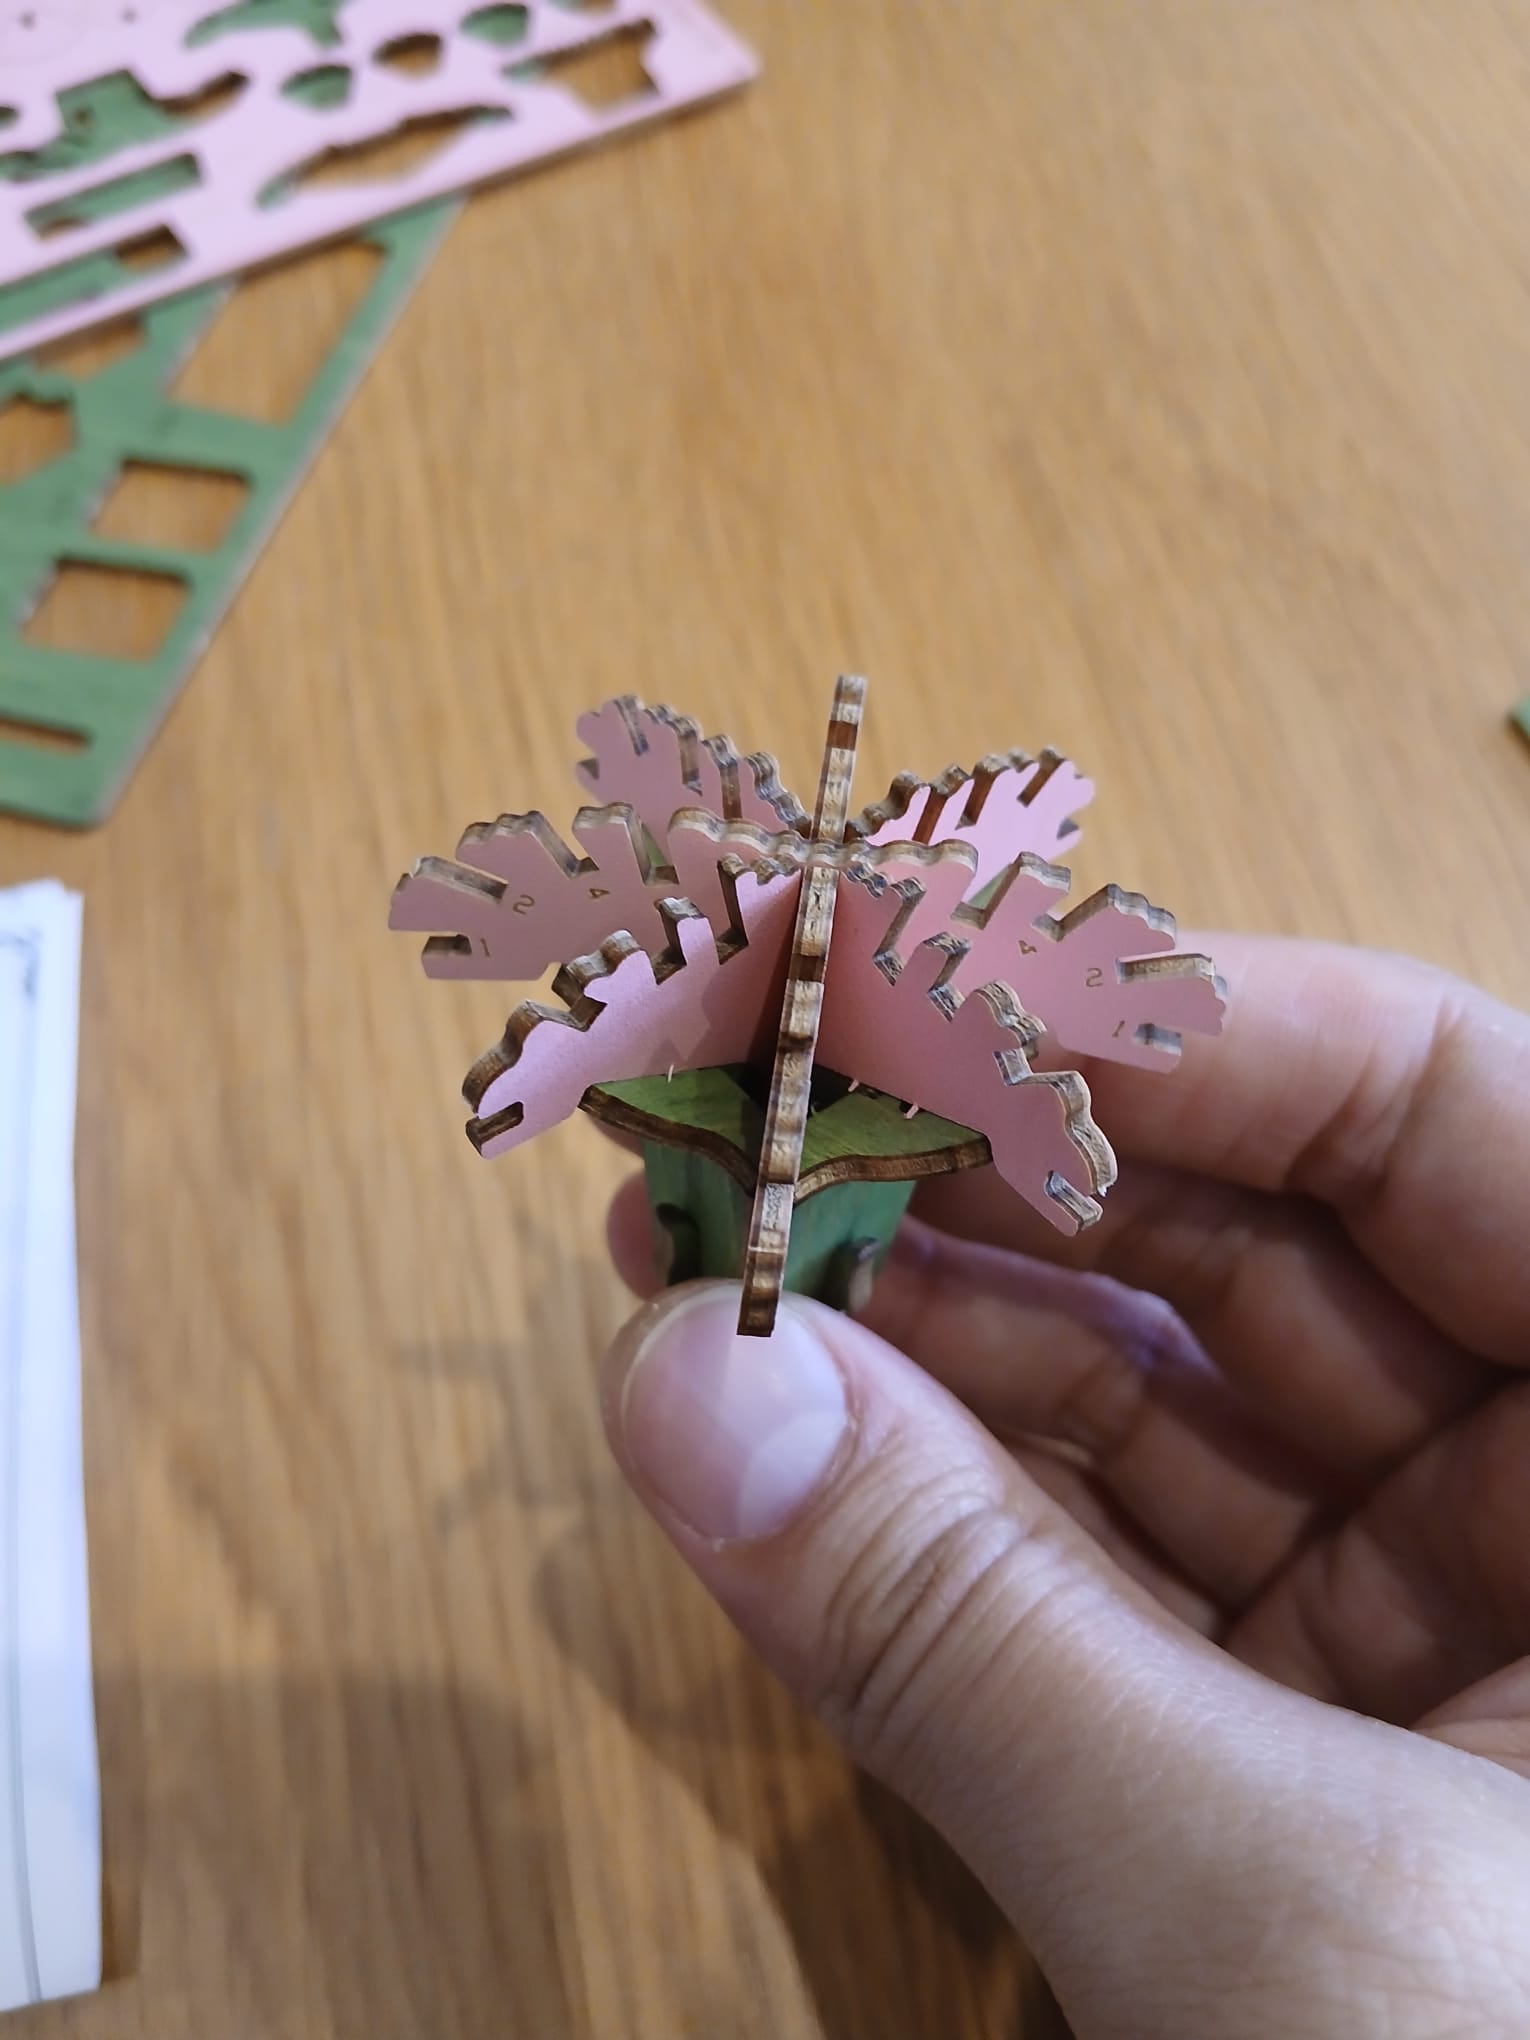
Either way, the petal-fitting process is super easy and straightforward! Basically there are numbers from 1 to 7 and you have to fit them in order. The first few numbered petals are ridiculously easy to add!
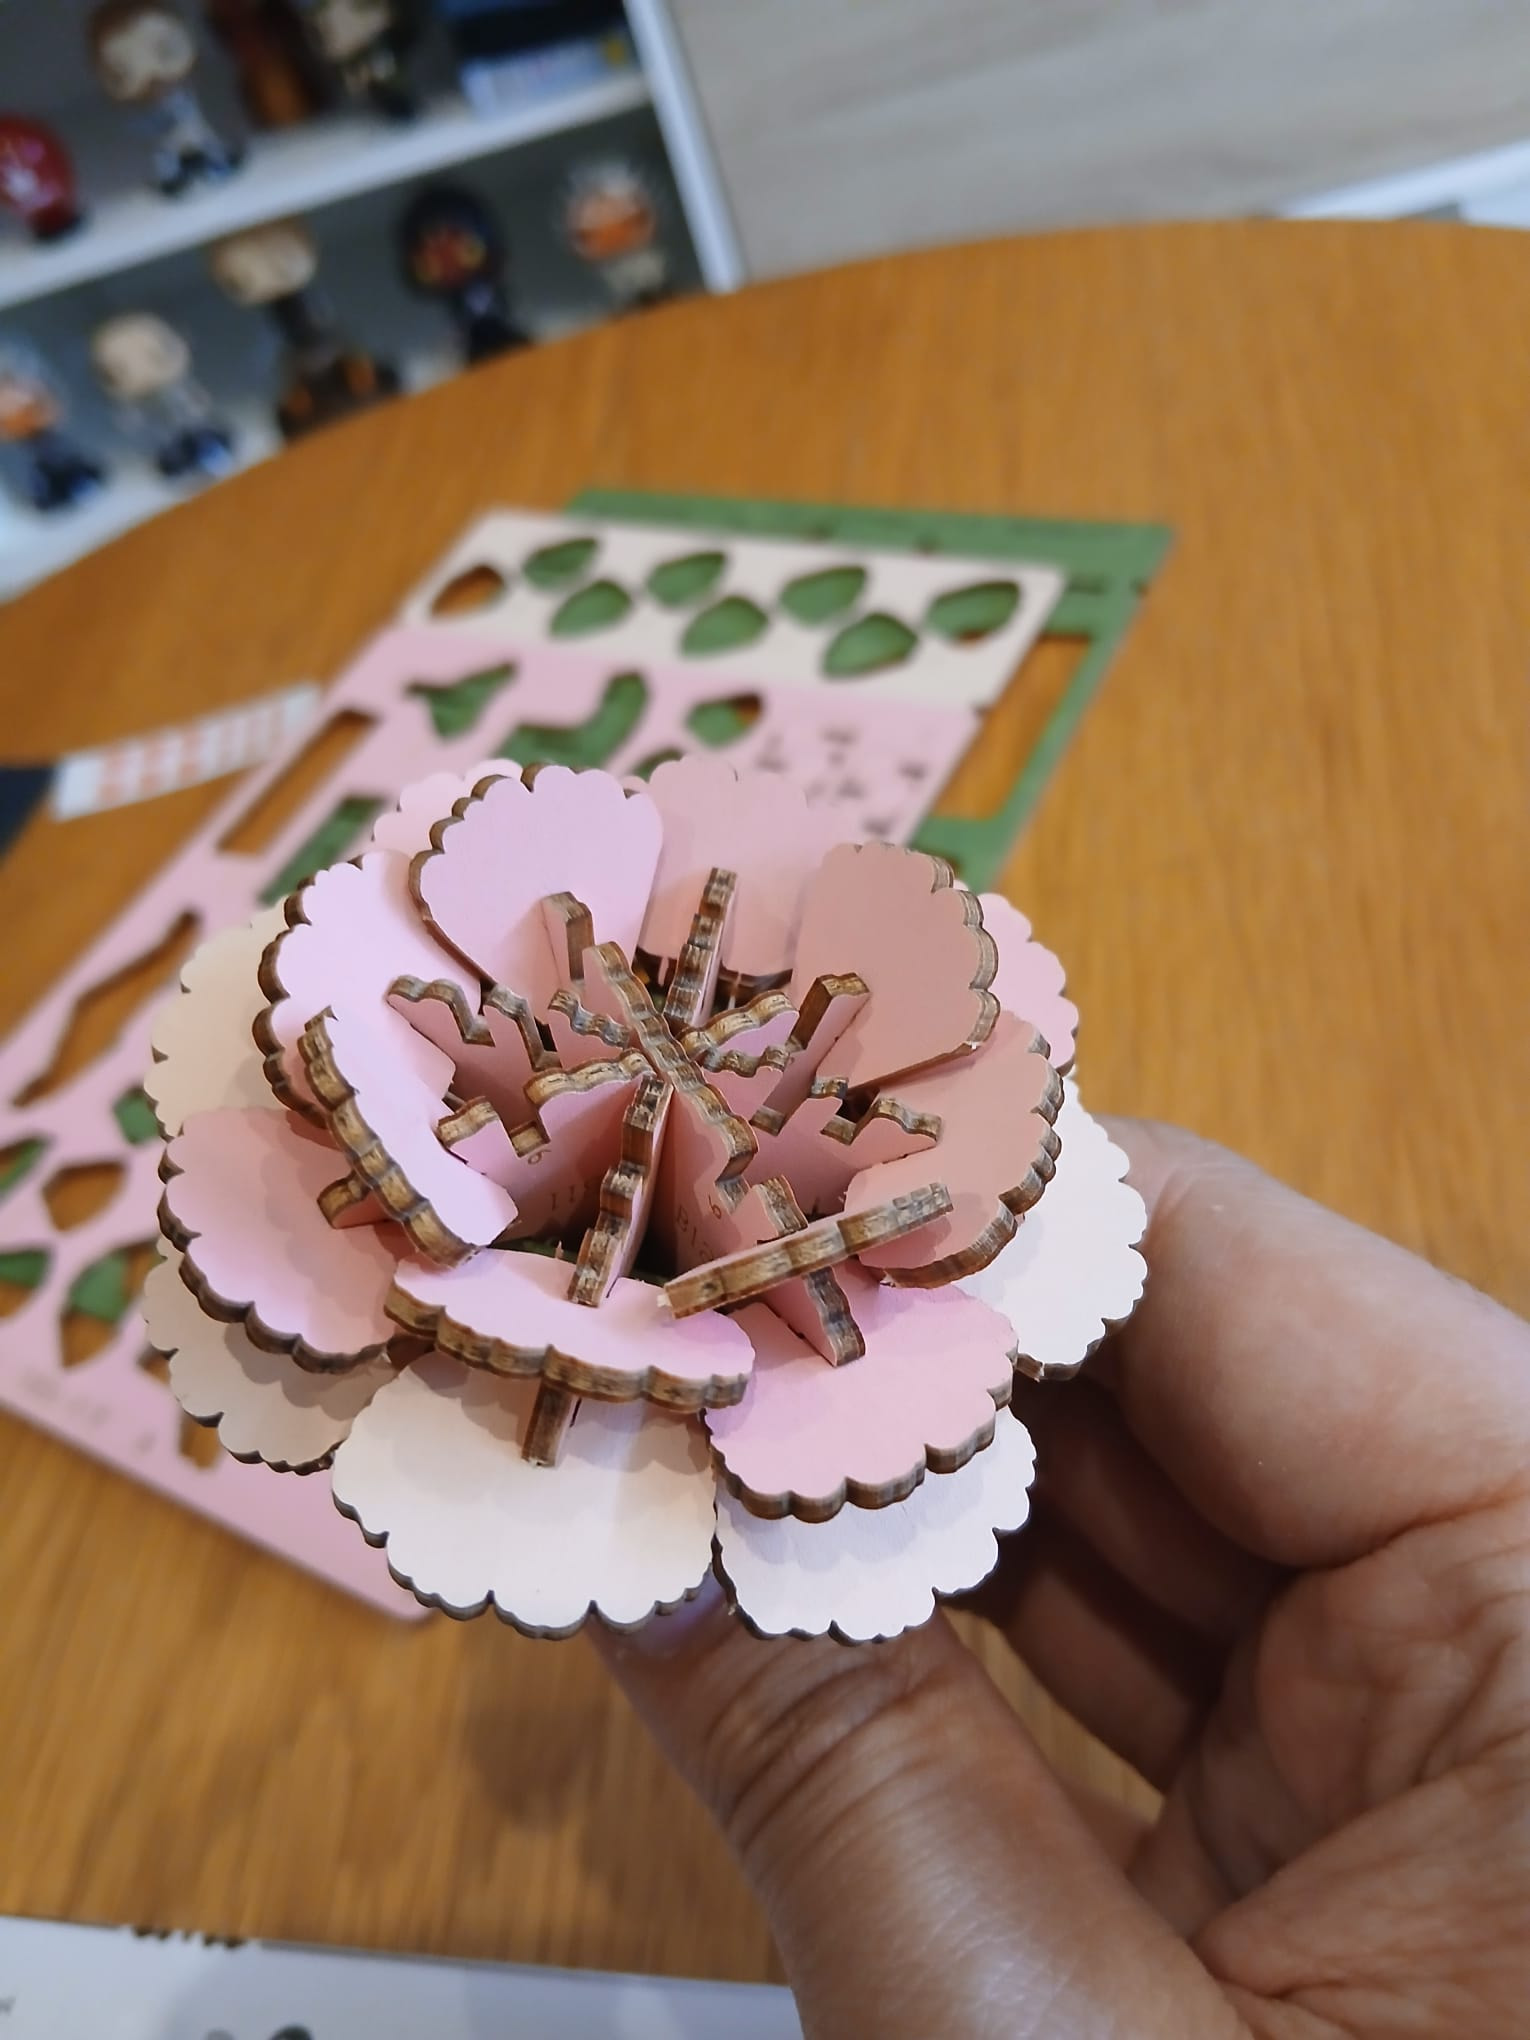
Not so much for the smaller ones in the center though. My thumb has definitely felt that pressure!

Buuuut we’ve made it through. This one was much easier than the Red Rose, in my humble opinion. And it’s pretty cute!

So we just go for the stem part… Oh, and I’ve done the same that I did with the Red Rose: I’ve checked the main manual so I’ve already prepared the stems the way I’m supposed to do it for the main event.

And this is how our Pink Carnation mum and daughter finally look!

There are still three flowers to go, but that’ll be tomorrow. Gotta go to work now!
Take care, you guys. And girls. And whatever else.
See you/read you around!