While building the Rolife London Tour Bus, I decided to do something a little different. Instead of using the double-sided adhesive sheets included in the kit, I reached for one of my favorite crafting secrets: this little bottle of nail glue. 
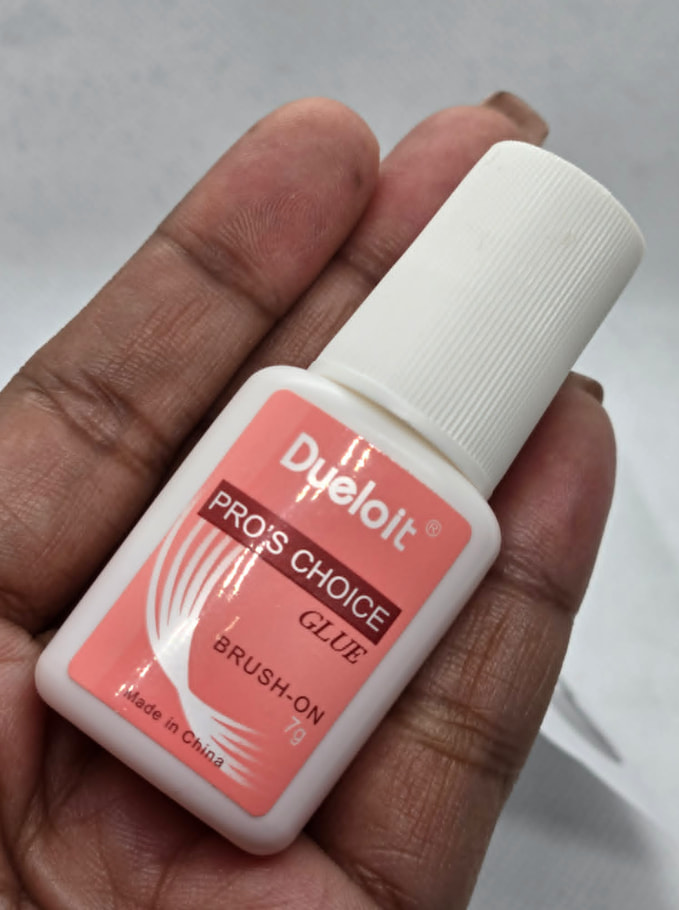
At this point, I think it has earned a permanent spot in my miniature-building toolkit.
Why did I use it?
The London Tour Bus has lots of small decorative pieces, and I personally prefer the stronger hold of glue over adhesive stickers. Once attached, the pieces stay put, and I don’t have to worry about tiny parts lifting over time.
 Pros:
• Strong hold for small decorative pieces
• No bulky foam adhesive showing on the edges
• Dries fairly quickly
• Great for miniatures, paper crafts, and tiny accessories
• A little goes a long way
 Cons:
• Once it’s stuck, it’s STUCK. There are no second chances for misplaced pieces. 
• Too much glue can leave shiny marks
• Not ideal if you like repositioning parts
• Requires a steady hand and a little patience
A few tips if you want to try this:
 Apply the thinnest layer possible.
Use a toothpick for tiny pieces.
Let it get slightly tacky before attaching larger decorations.
Keep a tissue nearby for quick cleanups.
My funniest moment? After carefully applying glue to a tiny piece, I spent several seconds trying to figure out why it wouldn’t stick… only to realize it was glued to my finger instead of the bus. Miniature builders, please tell me I’m not the only one. 
Of course, the adhesive included in the kit works perfectly fine, and many builders prefer it. This is simply a personal preference I’ve developed after building quite a few kits.
Every builder eventually discovers their favorite tools, and this little bottle has become one of mine. Sometimes the smallest supplies make the biggest difference.
Do you stick with the materials included in the kit, or do you have a secret crafting tool that you swear by?




 !

 Just be careful not adding nail glue on fabric, it gets really hot!