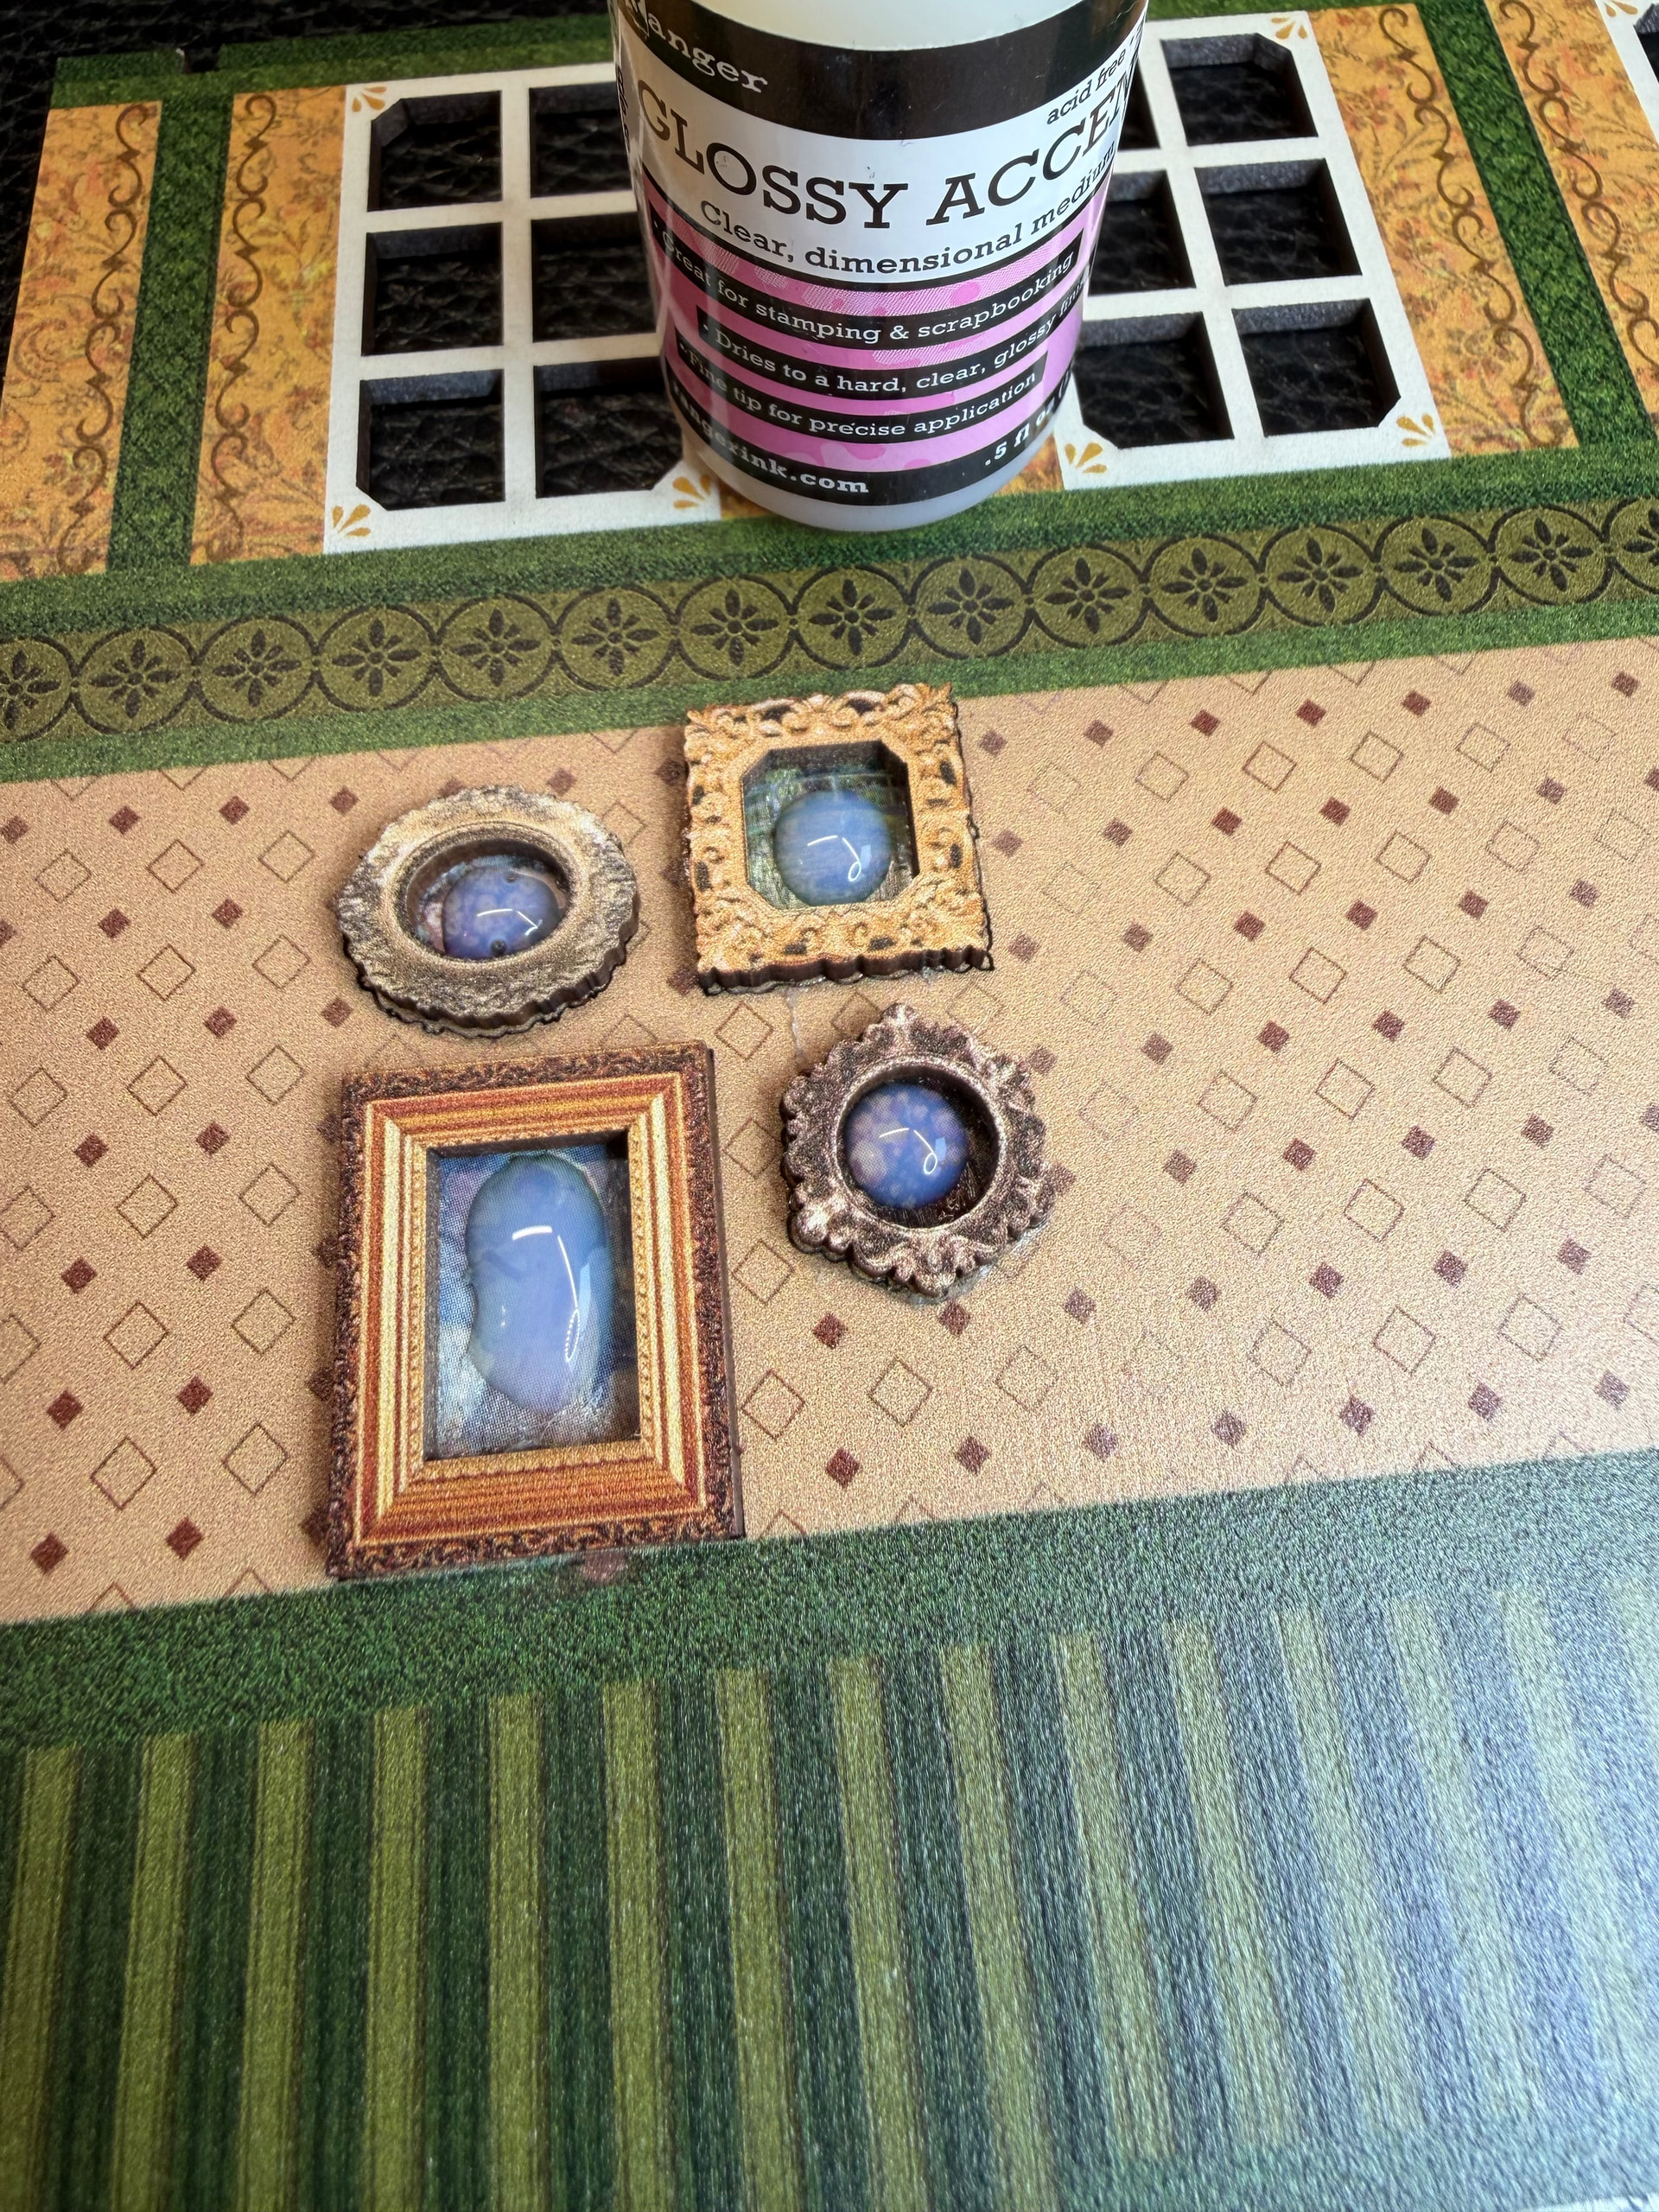
You know those picture frames you see in miniature builds? The ones that are cut out from the wood and look like they’re sitting on the wall? I figured out a way to give them a realistic glass effect using something you might already have in your crafting toolkit.
I applied a blob of Glossy Accents directly onto the frame, then used something that wasn’t sharp—I grabbed a little piece of plastic instead of a toothpick—and spread it out toward the edges. The key here is being gentle so you get an even layer without trapping air bubbles.
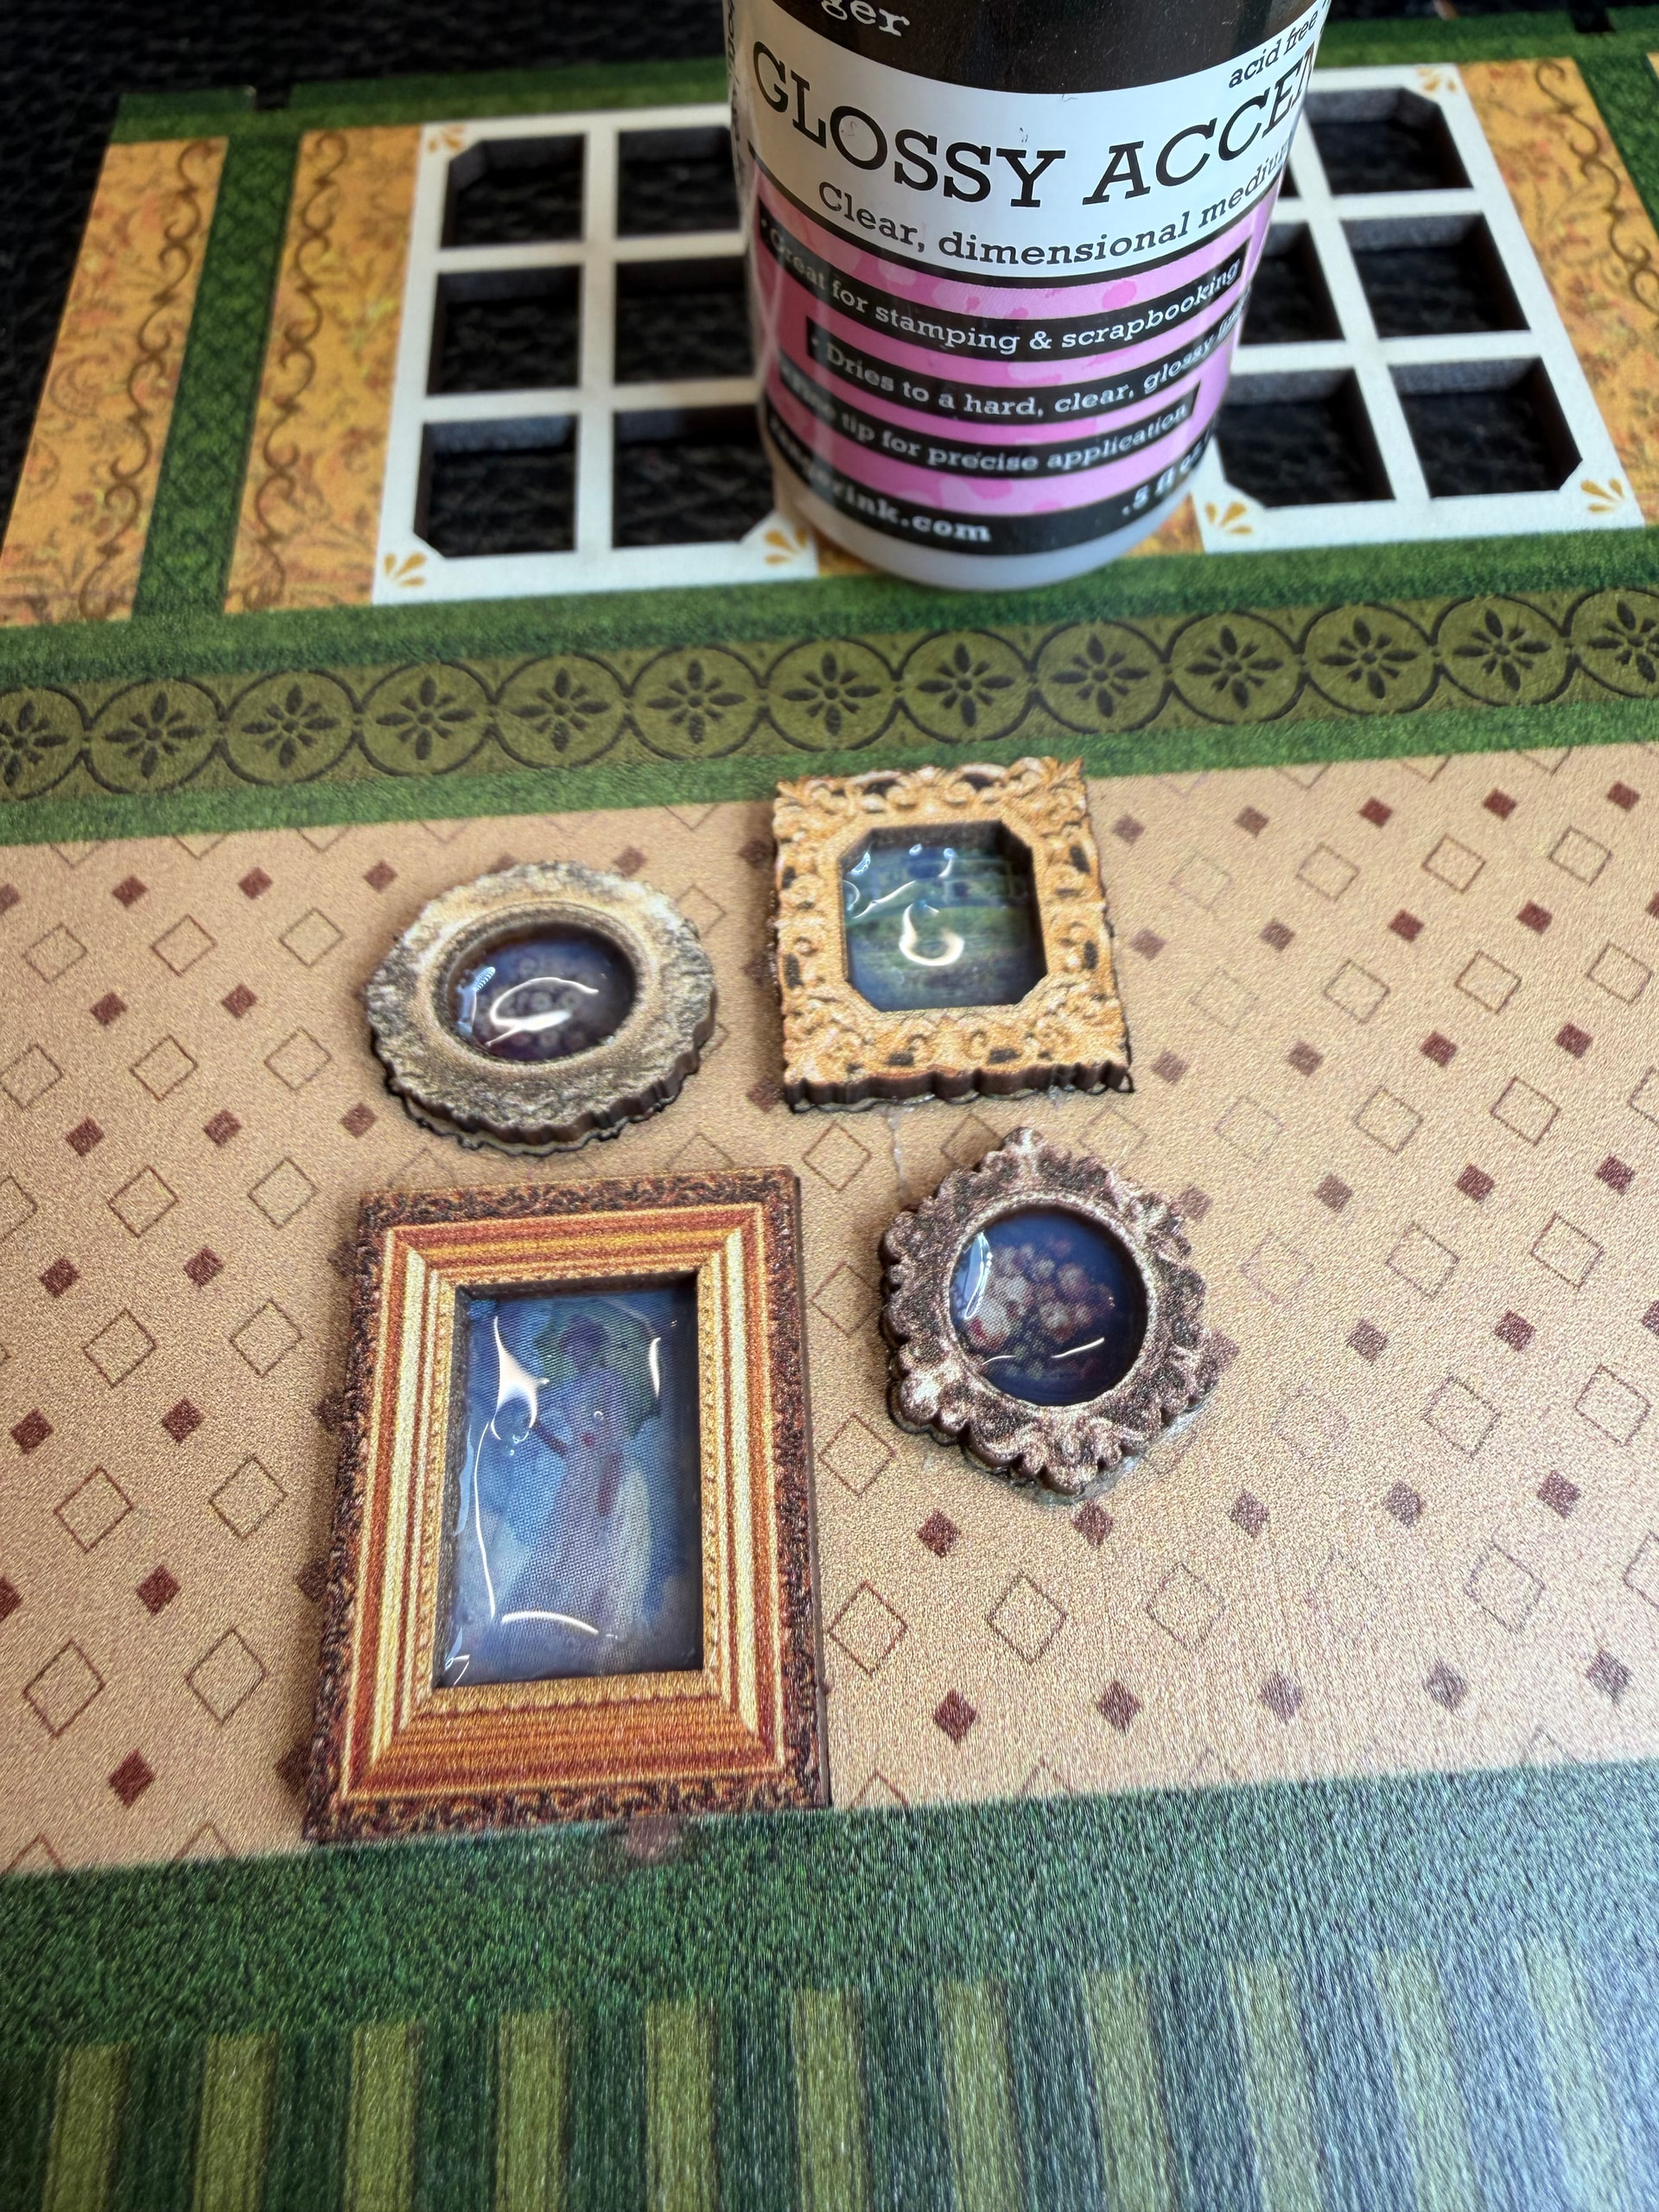
And there you have it! That glossy, clear finish gives a result that really does look like glass sitting in front of the frame — durable, great adhesion, and a neat effect overall. Next time I want to experiment with thickness — trying a thicker layer and maybe one that’s much lighter — to see how each affects the final look. It’s all part of the process! If you’re building any kit with picture frames or similar details that need a glass-like appearance, this technique is definitely worth a try.
I have not tried that. Regular glue likely won’t give you the same result — the clarity is really the key here, and most standard glues dry with a haze or yellowish tint over time. That glass-like look comes specifically from using Glossy Accents, so it’s worth grabbing the right product for that effect!
You know, my aunt Teresa has always been one for good advices, and that made me grow up thinking that if someone is really good at giving advices, they must be a nice aunt/uncle.
Therefore, I may start calling you Aunt Kim from now on your constant tips are always so clever and spot on! I can’t thank you enough.
Nice tip! I’ve tried using clear UV resin before to recreate the same effect, however, they tend to turn yellowish over time. Might look for this stuff in my next hobby store run..
Aunt Kim! I absolutely love that and I will proudly accept that title! Your aunt Teresa sounds like a wonderful person.
Honestly I just share what works for me and hope it helps someone else avoid the frustration I went through first! If my trial and error saves someone else some time, that makes it all worth it. Thank you so much for the kind words, it really means a lot!