As I mentioned in some of my previous posts, it was recently my granny Olimpia’s birthday. At first I thought about giving her the Fluffy Cat Bakery, but then I decided to go straight for a kit I knew she would really love, and this one felt perfect.
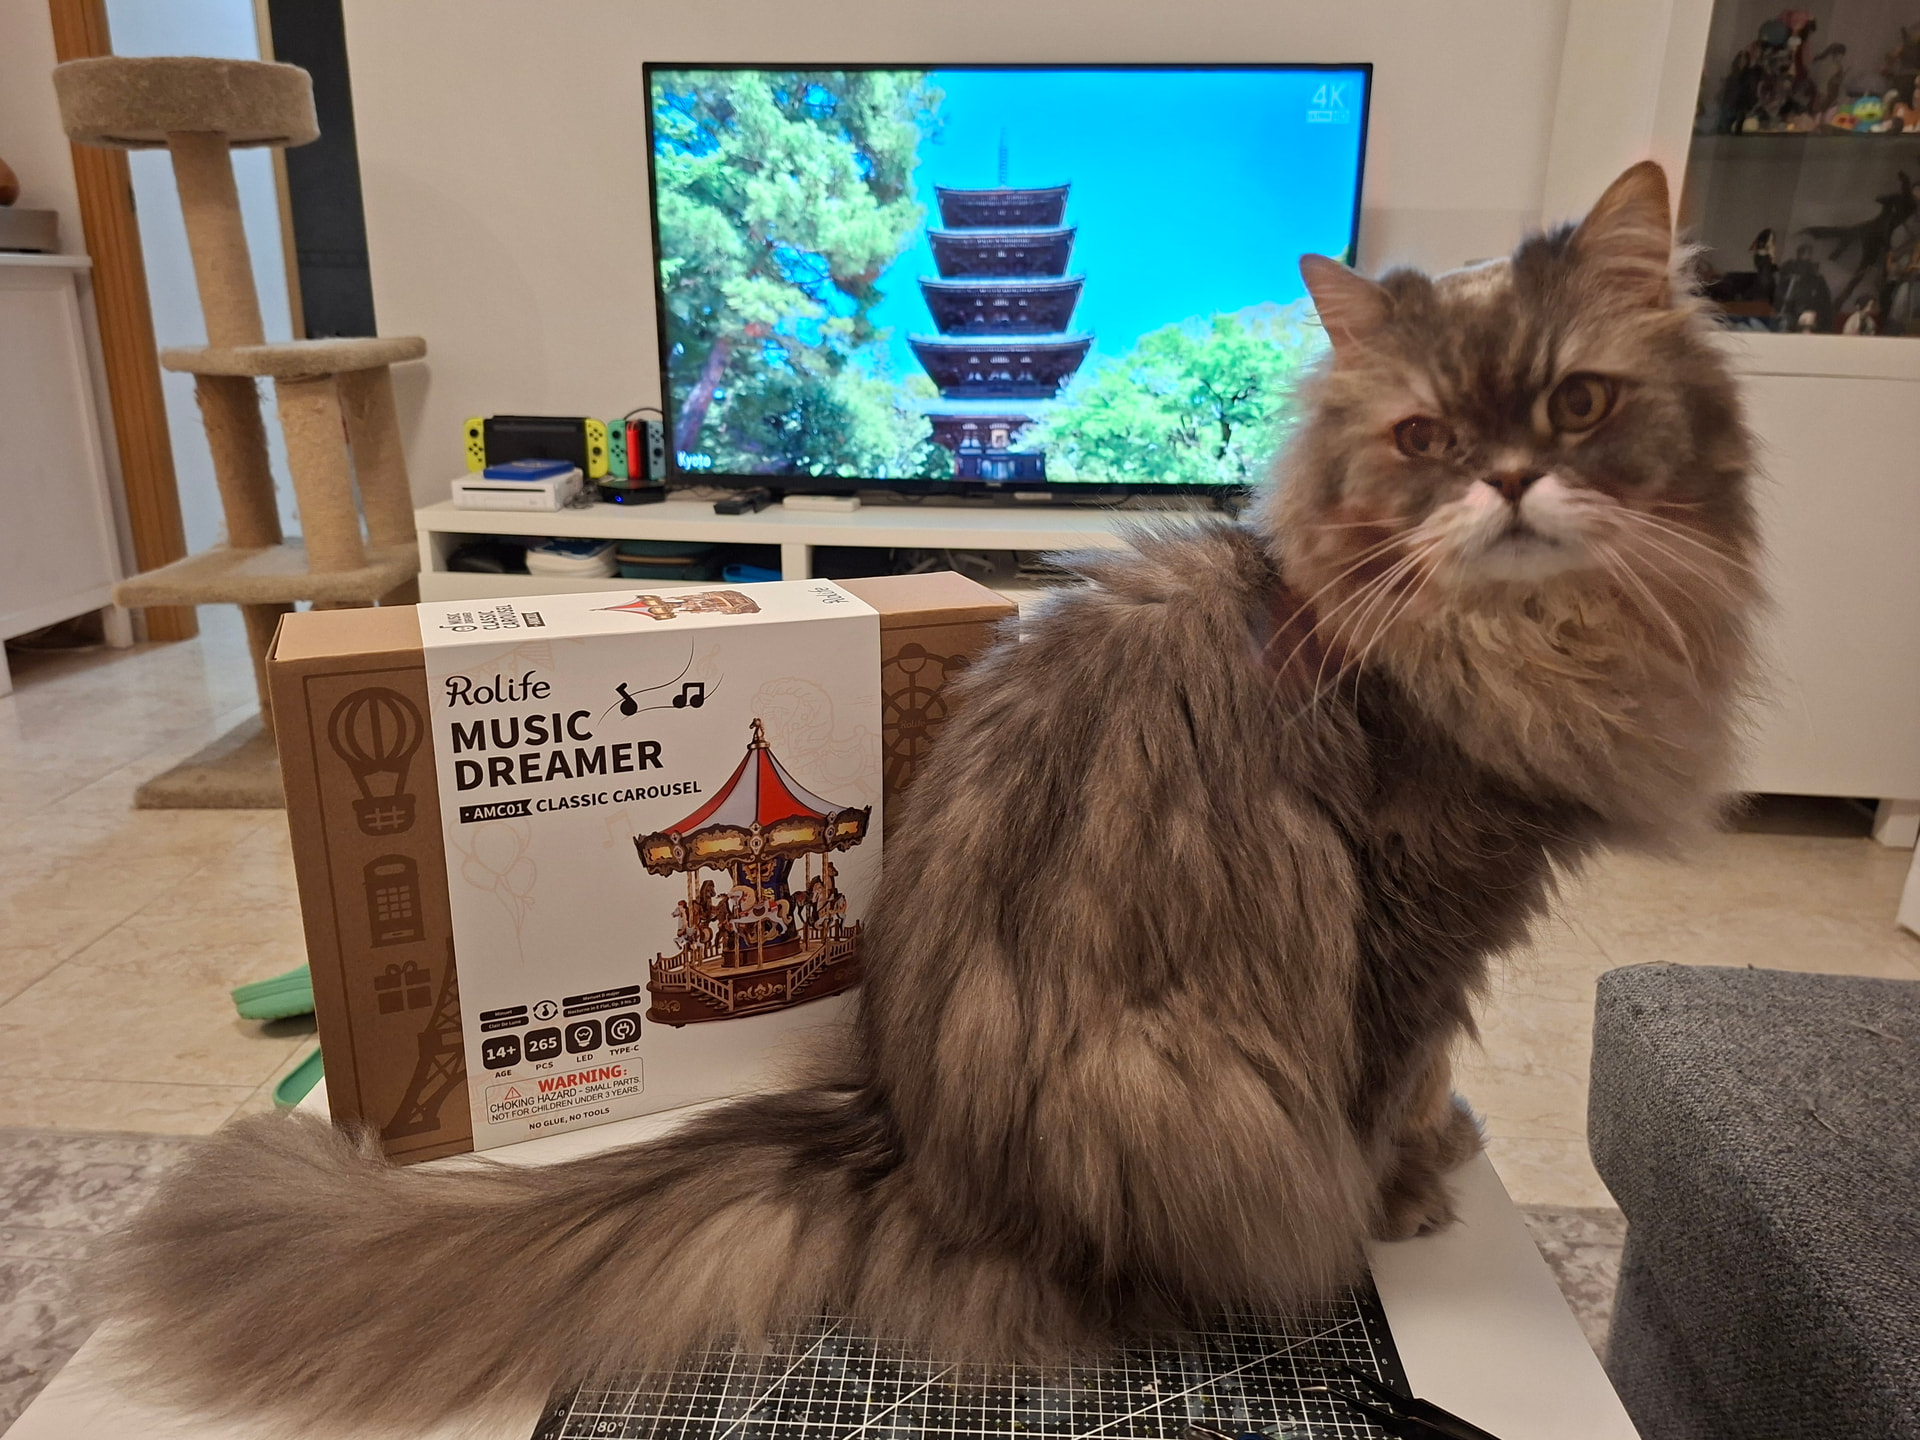
So these past few days I’ve been working on the Classic Carousel. Honestly, I have no idea where she’s going to put it because it’s much bigger than I expected, but it’s such a beautiful kit. It has movement, lights, and music, and I know she’s going to be so excited when she gets it. In the end, Fluffy Cat Bakery became a gift for my sister instead, and since I have a lot of extra time this week to build because I’m stuck resting my ankle, I got started with this one.
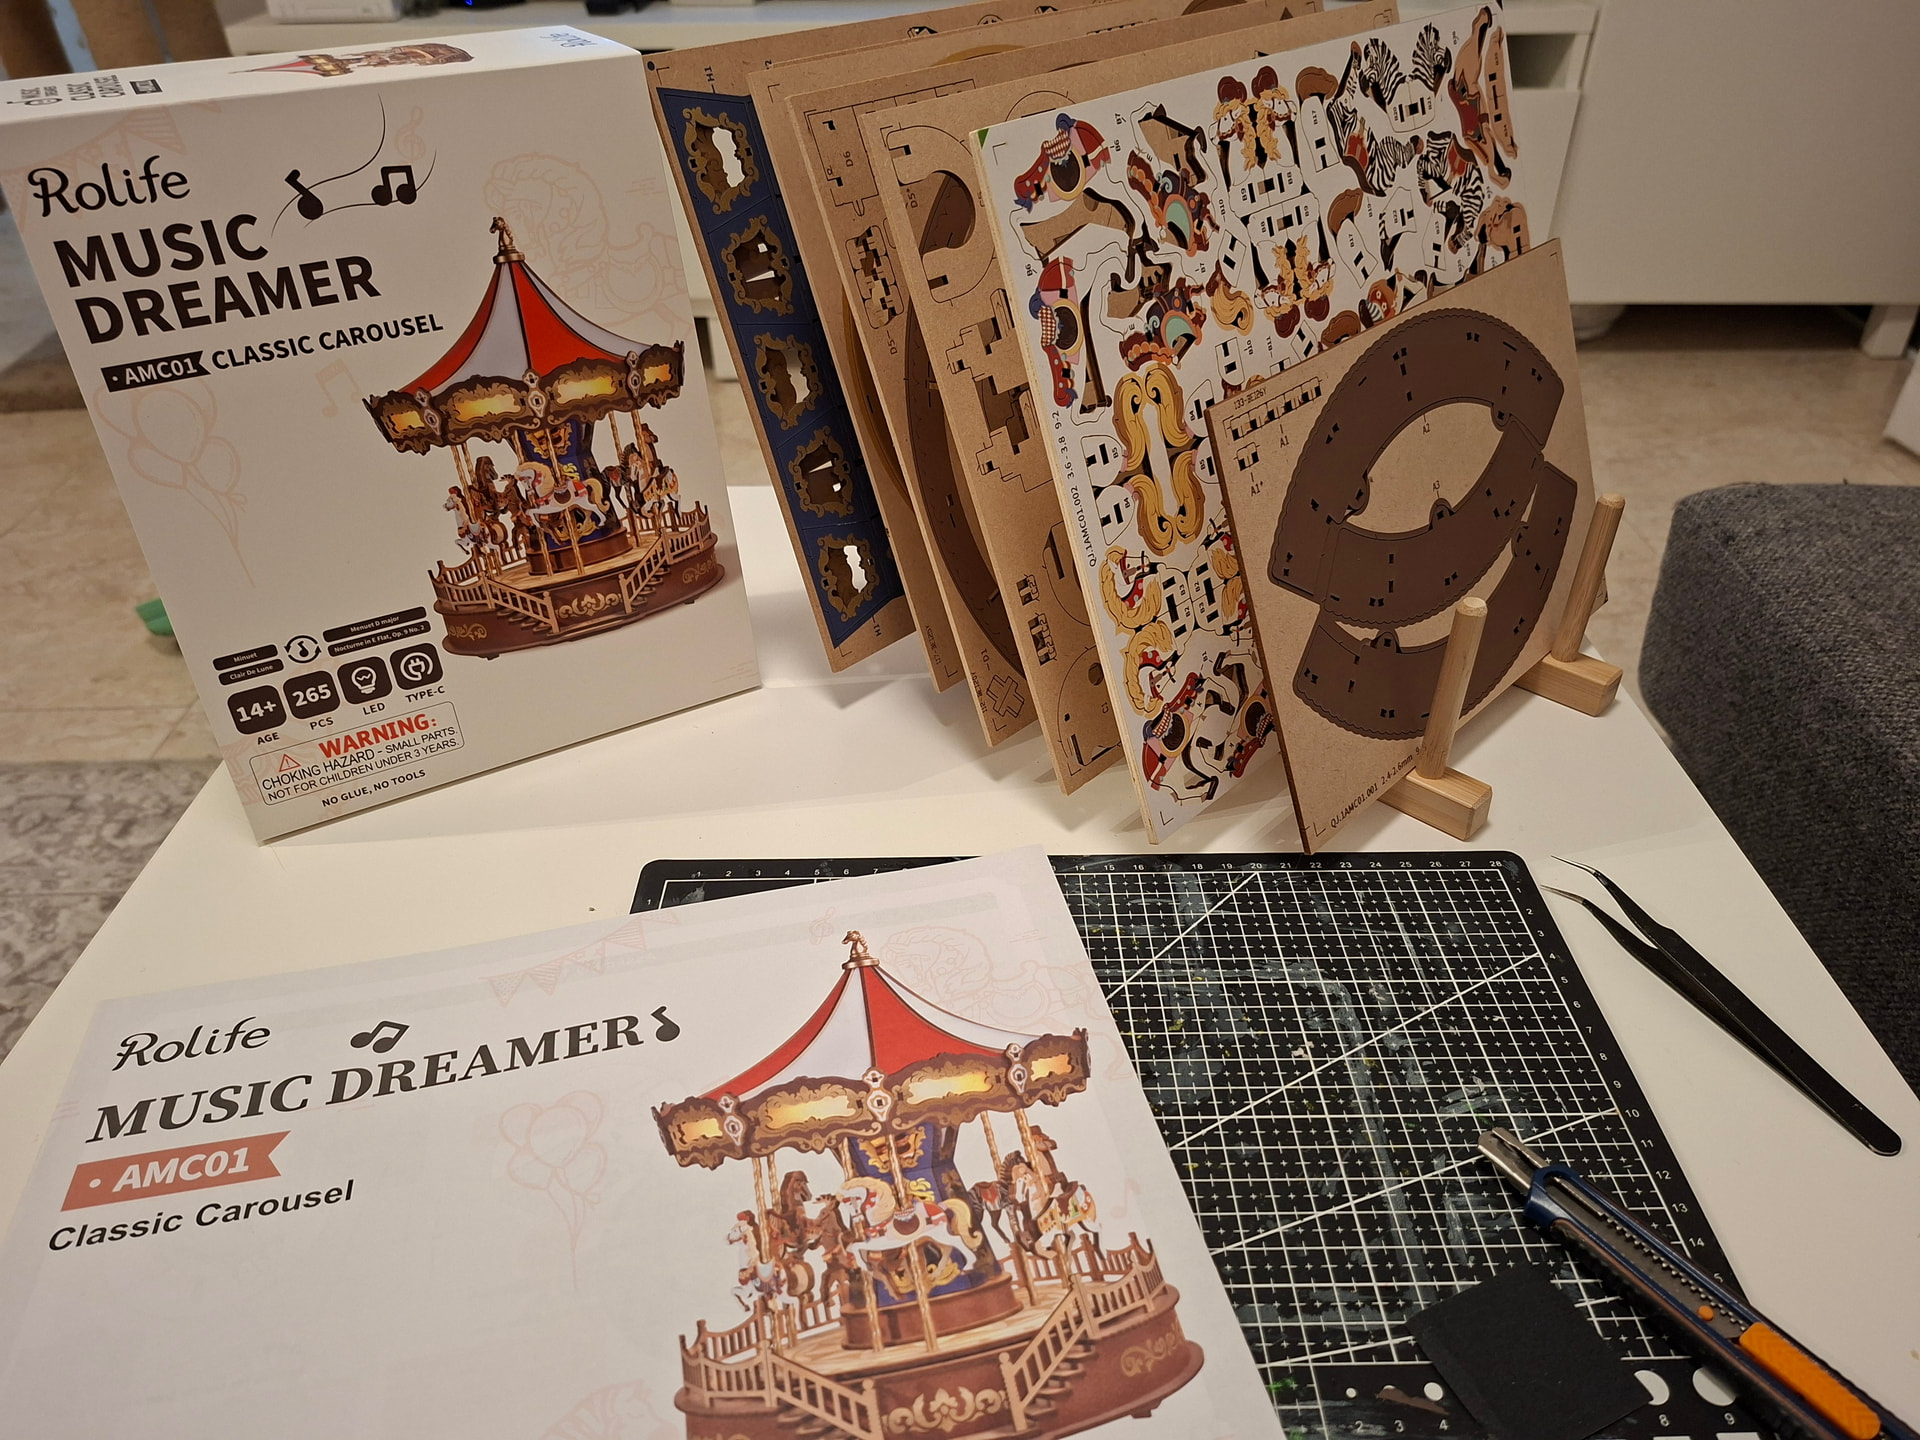
To begin with, I finally got to use something I bought at IKEA to organize the wooden boards. It’s actually meant for plates, but it has been so useful for separating the boards in alphabetical order and not having to keep lifting and moving them around to reach the ones underneath. I really recommend it if you don’t already have something similar, because it was around €3 and it has been incredibly handy.
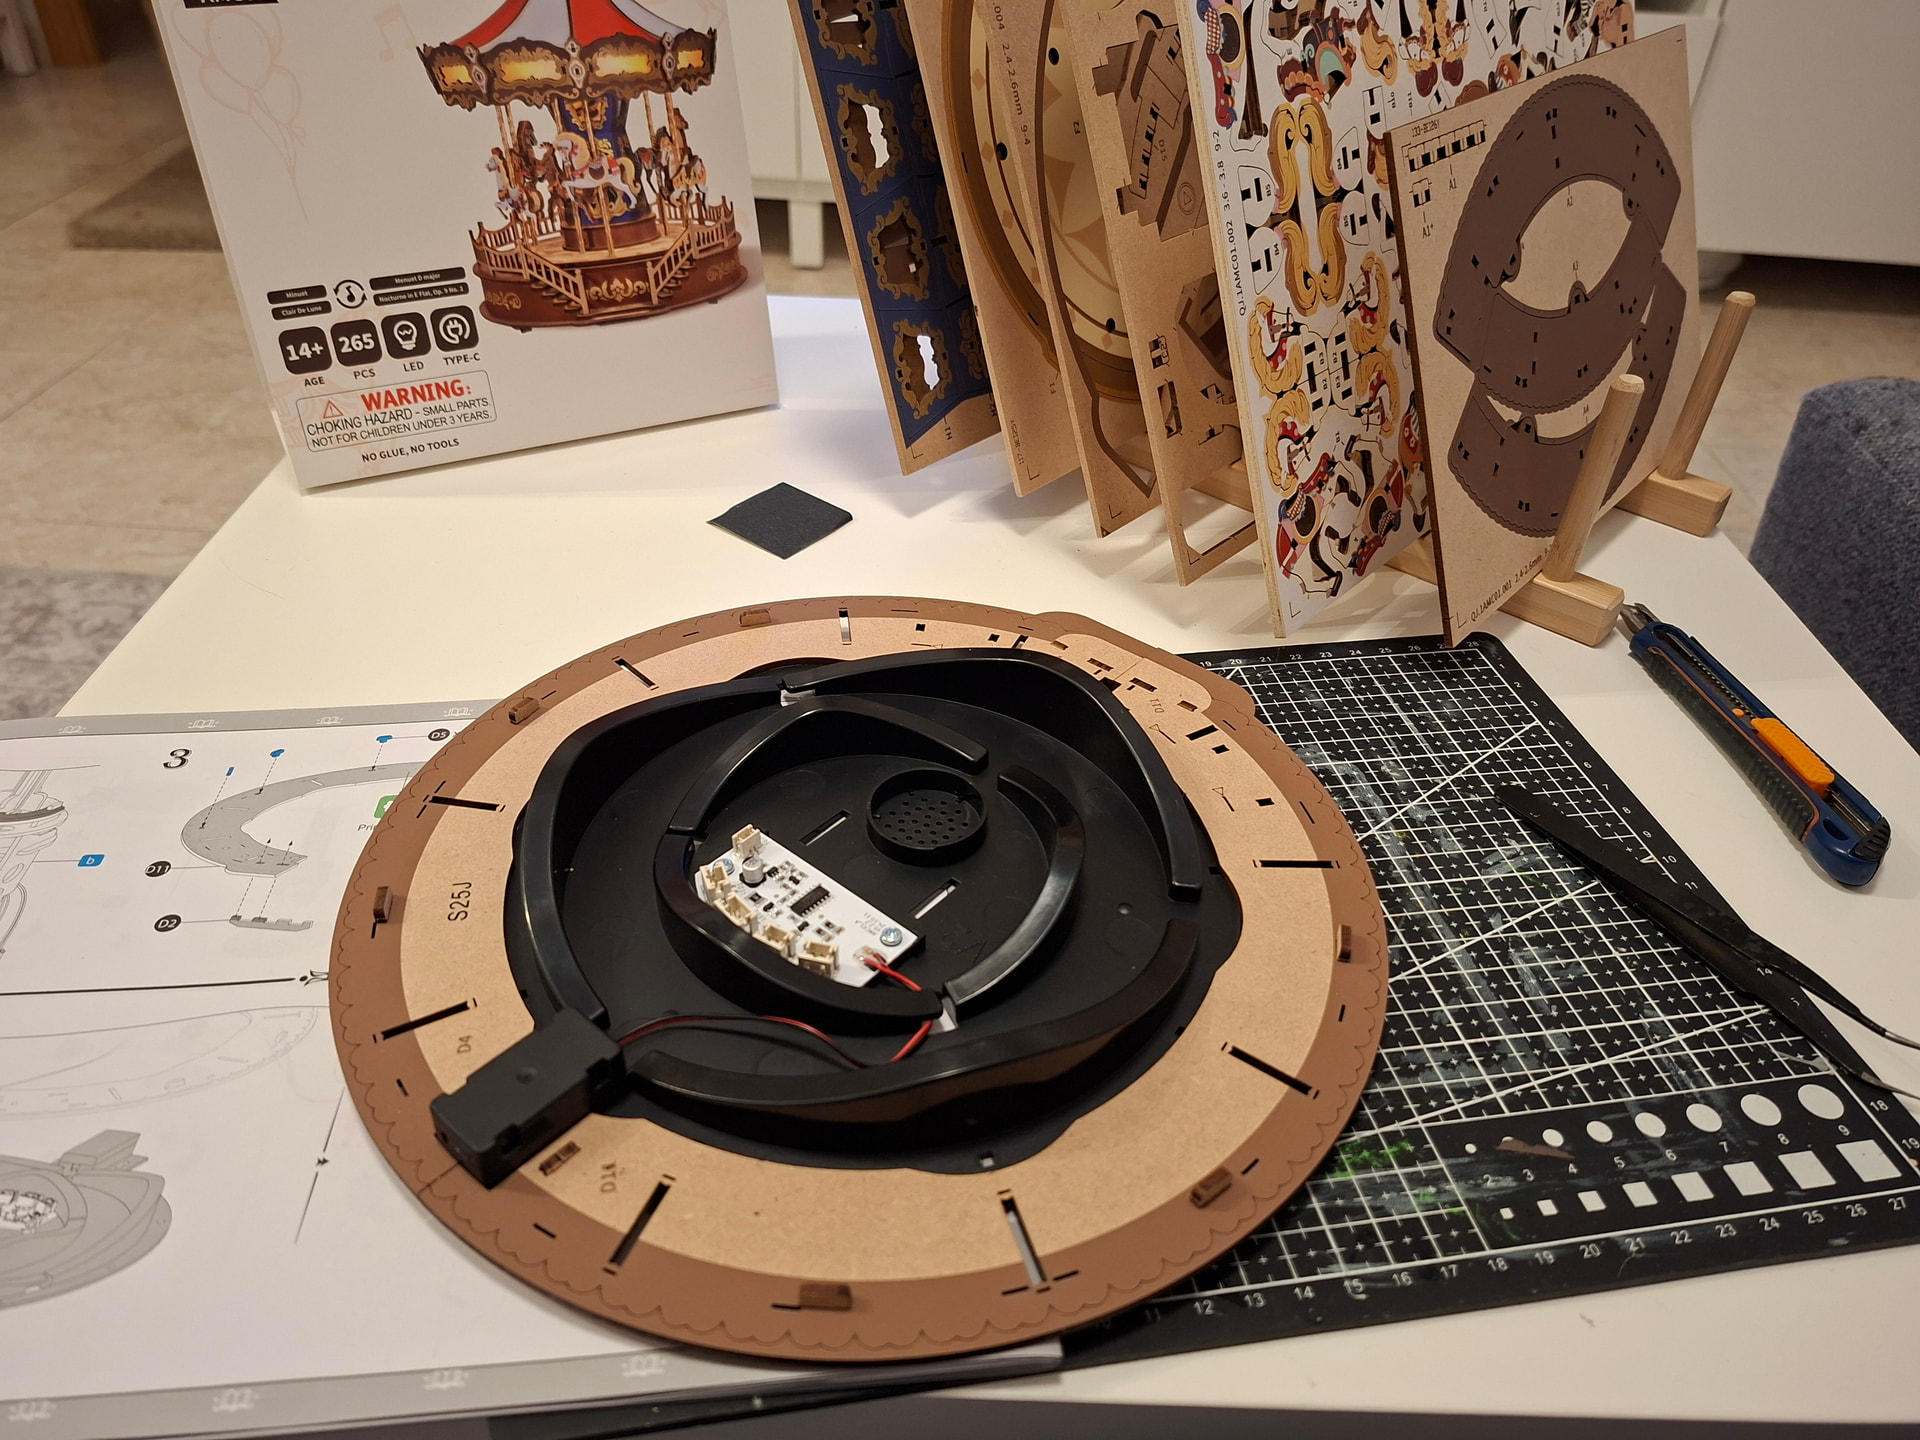
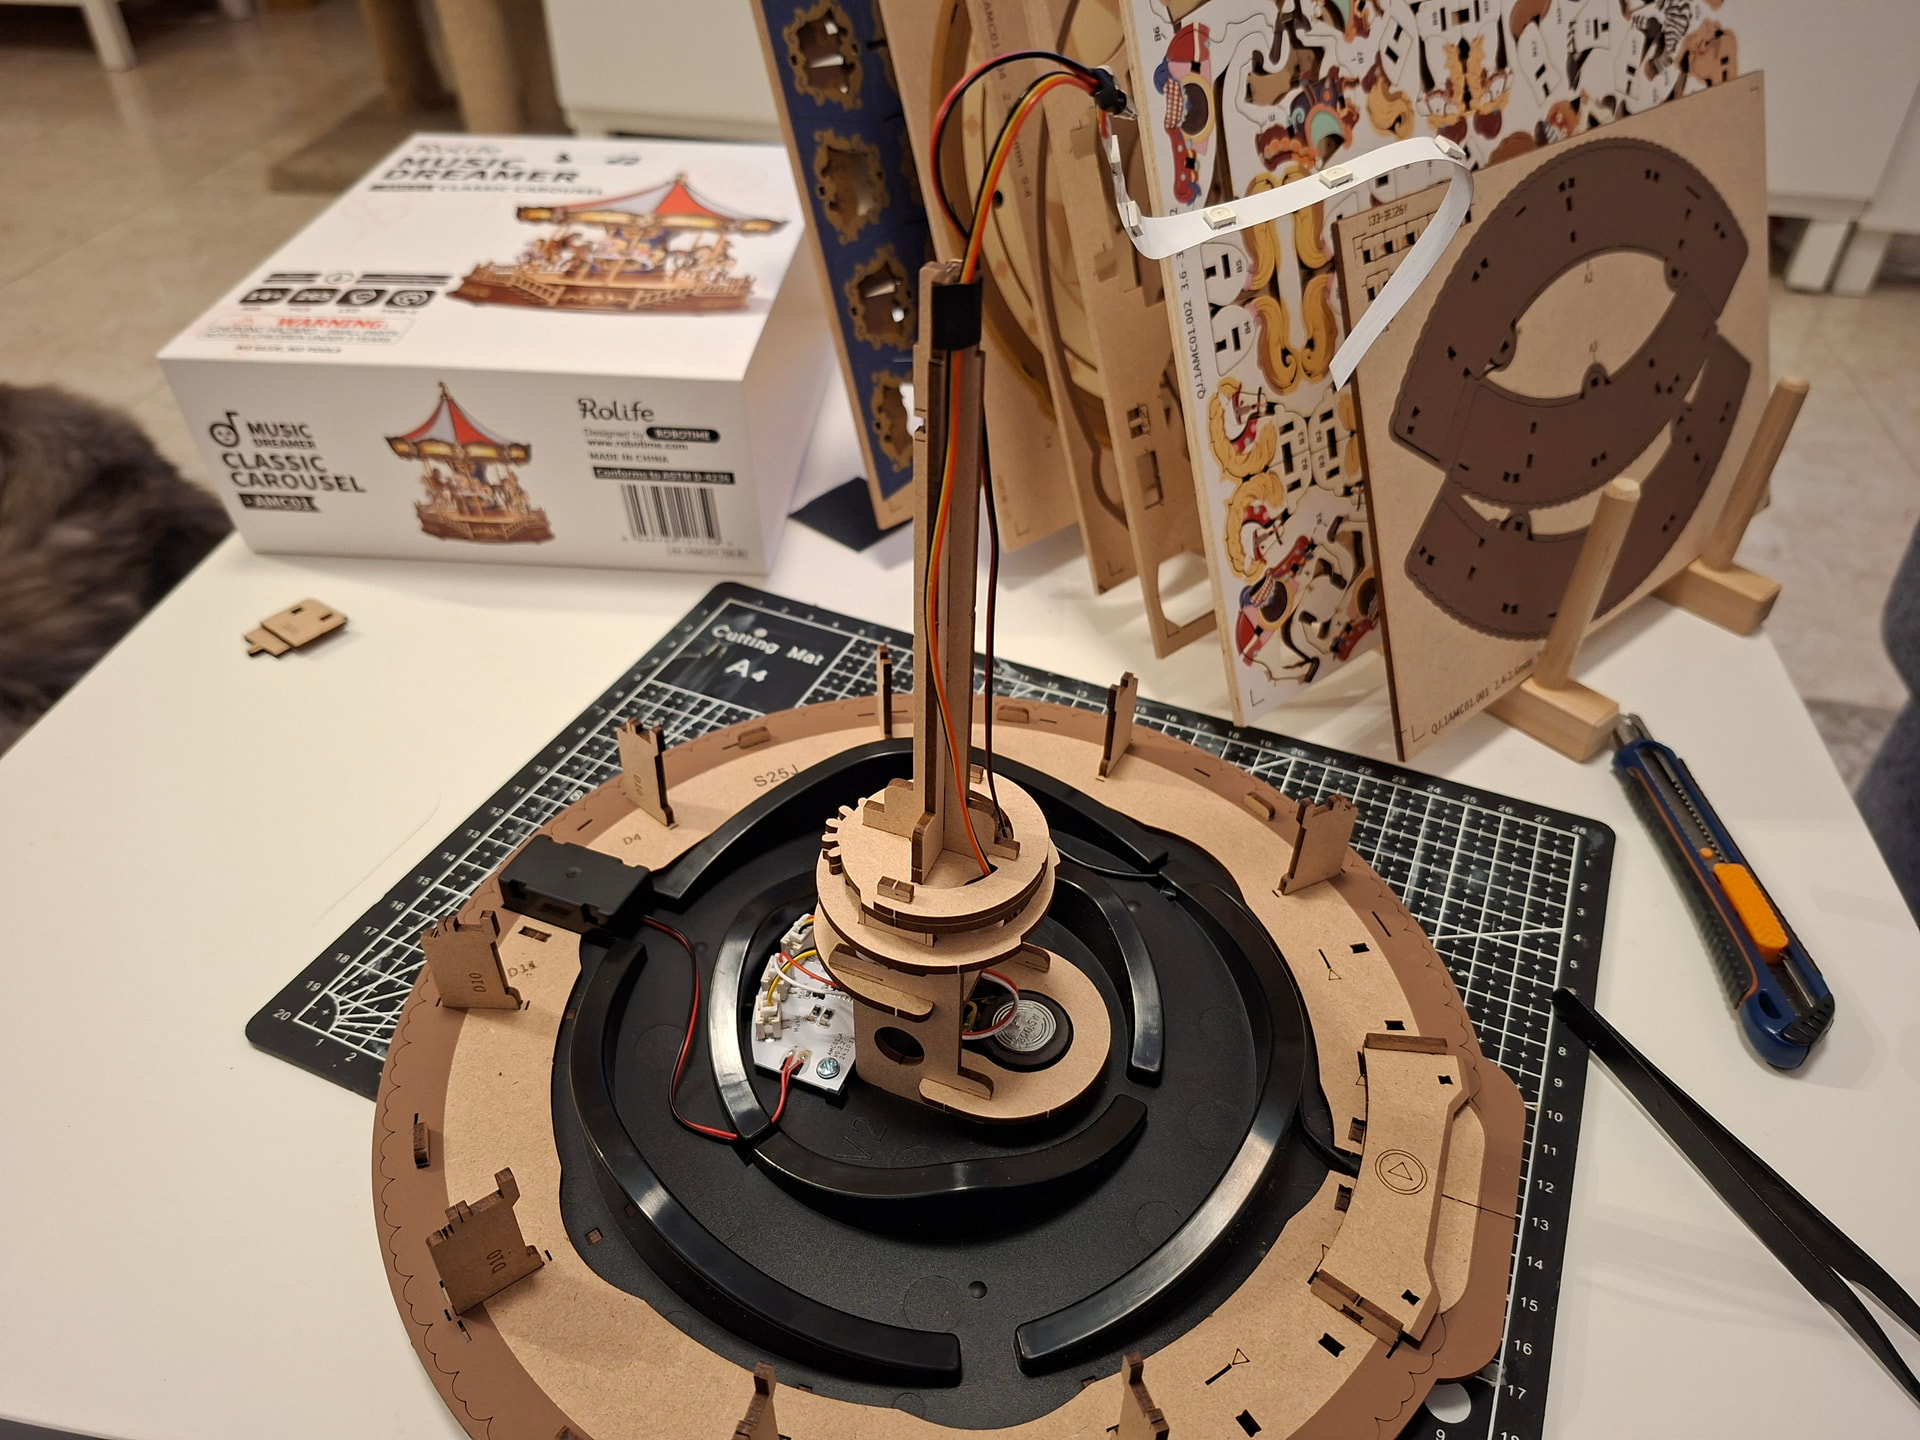
The first thing I did was test the motor and the lights. I really liked that the instructions themselves tell you to do the test first, and thankfully everything worked perfectly. This kit only works with a cable, not batteries, and once it’s plugged in, it’s touch-controlled and has 3 functions. I also really liked that it includes 2 different songs, which is such a nice little detail.
After that, I started building the base. It was very easy and intuitive, honestly. The pieces feel sturdy, so you can press them into place without being scared, and actually you do need to press them well so the base of the carousel stays secure.

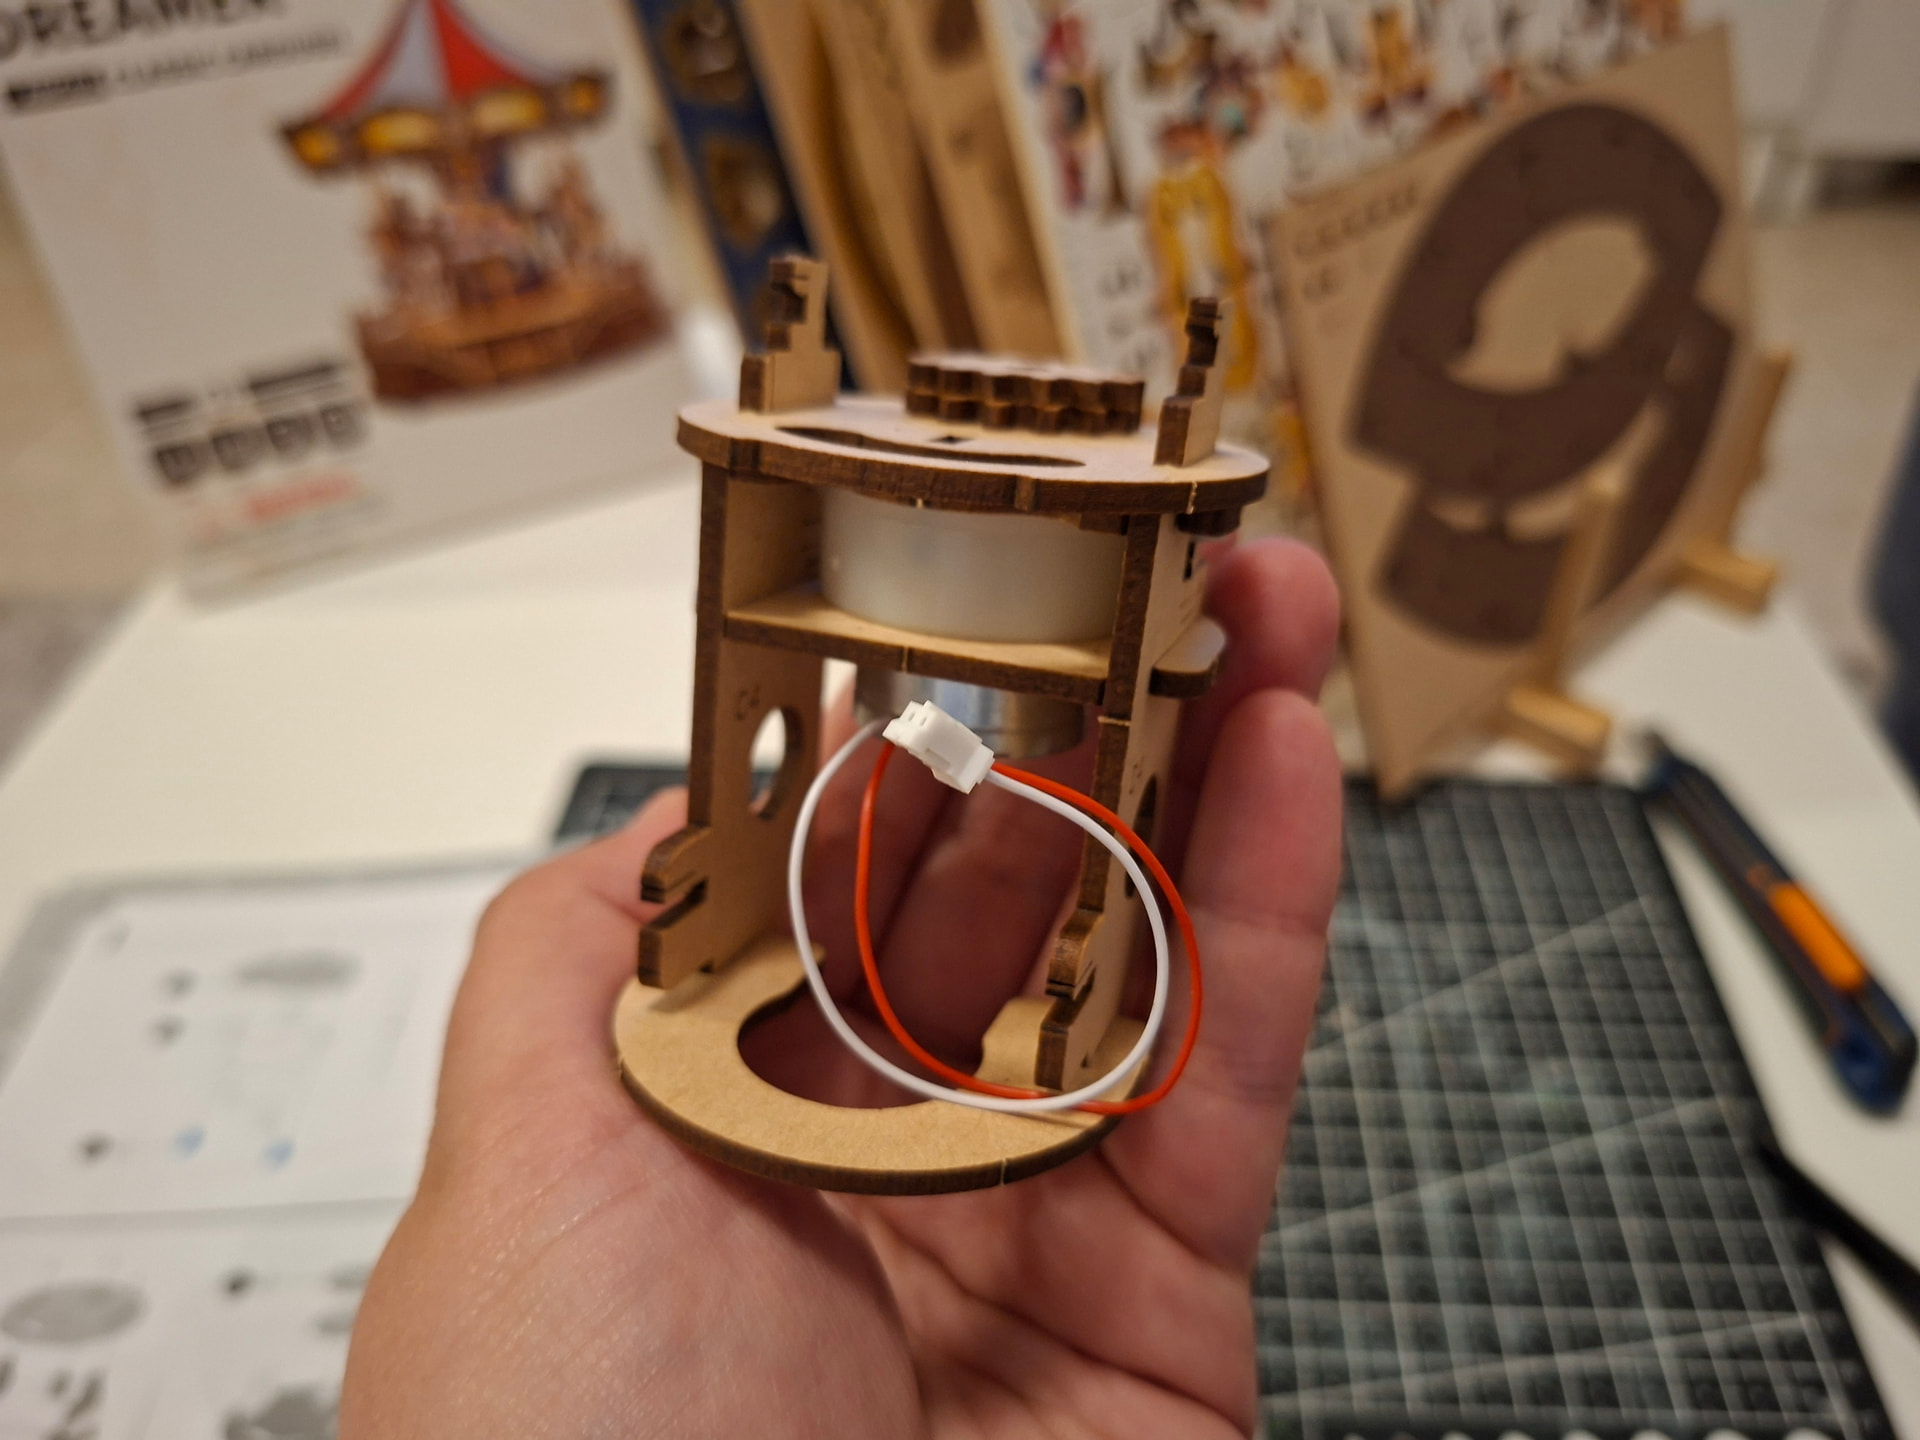
Next came the motor section in the center of the carousel, and then the wires. These were carefully inspected and approved by purspector Bochi, of course. I found it really interesting that the wires go neatly through the center and are held in place with a sticker so they do not come loose or break. Such a simple but useful detail.
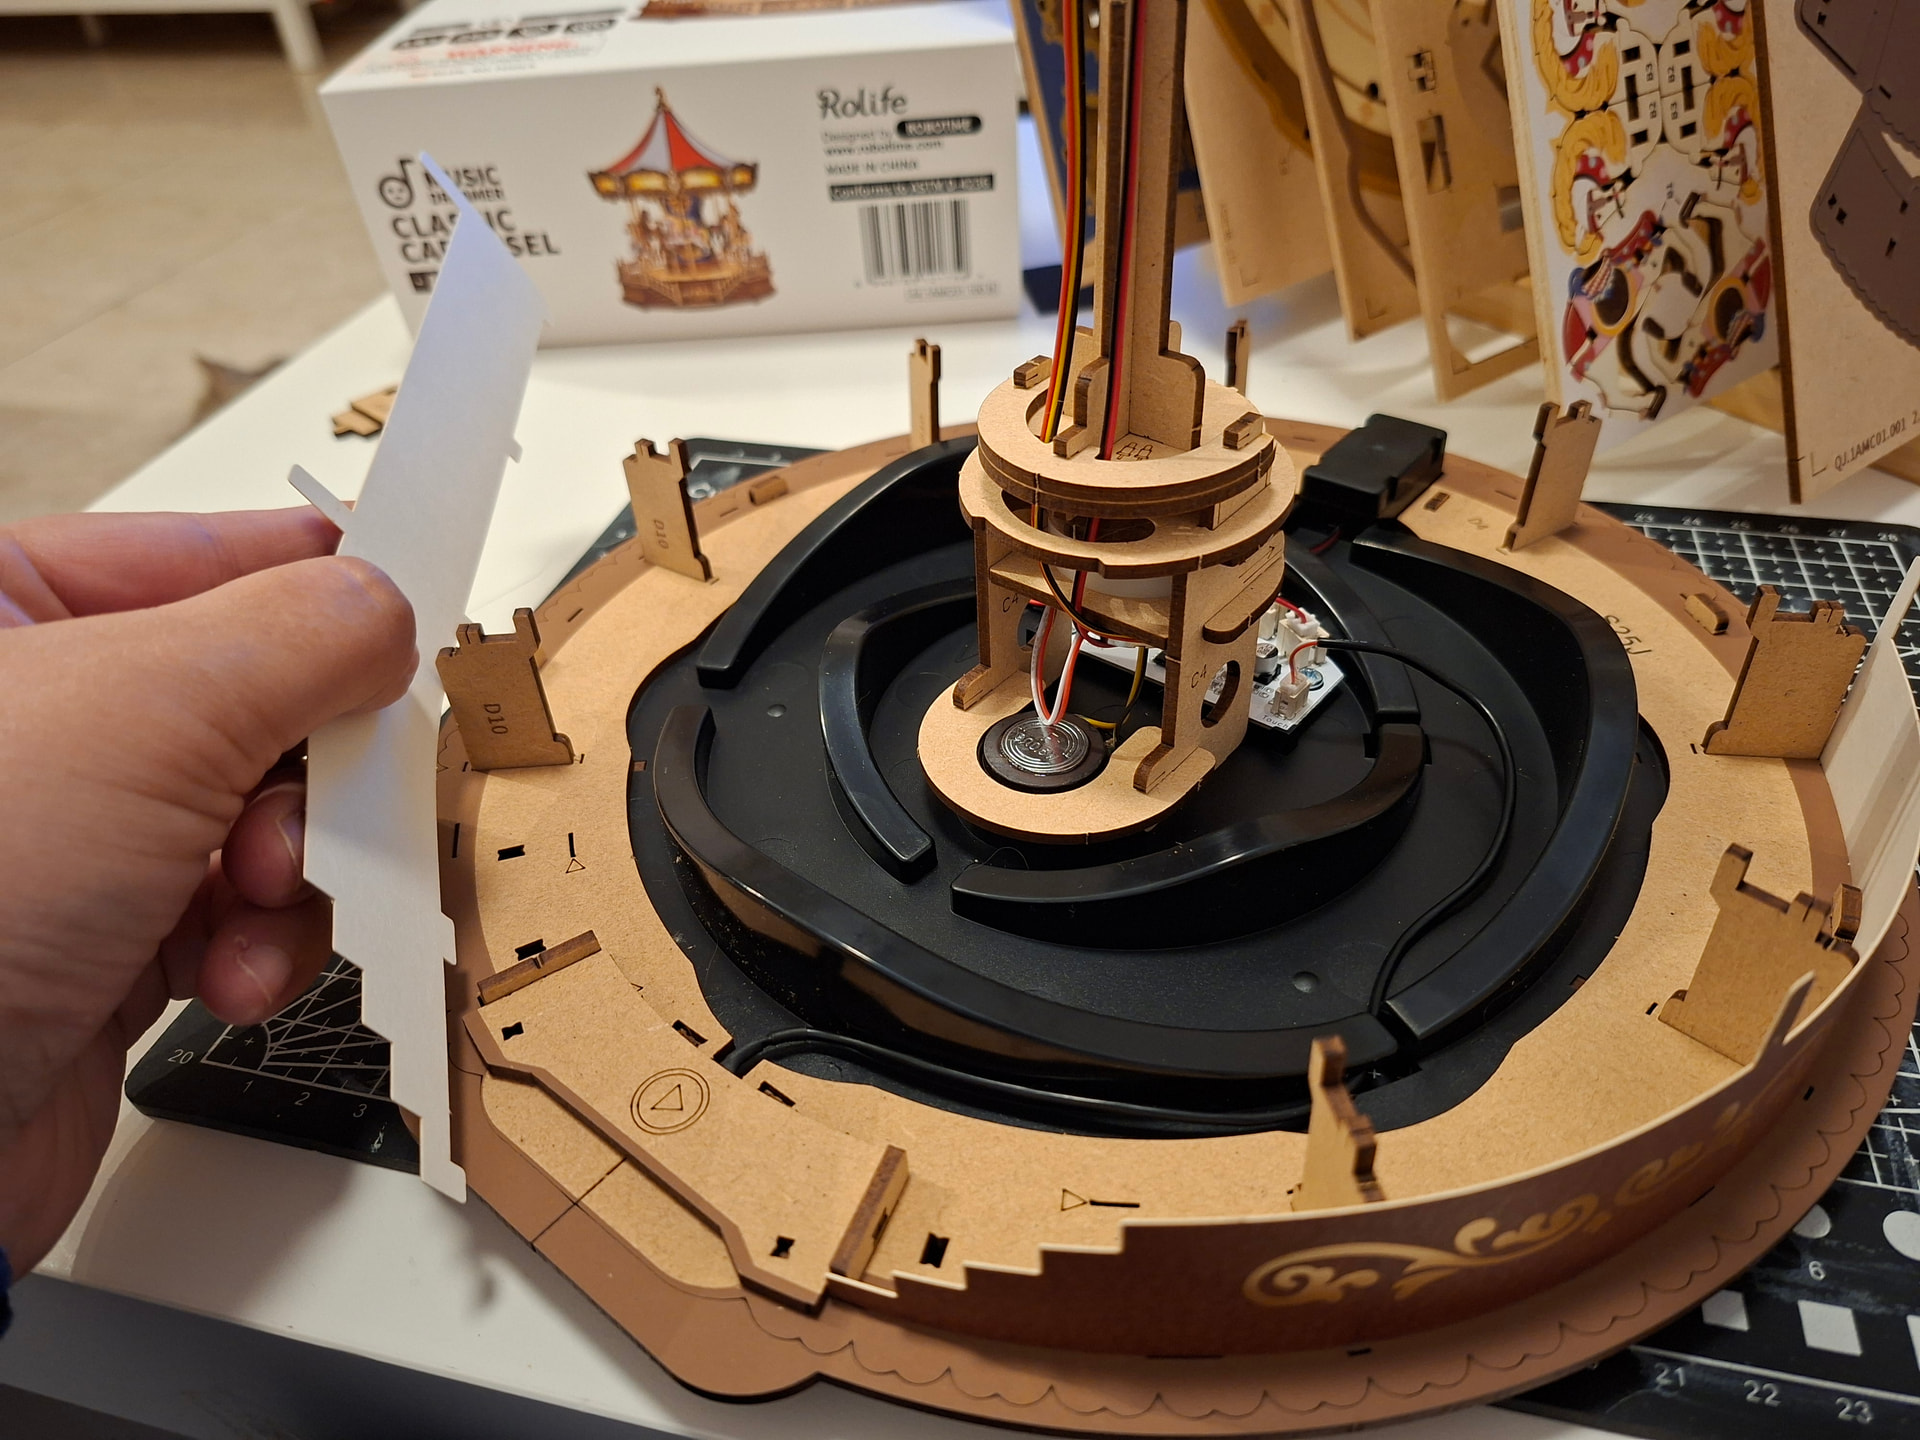
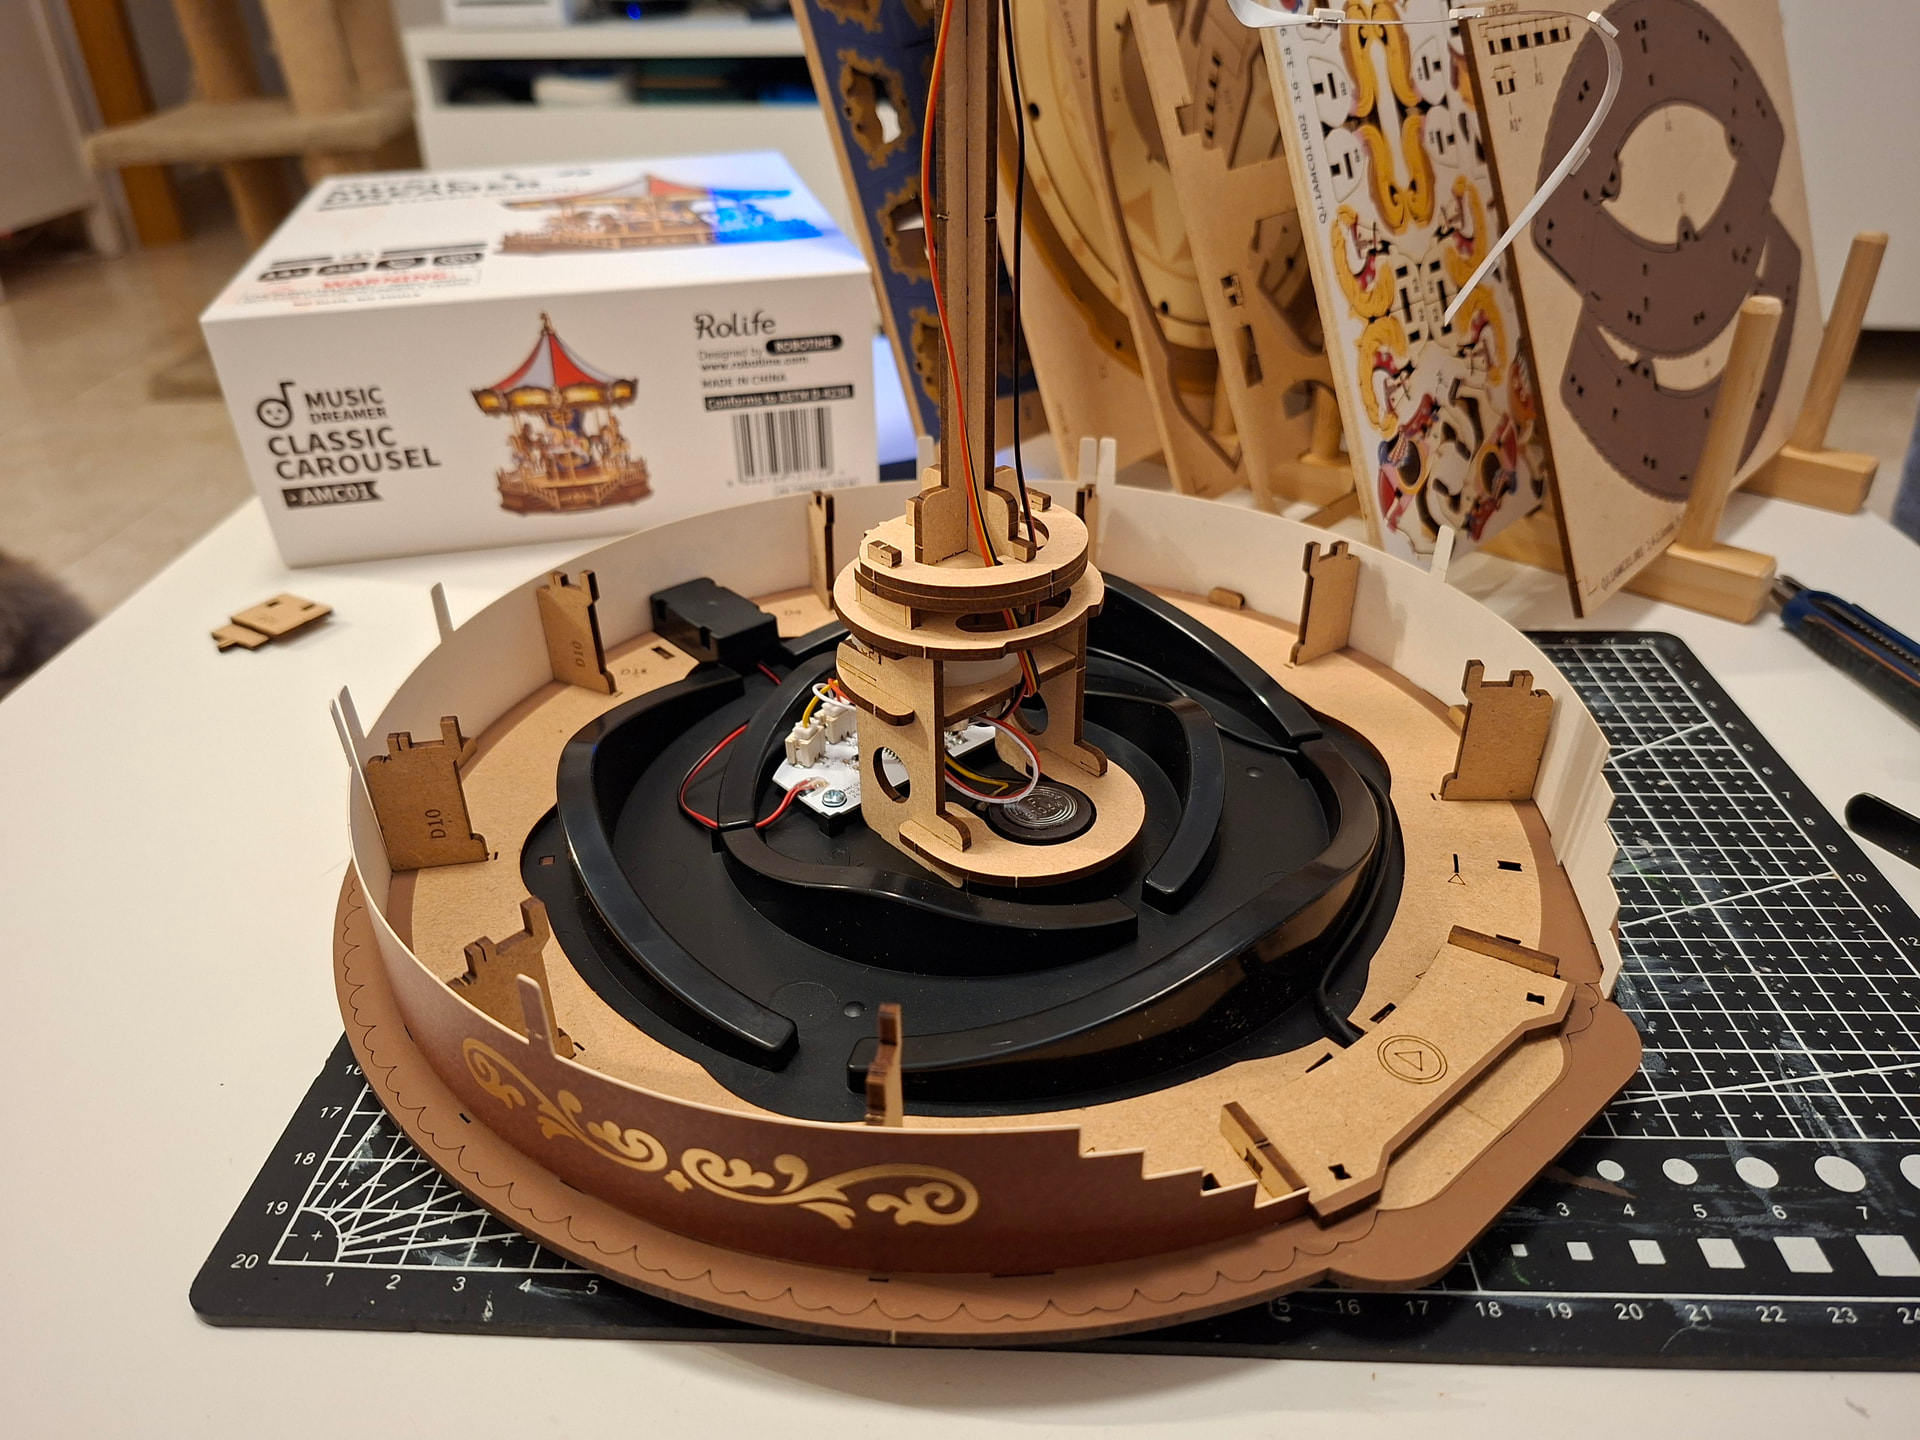
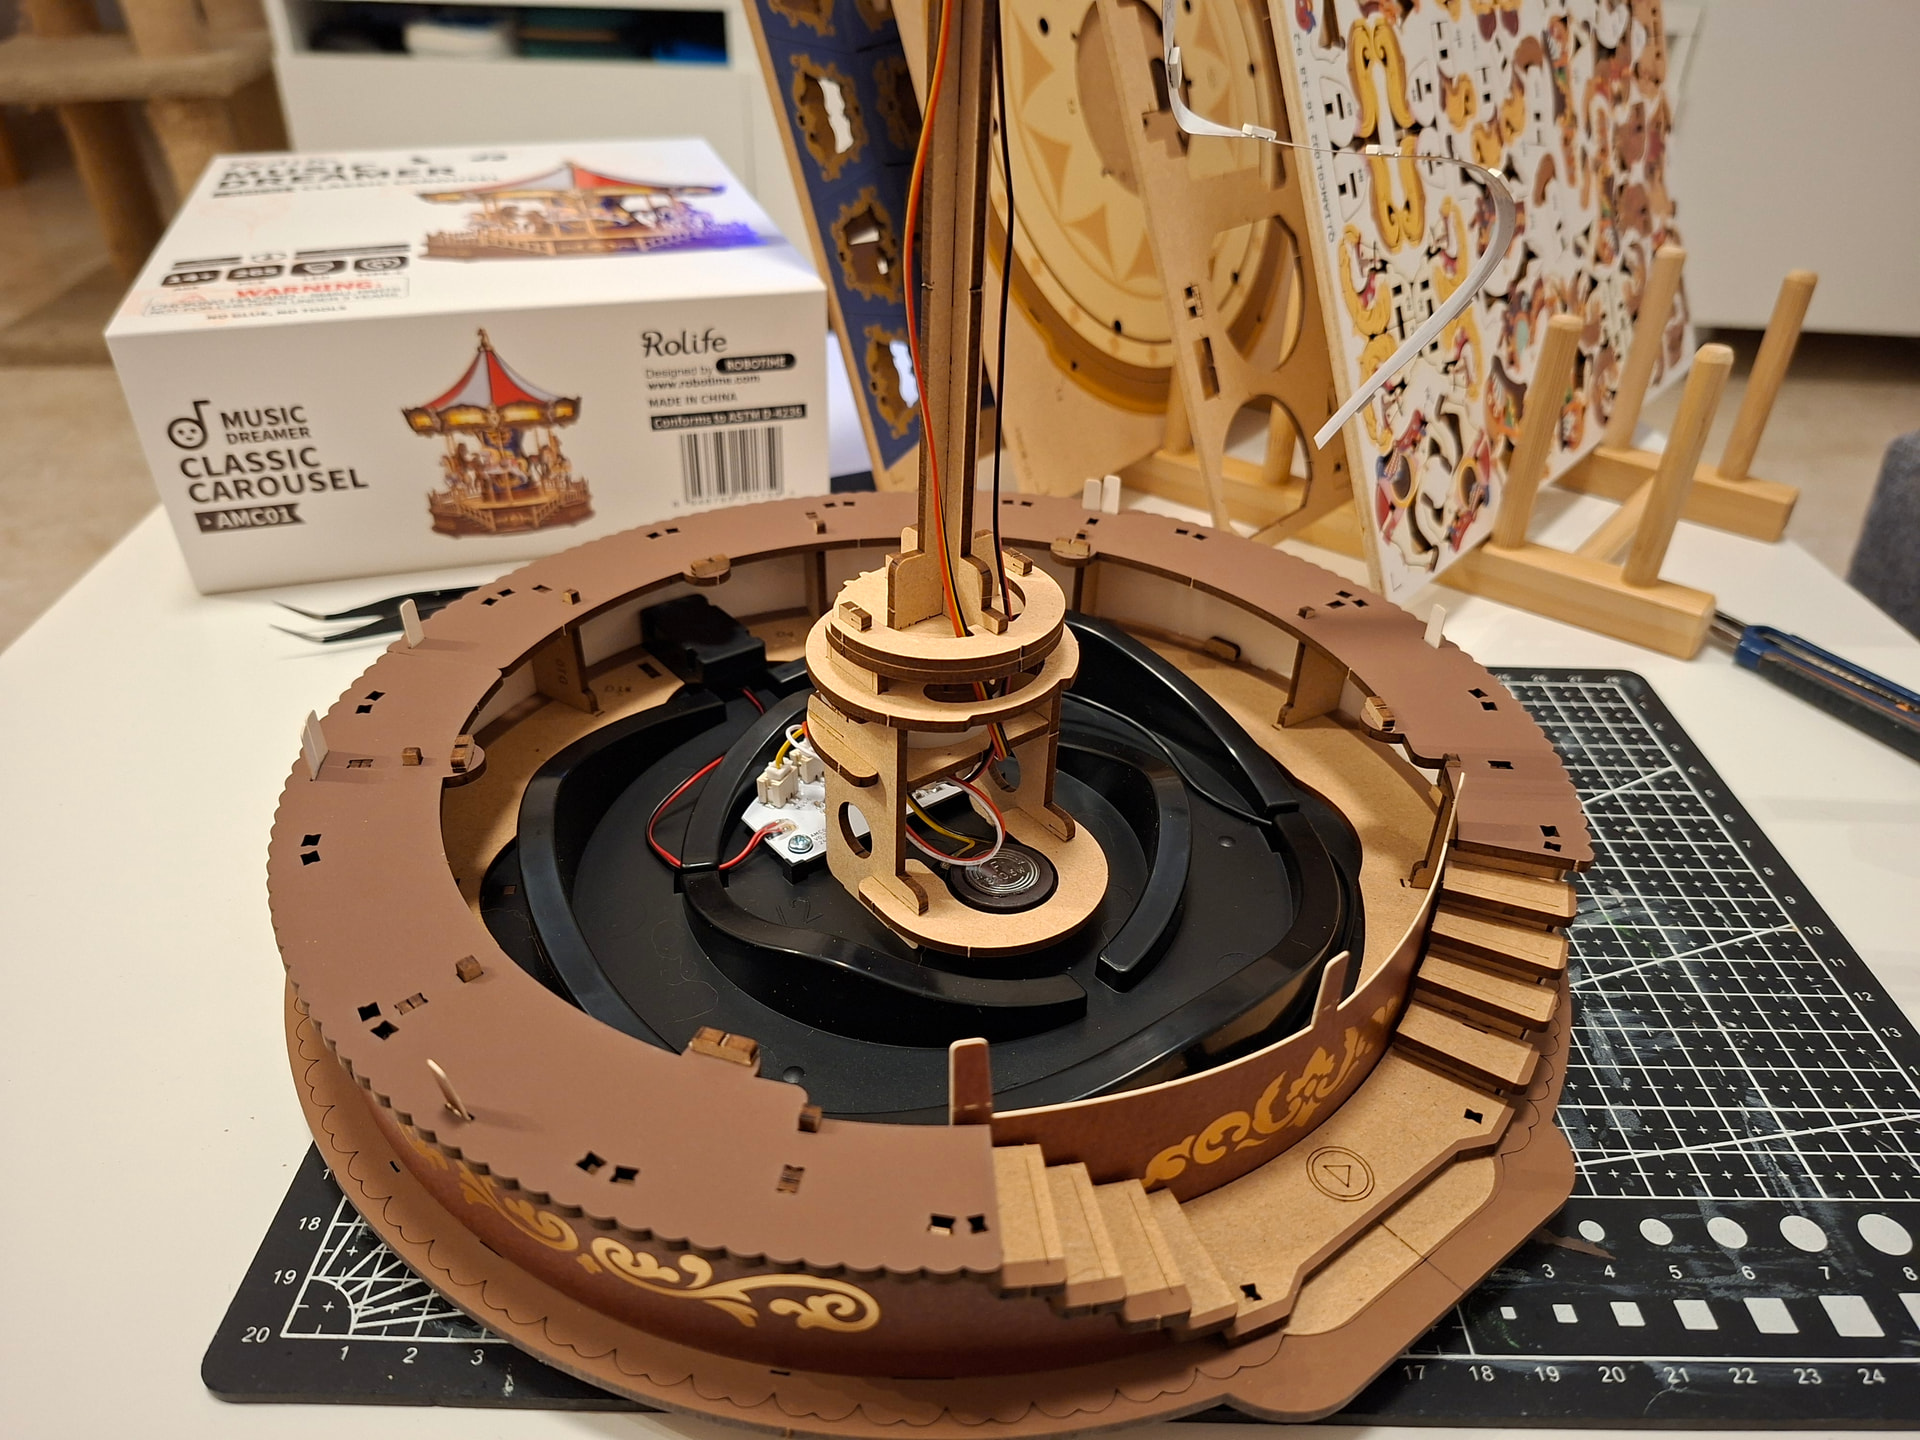
The last thing I did in this first session was add the cardboard pieces that wrap around the carousel. And honestly… this is the kind of part I’m never a huge fan of. Those little cardboard tabs are very delicate and bend so easily while you’re trying to fit the others into place. If one bends, it becomes such a pain because getting it properly lined up again is really tricky, and it happens very easily. When that happens, I use tweezers to help straighten them and guide them back in, but it’s still fiddly. On top of that, the wooden pieces that go over them fit quite tightly, and the tabs have to pass through the wood above. The good part is that trimming the excess afterward is easy, but if the tabs do not go in properly first, then yes… it can be a bit of a nightmare.
So that’s where I left it for now, ready to continue another time. I hope I didn’t bore you too much with my process, and I hope some of the little tips from my experience are useful. And most of all, thank you so much for reading! ![]()