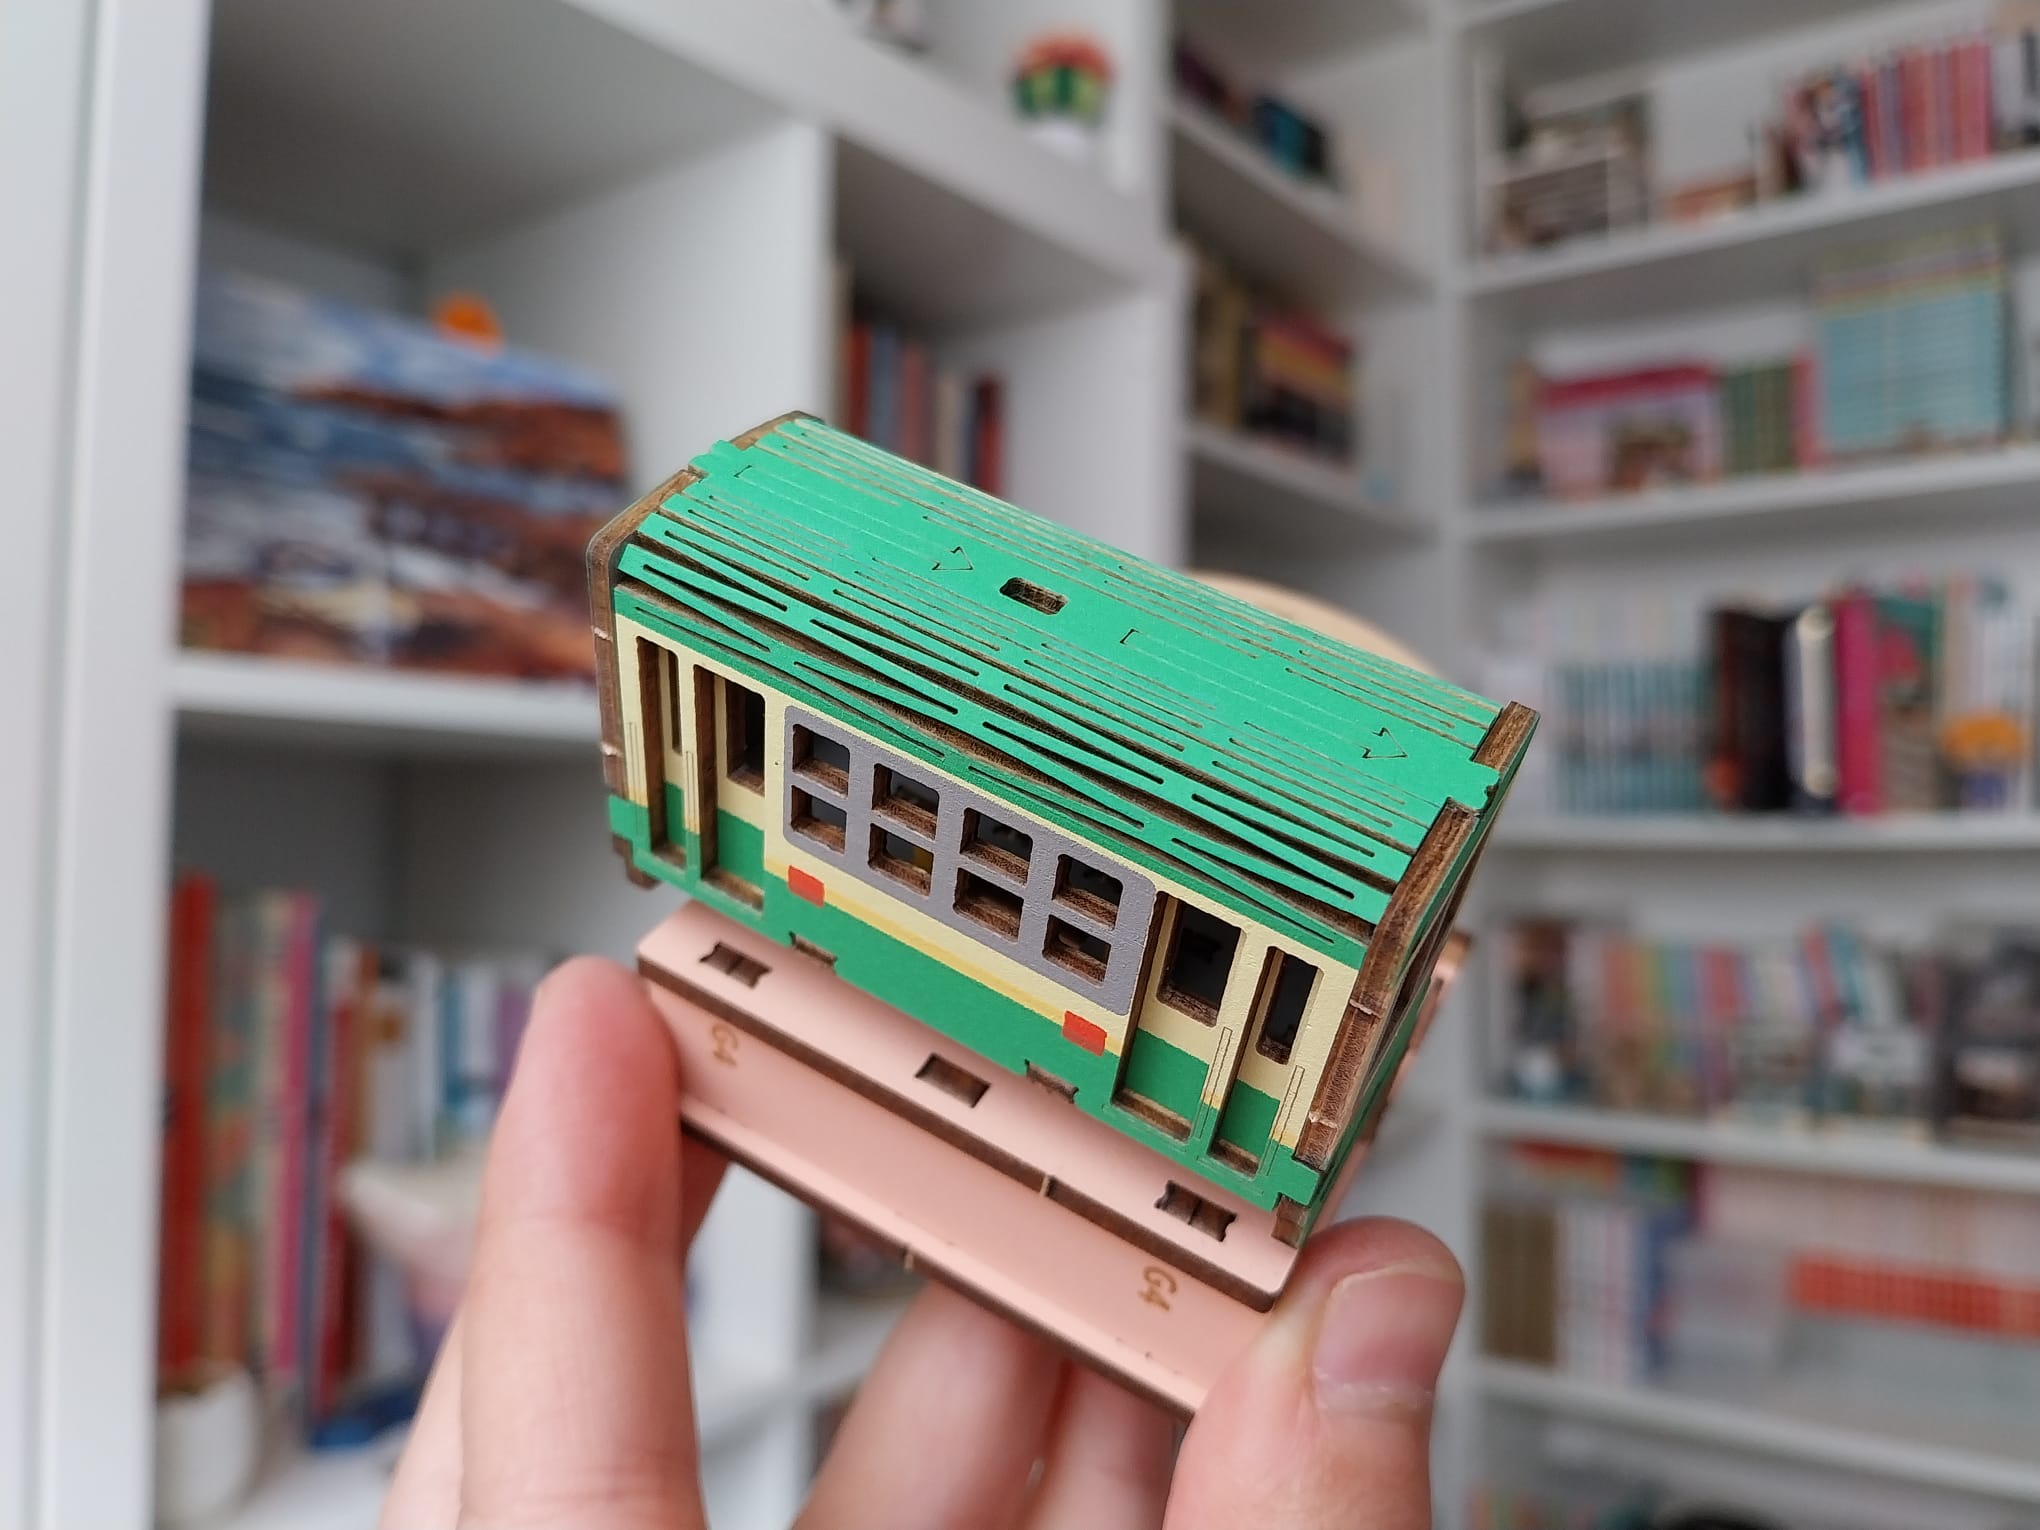
I adore tiny pieces, but some of them, like these, are so delicate that you really have to handle them with the utmost care, because they can break at the slightest pressure.
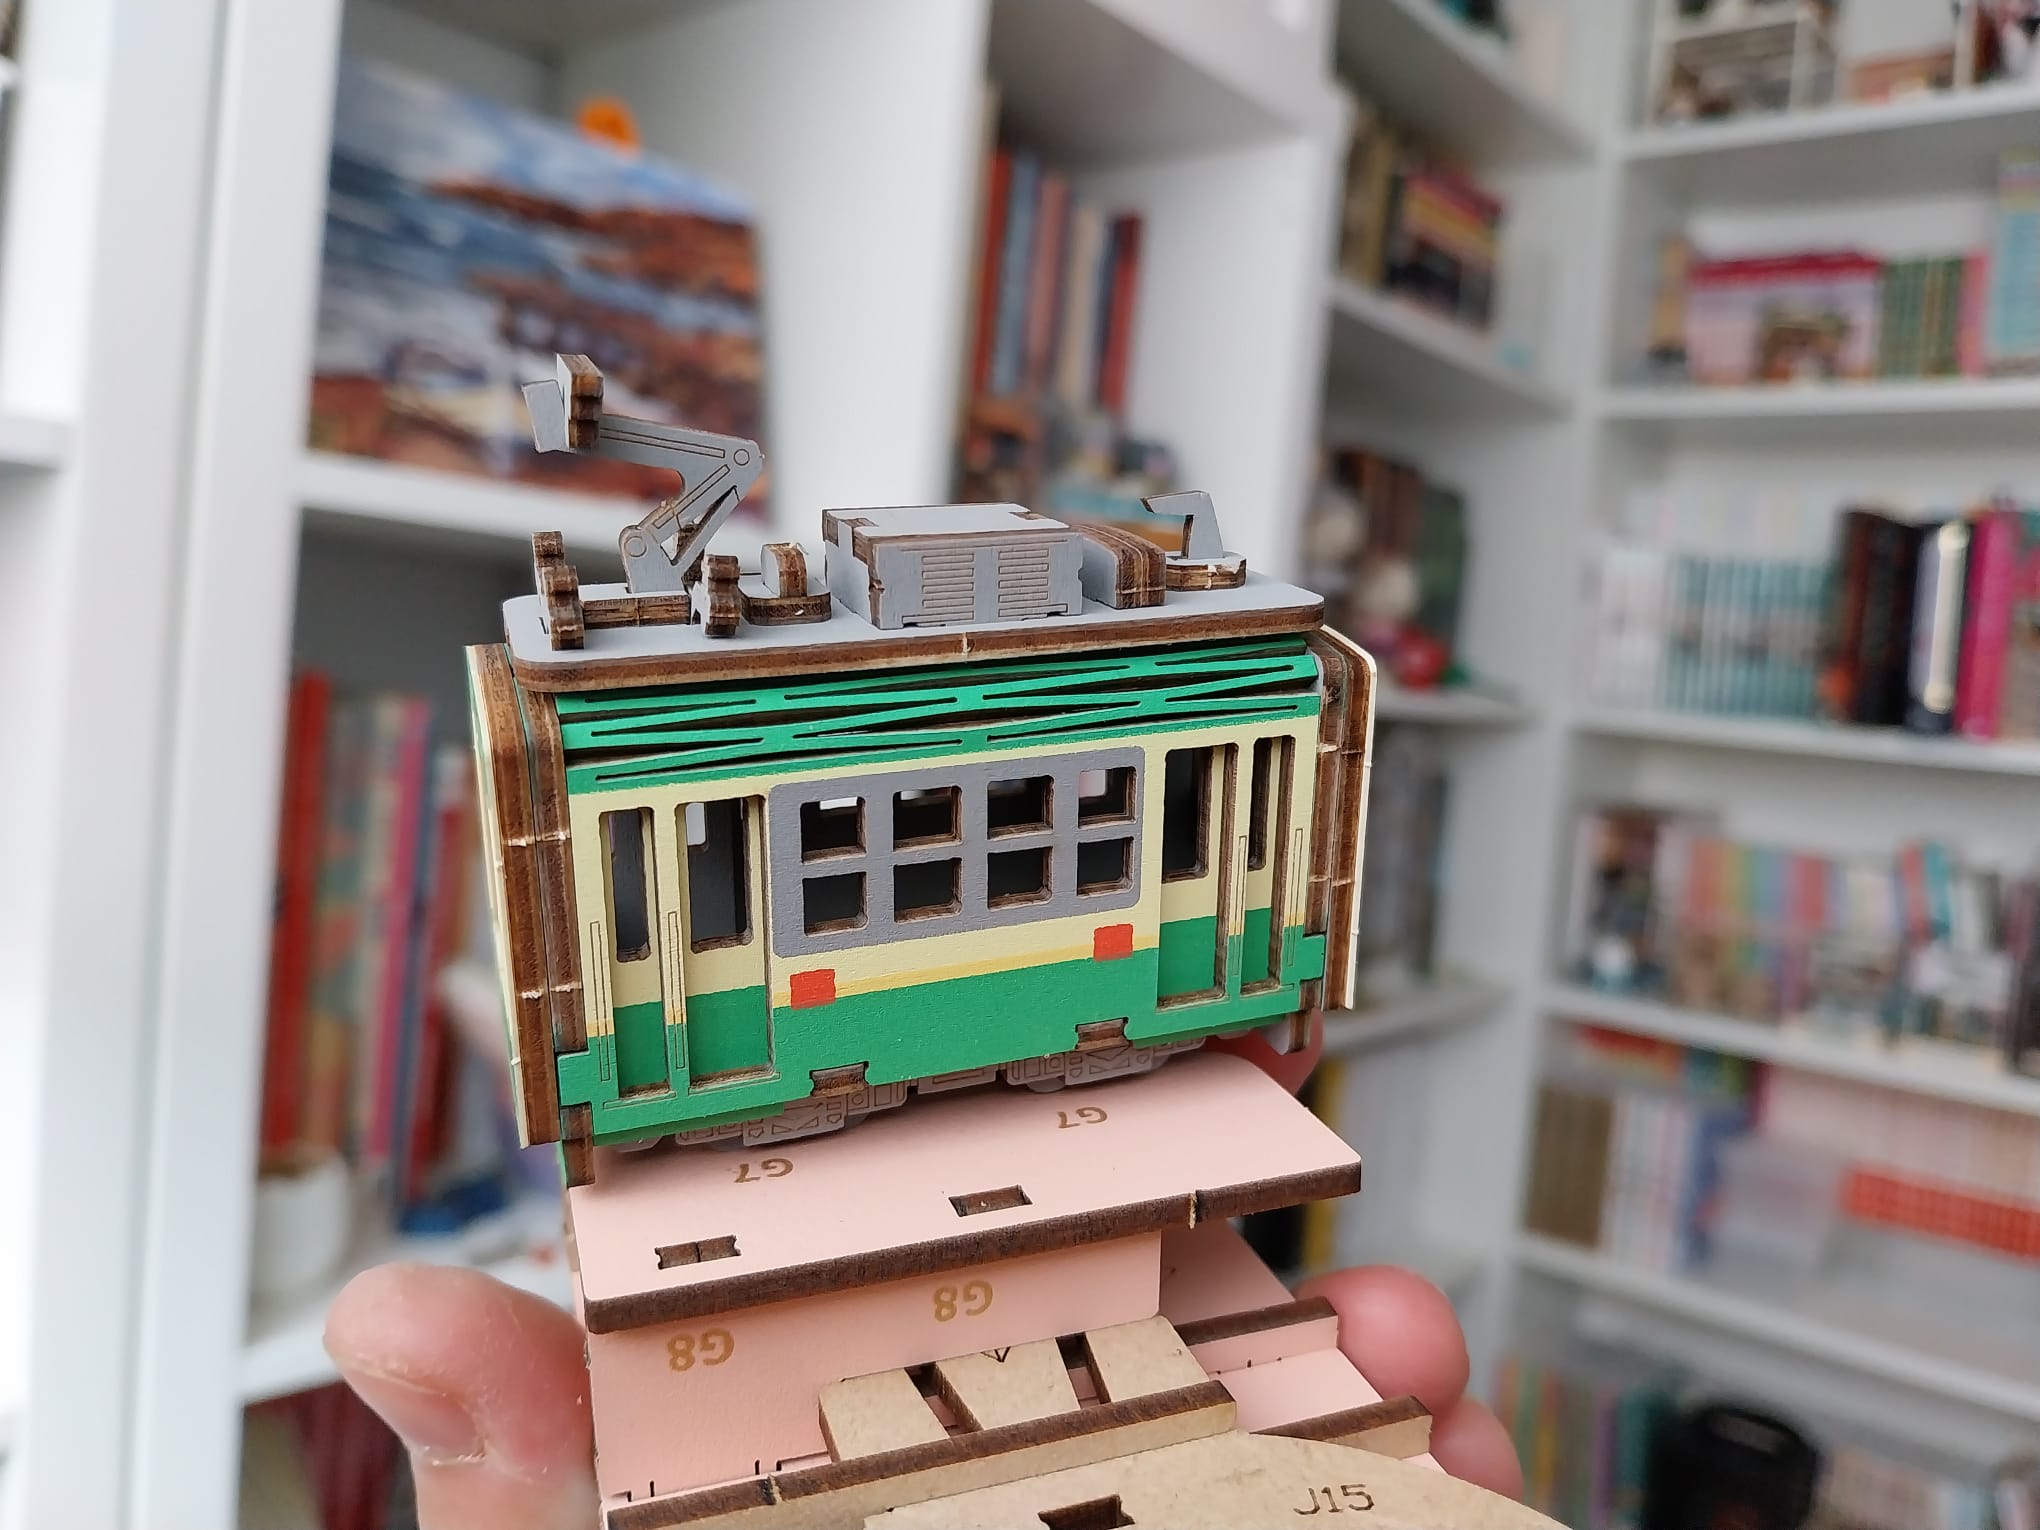
The top part of the train has been one of the trickiest parts I’ve come across in this kit so far. Foldable pieces, like the upper “shell,” are always a challenge for me. In this case, I was lucky and it didn’t break. But for example, the ROKR flower kits have a little decorative bow, and out of the three I’ve made, the bow broke on the first two. I had to fix them the best I could .
On top of that, those tiny little pieces that go on top of the train are very fragile. You have to be extra careful when inserting them, because even the slightest pressure can snap them into several pieces. I can tell you one of mine is actually the spare that came with the kit (thank goodness!), because the original one was impossible to fix.
Be super, super careful with tiny parts—they’re often the weakest and most fragile of all. Try to remove them from the larger wooden sheet very gently, preferably using a cutter or something sharp to separate them cleanly. And when it’s time to fit them into place, don’t press too hard—it’s very easy to break them and you can feel so frustrated easily with that .
I cut these pieces loose from the board with a hobby knife. When tightening them, I grab the piece as close as possible to the piece you need to tighten. Mine has never broken. But I only make the Rokr kits, and they tend to be a bit bigger there.
From the ROKR kits I’ve built, some of them also have delicate pieces similar to the ones I mentioned in this kit, like The Seahorse Barque, for example, which has some tiny parts you have to be careful with, or the little bow from the flower kits I talked about in my post.
In the end, all small parts are fragile and need to be handled with care, but the ones that need to be “bent”, in my opinion, are the trickiest to work with.
So true!! Sanding always helps, and removing the pieces from the wooden sheet the right way—from back to front—does too. What I hadn’t tried is using wax. I usually save it for parts that need to rotate. Thanks for the tip, @Jerry_Boswijk!
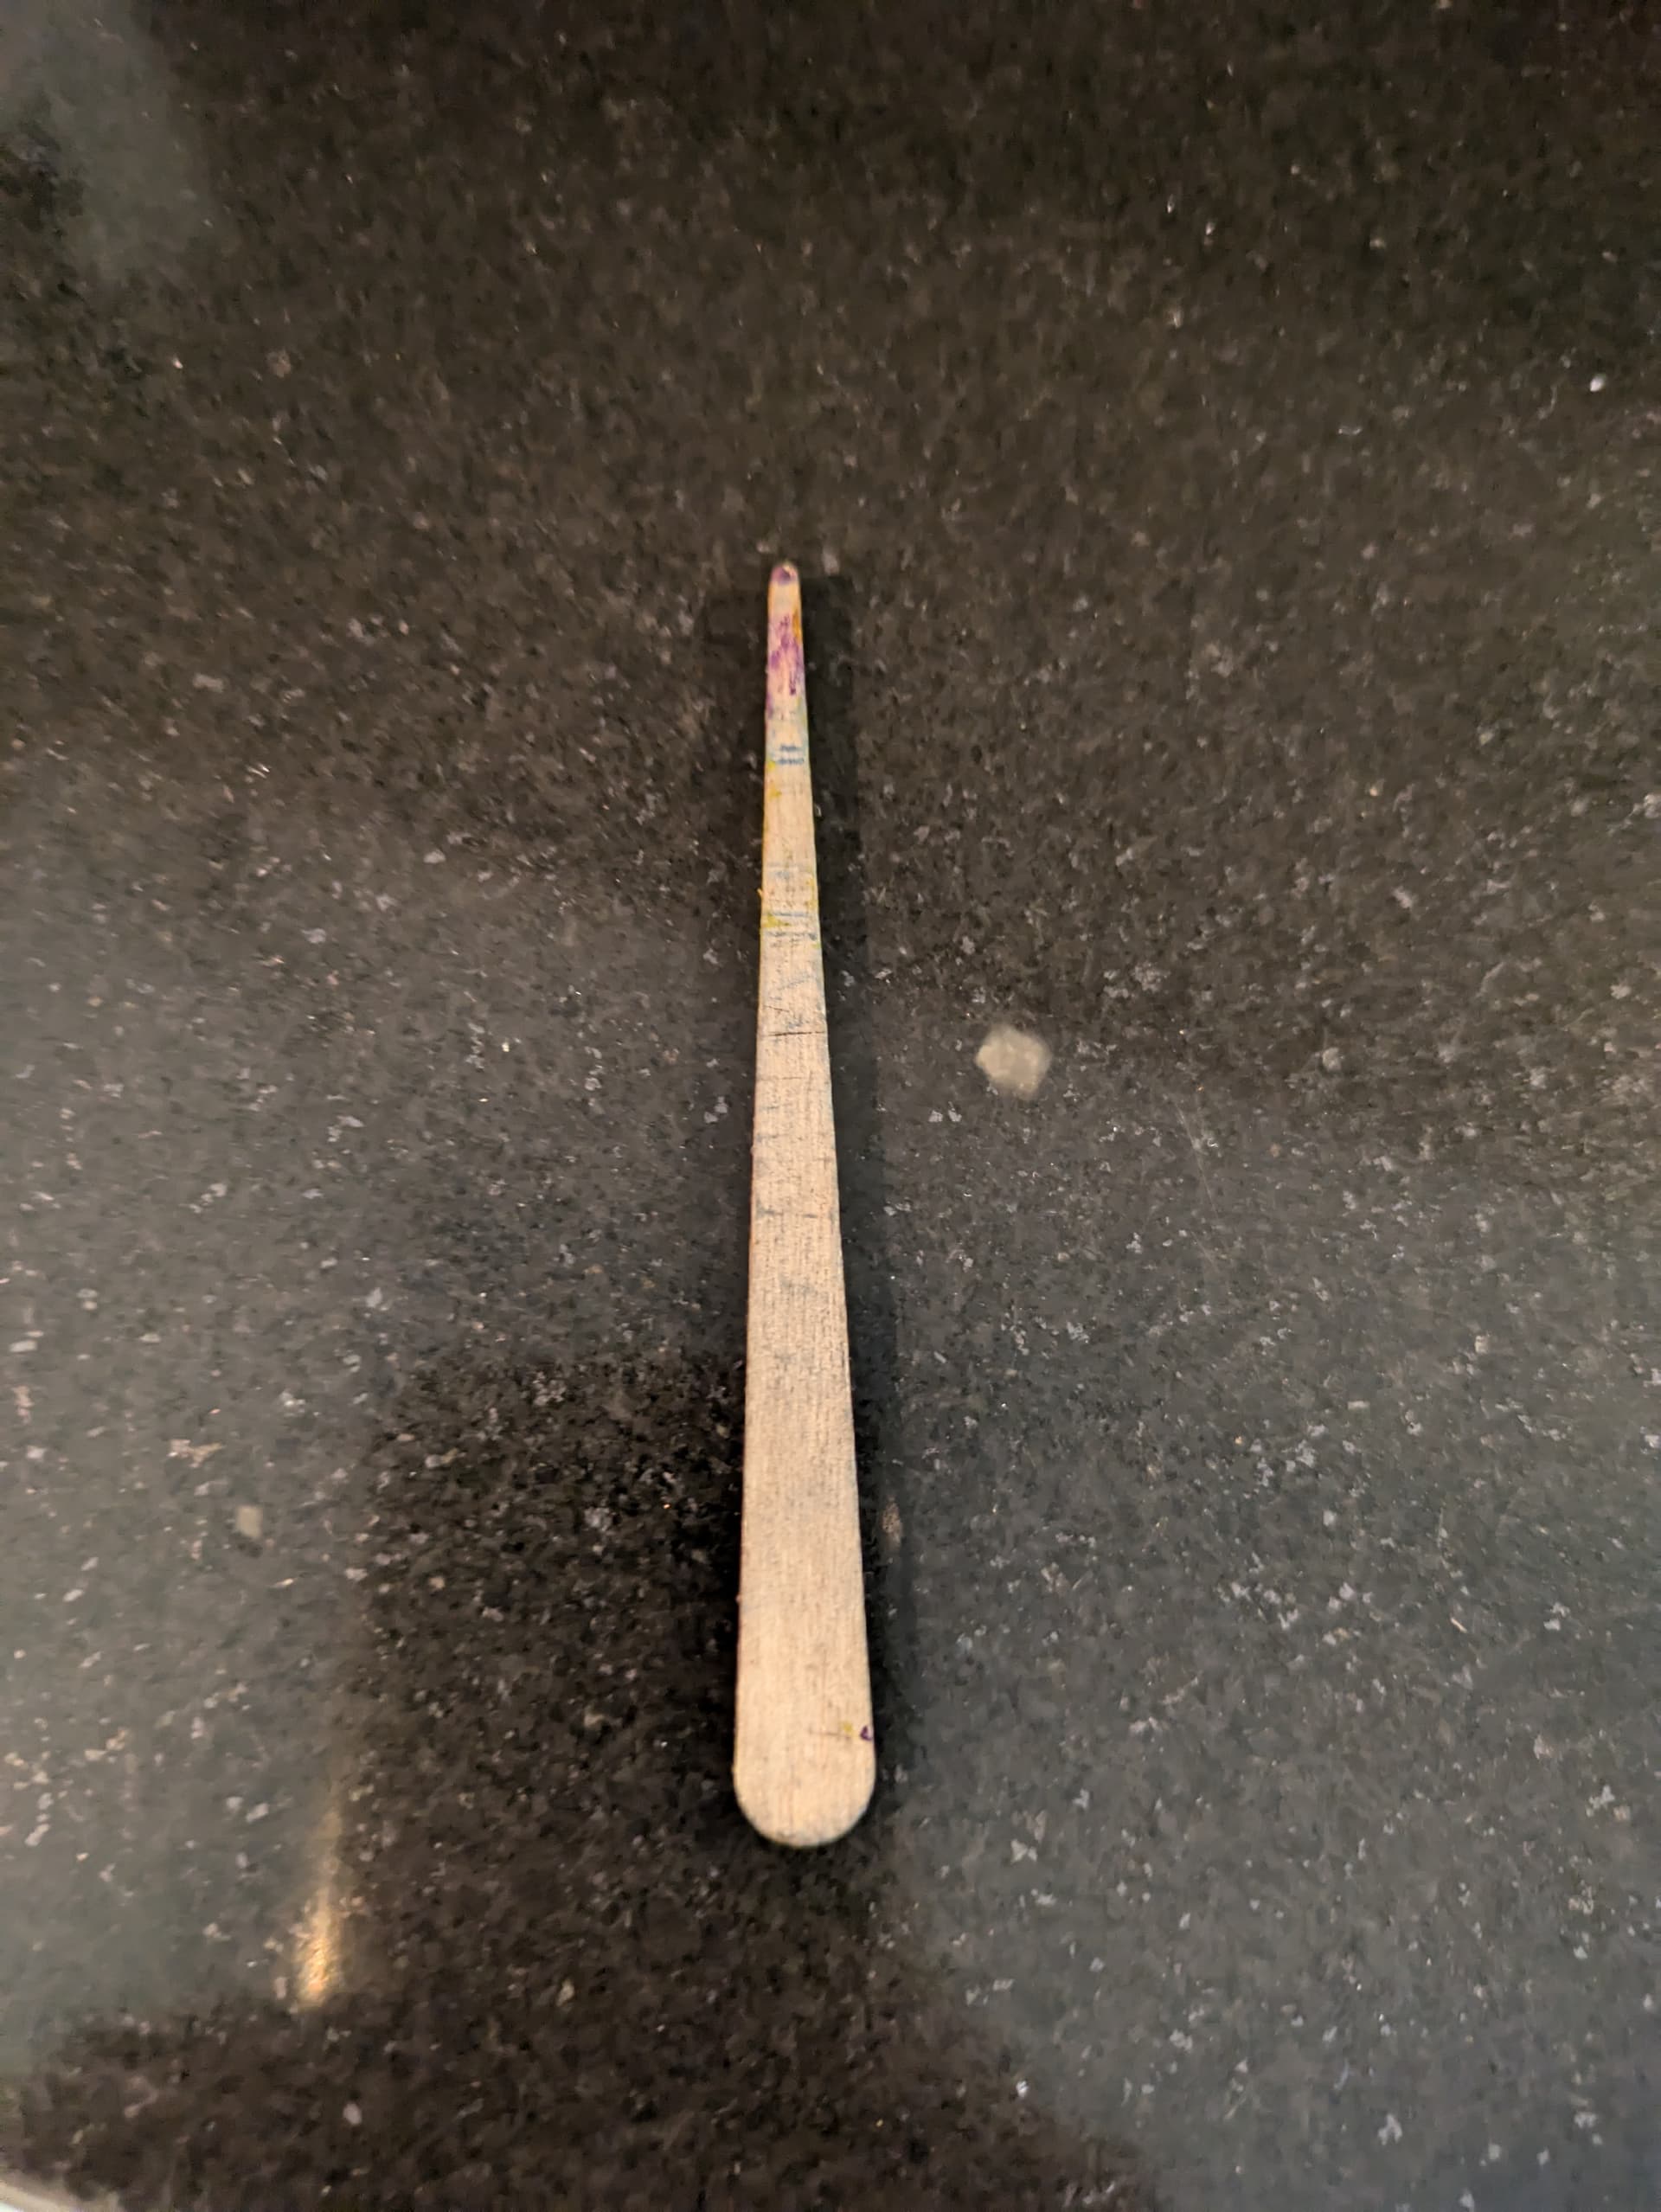
@Wenbare So true. The smallest parts break the fastest. I once got a handy tool for removing small parts from another build. If the part has a hole, I stick it through it, and by wiggling it back and forth, the piece quickly comes loose. With the point, I can also pop small parts loose, and with the wide back, you can pop the larger pieces loose.
Your tips for tiny parts are pure gold! By the way, some ROKR models have loads of small screws. I always mess up the wood holes by over - tightening. Any tricks to handle these screws smoothly and avoid damage?
Your tip is really helpful. I am curious, when you work on delicate pieces like those, do you have a preferred tool or method for separating them cleanly? Also, have you found any tricks for reinforcing fragile parts once they are in place, so they last longer during and after assembly?