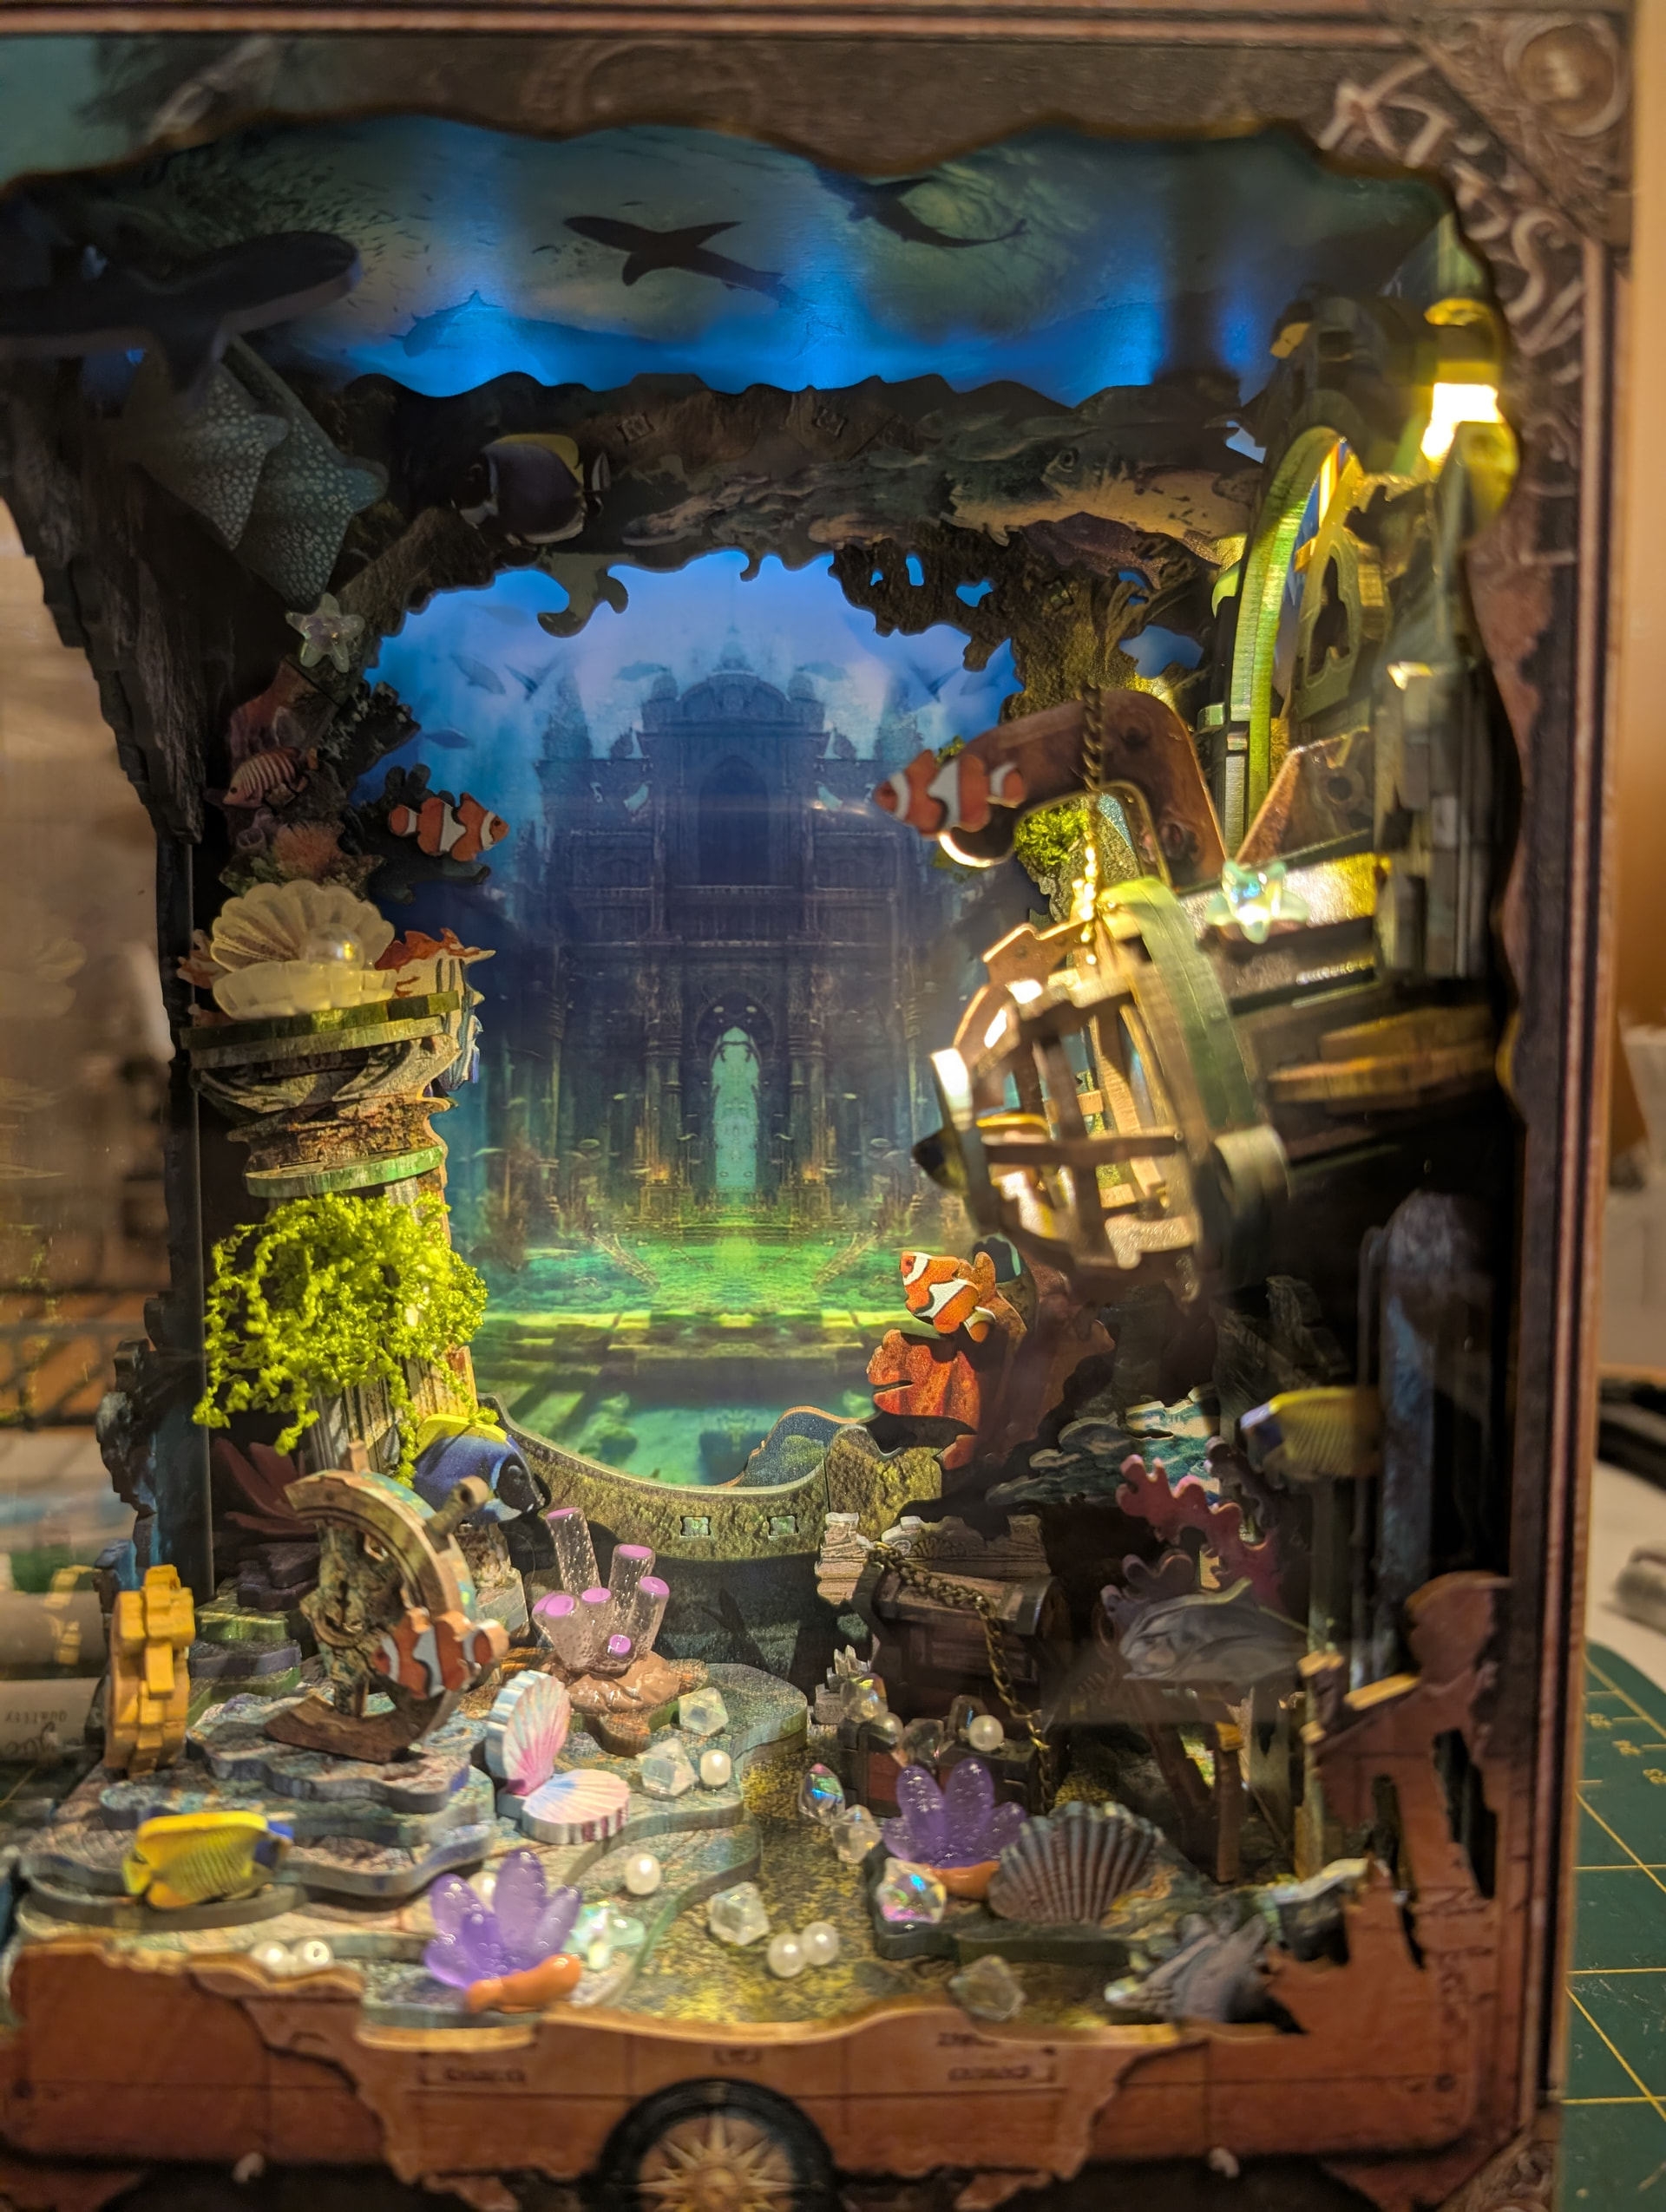
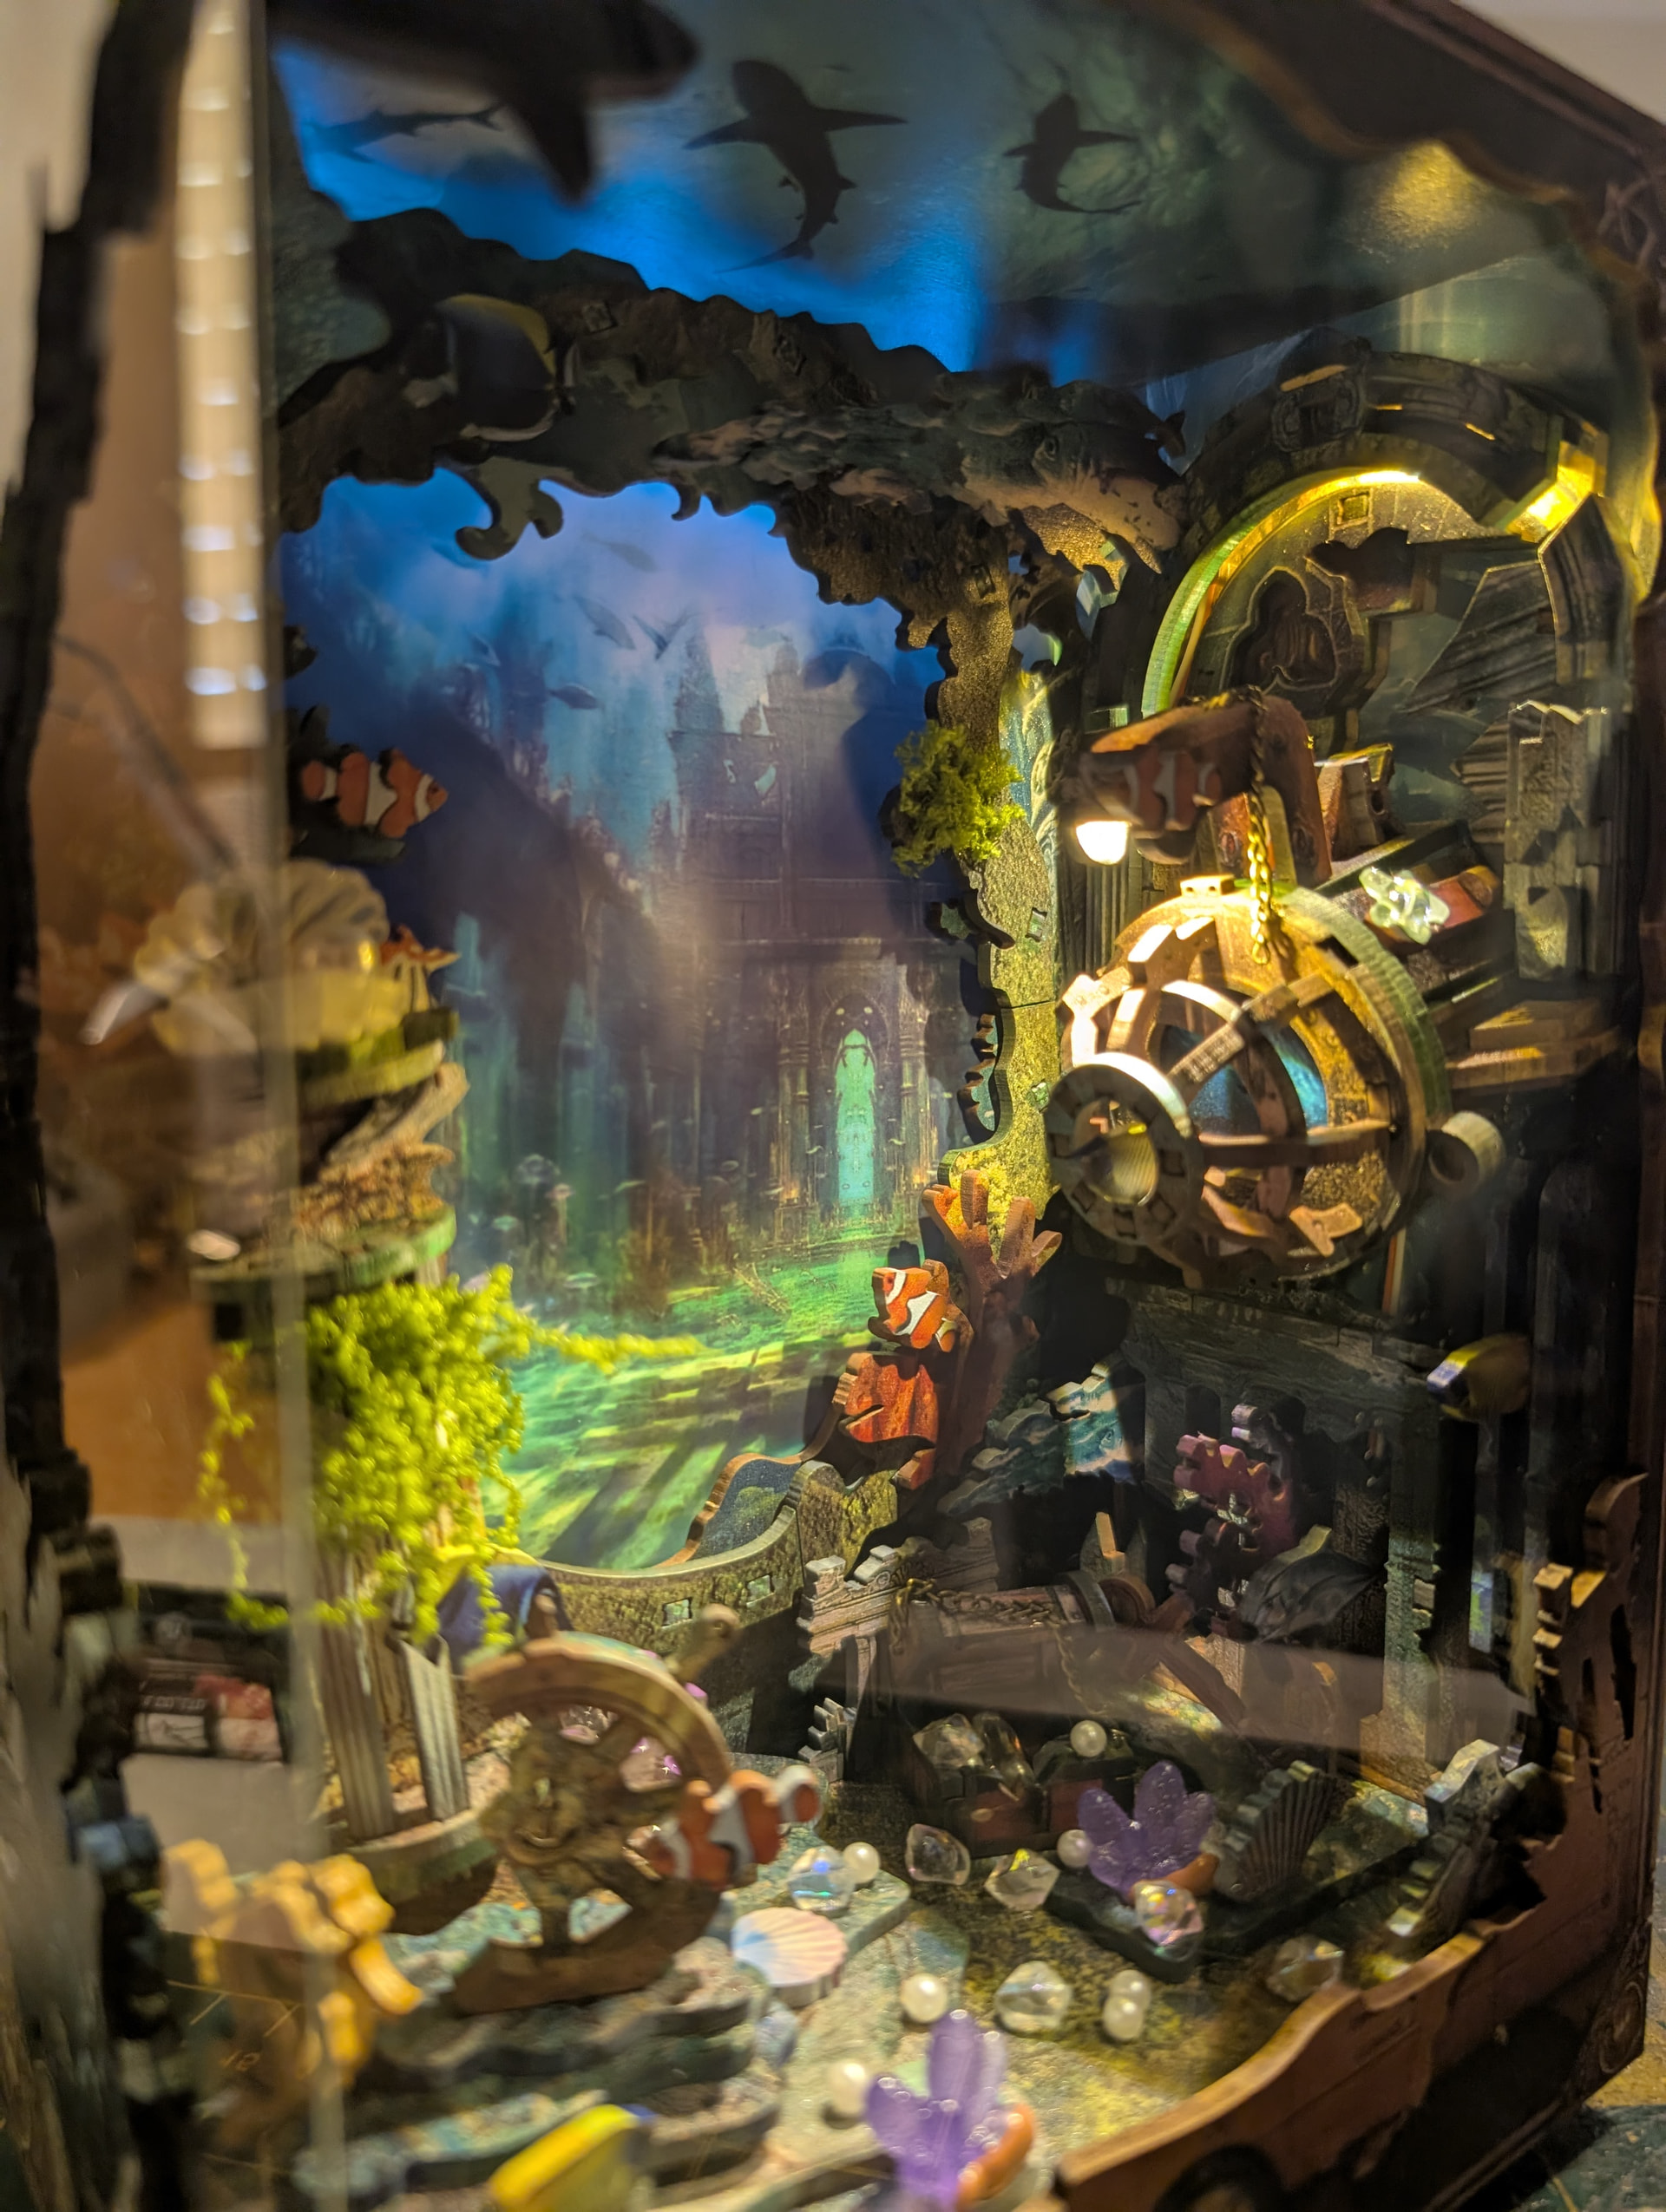
My current booknook is not a Robotime one, but I am using that one as an example of taking endge painting to a new level for me.
When I starteed edge painting, I just outlined in black…gave an animated feel. While I do have experience with brush painting and airbrushing plastic models, I tend to stick to paint pens on my 3D puzzle builds.
As my collection of water-based acrylic paint pens grew, I started trying to colour match to the part. If I didnt have the correct colour, I would use a complimentary or contrasting one, depending on the vibe of the build.
On my newest build (Discover Atlantis), it was an underwater ruins vibe and many of the colours were mottled, and I didnt want to lose feel that when painting the edges.
From my previous uses of the water-based acrylic paint pens I had noted several things:
- Colours generally dry darker than they first look
- Colours dry fast so bending can be tricky
- Colours are opaque when dry
So keeping these things in mind I experimented. I would put down a base colour brighter than the predominant colour on the part and then wipe it immediately with my finger or a cotton tip which would let the natural wood underneath darken the tone. I would then use other colours that were along the printed section of the part and using a combination of blotching or coating and wiping, I was able to get a blend happening.
Here is an example of that process:
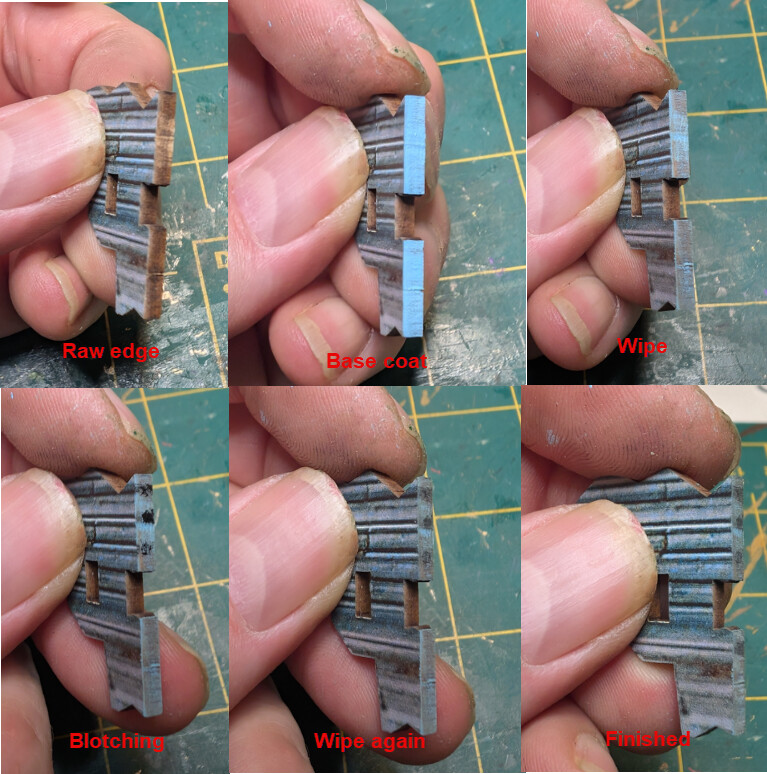
While not perfect, the eye is a wonderful thing and unless you study the paintwork in detail, it looks appears to mimic the colour and style on the front of the part.
Here are some other examples.
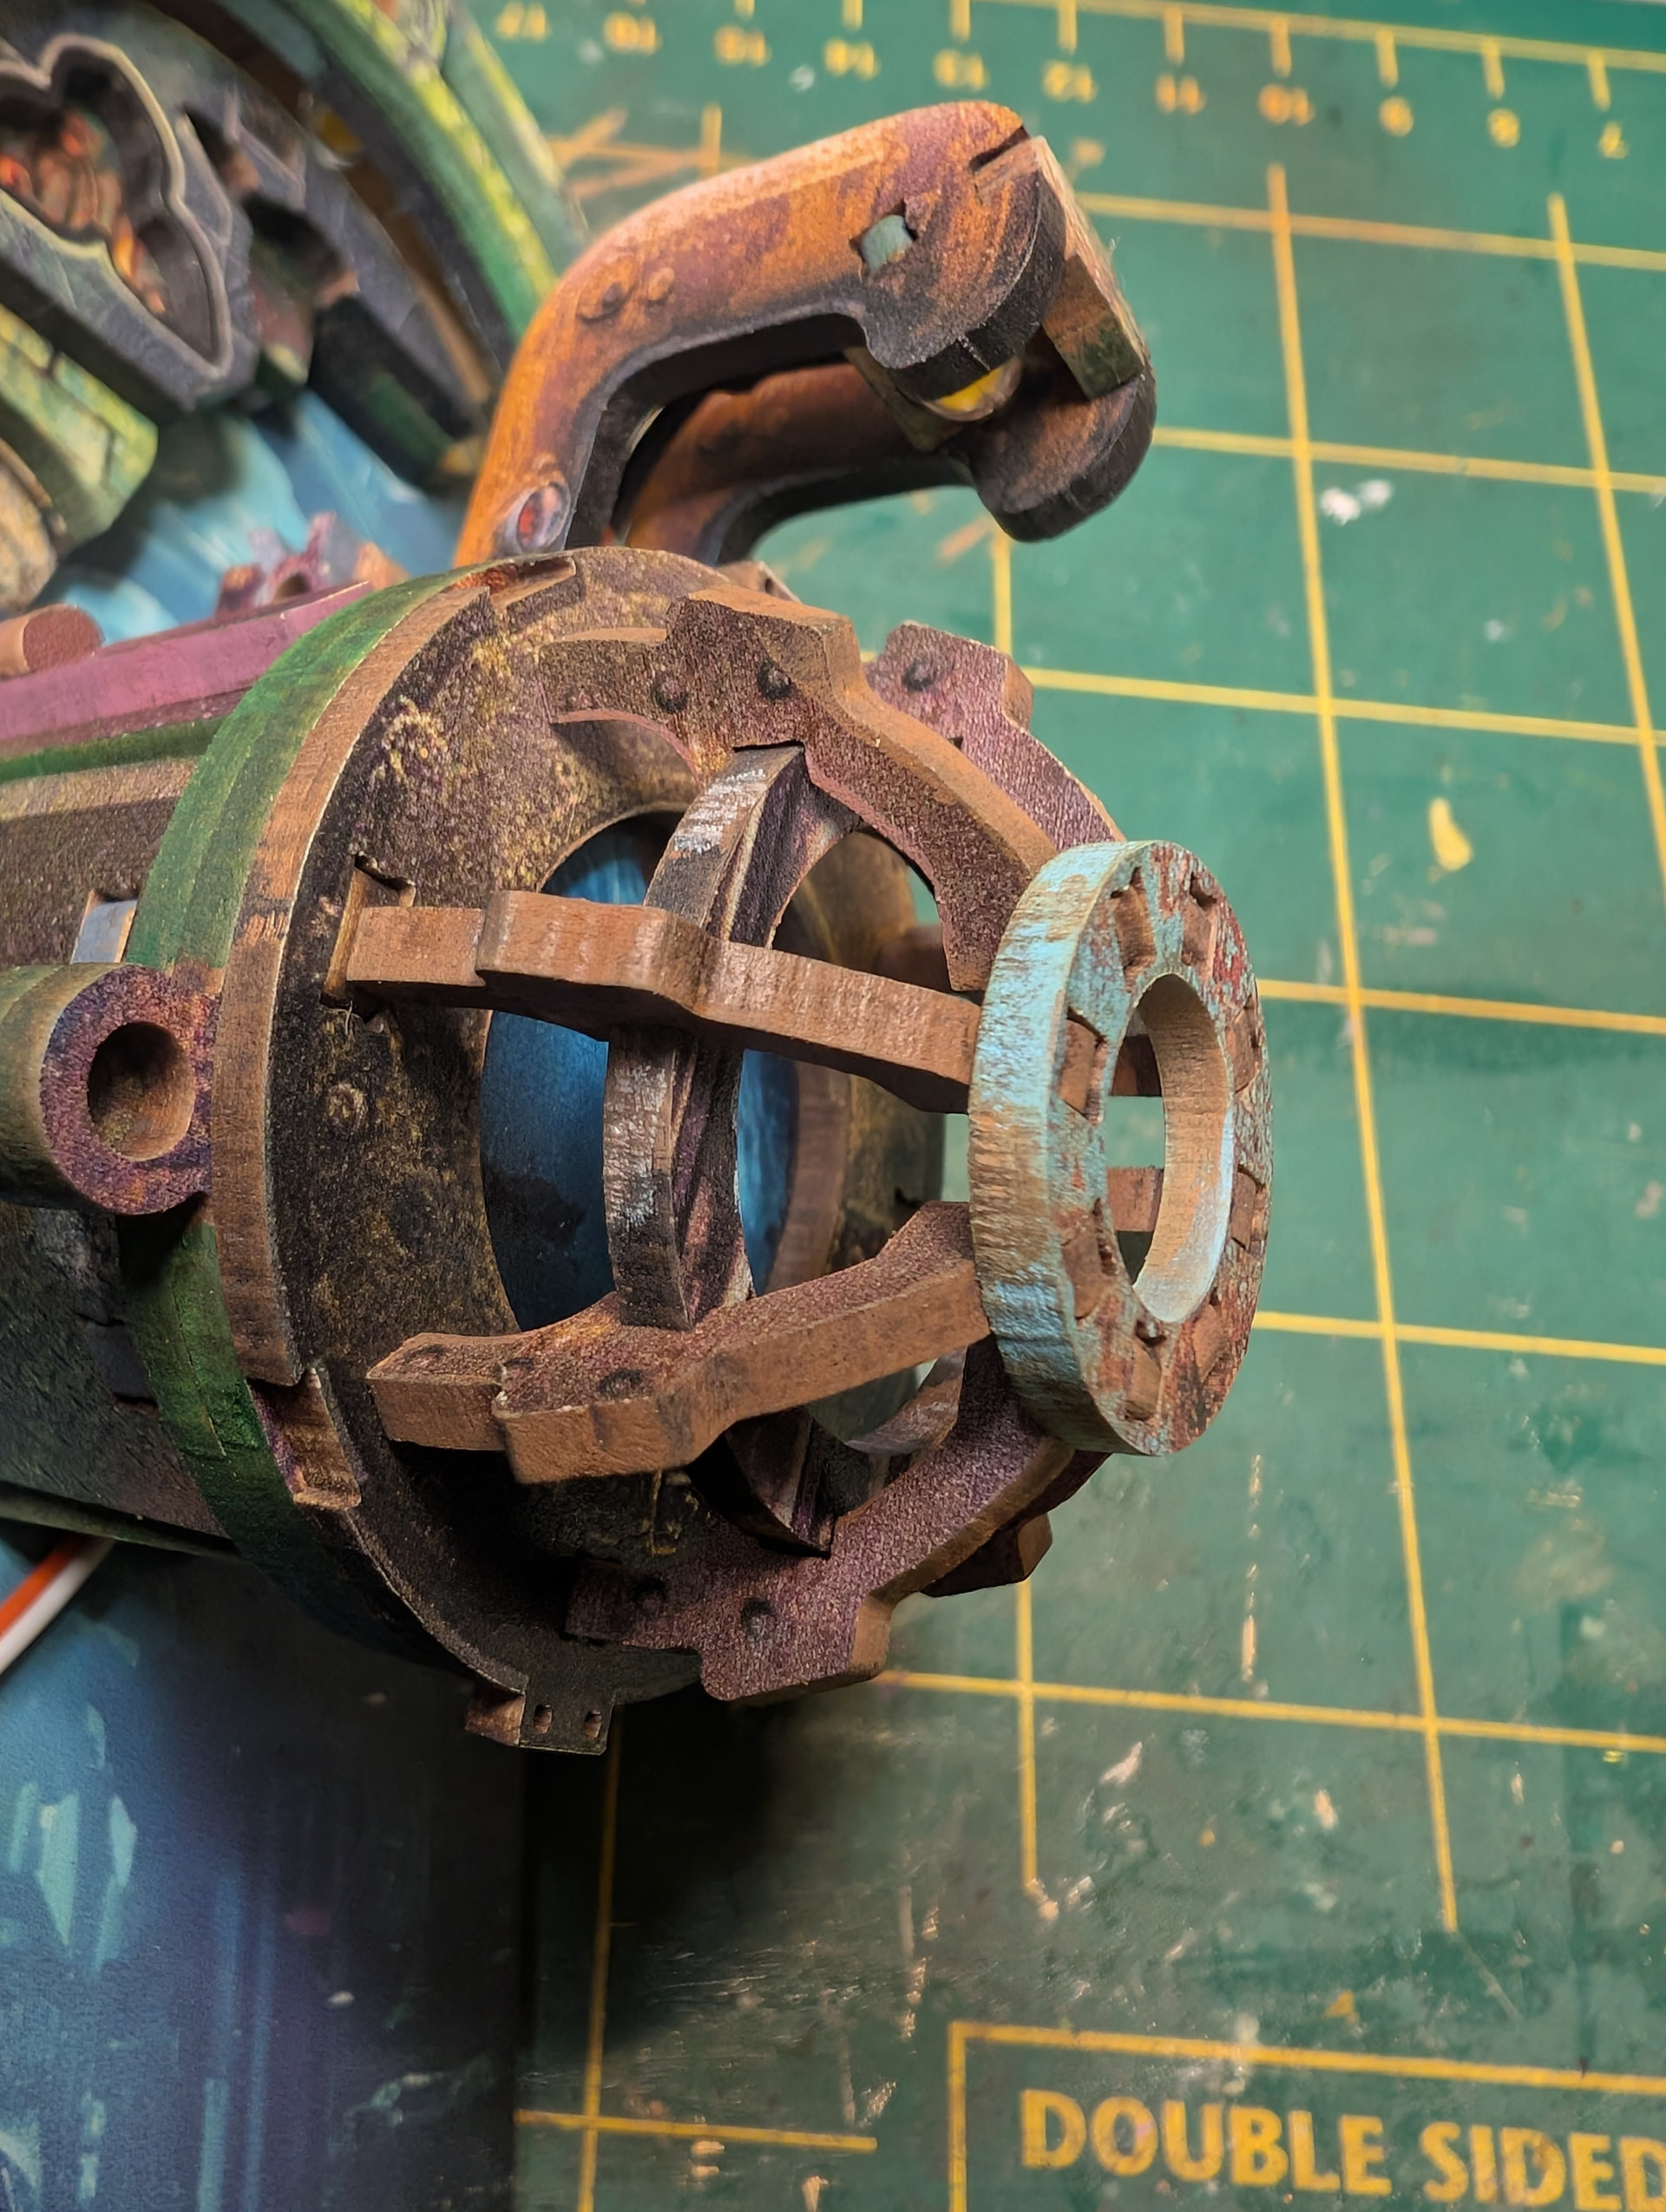
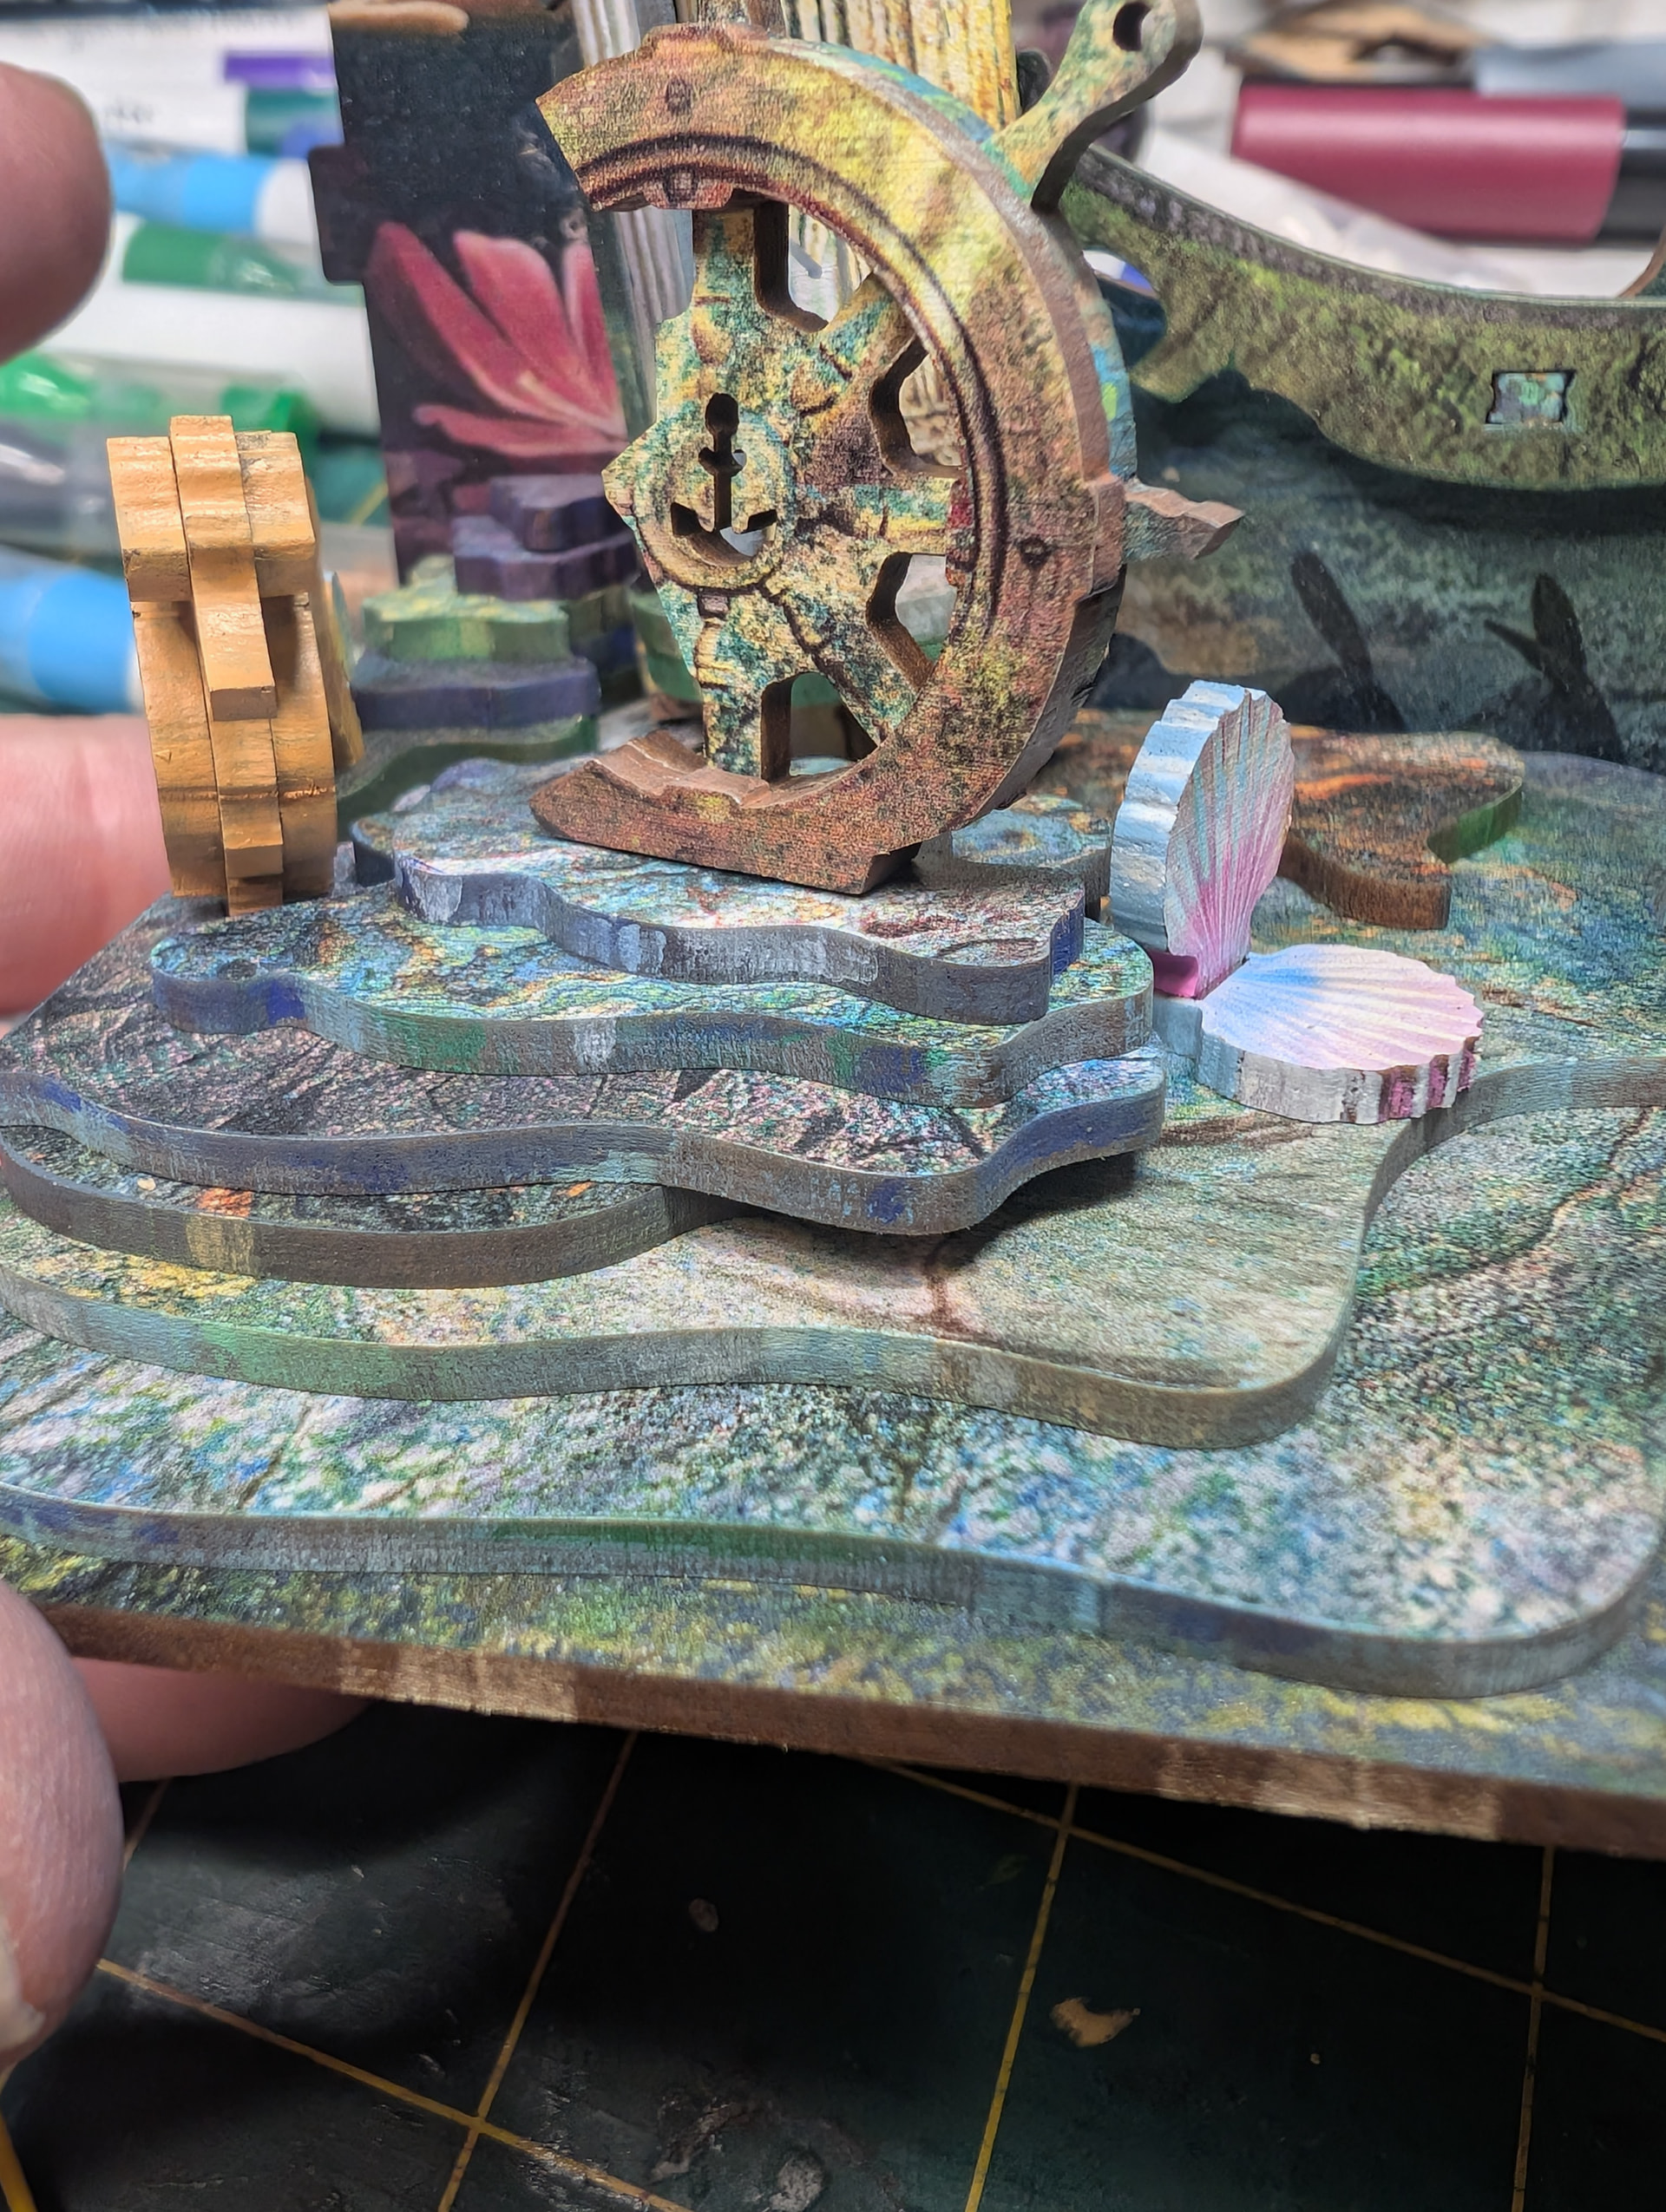
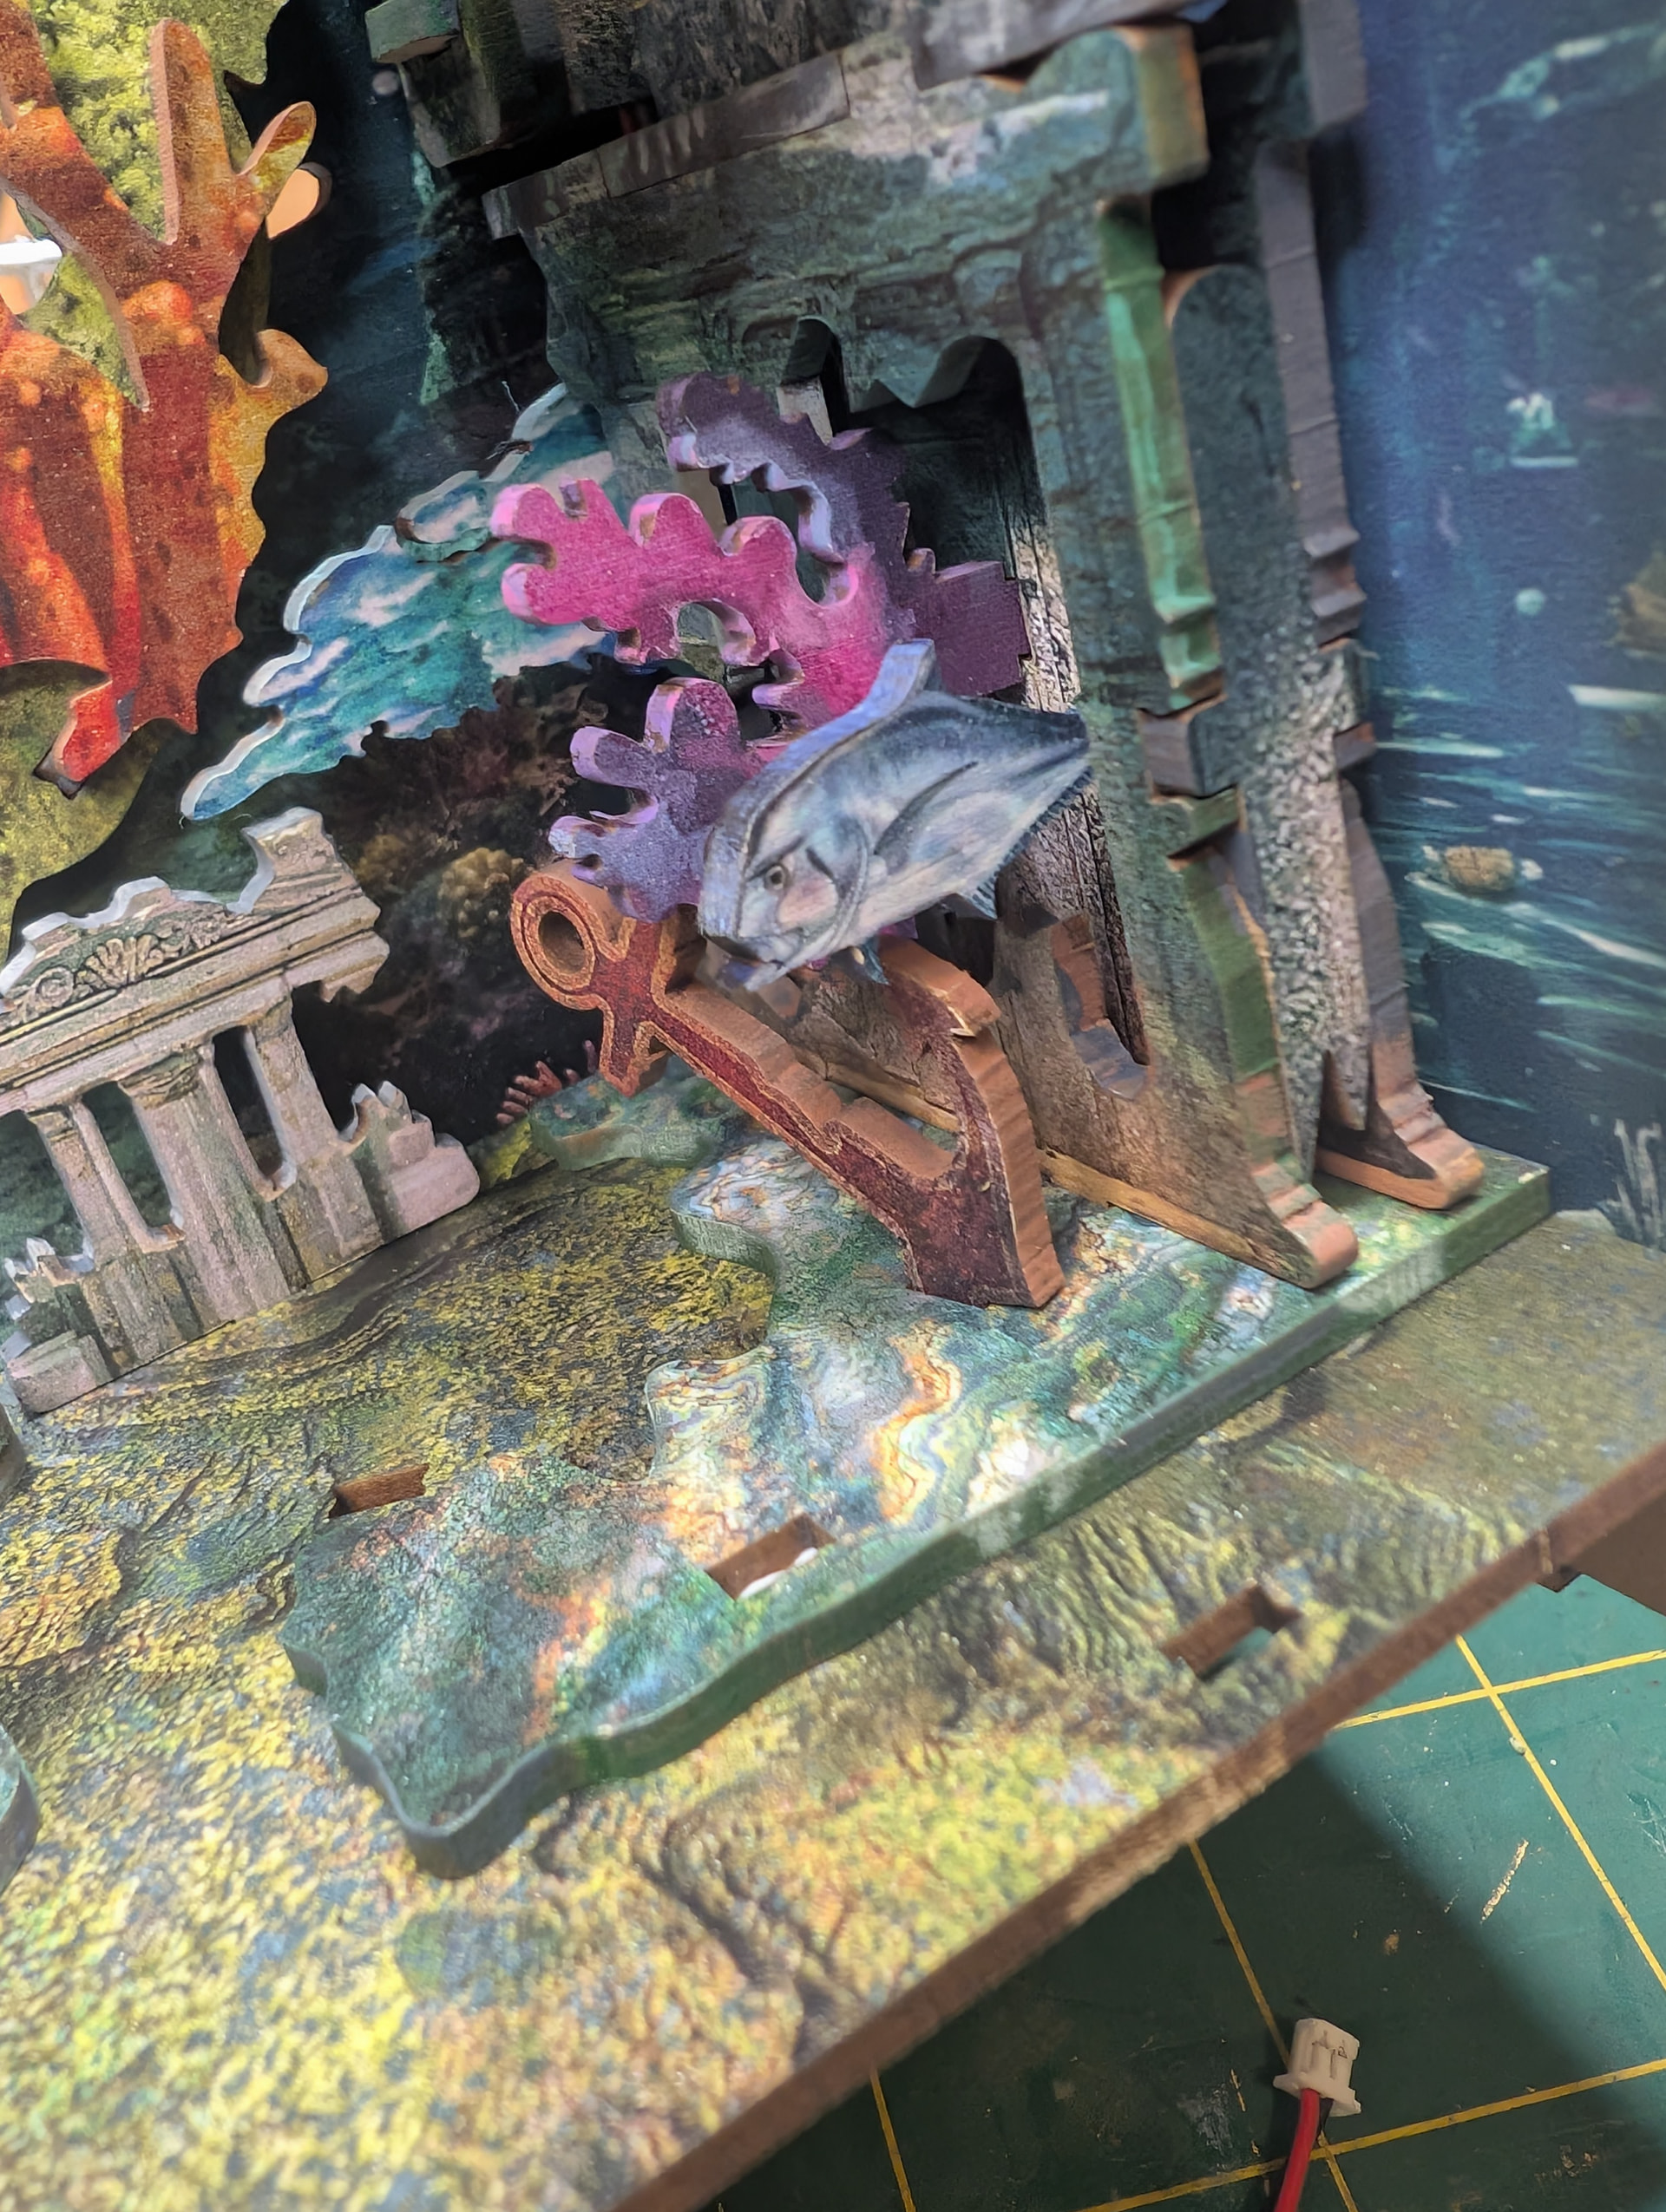
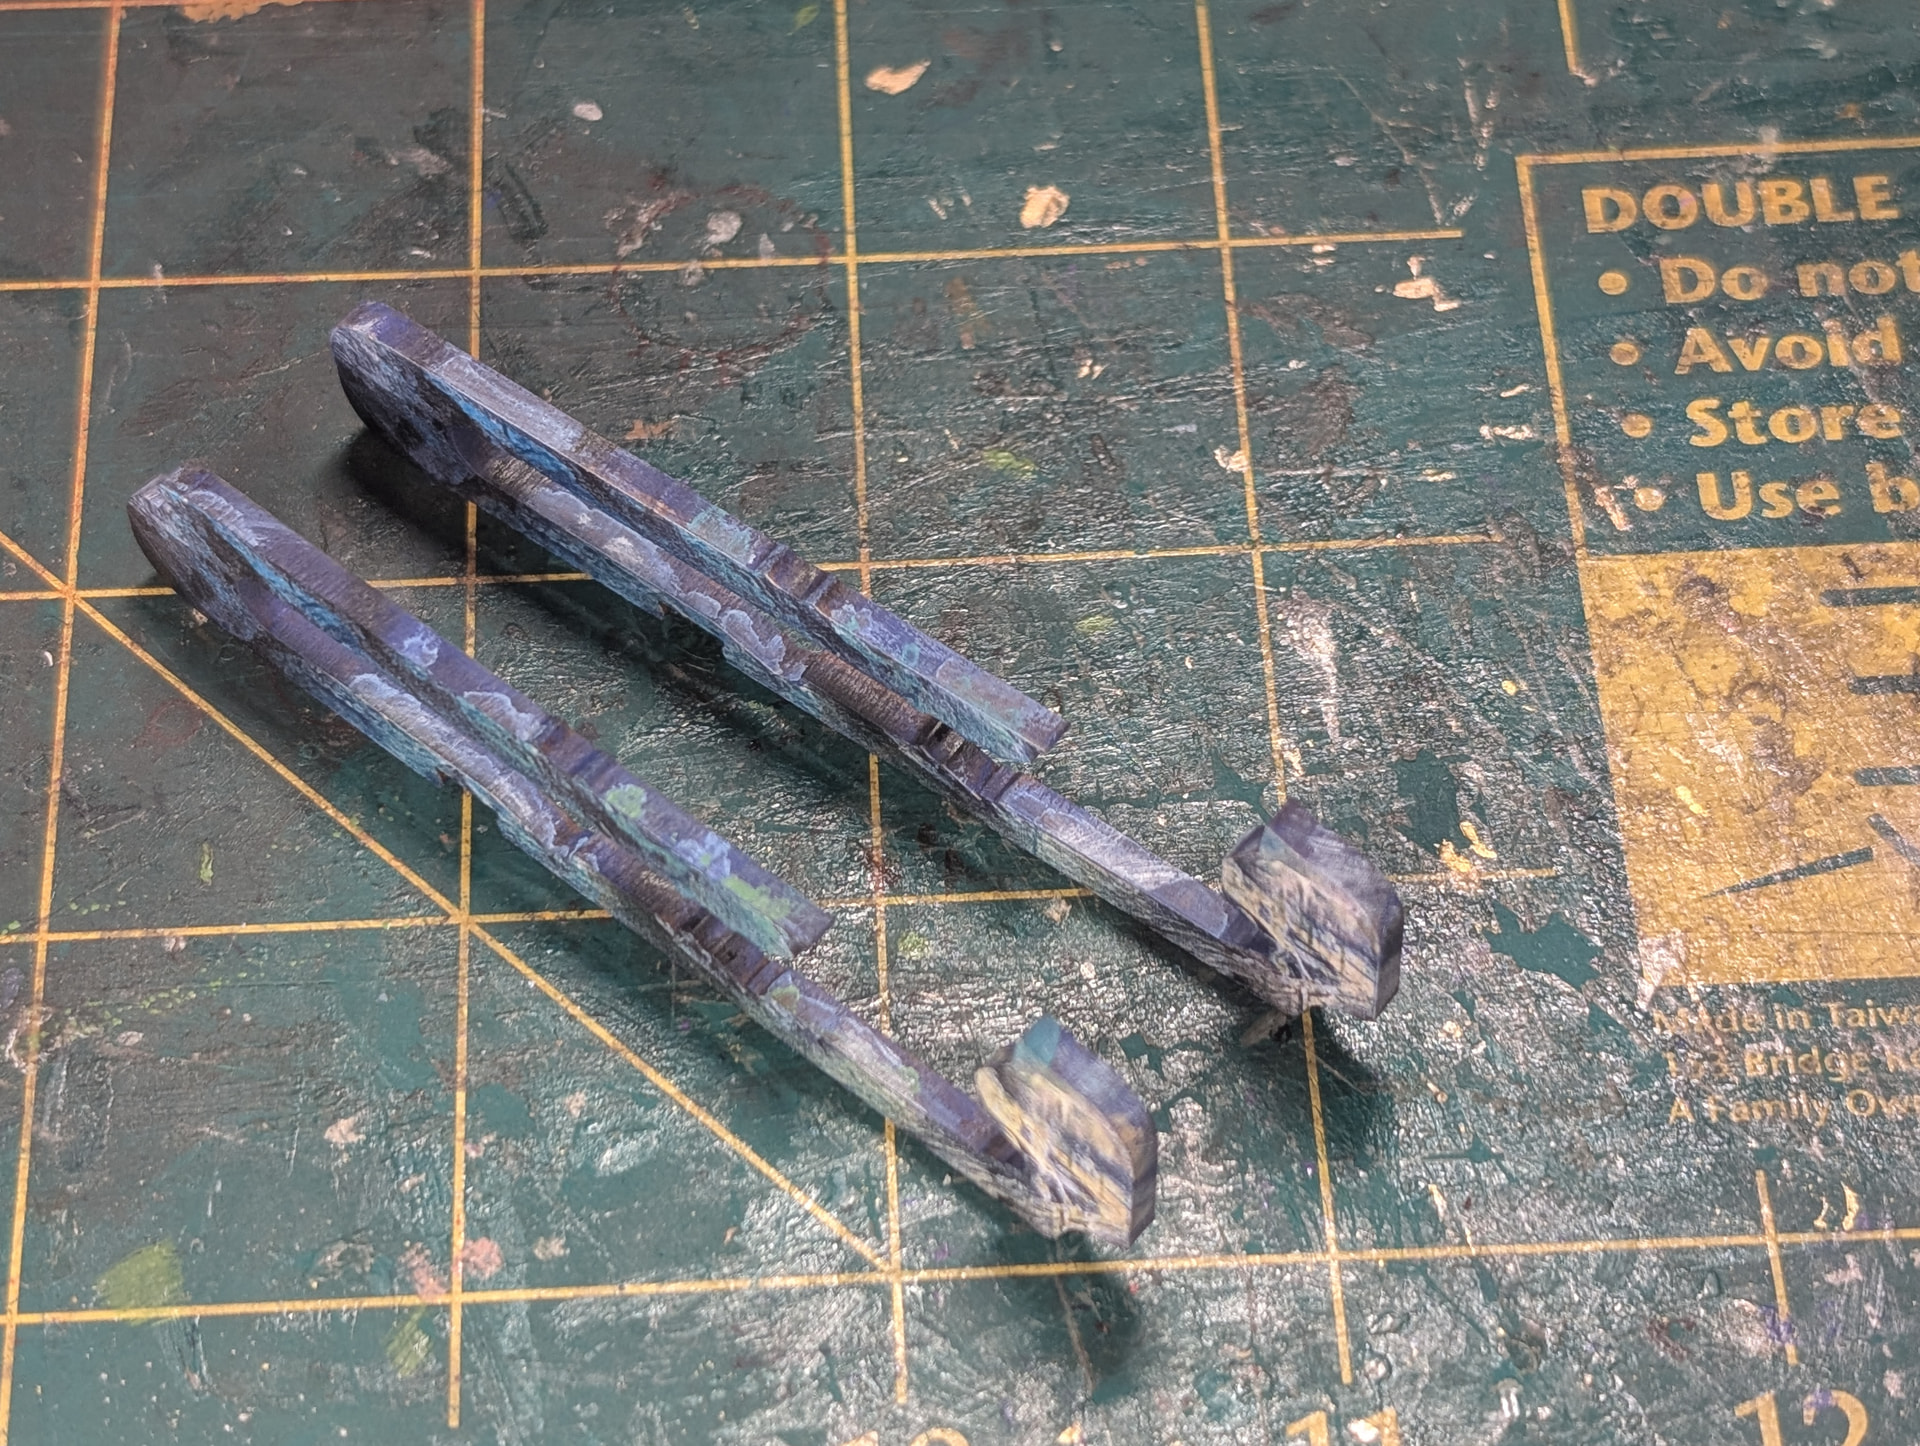
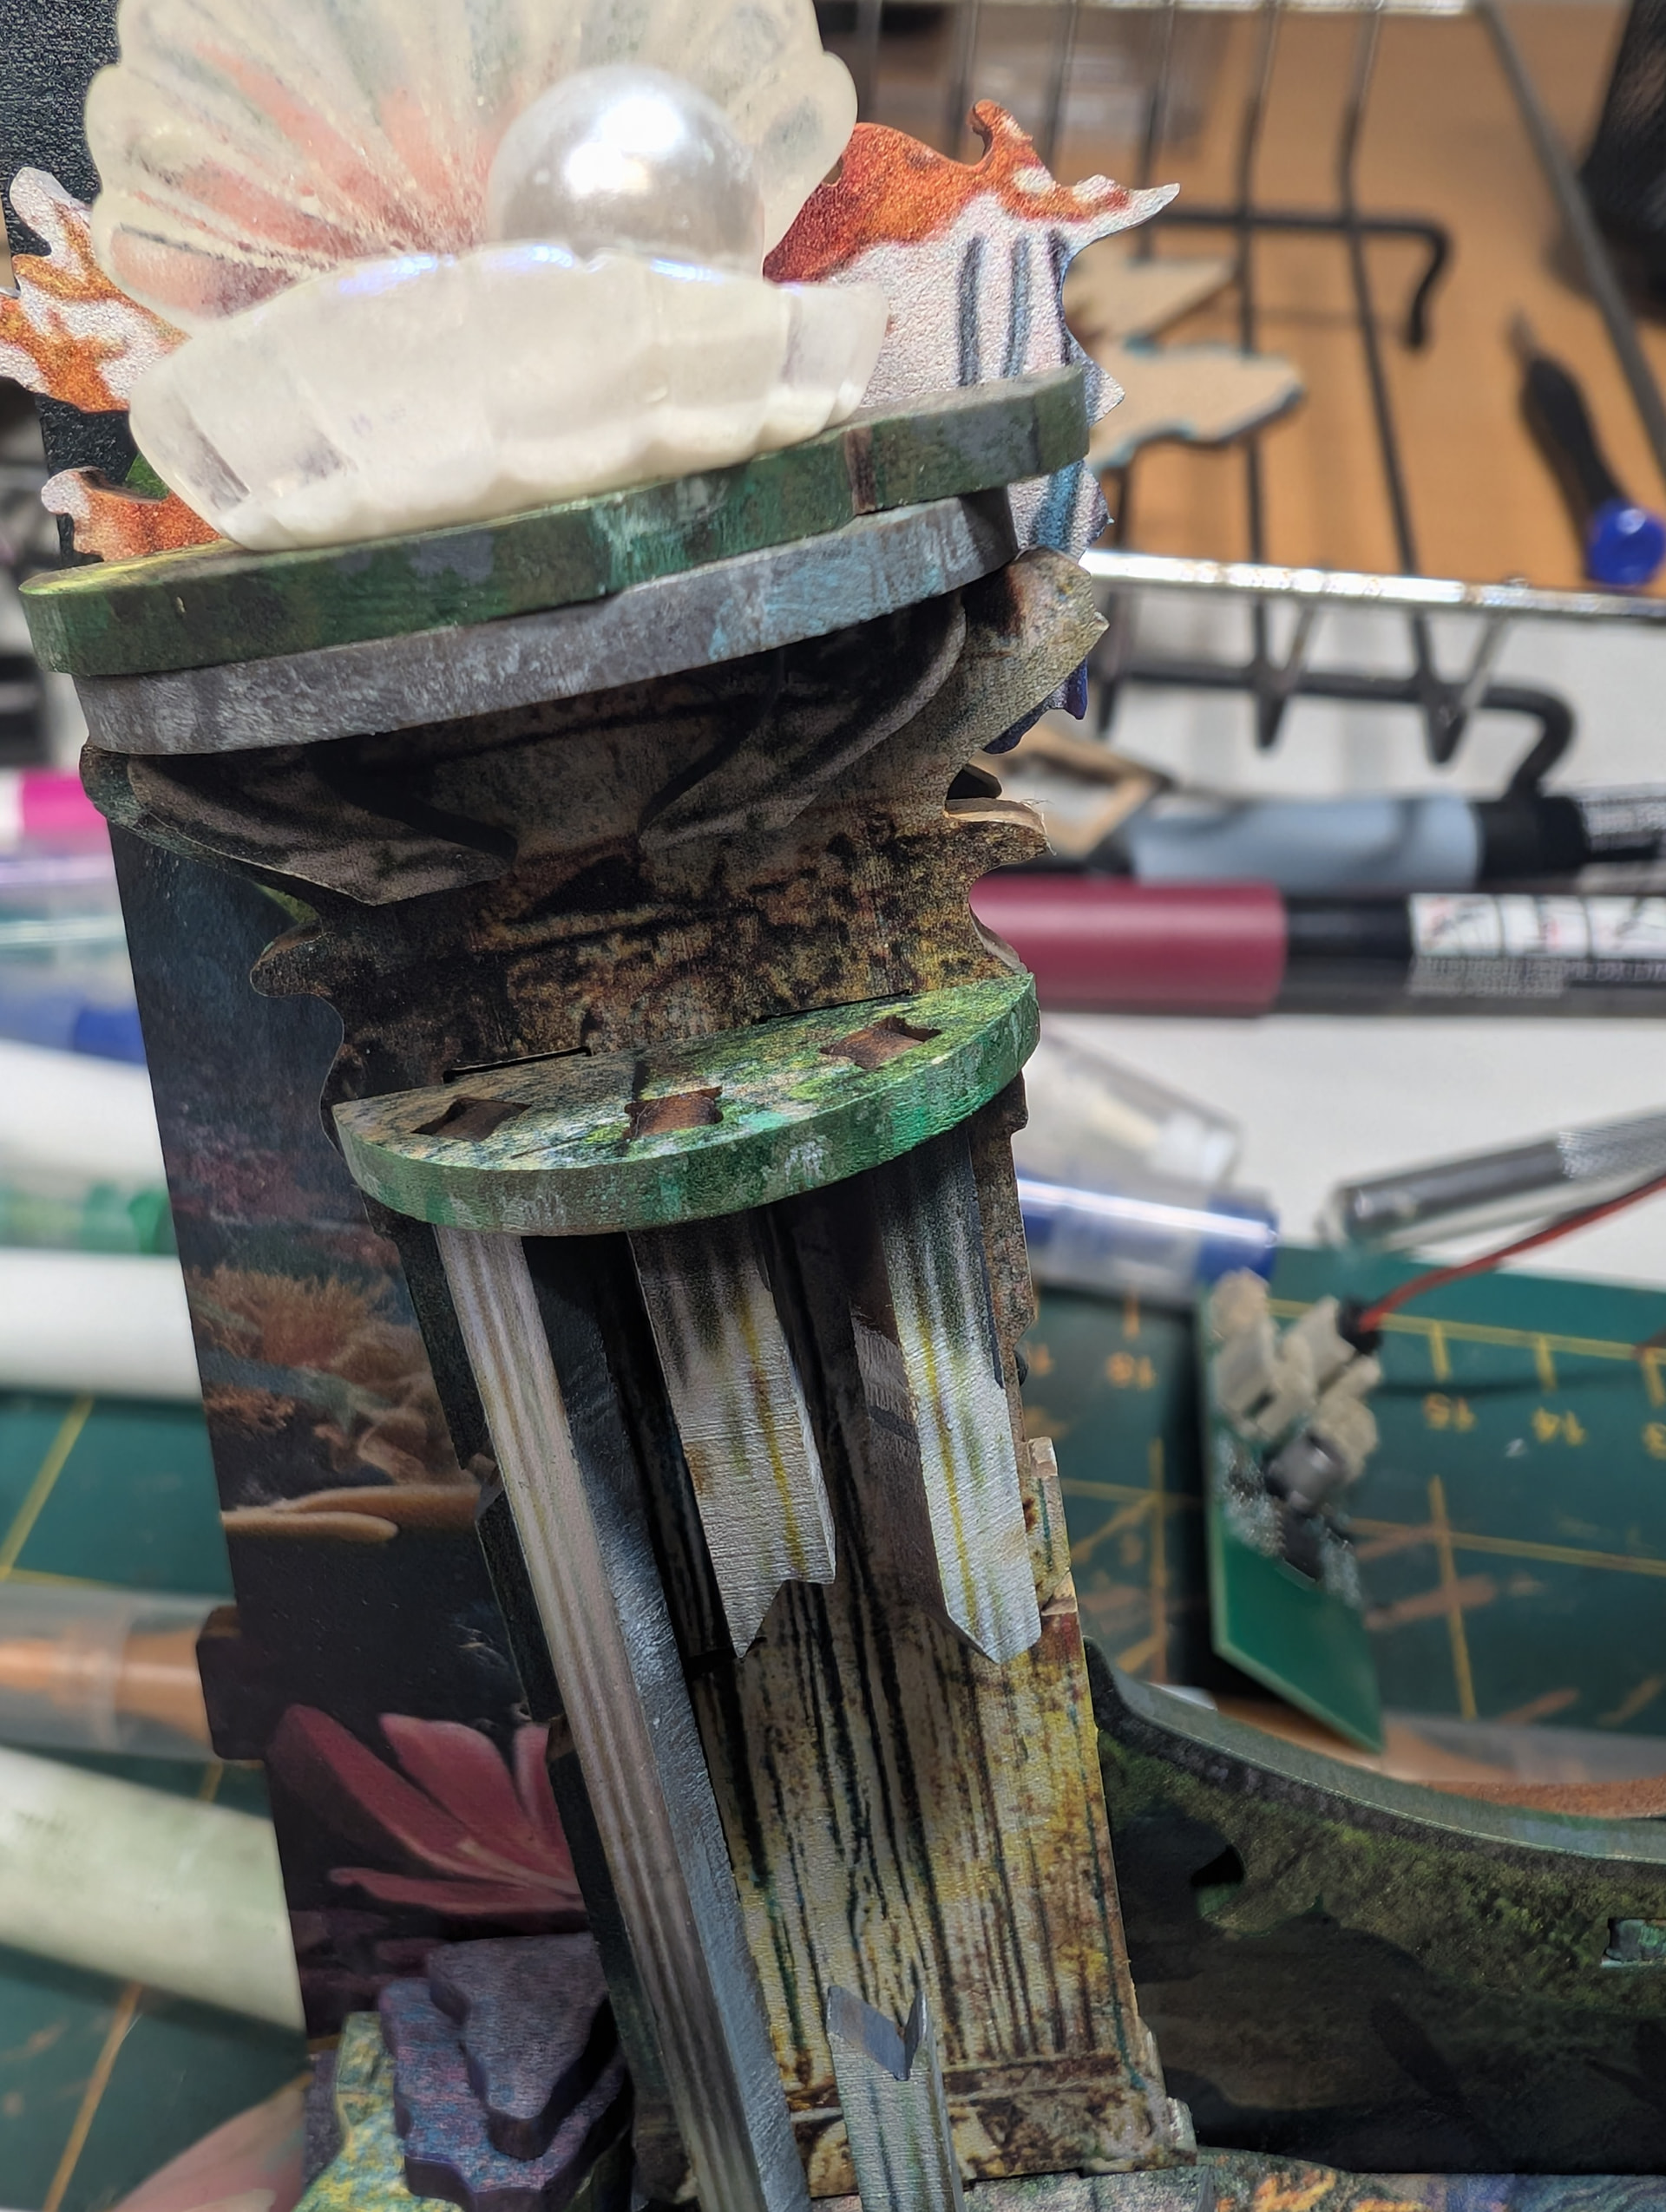
I am extremely happy with how these turned out. Even better though is that if it looks like crap, let it dry and paint over it with a fresh base coat and start again. 
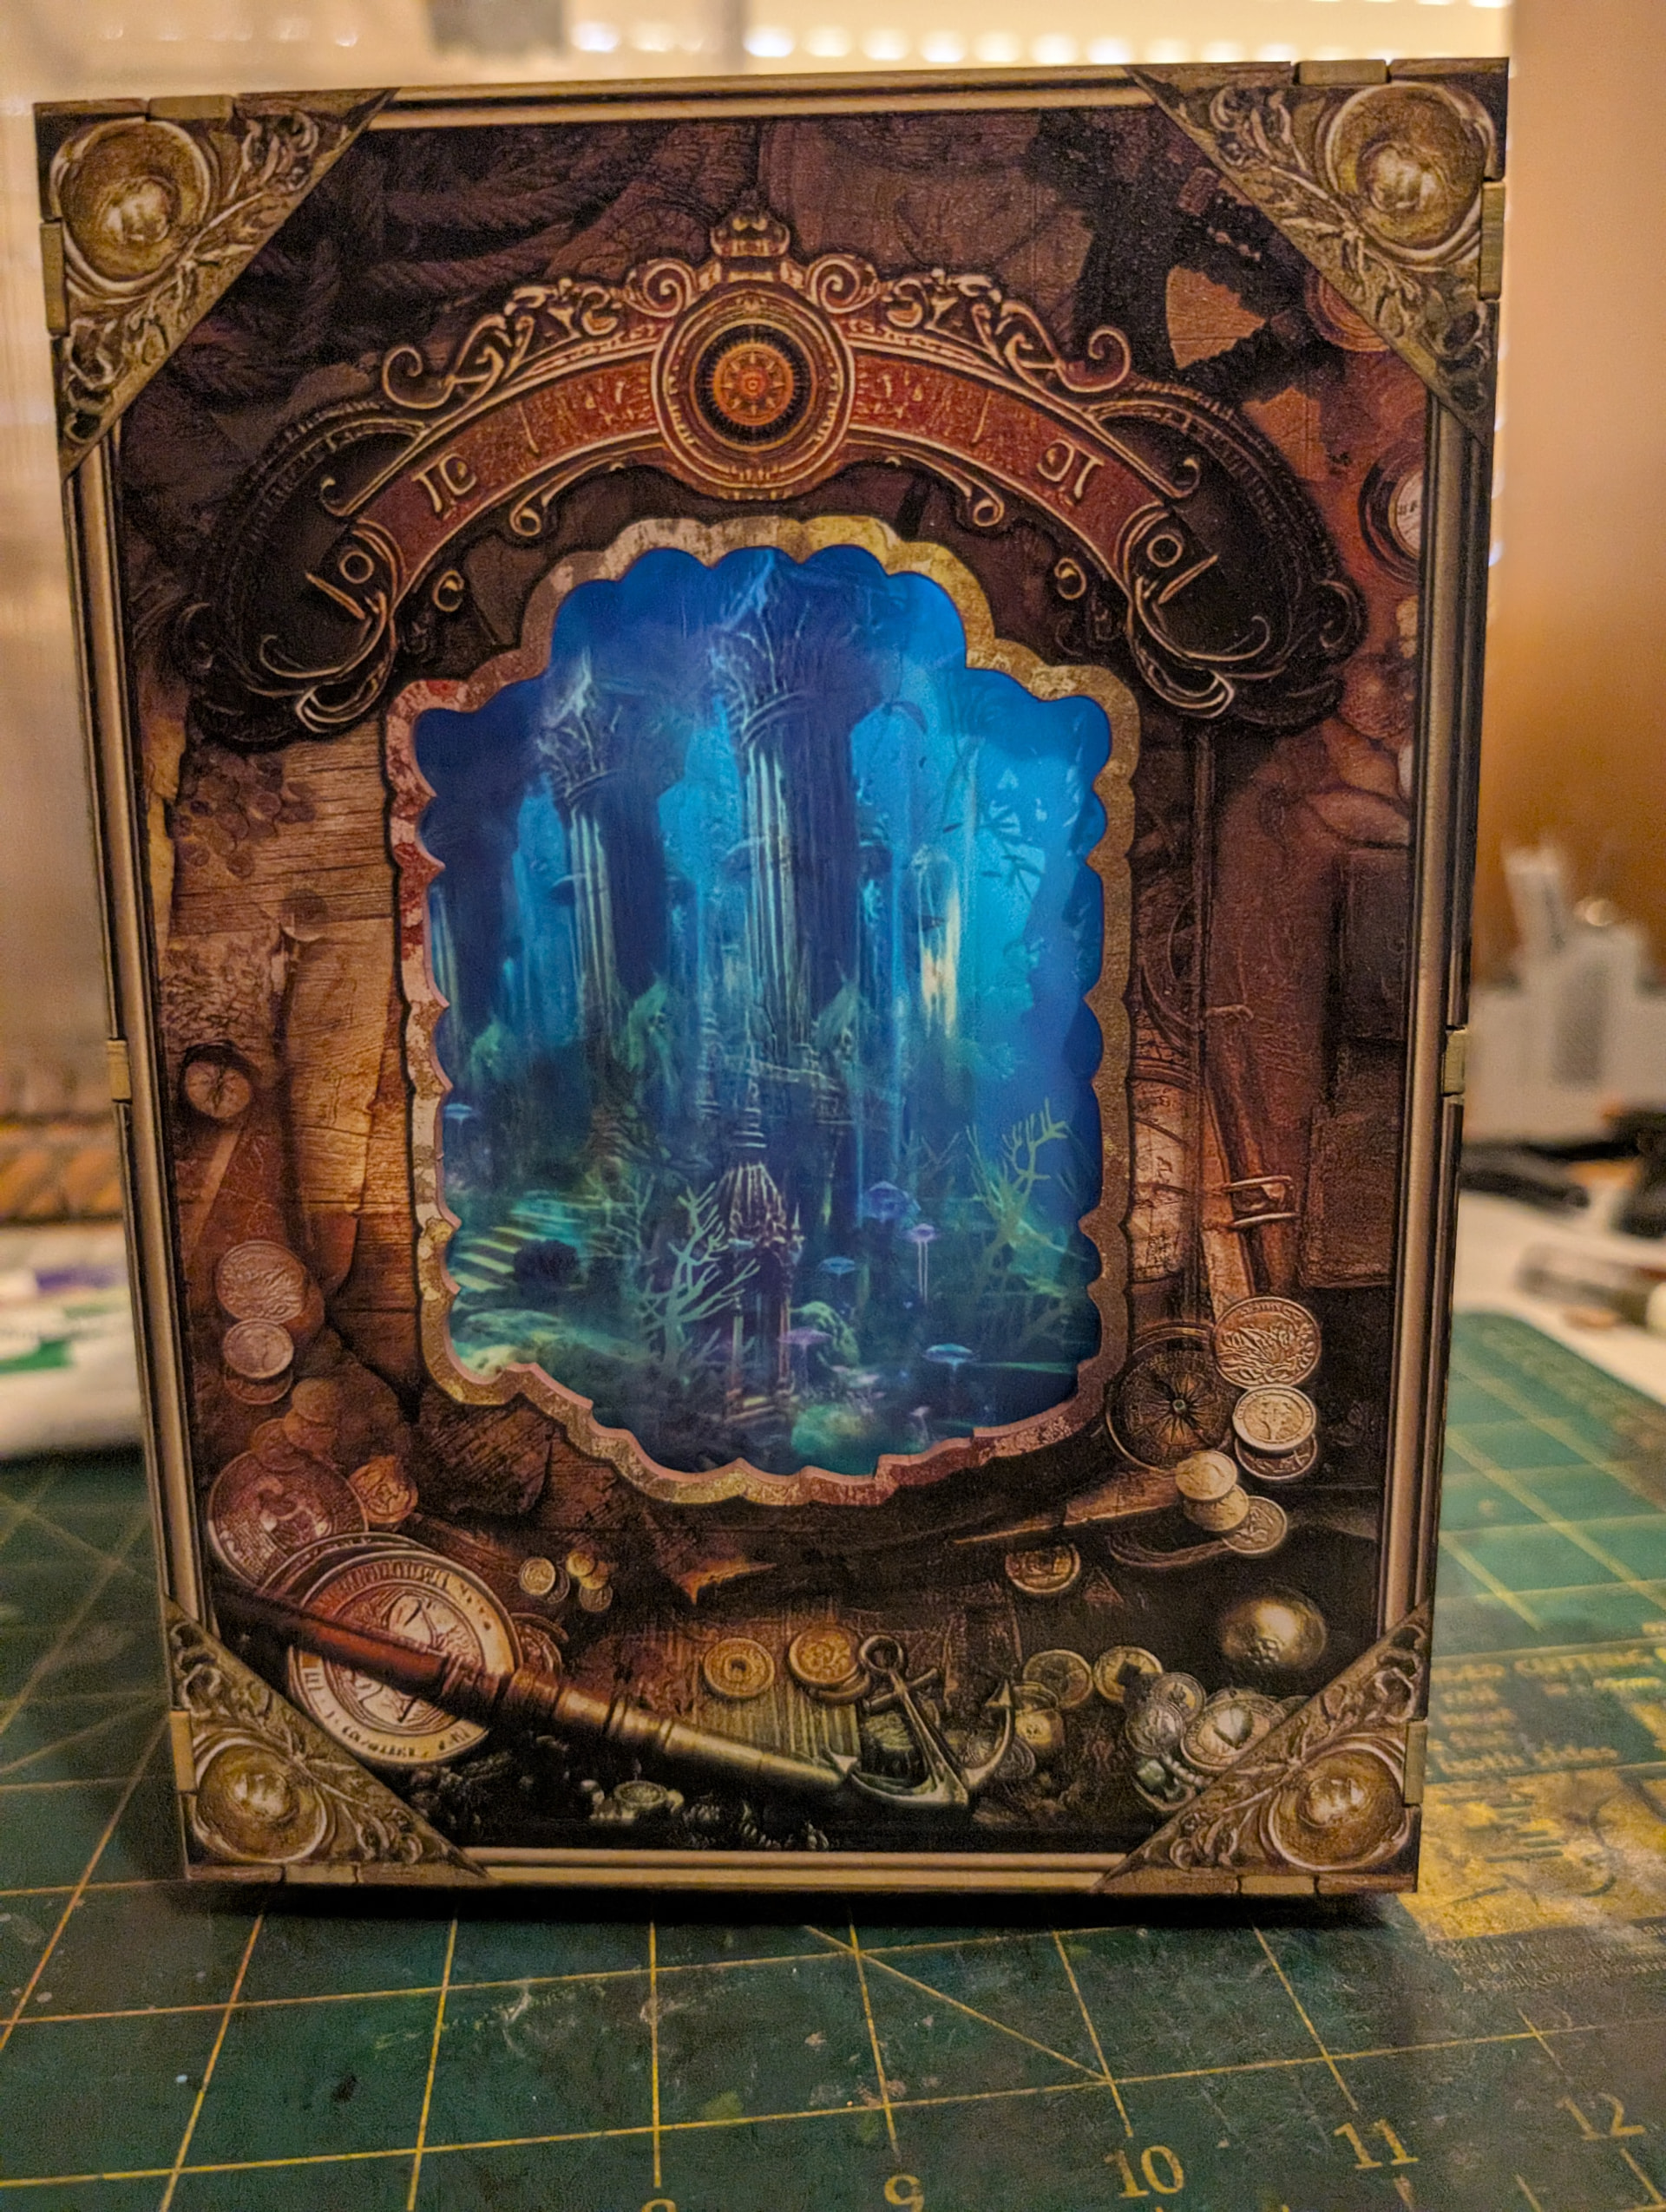
Even though this is not a Robotime build, I know you want to see the final product. It has sound and motion, so I have also included a video. I hope you like it.