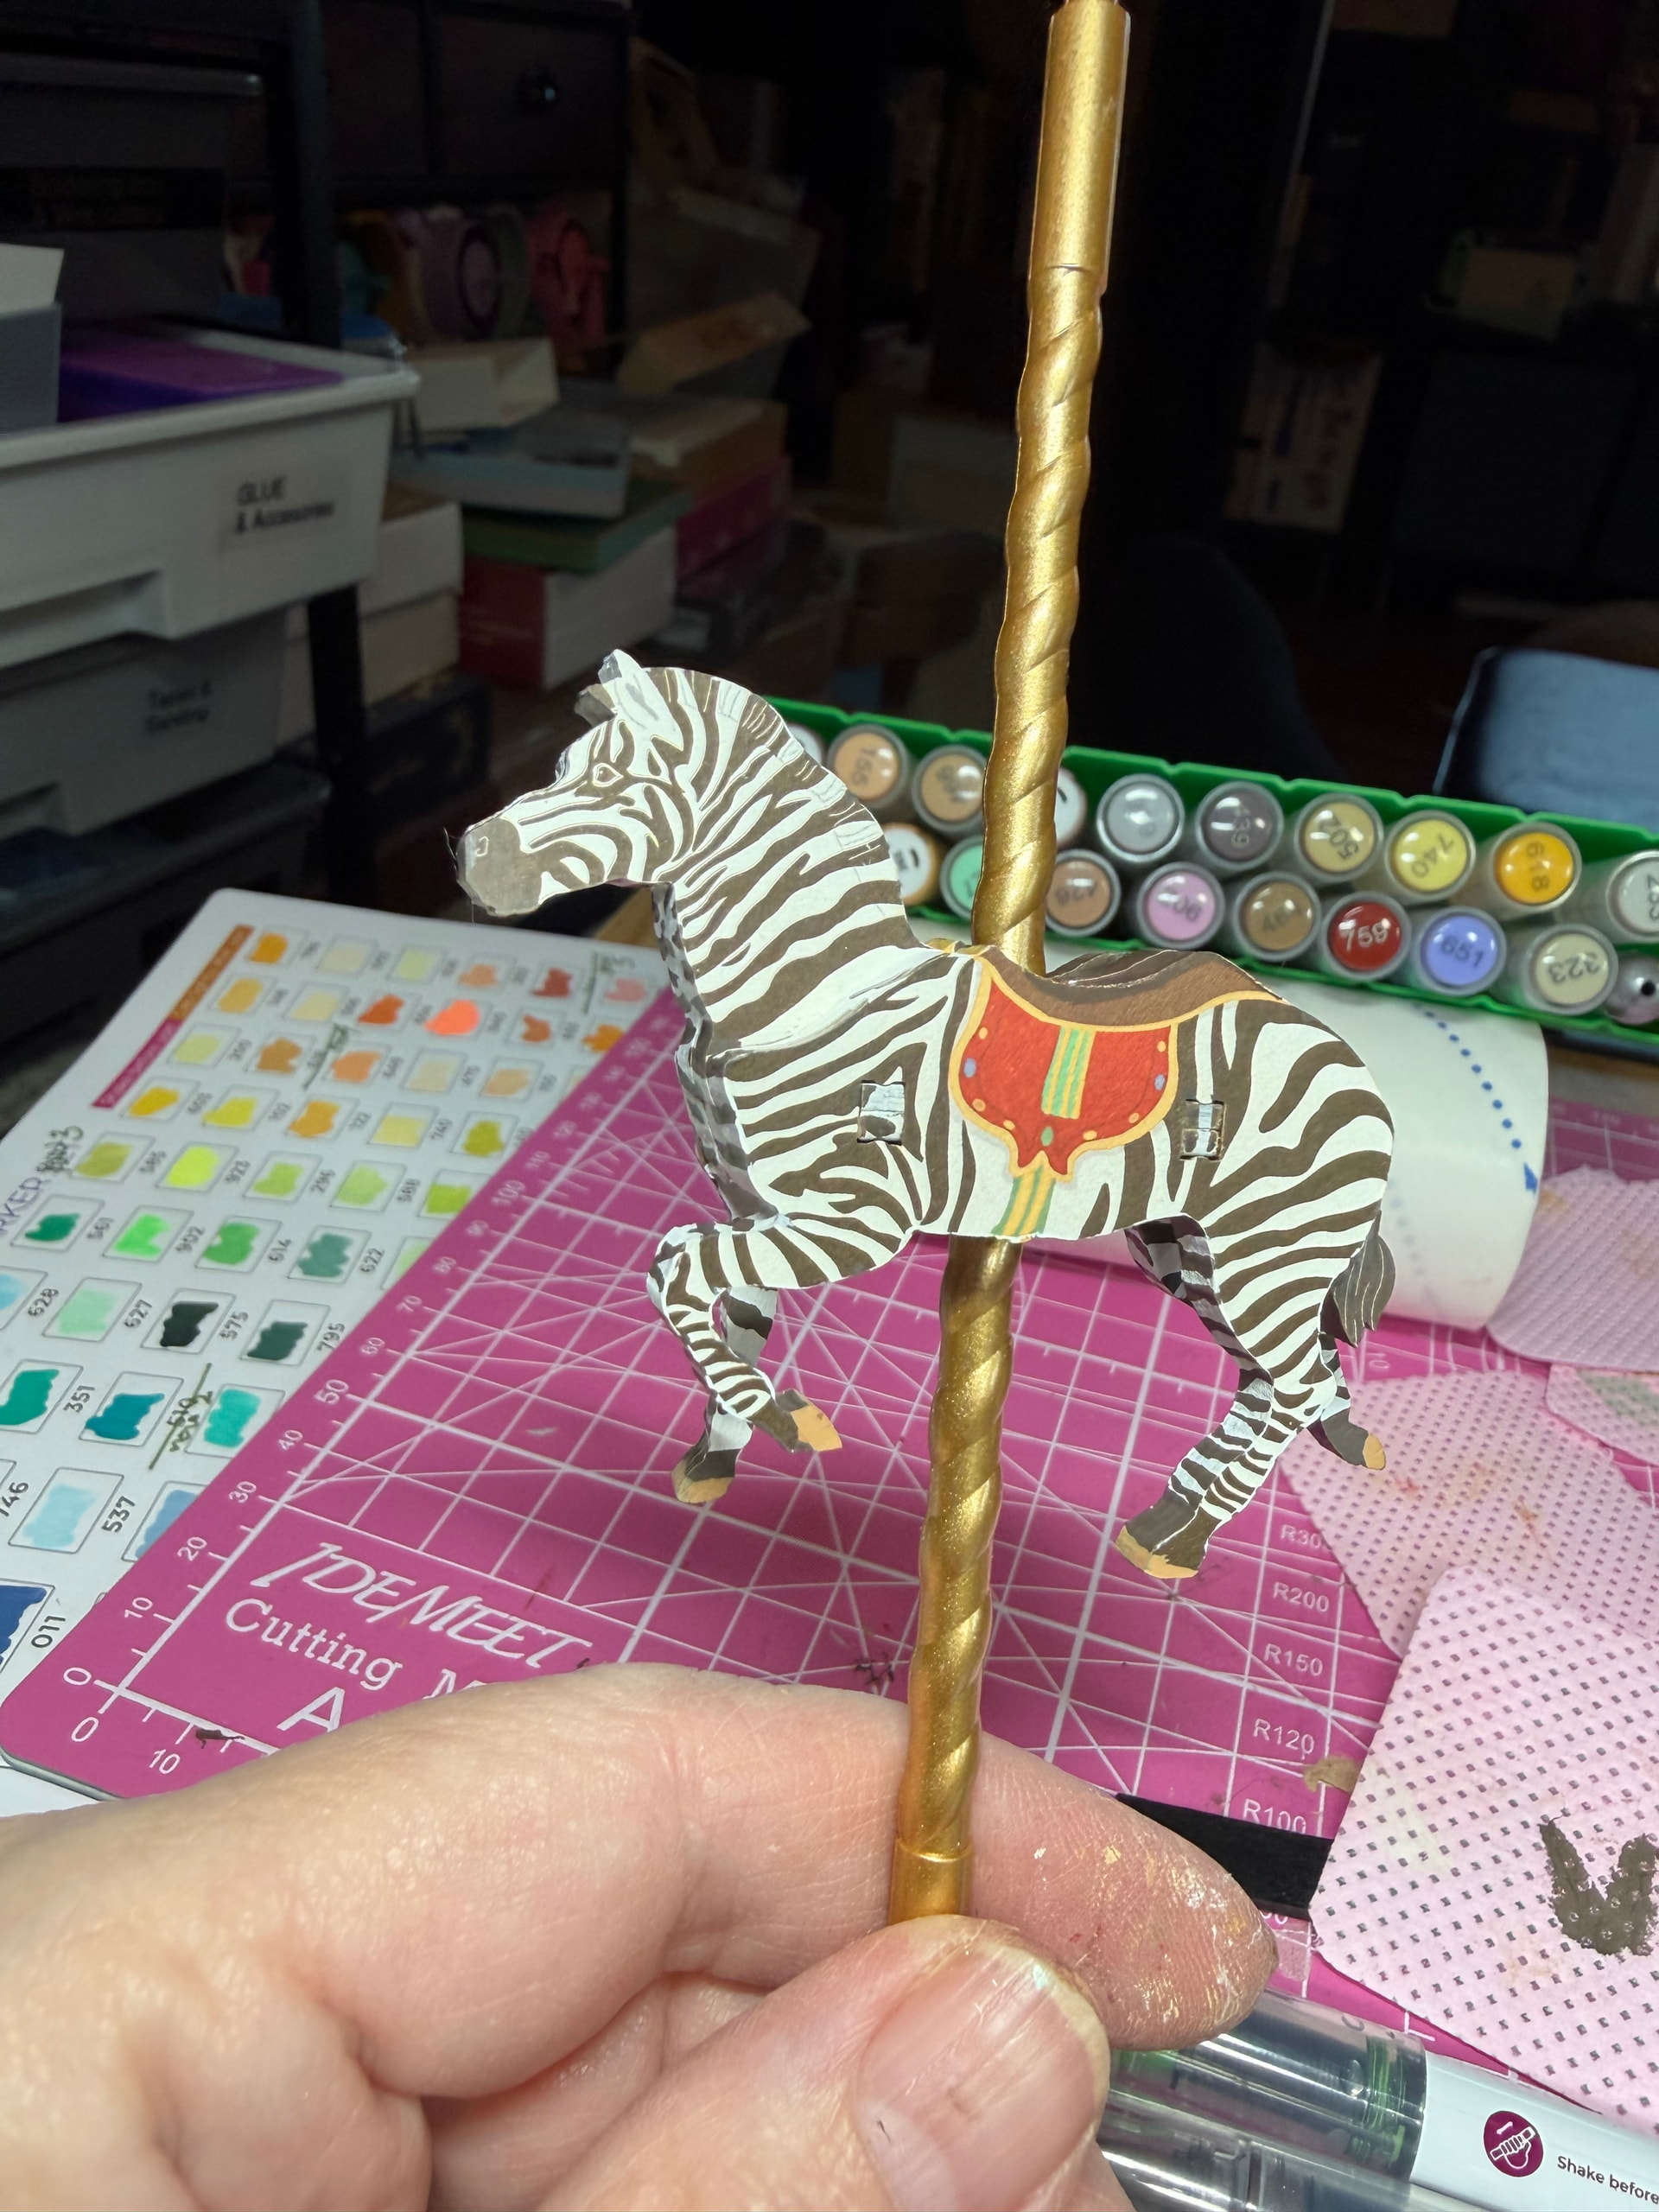
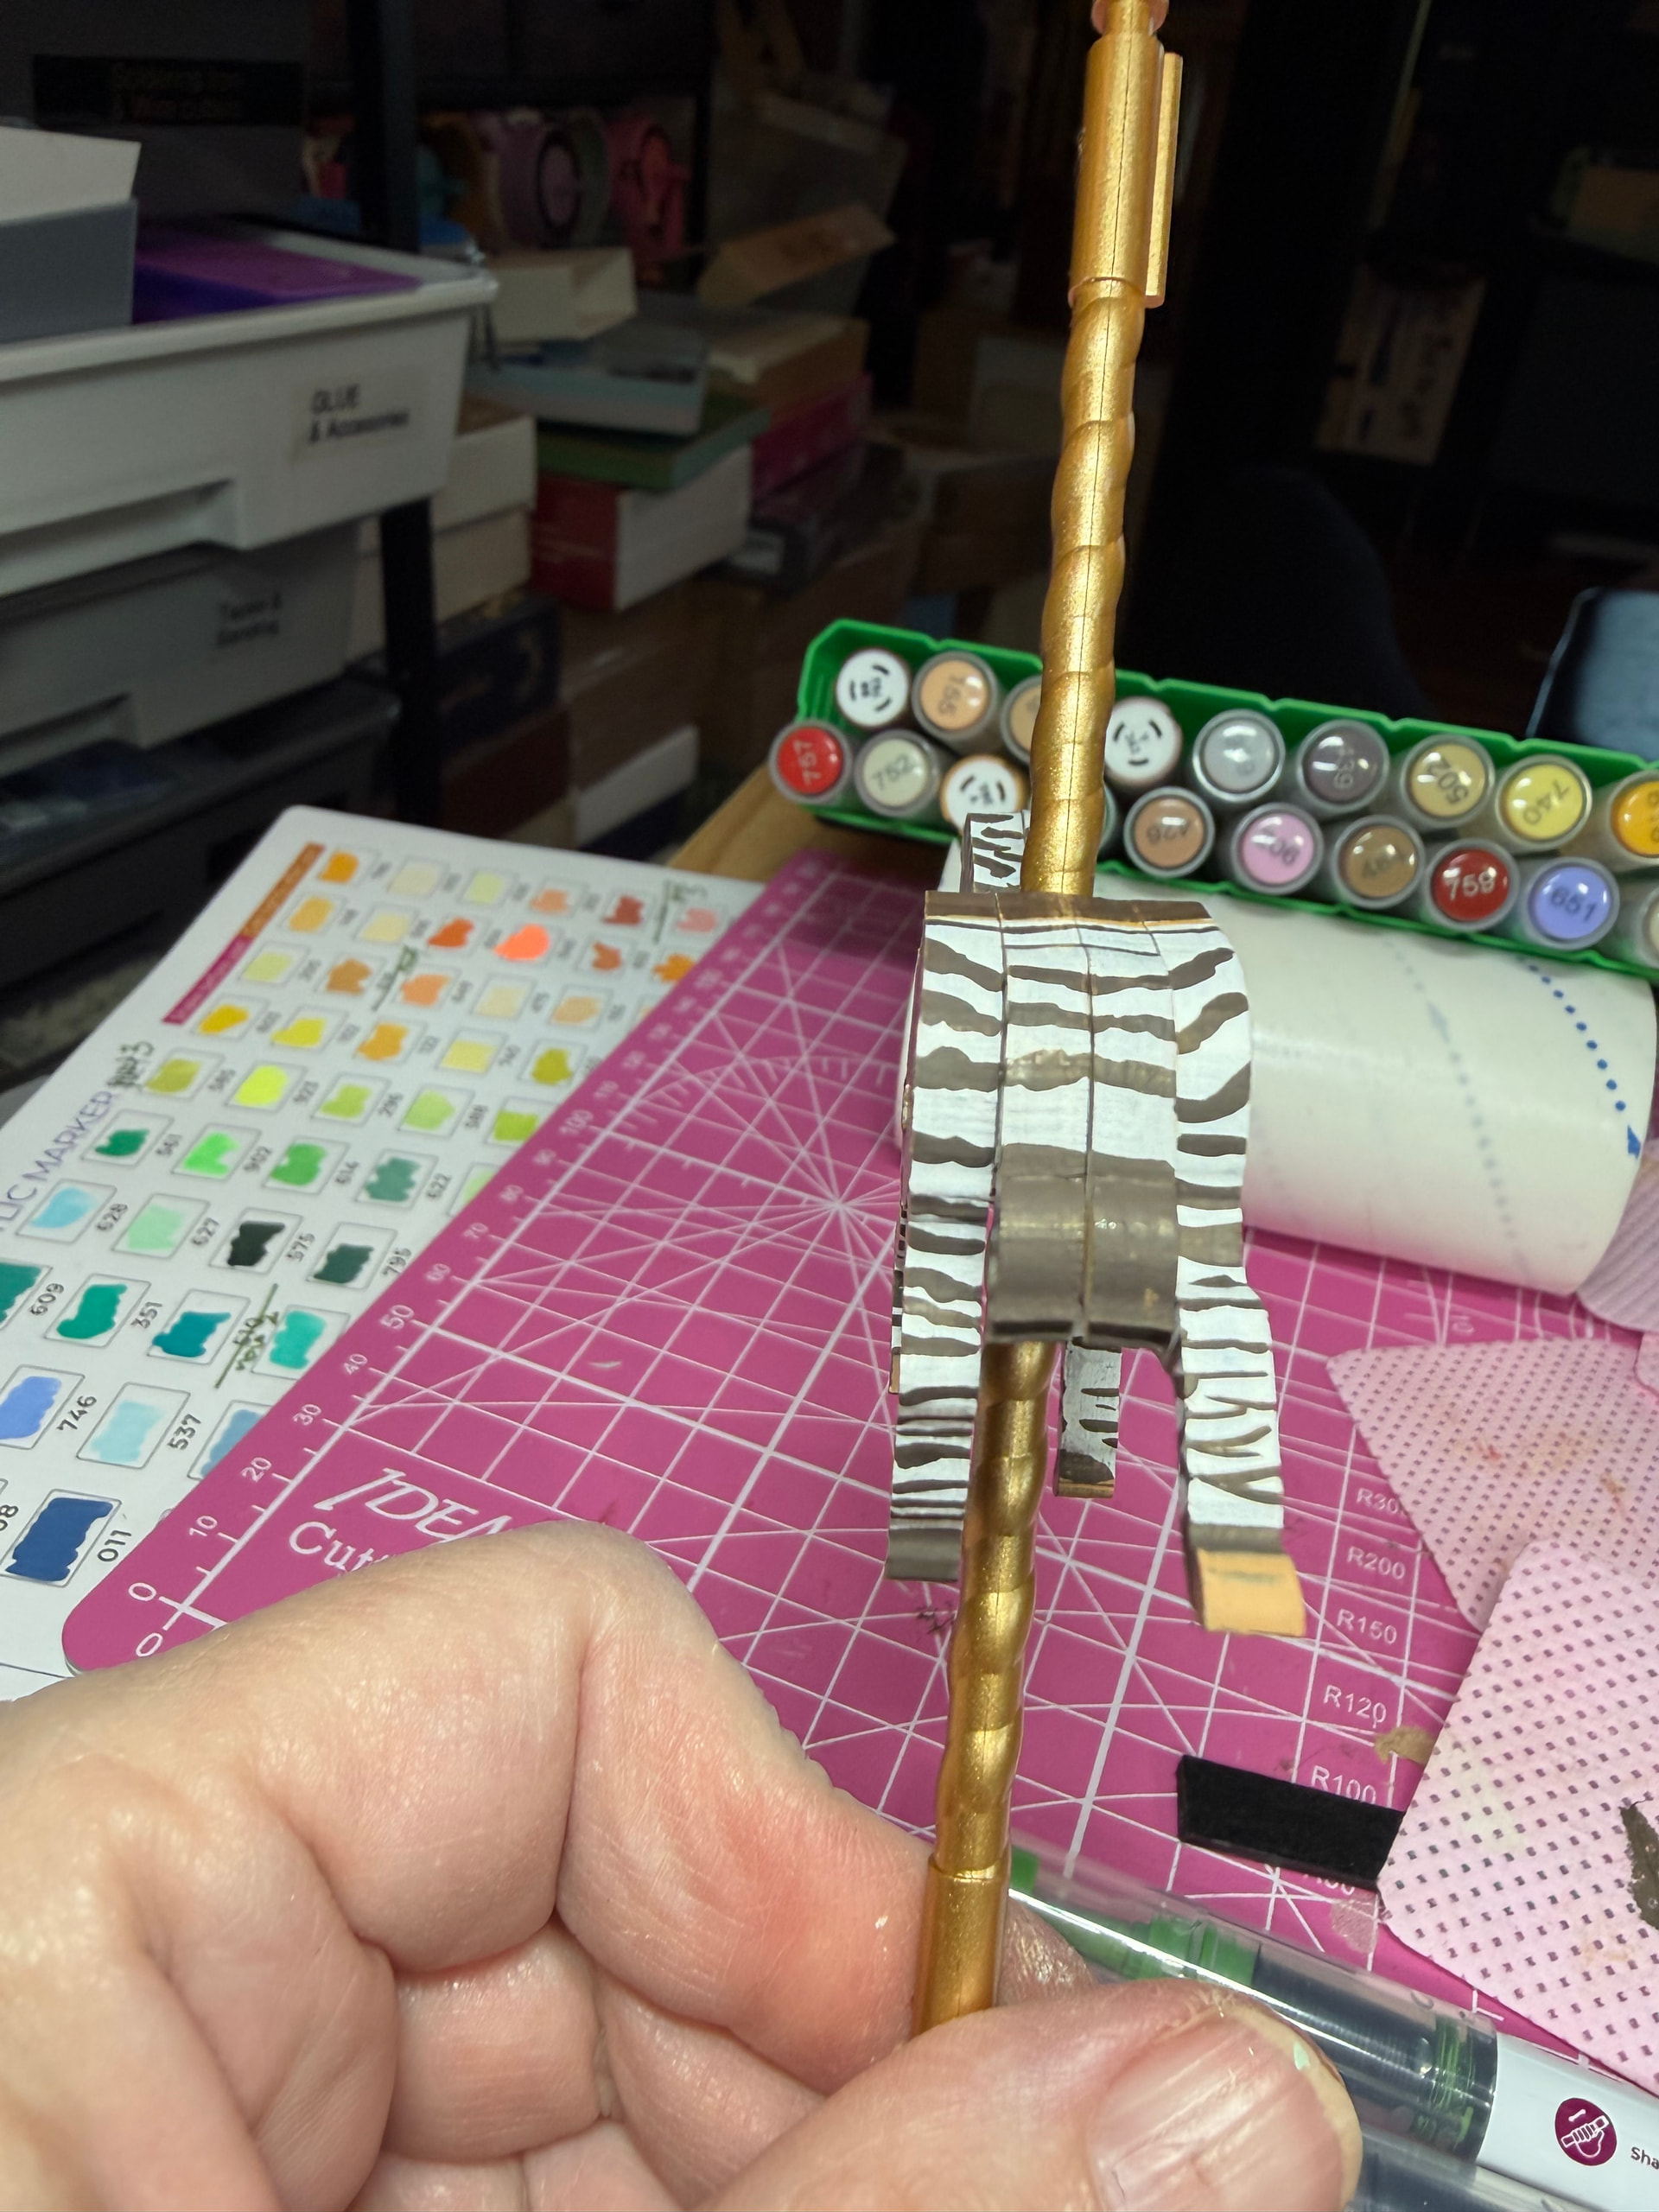
When I first started building miniature kits, I didn’t do anything with the edges at all. I didn’t even bother sanding off the little nubs where the pieces came out of the sheets. I assembled everything as it came and honestly didn’t think much about it.
As I built more kits, I started noticing those little unfinished edges, especially on darker pieces or in areas where the layers of wood were more visible. I also realized how much cleaner a piece looked after taking a few seconds to sand off the nubs. That’s when I began experimenting with furniture markers. They were quick, easy, and covered a lot of ground fast. They quickly became my favorite way to edge color, and they’re still what I reach for on most builds.
I also decided to try acrylic markers. I like the extra control they give me, especially on smaller details or special projects where I want to spend a little more time. Even so, I still find myself reaching for the furniture markers most of the time because they’re fast, easy to use, and give me the look I’m after.
It’s been fun seeing how my approach has changed over time. I’m still figuring out what works best for me, and I don’t think there’s one right answer. Sometimes I don’t color every edge, sometimes I do, and it often depends on the kit.
Here’s one of my favorite examples of edge coloring on a finished piece: the Classic Carousel. I was really happy with how it turned out and how much the finished edges added to the overall look.
I’ve changed too. Initially, I left the wood in its natural color. Later, I gradually learned about coloring. Since then, I’ve colored most of my Rokr models.
Sometimes I choose not to color. But it depends on the piece - like if it’s very visible, or the number of pieces I’ll have to paint - sometimes I find it tedious. But I like what you did with this … I probably would have done the same since there would be ‘too much wood’ exposed if you didn’t paint it.
@Kim_Kieffer this is such a useful look at how your building habits changed over time. The furniture-marker vs acrylic-marker comparison, plus the Classic Carousel example, makes the edge-coloring decision feel much less intimidating for other builders. Thanks for turning your own experiments into a practical discussion.
@Gidge that visibility-first approach is a really practical way to think about edge coloring. Some builds deserve the extra finish everywhere, and others feel better when the effort goes only where it will actually show.
I’m the same way. If it’s an area that’s barely visible, I may not spend the time coloring every edge. It really depends on the kit and where those exposed edges are.
Thank you! The Classic Carousel is still one of my favorite finished pieces. I think taking the time to finish the edges really made that one stand out.
Thank you! It’s been fun looking back at how my building habits have changed. I’m still experimenting, but that’s part of what makes this hobby so enjoyable.
Thanks! It seems like a lot of us followed a similar path. Those first few kits were all about learning, and then we started paying attention to the little finishing details.
Any will actually do, you could try a furniture marker also first. For those it really depends on the edge for me because MDF I think works better than some of the regular wood they can bleed into it. Also, you could easily try on the outside pieces not your actual piece when you’re practicing save a sheet or two of those and you can practice on that as well.