Now the last step before the structure starts was to cut some gold cord into 3cm lengths (8 of them), knot it, then slide on a bead, a gold thingy, large bead, another gold thingy and a final bead. Problem is that even with a needle threader, the cord unravels itself once cut making this impossible and being so short, trying the knot itself was near impossible. I tried gluing the ends, but this didnt work. Any tips from anyone?
Tomorrow I will head to the craft store (Spotlight) and look for an alternative to the cord. Possibly some very fine golds chain that I saw they had last time I was there that may be small enough to thread through the holes in the small beads and gold thingies. If not, then I will look for a suitable thin gold cord that is hopefully not braided like the one supplied with the kit.
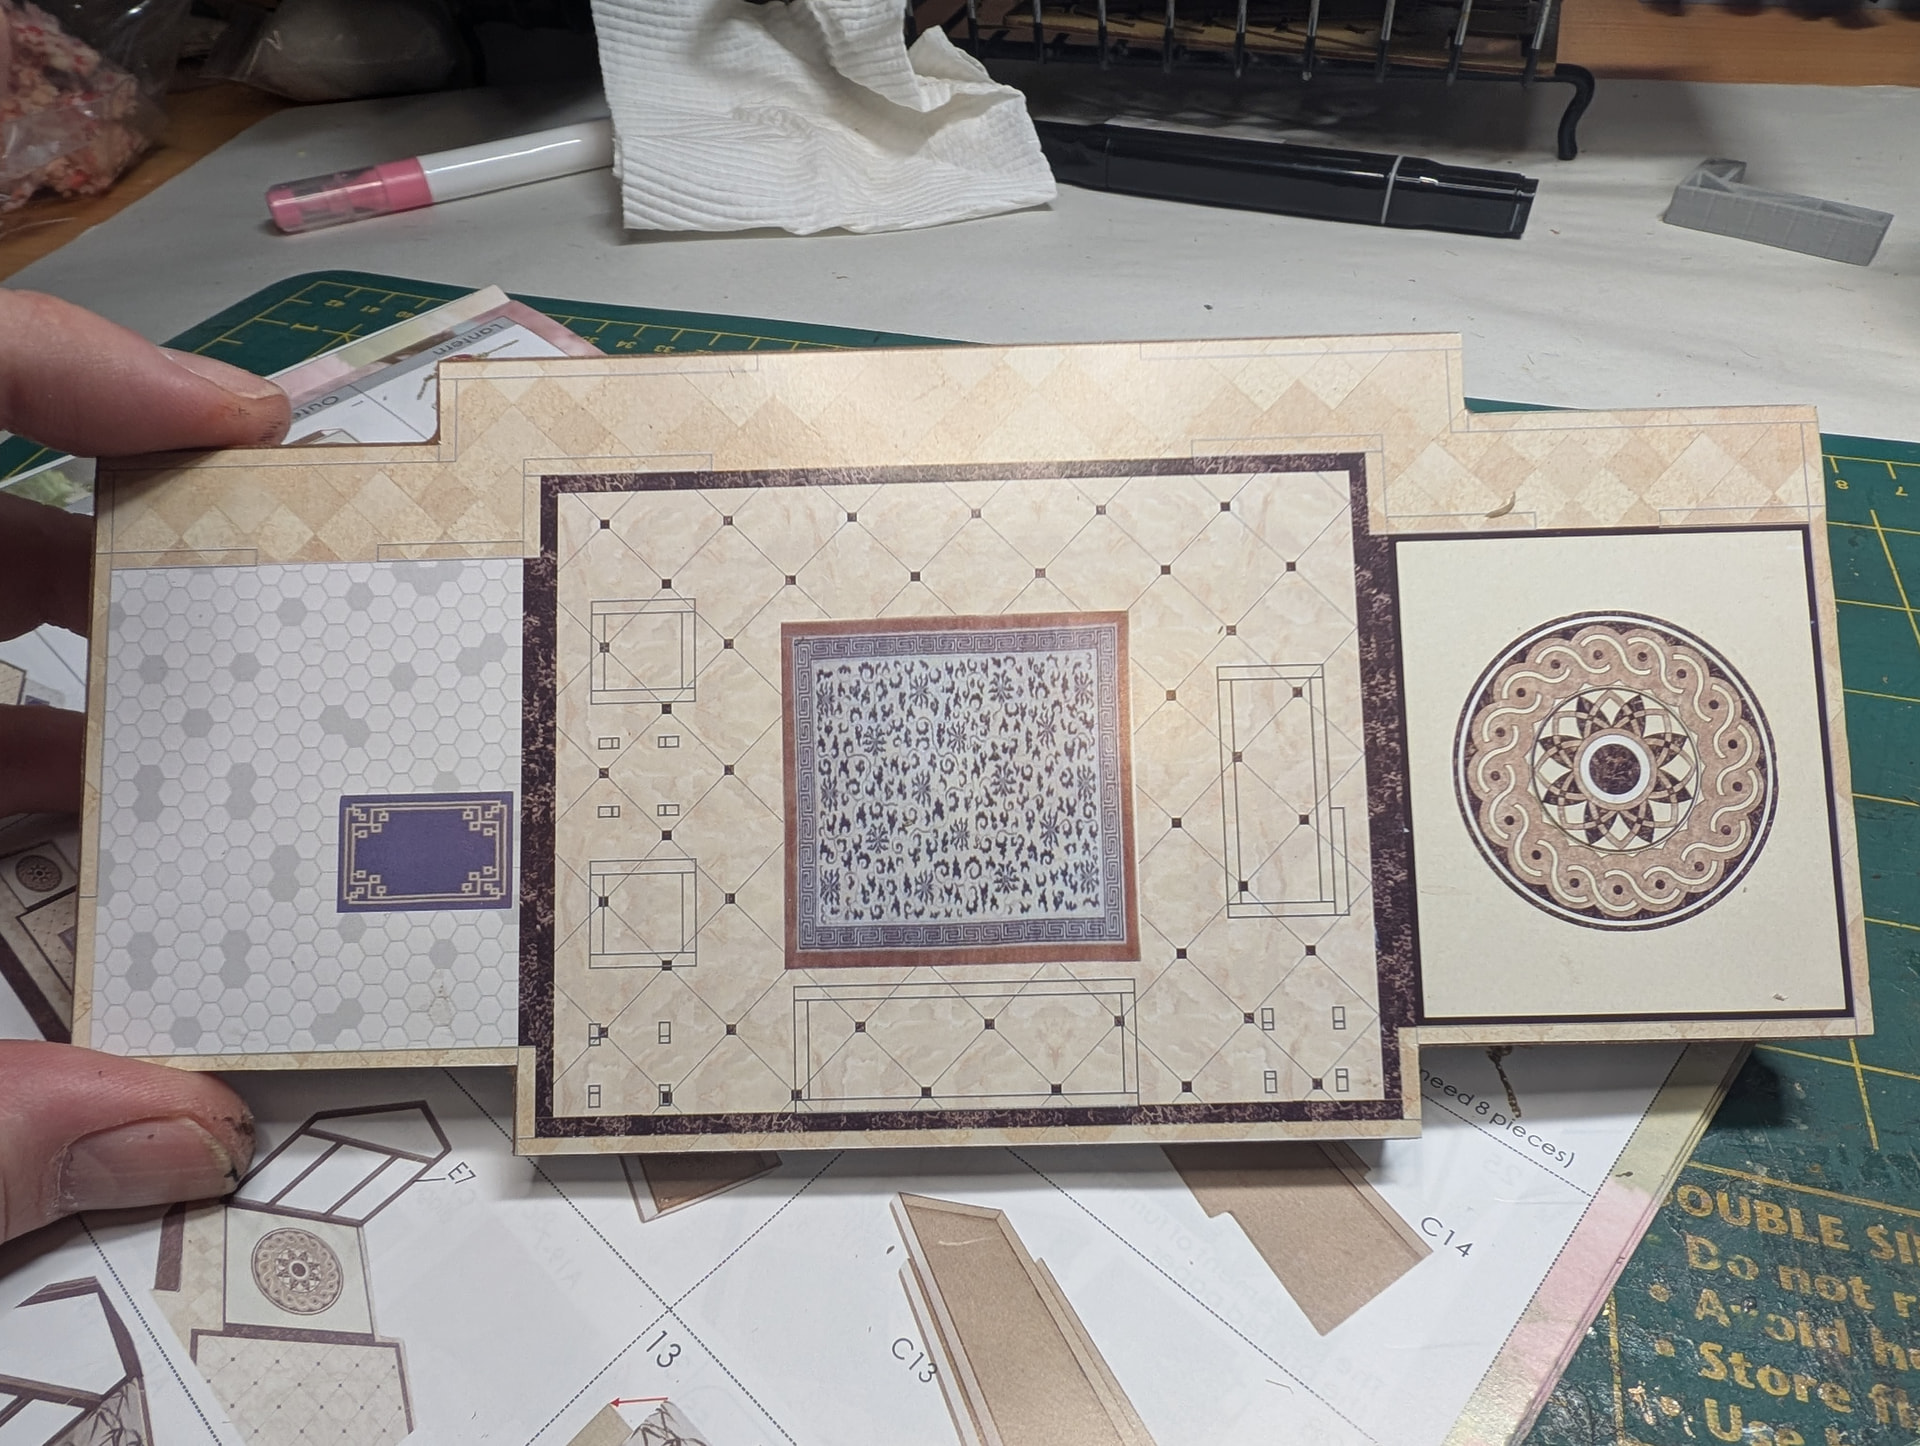
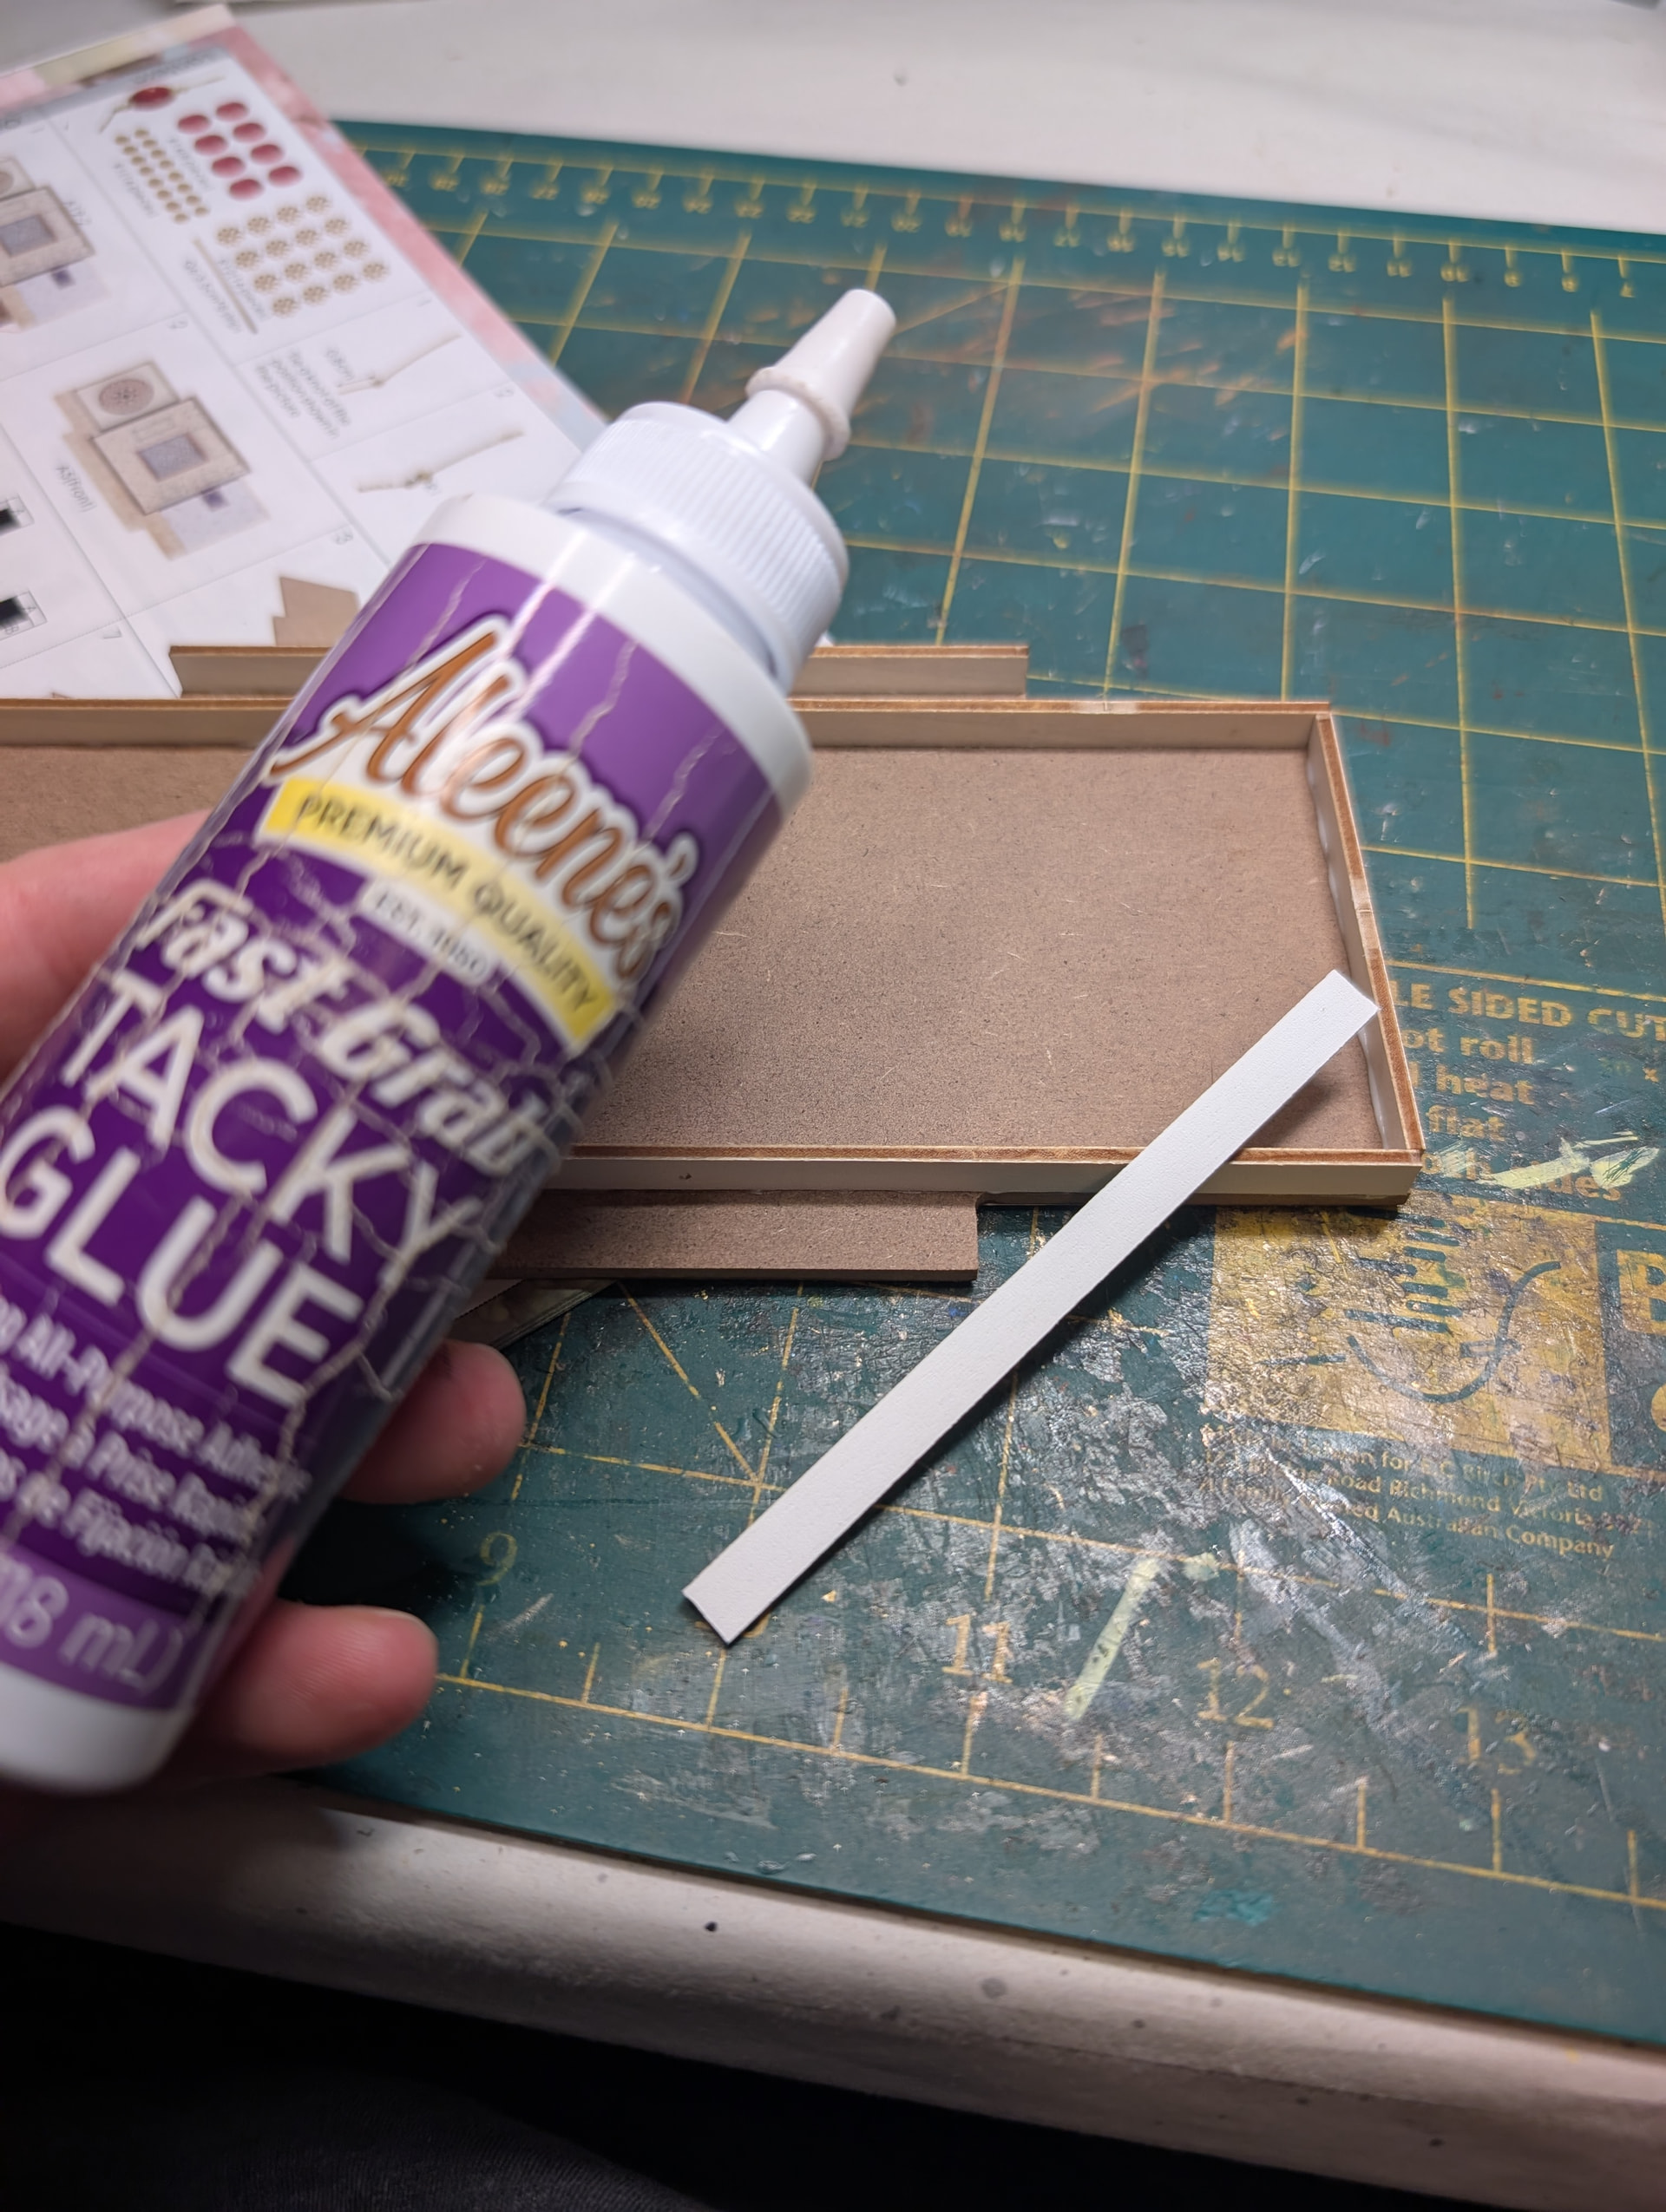
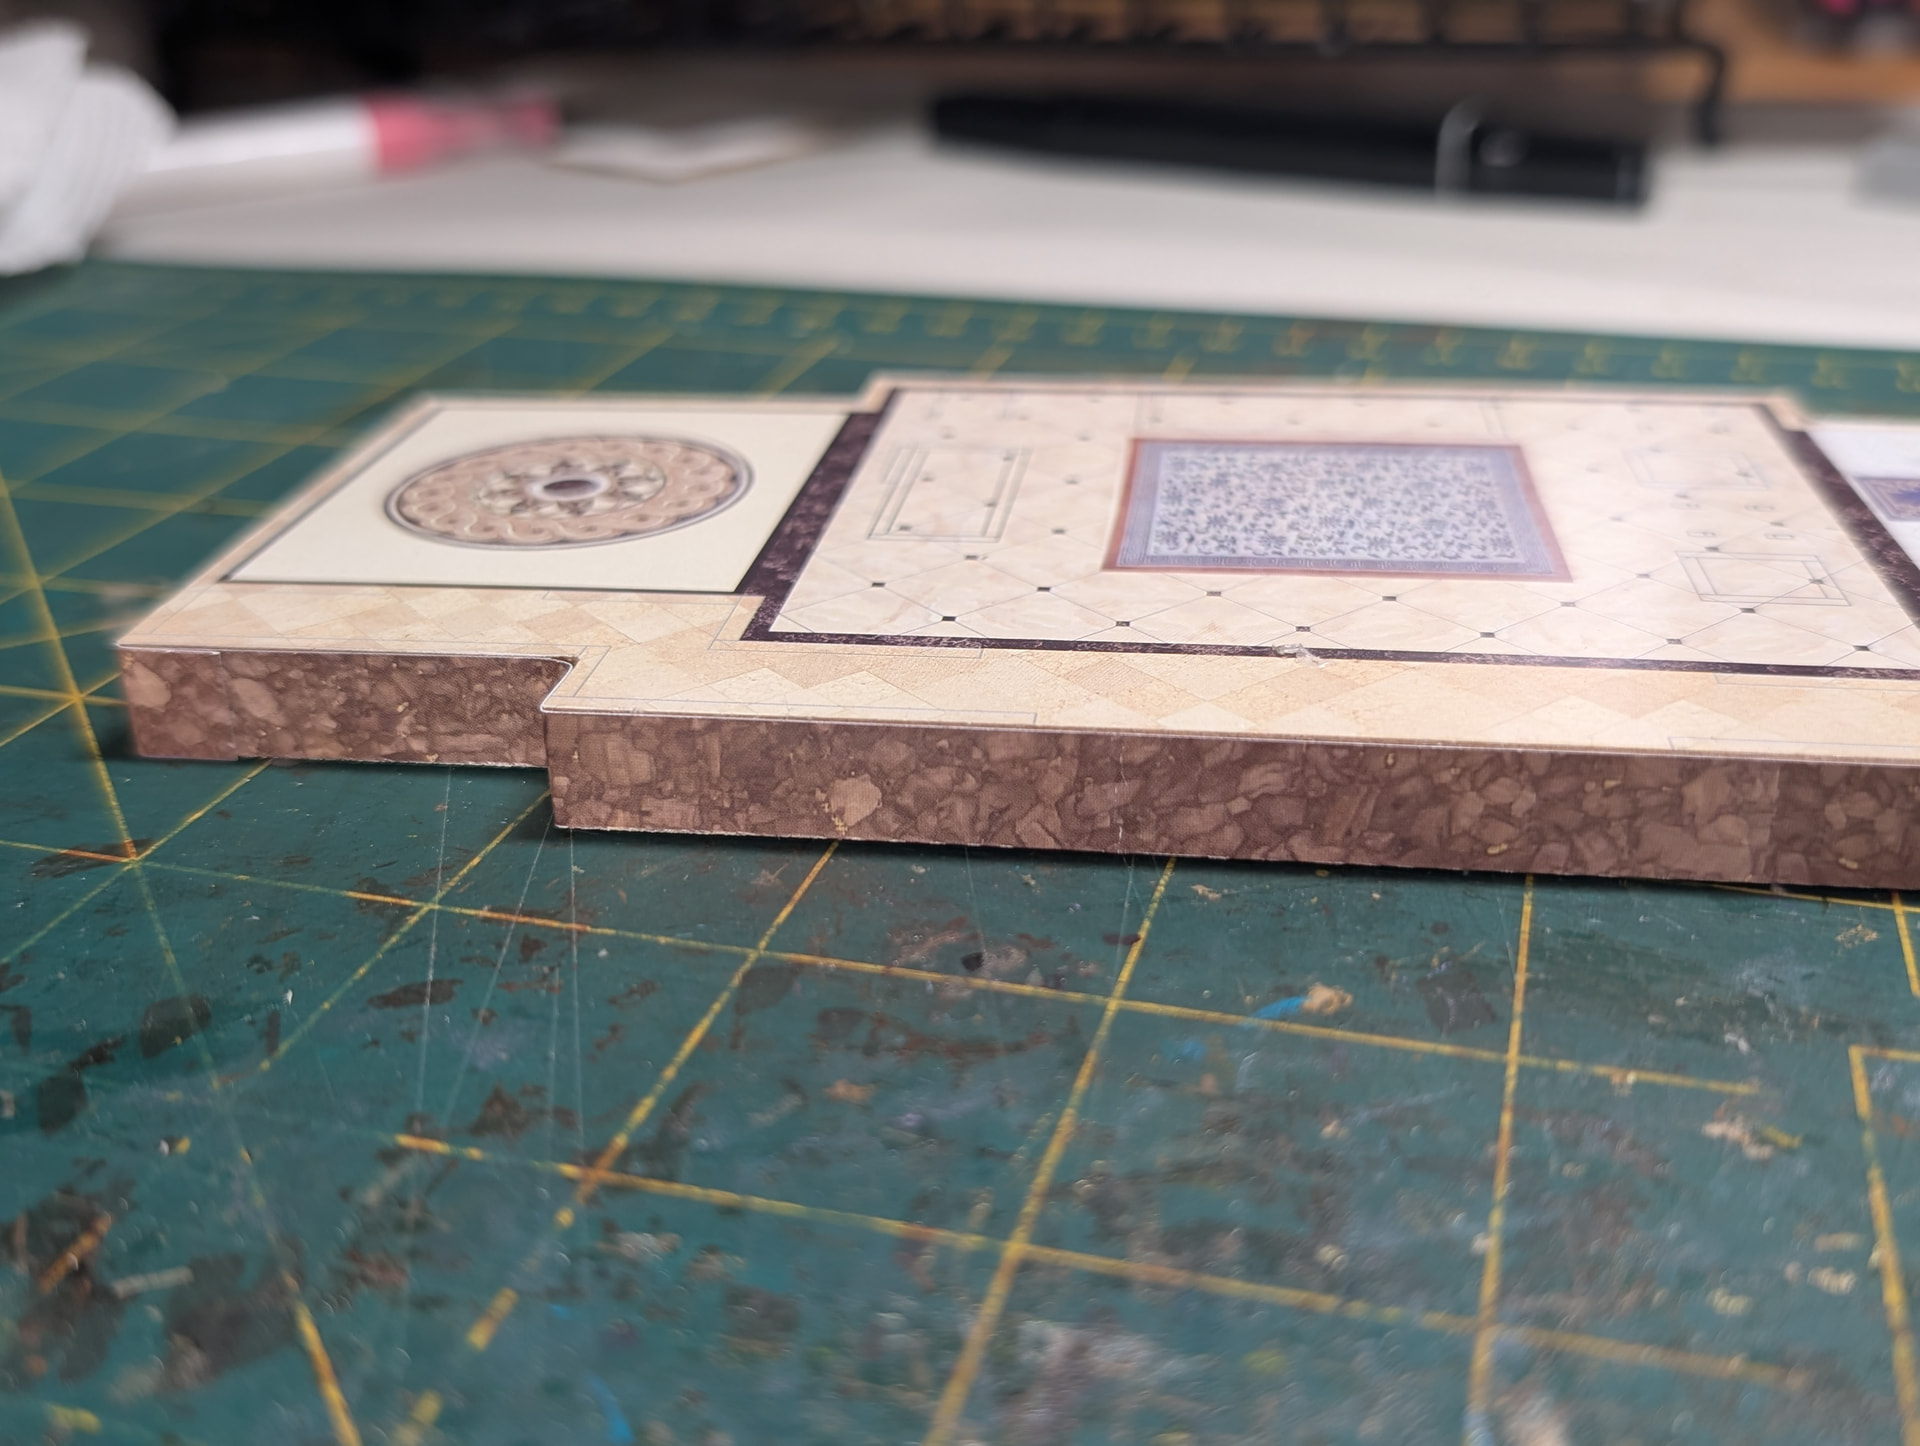
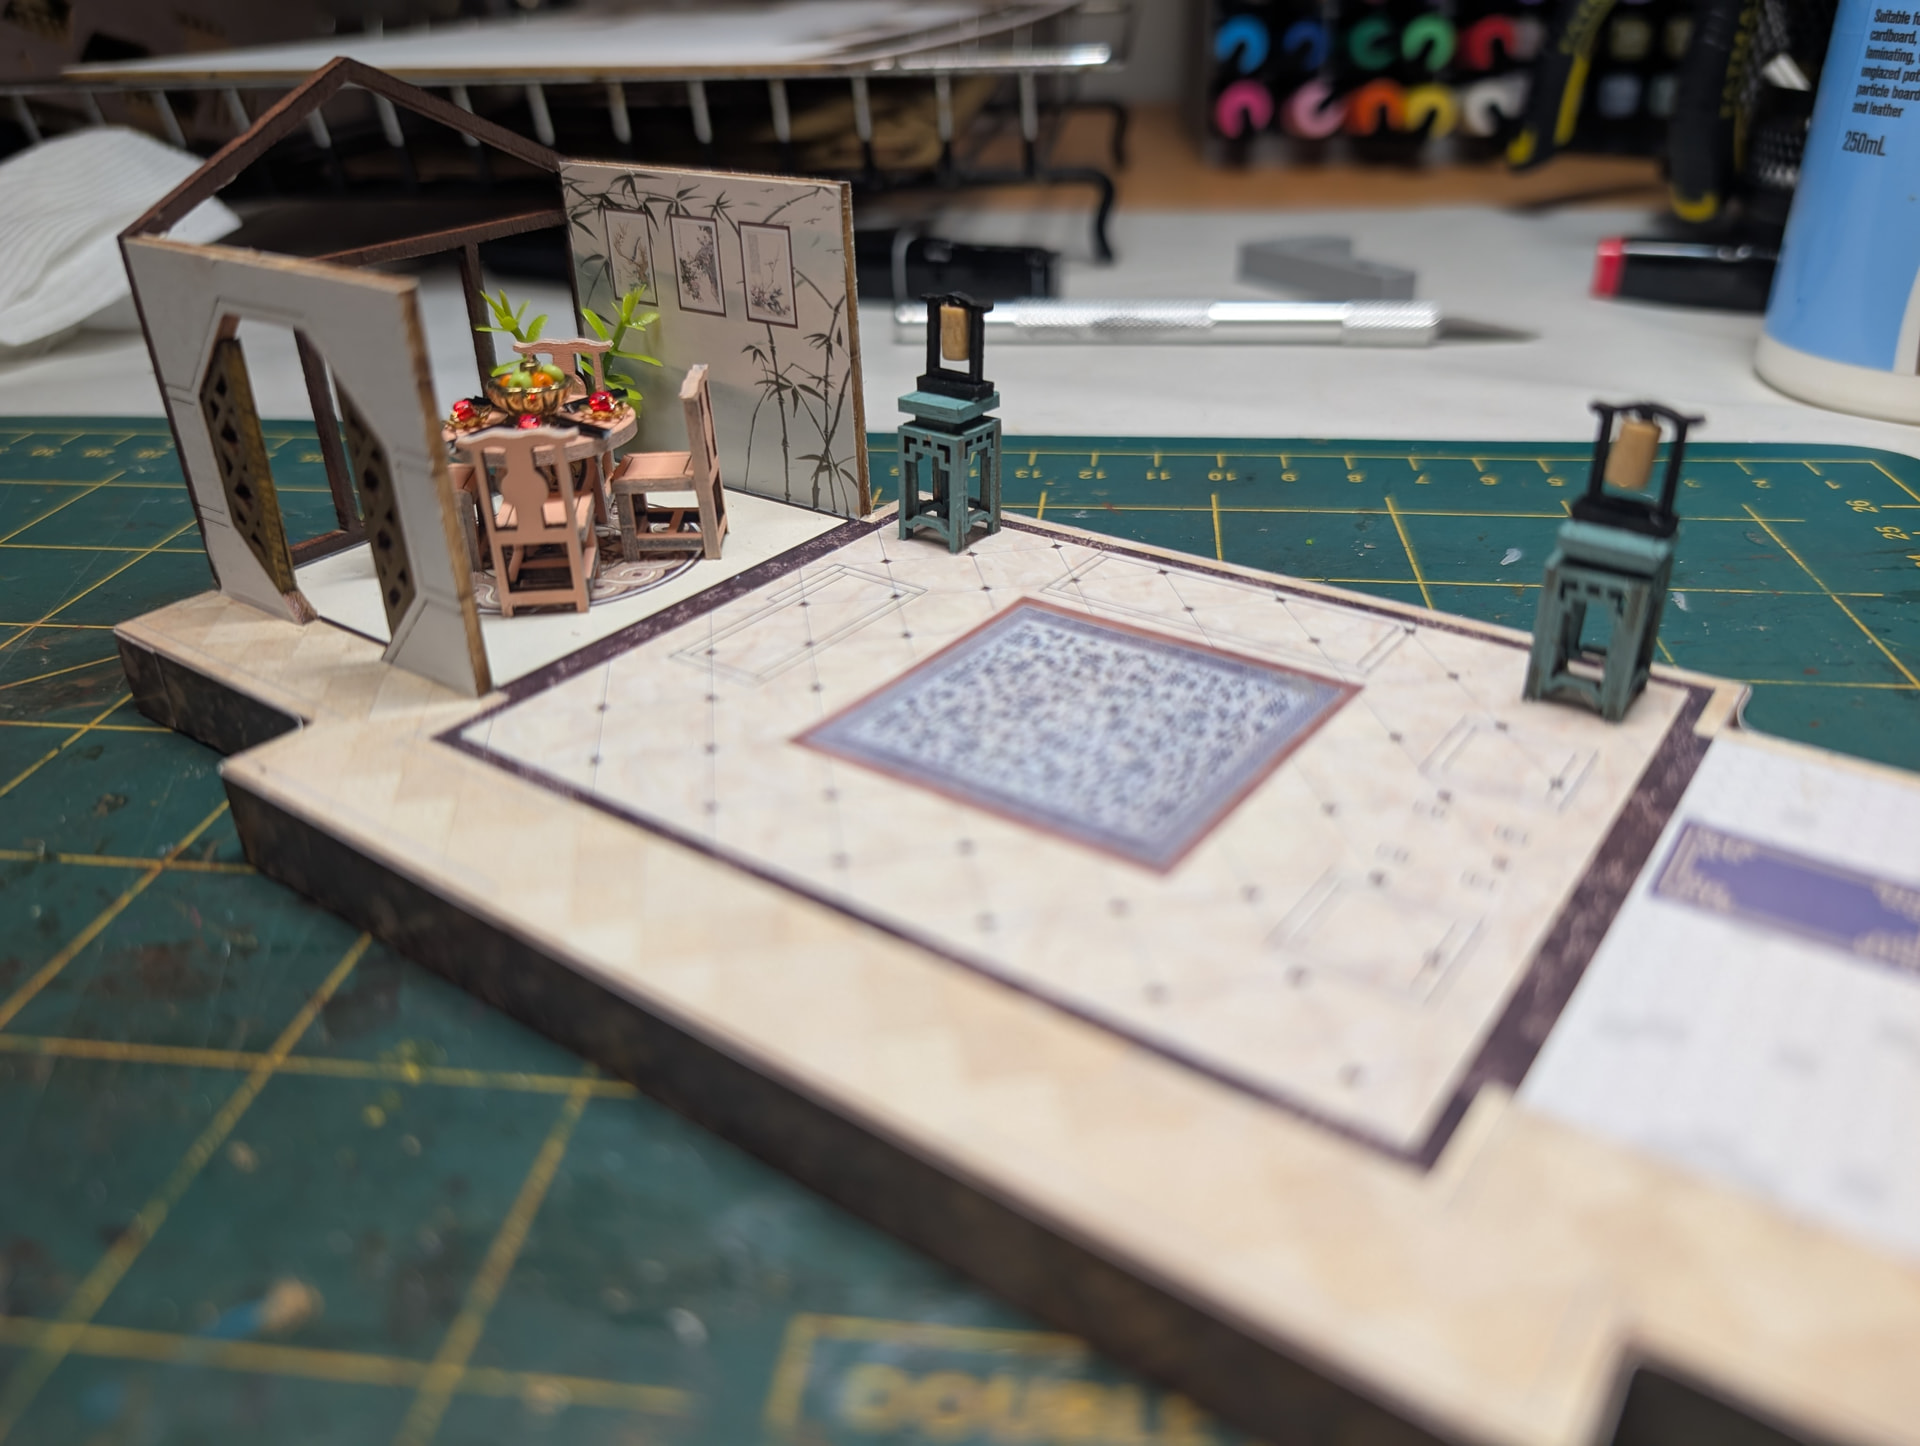
Then onto gluing the floor papers to the first building base, and gluing the risers to the edges.
Unfortunately as the manufacturer painted this frame of parts white on one side while leaving the other side uncoloured, it warped. So each of the 6 risers had to be held in place until the tacky glue grabbed hold well to ensure they didnt bend away from the main floor piece.
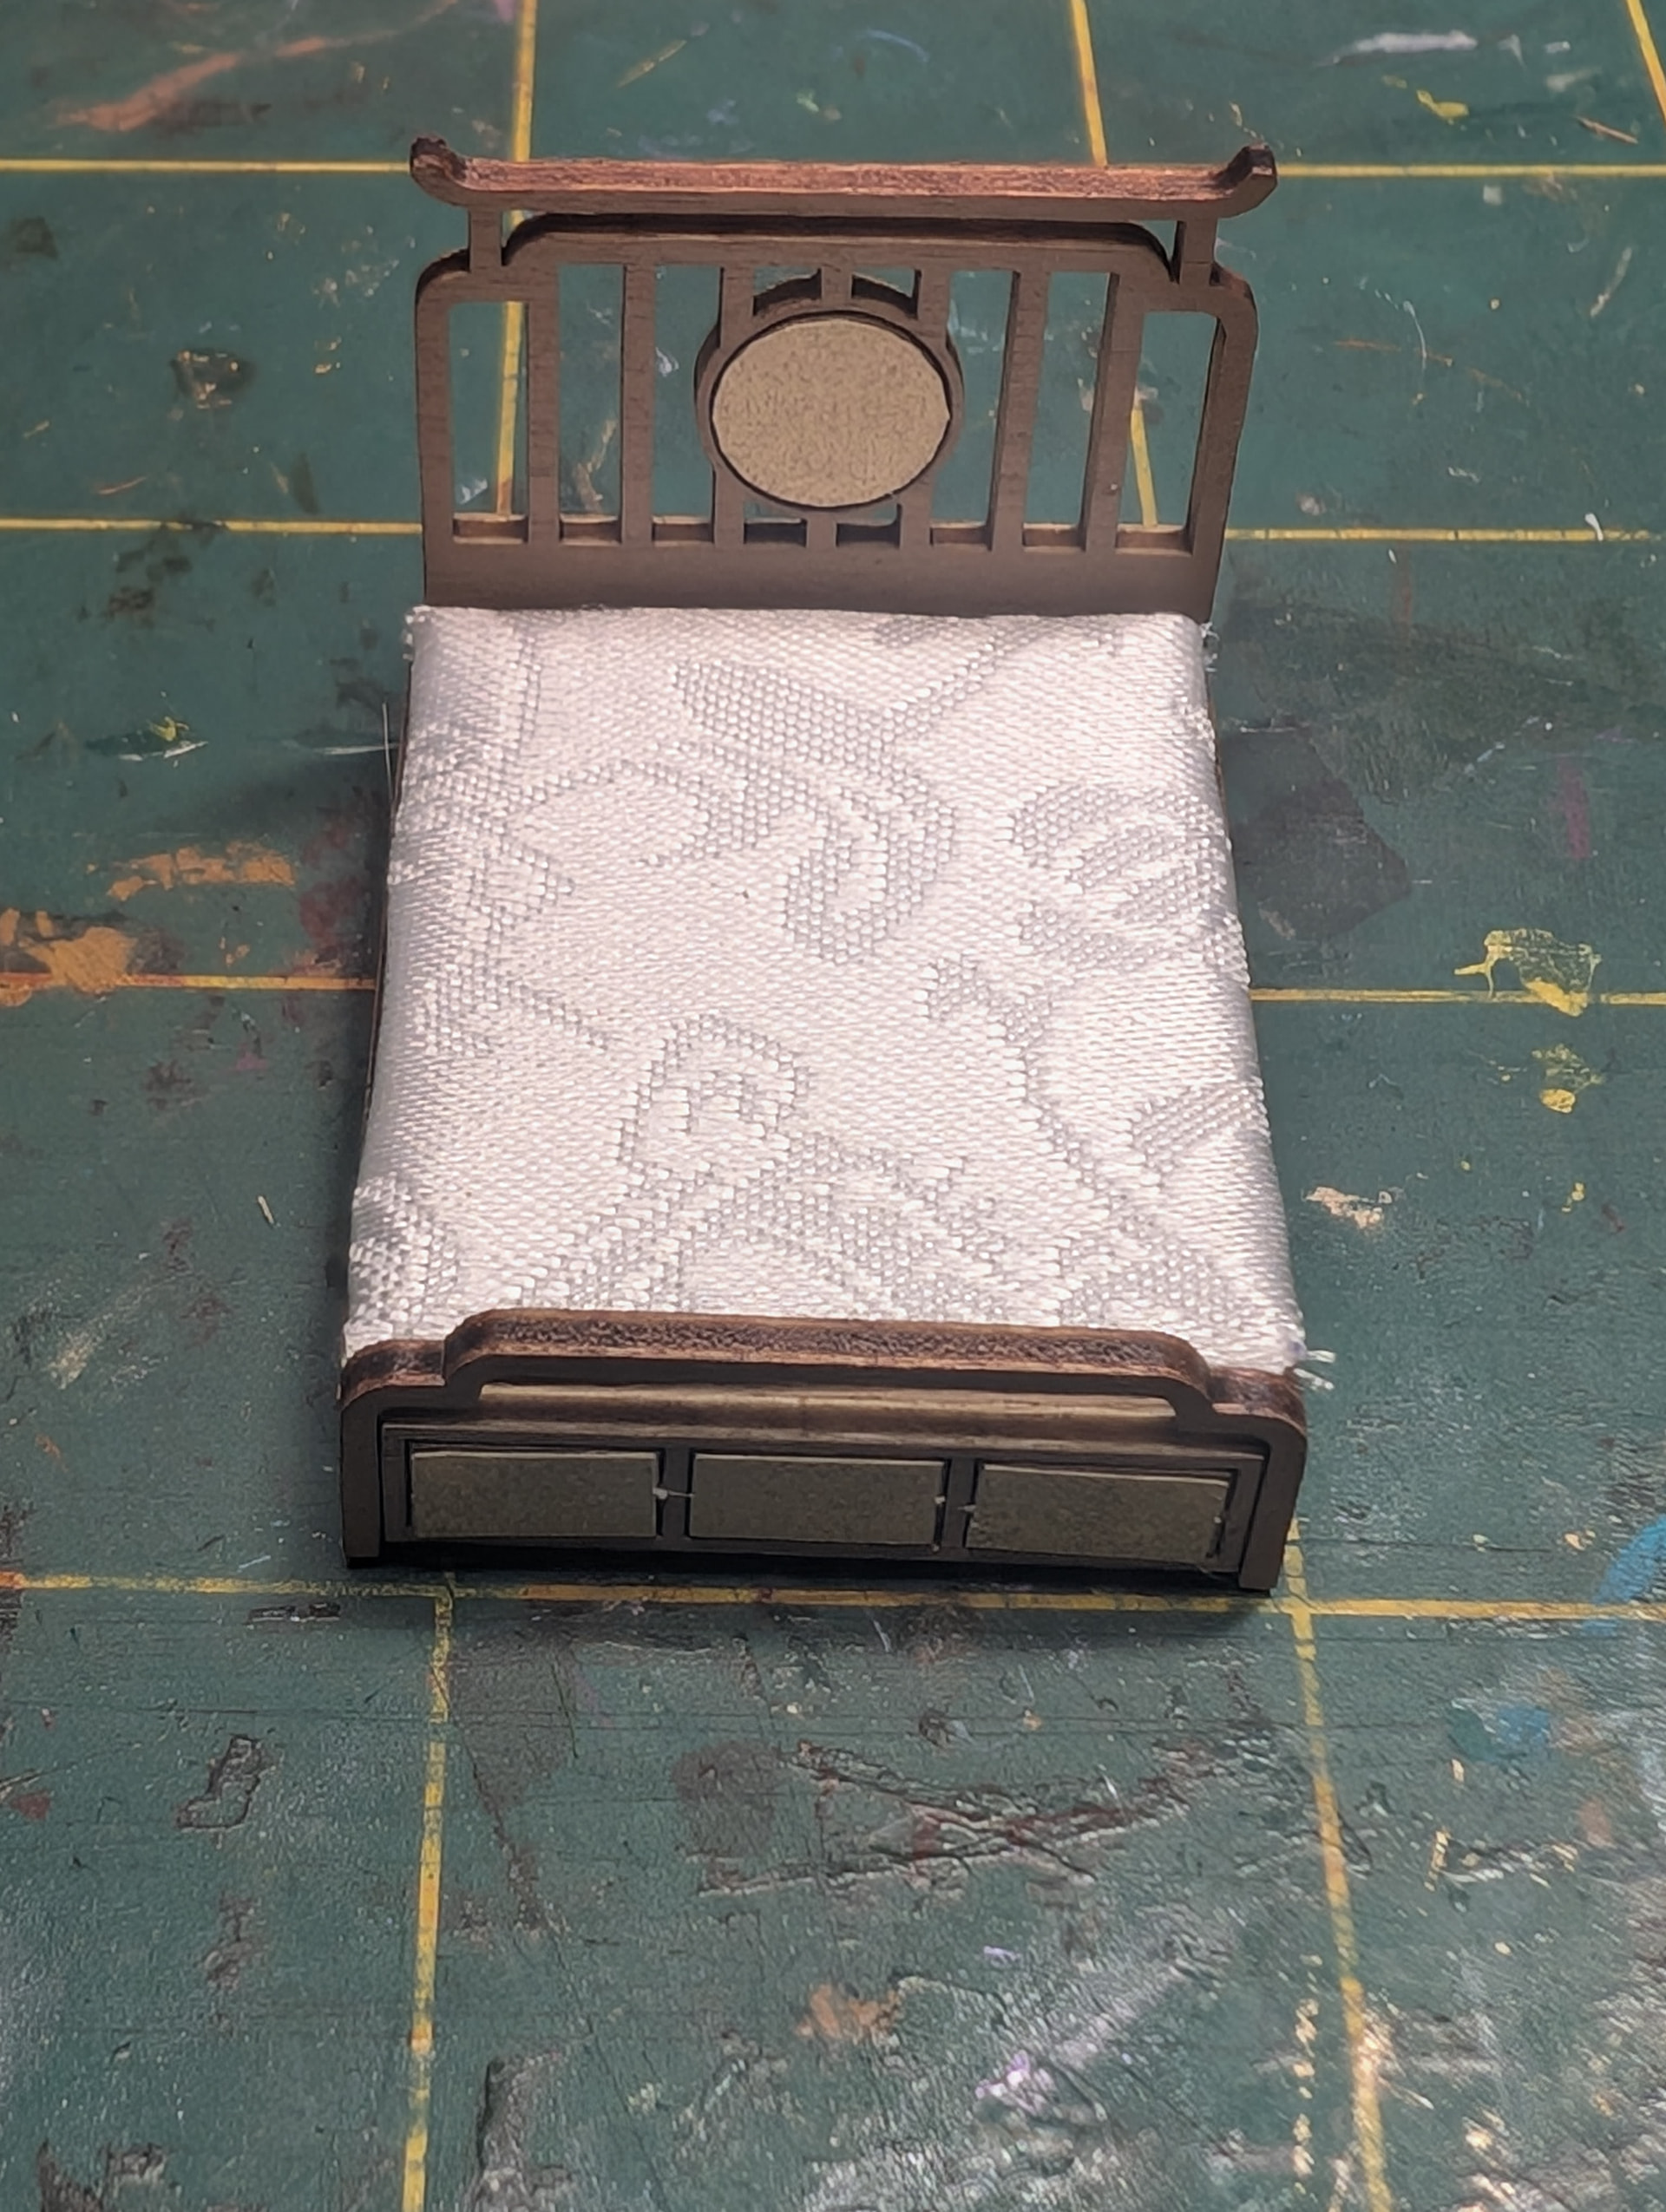
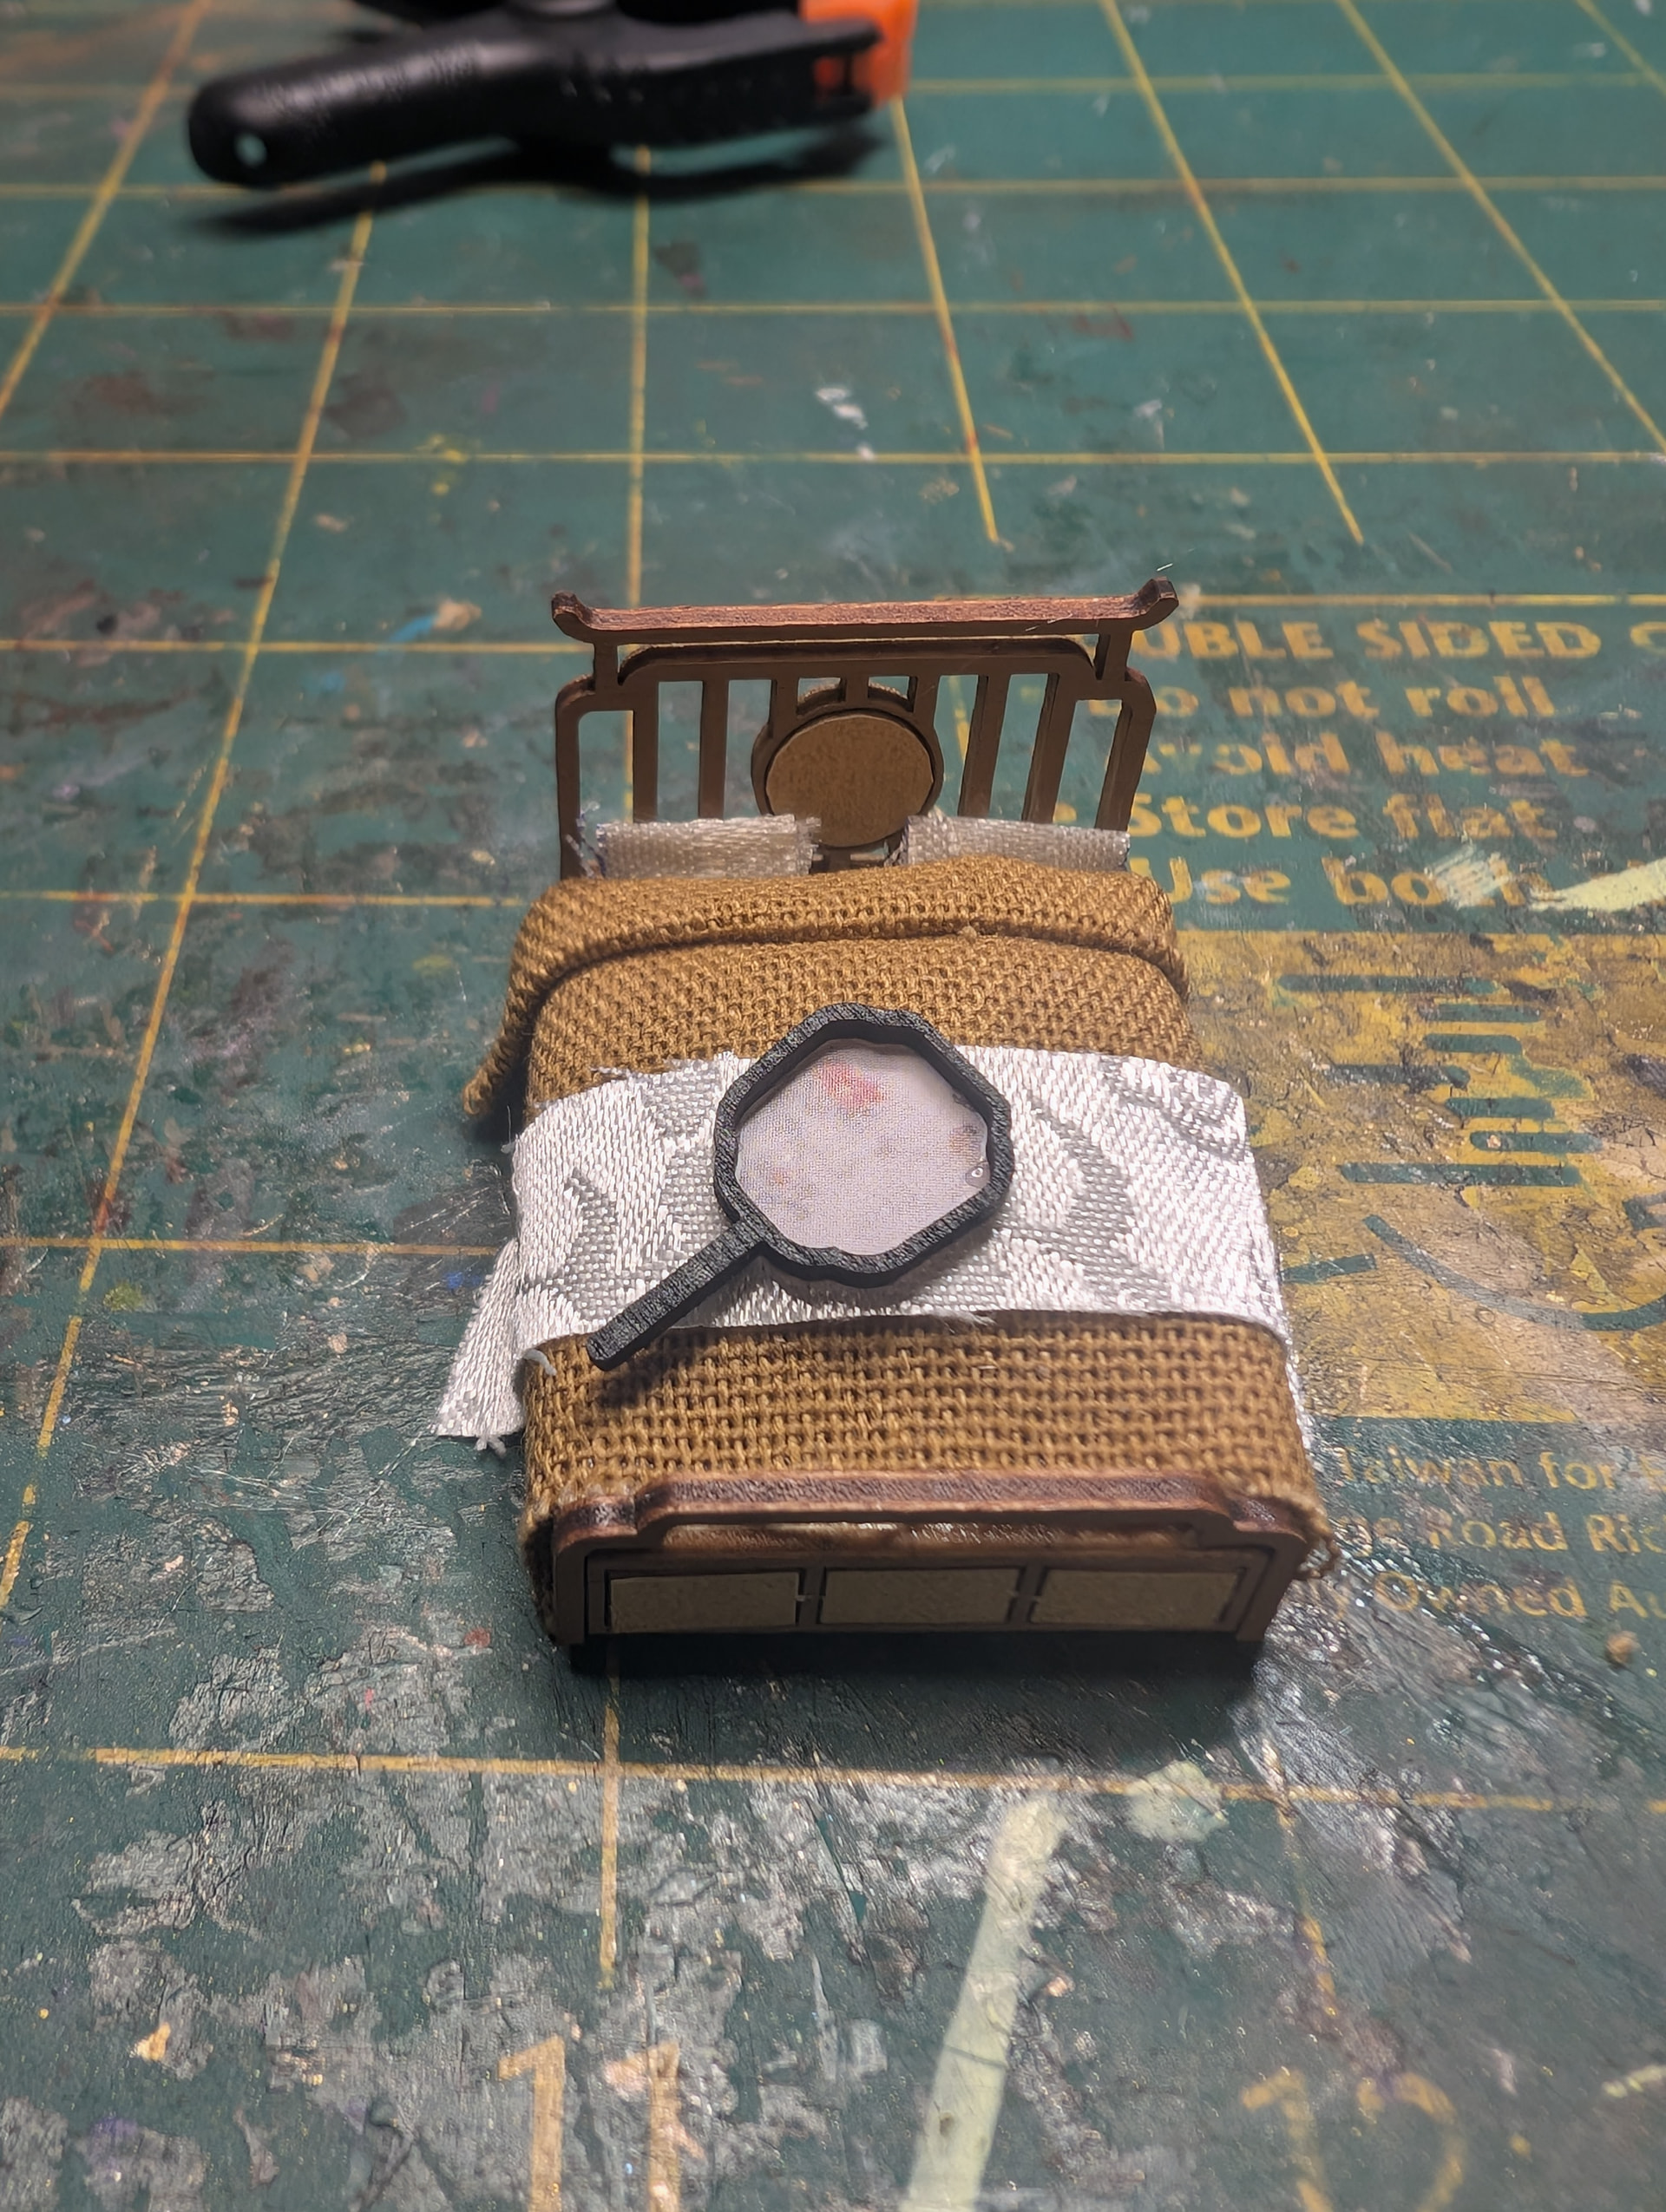
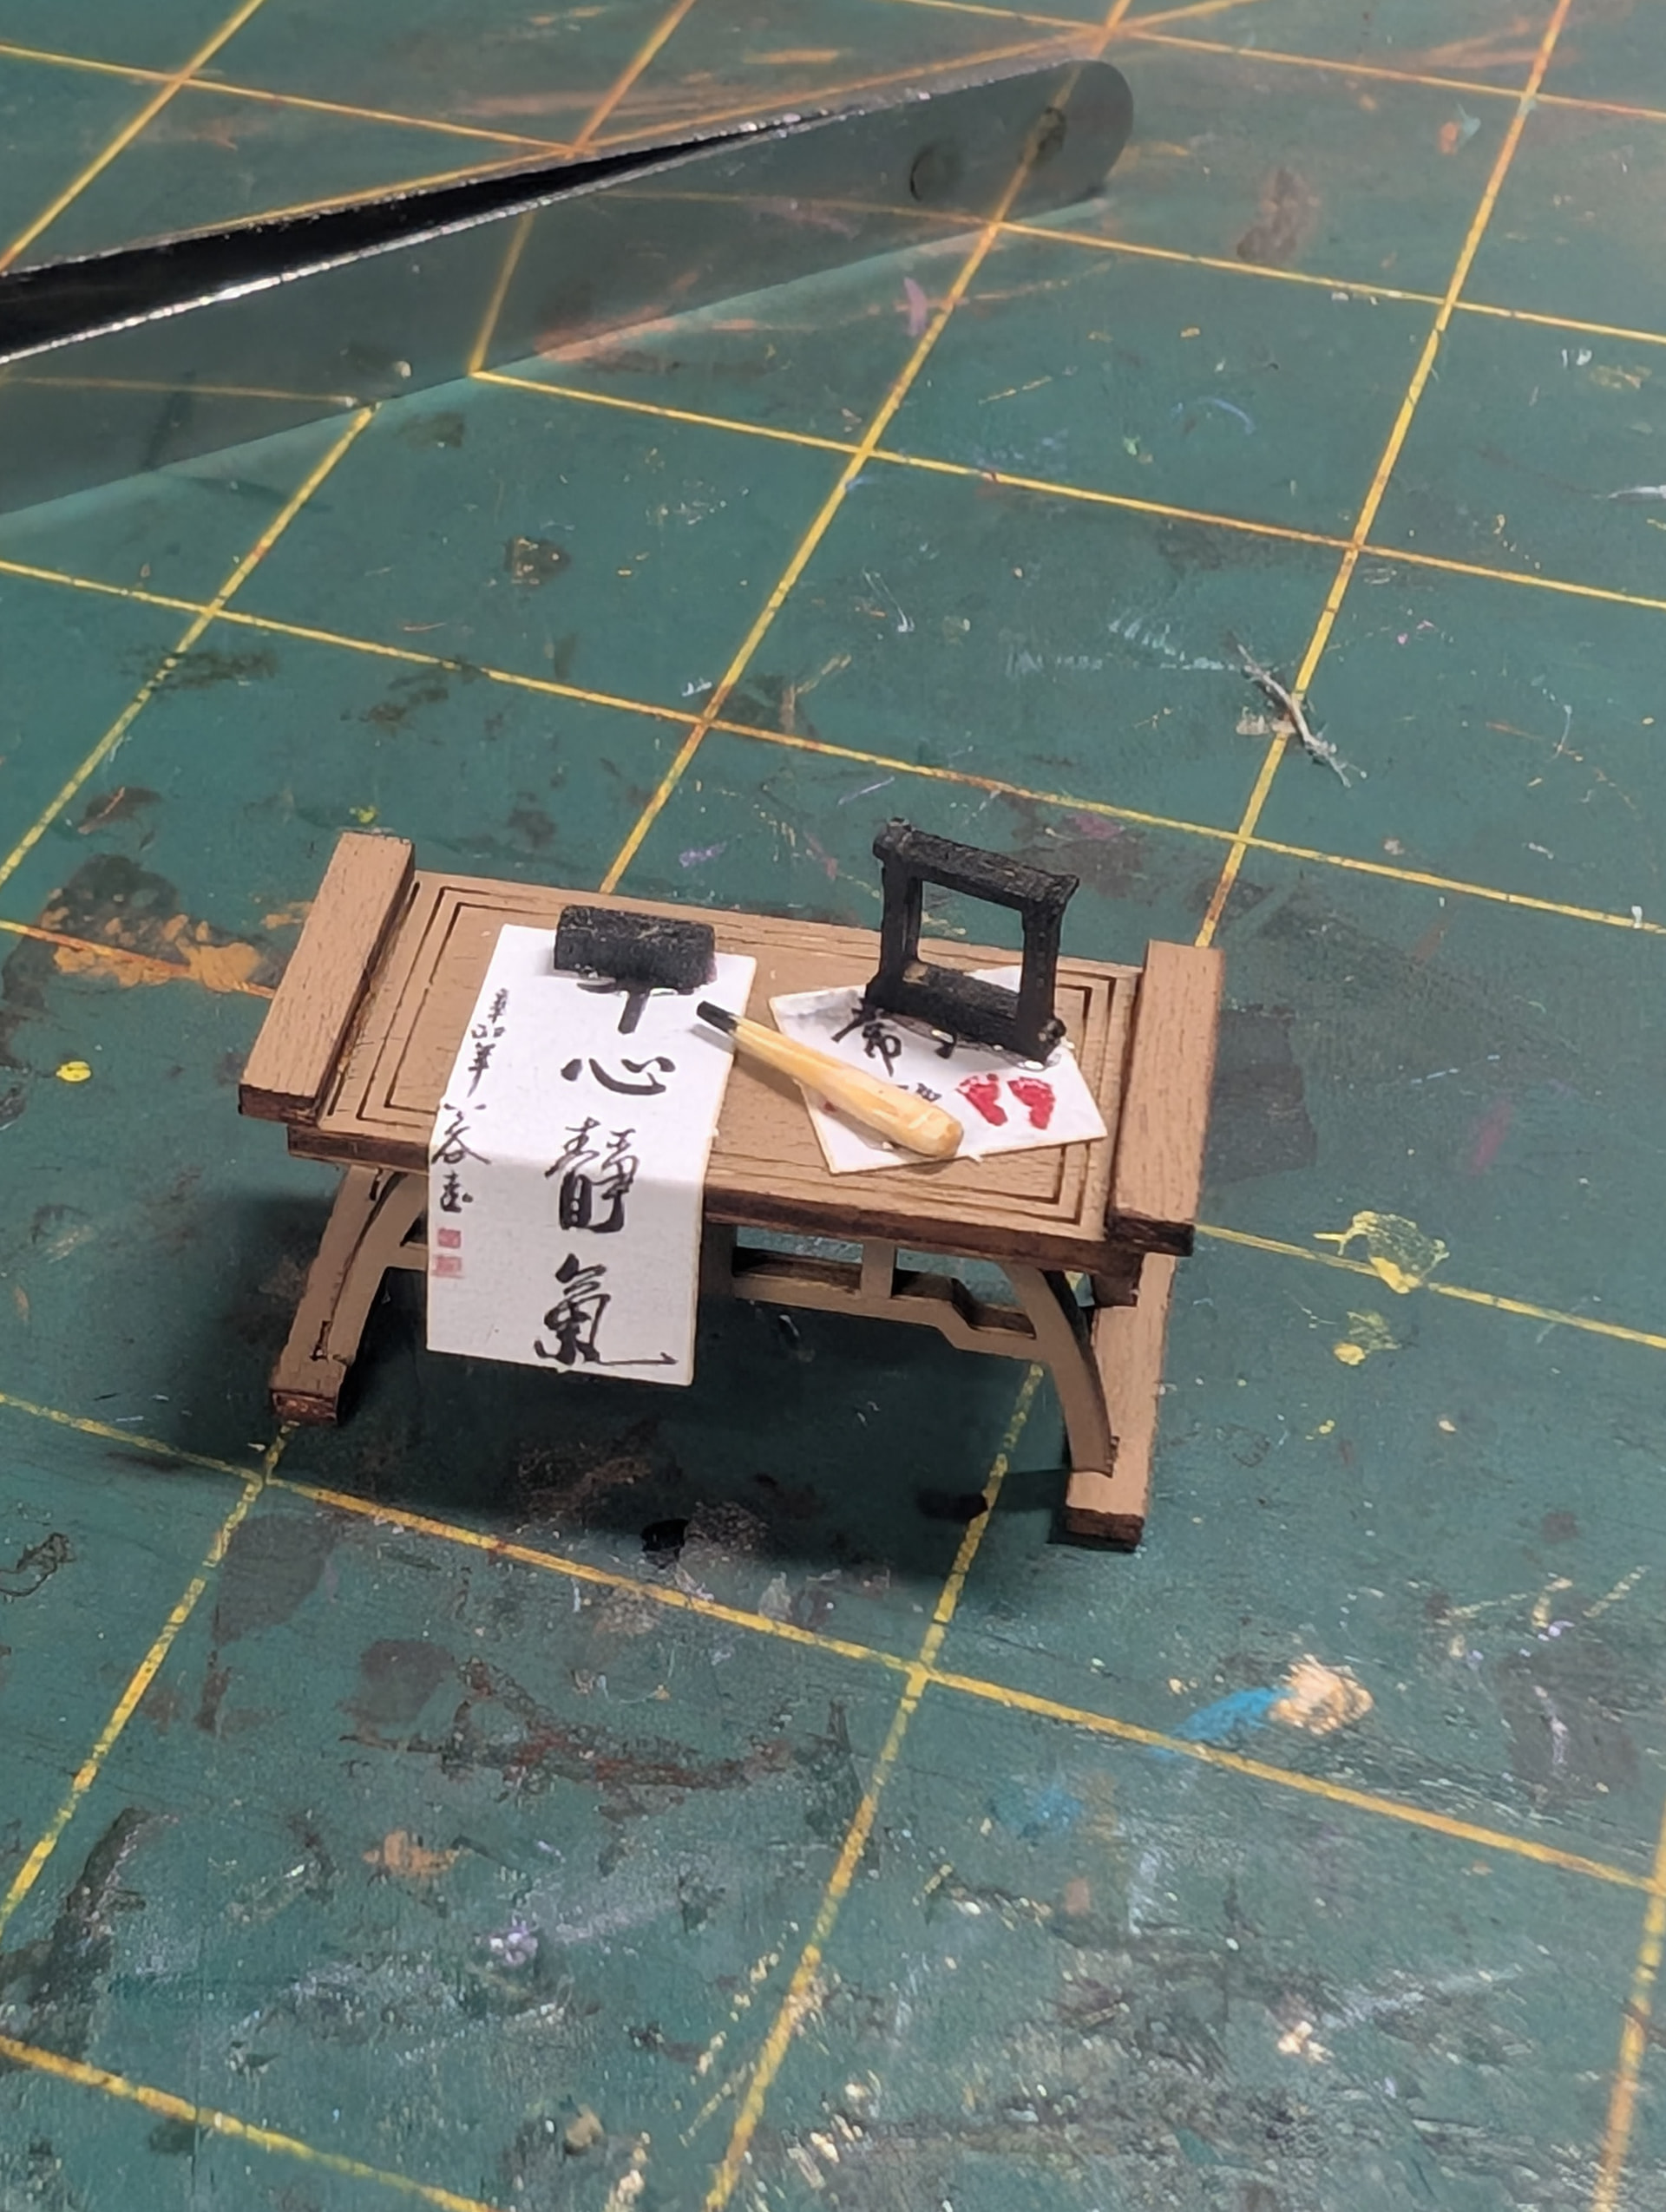
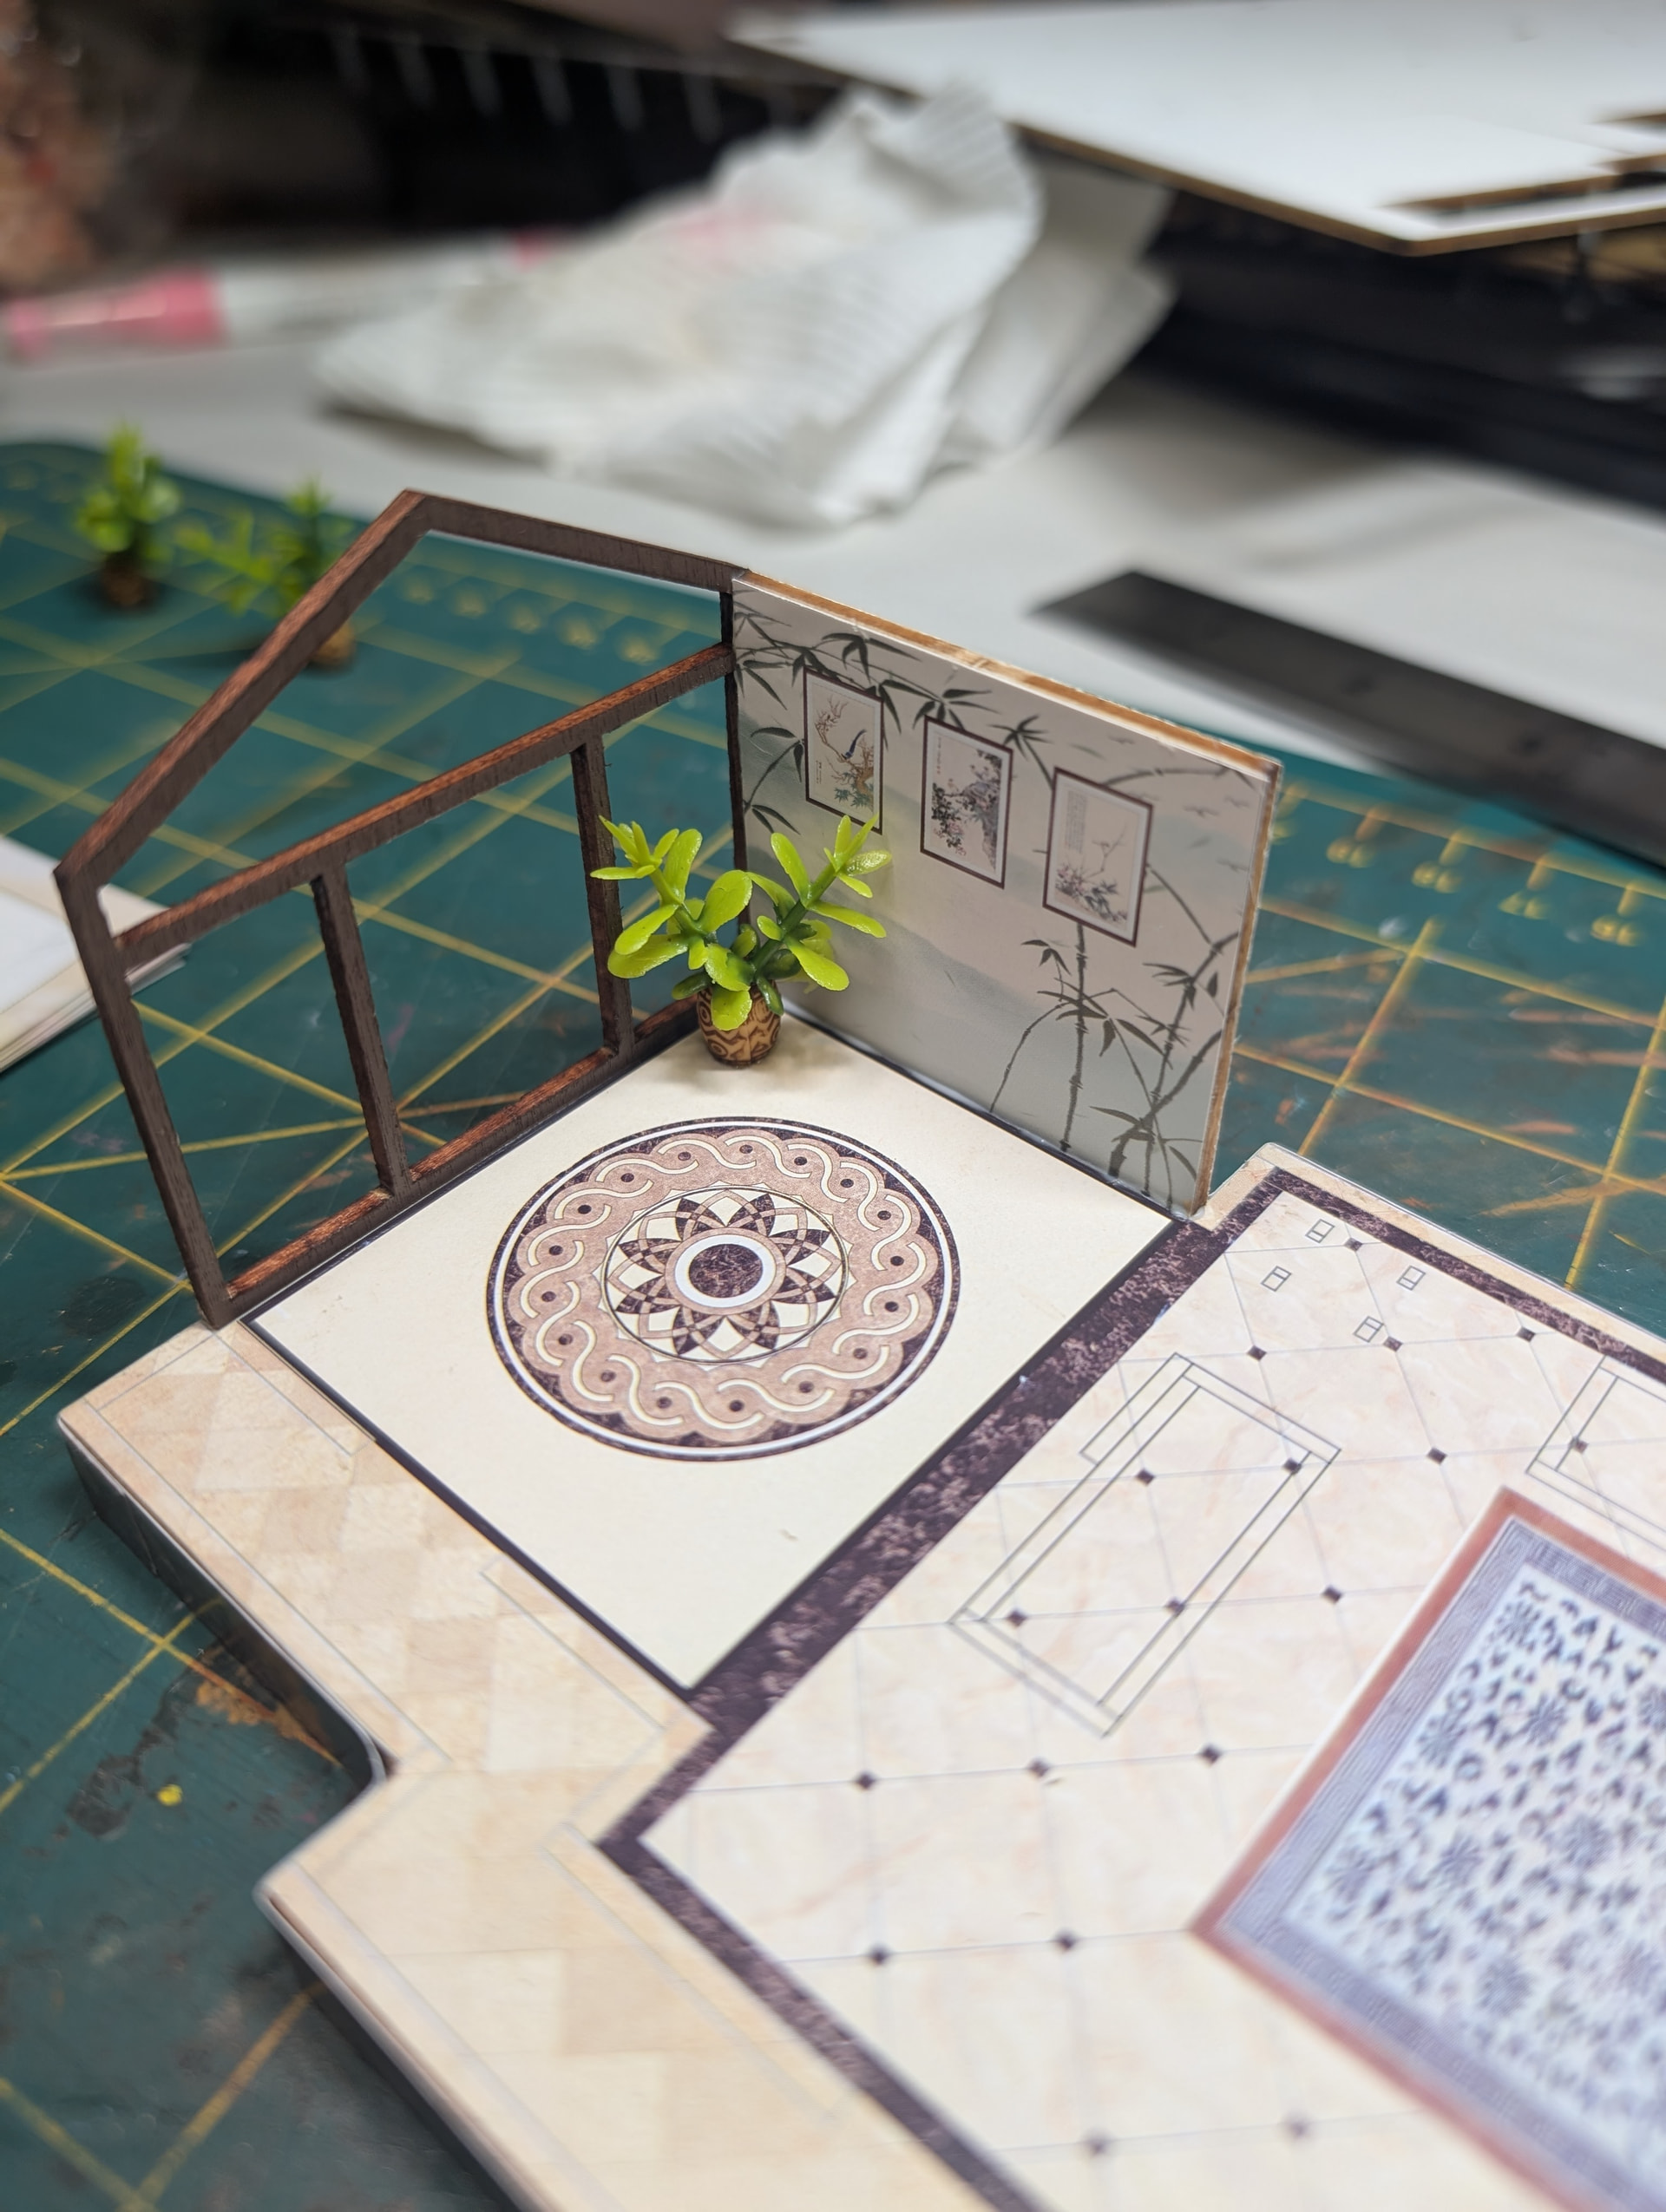
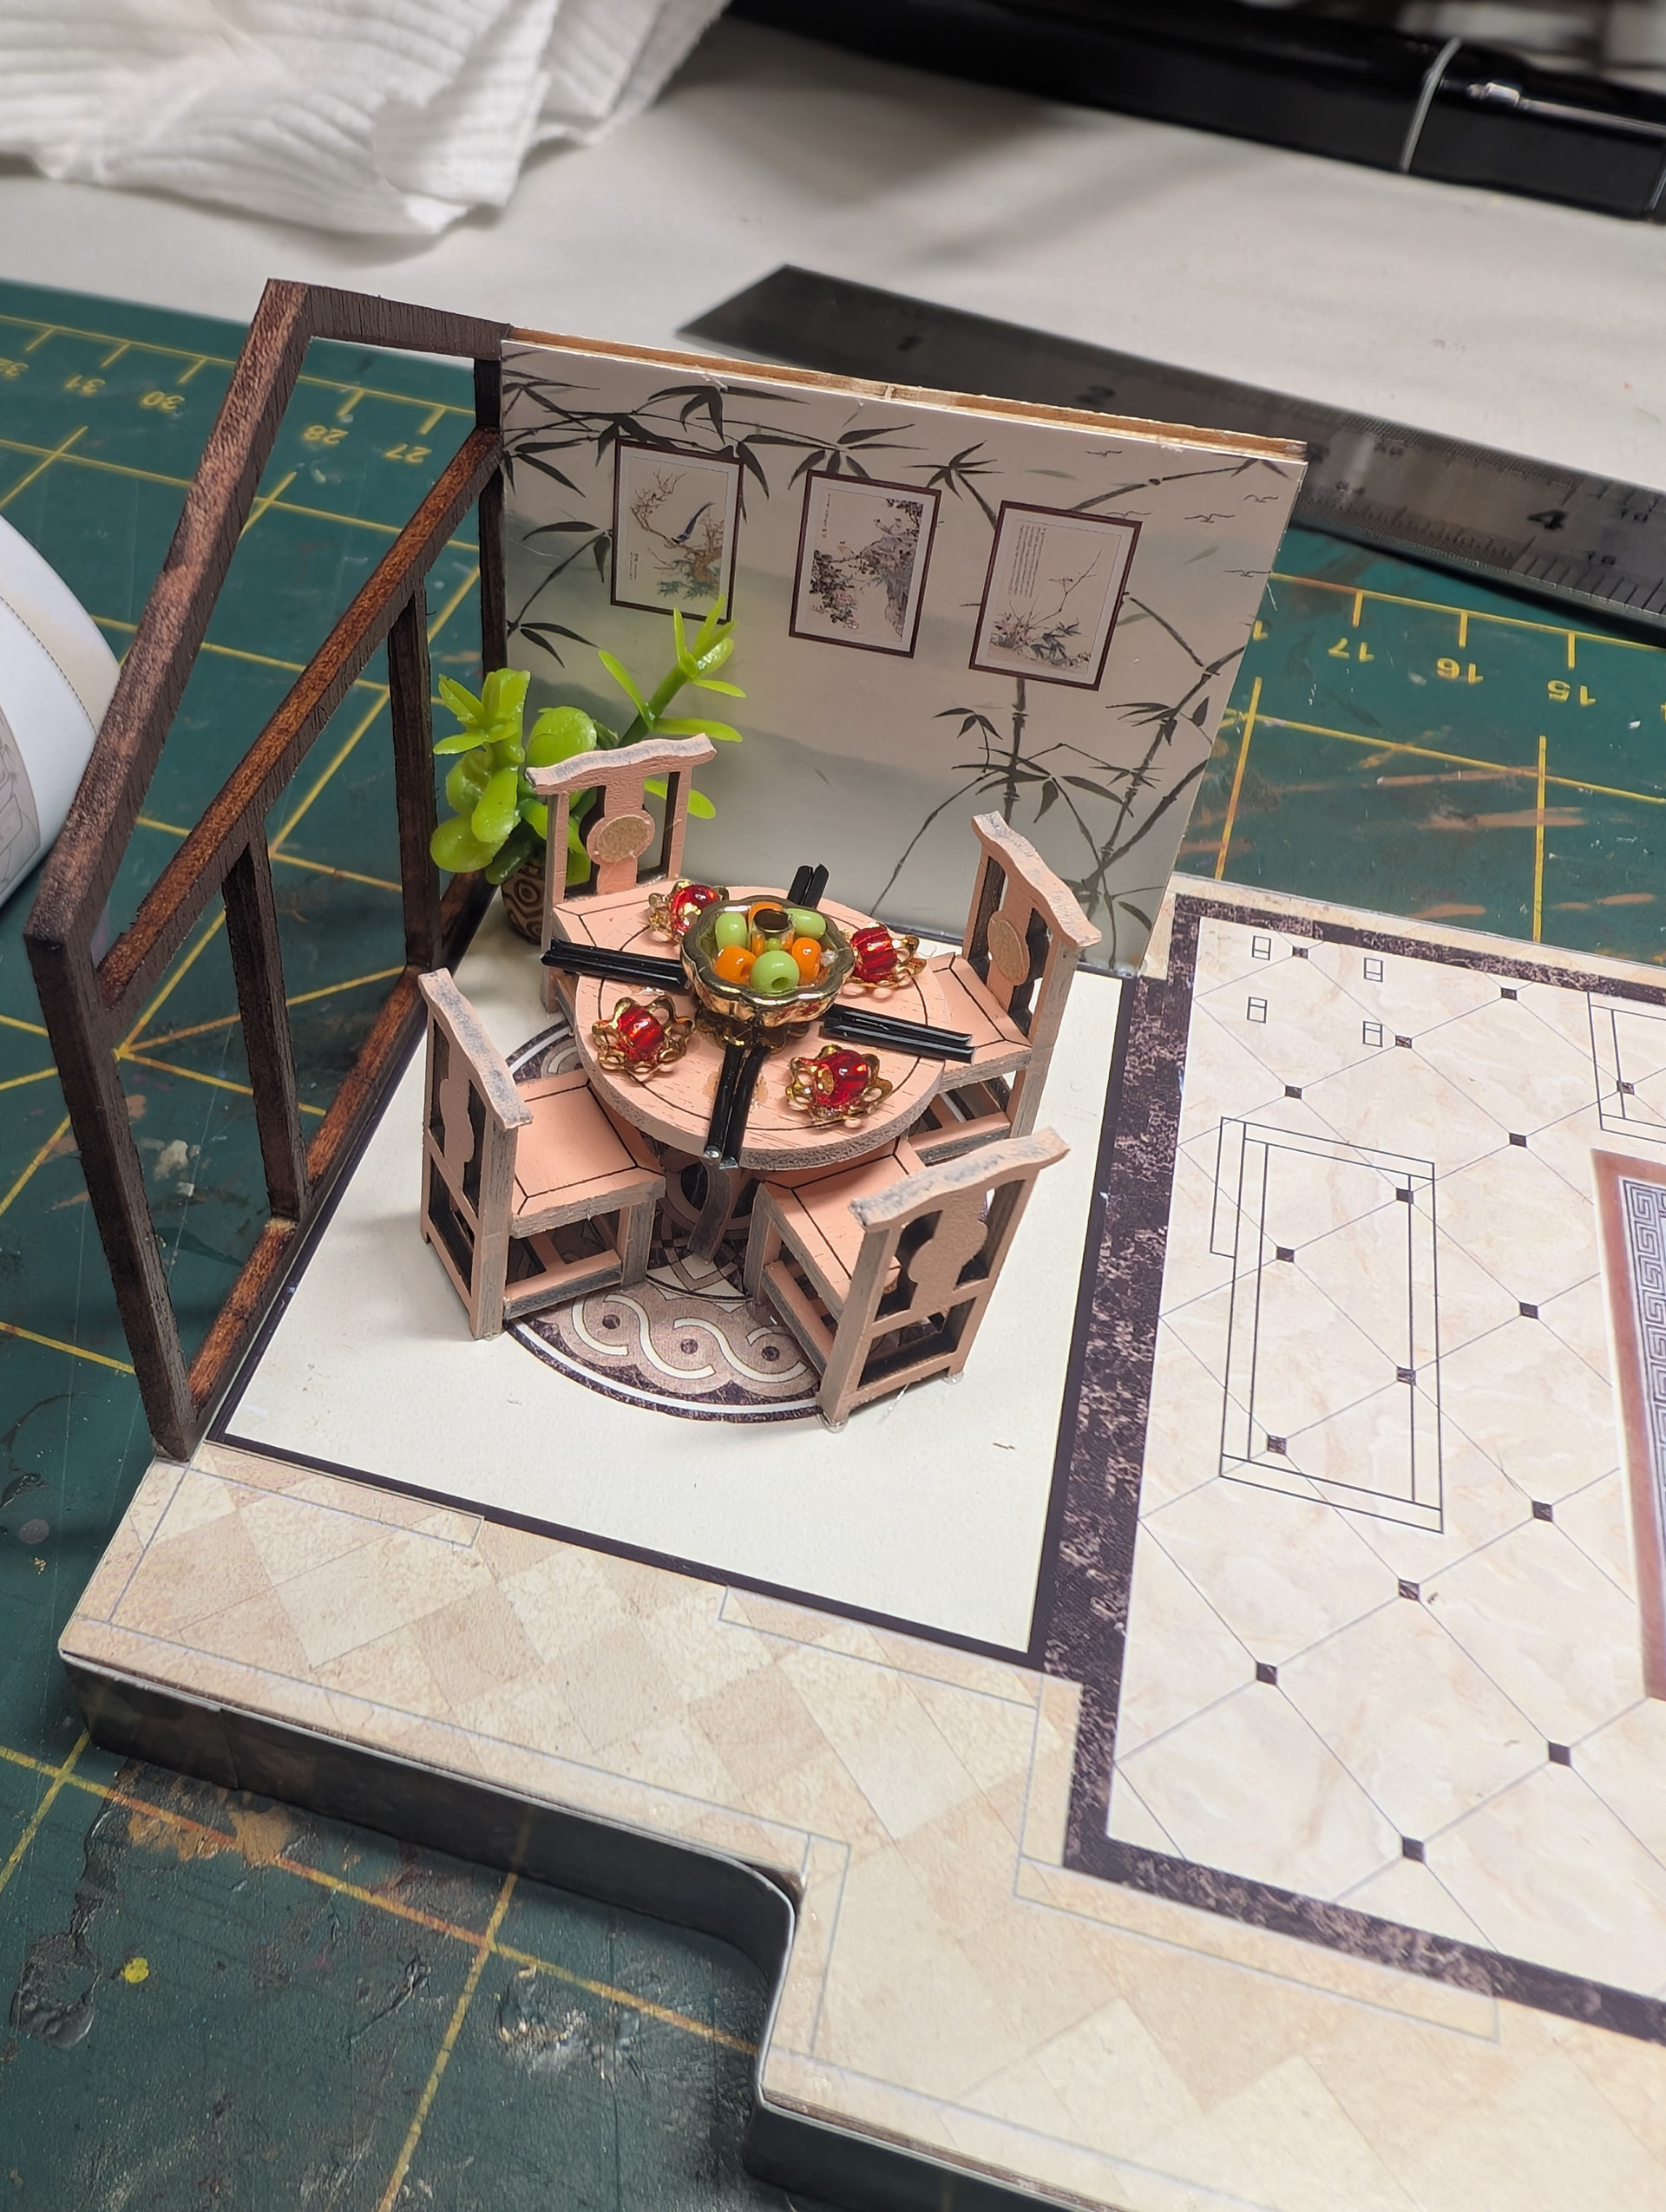
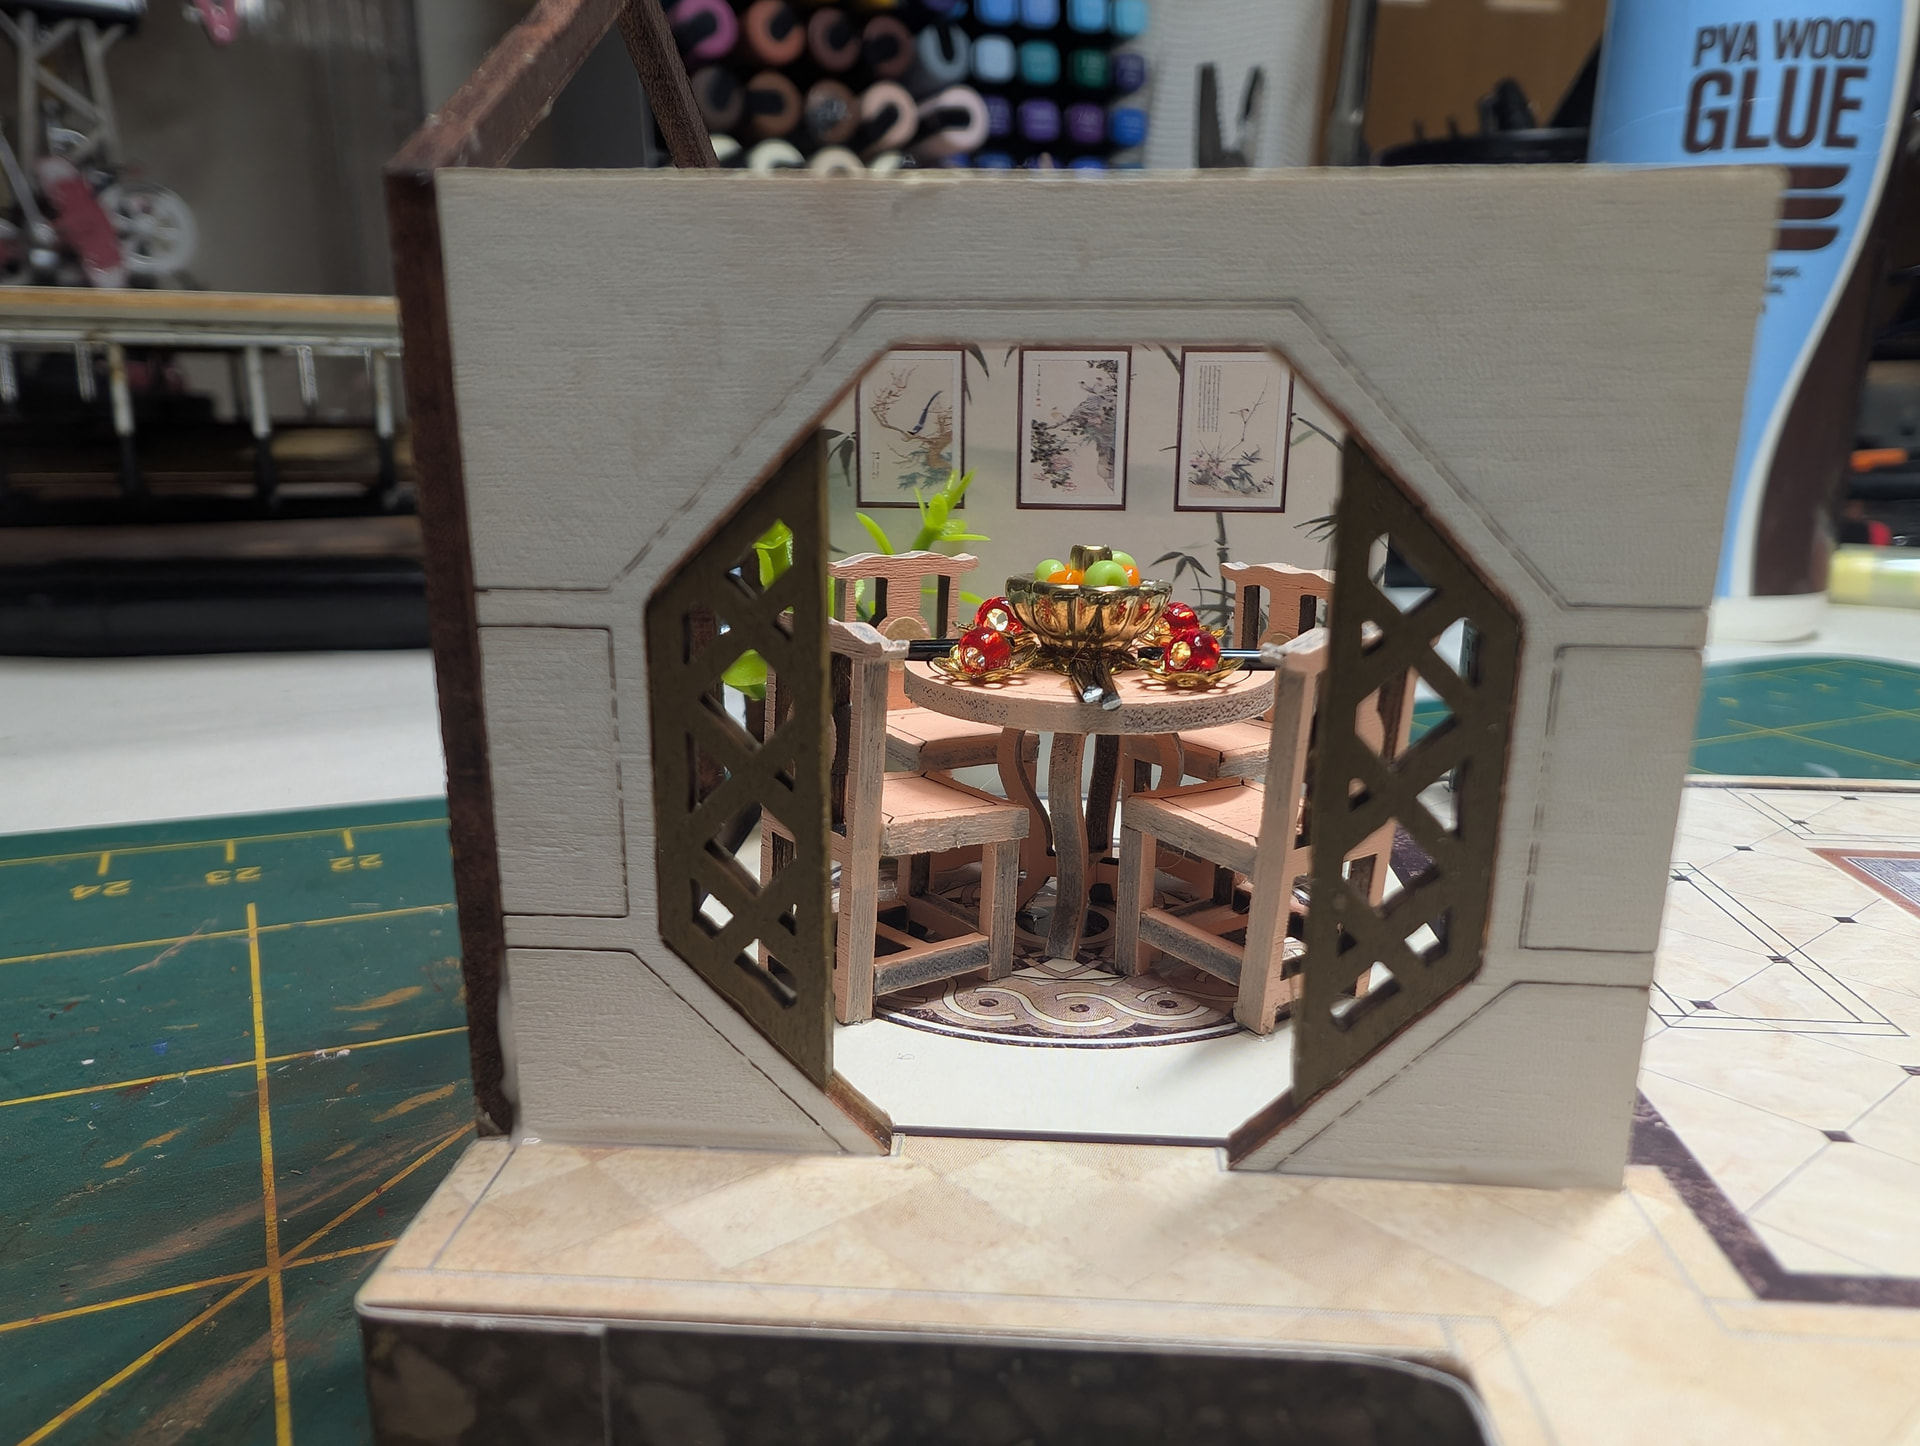
The dining area looks so good, the art on the wall makes it super traditional and I love that. The little bed, calligraphy table all are such traditional pieces that are incredible
I think they put quite a lot of thought into the design. Shame the name of the model doesn’t match it or that they made the rookie mistake of only painting one side of the qhote board causing it to warp.
@chamelionboy is there anyway maybe you can cover the gold cord completely and some glue that should stiffen it up. As for the unraveling, I had a cord once that did this, and I just took a lighter to both ends to kind of melt it and seal it off worked good but I think I like your idea of finding a chain or something that would work instead lol
I will keep those ideas in mind in case I don’t find something easier to work with. Unfortunately there isn’t enough cord that came with the kit to replace the already badly greyed pieces already.
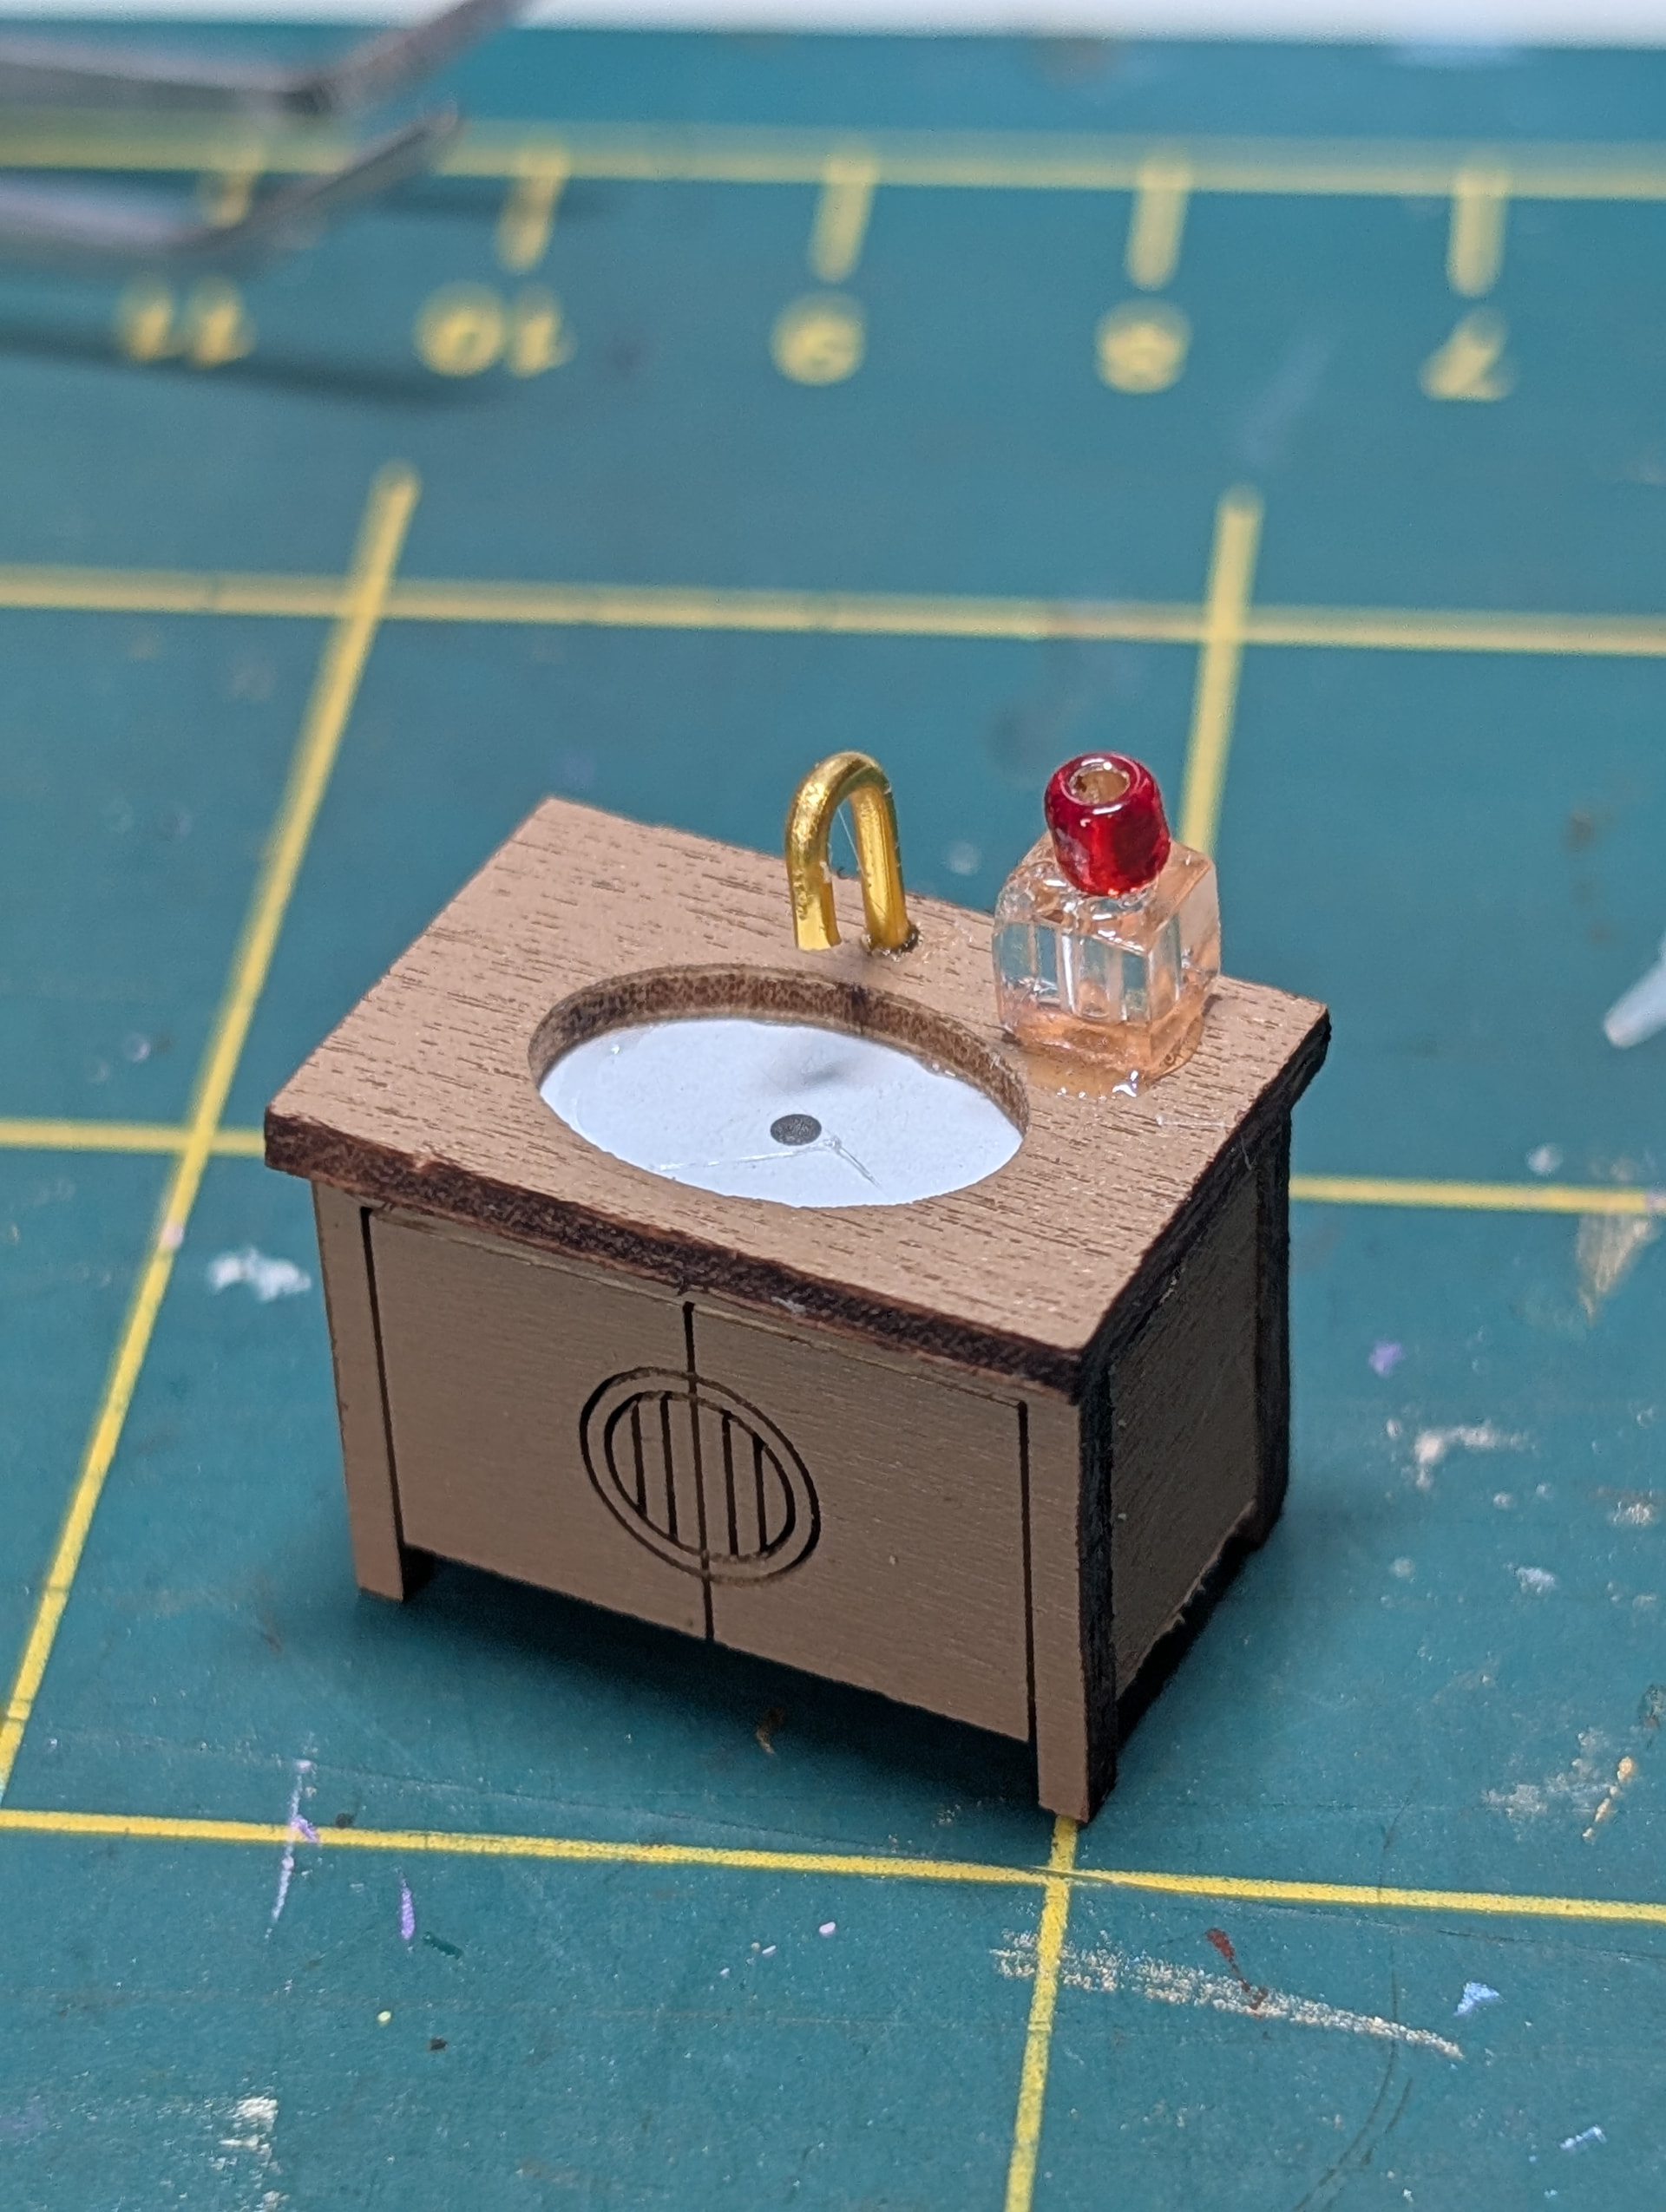
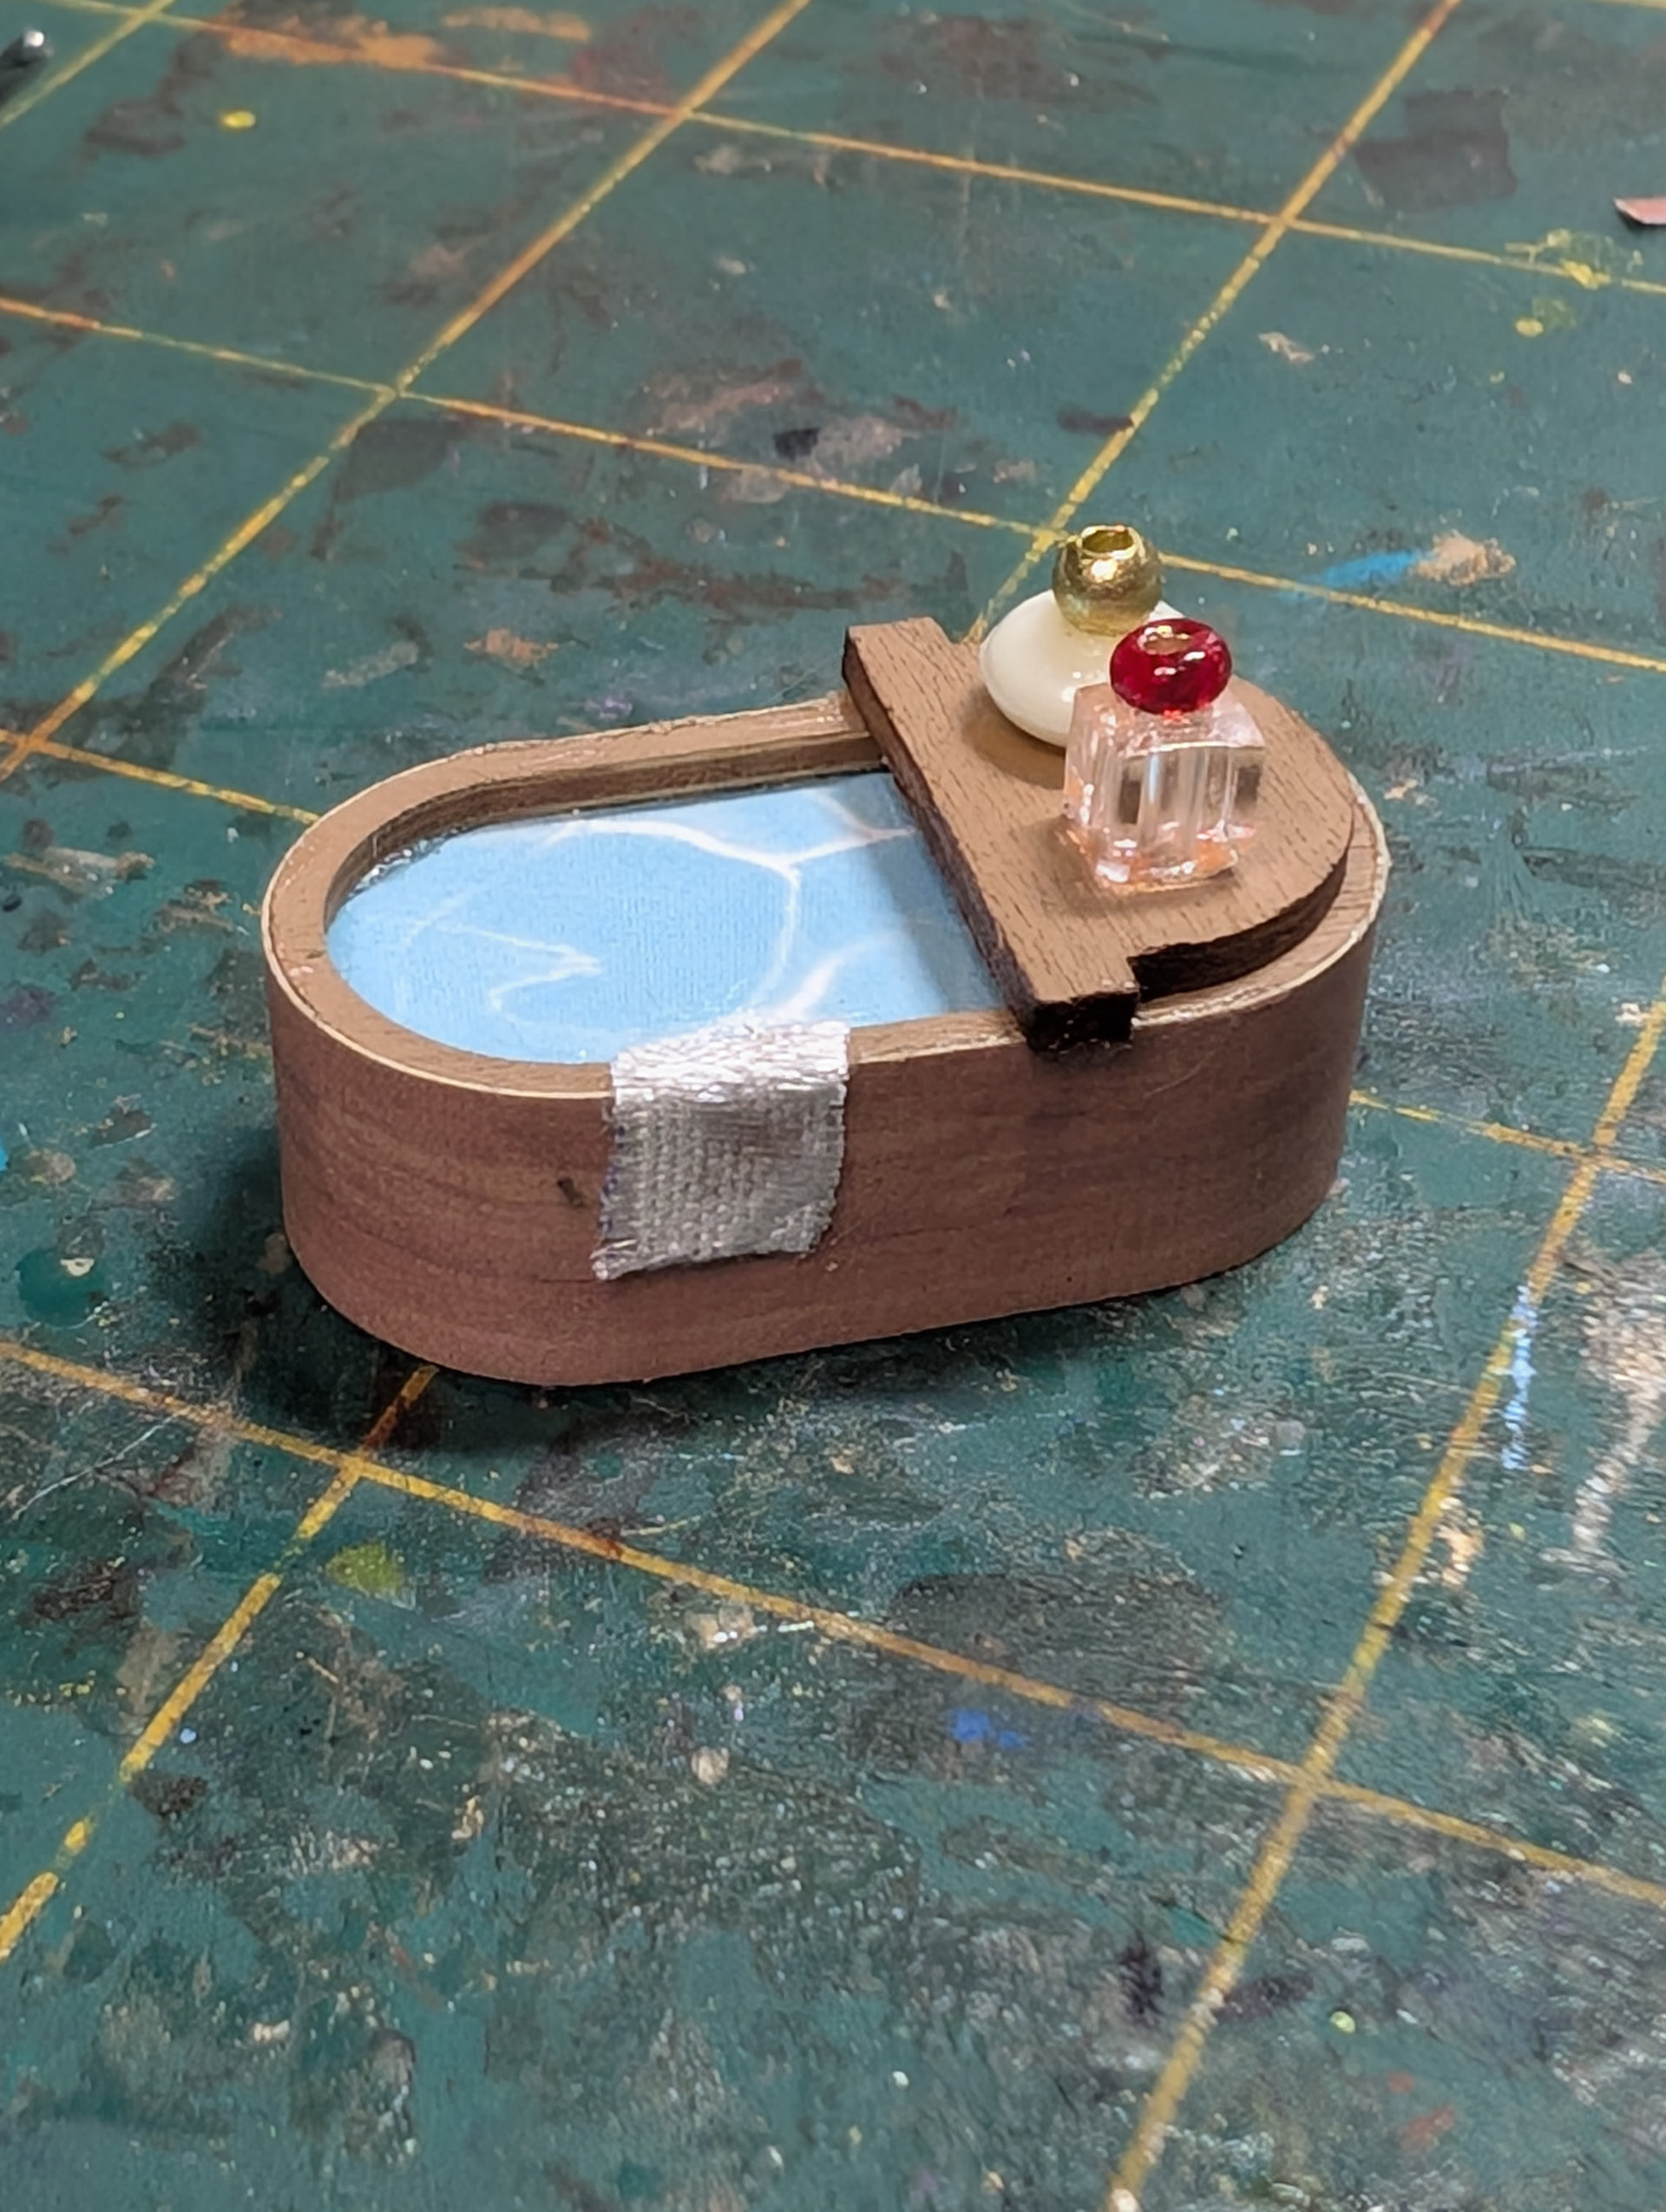
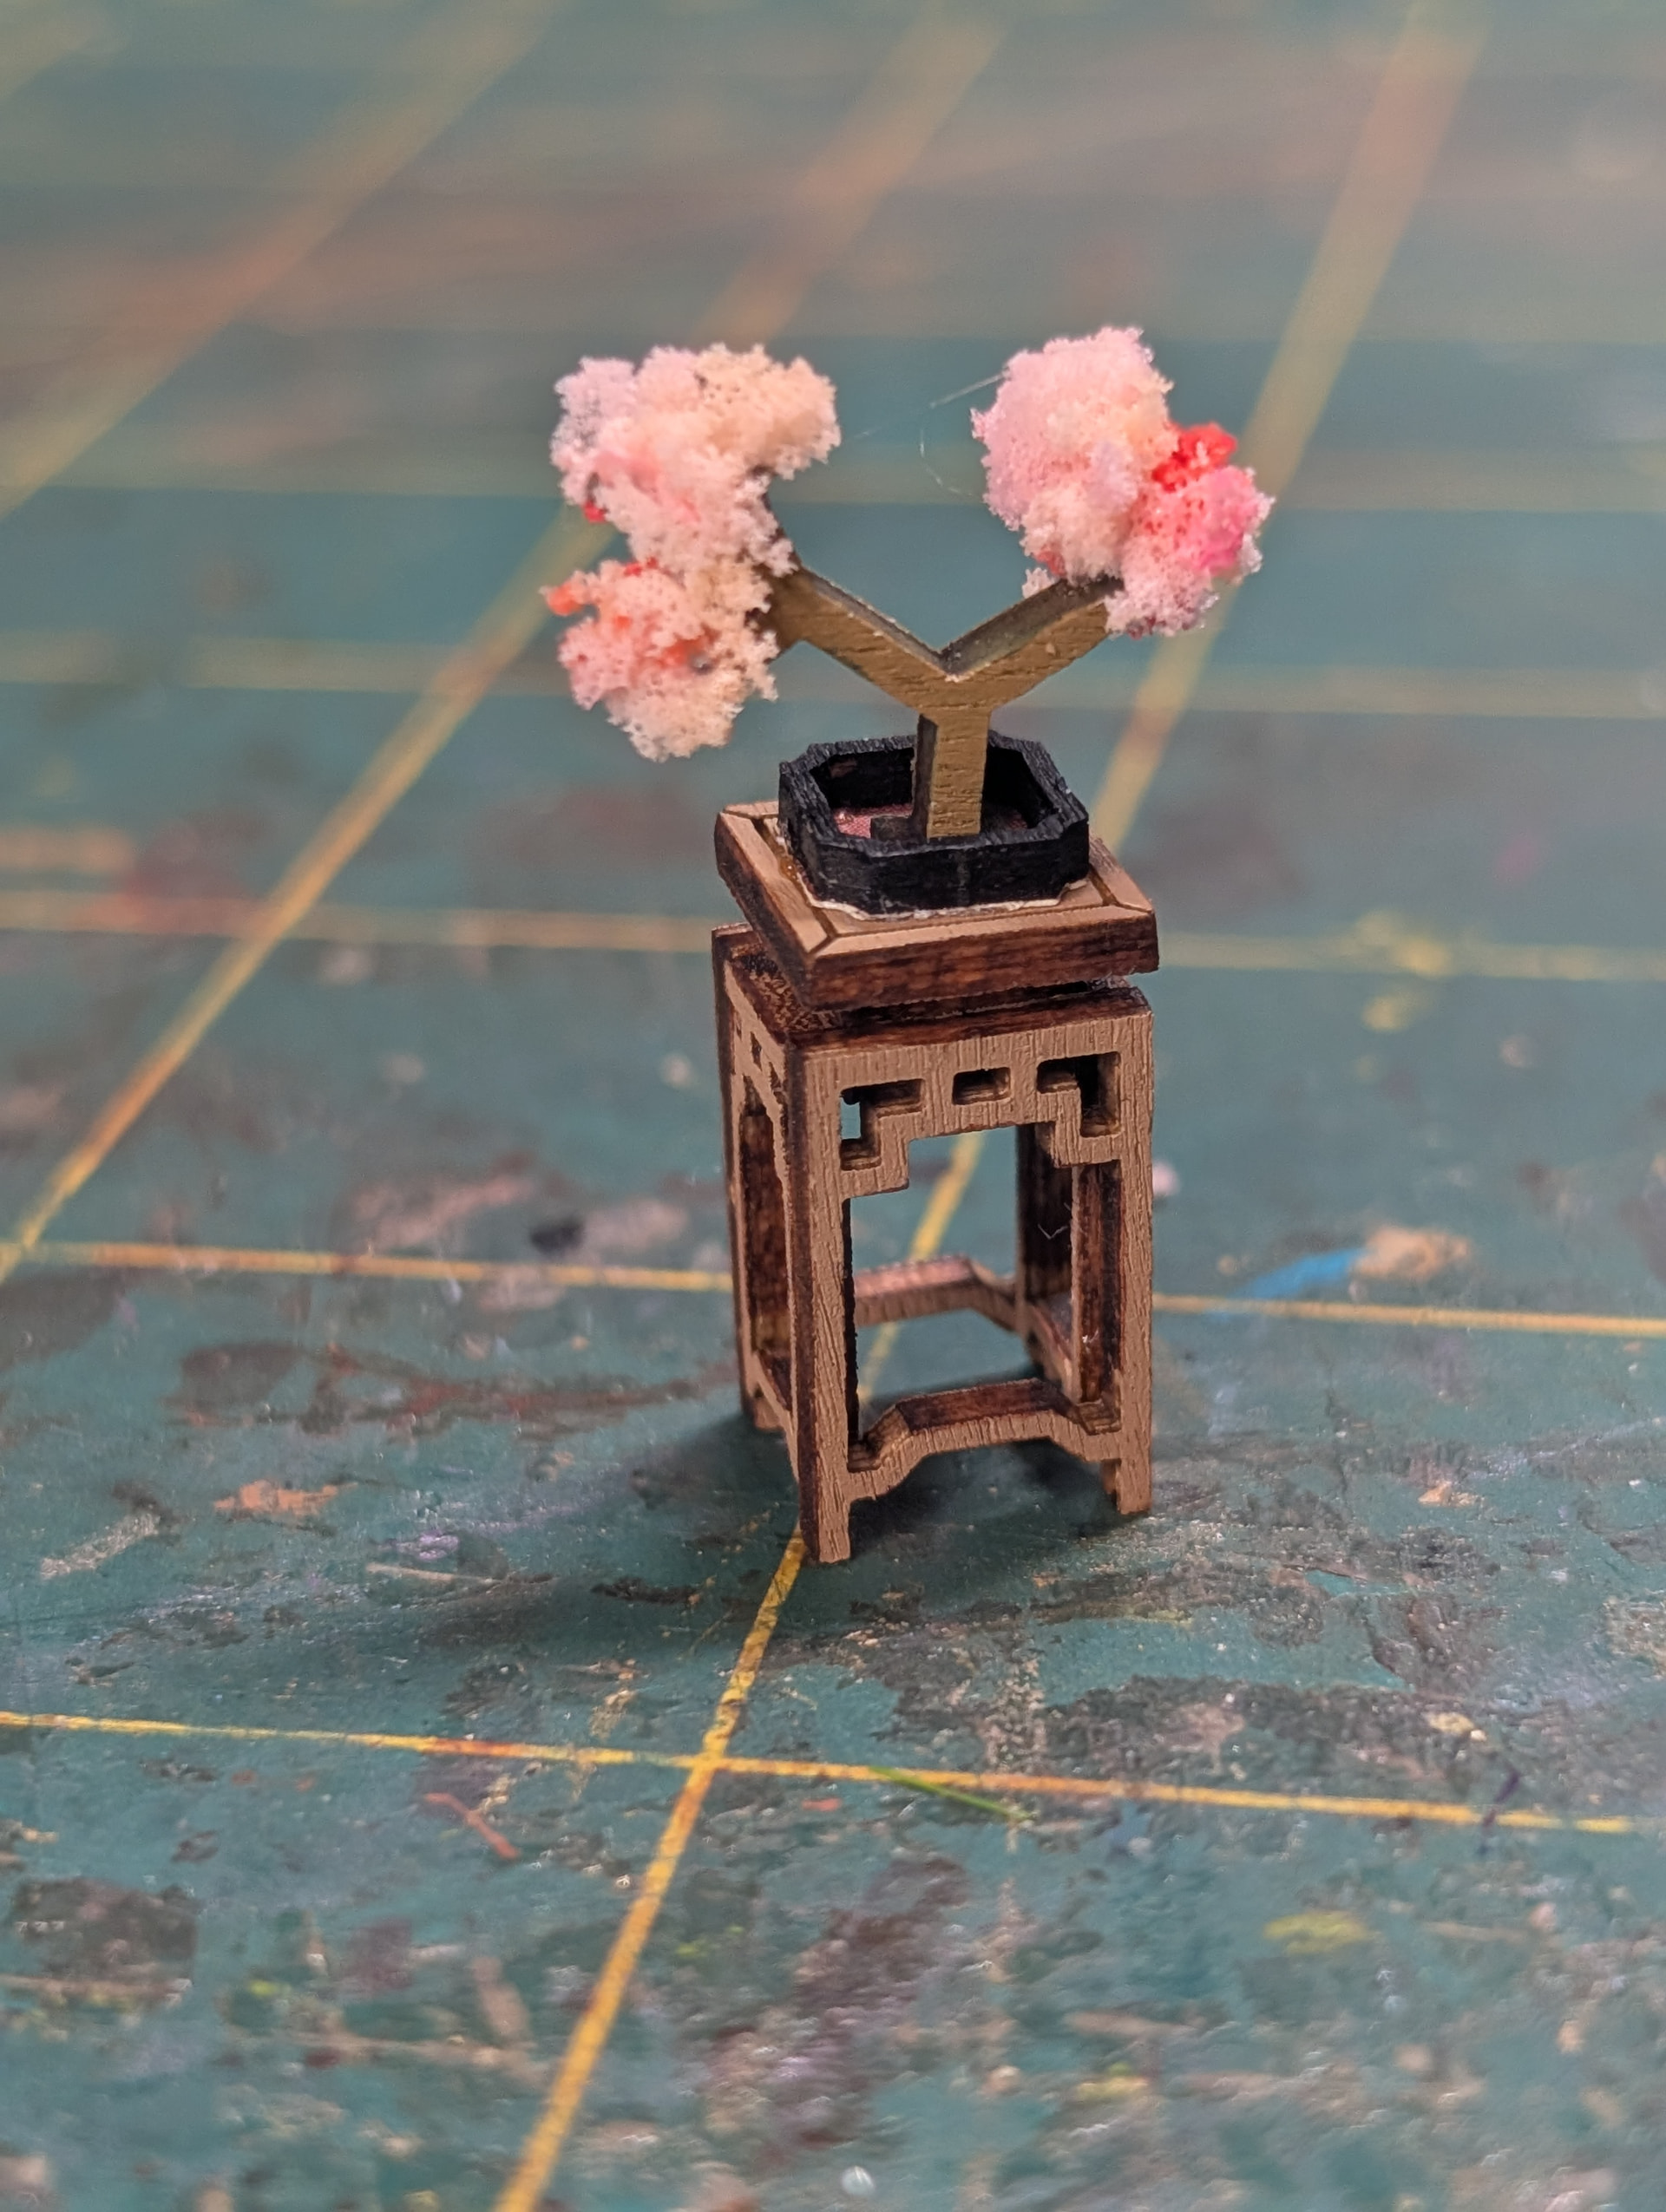
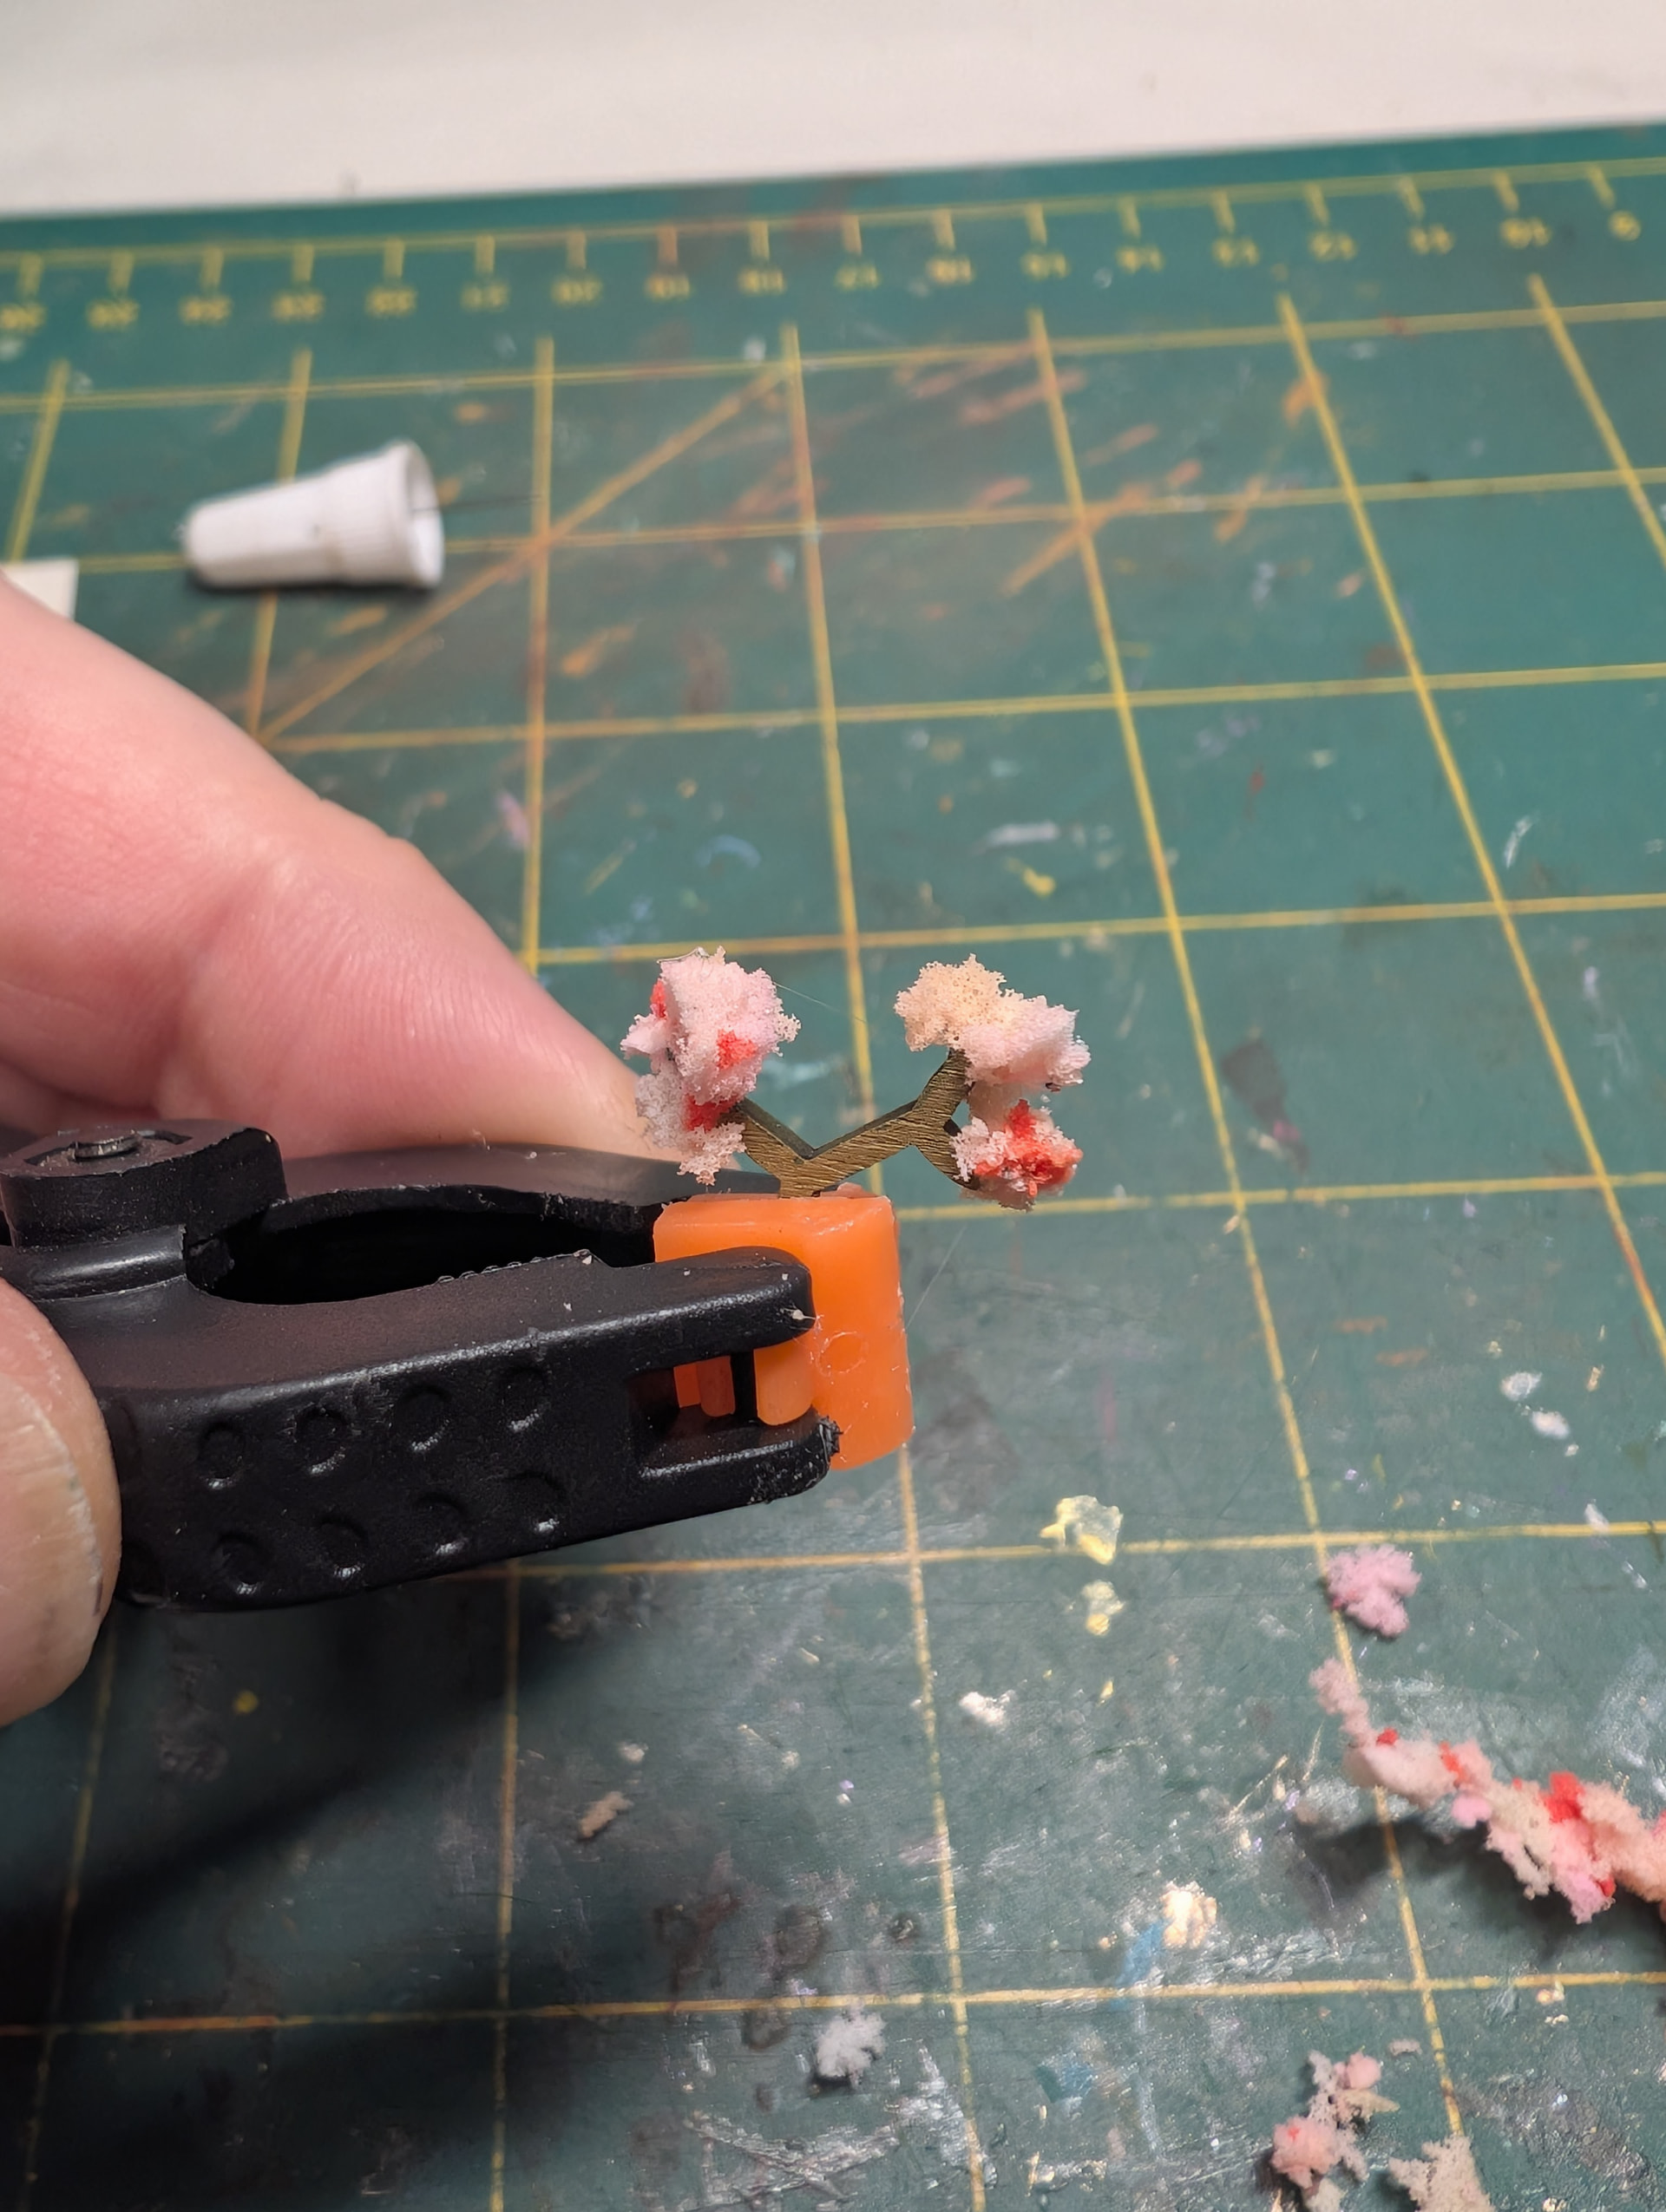
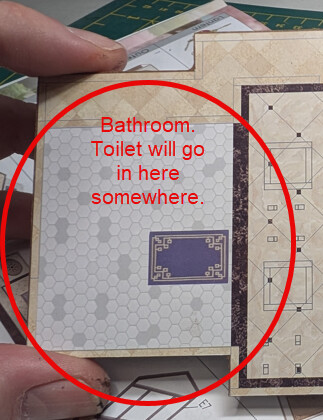
@chamelionboy yeah you found where the toilet went now im happy lol ! you have done amazing on all the furniture i love the bath its so nice each detail is fantastic ! Well done your flowers are so nice hats off you
This is coming along beautifully. I have always found glue to be my savior when working with frayed ends. I’m not sure why it won’t work in this case. I love the obscure directions..LOL!
Wow, that’s a lot of progress! The furniture and tiny ornaments already look amazing, and the structure is really starting to come together. Those little gold cord pieces sound like a serious challenge though! I hope you find a good alternative at Spotlight because those tiny beads deserve to be finished properly.





 you’re doing so well. I can’t wait to see the completed build


 your flowers are so nice hats off you
