I was planning on just making this kit a two part series but the tree had so much going on that I wanted to make a separate section to really dive into this important focal point of the kit. A part that I really enjoyed the process of.
If the tree is not interesting to you I would recommend skipping this section because it is all that will be discussed.
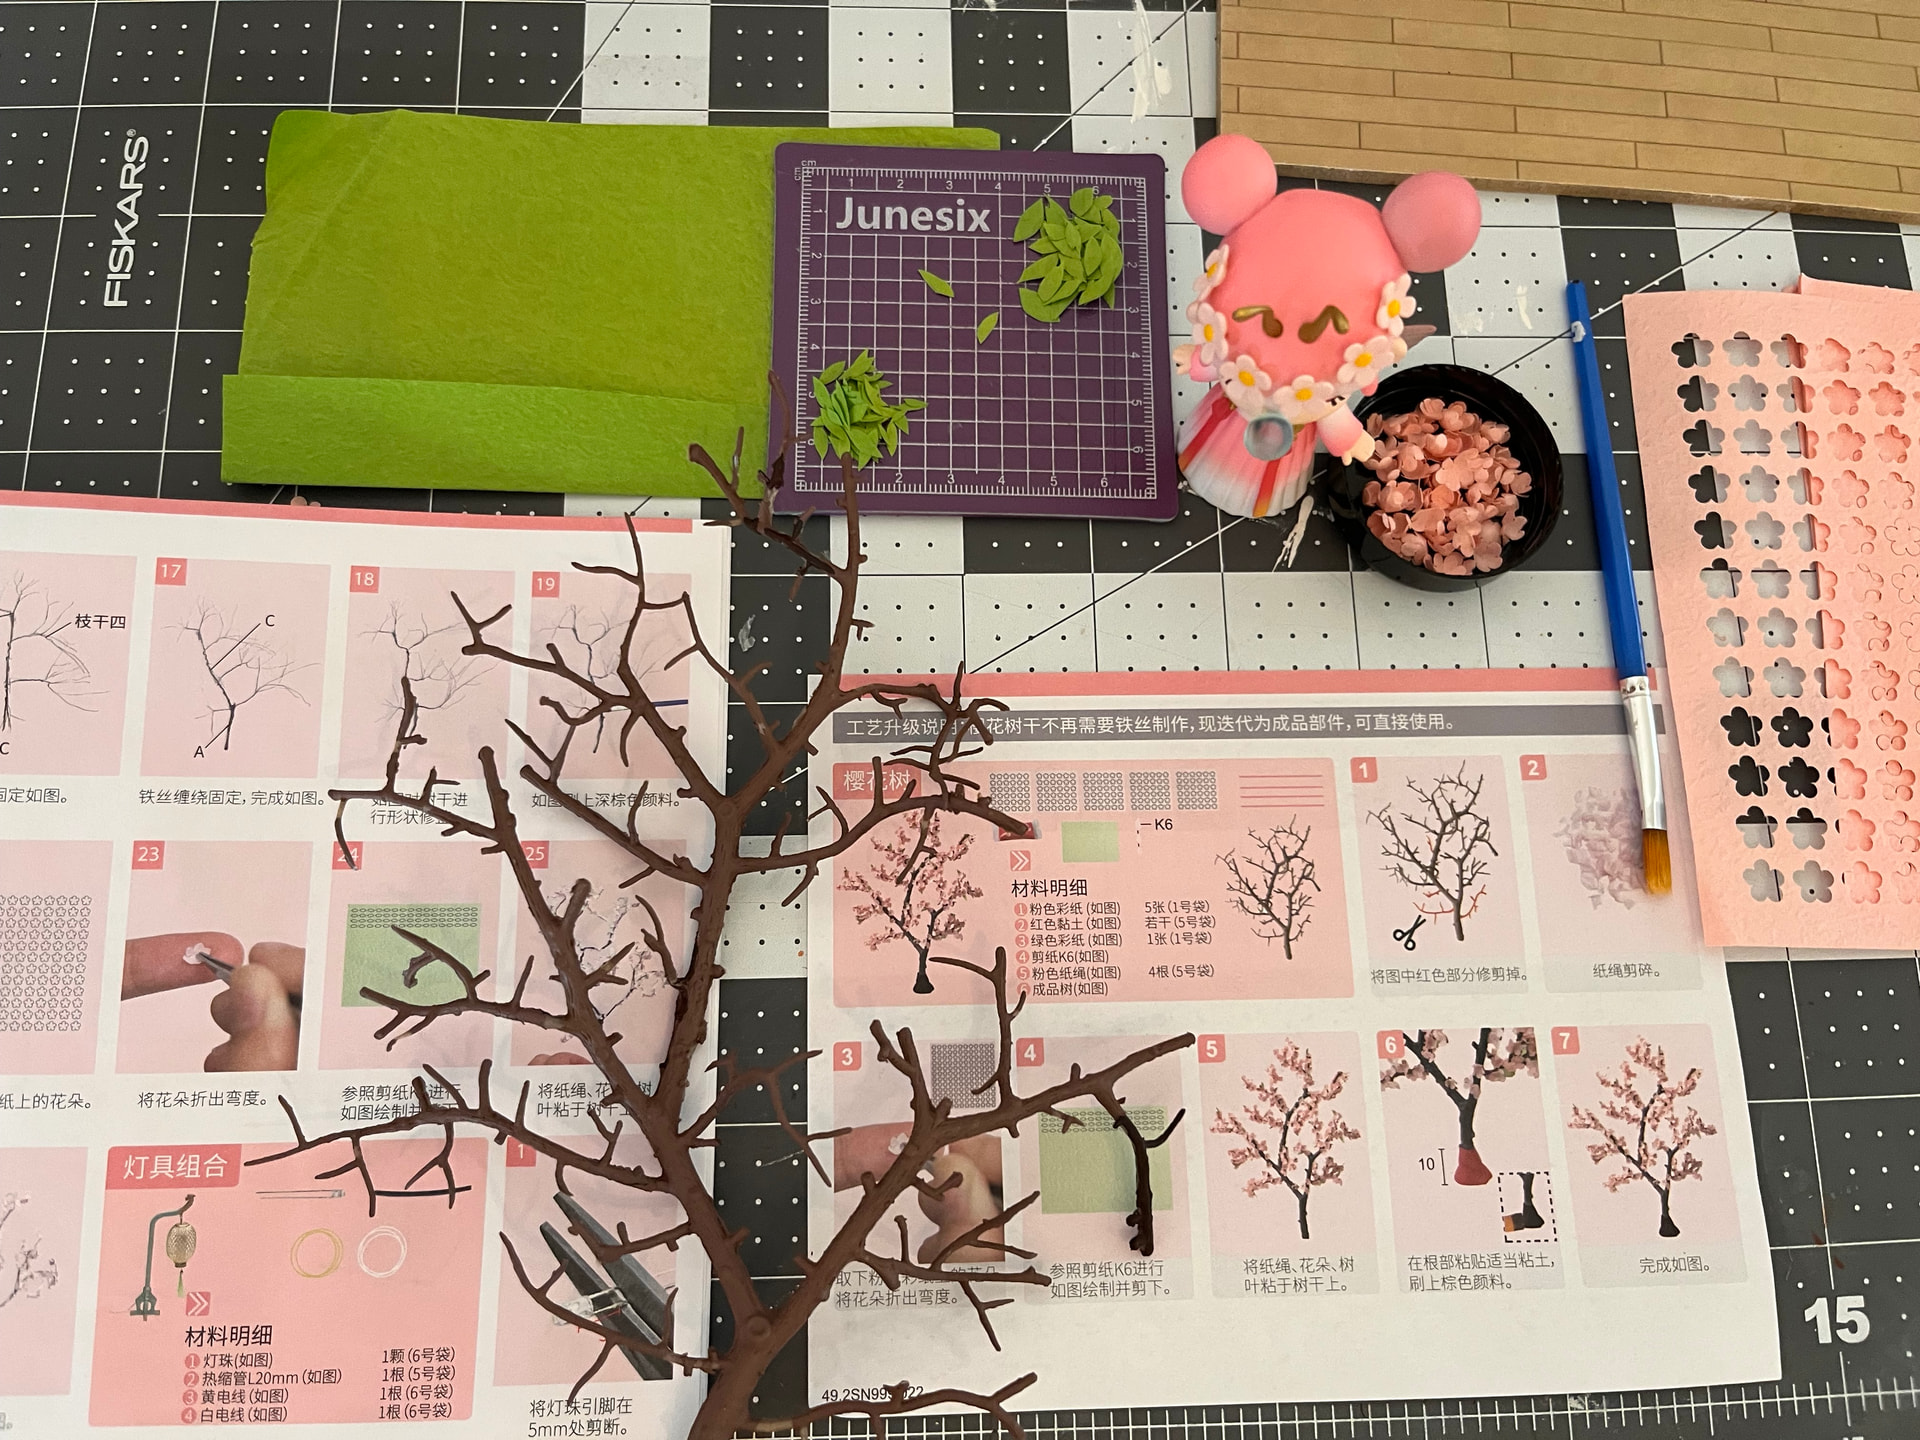
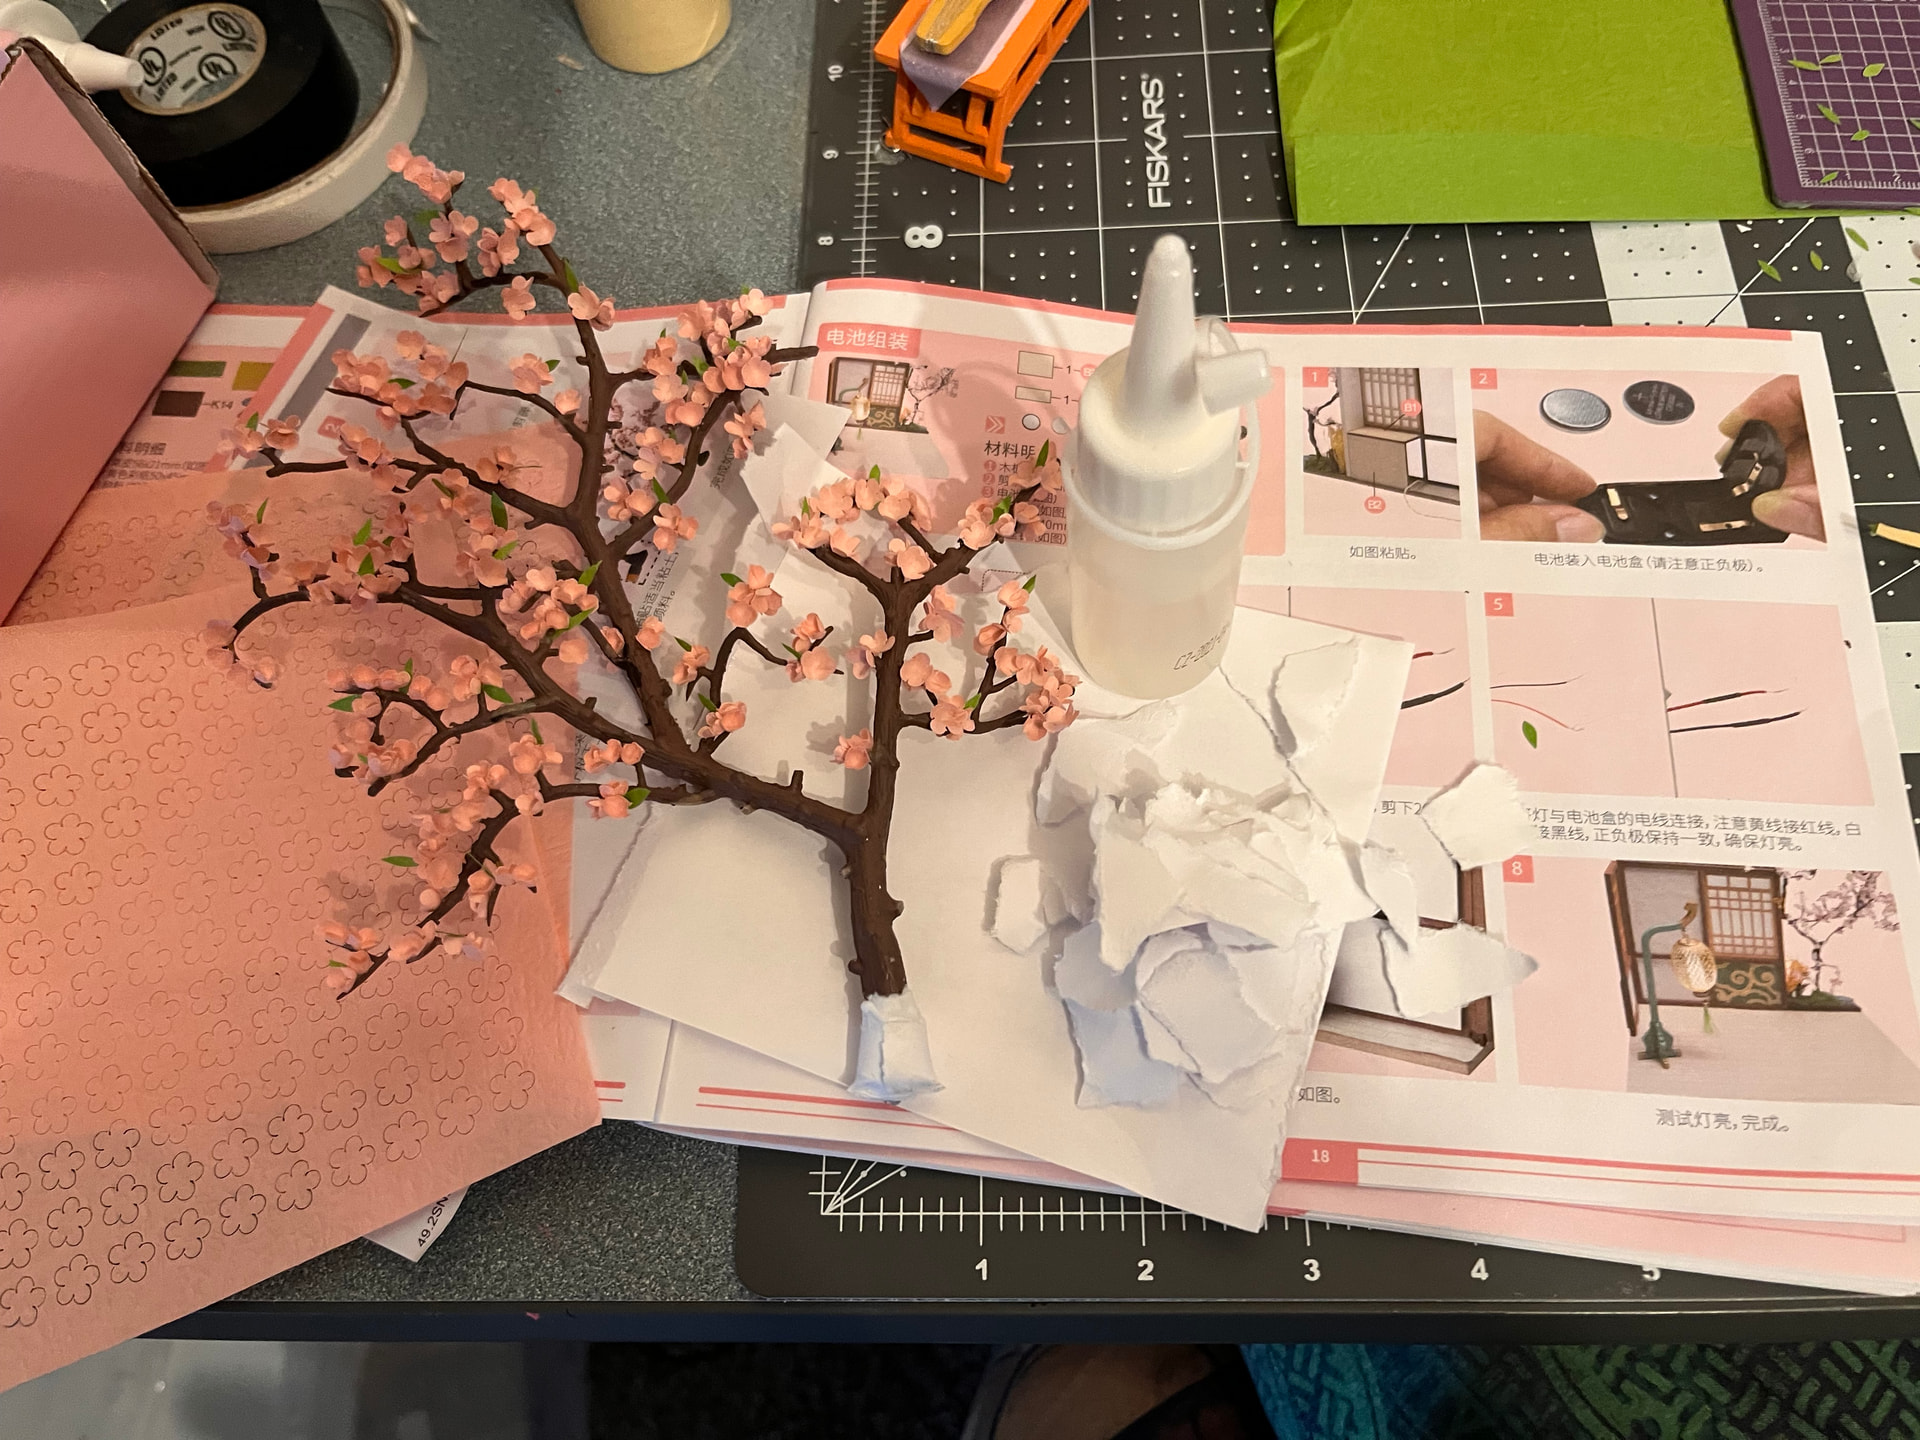
One thing that is interesting about this kit is that it used to have a wire tree that had to be hand made. The wire tree was replaced with a realistic plastic premade tree. The instructions even show the original wire tree. An addition page insert was added with for the premade tree.
I am ok with this change. I understand why people would not want to make the tree out of wire. I also would have been ok with making the wire tree. I had even been practicing my technique.
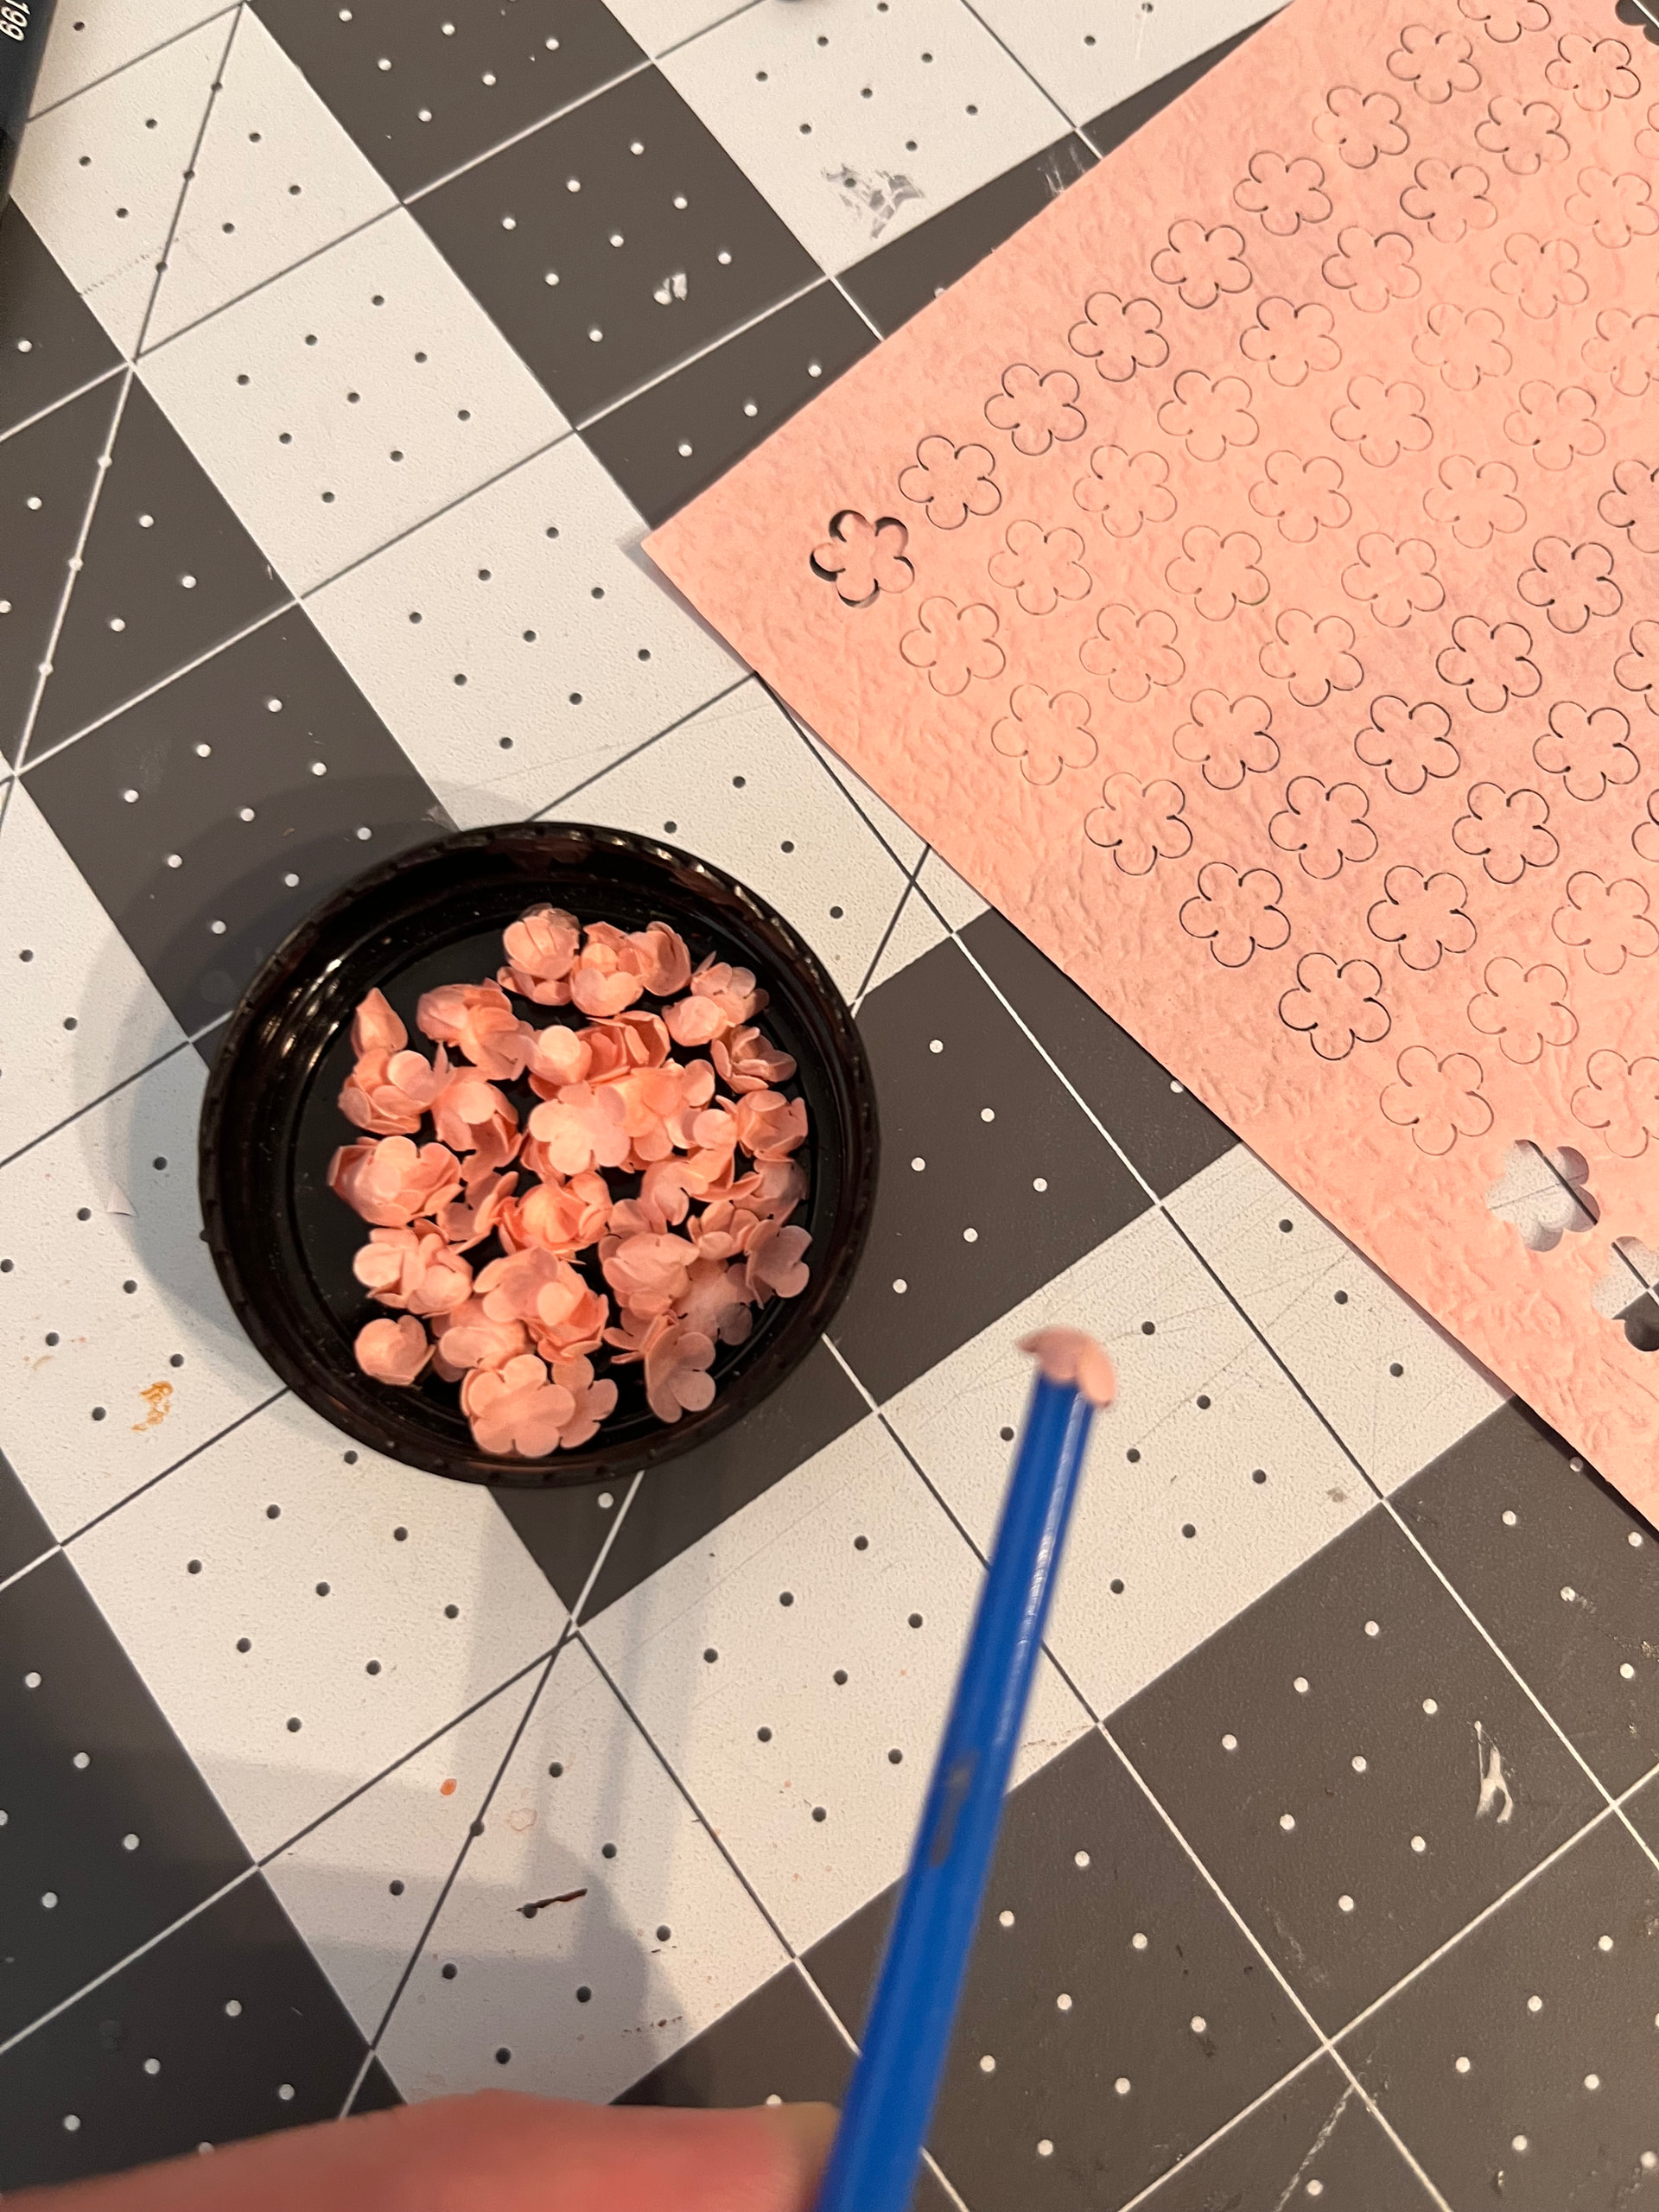
The flowers are pre cut. I really loved the flower design for this kit. I pressed the petals around the tip of a paint brush and it made a really nice shape.
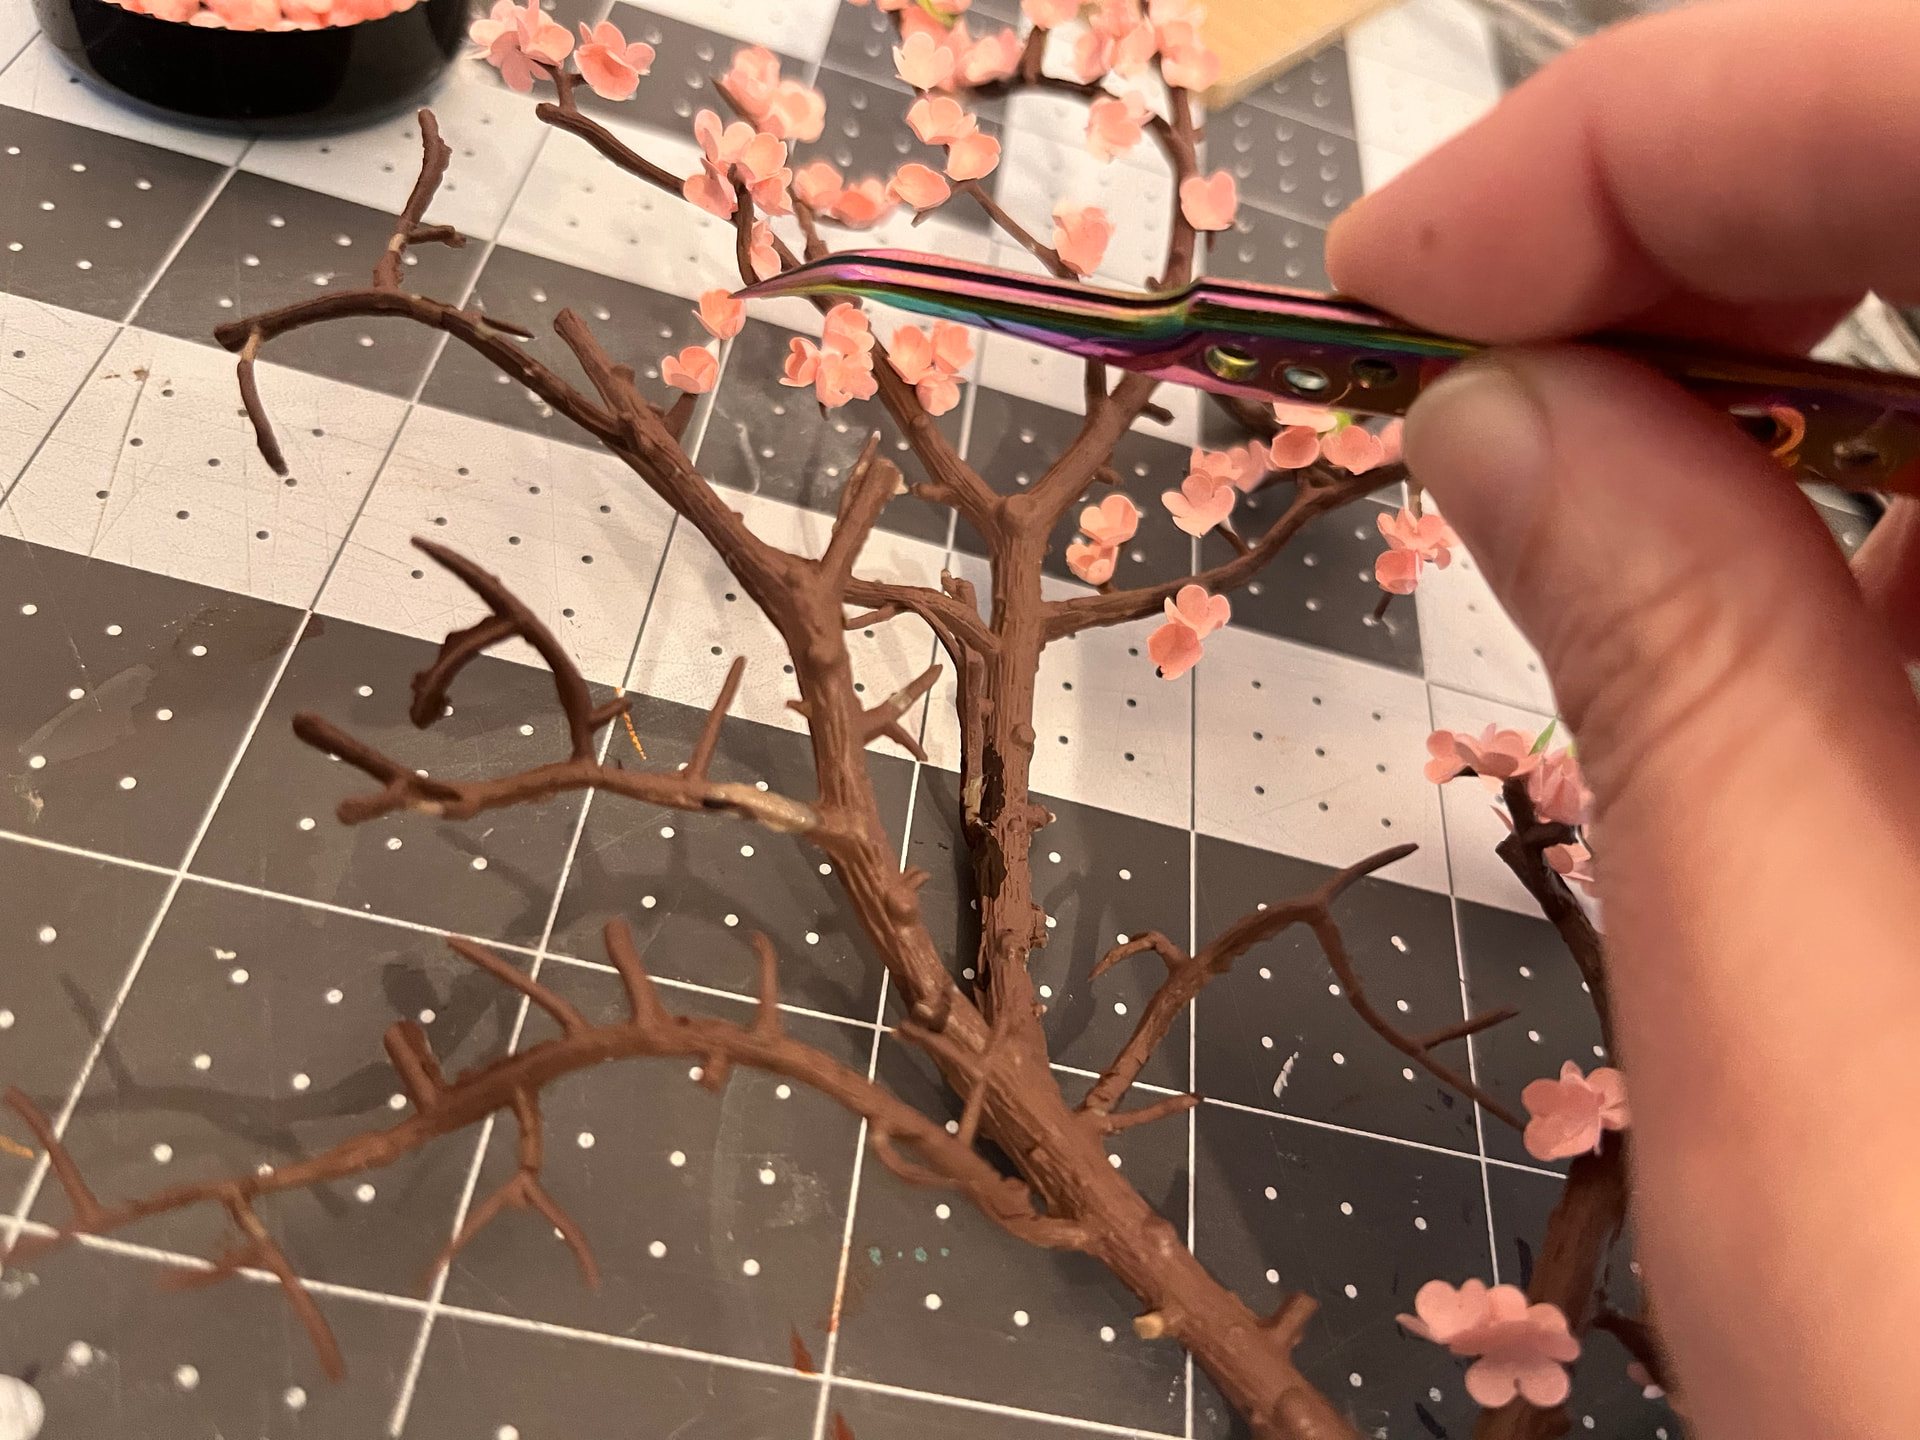
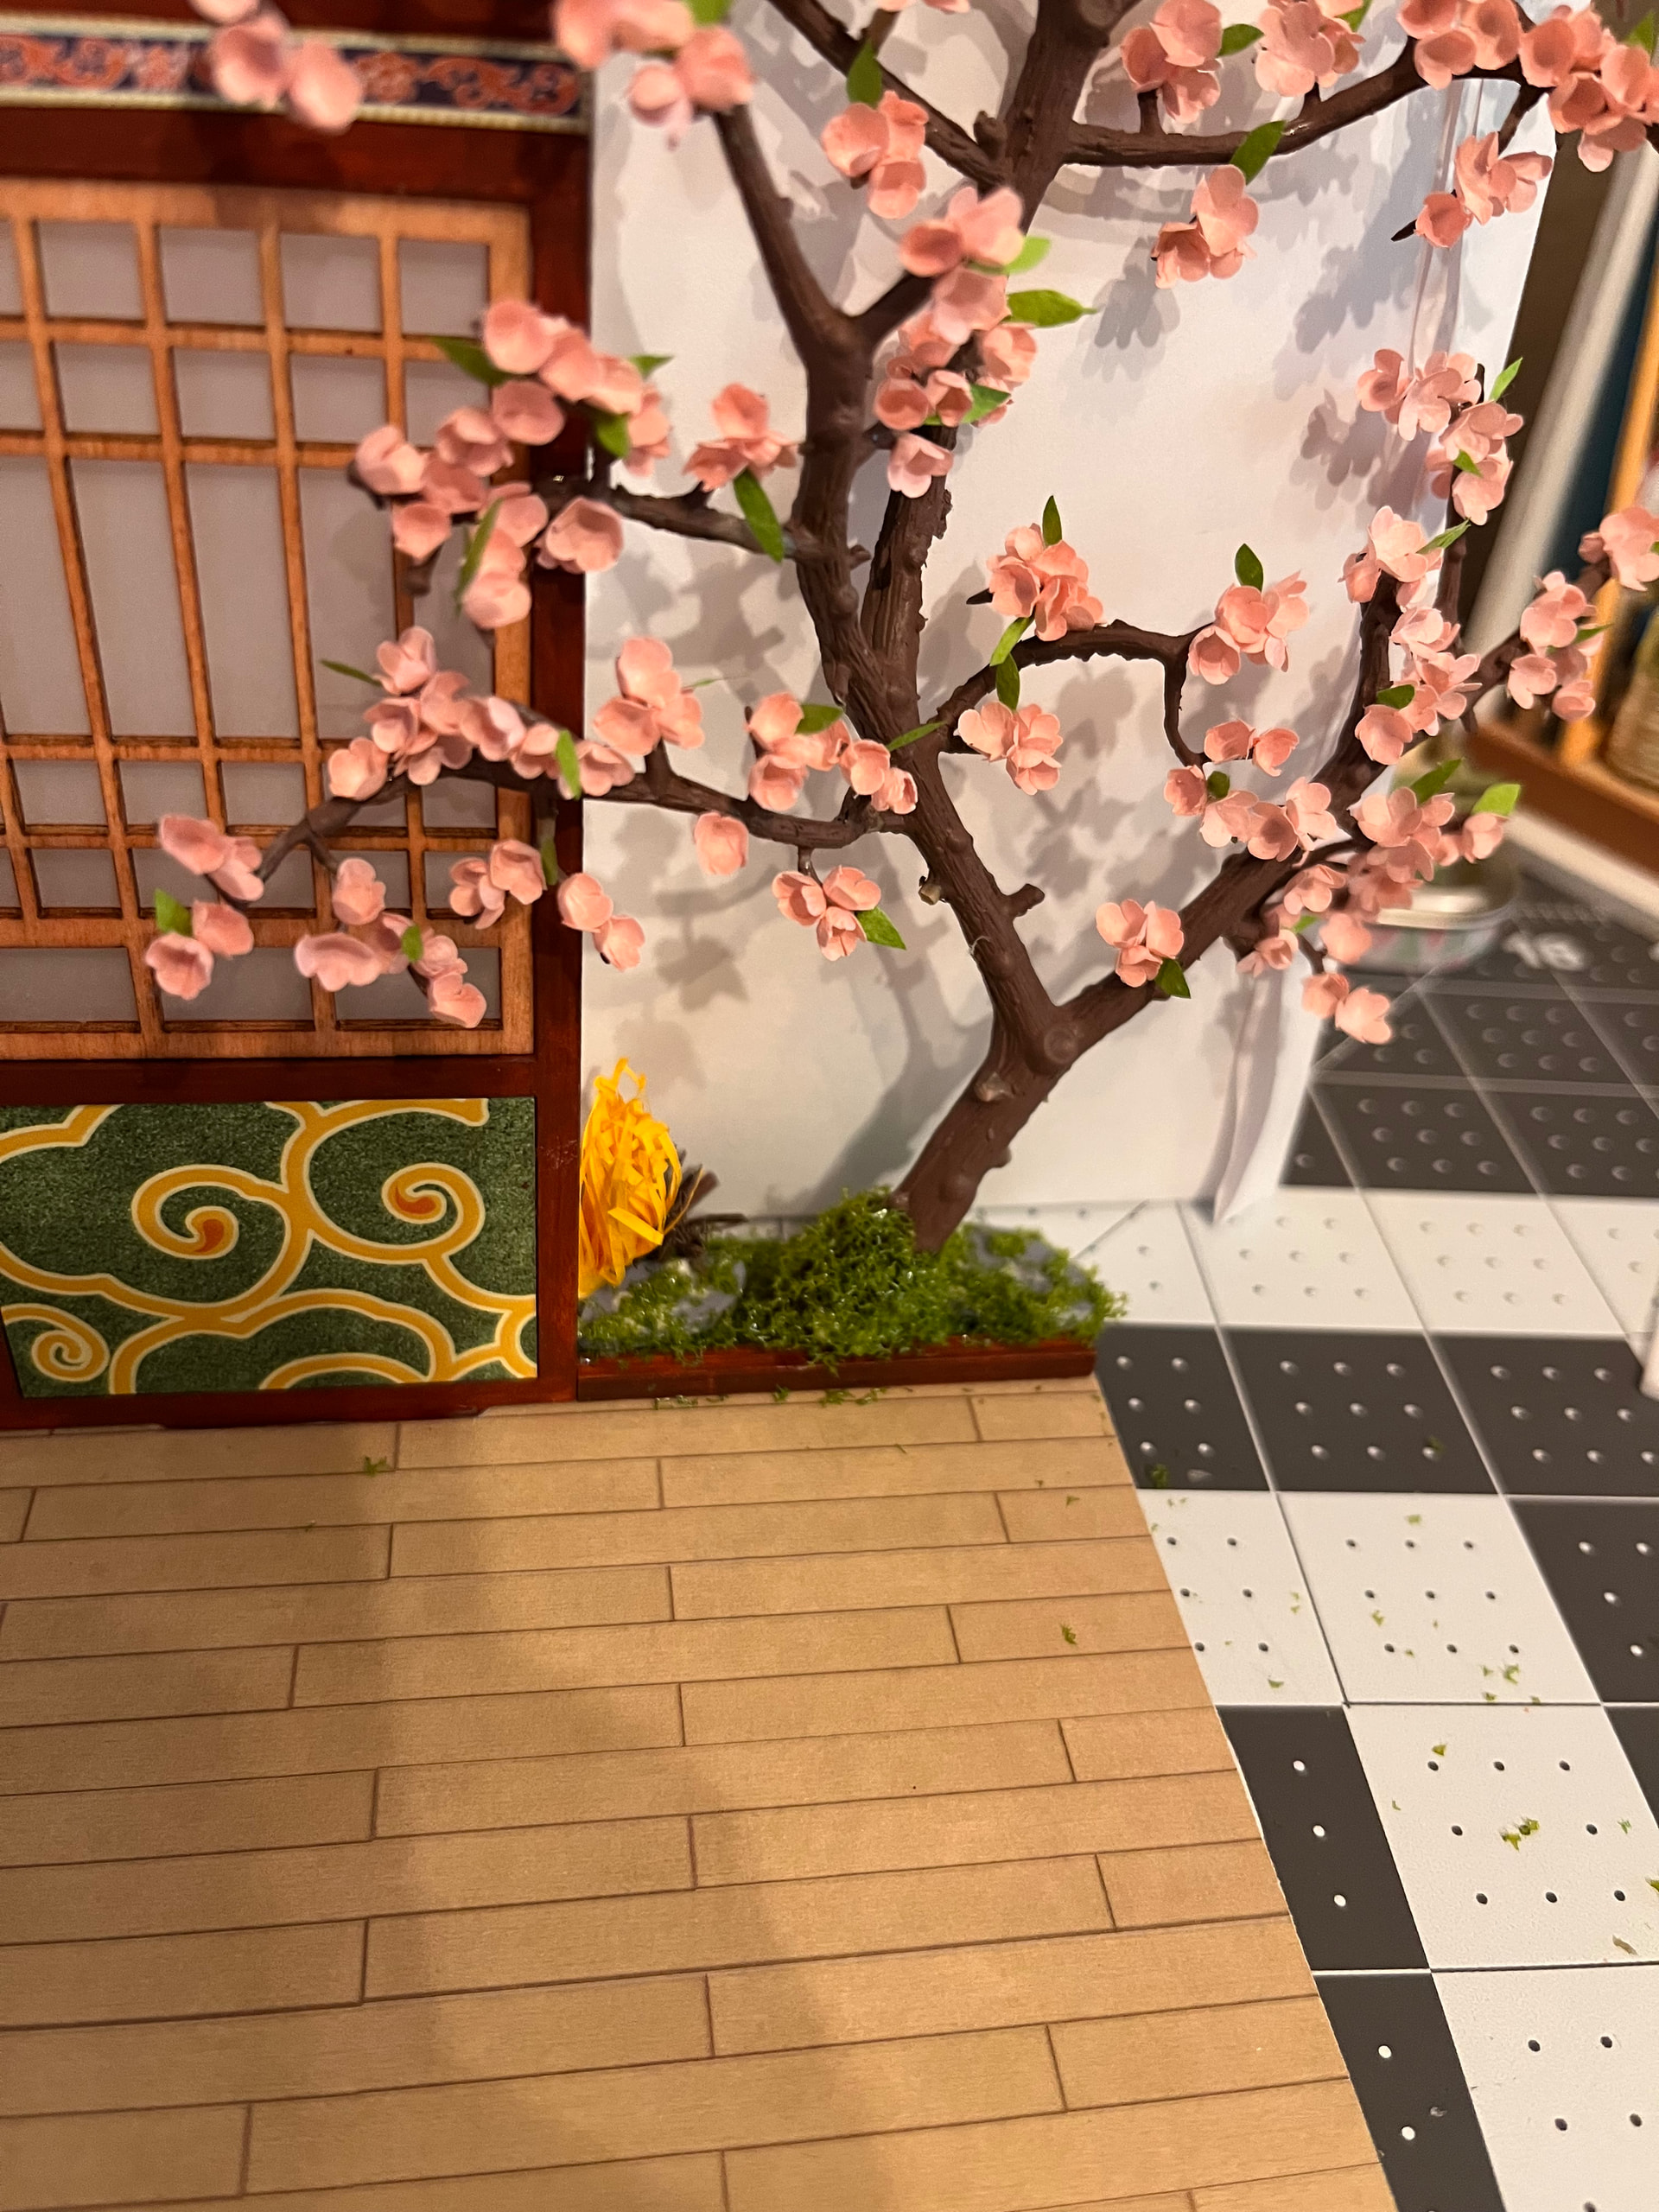
I think the flowers look so pretty and so delicate. I love the way the light hits them and adds depth.
I thoroughly enjoy the process of attaching the blossoms. I would add white, clear drying glue to the branches (which is easy to see) and then just start sticking flowers with my tweezers. I found clusters of three looked nice. Clusters in general are good. I don’t think it’s possible to add too many flowers.
And that is my advice to anyone who feels nervous about this part of the kit. More flowers are better.
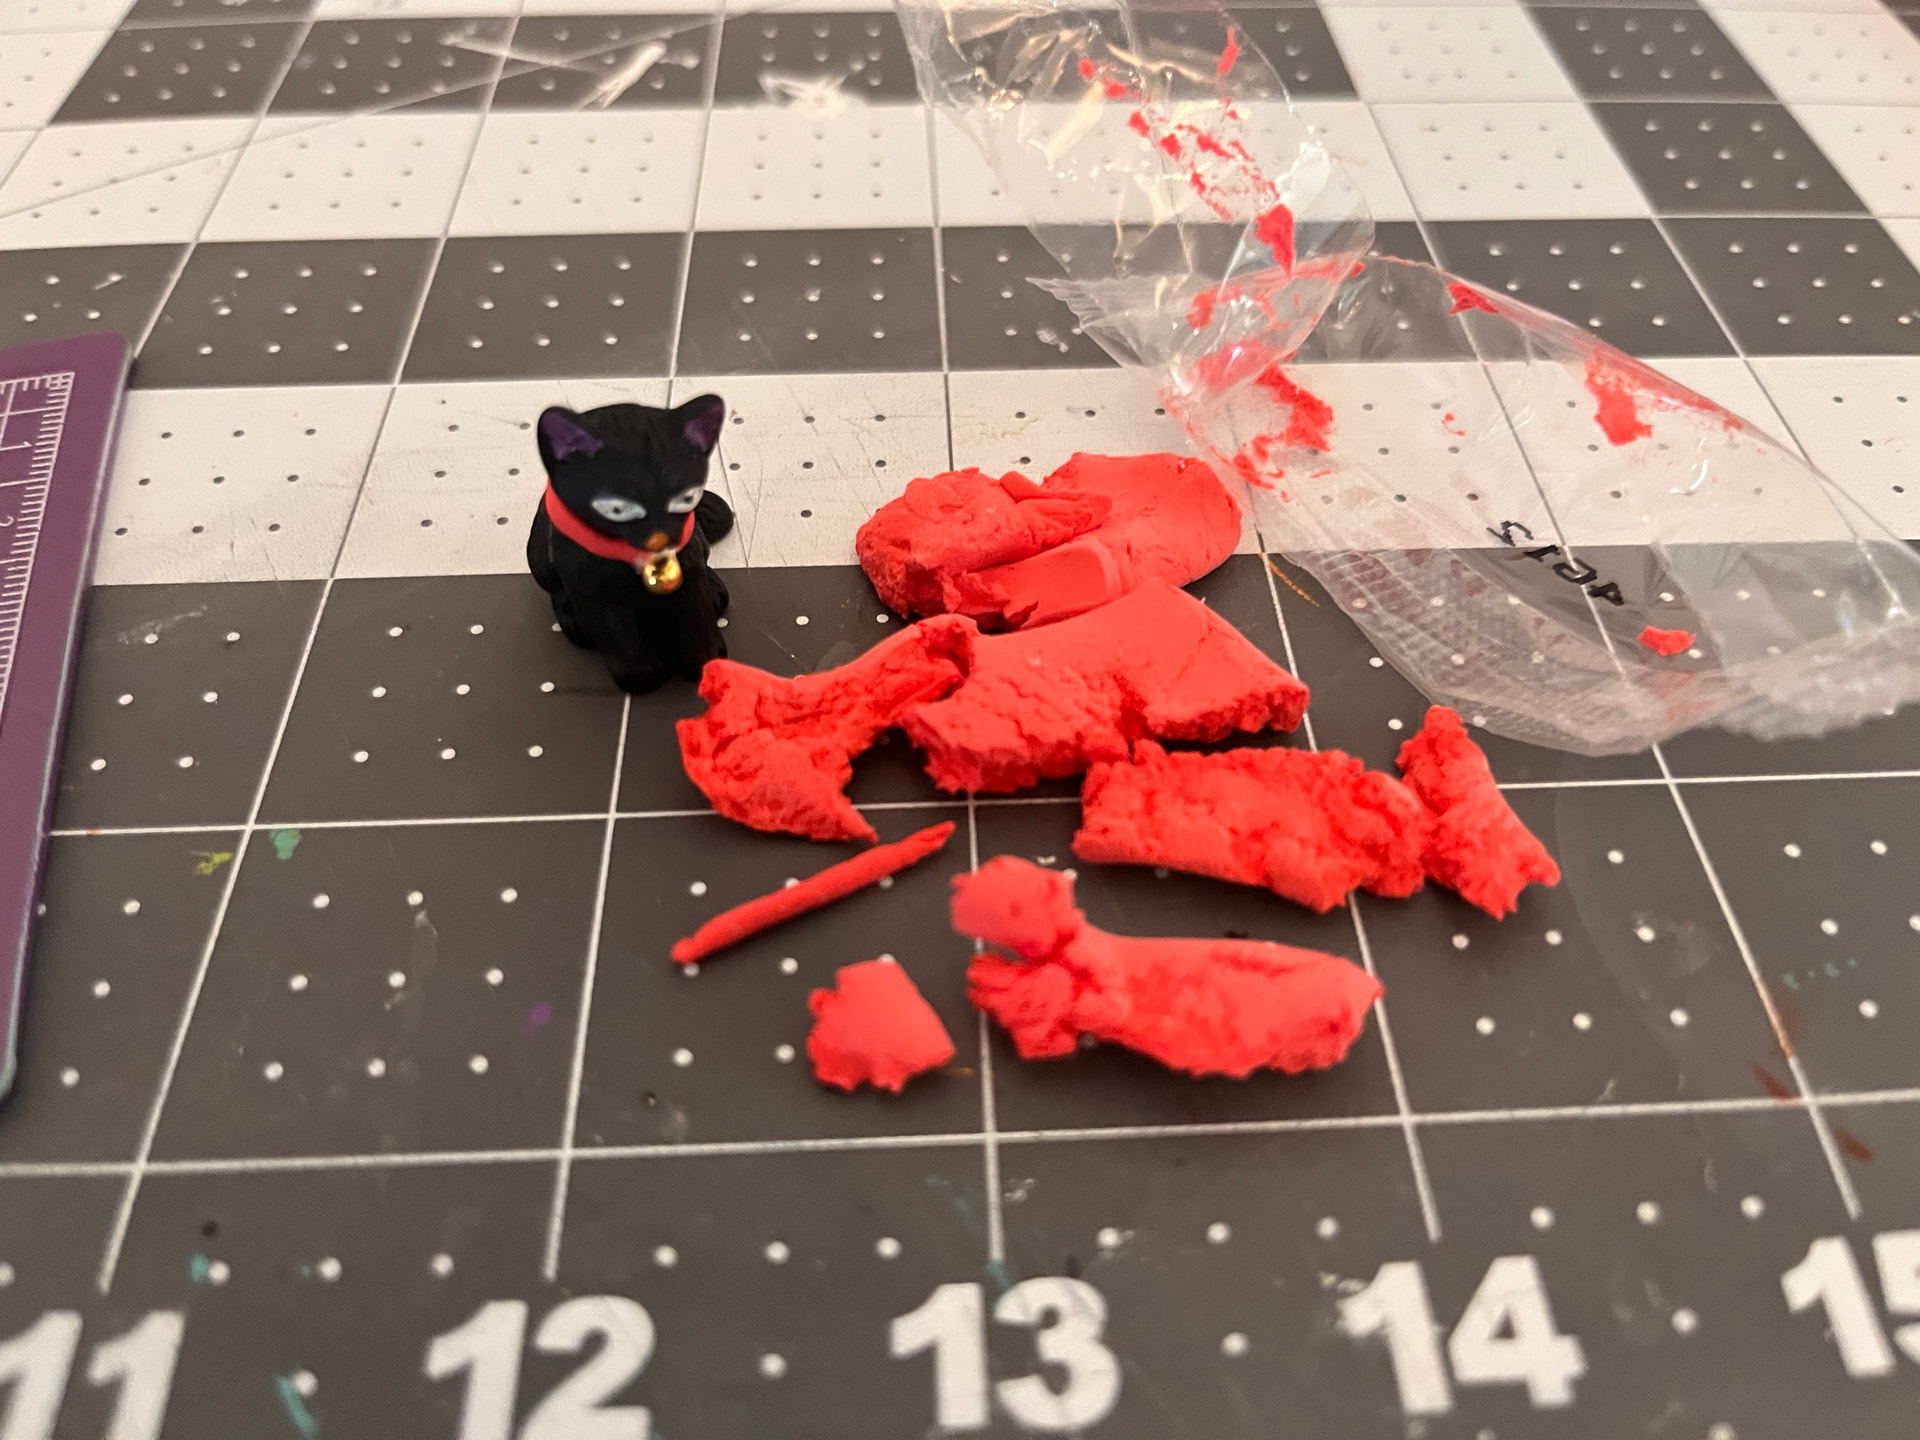
Unfortunately the air dry clay was 90% dry when I opened it. I was able to get a small piece from the center to make the cat’s collar but I did not have enough to make the tree base. I think it will be a blessing in disguise because air dry clay can rip easily.
I decided to create the base by layering paper and glue like paper mache. I want to make the tree as strong as I can because I think it could easily rip off the base. I also glued the upper branches to the wall. I wanted the branch to creep into the room because I LOVE that vibe. I made sure it wasn’t going to impede any furniture first.
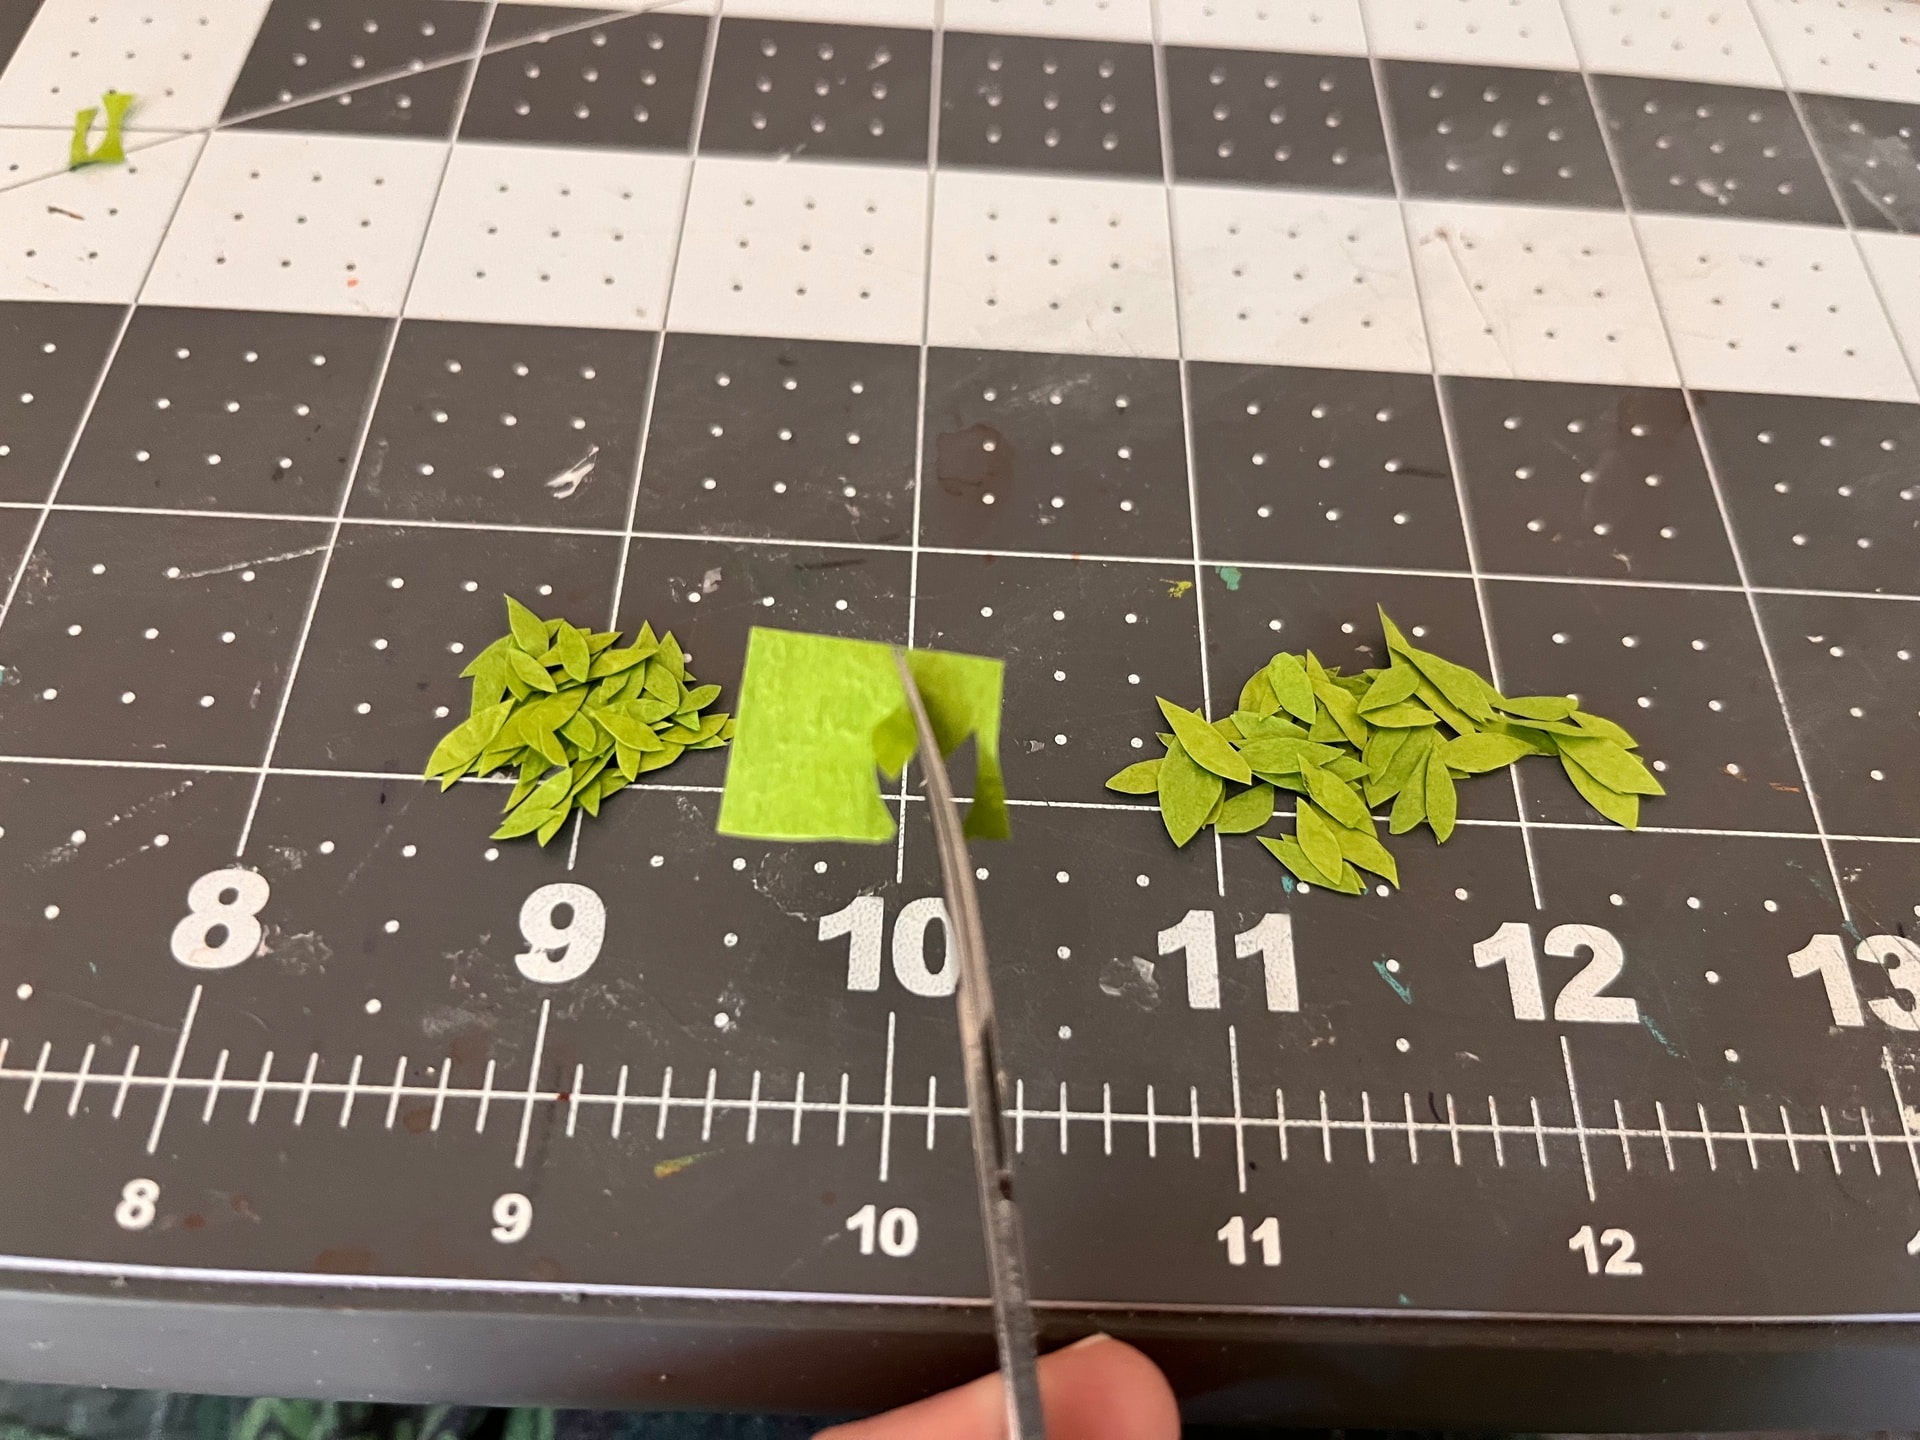
WOW! You’ve done a beautiful job with this so far. I think it looks perfect. That’s a great tip for using nail trimmers…but yours turned out excellent with free-hand cutting.
Your tree looks really pretty! Thank you for the very thorough explanation for building it! I’ve been looking for a closer look into these trees for awhile!
Wow! Your tree looks amazing! I am getting so many tips from your post. Making the base paper mache is genius. I will definitely copy you when I continue doing mine
Yes. There are many steps in the process so I think the tree needed its own post.
I think the tree is often a source of intimidation for this kit (even to the point that Rolife made it easier) but my actual experience with building it was pure joy. The first flower I glued on looked beautiful. It is rare to get positive feedback that quickly when creating something. I think that is why I enjoyed the flower process so much. Every flower I added looked more and more beautiful.
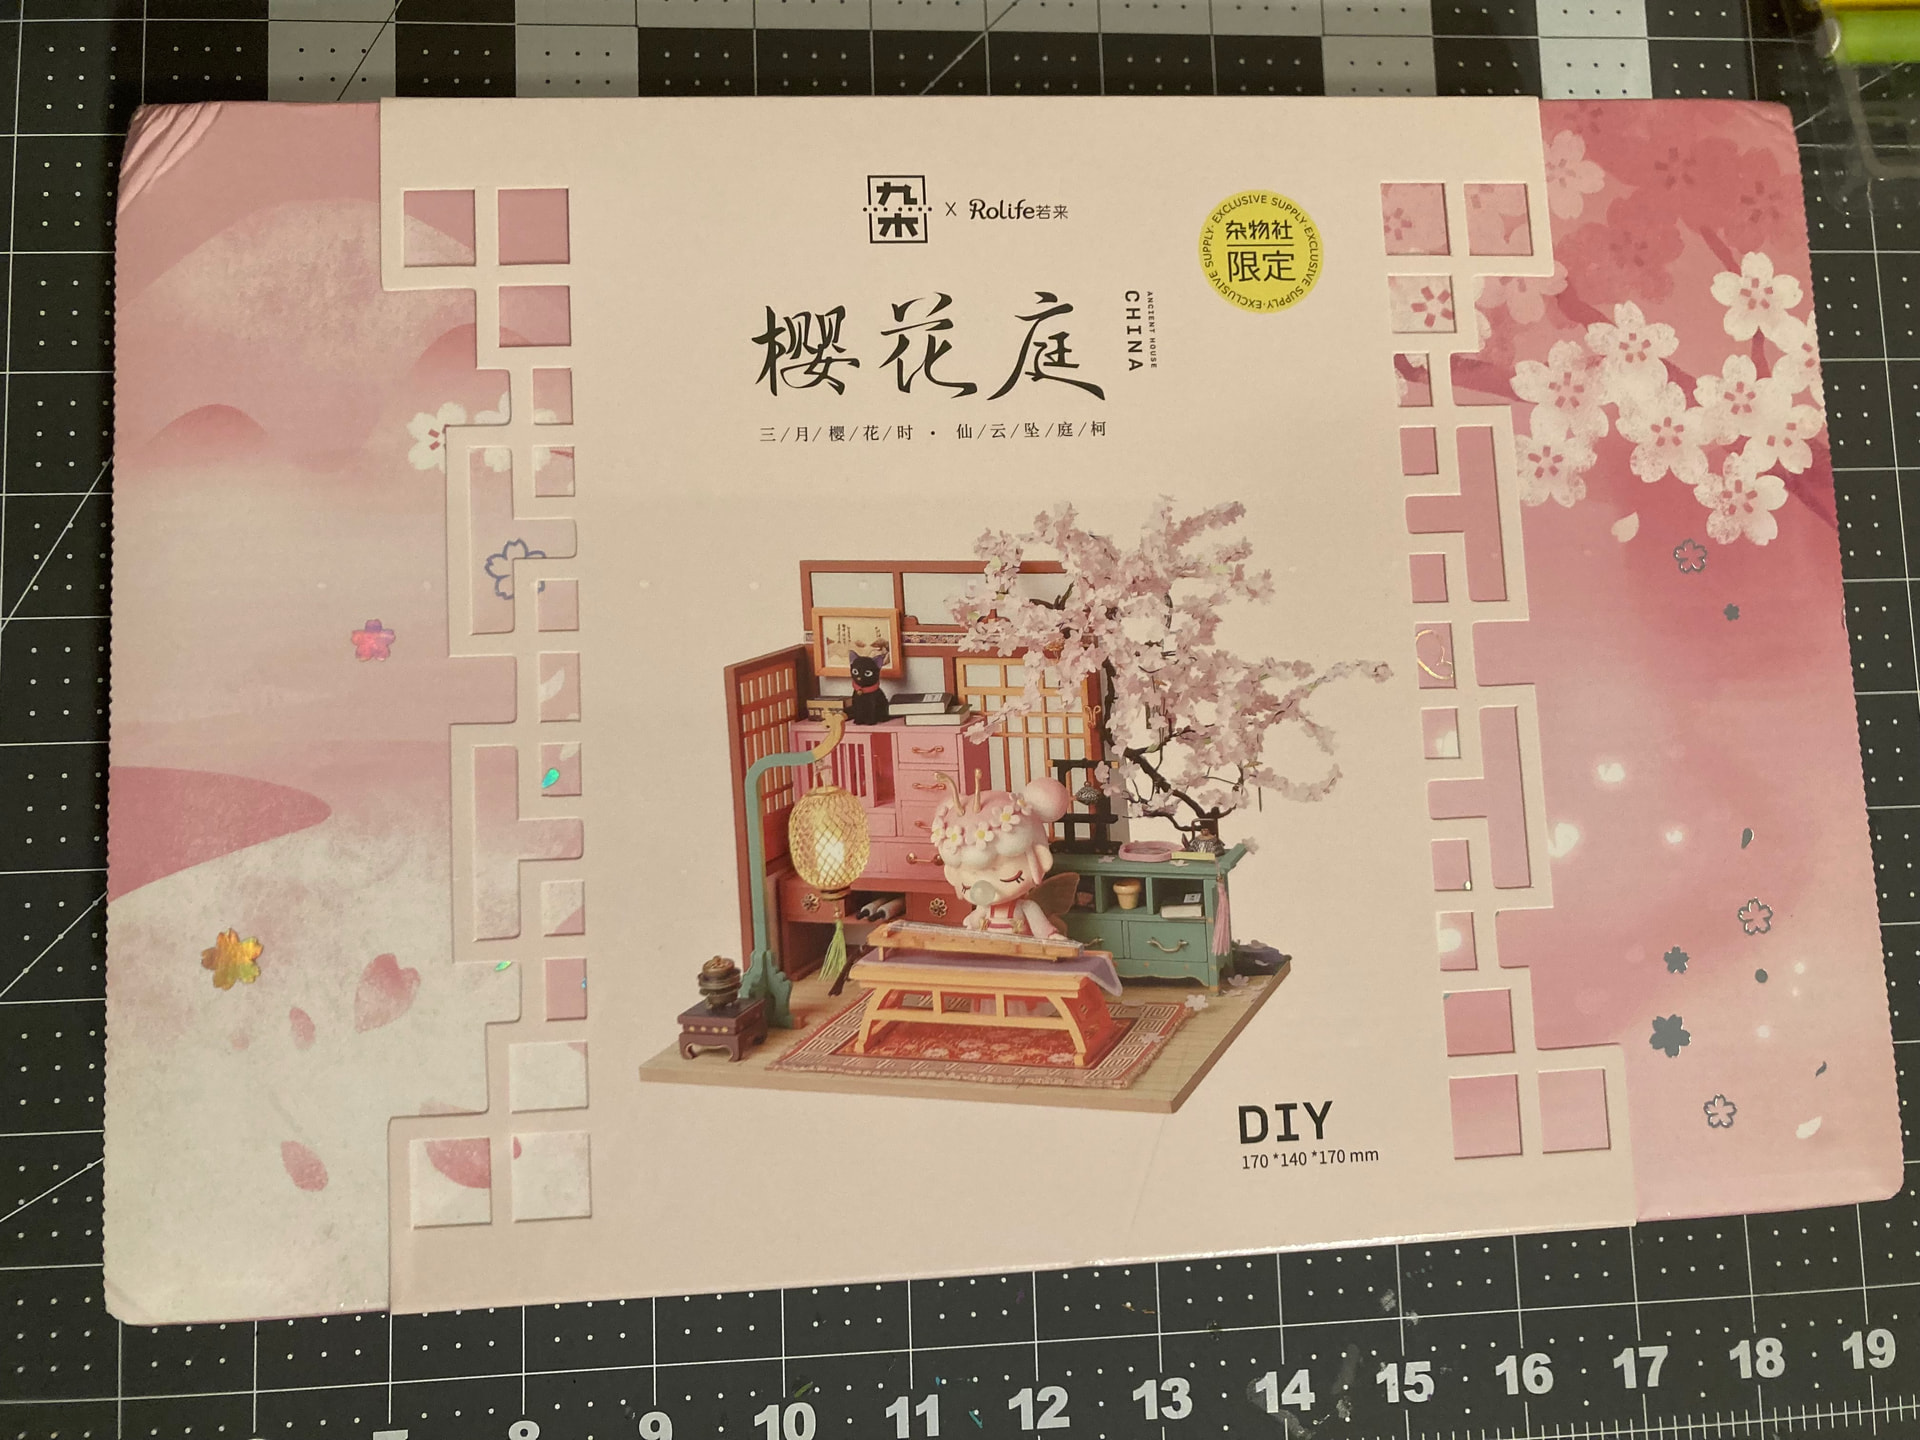
It does seem like my obsession with this Cherry Blossom Garden kit and other traditional eastern kits has caught on with people in this group. I think we’ve actually been building on each other’s obsession.
I can spend all day listing all the reason I love them. Their beauty, their rarity, their intense complexity, their elegance, their uniqueness, their completeness, their tinyness. No one makes anything that can truly compare with these kits.
Yes. It is likely that your air dry clay will be dried out. Even if it isn’t, I think paper mache or modeling clay or even playdough would be a better option because they dry into a hard solid. I just didn’t have any clay on hand.
I suspect Rolife knew this but air dry clay is so light weight so they went with it. The rest of the materials were such great quality that is why I’m not complaining too much.
Yes! There are many steps in the process of making the tree. It really needed it’s own thread to be fully explained. And I think it will be helpful to people because I think the tree can be a source of intimidation. I wanted to share what worked for me to try and encourage others who have this kit.
May be they will even find as much joy and satisfaction as I experienced in the process.
I would recommend the paper mache base, it worked well for me. Modeling clay or even playdough could be an additional alternative. Your air dry clay will likely be dry.