Strolling in the Sunshine 🚎 4.0

Hi! :cherry_blossom:

Day four of the build! This kit involves a lot more work than I thought, so there are still a few more updates to come!

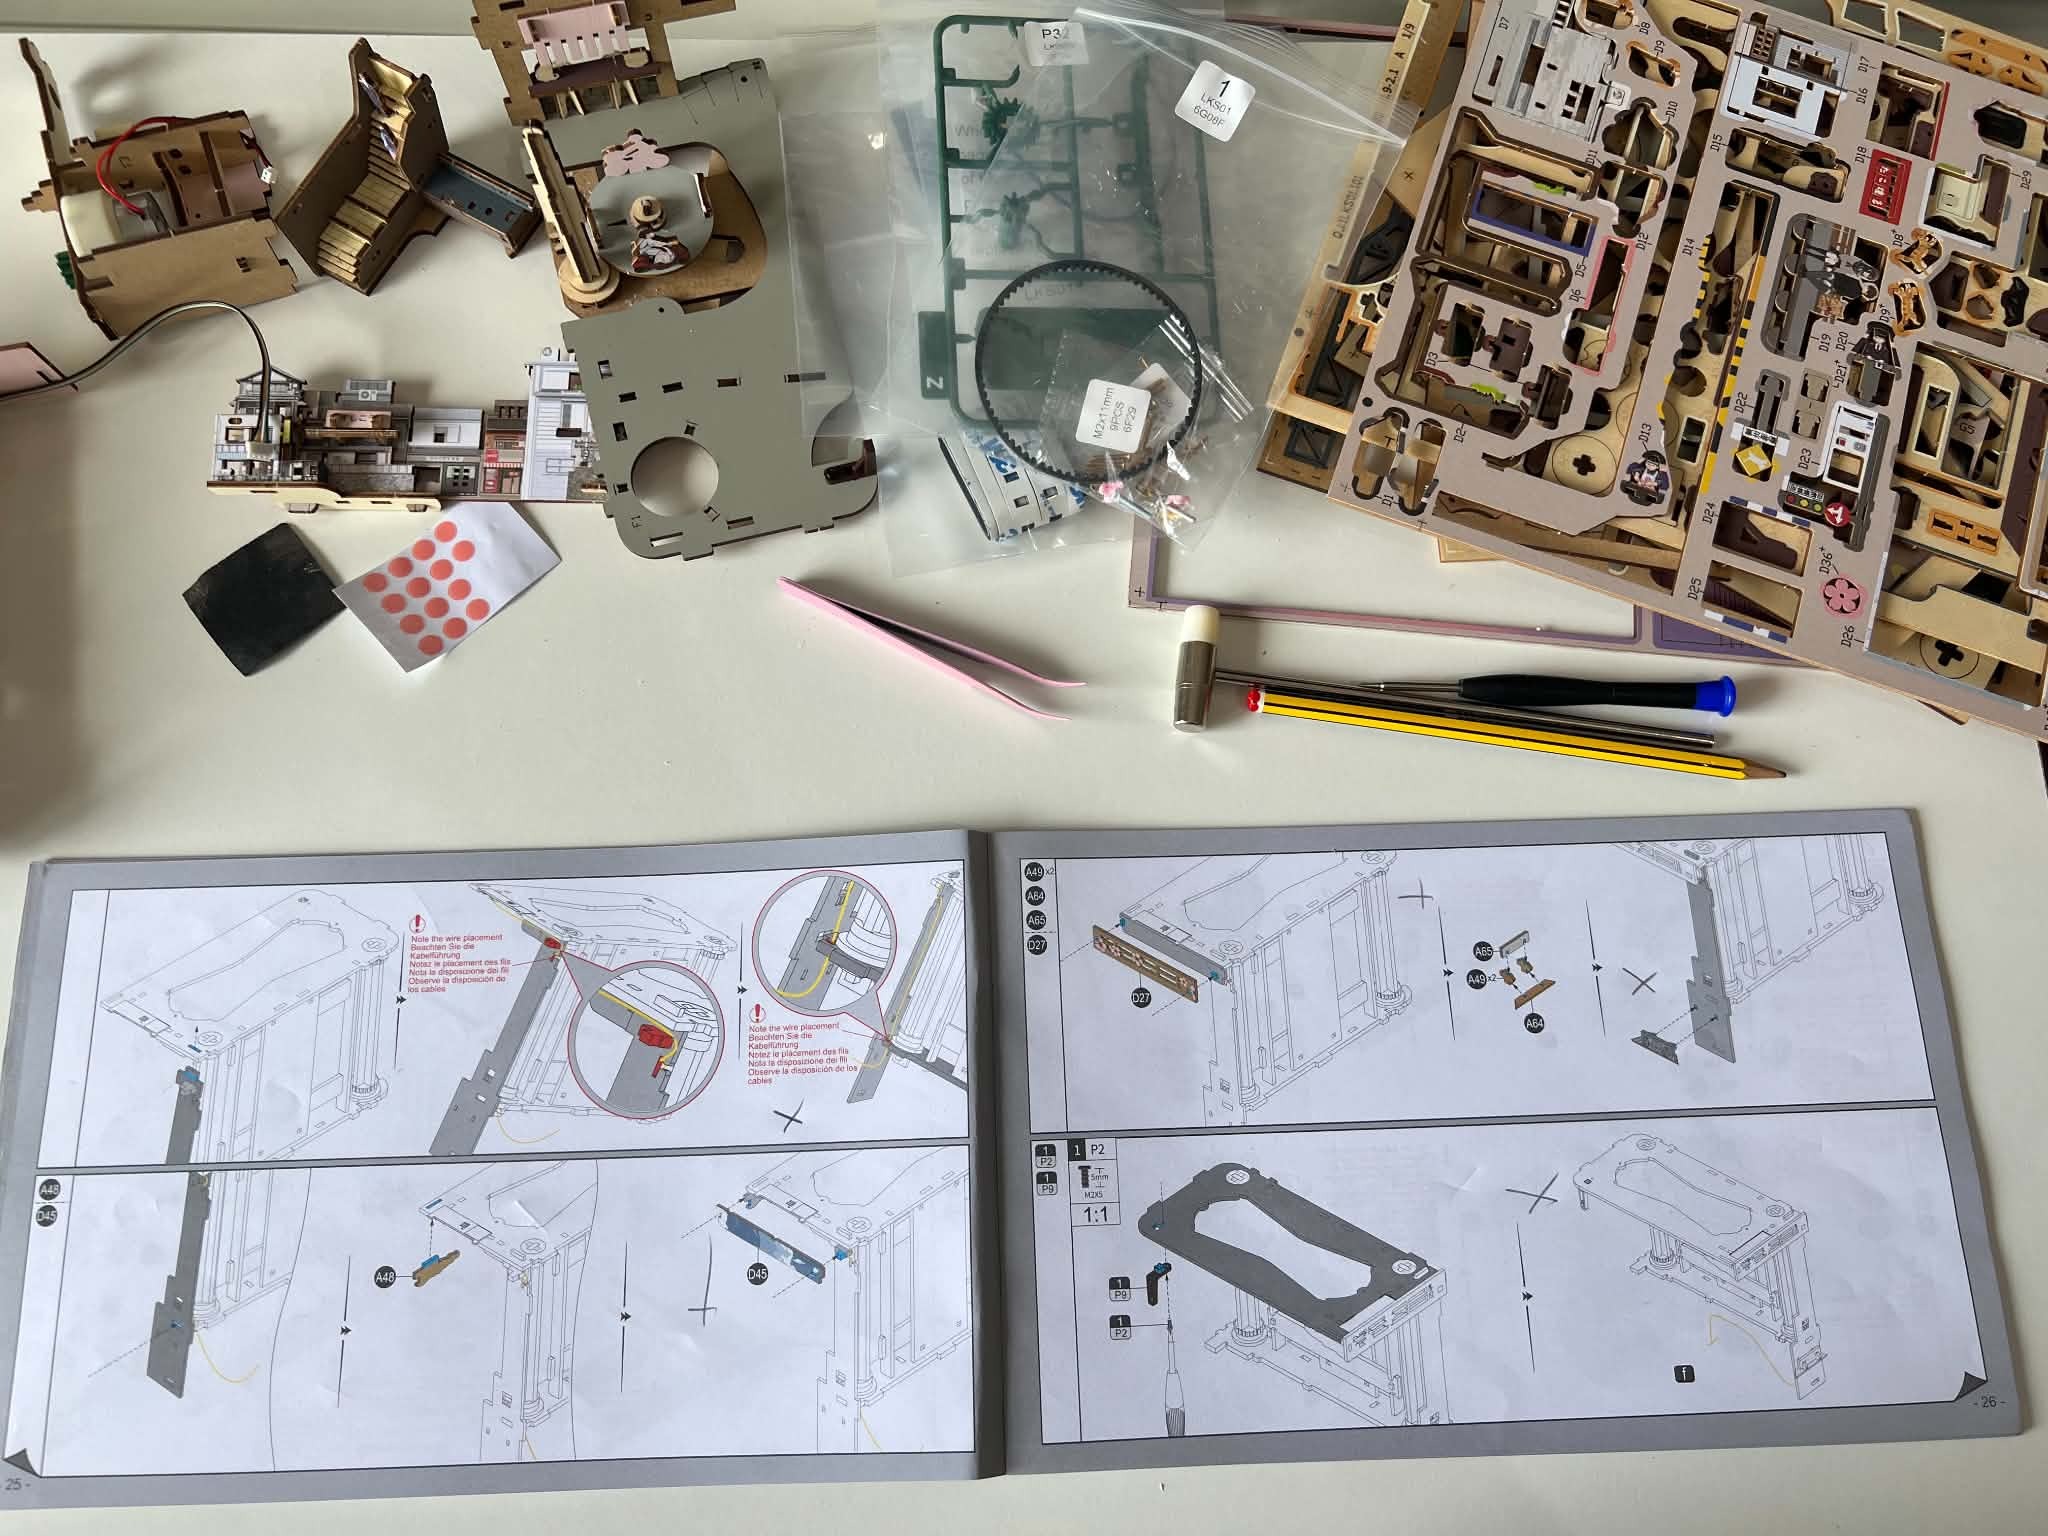
I’ve dedicated another two hours to it today; as I mentioned before, a lot of time is lost sanding absolutely every single piece.

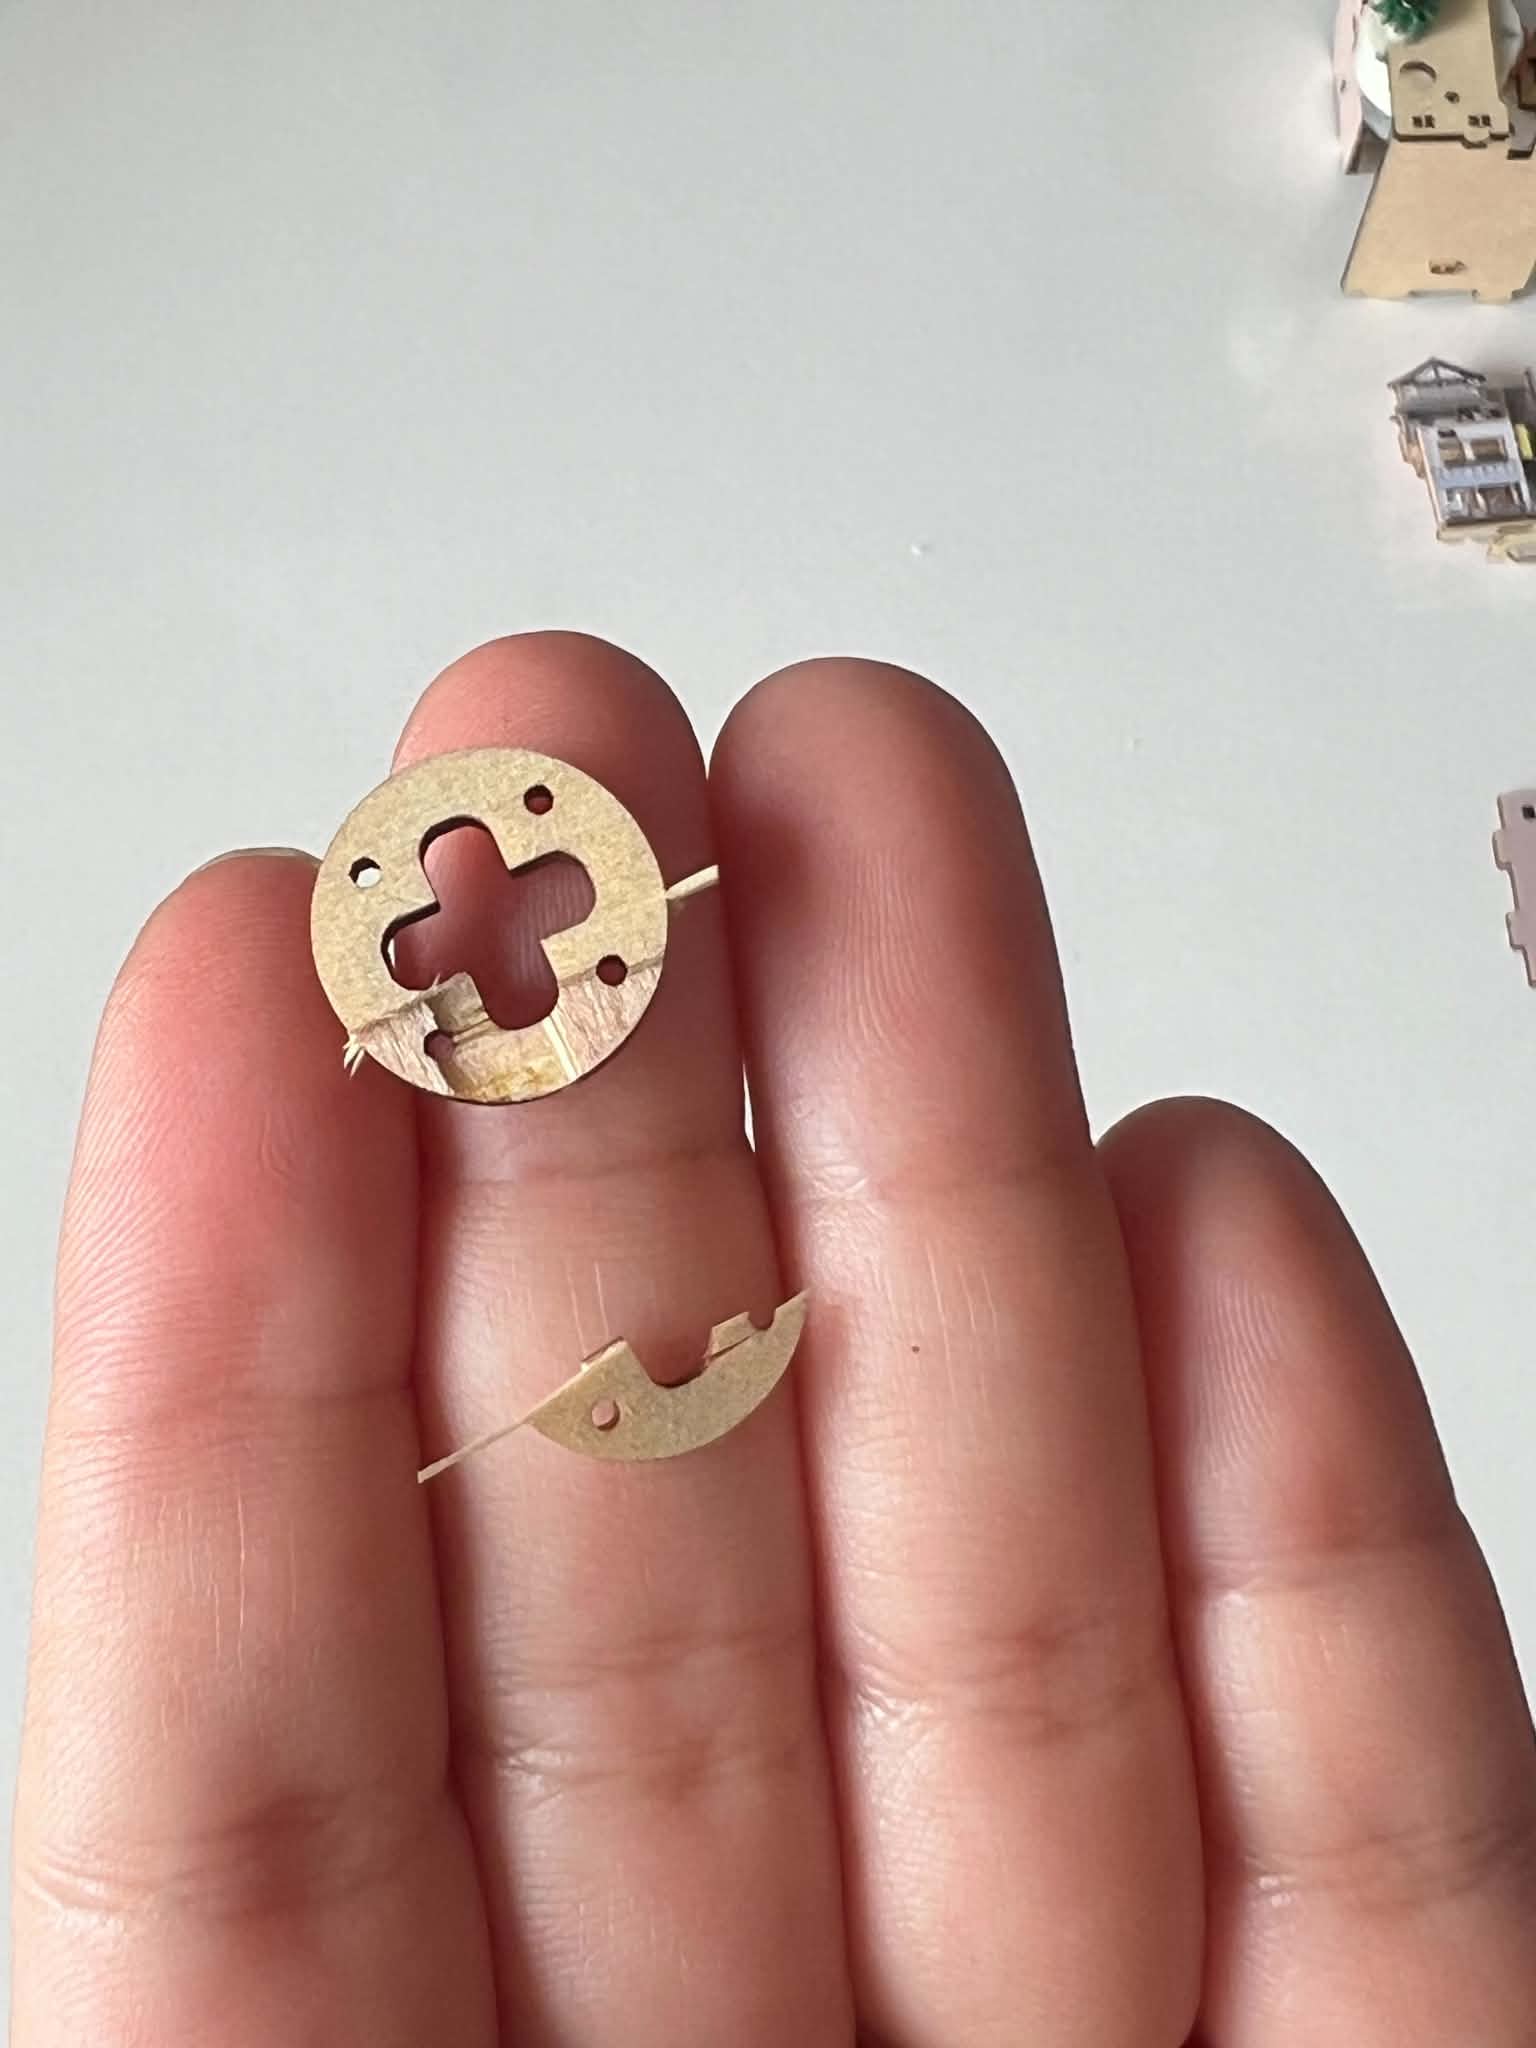
I take them out carefully, but they still break or come out wrong.

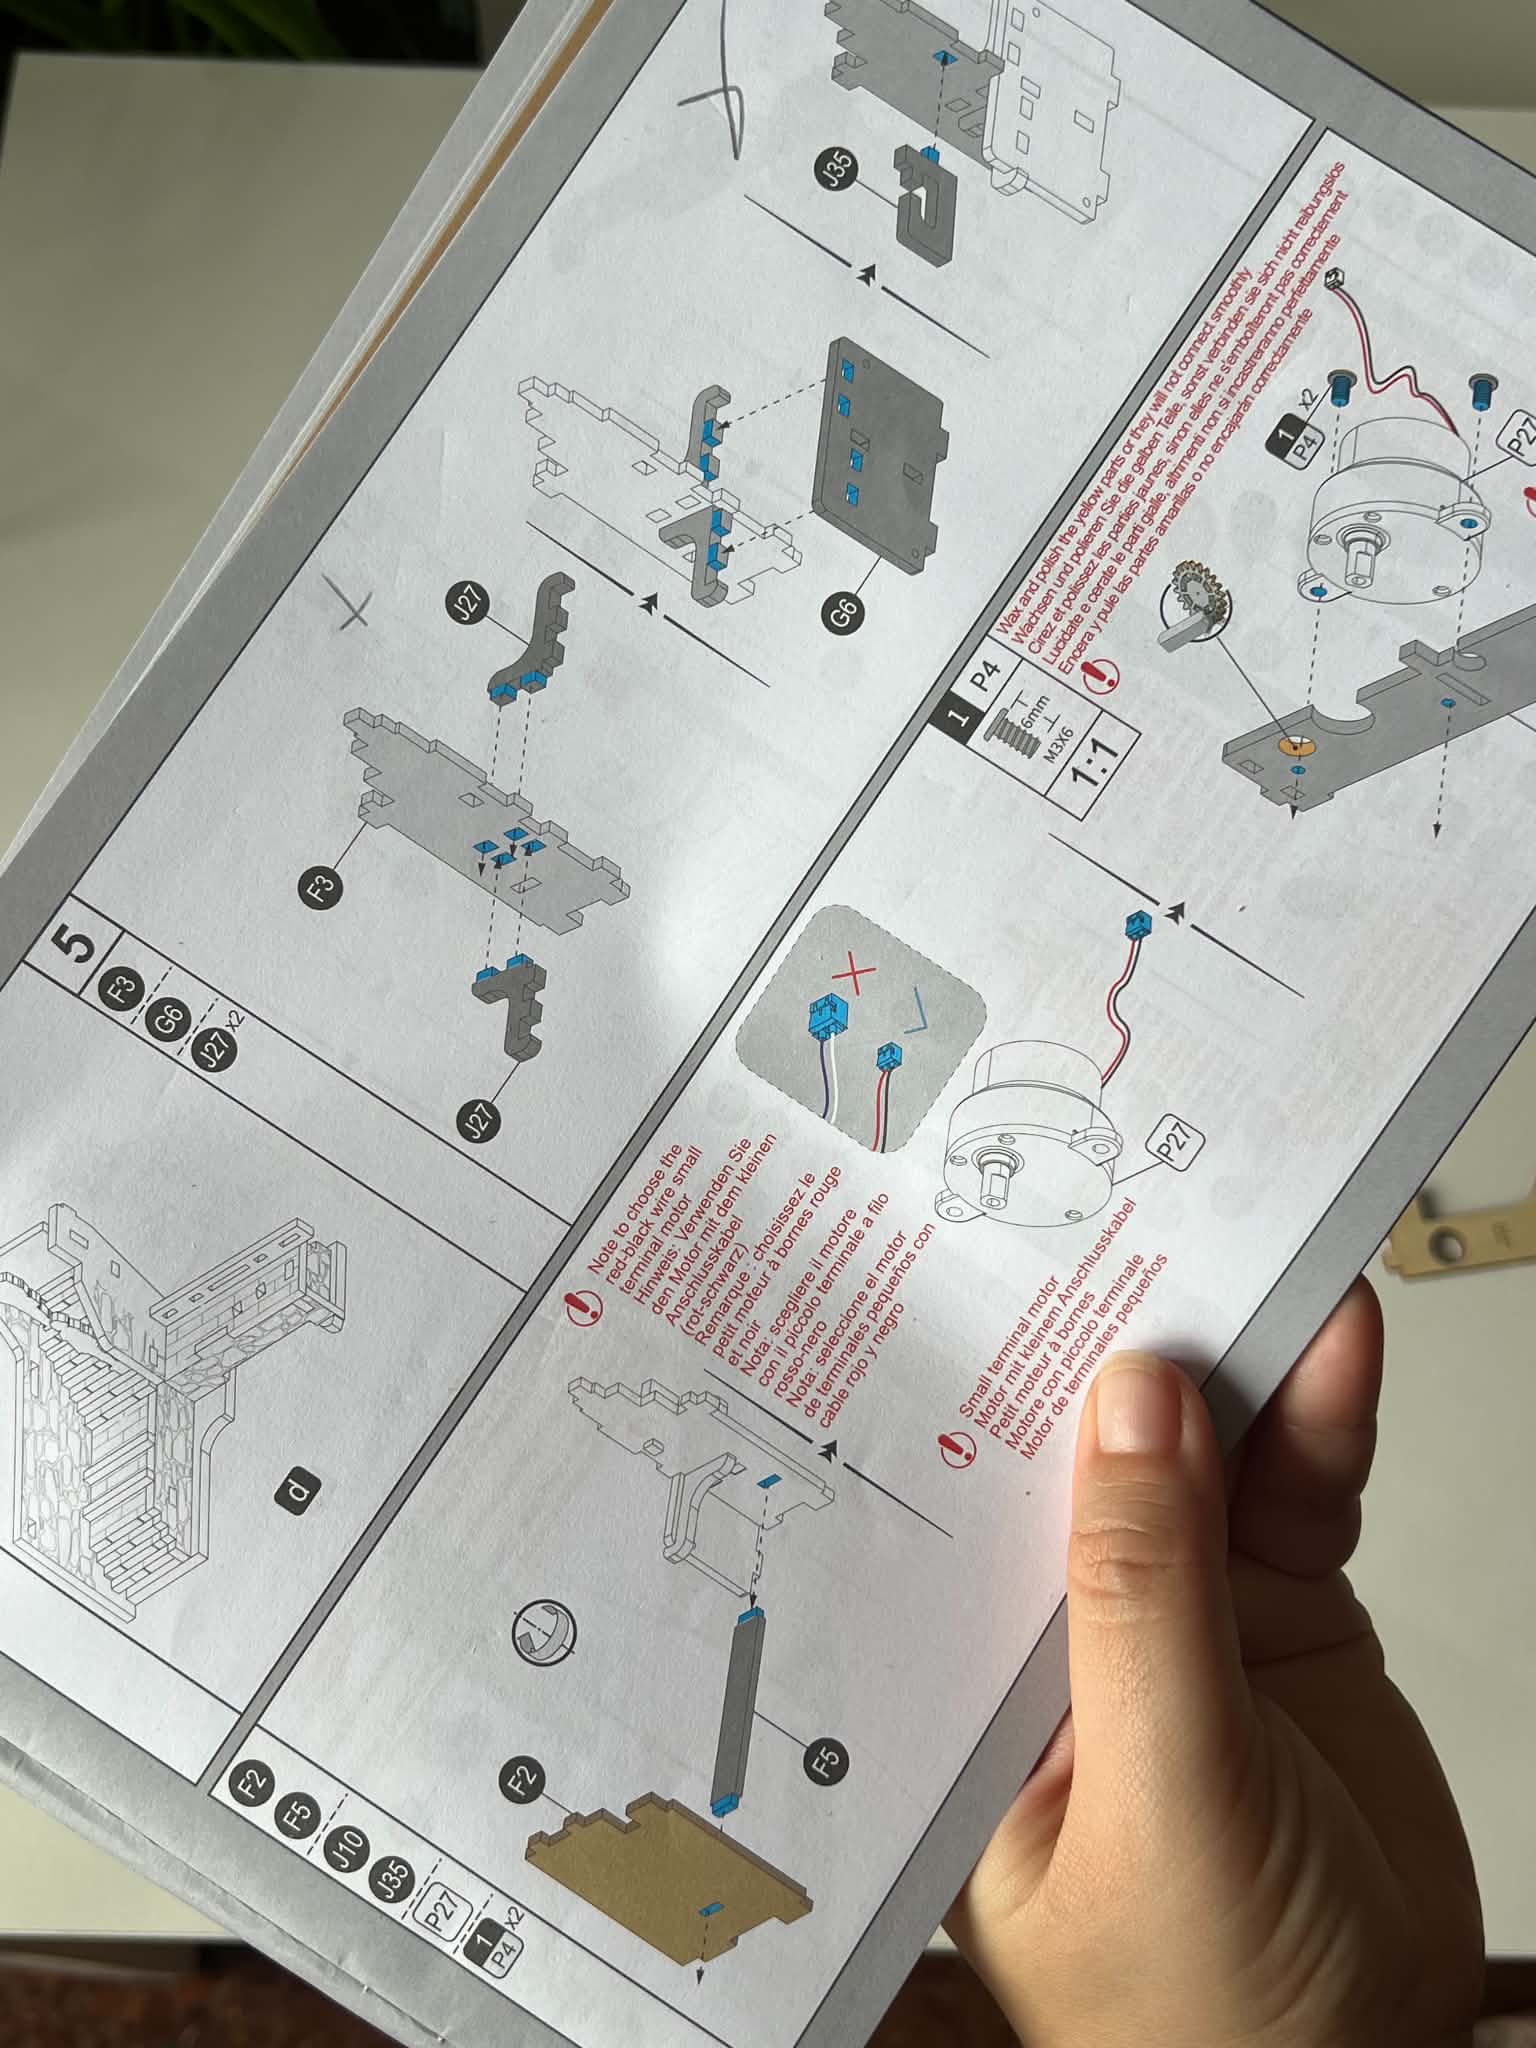
There’s another mistake in the guide: in step 5, part J35 isn’t listed, yet you end up needing it.
They’re silly errors, but fixing them would make the whole thing more polished.
Besides, I’m the type of person who—when I’m on step 5, for example—prepares the entire list of specified parts beforehand.

And this is all the progress I’ve made today; I feel satisfied—it’s quite a lot, considering how hard it is to get the pieces to fit!

6 Likes

omg. Is there another part available as a replacement, or do you have to wait for support?

Maybe you can fix the part with glue

You could try using a little glue to see if you can stick it back together! As for the instruction manual issue, I’ve made a note of it and will pass it along to our team. Thank you so much for being so attentive to these little details! :heart: :heart:

1 Like

@Sasa oh hun shame about the part :confused: did you fix it … theres definitely a lot more steps in these kits hun and yes i agree some of the instructions can be a tad misleading …:heart:

Ouch! I hope you’re still able to fix that piece with glue

I do the same thing, prepare for each step, so I would share your frustration with this.

Did the piece glue back together well? It looks like the back of the wood just flaked right off the part!

1 Like

This is really beautiful!!! it doesn’t come with spare parts? hope there is one.

1 Like

Oh no. Hopefully you were able to fix the piece

1 Like

I hope you managed to get your piece glued back together or find a spare

It’s a shame there’s a few errors in the manual, hopefully your feedback will rectify future kits

No, there’s no replacement part for that! I had to resort to using glue.

Yes, it’s the only thing I could do; I glued it back together since there’s no replacement part available.

Thanks! I’m glad you reported it!
Yes, I had to stick it on with glue. :sparkling_heart:

Yes, luckily they’re reporting all the errors I keep finding.
Yeah, I managed to stick it back on with some glue, haha!

1 Like

Hahaha, yeah, I stuck it on with glue—it was the only thing I could do.

1 Like

Yeah, it really throws me off when it shows all the pieces for step 54, but then, halfway through assembly, other pieces appear that weren’t even mentioned for that step…
Yeah, I glued it on.

1 Like

Thank you very much! No, there are hardly any spare parts!

1 Like

Yes, you can glue it using the white glue that came with a Rolife kit.

Yes, fortunately they are logging all the issues I’m coming across.

Luckily, I was able to fix it with glue—thanks!

2 Likes

Oh my!!! need to be careful with these kits that doesn’t have spares.

1 Like