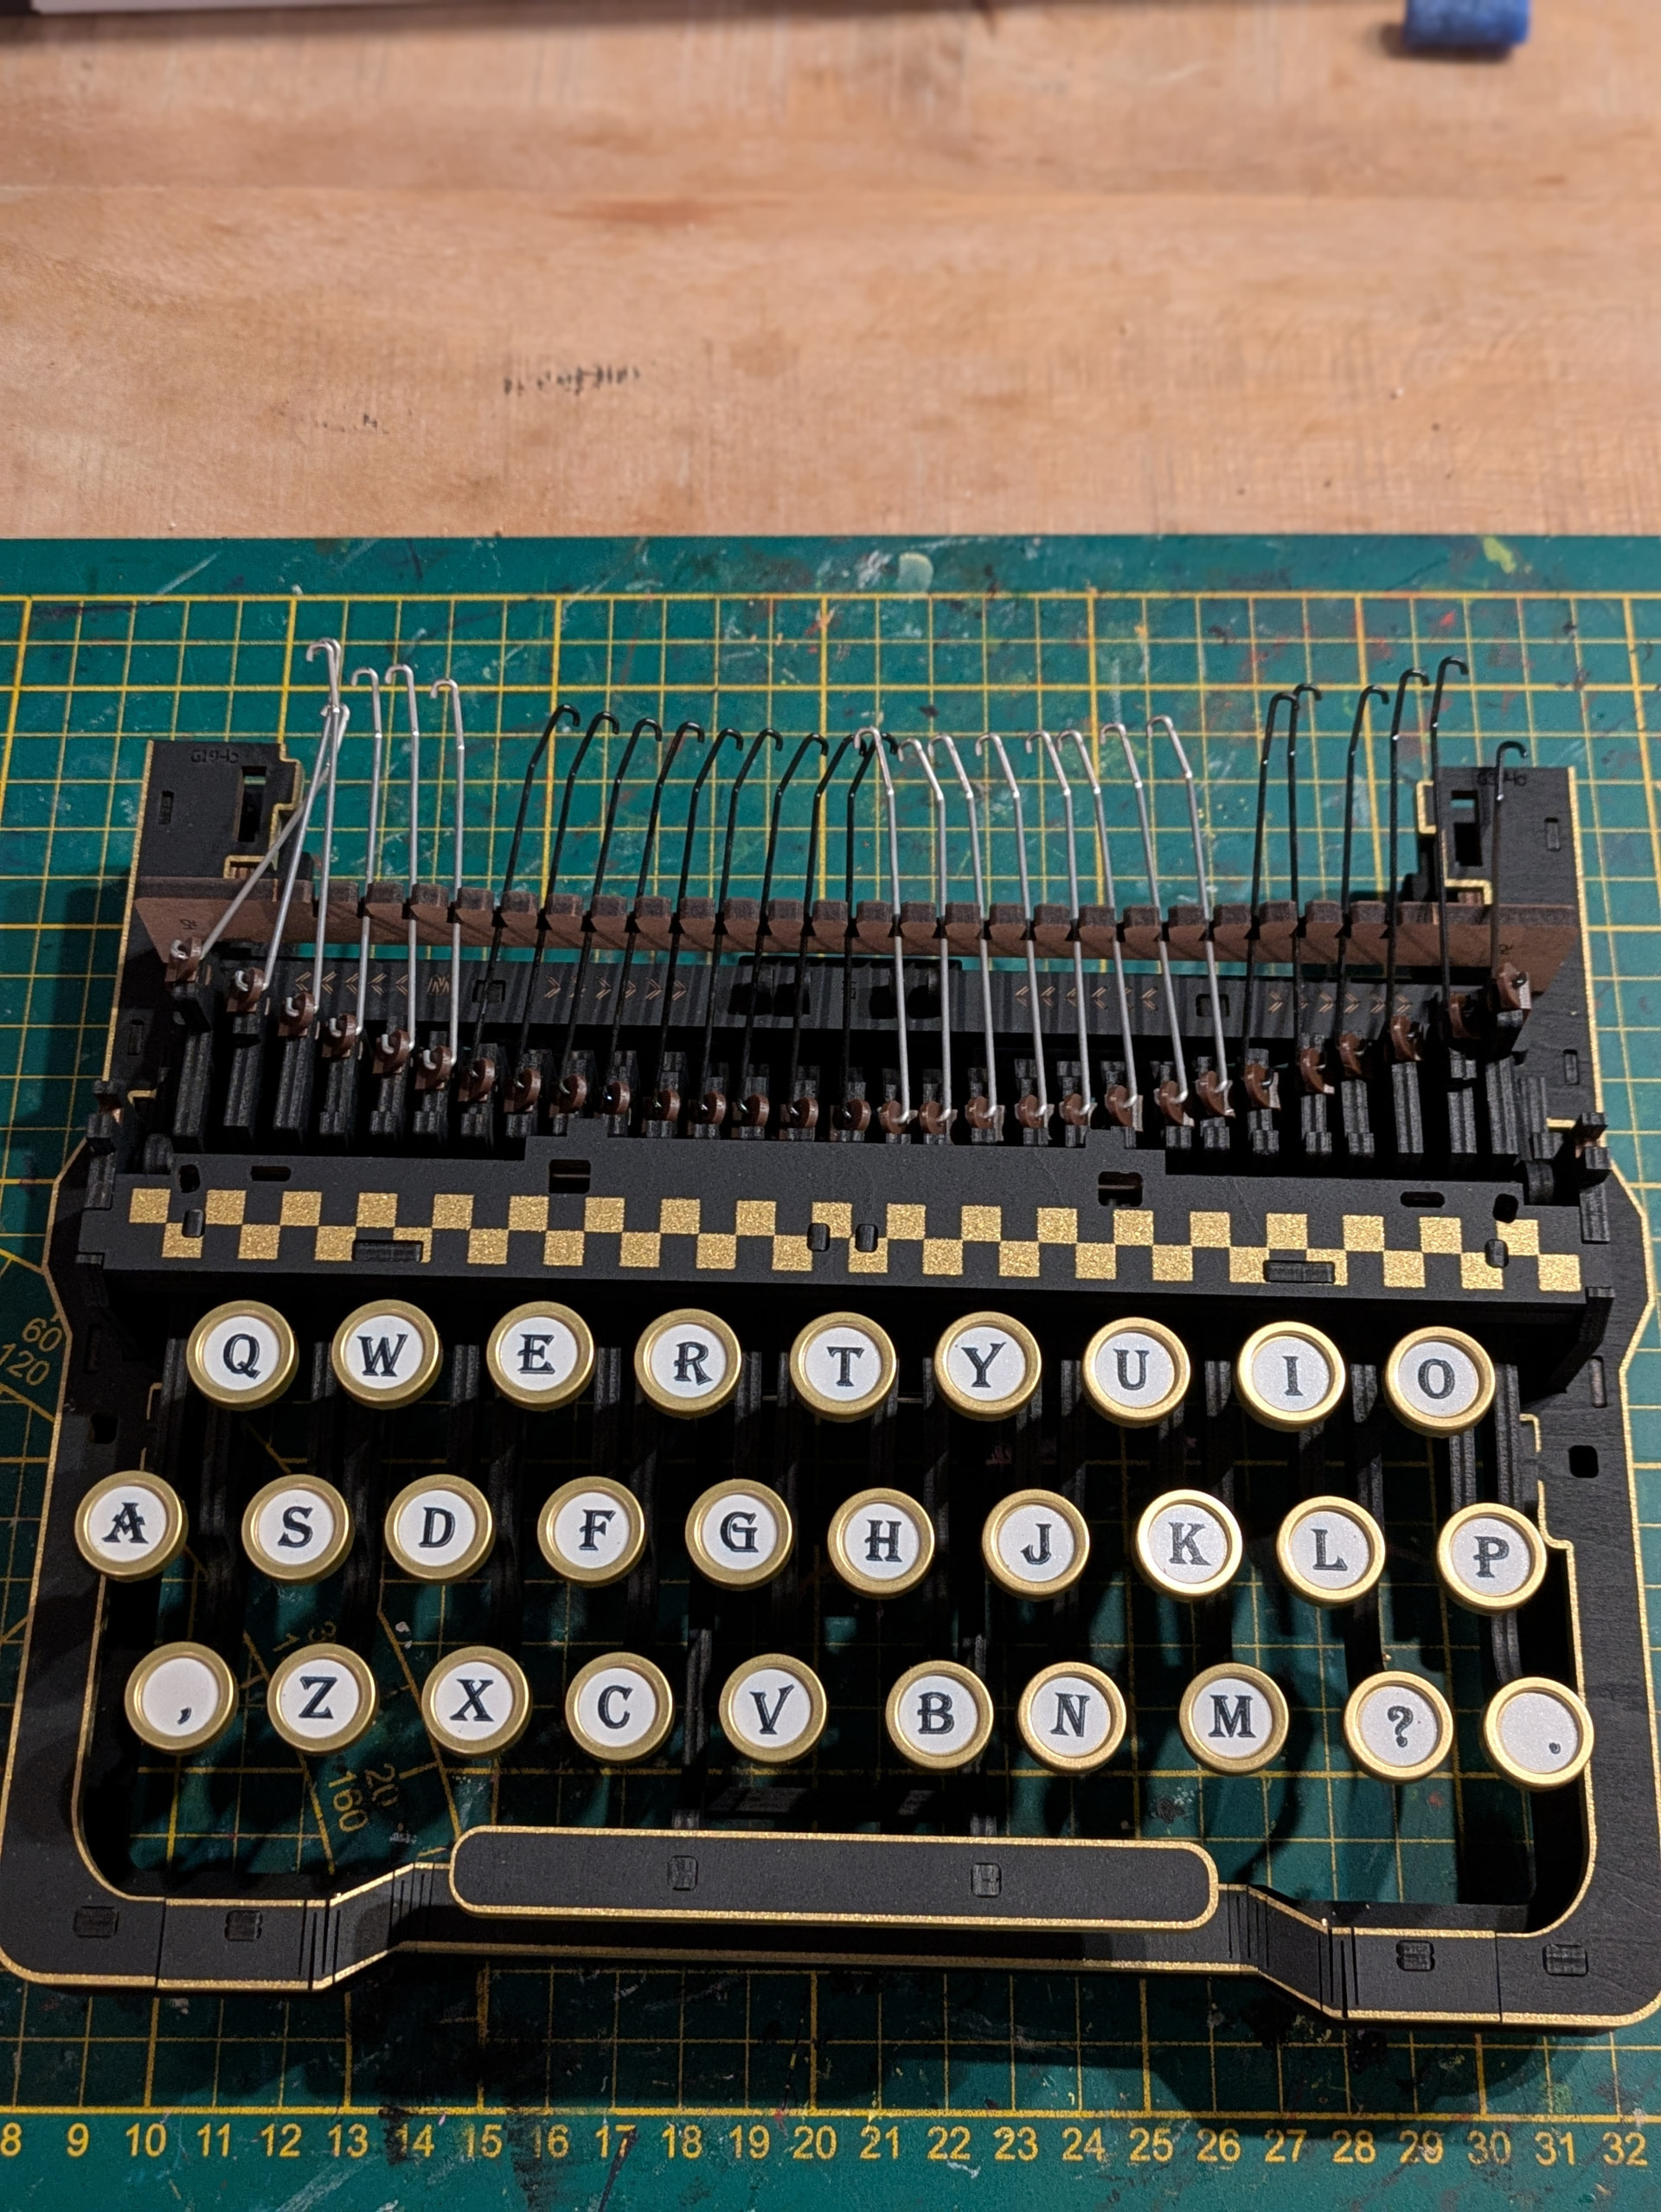
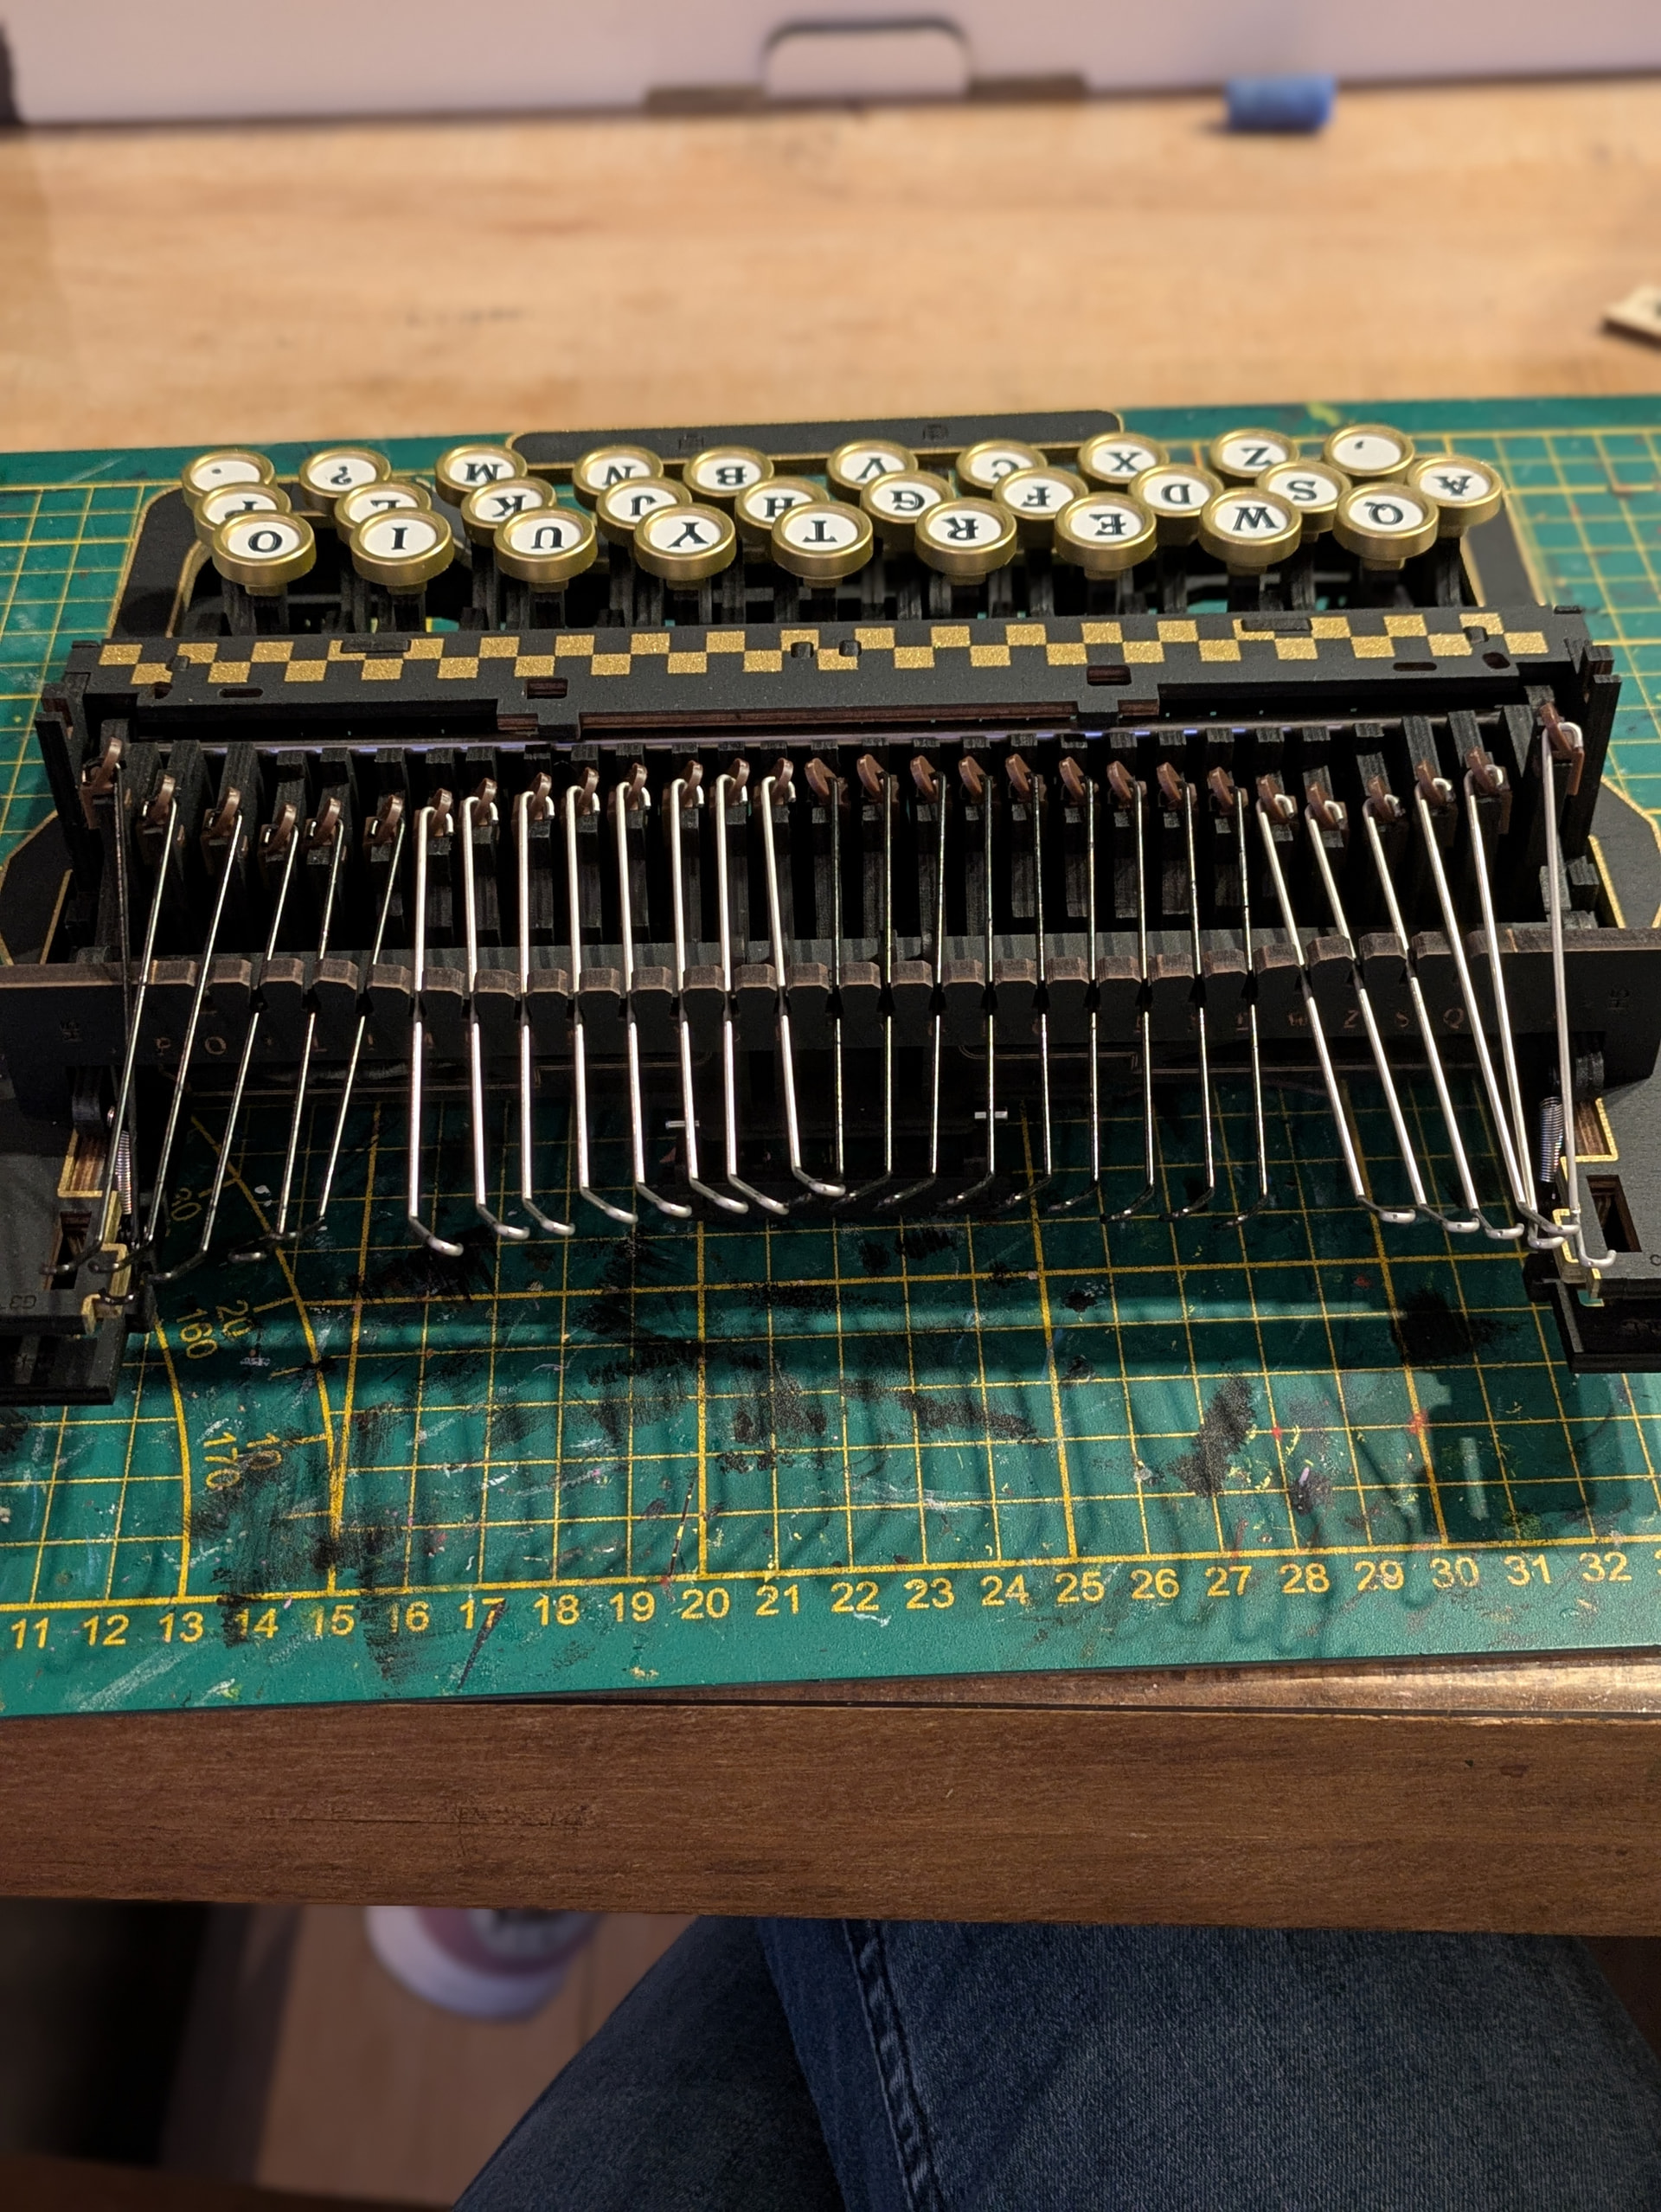
Here is a small update on the typewriter. The keyboard is assembled. It was a bit complicated at times. I had to read the manual three times to figure out what was supposed to be done. There are small springs on the back that were tricky to attach, but after a bit of fiddling, I managed it.
When installing the hooks, it is important to pay close attention to which side to attach them from. The black hooks are attached from the right side, and the silver ones from the left side.
You did a wonderful job overcoming those tricky springs and assembling the keyboard. Your detailed advice about the hook placement is incredibly helpful for other builders. We are so excited to see the finished typewriter come to life.
You have done a fantastic job navigating the intricate details of the typewriter keyboard. Your persistence with the manual and the springs is truly inspiring, and your specific tips on the hook colors will be so valuable for fellow builders.
It is so impressive to see how you handled those tricky springs and complicated steps with such patience. Thank you for sharing these helpful tips about the hook colors to guide your fellow builders. We are cheering you on as you continue this beautiful project.
Oh wow, the letters are already there! It seems like a proper challenge indeed. Thanks for sharing! I’ll keep the black/silver guidelines in case I build this at some point in the near future.
This looks amazing. I’ve just seen the typewriter on an Australian website but they are veeeerryyy expensive. I am going to live vicariously through you.