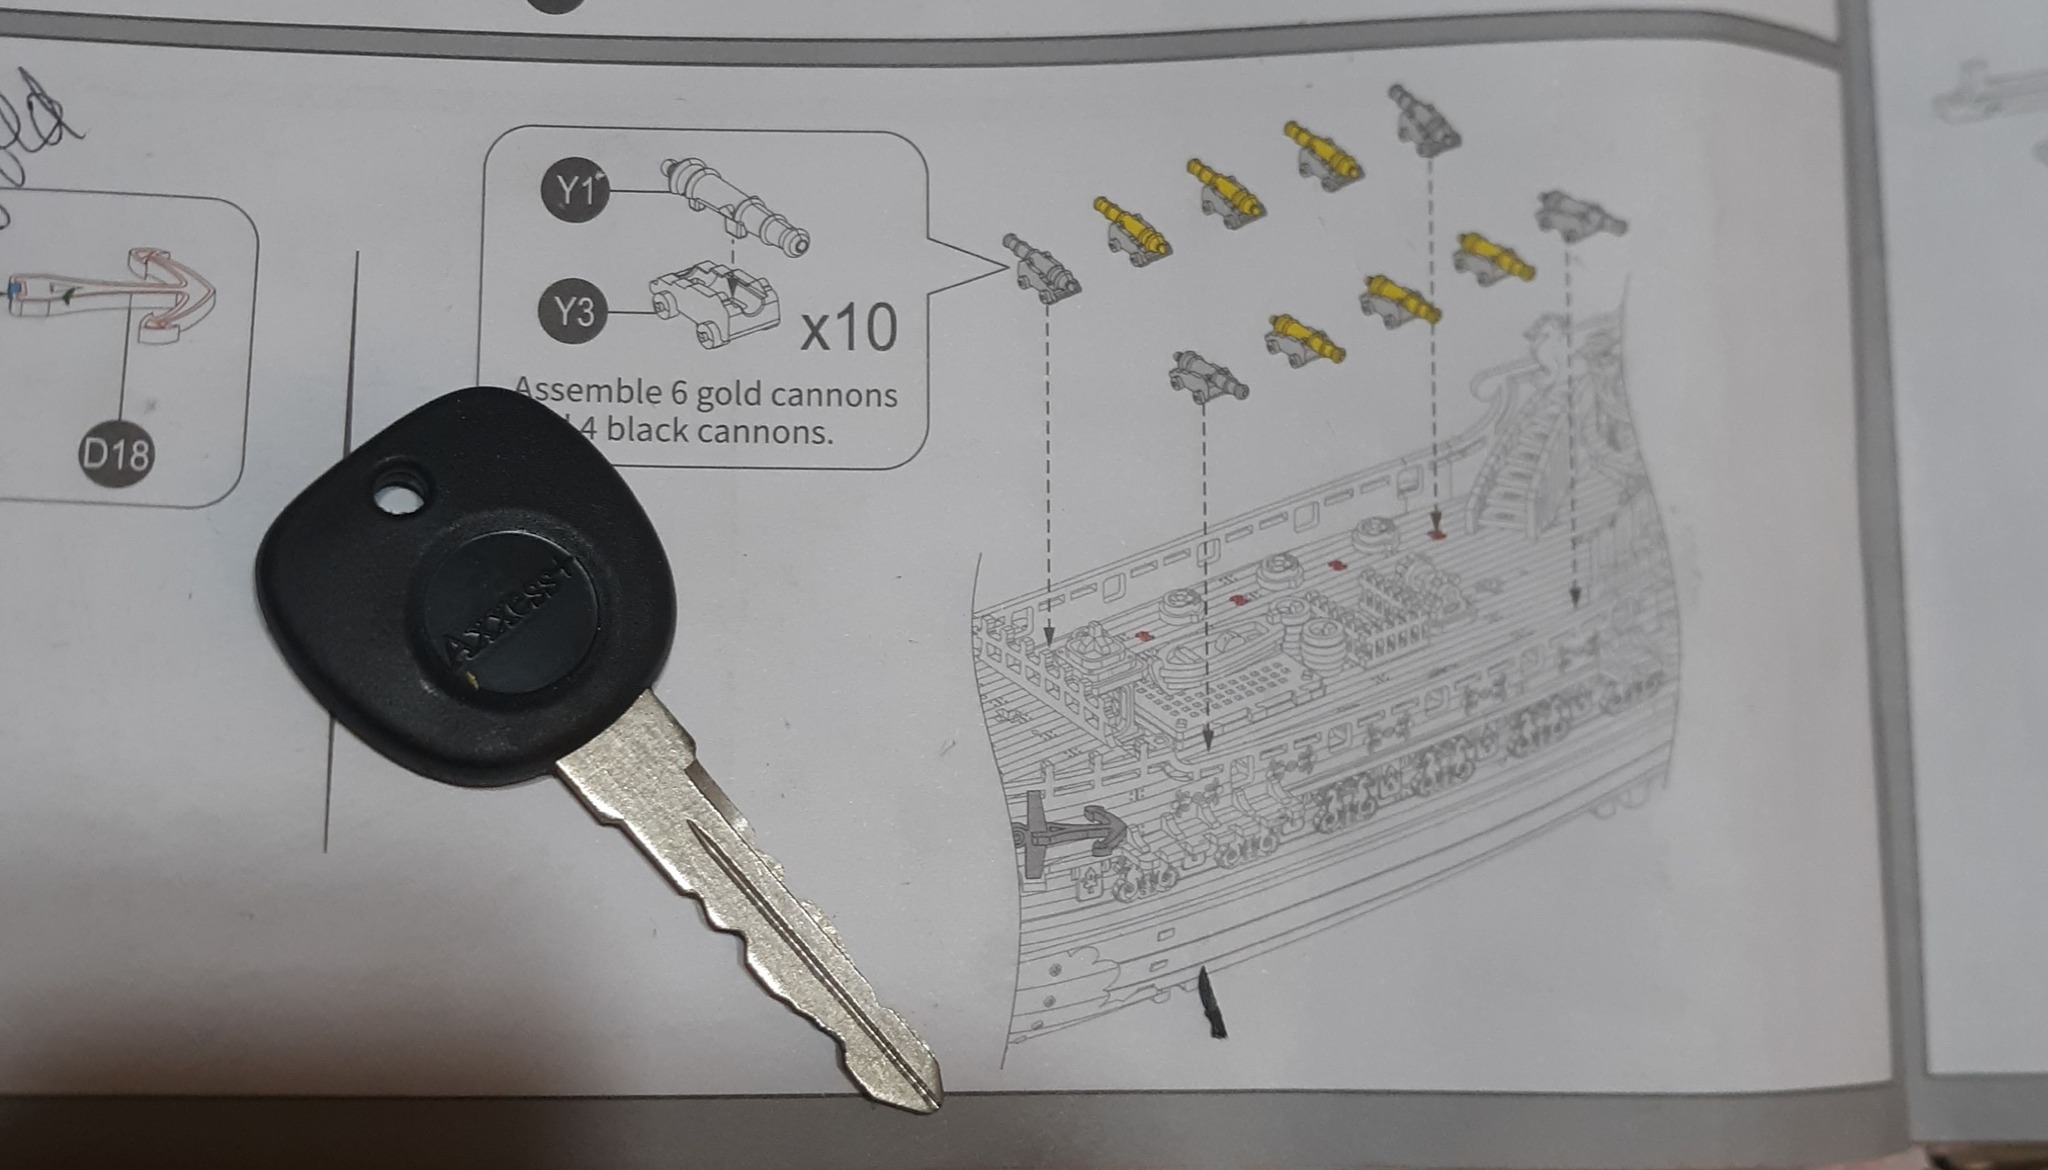
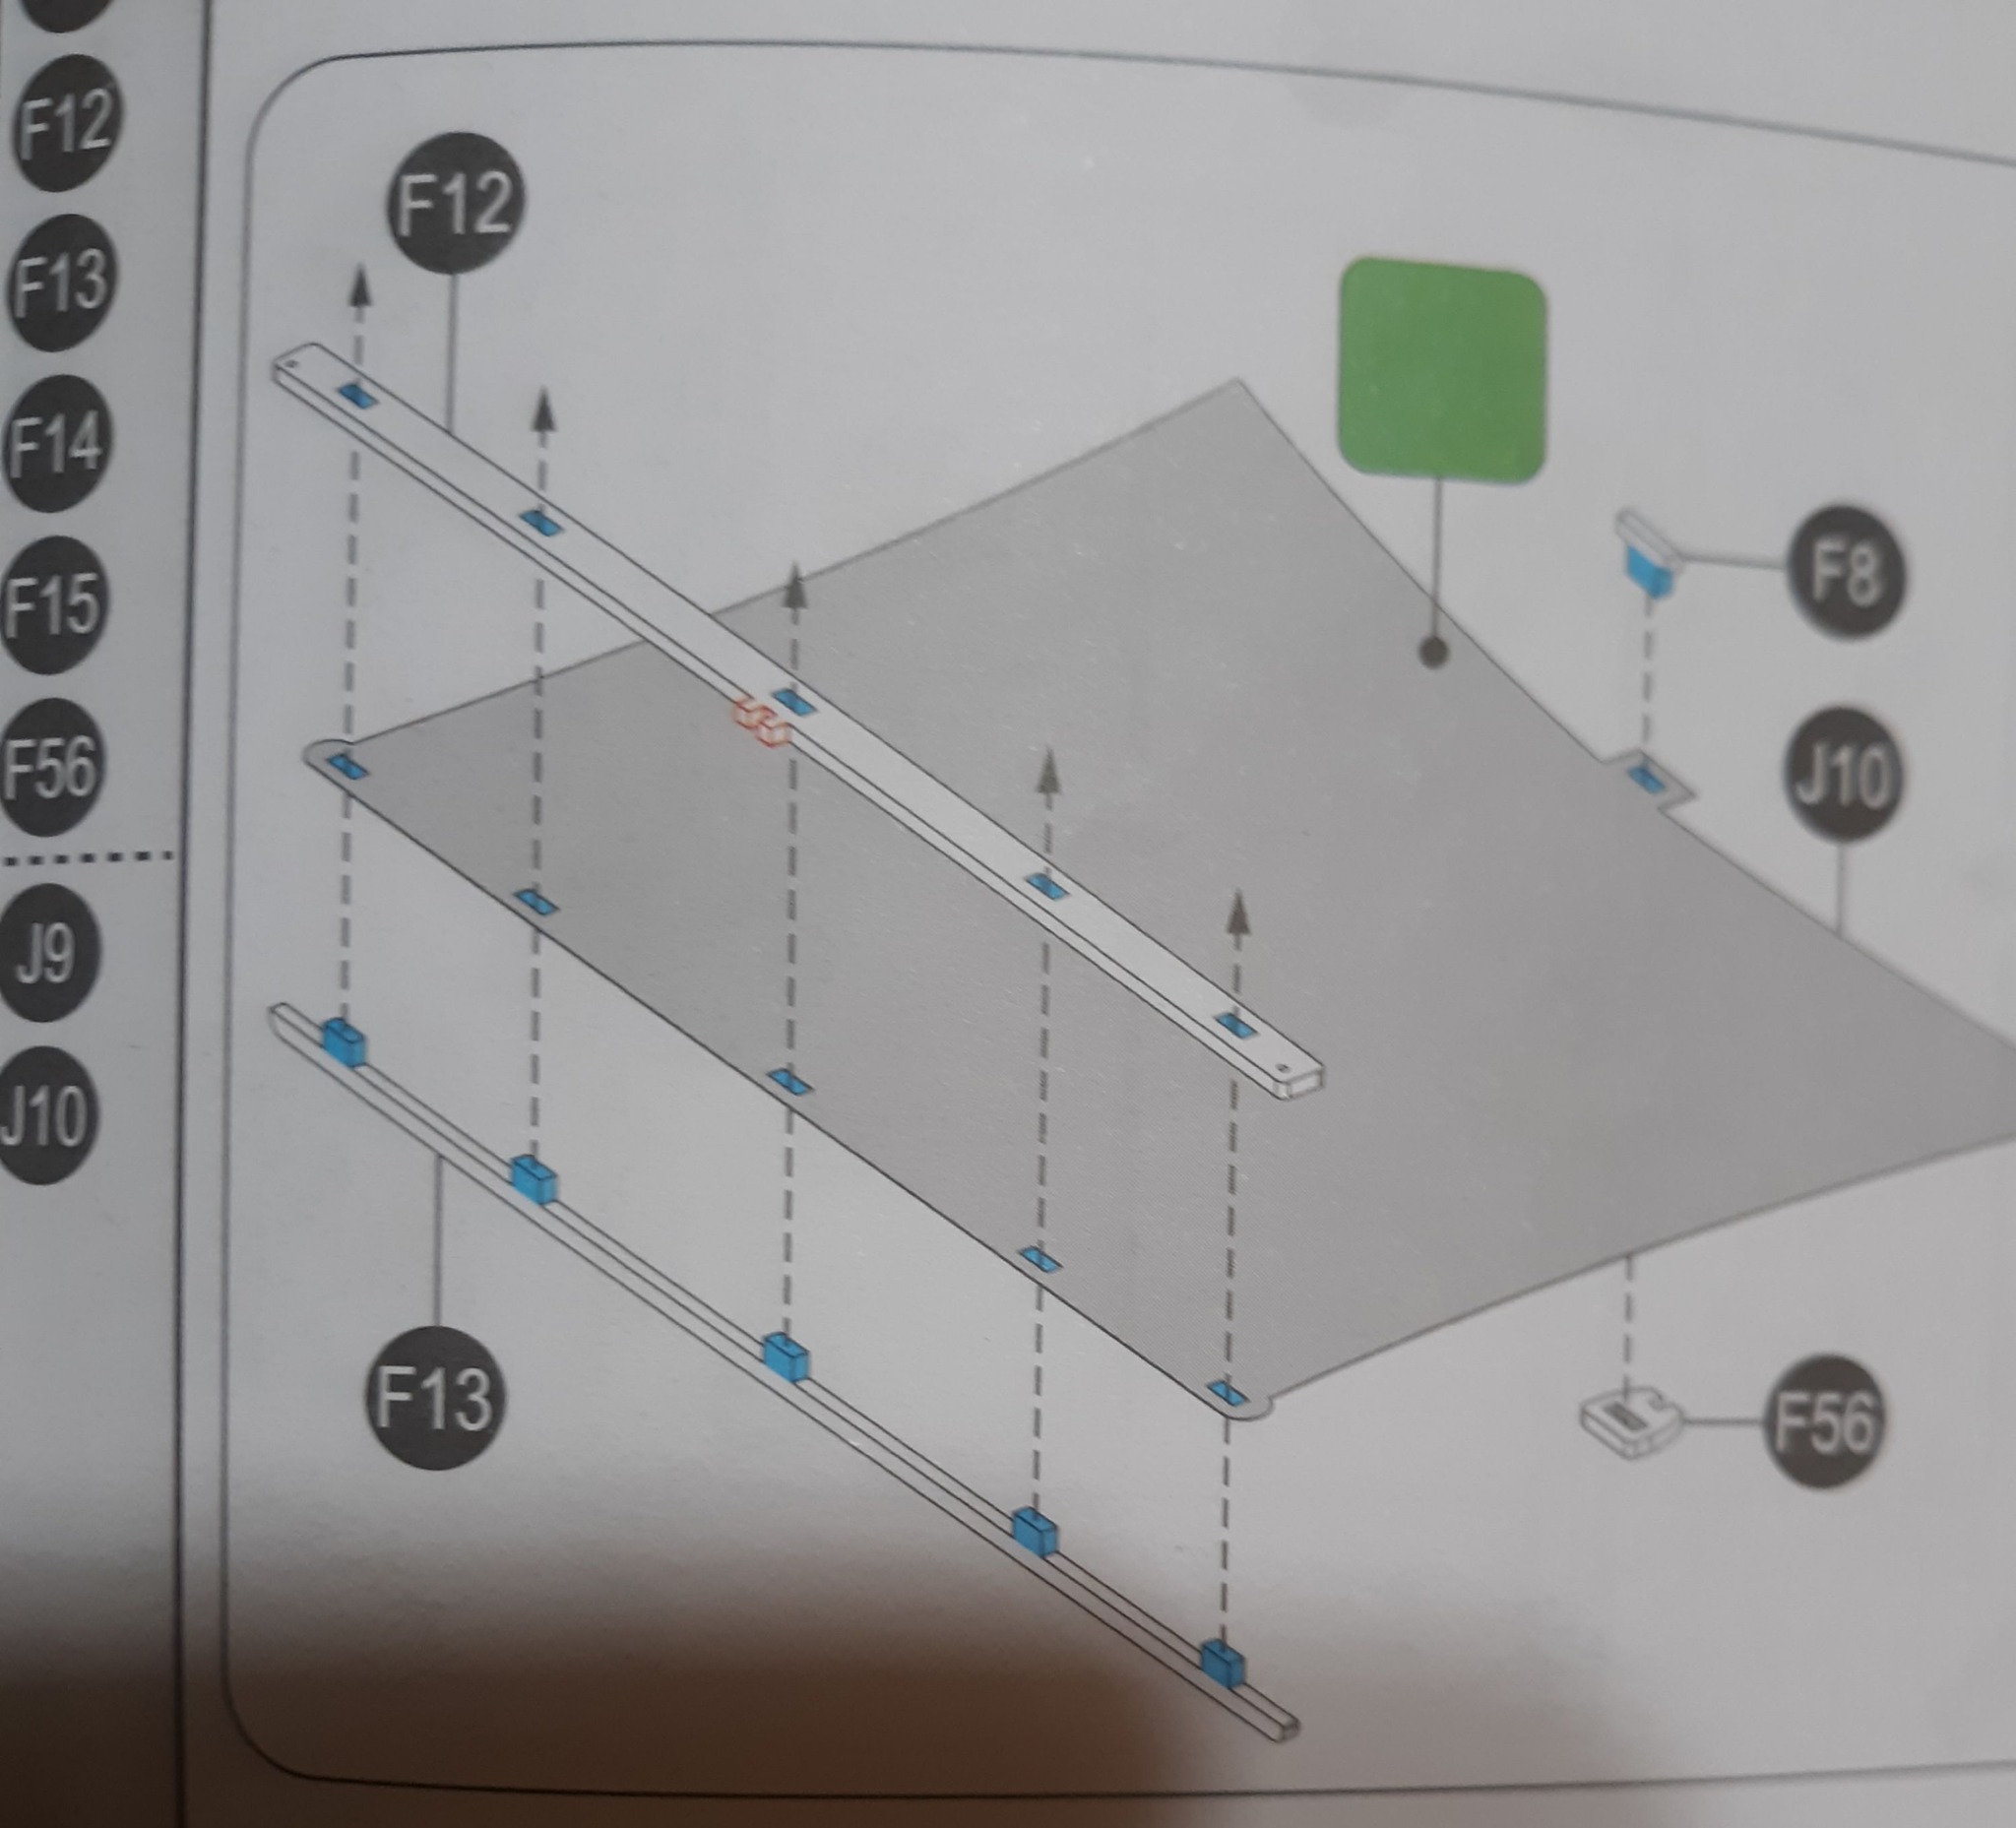
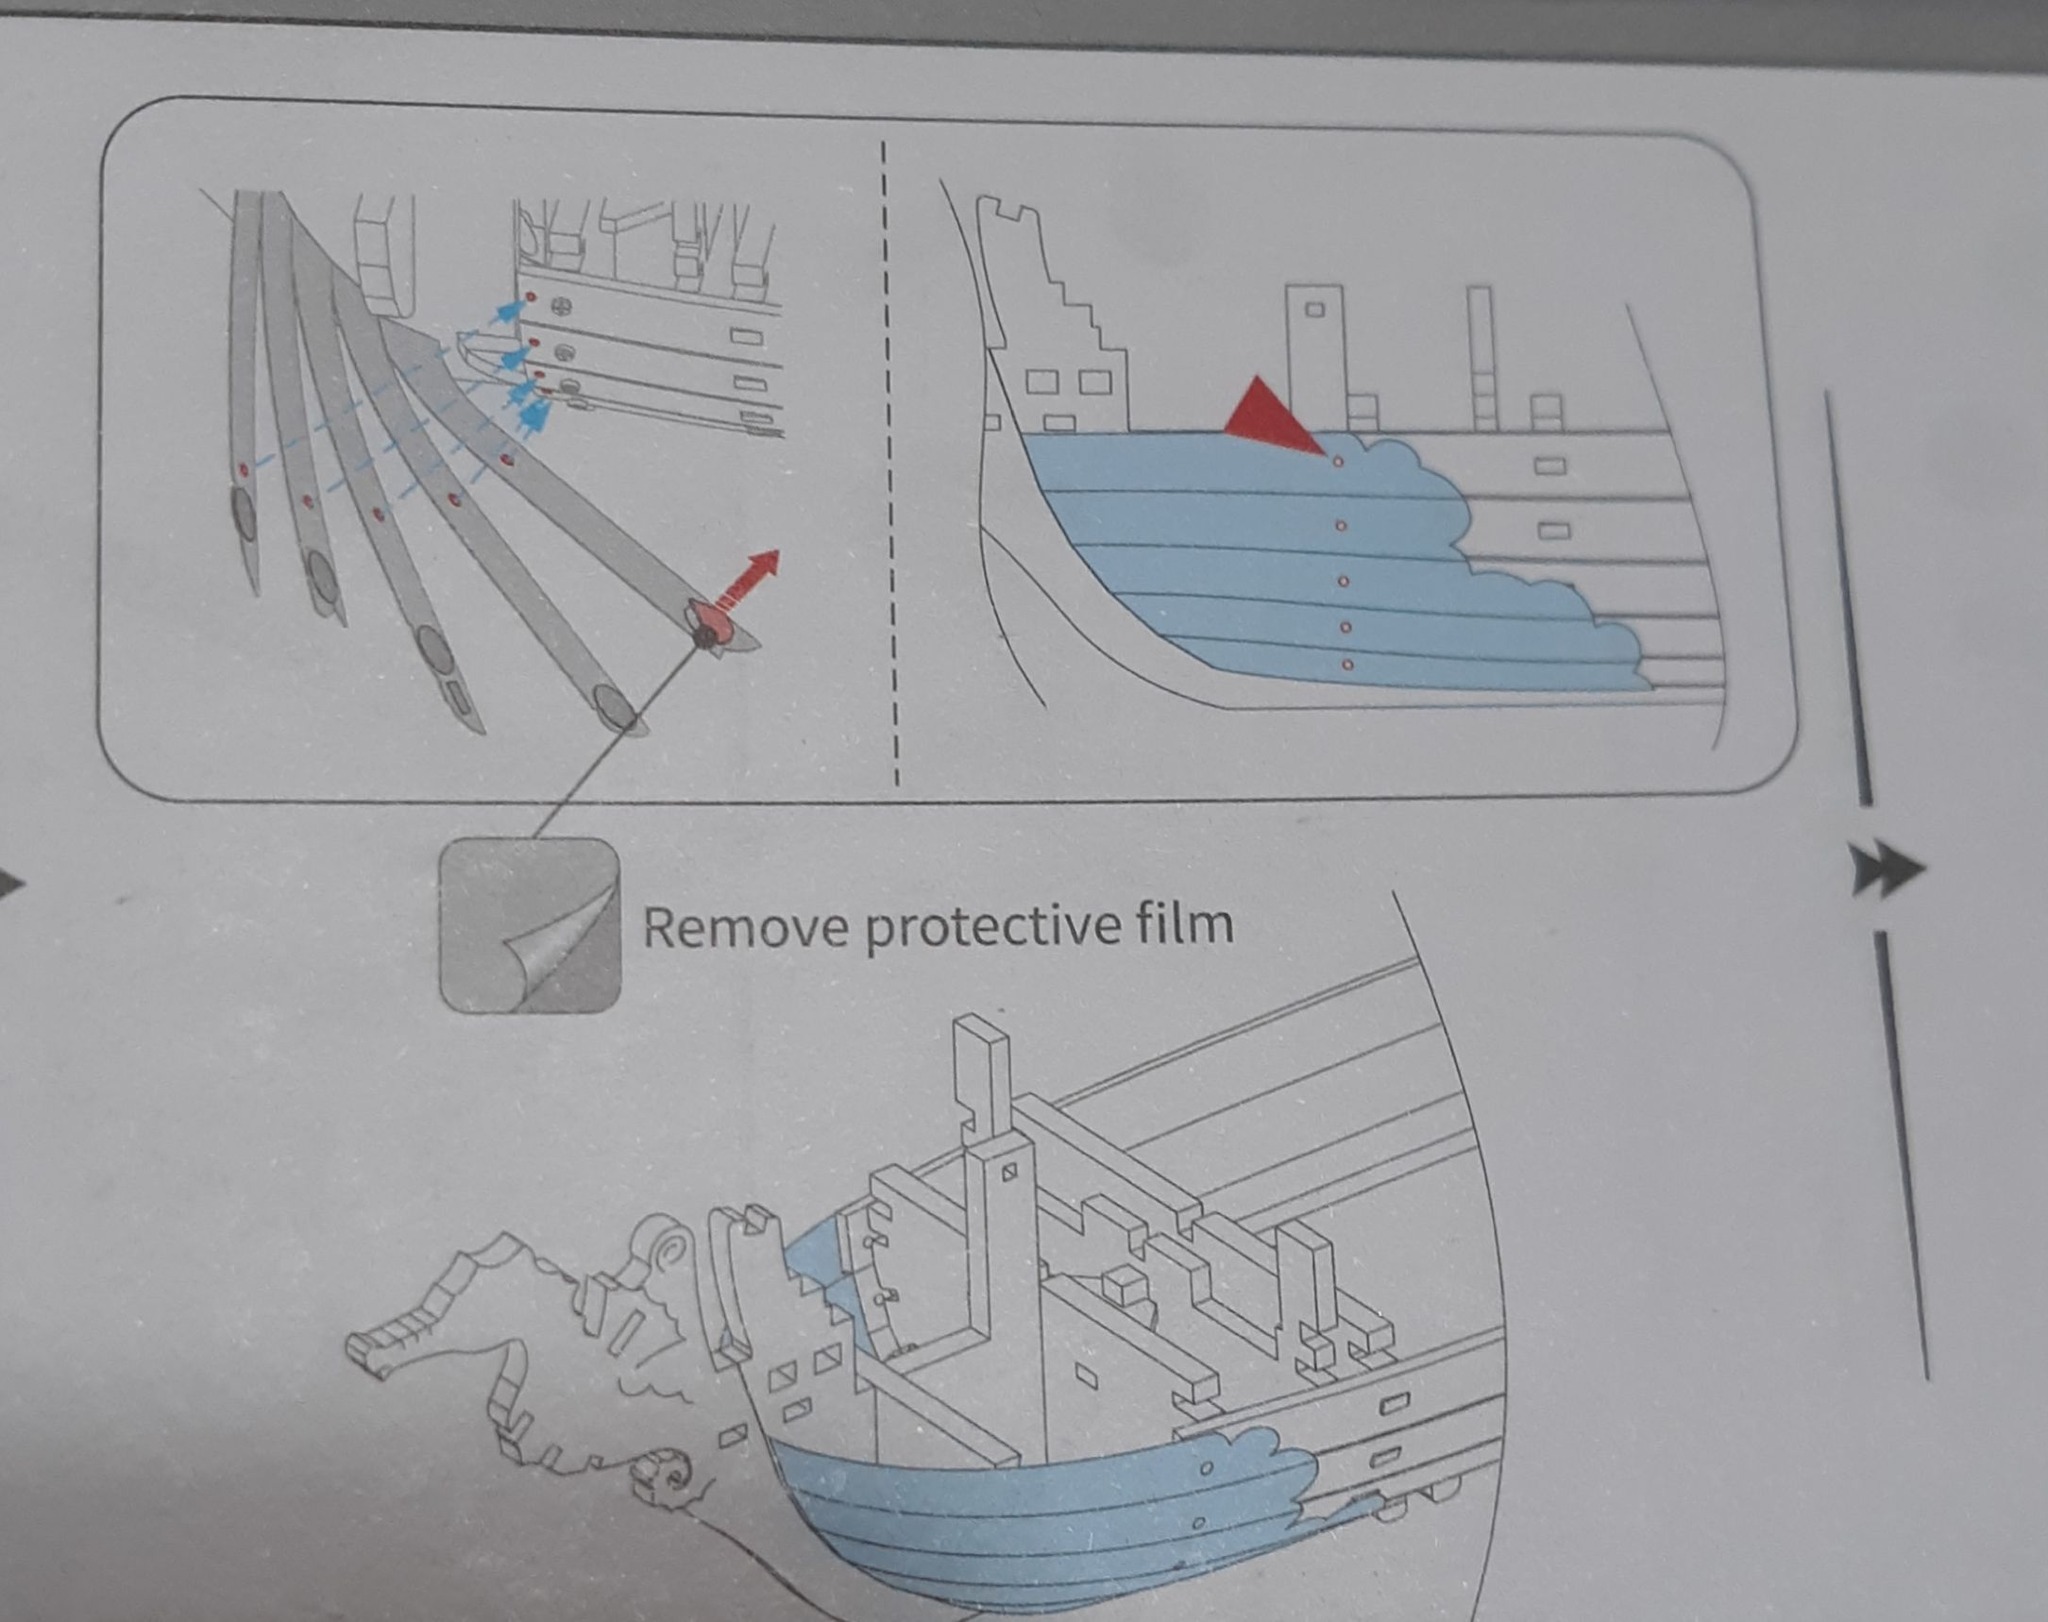
I know that quite a few people have already done the Seahorse and I recall some struggles in 3 areas. Here are some tips I thought I would share for those of you who haven’t yet embarked on the journey. 1. When building your sails, lay the pieces down in reverse order so that your flat piece is on the bottom and your picture is facing upright. It is much easier to press the prongs piece downwards instead of trying to do it the way it is shown in the pictures. 2. I’ve seen many people say that they had to glue all of their cannons in. I found it was quite frustrating to try to get the Cannons into their little wagons when that piece has a little bottom sticking out so you can’t press down firmly. I stuck that little piece sticking out into a key fob and it made it perfectly flat. I was then able to press down very hard on the cannons and they actually clicked into place. No glue needed at all. 3. When installing the cardboard piece for the front and the back, it is very important that the holes line up exactly. I started from the bottom and put regular Elmer’s Glue on a tab and then put it into place and stuck a toothpick or a needle through the hole and firmly held it in place for a minute. I then proceeded to do the rest of them in the same fashion. This way I was able to make sure that the holes lined up perfectly. I hope this helps someone else down the road
20 Likes
The Seahorse is a nice collectible, but if something goes wrong during the process, it will be frustrating.
Anyway, thank you very much for sharing 
1 Like
You’re amazing! 
1 Like
Thank you so much for sharing! Although at the moment I don’t have the ability to build such complex kits, hopefully I’ll be able to share the same tips as you on putting together those complex kits someday!
1 Like
@Inorg I am so sorry to hear that you may have had a problem. If so, were you able to fix it? I hope so, because it is an amazing model.
@Yoki whatever is impeding you from doing so right now…I hope it gets better for you. We all learn a long the way.
@cheomu I just like to offer help if I can.
Thank you for the kind reminder! I actually just purchased this product and I’m really looking forward to sharing my building experience with you.
1 Like
Thanks for sharing, this product looks great and worth the time
Thanks for sharing all this, I’m sure it’ll save a lot of people from some frustration!
Thanks for sharing, I don’t have The Seahorse yet, when I do I will back to see your suggestions.
1 Like
Very practical and easy to understand! 
1 Like
Thank you for sharing @Nita_Davis it may help people when they start at this build
1 Like
Really appreciate you sharing these tips! I just started my build and already hit a snag—got one end of the long wooden piece in place, but the other end’s hole doesn’t quite line up.  Do you have any suggestions?
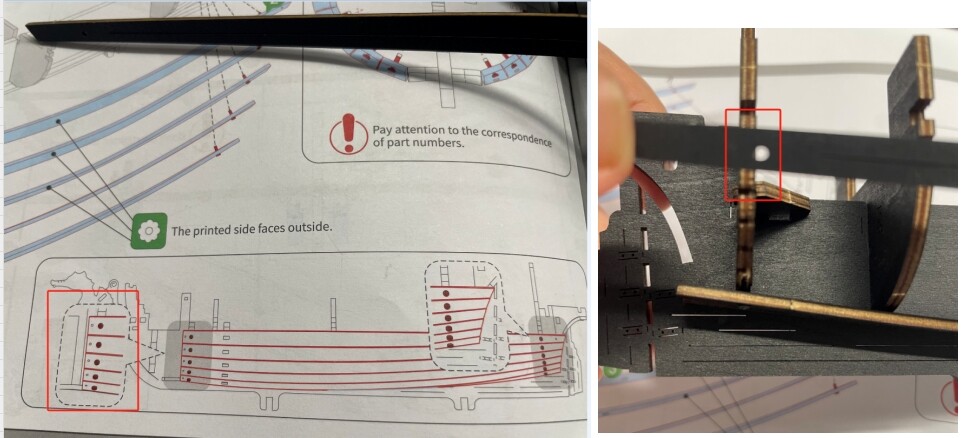
Wow, thanks for sharing these tips! I haven’t built mine yet and this is super helpful
1 Like
@jucy It’s a wonderful build. I look forward to seeing yours when done. Mine is posted in this group
@Tiffany You’re welcome. I look forward to seeing your finished build. It’s a lovely model when completed.
@Noah It’s a bit hard to tell from one picture but you have to make sure that your inner bow pieces are installed perfectly straight and they need to be pushed in until flush. Every piece installed should always be pushed as far as it can go. That is a problem that I have seen a LOT! Also, make sure you are installing in the right direction skinny (skinny side towards rear). I hope this helps.
1 Like
I am hoping so. It’s such a beautiful model @Liset
1 Like
@Linda Thanks! Hopefully it may save a few people some headaches. 
1 Like