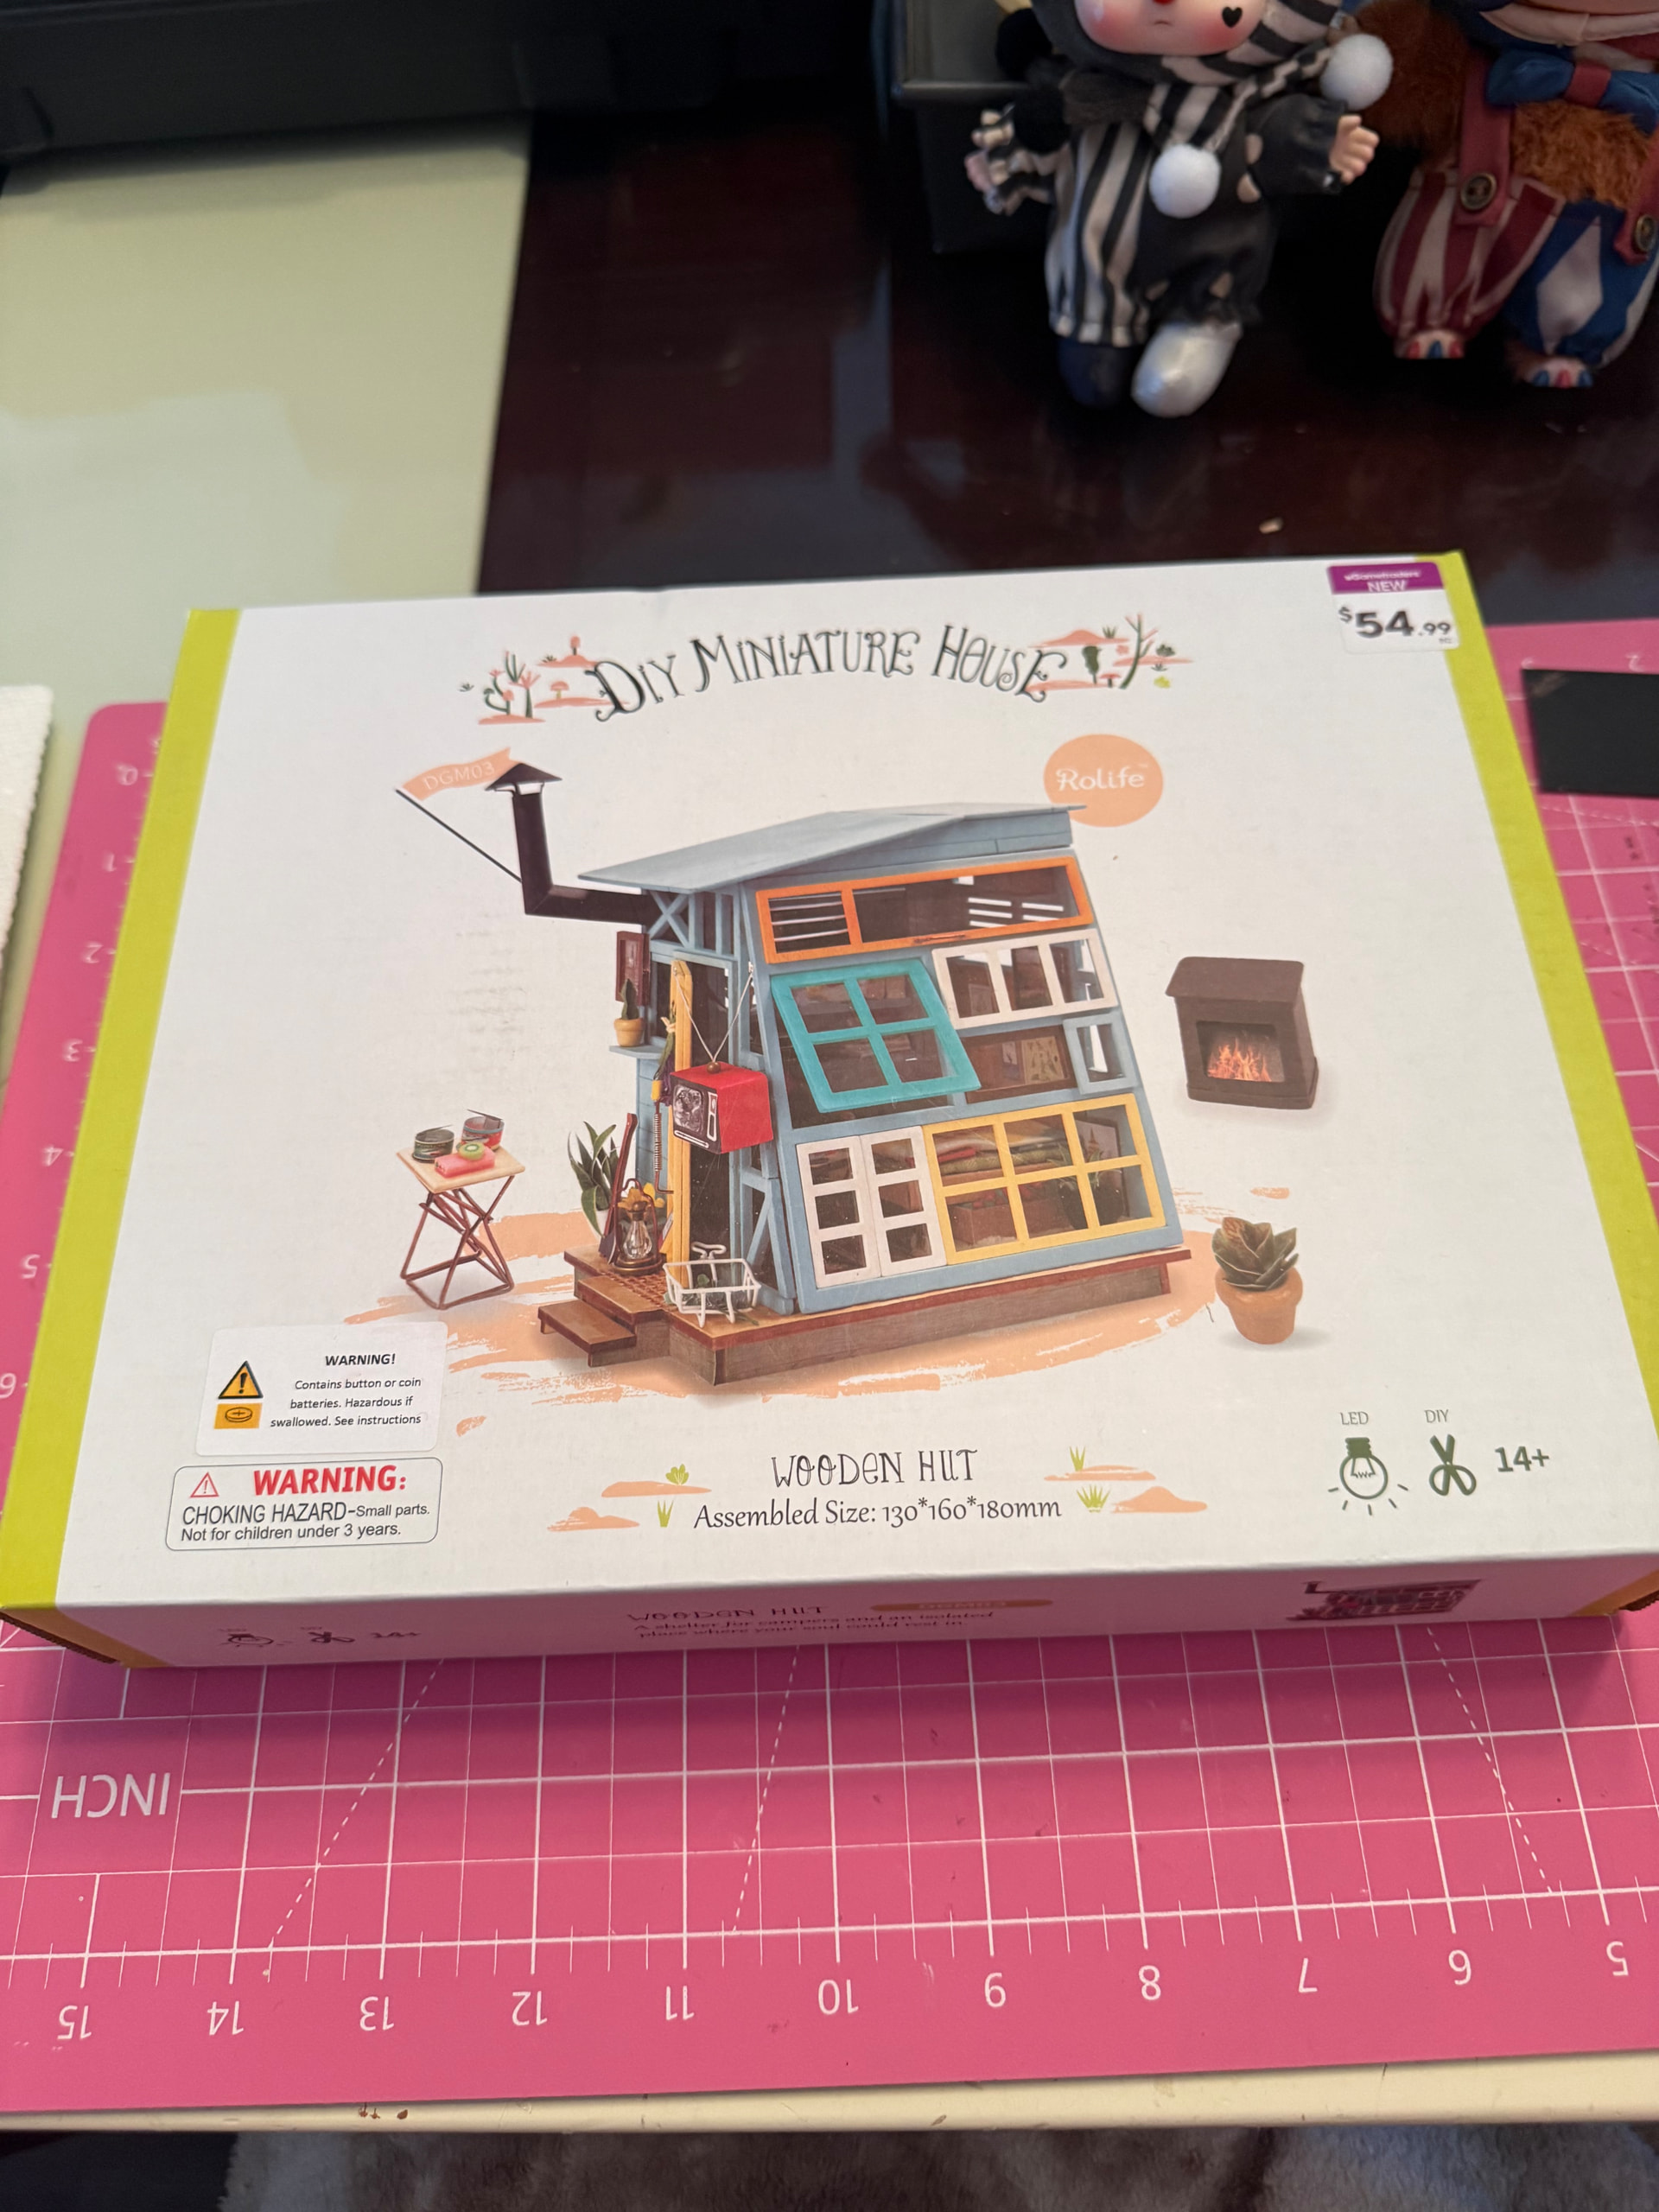
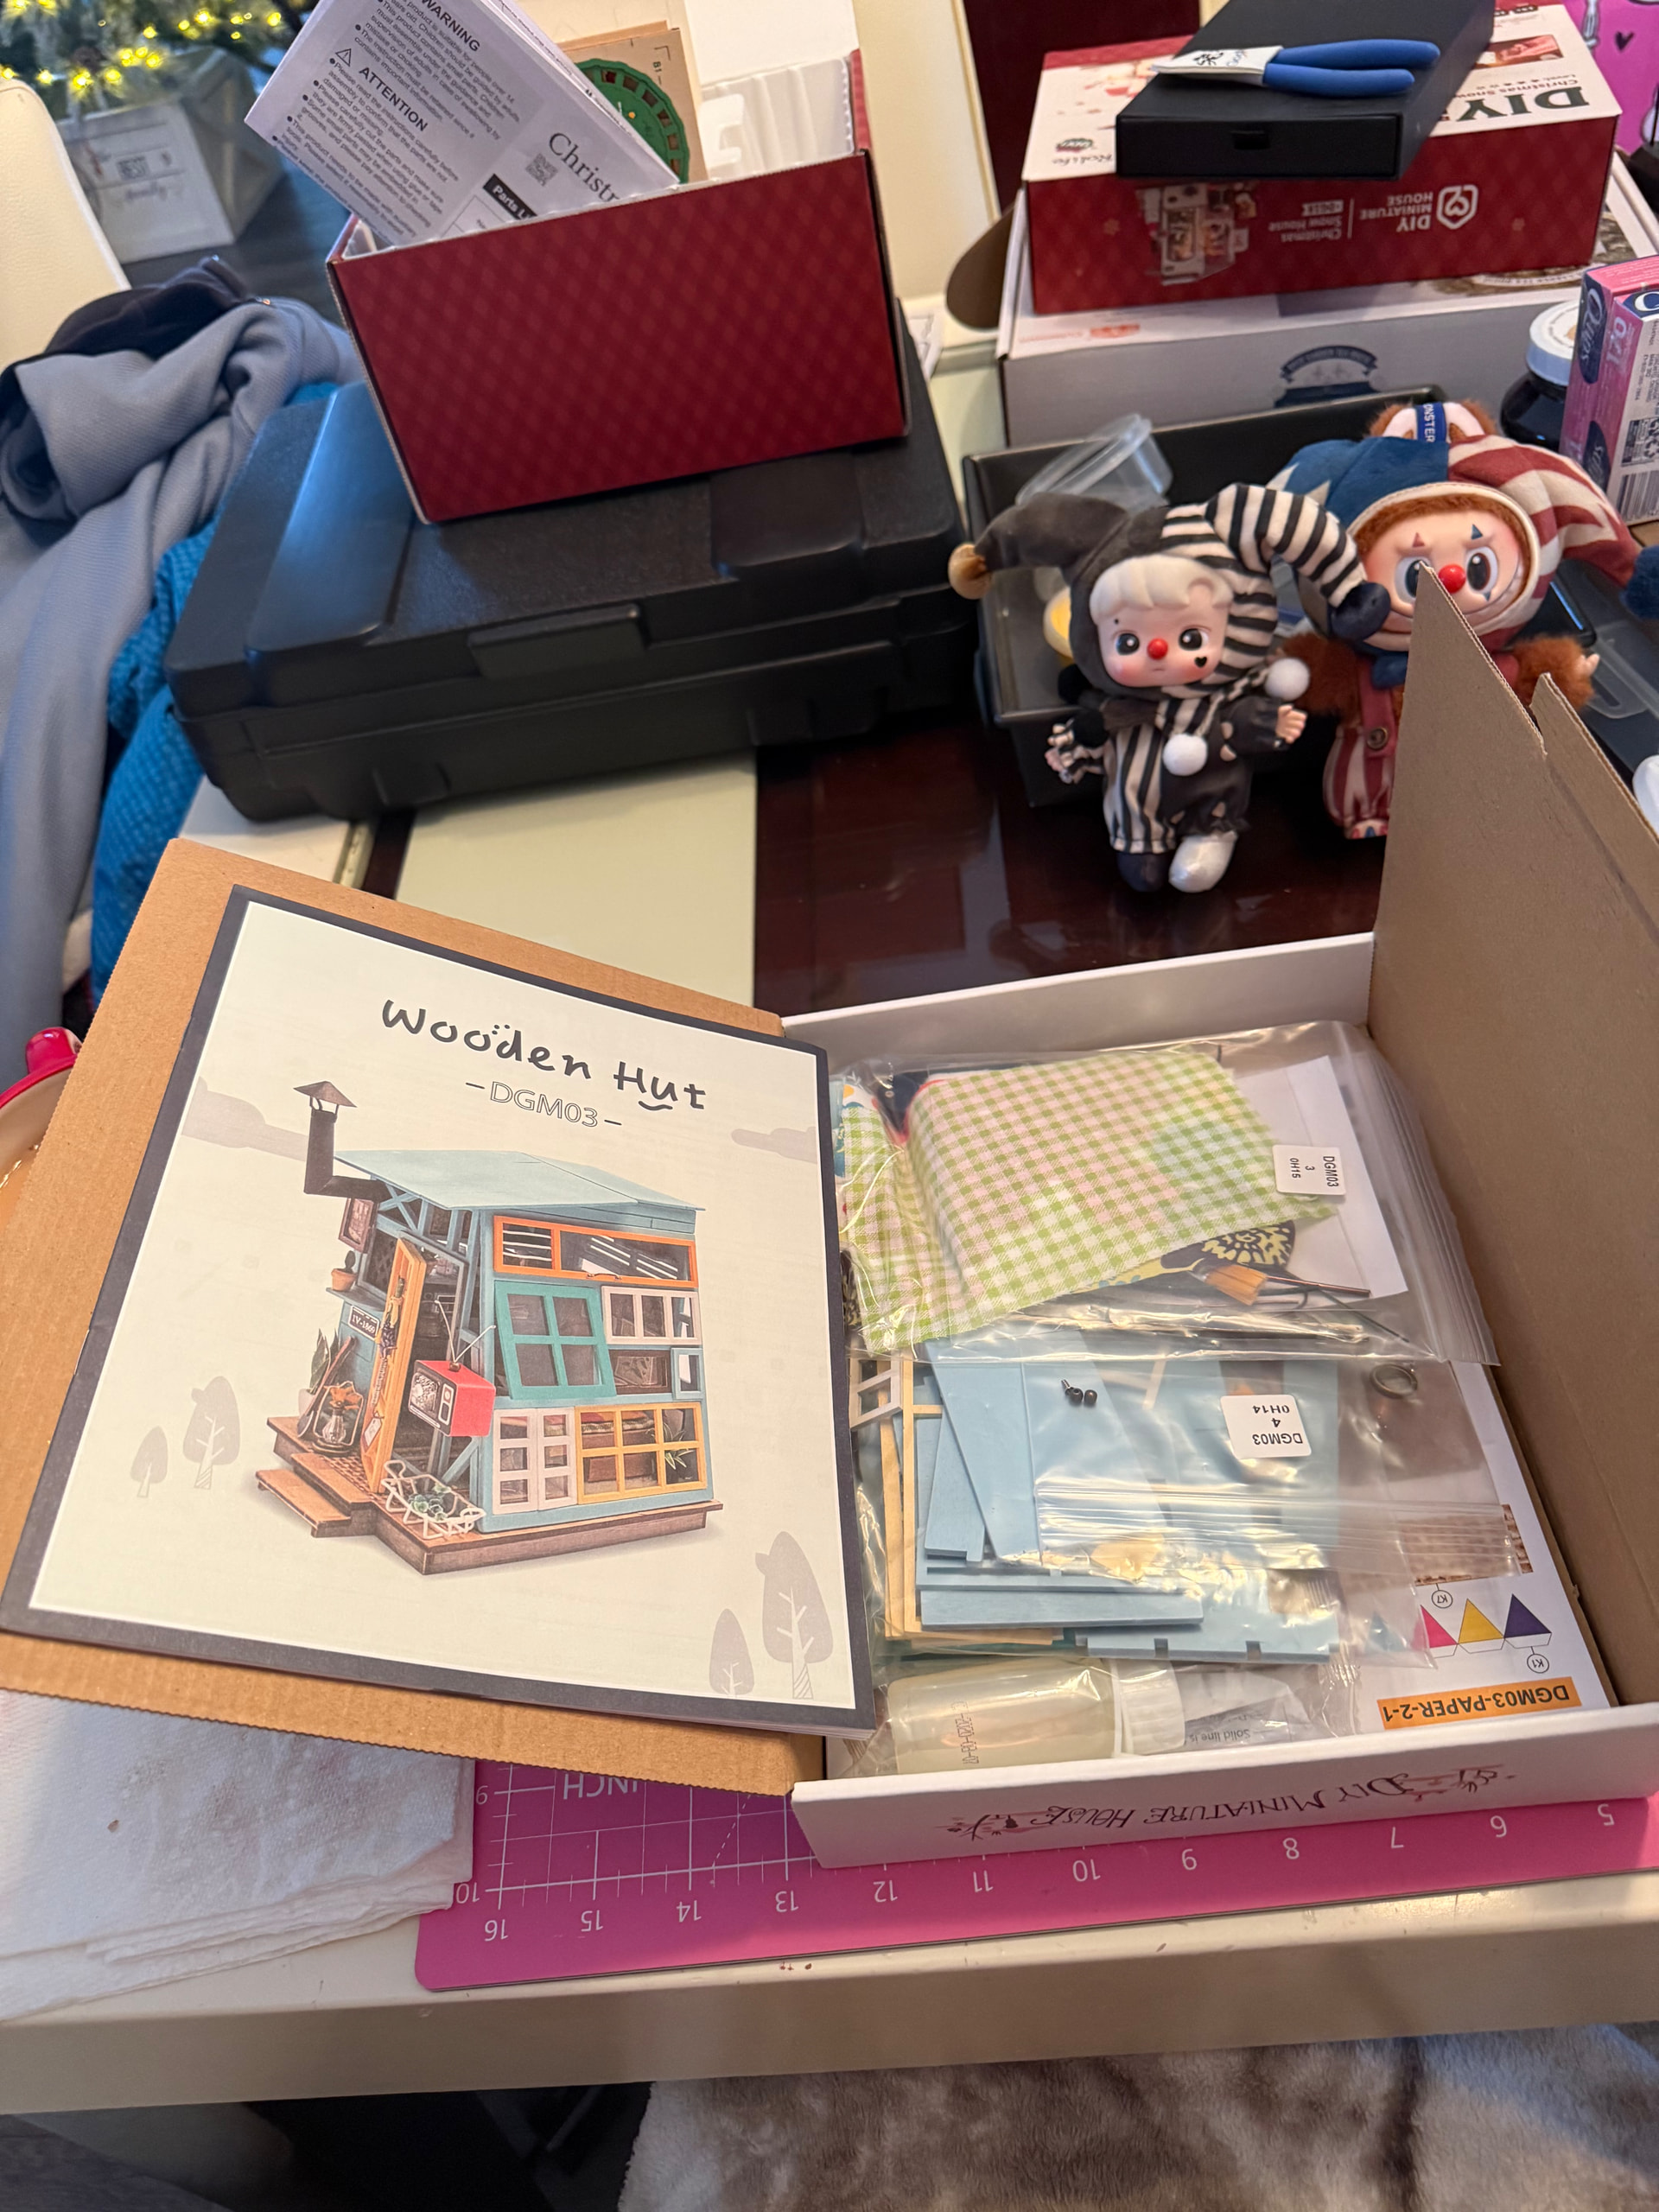
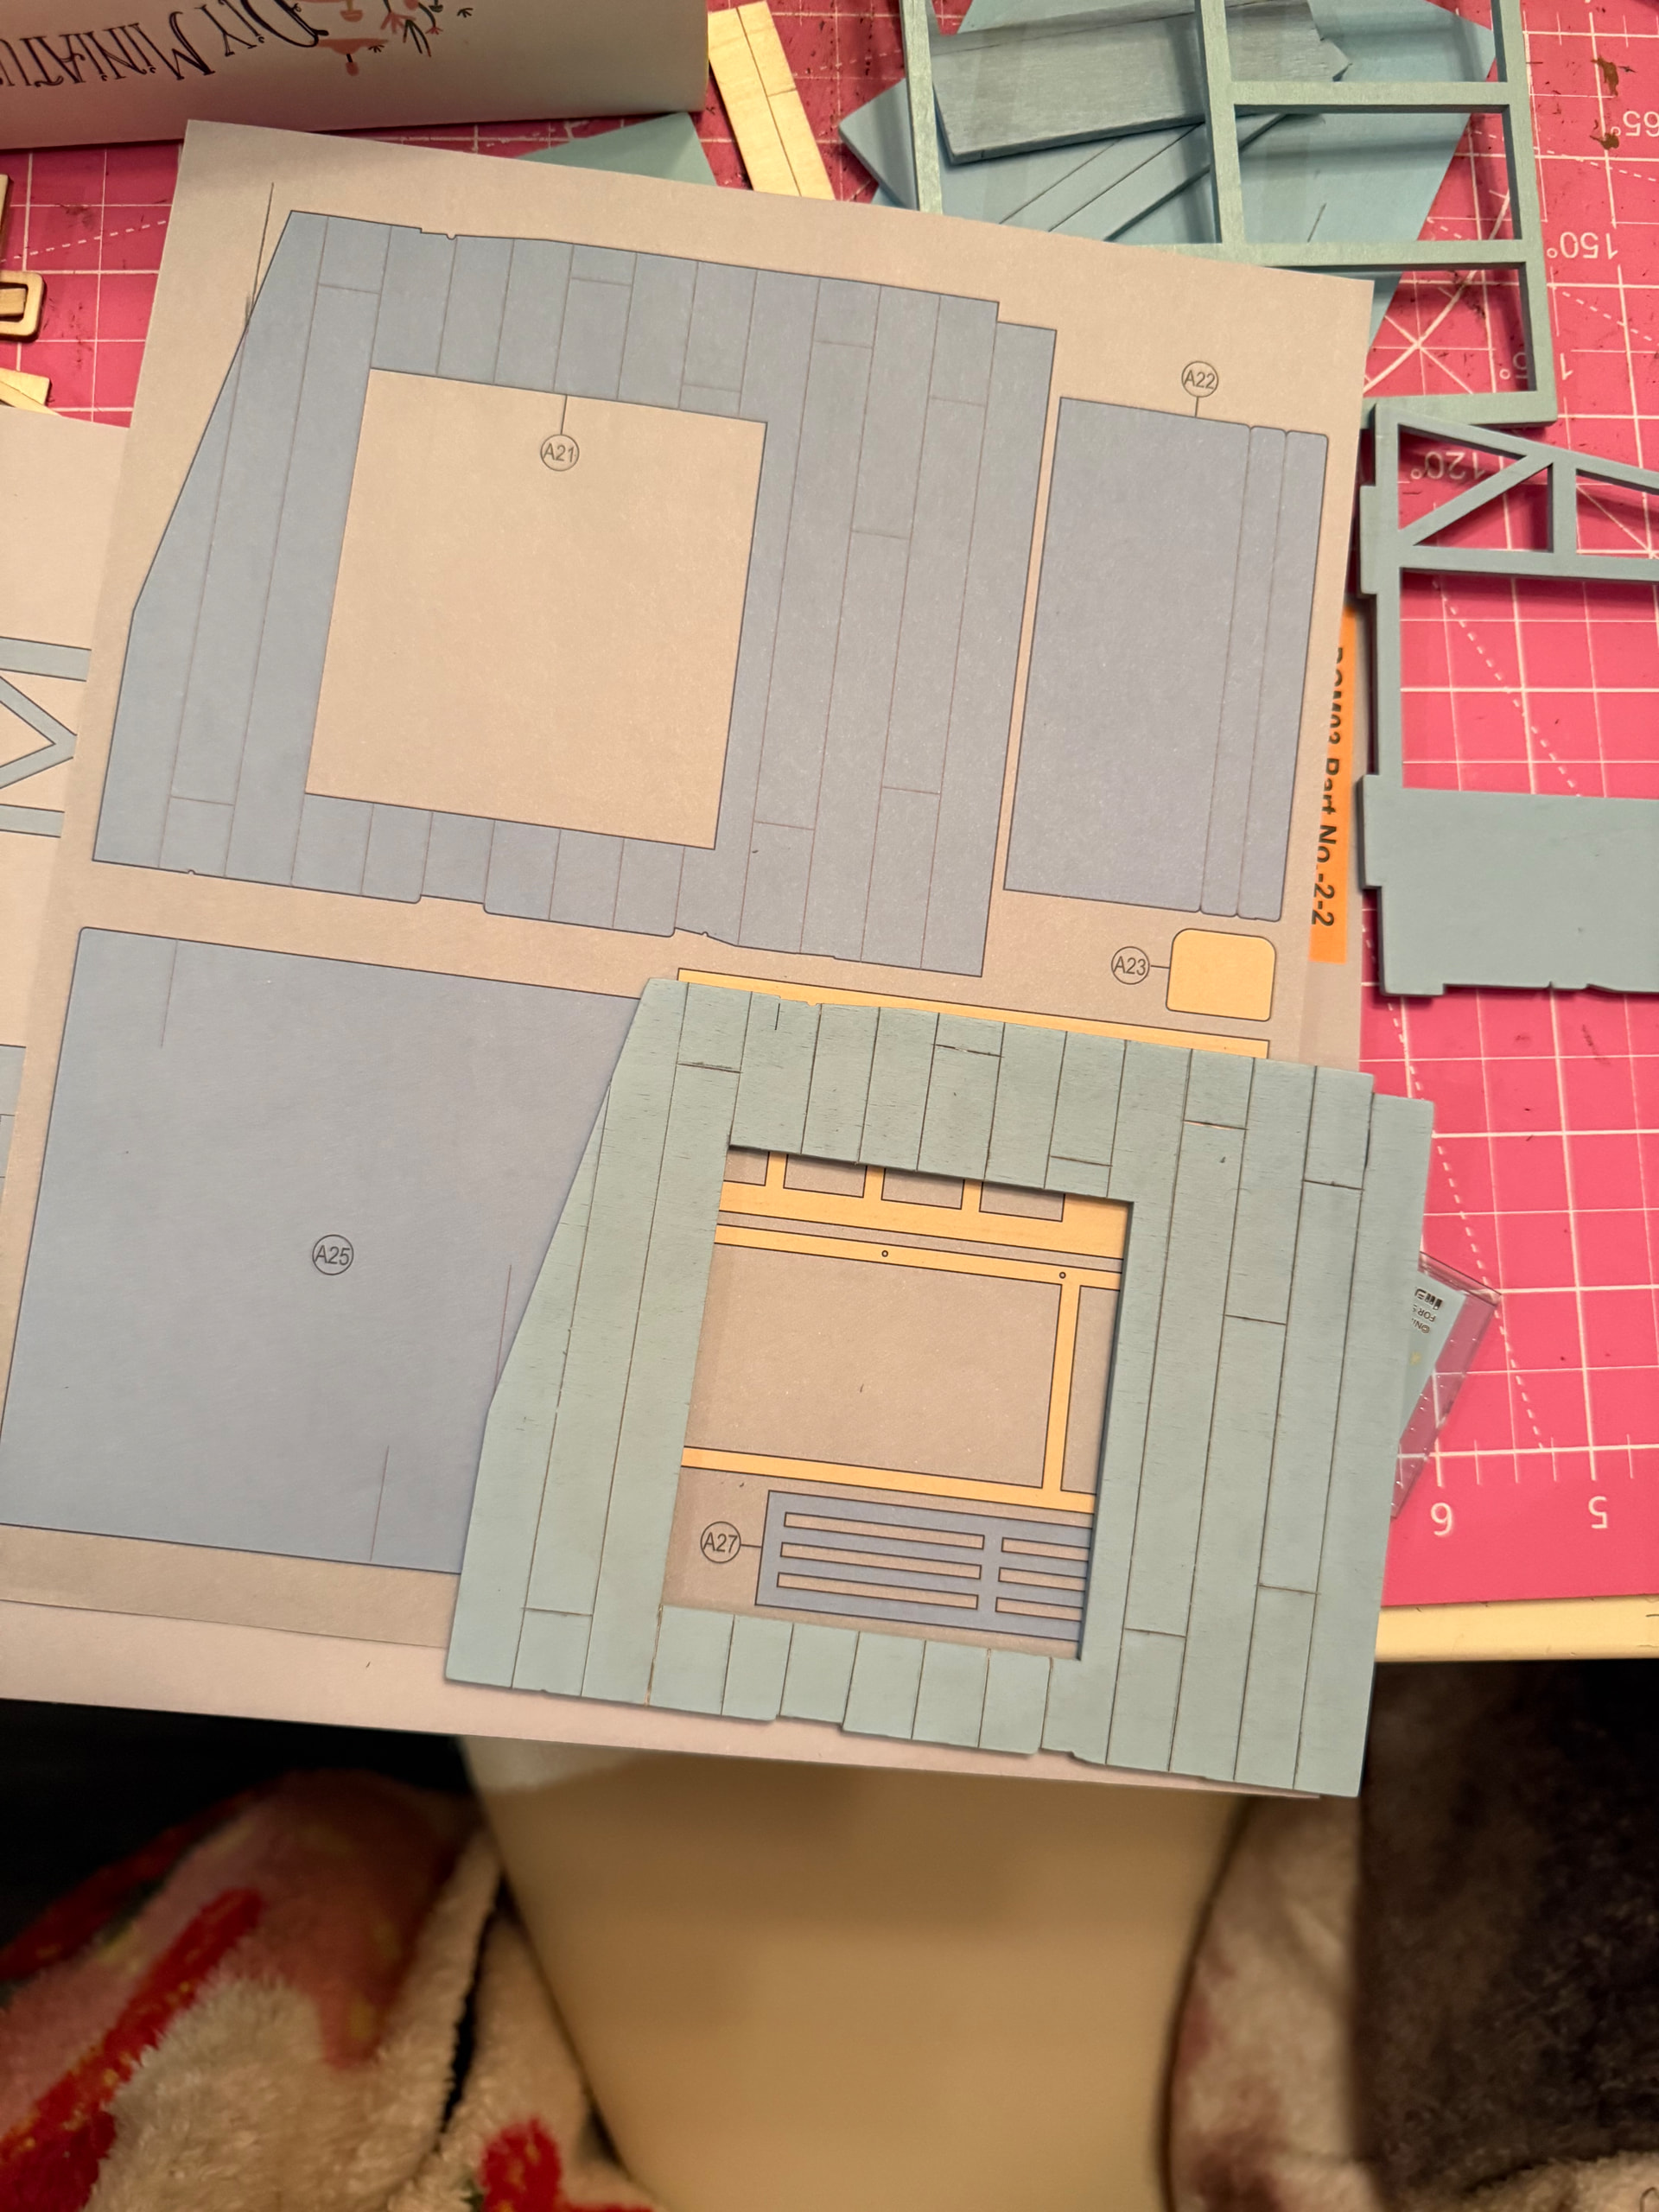
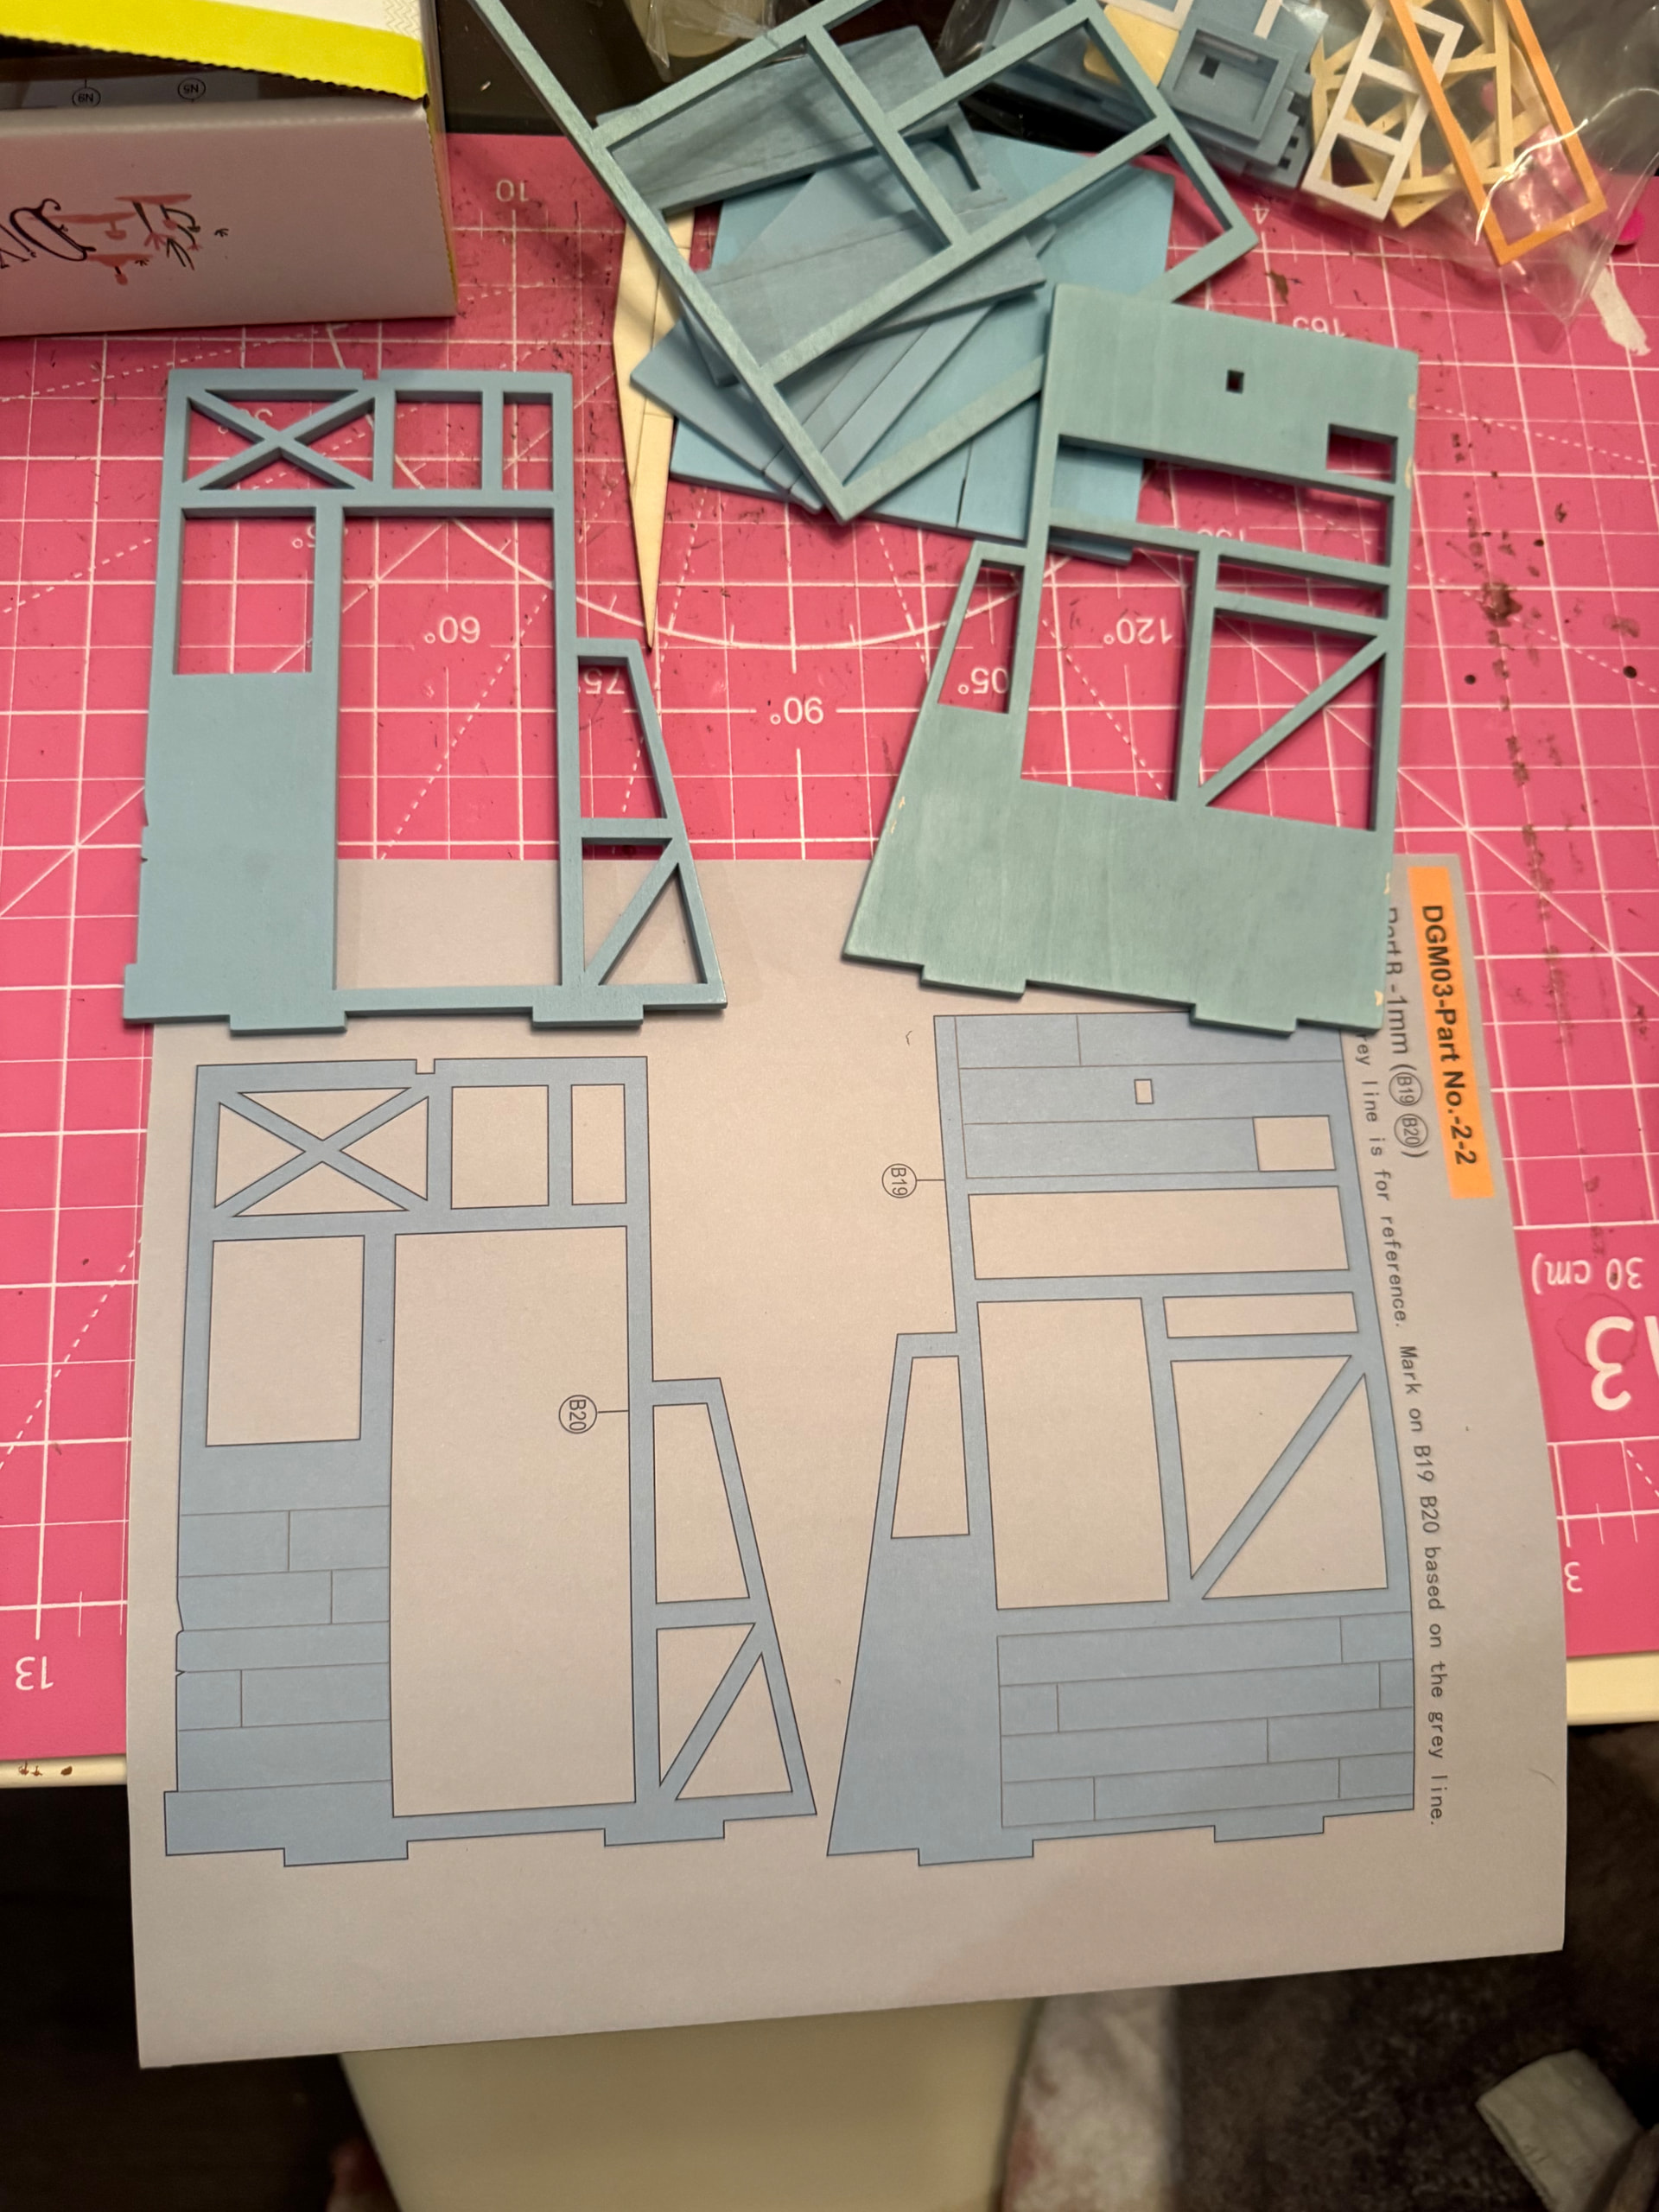
It is an older Rolife kit, so a little more involved! It is not a very big kit though, the instructions are only 14 pages! Looking through the instructions, its looks like I’ll have a bit of pretty intricate wire work to do, so I’m pretty excited about that! The first step though will be a little bit of painting, but before I can even get to that, I have to literally draw on and then engrave all the plank lines on the walls lol!
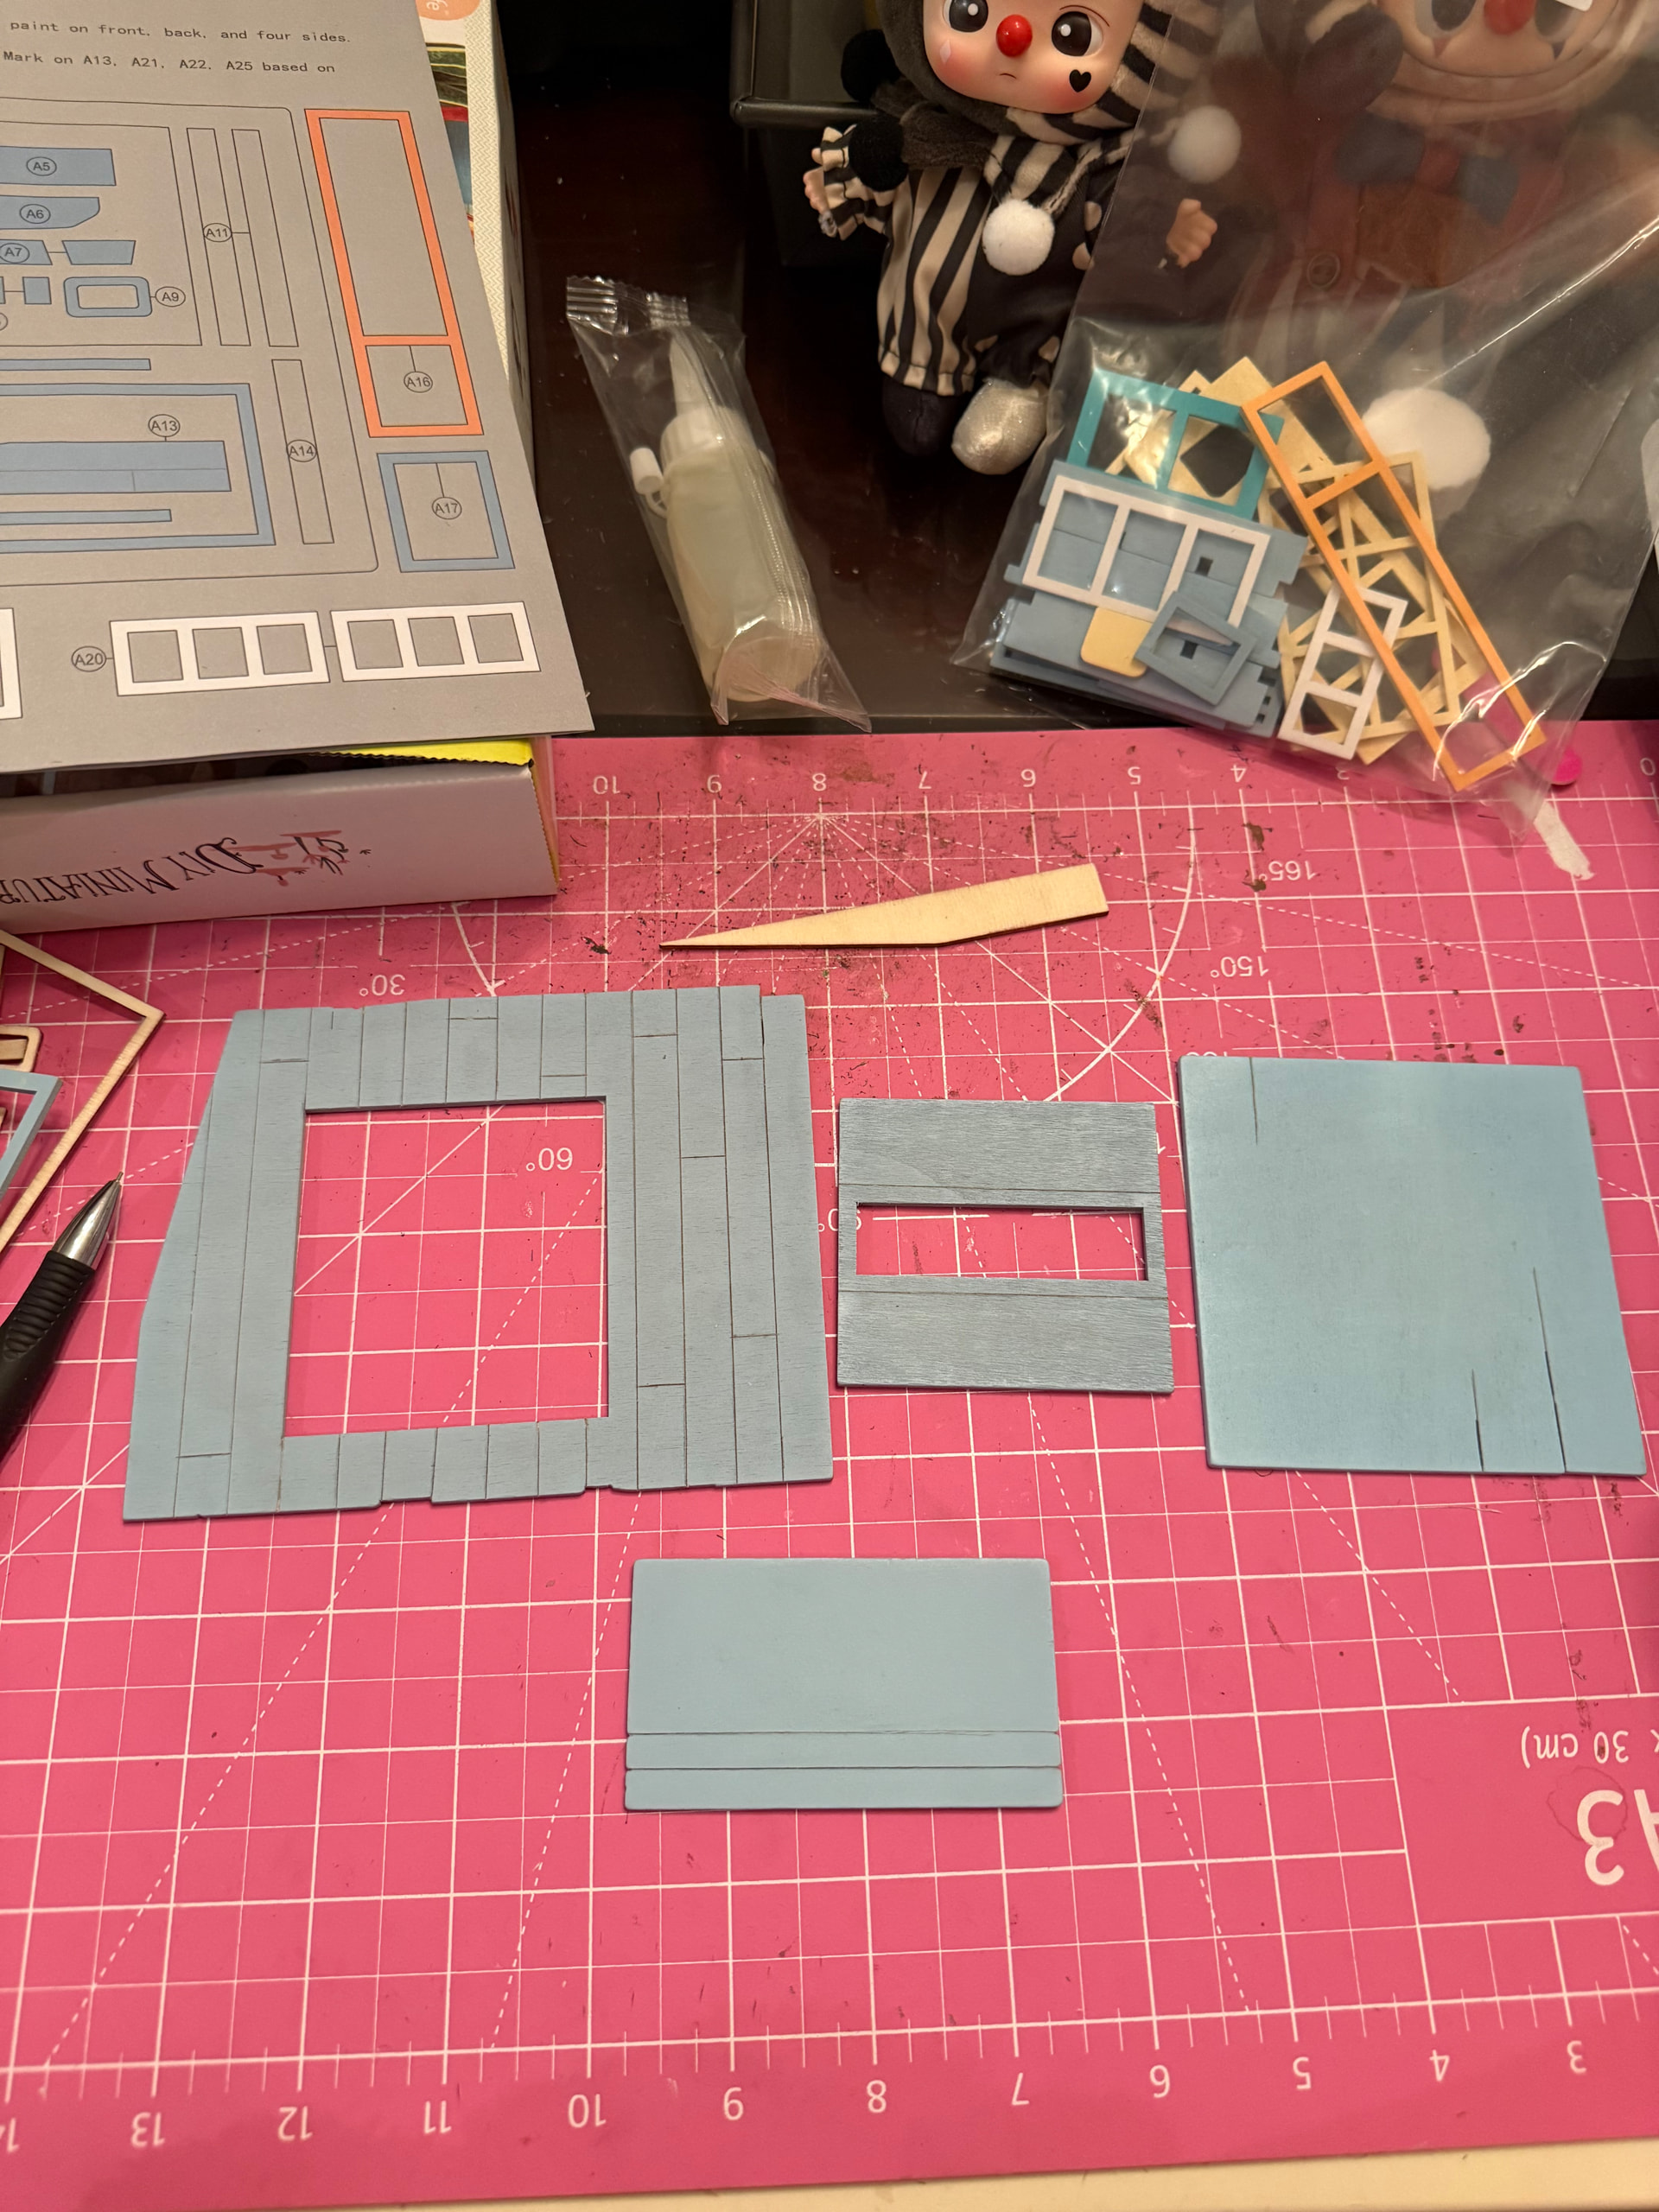
This is what I have gotten done today, in the little time I had before work tonight! I have two more walls to do and then I can start painting! Not too much painting, just have to throw a coat of paint over my engraved lines, and then paint a few small items, only 1 colour! That is all for today! I am excited to share my journey with ya’ll, especially since this is such a unique kit! Have a great day!
Omg bestie I came as soon as I can before I run out of likes.
I definitely love the design of this one so I hope you’ll have fun! Good to know not much painting because I have a love hate relationship with it hehe.
I can’t say I’m a huge fan of drawing and engraving planks either, but such is the burden of older kits! They always turn out great, and feel super rewarding in the end!
I will give a like for @JDisaduck
Although I would anyways. I have no clue how many likes I get each day. I give them but never counted. I know overall I have given 800 some. Either way this kit looks pretty neat. Did you have to draw those panels free hand? or do they give you something to follow. I am pretty sure I would make a hot mess of it.
This one looks pretty cool! If I were doing this one, I would scribble on the back side of your guide piece with a pencil (or use carbon paper) and then place it over the wood pieces and trace it with a very fine tip pen. If you then trace those lines with a sharpie, they won’t get painted over if using acrylic paint. Can’t wait to see this one finished.
That’s a great idea @Nita_Davis ! Thank you for the idea! I’ve just been using a craft knife and engraving deep lines. The paint is the same colour as what’s on the panel already, so I’ll probably be doing only, like, one thin coat over the engraved side! I have some bare wood stuff to paint, but all the engraved stuff is already coloured!
Hehe I know it’s definitely a trust the process and endure the pain thing. The end product is always worth it! And I come back asking for more forgetting what I’ve just been through.
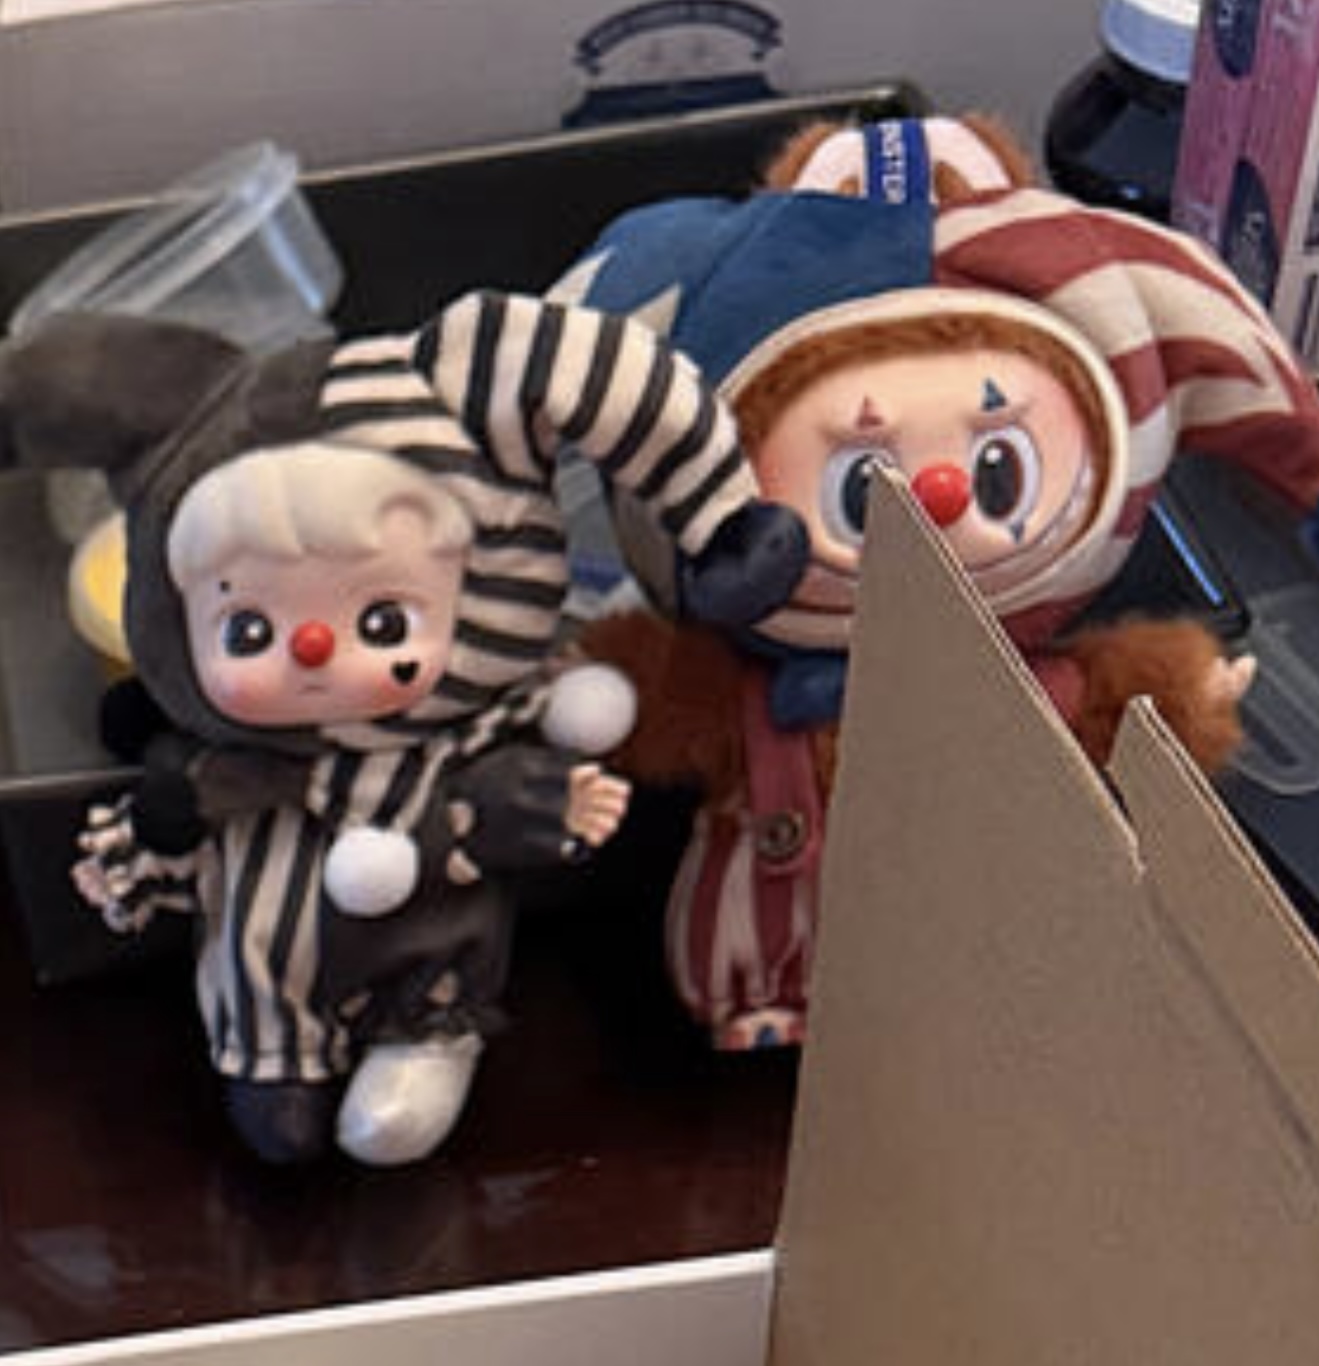
@JDisaduck@Orangesareus I mean, the pictures are of labubus, but like, we already talked about that in the past! So I’m assuming the kit! I mean I got the labubus off popmart!