Don’t Be Afraid of Soldering.
Before I start, let me say that I am not an electronics engineer, electrician, or soldering expert. I’m simply a miniature builder sharing what has worked for me through trial and error. If you’re looking for professional electronics advice, there are certainly people far more qualified than I am. This is just one hobbyist’s experience.
One note before I get into the tools I use: I’m including the specific products I purchased because some people like to see exactly what another builder is using. We have members from all over the world, though, so don’t feel like you need these exact items. The features are more important than the brand, and there are often similar options available in different countries.
It didn’t take long after I started building miniatures to realize that soldering was a skill I wanted to learn. I kept seeing situations where it could make a build easier, whether that meant connecting lights, extending wires, or creating a more reliable connection. I’m certainly not an expert, but I’ve found that it’s much more approachable than I originally thought.
One of the biggest benefits is reliability. Instead of twisting wires together and hoping they stay connected, a soldered connection is much stronger and less likely to come apart later. It also creates a cleaner connection that fits into tight spaces more easily.
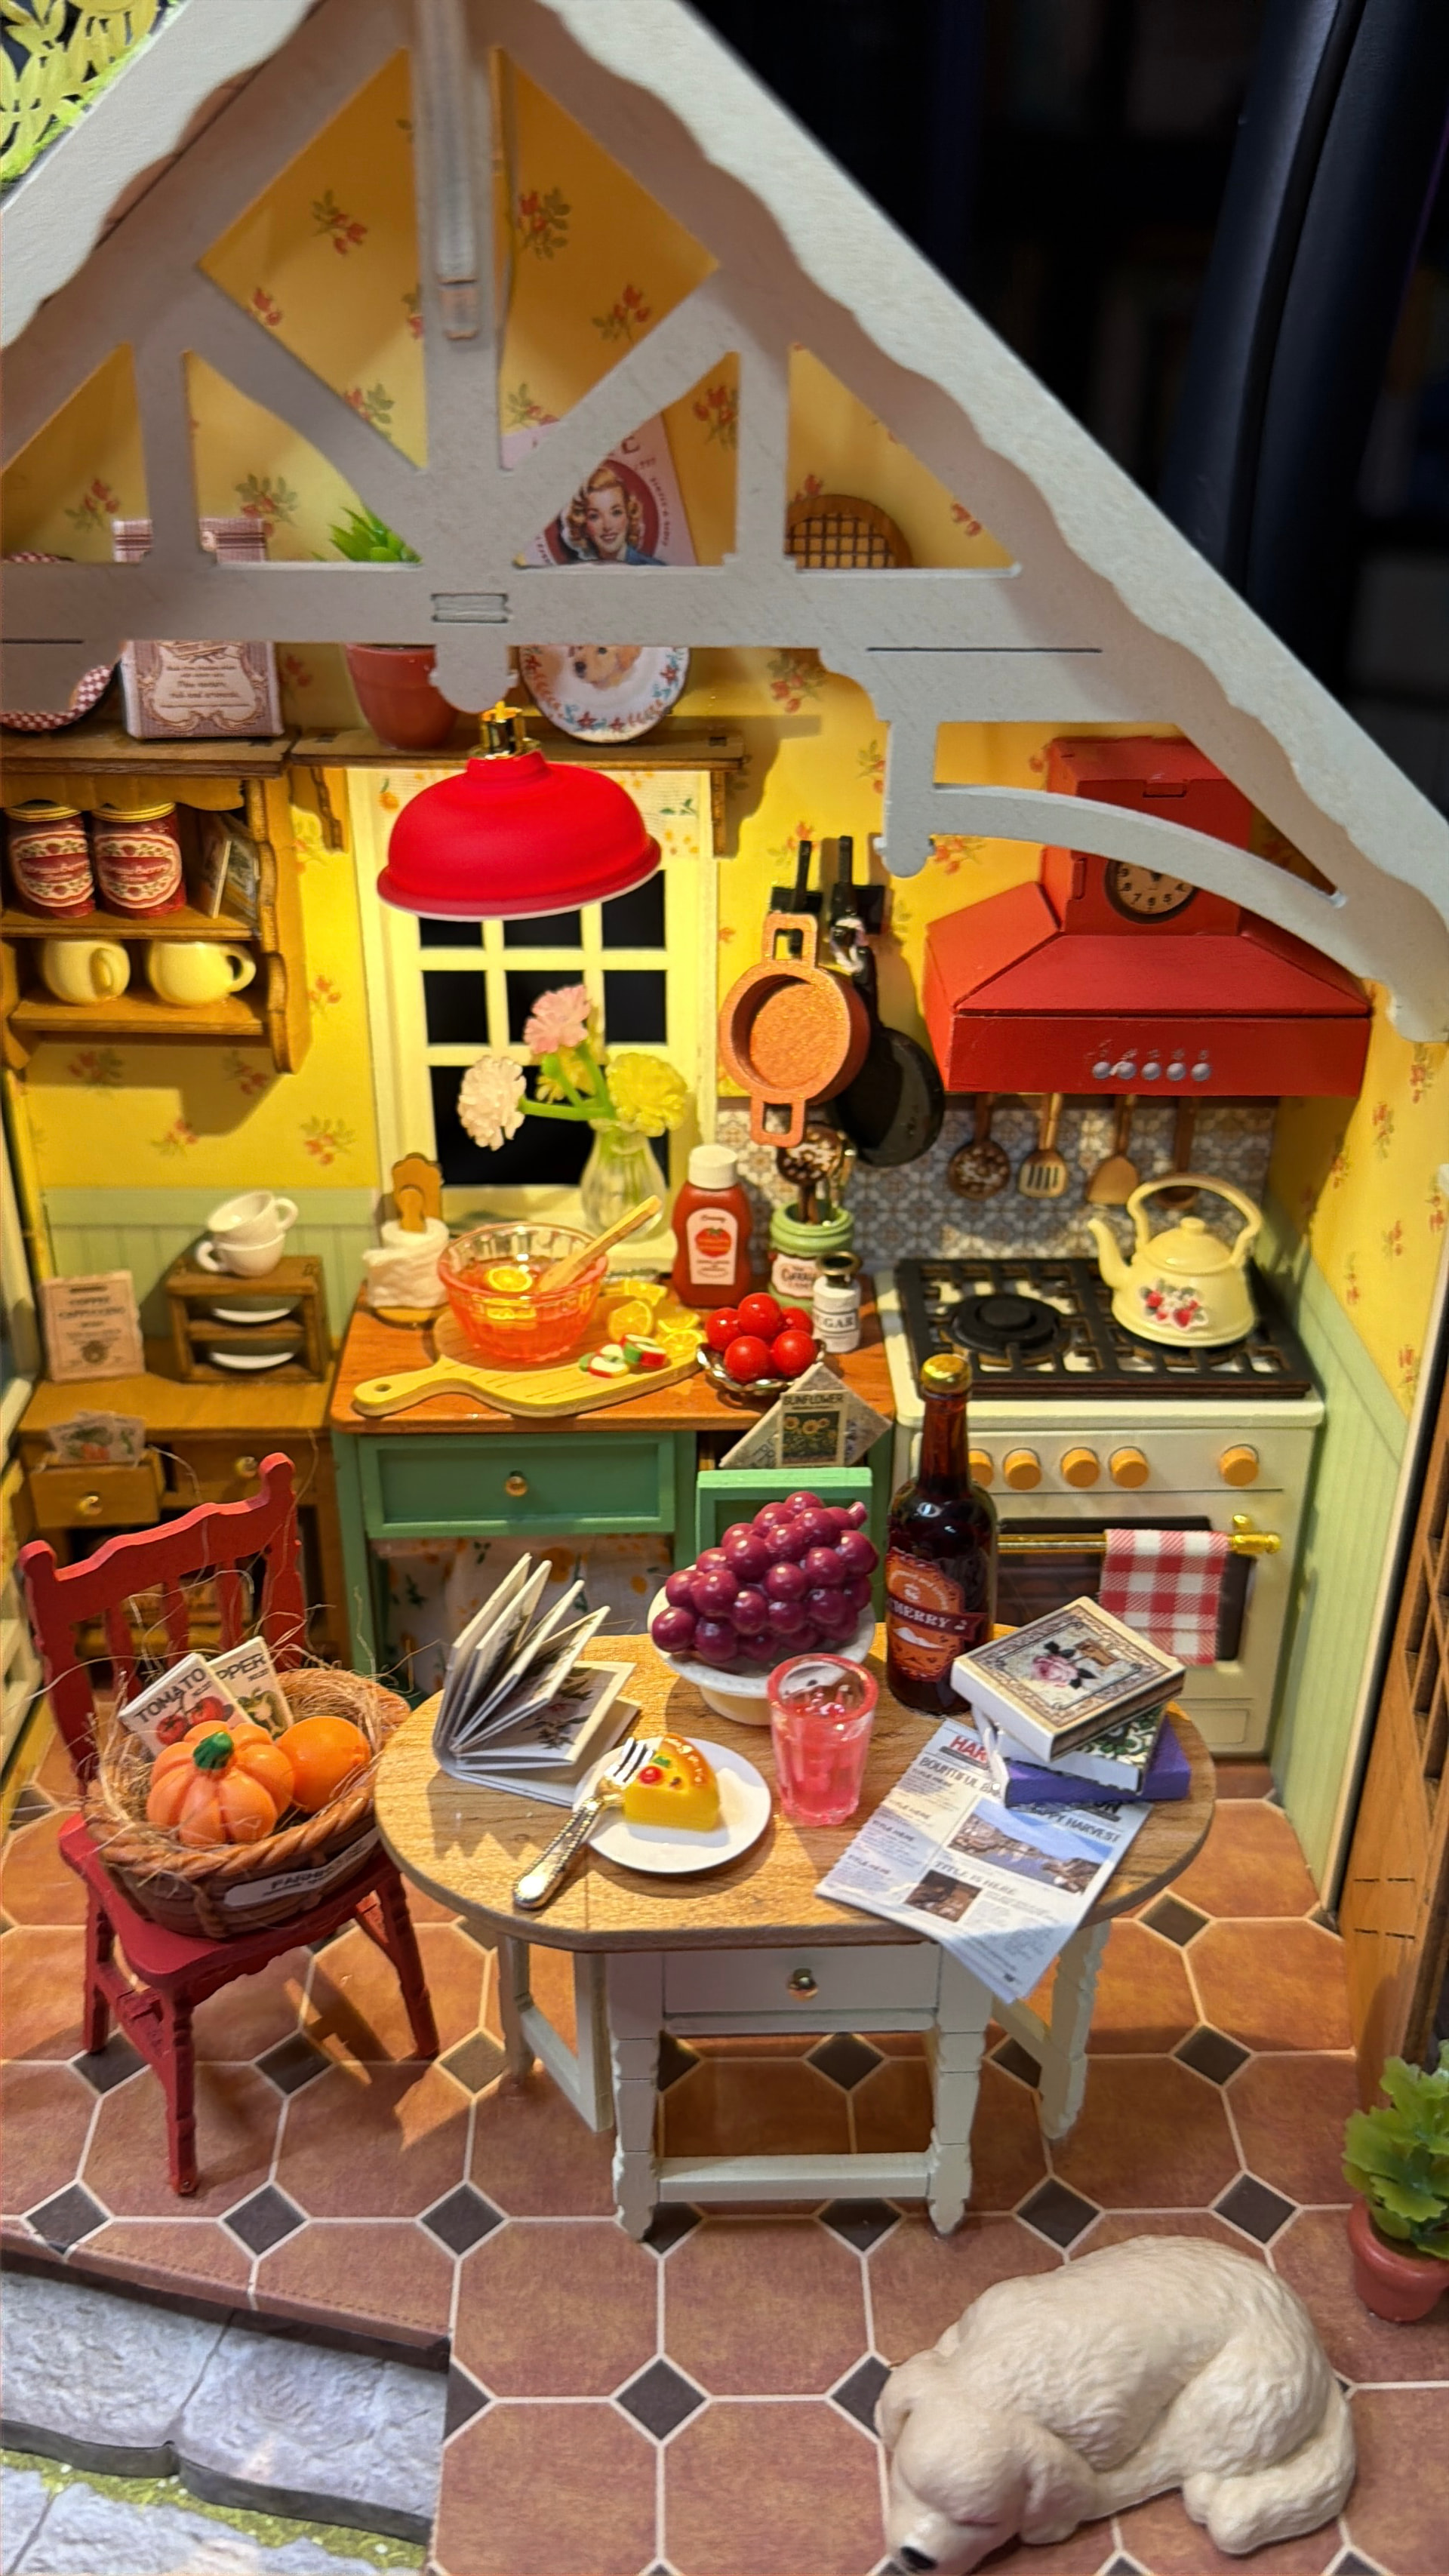
The example in this post comes from my Sunlit Farmhouse Kitchen build, but the same process can be used when connecting lights or extending wires.
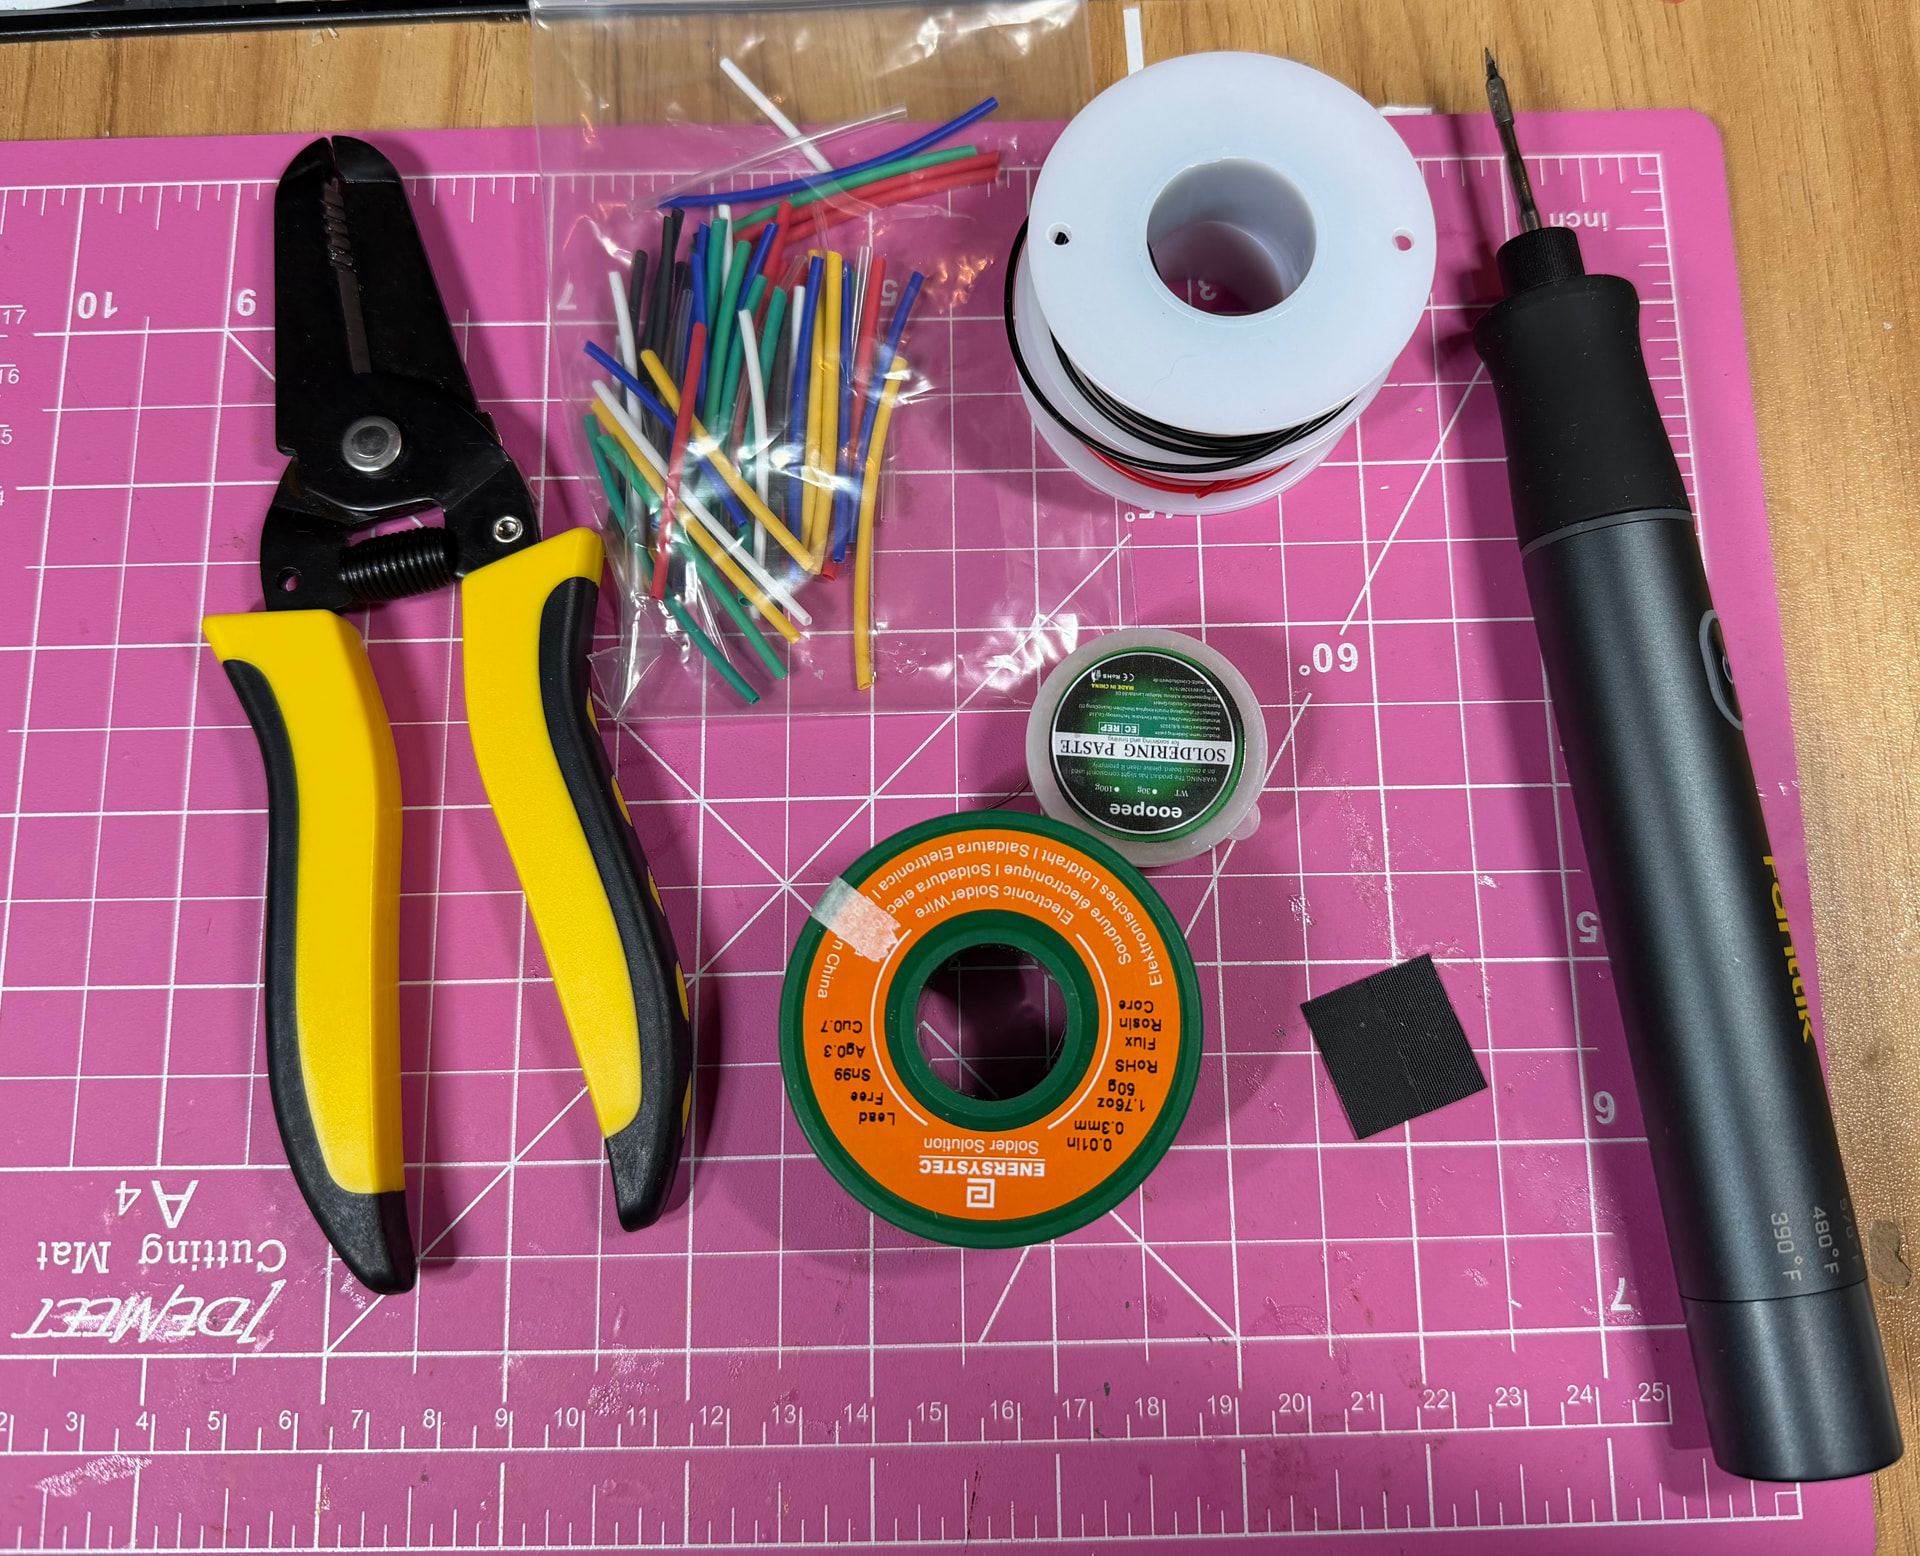
Tools I Use
Soldering Iron
Fanttik T1 Max Cordless Soldering Iron
I chose this iron because it is cordless, heats up quickly, cools down quickly, and has adjustable temperature control. Since I usually only need to make a few connections at a time, I don’t want to spend several minutes waiting for an iron to heat up or cool down.
After experimenting, I found that 750°F works well for the lead-free solder I use. Lower temperatures worked, but I felt like the solder wasn’t flowing as quickly as I wanted. If you’re just learning, something around 660°F may feel more comfortable while practicing.
Solder
0.3mm Lead-Free Rosin-Core Solder
The miniature wires we work with are tiny, so I intentionally chose a very thin solder. It gives me much better control over how much solder I’m adding to a connection. The rosin core also helps the solder flow onto the wire.
I also chose lead-free solder because I prefer to avoid working with lead when possible. Lead-free solder does require a slightly higher temperature, but for me the tradeoff is worth it.
Flux
Flux Paste
I purchased both liquid flux and flux paste to experiment with. Personally, I found the paste much easier to control. I simply place a small amount on the wires before soldering and it stays where I put it. The liquid worked too, but I found it messier when working with miniature-sized wires.
Heat Shrink Tubing
I purchased an assorted pack of heat shrink tubing because having several sizes available makes it easier to find one that fits the wire you’re working with.
Extra Wire
26 AWG Stranded Wire
One thing I strongly recommend keeping in your miniature supplies is extra wire. I’ve used it several times when I needed to extend a connection.
The set I bought came in multiple colors, but honestly, red and black wire would probably cover most situations. When my red and black run out, I’ll happily use blue, green, or yellow if that’s what I have available. The important thing is having wire on hand when you need it.
Extra wire is also great for practice. Before touching a model you’re worried about, cut a few pieces and practice stripping, twisting, and soldering them together.
Wire Strippers
22-30 AWG Wire Strippers
These are probably one of the most-used electrical tools in my miniature supplies because they make preparing miniature wires quick and easy.
The Process
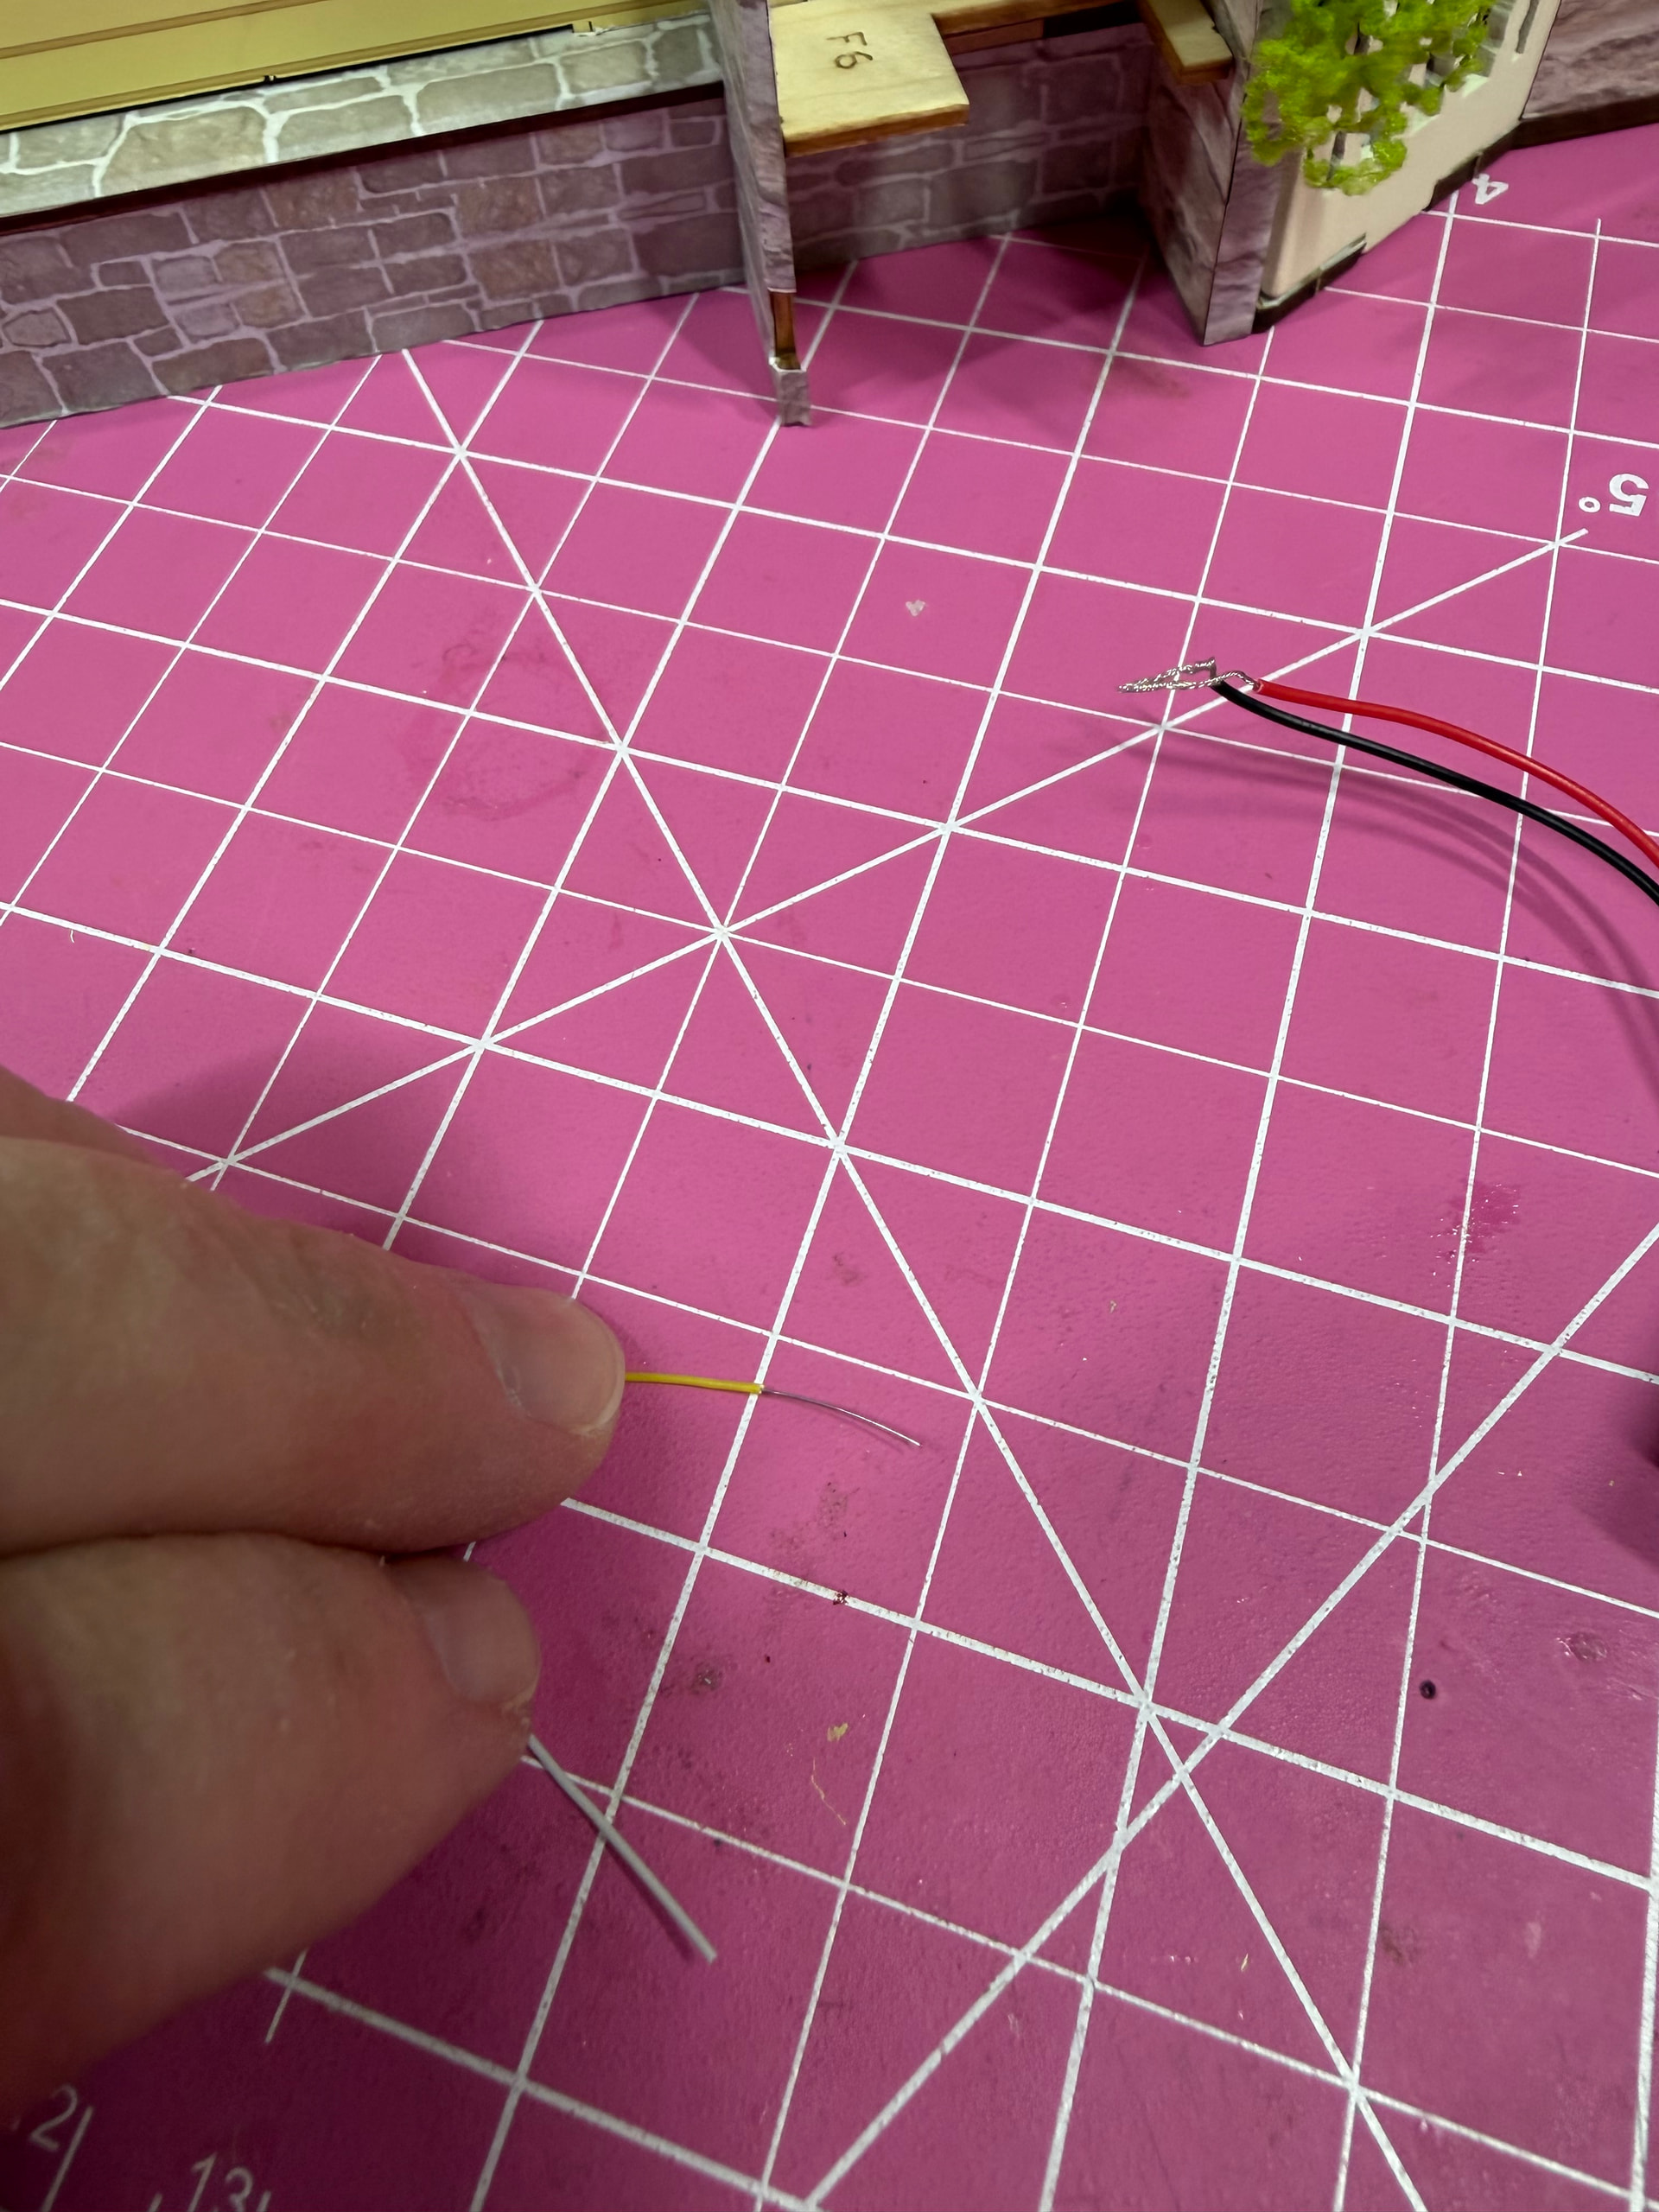
Most miniature kits I’ve worked on already have the wire ends stripped for you, so this step is often unnecessary. However, if you need to cut a length of wire, such as when extending a connection, you’ll need to strip the insulation yourself.
For the wire I use, I typically strip just under half an inch (about 1 cm) of insulation. I’m not measuring it every time, but that’s generally what works for me.
If you’re planning to use heat shrink tubing, slide it onto one of the wires before you twist and solder the connection.
Ask me how I know!
I’ve forgotten this step more than once. Everything is soldered perfectly, and then I realize the heat shrink tubing is still sitting on my work surface.
And don’t fret if that happens, or if you simply don’t want to use heat shrink tubing. The small pieces of electrical tape that come with many miniature kits work perfectly well too. Heat shrink tubing gives a cleaner finished appearance, but both methods will insulate the connection.

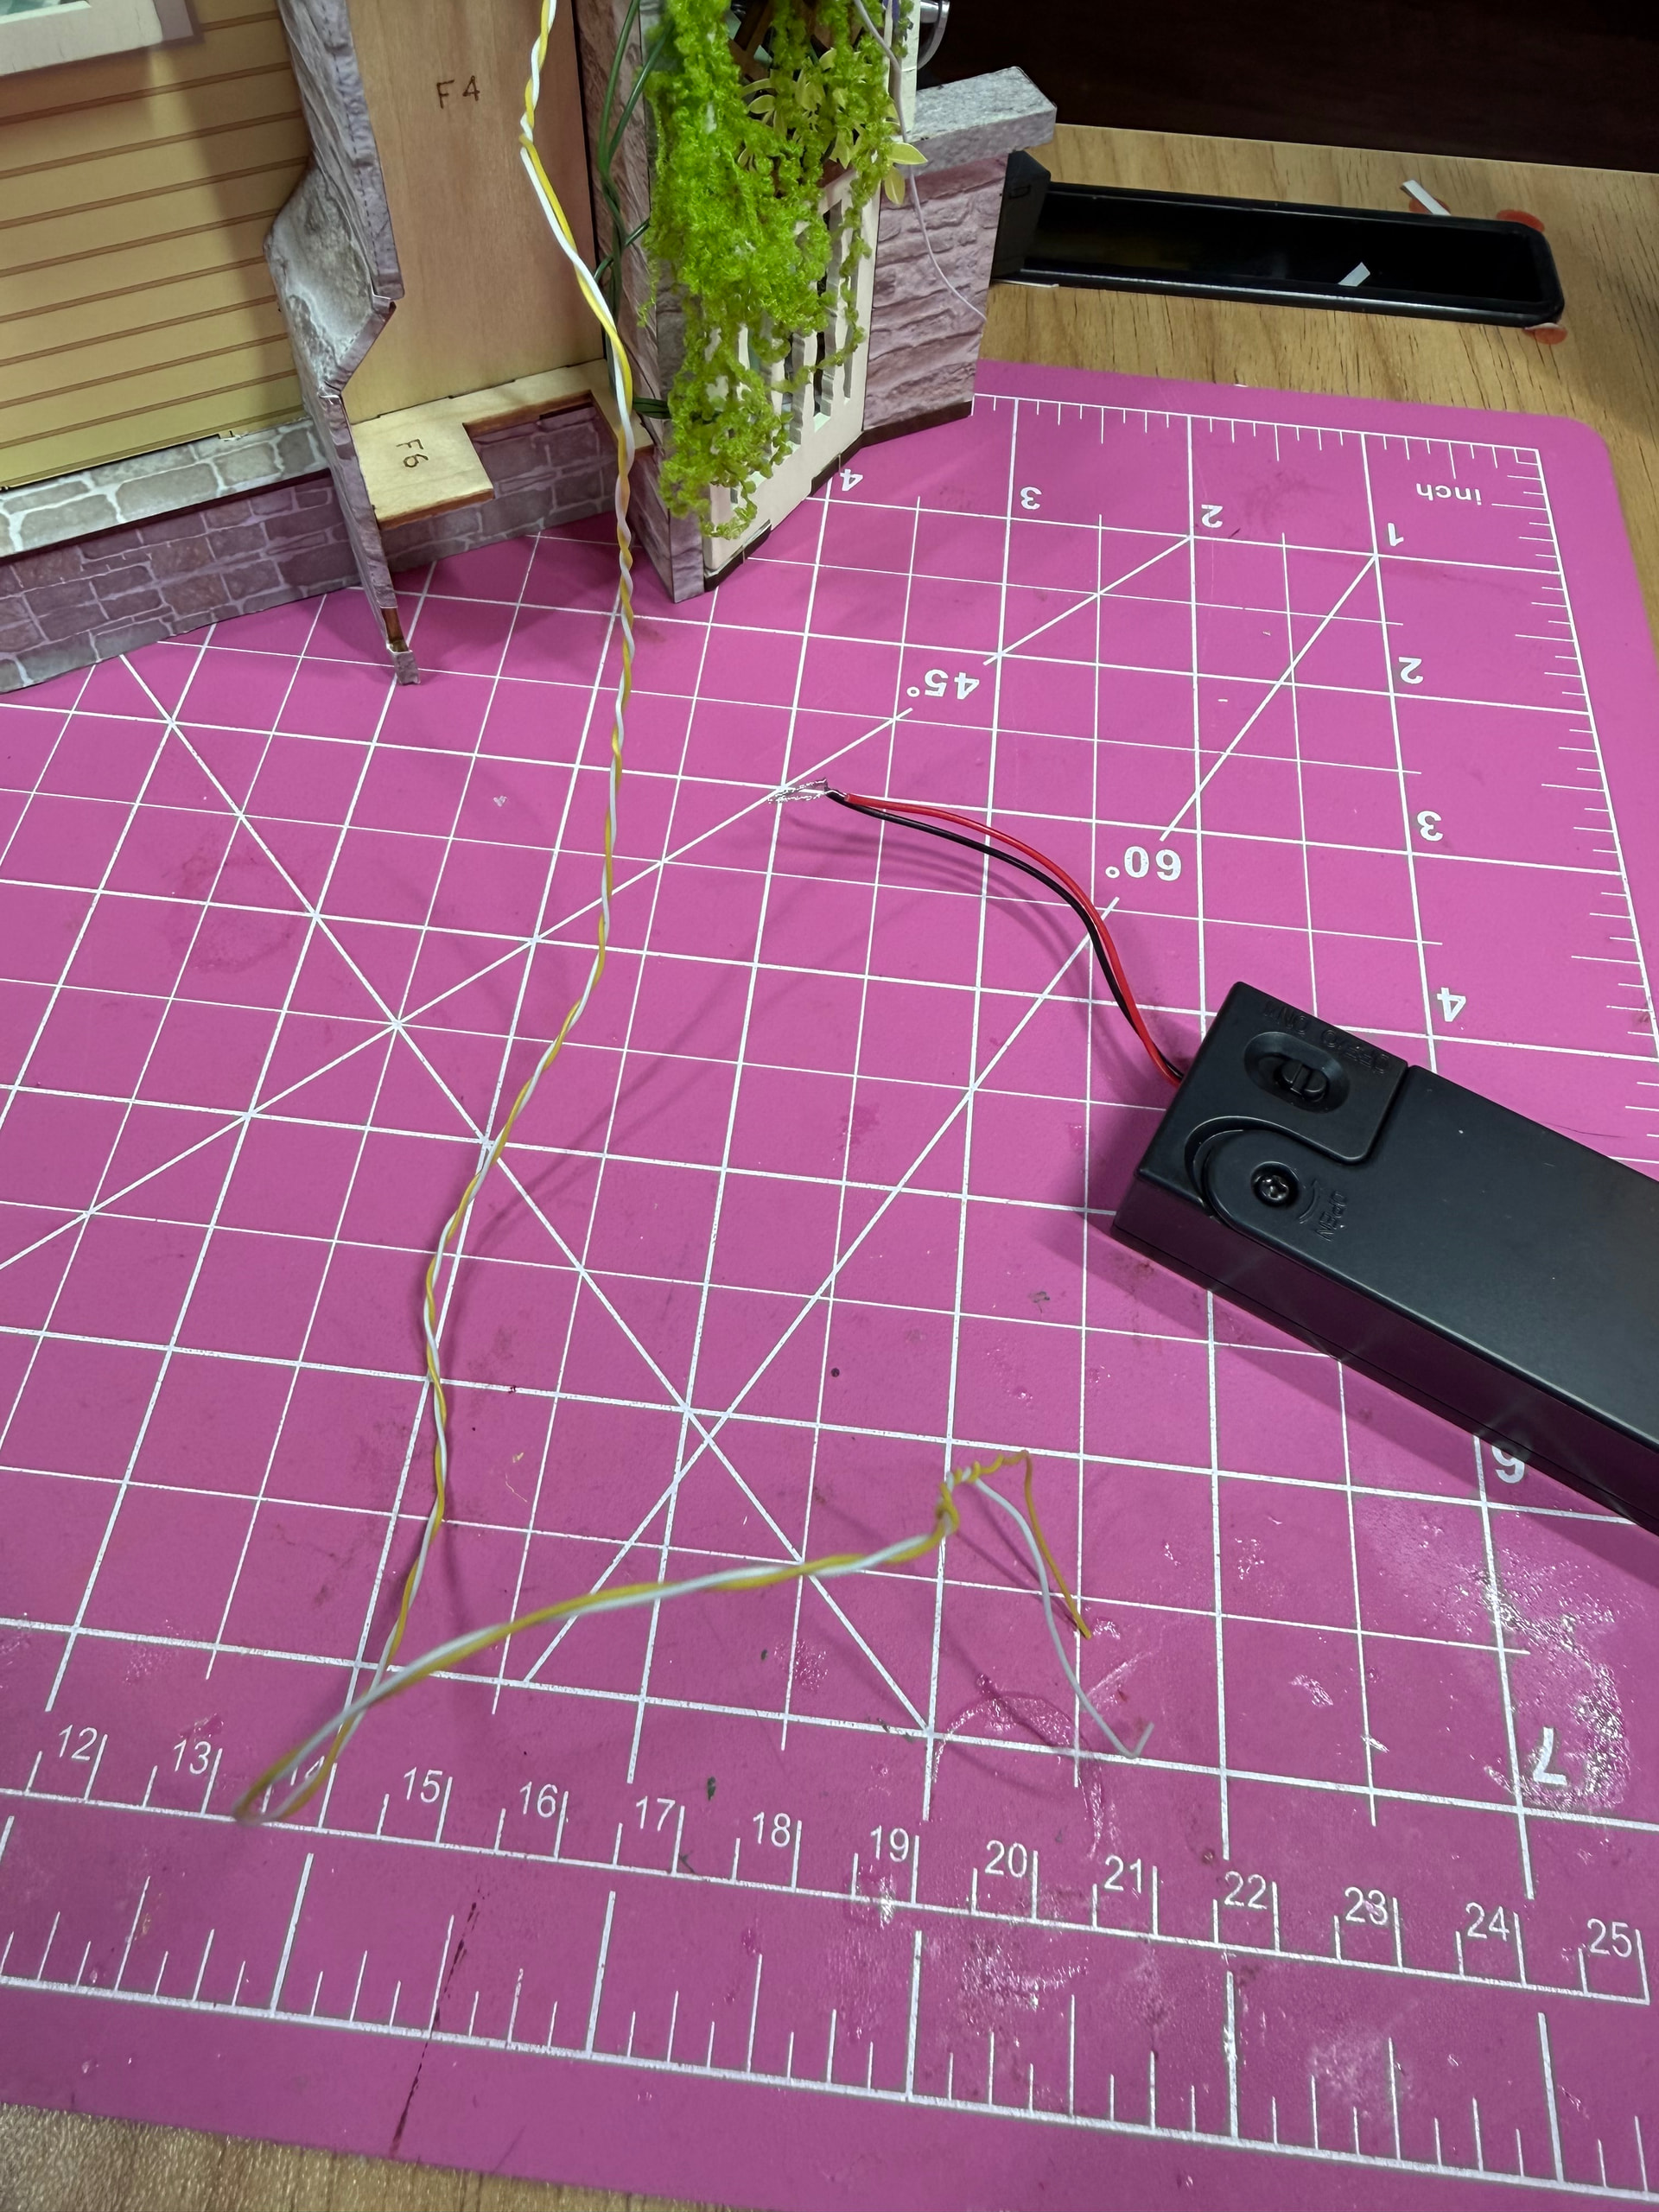
Before I solder anything, I like to do a quick power test after twisting the wires together. If the light works at this stage, I know I have the correct wires connected and can move on with confidence. If it doesn’t work, it’s much easier to troubleshoot now than after everything is soldered and covered.
Next, I apply a small amount of flux paste to the connection.
One thing that surprised me when I started soldering was how little solder is actually needed. With miniature wires, less is usually more.
I also learned that soldering works best when you’re heating the wire and letting the solder flow into the connection rather than trying to melt a blob of solder onto the tip and drip it onto the wire.
I recorded a short video of this step if you’d like to see it in action:
https://www.instagram.com/p/DZQ0VV5EZ_F/?igsh=aTRzcms0emZmOGF3
A couple of notes about the video. At the beginning, you’ll notice me touching the solder to the iron. I’m simply checking that the iron is up to temperature before starting. You’ll also see a small amount of smoke during the soldering process. That’s normal when soldering, and I always have a fan running nearby for ventilation.
Once the solder has cooled, slide the heat shrink tubing over the connection.
Some people use a heat gun for shrinking tubing, and that works great. For me, I don’t do enough soldering to justify getting out another tool and plugging it in.
Instead, I use a lighter. I don’t put the flame directly on the tubing. I hold the connection above the flame and let the rising heat do the work. It takes a little longer, but I find it gives me more control and reduces the risk of burning the tubing or damaging the wire insulation.
TEST THE CONNECTION AGAIN BEFORE MOVING ON.
Once the tubing is shrunk, I always do another power test before continuing. In this case, the battery box sits behind a window in the back of the model, making it easy to see that everything is still working.
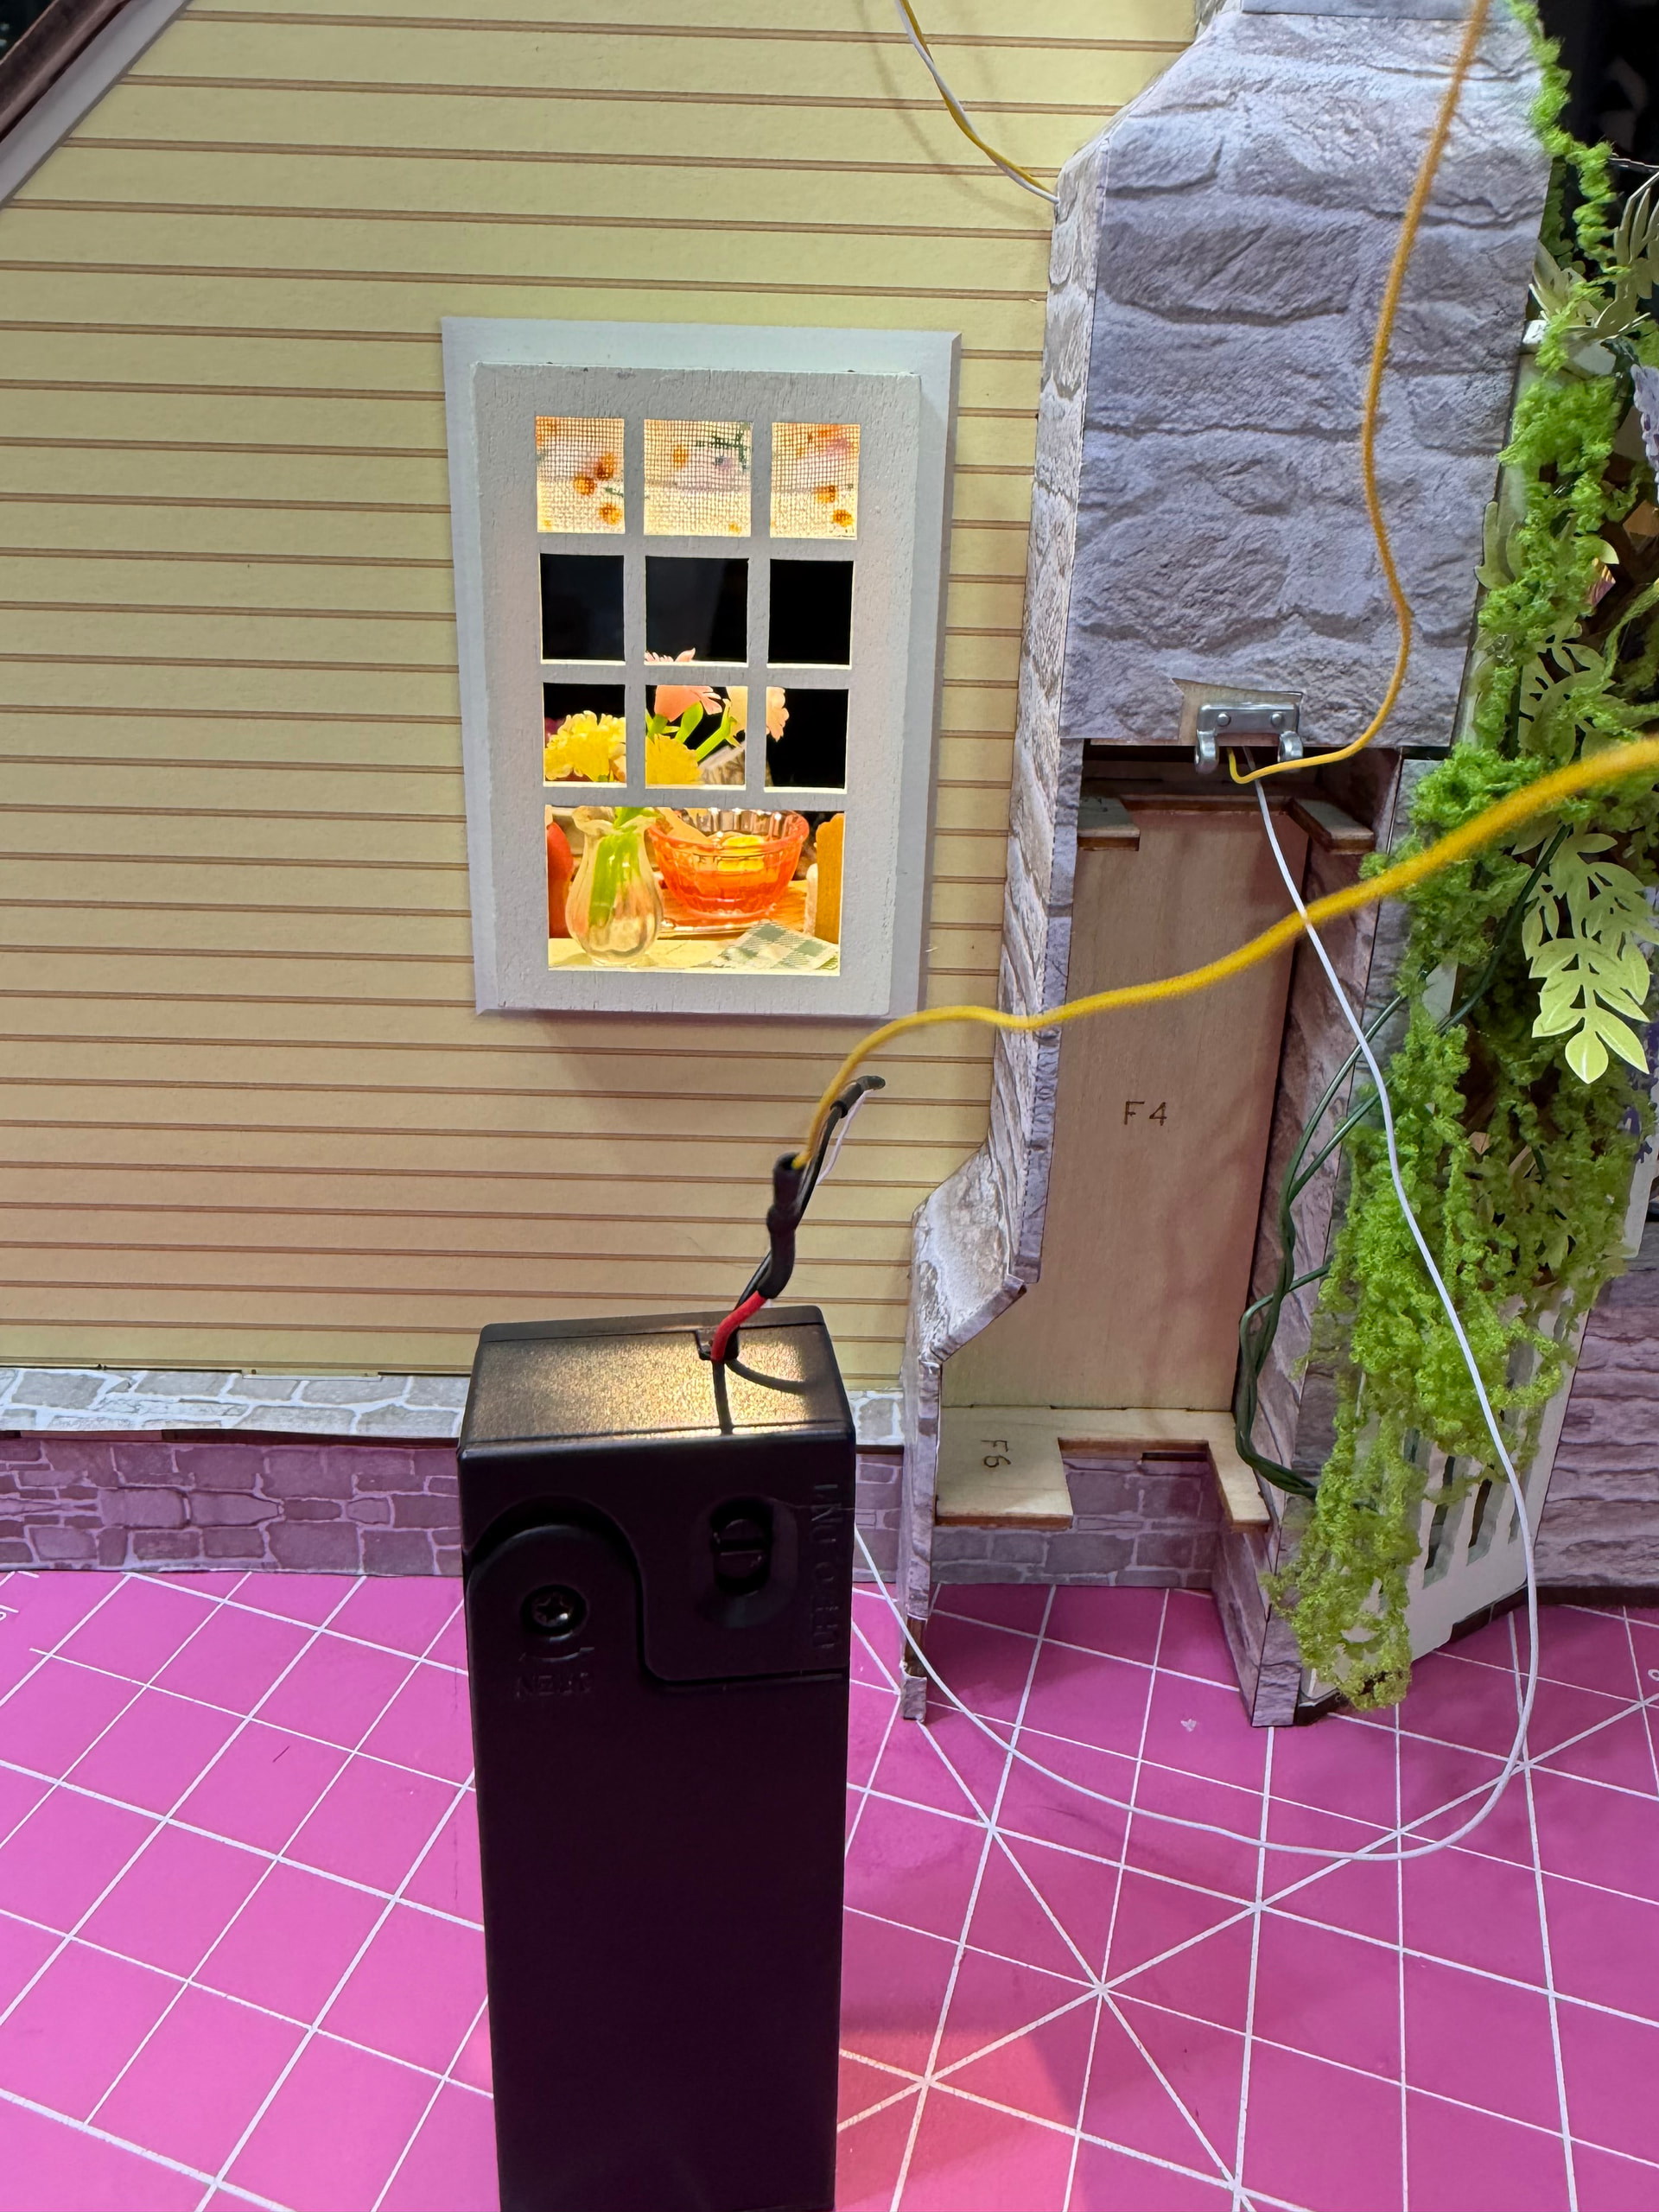
The final result is a clean, secure connection that should hold up well inside the model.
If you’ve been hesitant to try soldering, I would encourage you to practice on a few scrap wires first. It doesn’t take long to build confidence, and being able to repair, connect, or extend wires can open up a lot of possibilities in miniature building.
So what do you think? After seeing the process broken down into steps, does soldering feel like something you’d be willing to try?