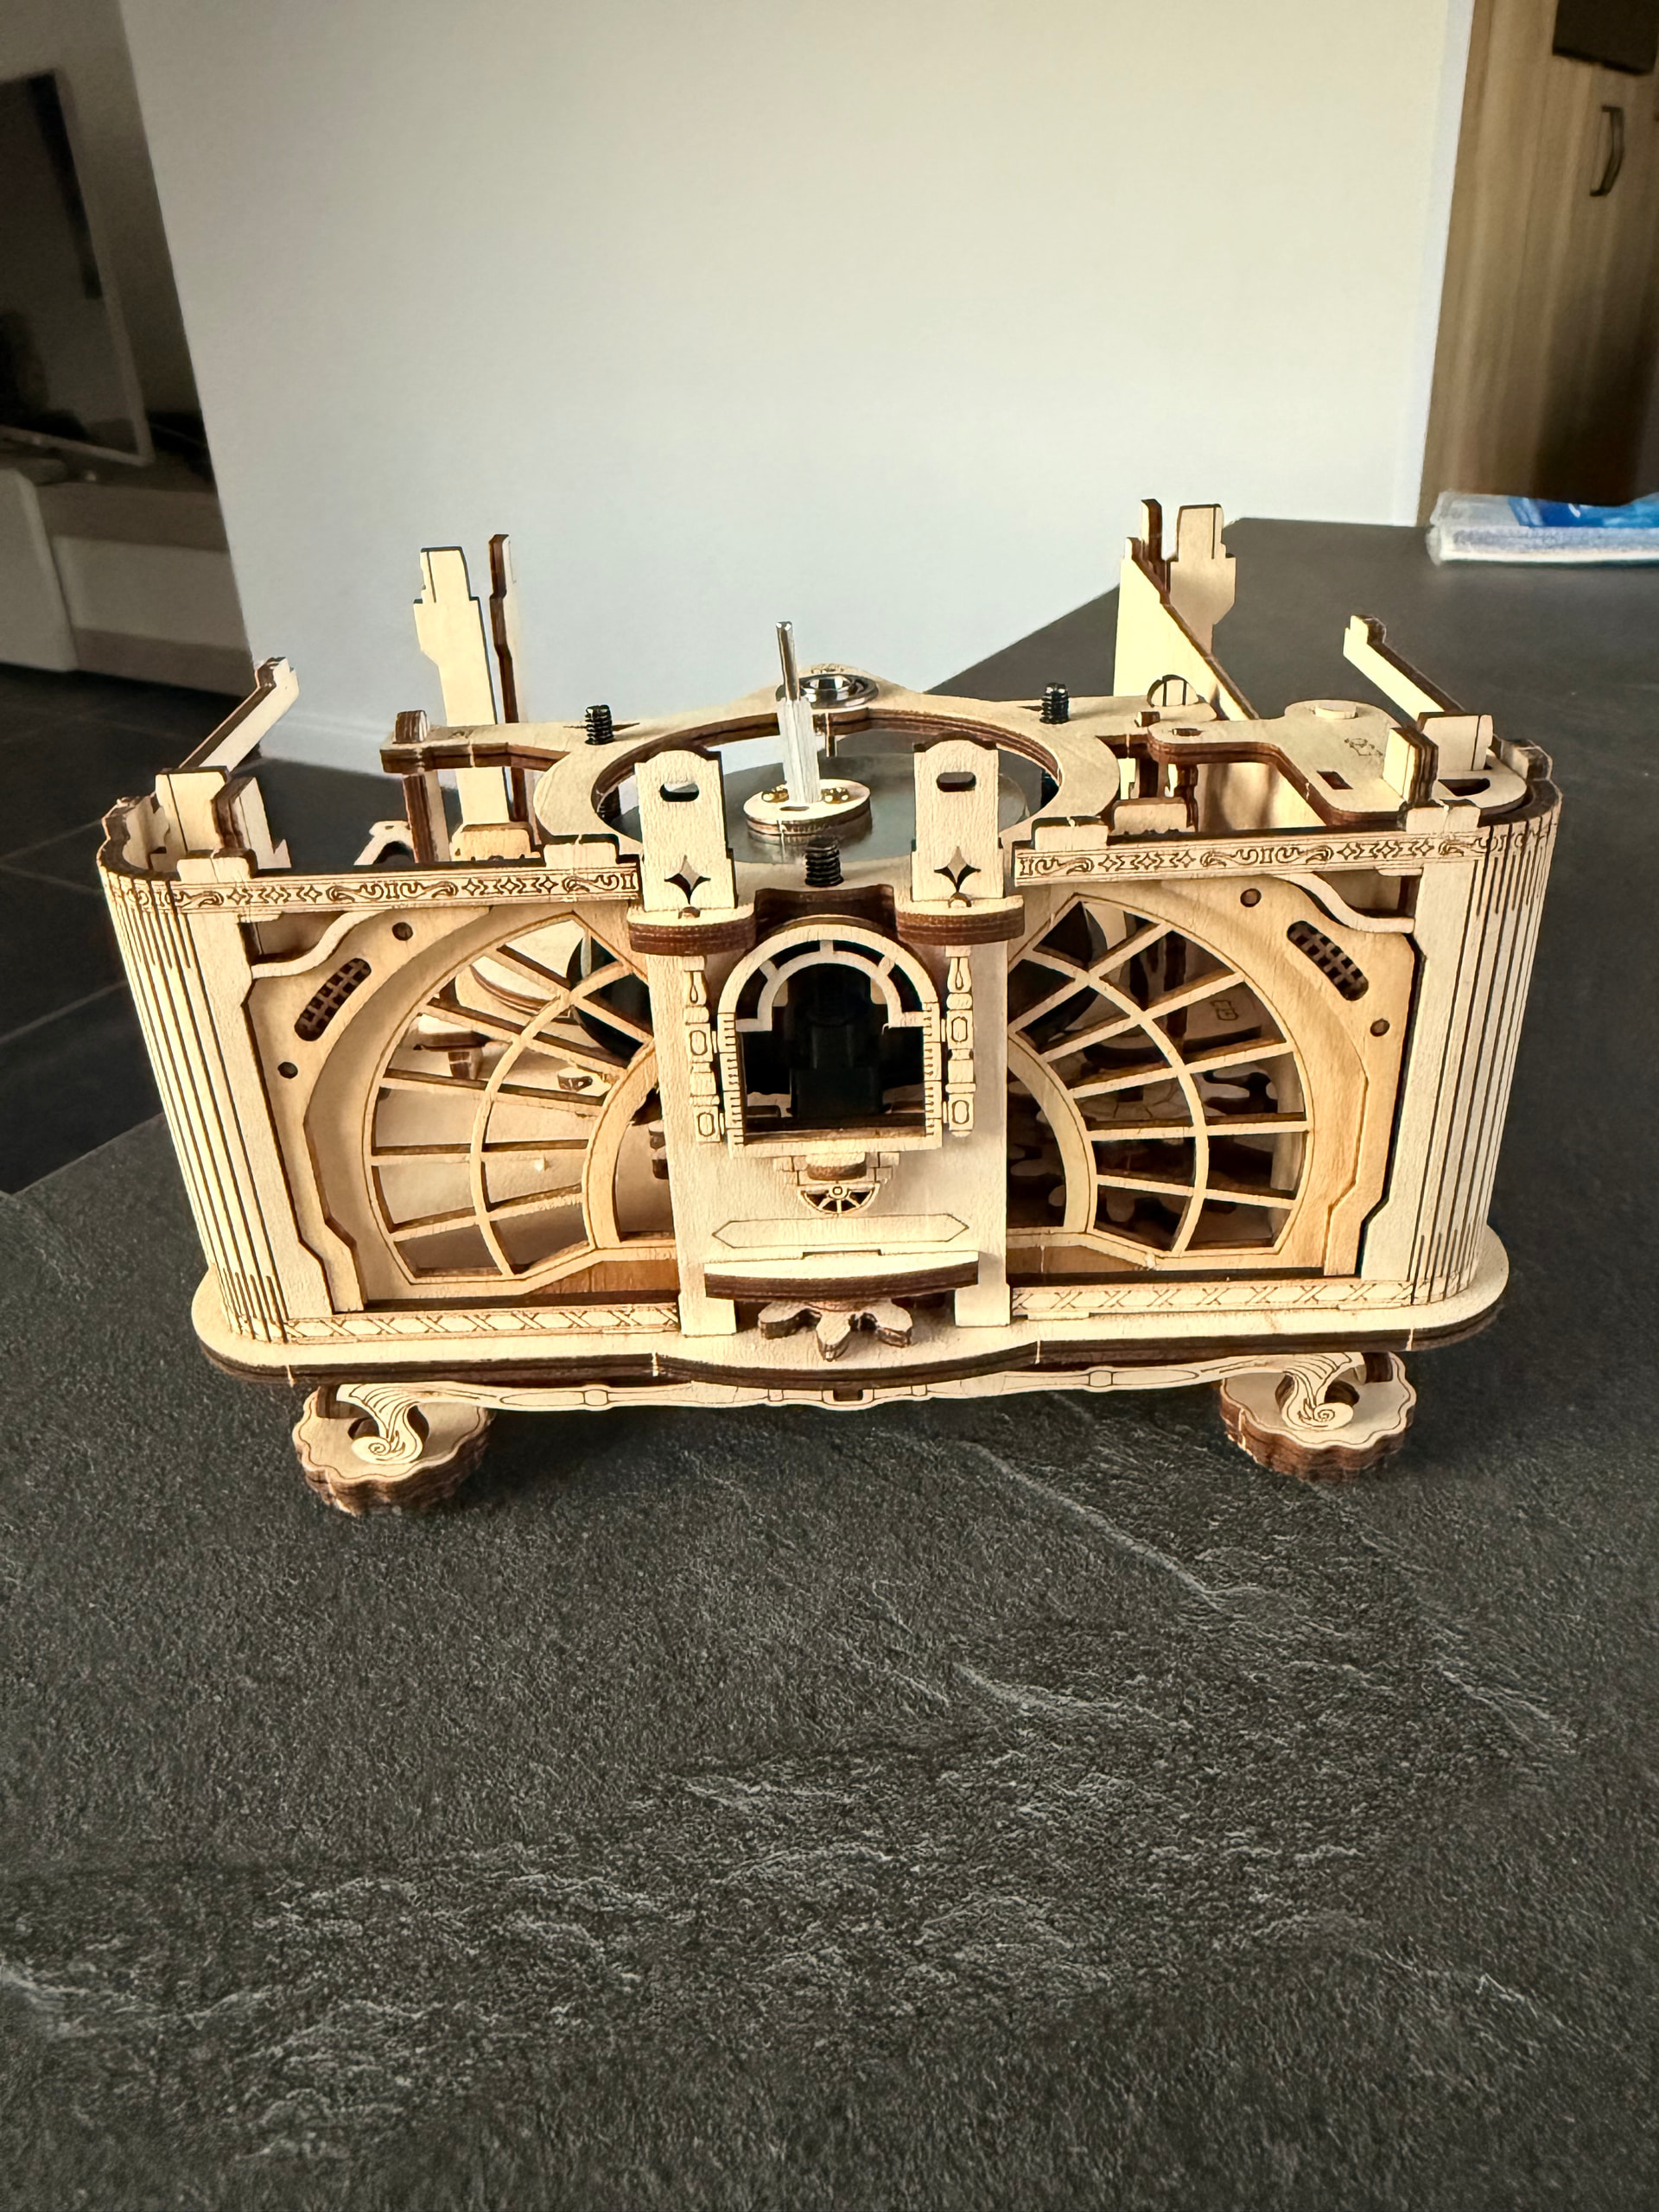
Step 4 appeared to be a small step again. I got to attach the part I made last ome and some other gears and pieces. There has been some waxing and sanding to make it all turn smoothly.
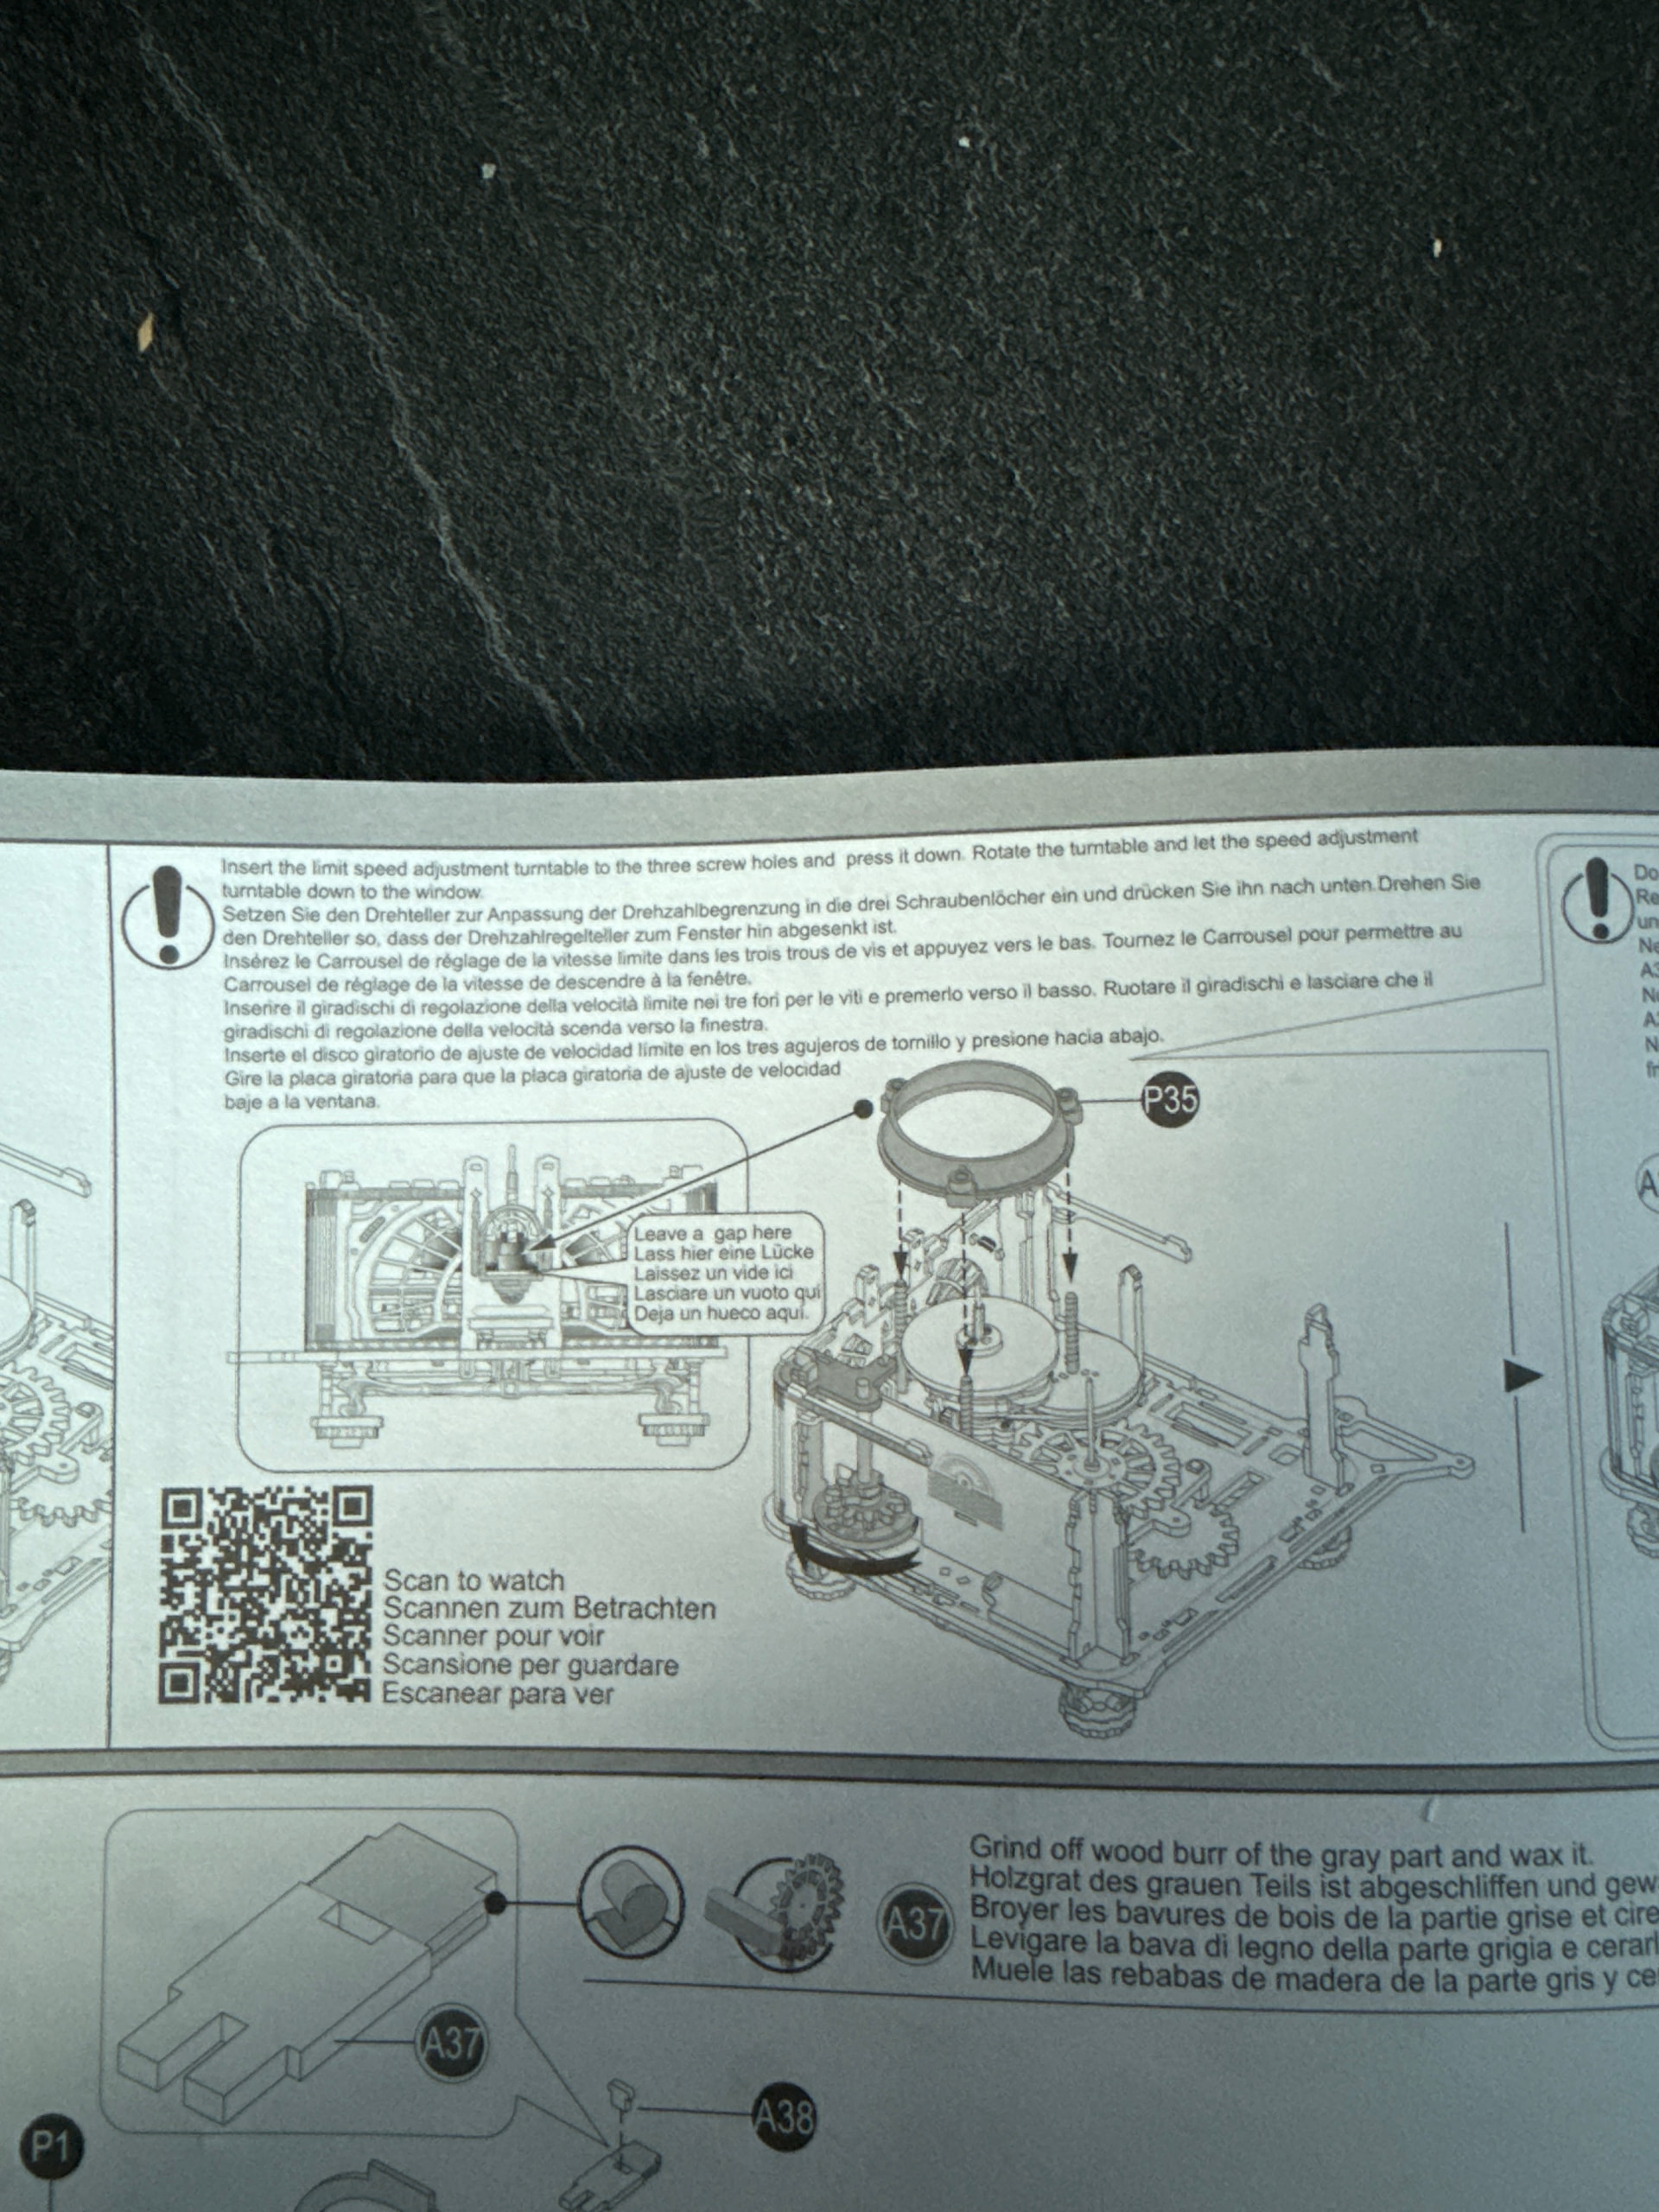
I had one particular difficulty but there is a QR code with a video in the manual to get it done. Like this.
That video is really helpful, so if you ever build this one. Make sure to watch these to make sure you’re doing it correctly.
I have made already some mechanical kits, but this one is not like any of them. There are many other things involved. Metal plates, plastic parts. I really like to see how it is coming together. And I’m eager to continue with the next step, probably tomorrow.
@Minus_88 step four may look small, but getting the gears turning smoothly with careful waxing and sanding is meaningful progress. It is great that the manual’s QR video helped with the tricky section—this mix of wood, metal, and plastic really does make the gramophone a different mechanical challenge.
Yes sometimes they can be very helpful. I do try myself once or twice but if it is not going the way it is supposed to, I’m really glad those videos are there to help out.
Yes it’s great they do that. It is not the first video that I watched, but I think this is the trickiest part I have ever built and it helped me to finish it in no time.
Thank you @Robotime I do appreciate the small steps on this kit. They really cover some essential parts of the building process and taking it one step at a time makes me do it with the greatest care.





 That’s what I love about them too. Although I have built the Swing Ride only. hehe