


Finally finished the pinball machine, which took around 3-4 weeks. I worked on it nearly every day, putting in around 1-6 hours a day. Even if it was just to pull out some pieces and paint them if I didn’t have too much time that day. I built half of it with the tiny screw driver and allen key, until I remembered I had a nice screw driver with all the fittings from when I built my own pc. Def get this screwdriver kit with the spinning handle, they’re only $10-$20 and will make your building so much easier.
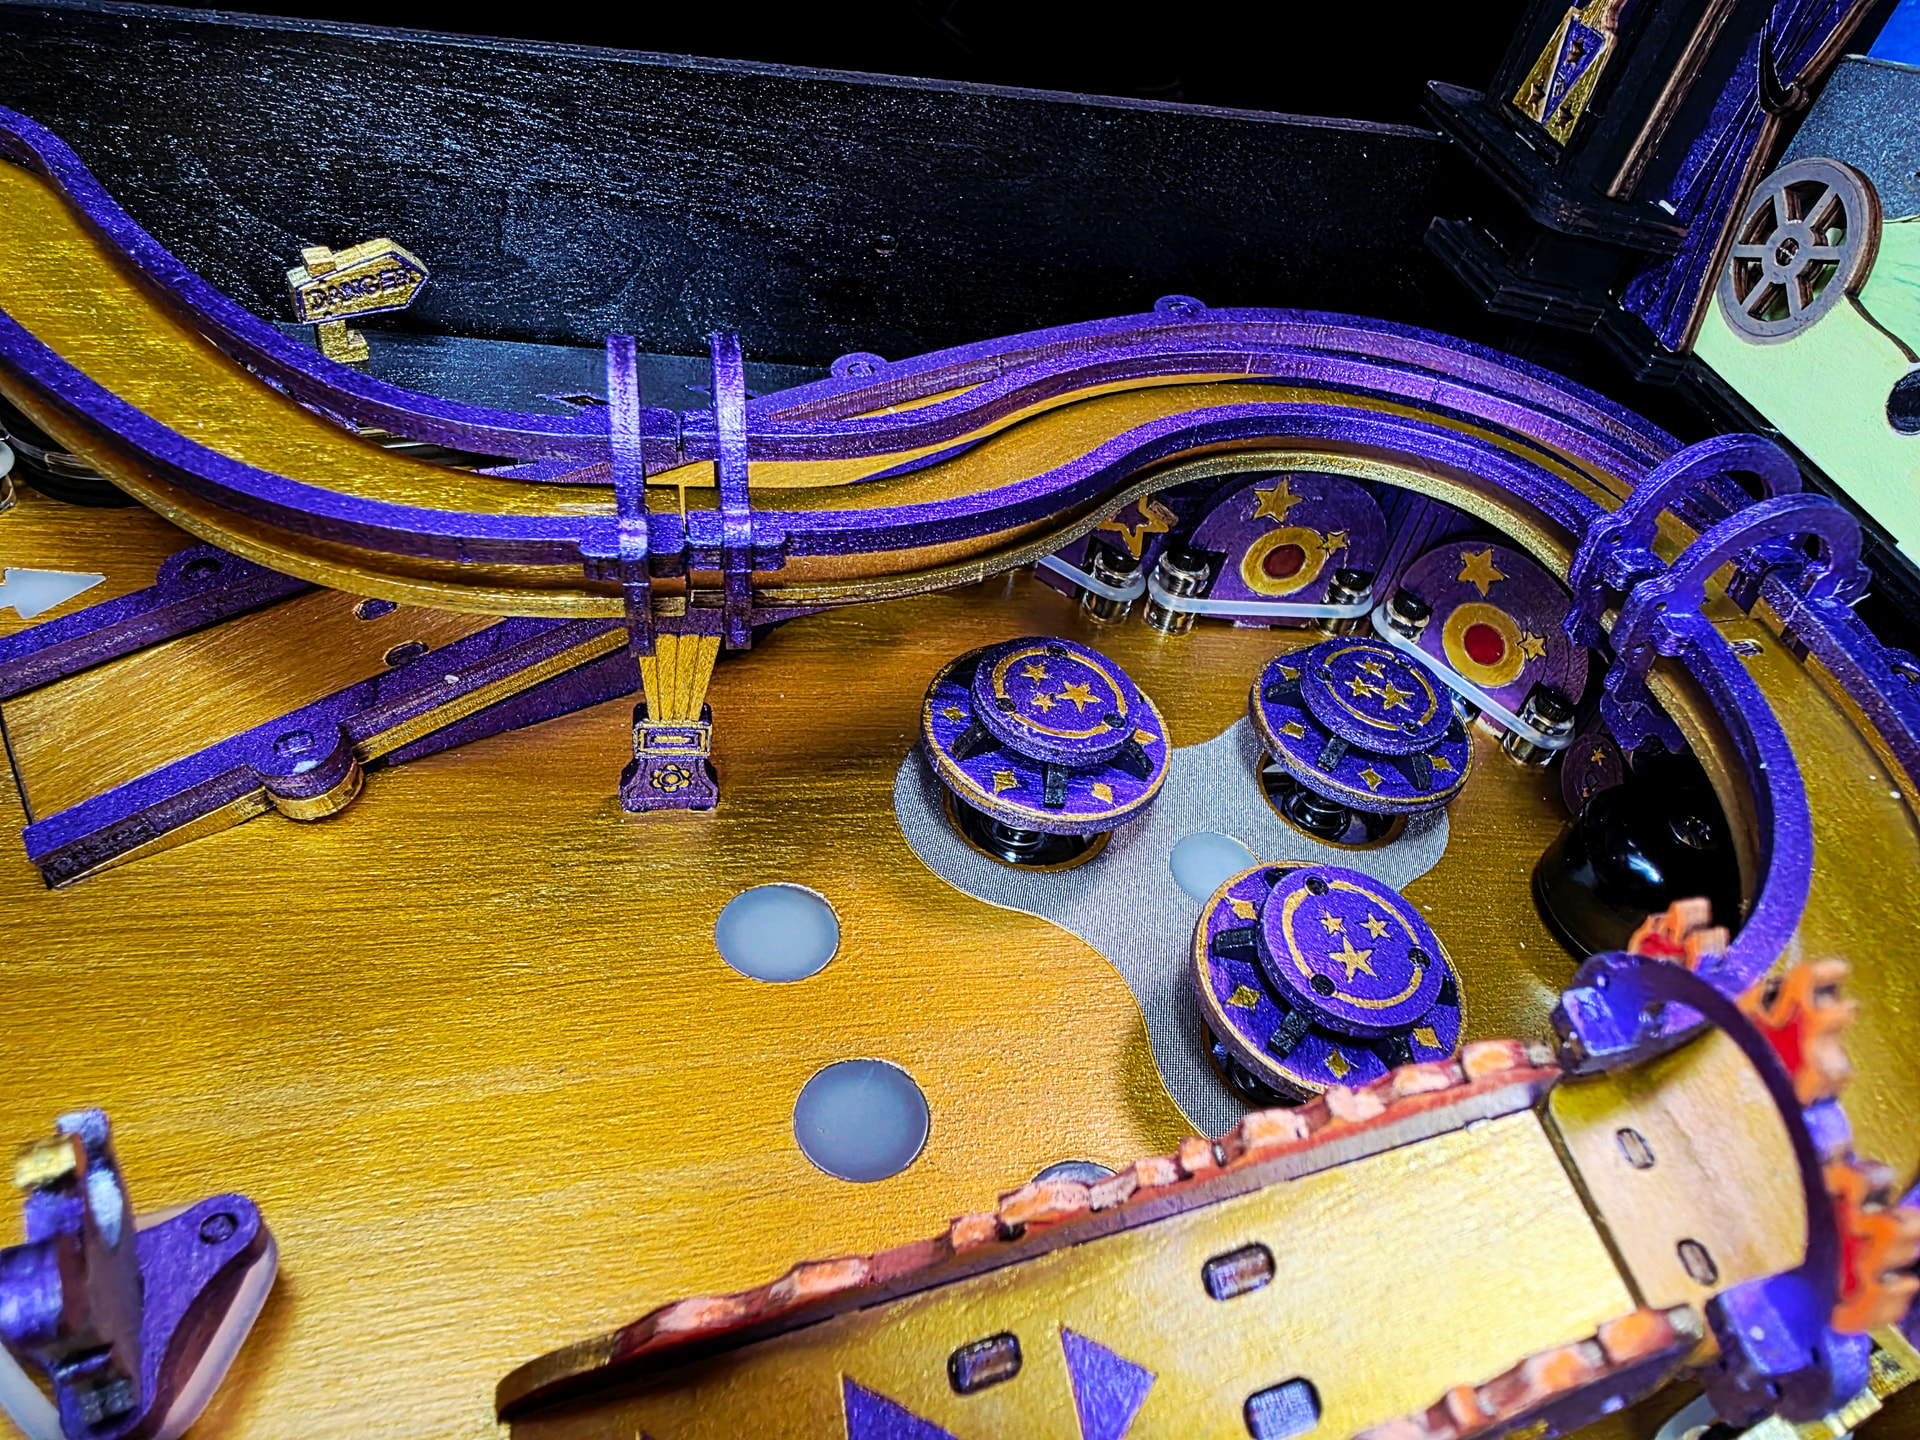
Hard to see some of all that fine detail I did back here, but I know its there at least if I shine a flash light on it
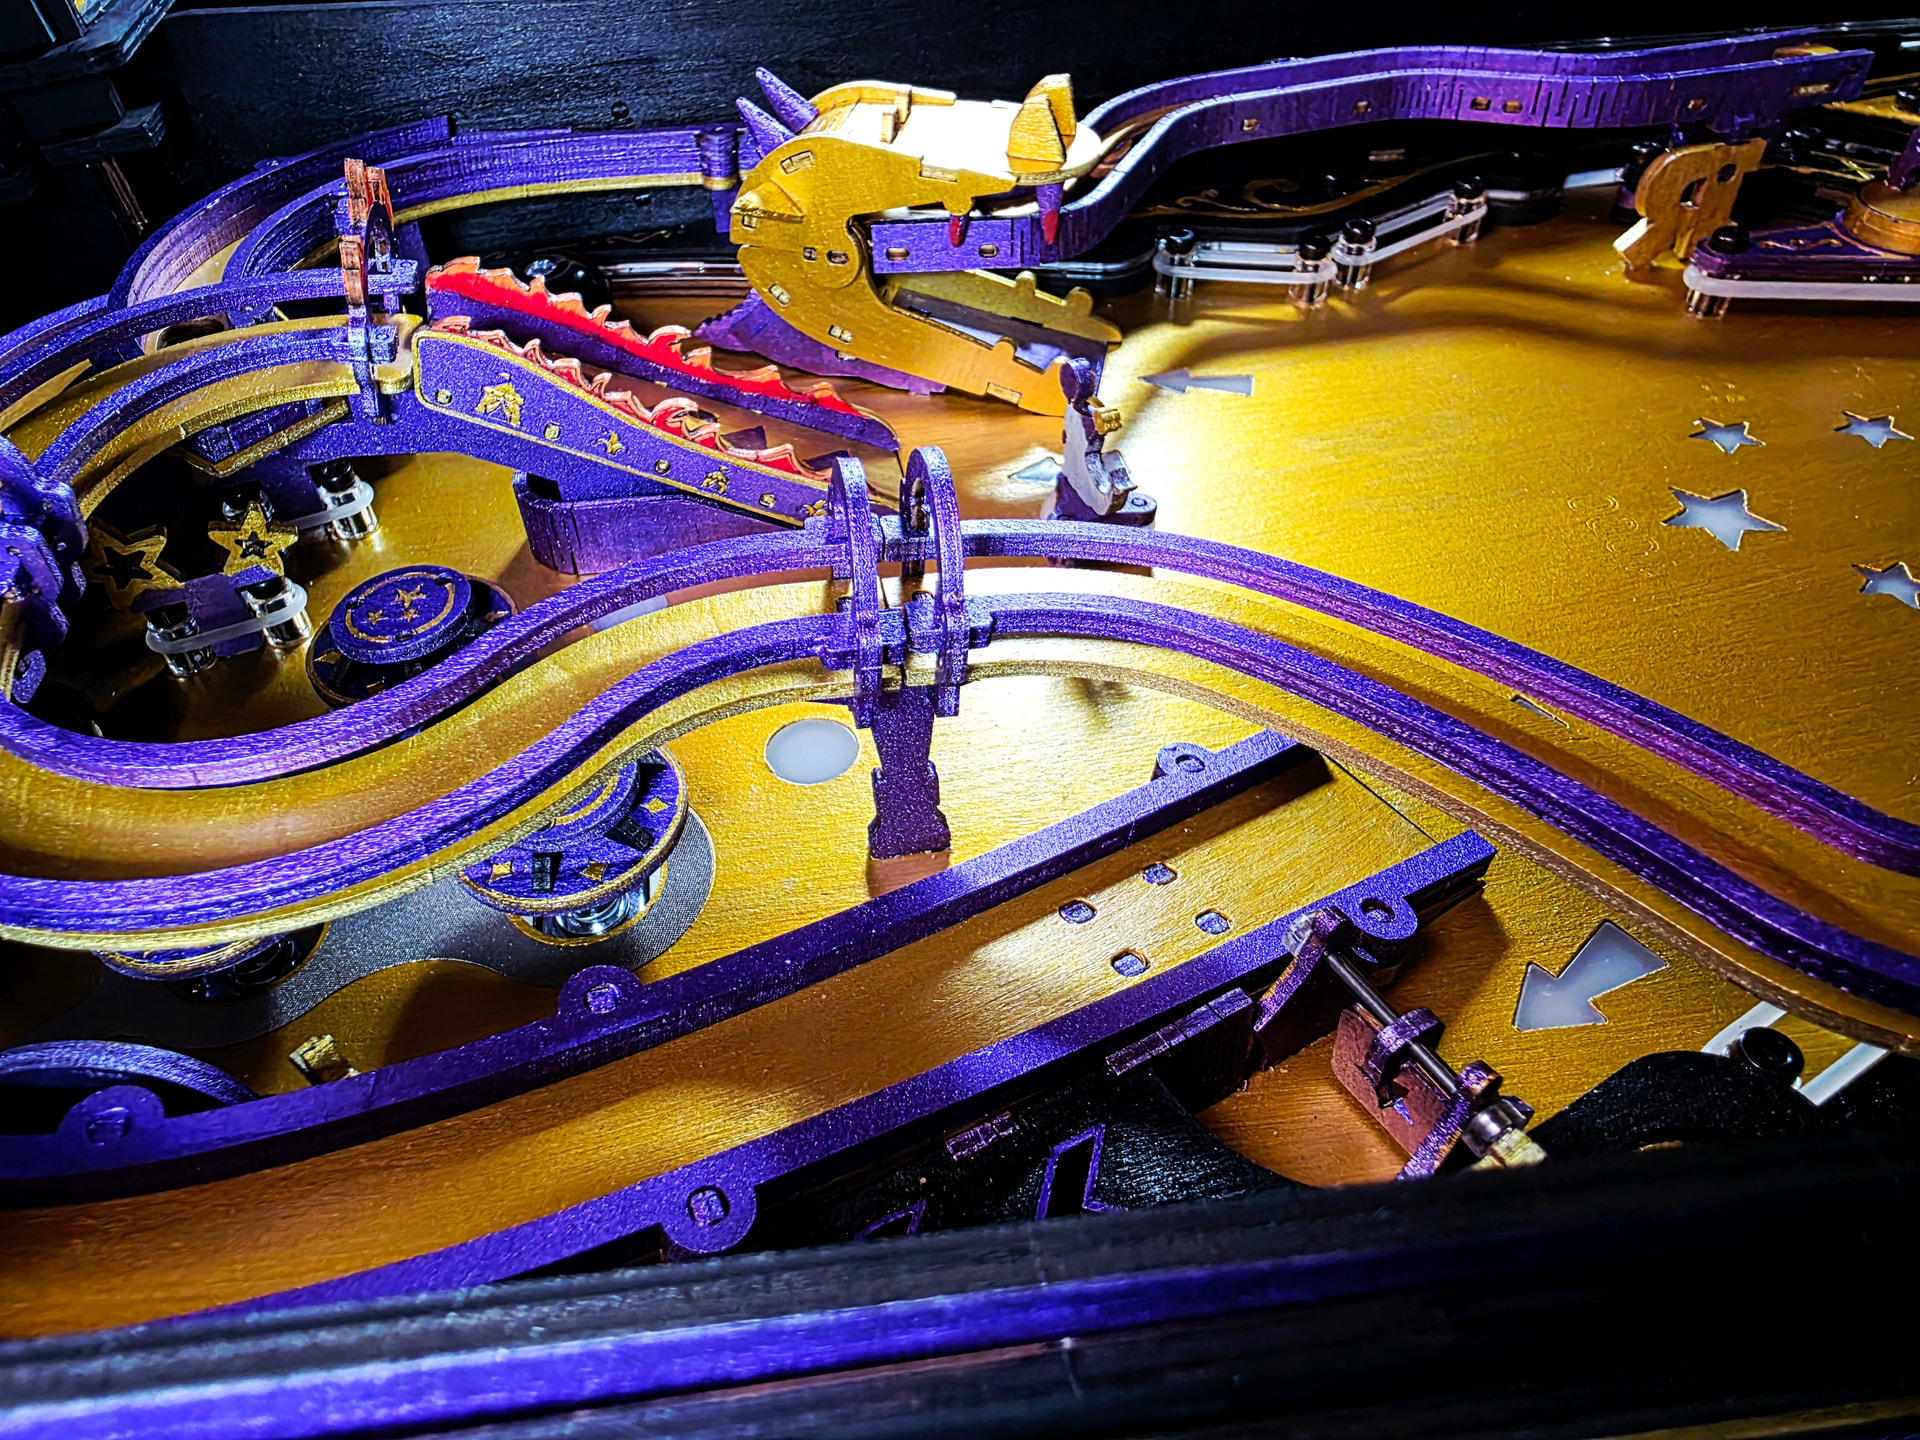
Hardest parts of assembly were the sides going into the main, as the clear plastic would add reflection to the light I had, making it hard to see where to insert the wood, which also required it to be lifted from the back to align. Also the electronic leads were not too easy to insert. Speaker wasn’t that easy to slide in. The ramps were also a challenge, especially the croc being so delicate. The left flipper was also a challenge, as I had used the rod measurement for one of the hinges as a 4 for both parts, and one had required a 2 measurement for more play(or vis versa). Once I realized that there was so much wax left over, and it didn’t call for any more, I started using it to lubricate all the parts for insertion. A little lube went a long way, and I think it was the key to me not breaking a single wood piece.
I used old paint brushes from when I painted 20 years ago, even using some watercolor brushes for acrylic paints worked well for the fine brushes, not so much for the large brushes. The fine detail work was hard, because I had a brush that was splintering on the hairs, but I found there was still a spot I could work on it, and once the paint hardened on the brush it would make it keep its shape once again.
The brush I used for fine detail was Old Holland Kolinsky Sable Brush, Long Handle 7001 Size 2, which is kinda pricey($30) and I probably would not have bought it now if I didn’t already have it from years ago. I started off buying a cheap acrylic marker set for $10. I wasn’t impressed with the colors or the paint volume, so I ended up getting some large 15mm jumbo markers. These jumbo markers were great for large surface area, and it had so much paint you could press it out from the marker into a dish and use a paintbrush to paint with. Only problem is, the paint is very thin and requires 3-4 coats. The marker tip was also very rough, which would often cause the thin wood to start to shred. I did like the purple marker kit, as it had 5 sizes, with the smallest having a very fine pointy tip, finer than the original small markers I had got. Eventually I just ended up getting a third purple once that ran out from a tube, and that had the best color, and only required 1-2 coats.
I had tried gesso, which reduced the coats required, but it had some toxic odors even though it was mild. So I just returned to using 3-5 coats of the paint without gesso. The gesso was also very thick, and I didn’t want it to clog the holes.
Speaking on toxicity, I was going to polyurethane it for durability, to prevent the pinball from scratching the surface, but decided against it. That stuff is very toxic while spraying/applying to were you need a heavy duty ventilator. Having used all non-toxic paint, and being super paranoid about chemicals/cancer/other side effects I decided to keep it totally non-toxic. A nice change coming from oil paints years ago. So eventually I will probably just apply a non-toxic acrylic clear coat for durability and perhaps some stickers.
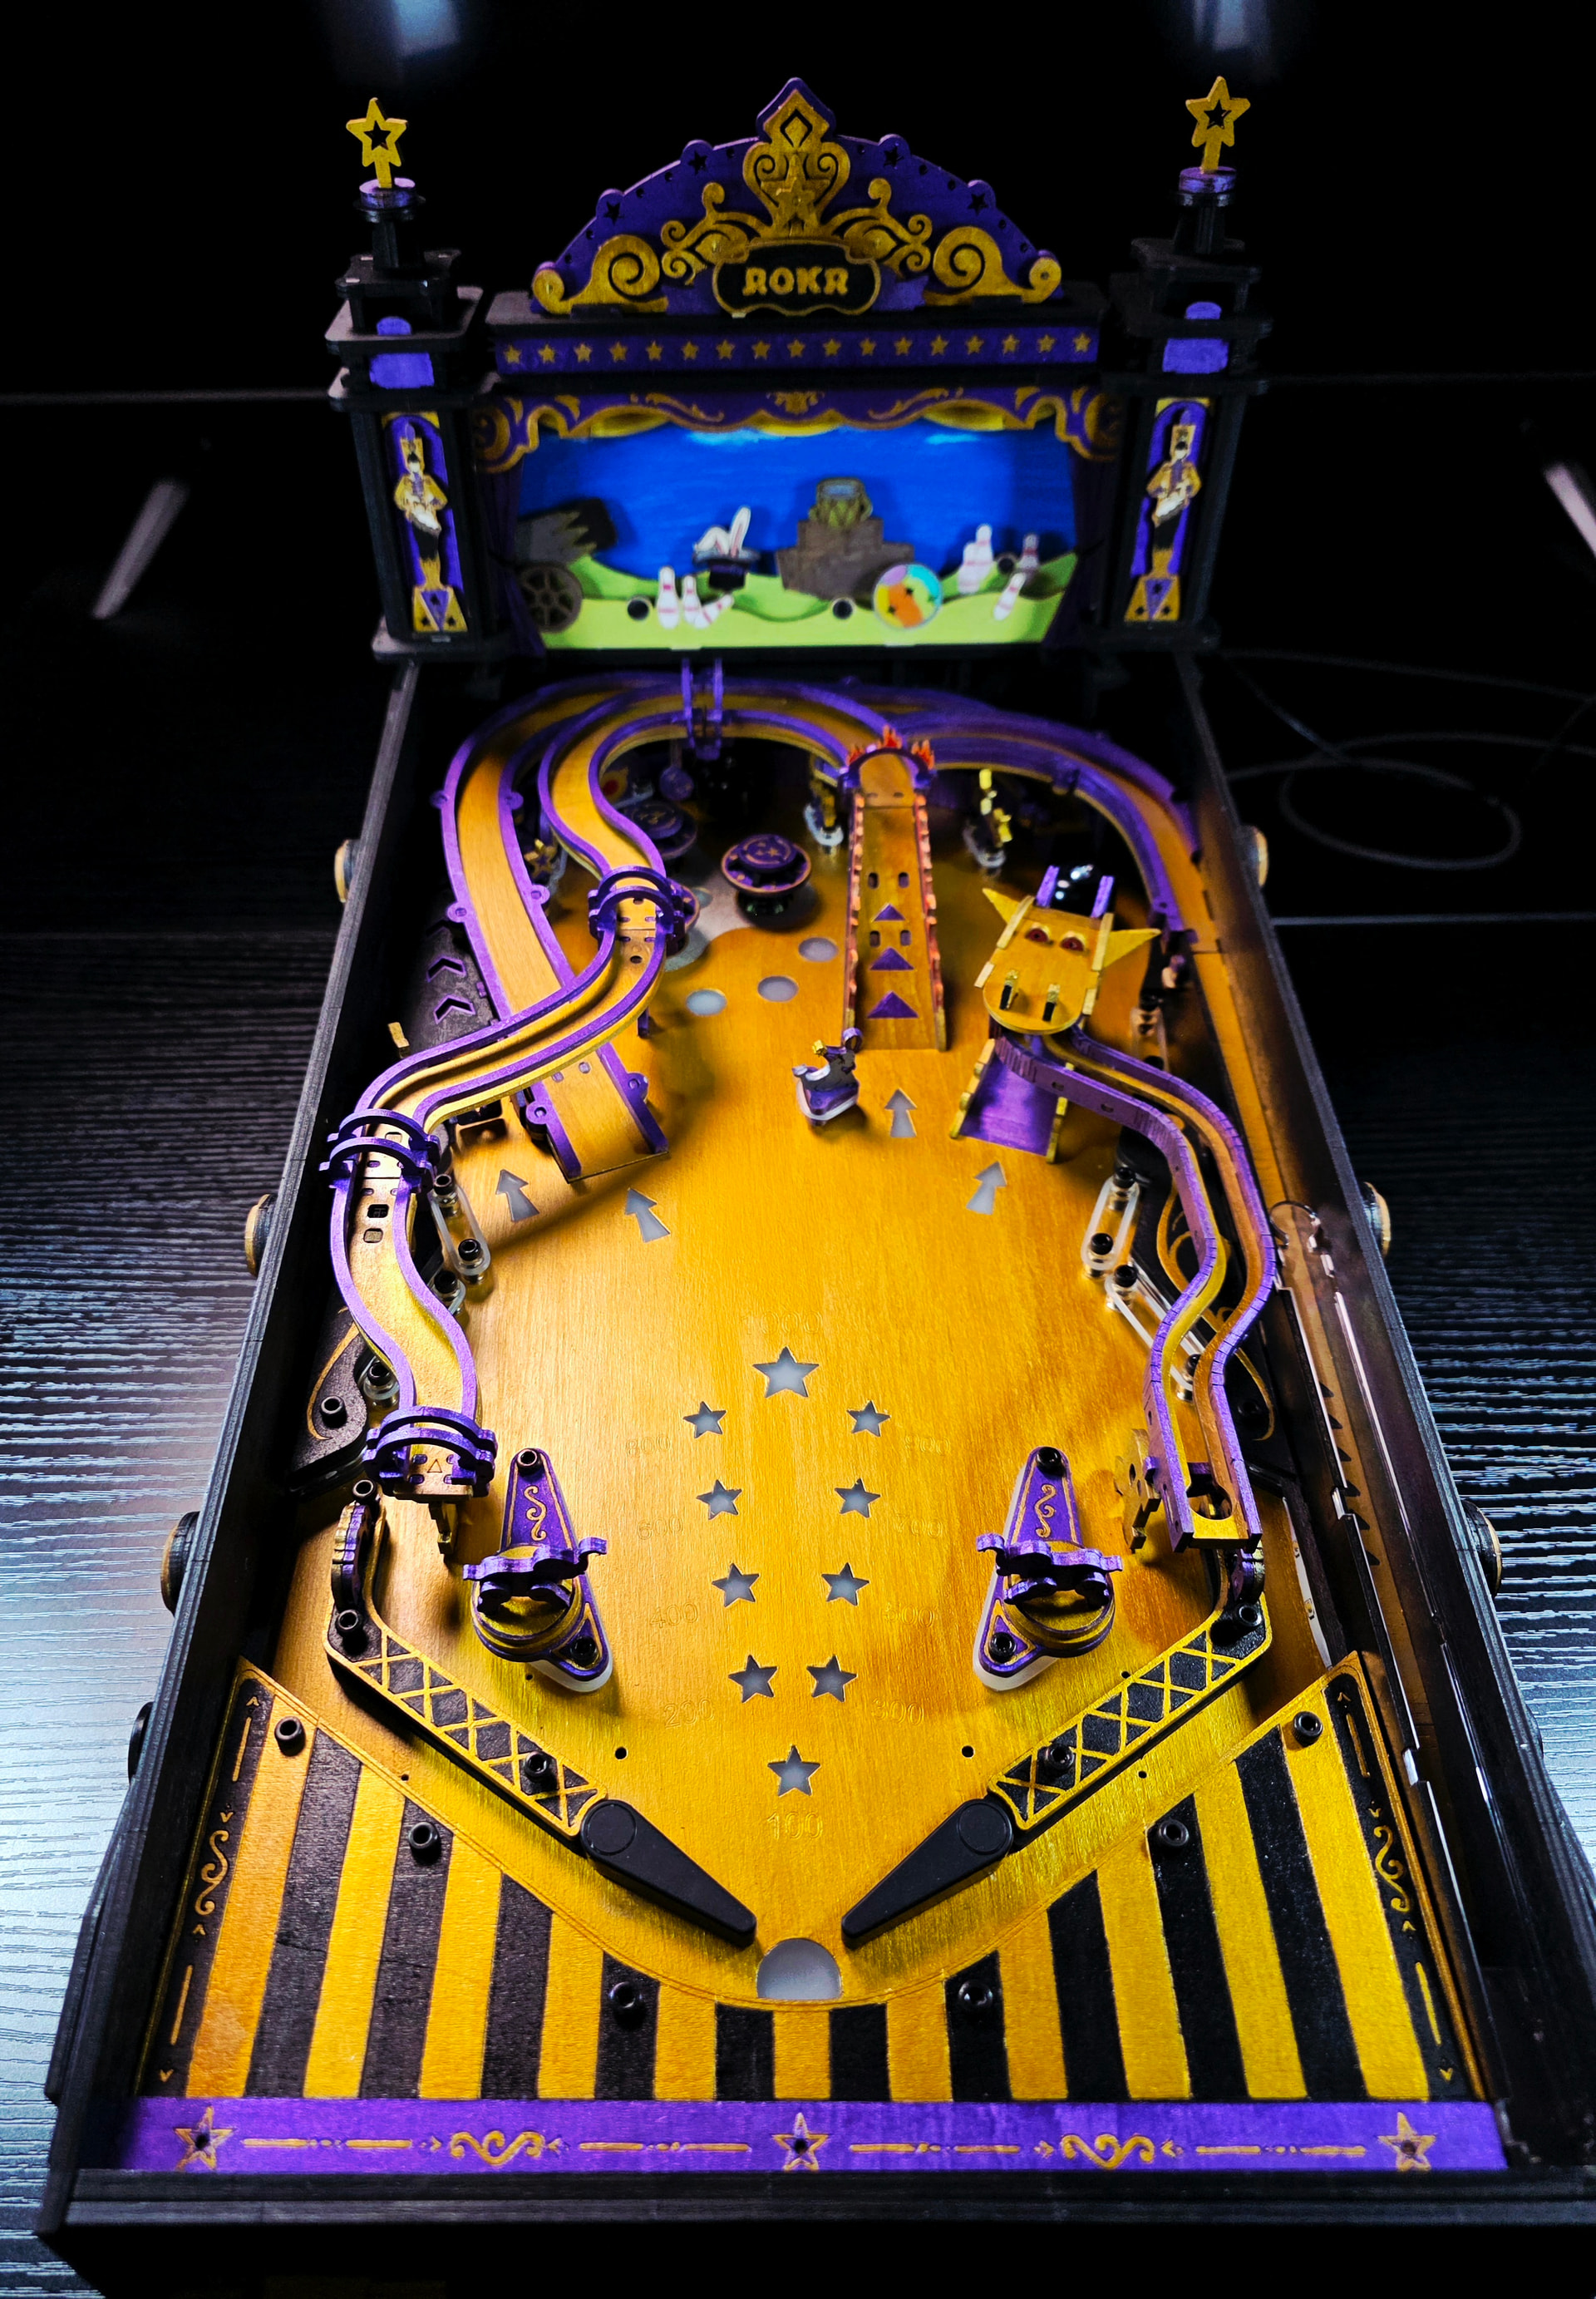
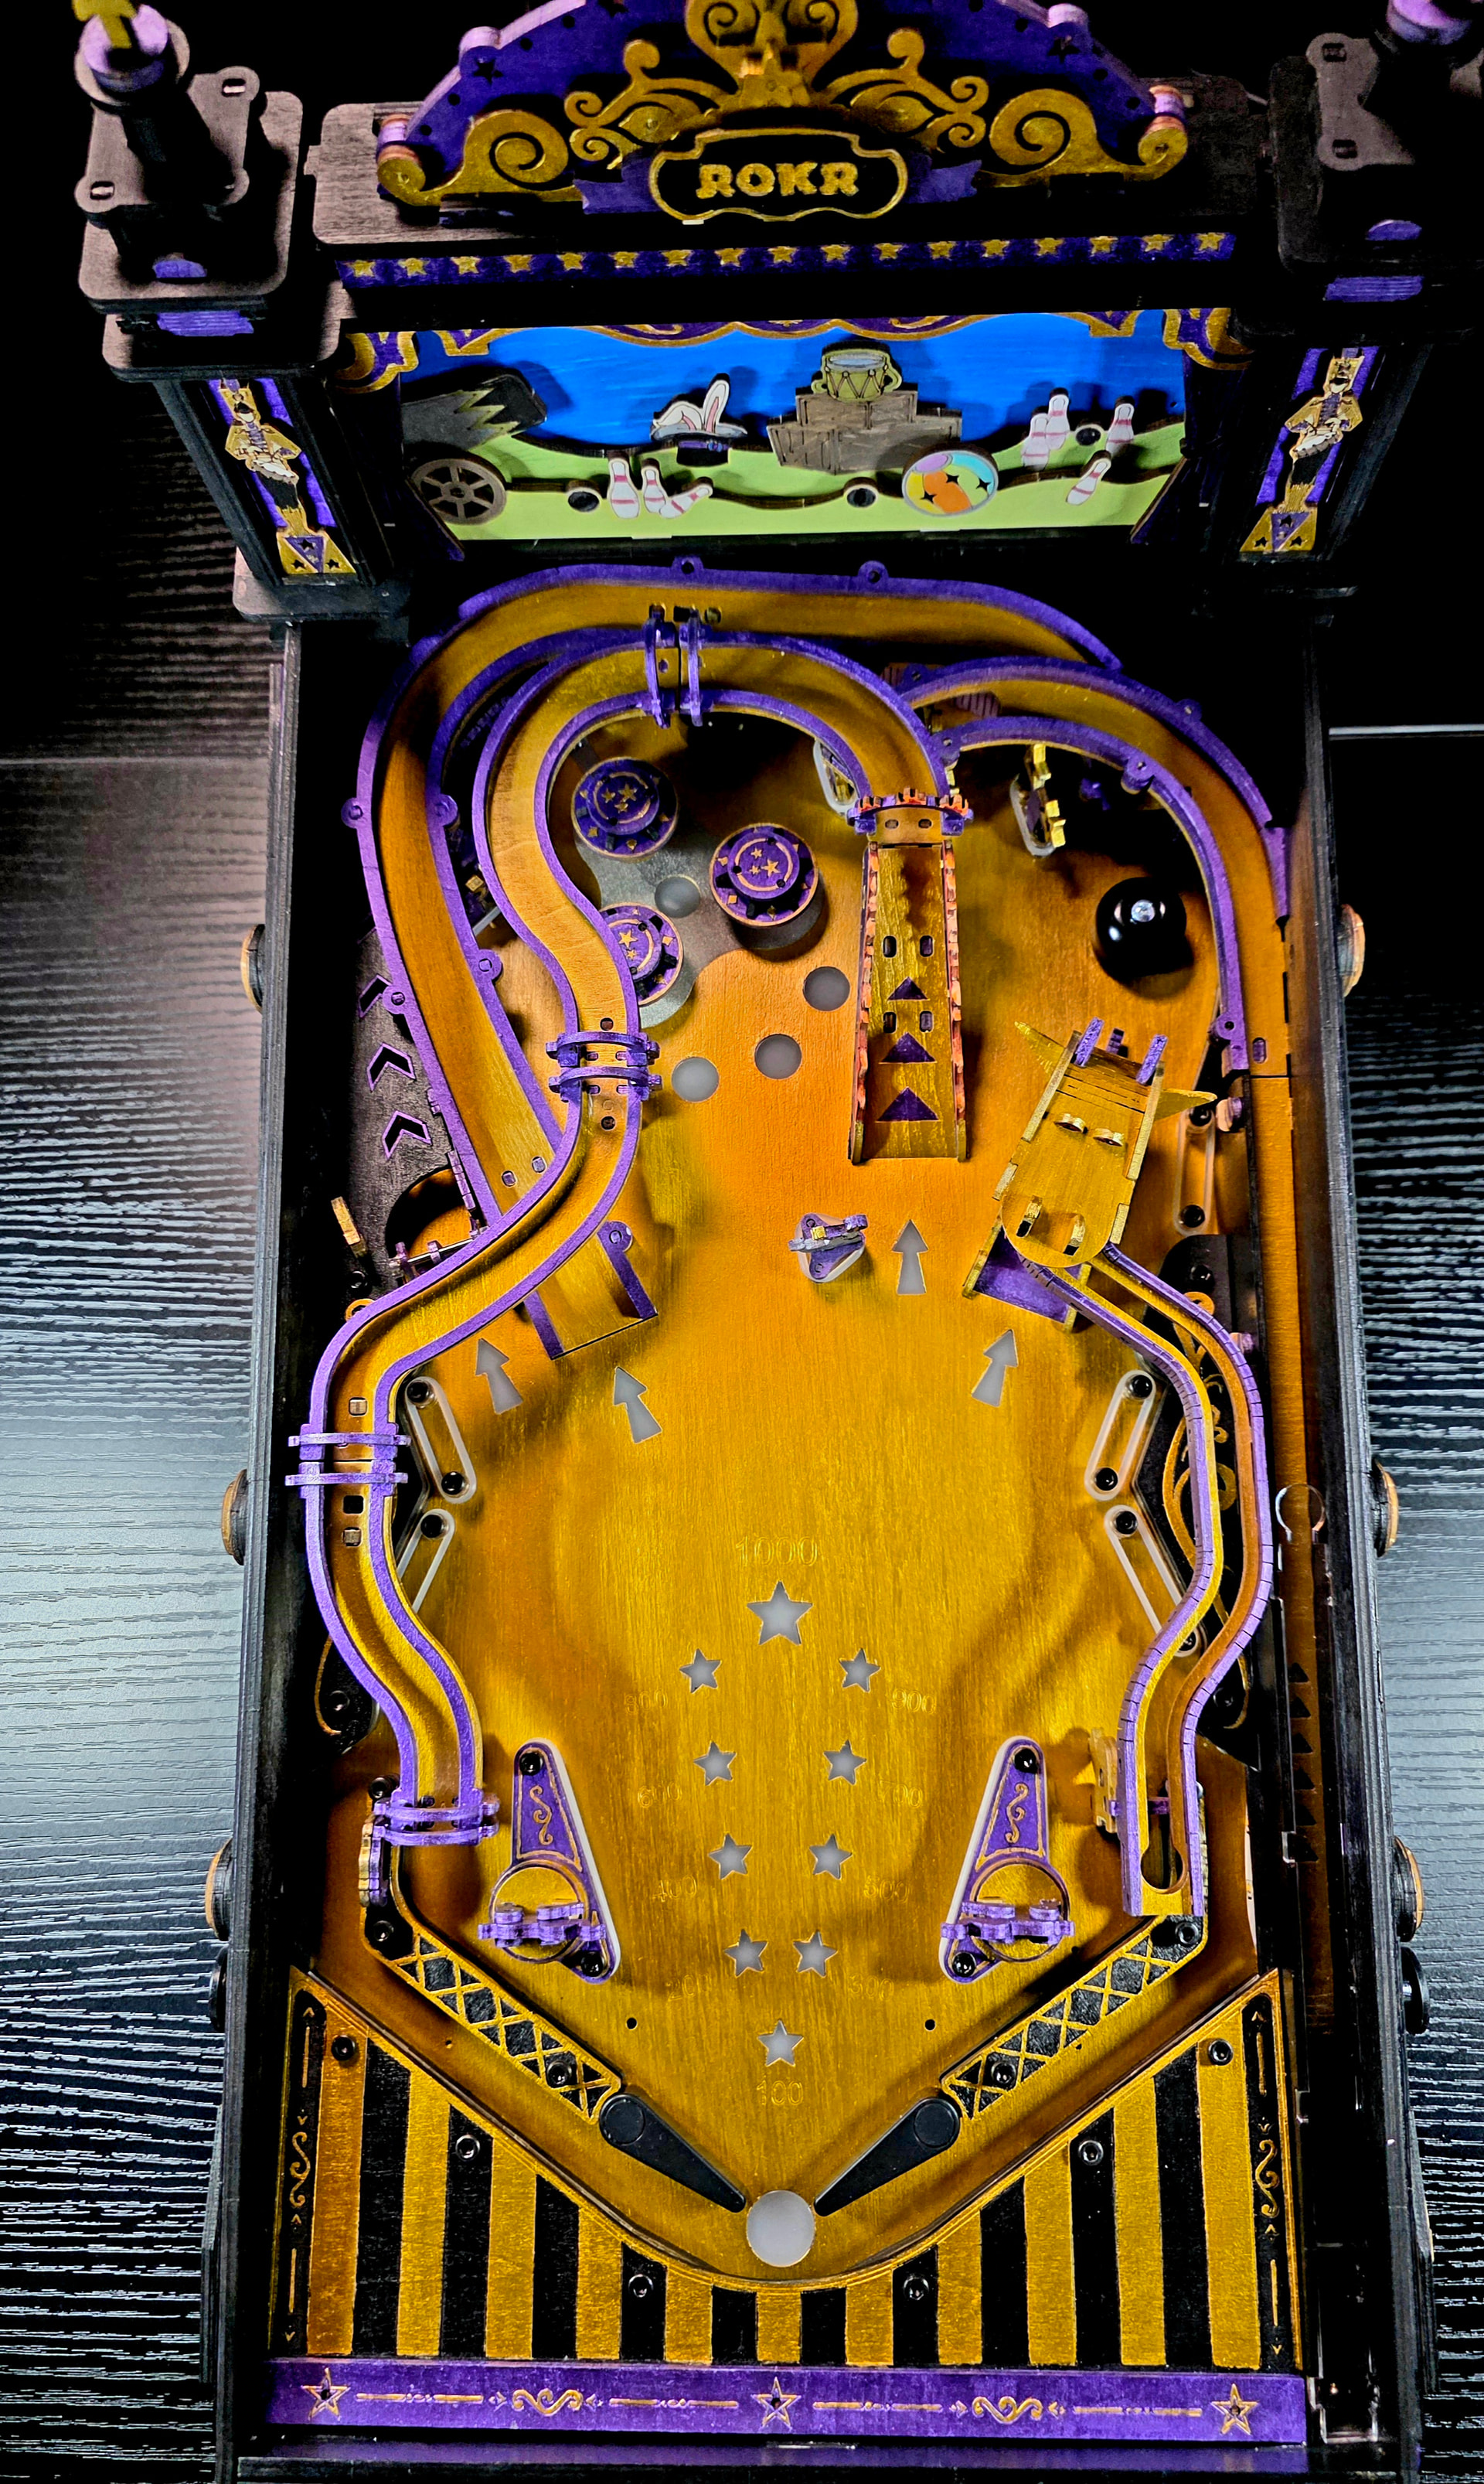
I saw so many people paint the scene with a blue sky and kinda did a monkey see monkey do. In retrospect I wish I would have went with a night scene with stars and a moon with a face to match the colors/theme better.
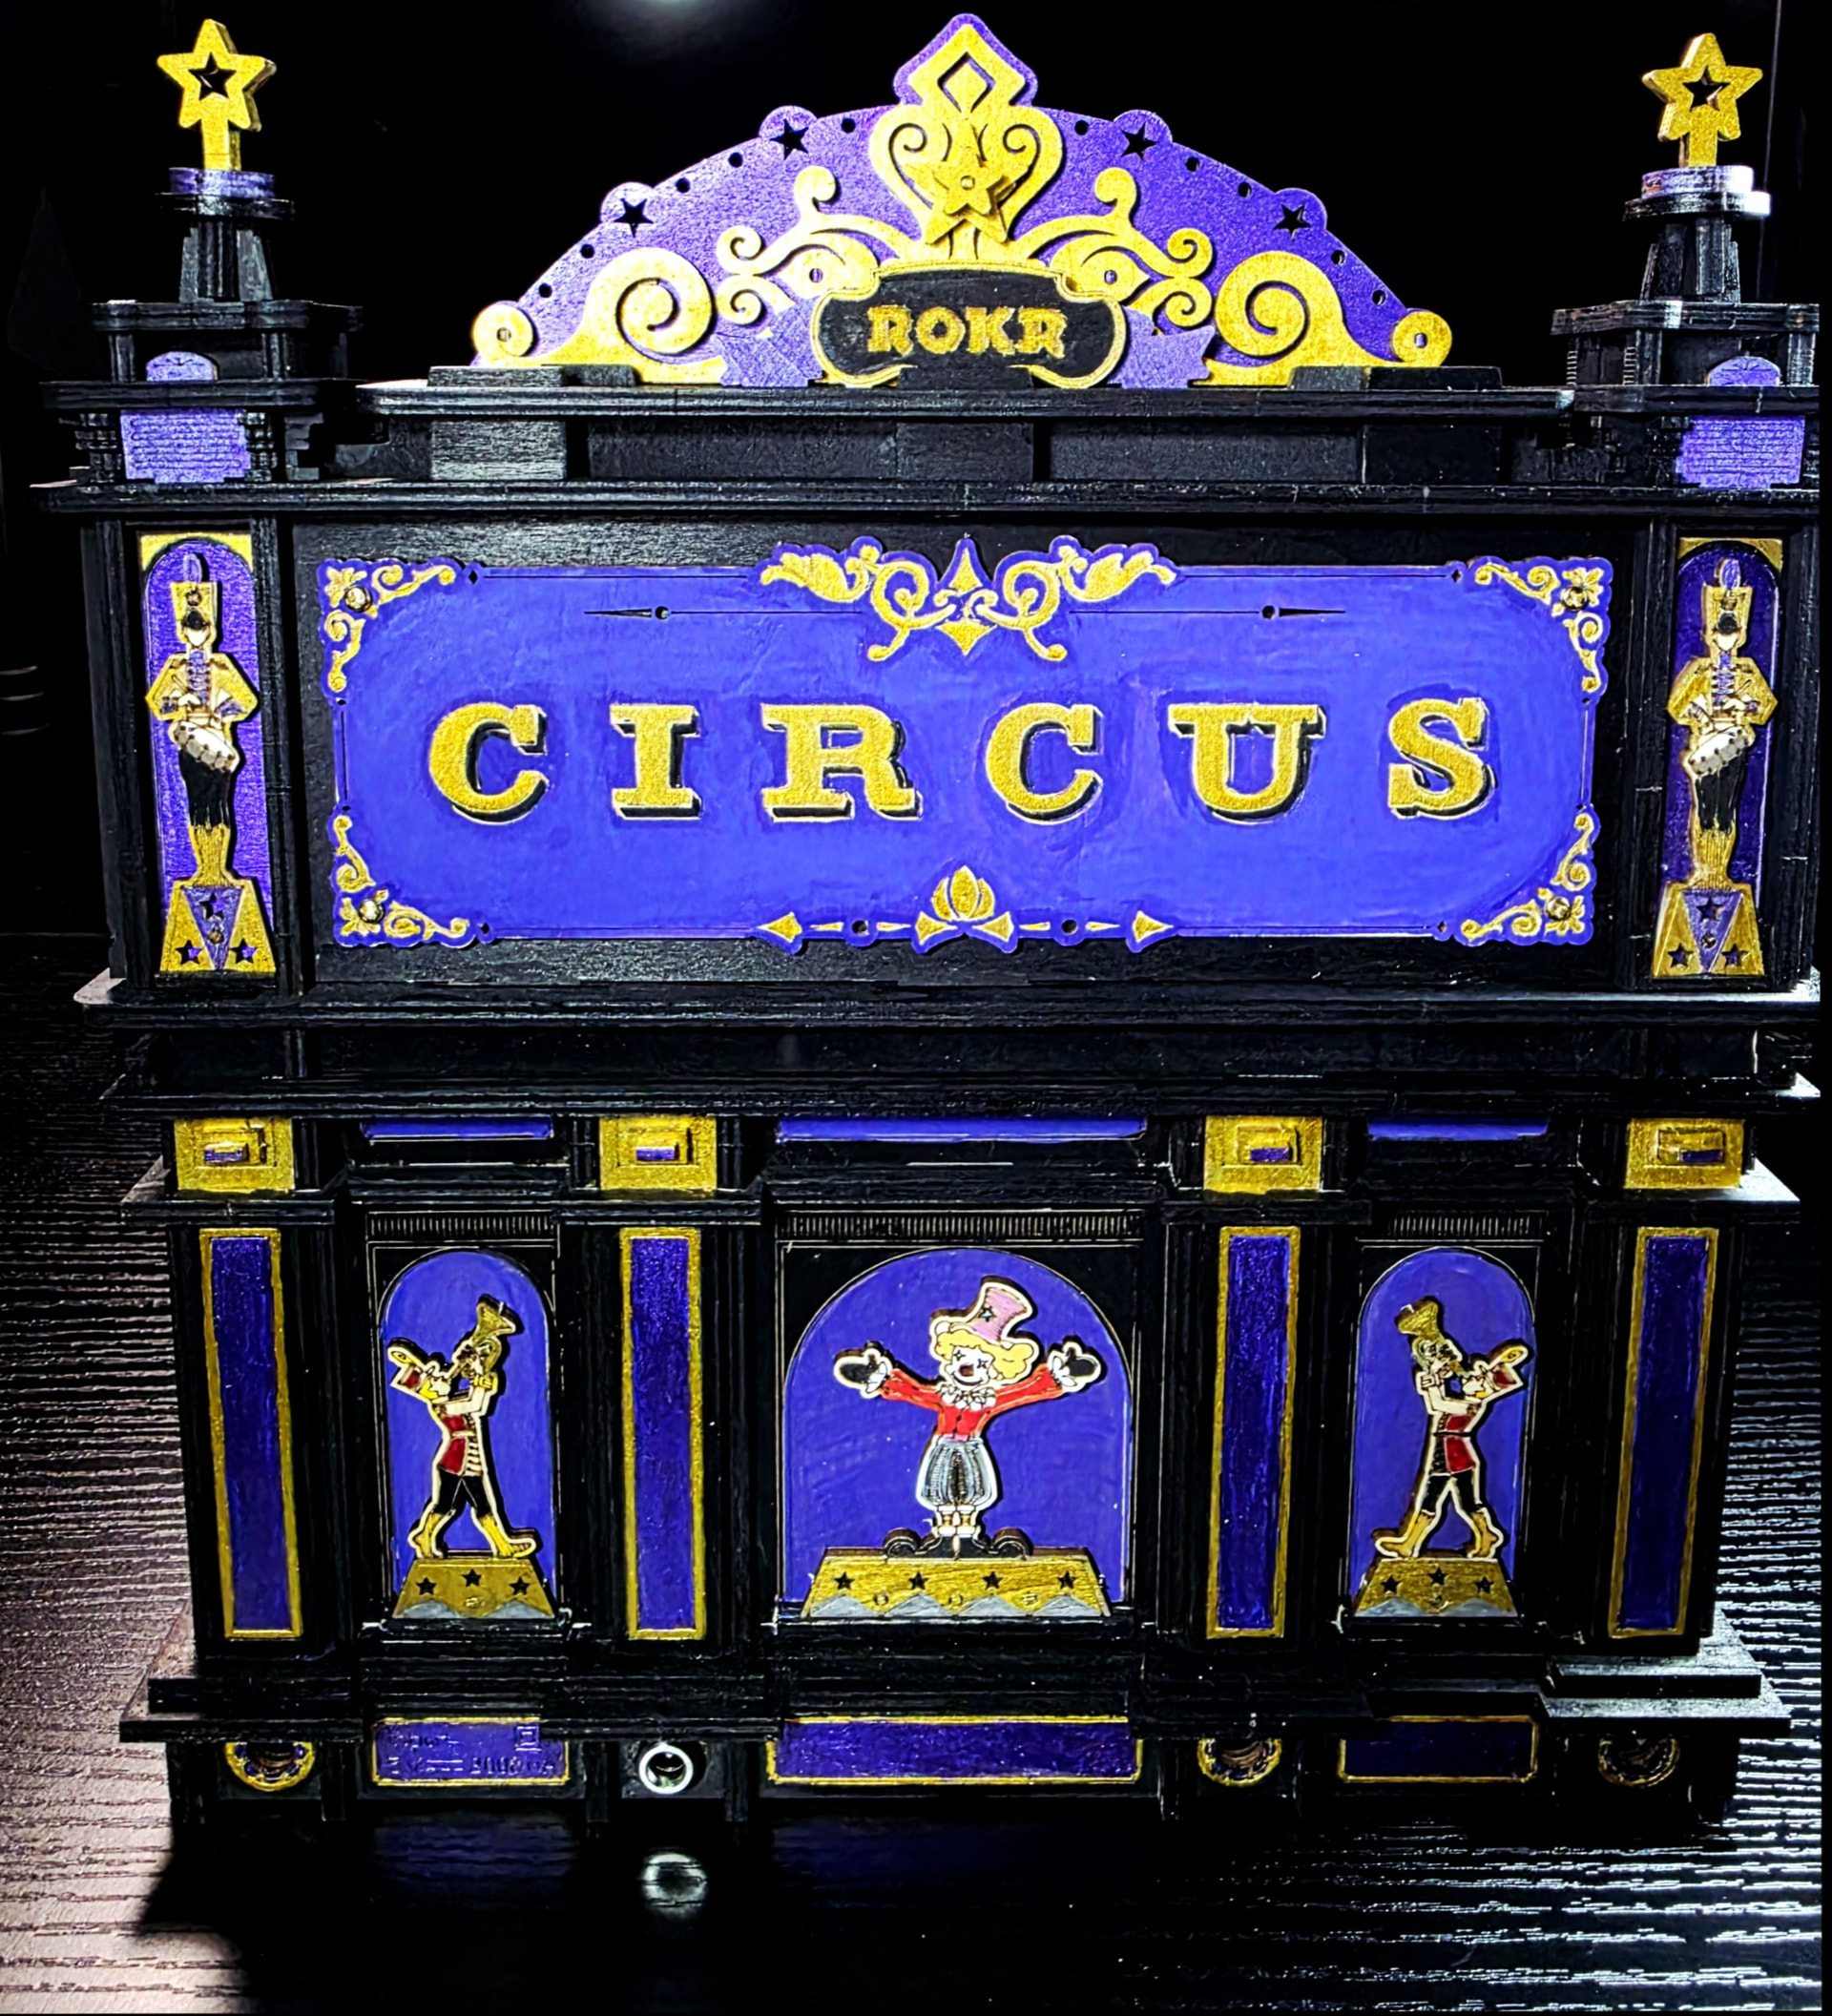
I also saw a lot of people using a lot of colors on a lot of different paint jobs, but I decided less is more with the colors, and went with mainly 3 colors. At first it was mainly going to be black and purple, but when I needed to buy more purple(ran out twice & now has 3 different purples ![]() ) I saw a nice gold from a company. Since this is for my dad and I know he loves gold it was a must.
) I saw a nice gold from a company. Since this is for my dad and I know he loves gold it was a must.
So I made this for my dad for a Christmas present as he told me when he was younger he used to play a lot of pinball as a kid. He never knows what he wants, so I wanted to get him something to make him happy and give him some stimulation. His reaction was priceless. Dad:Wow talk about a work of art!
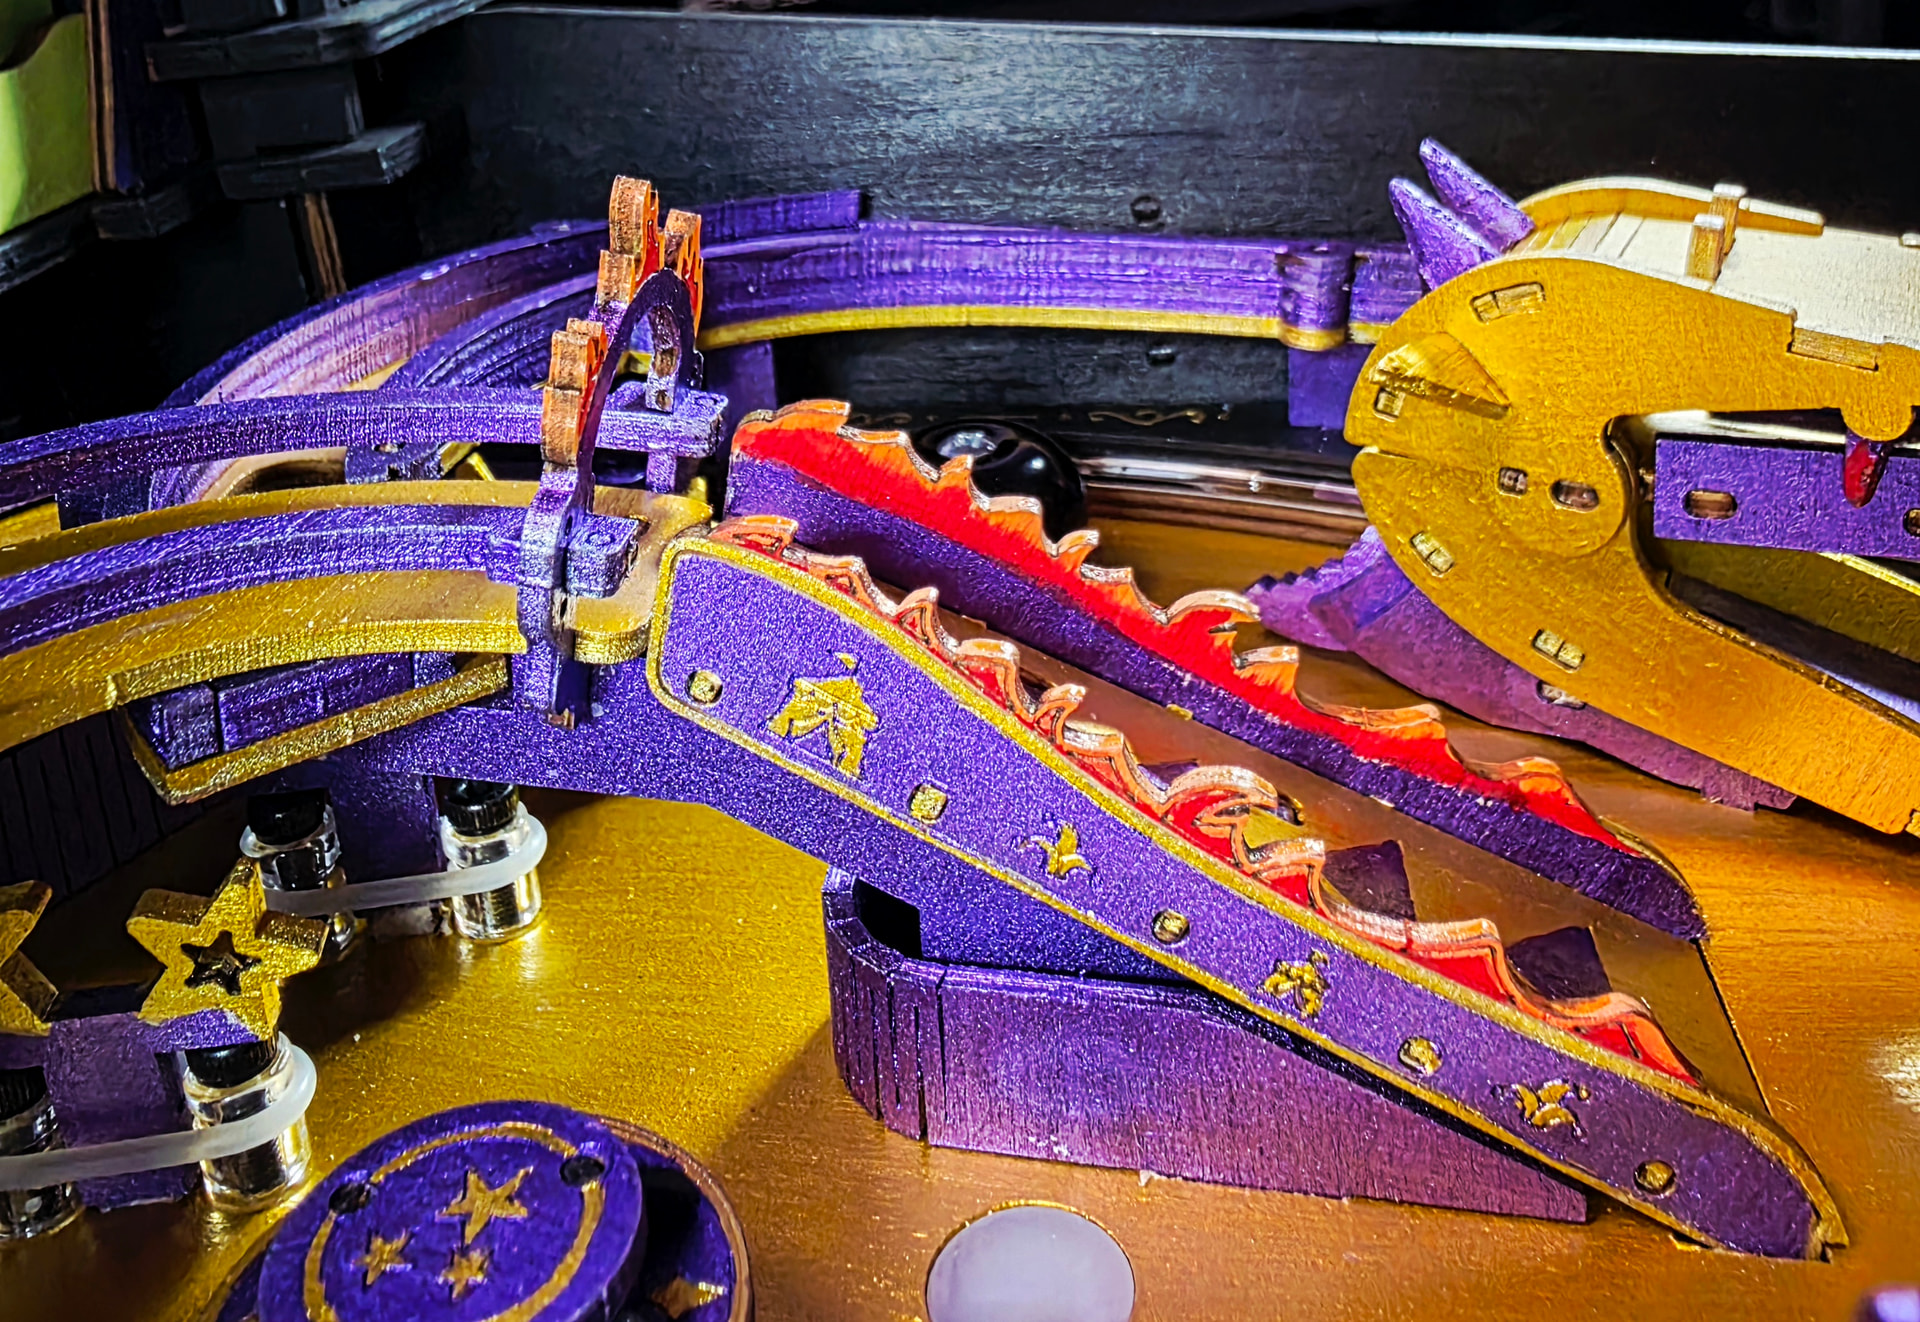
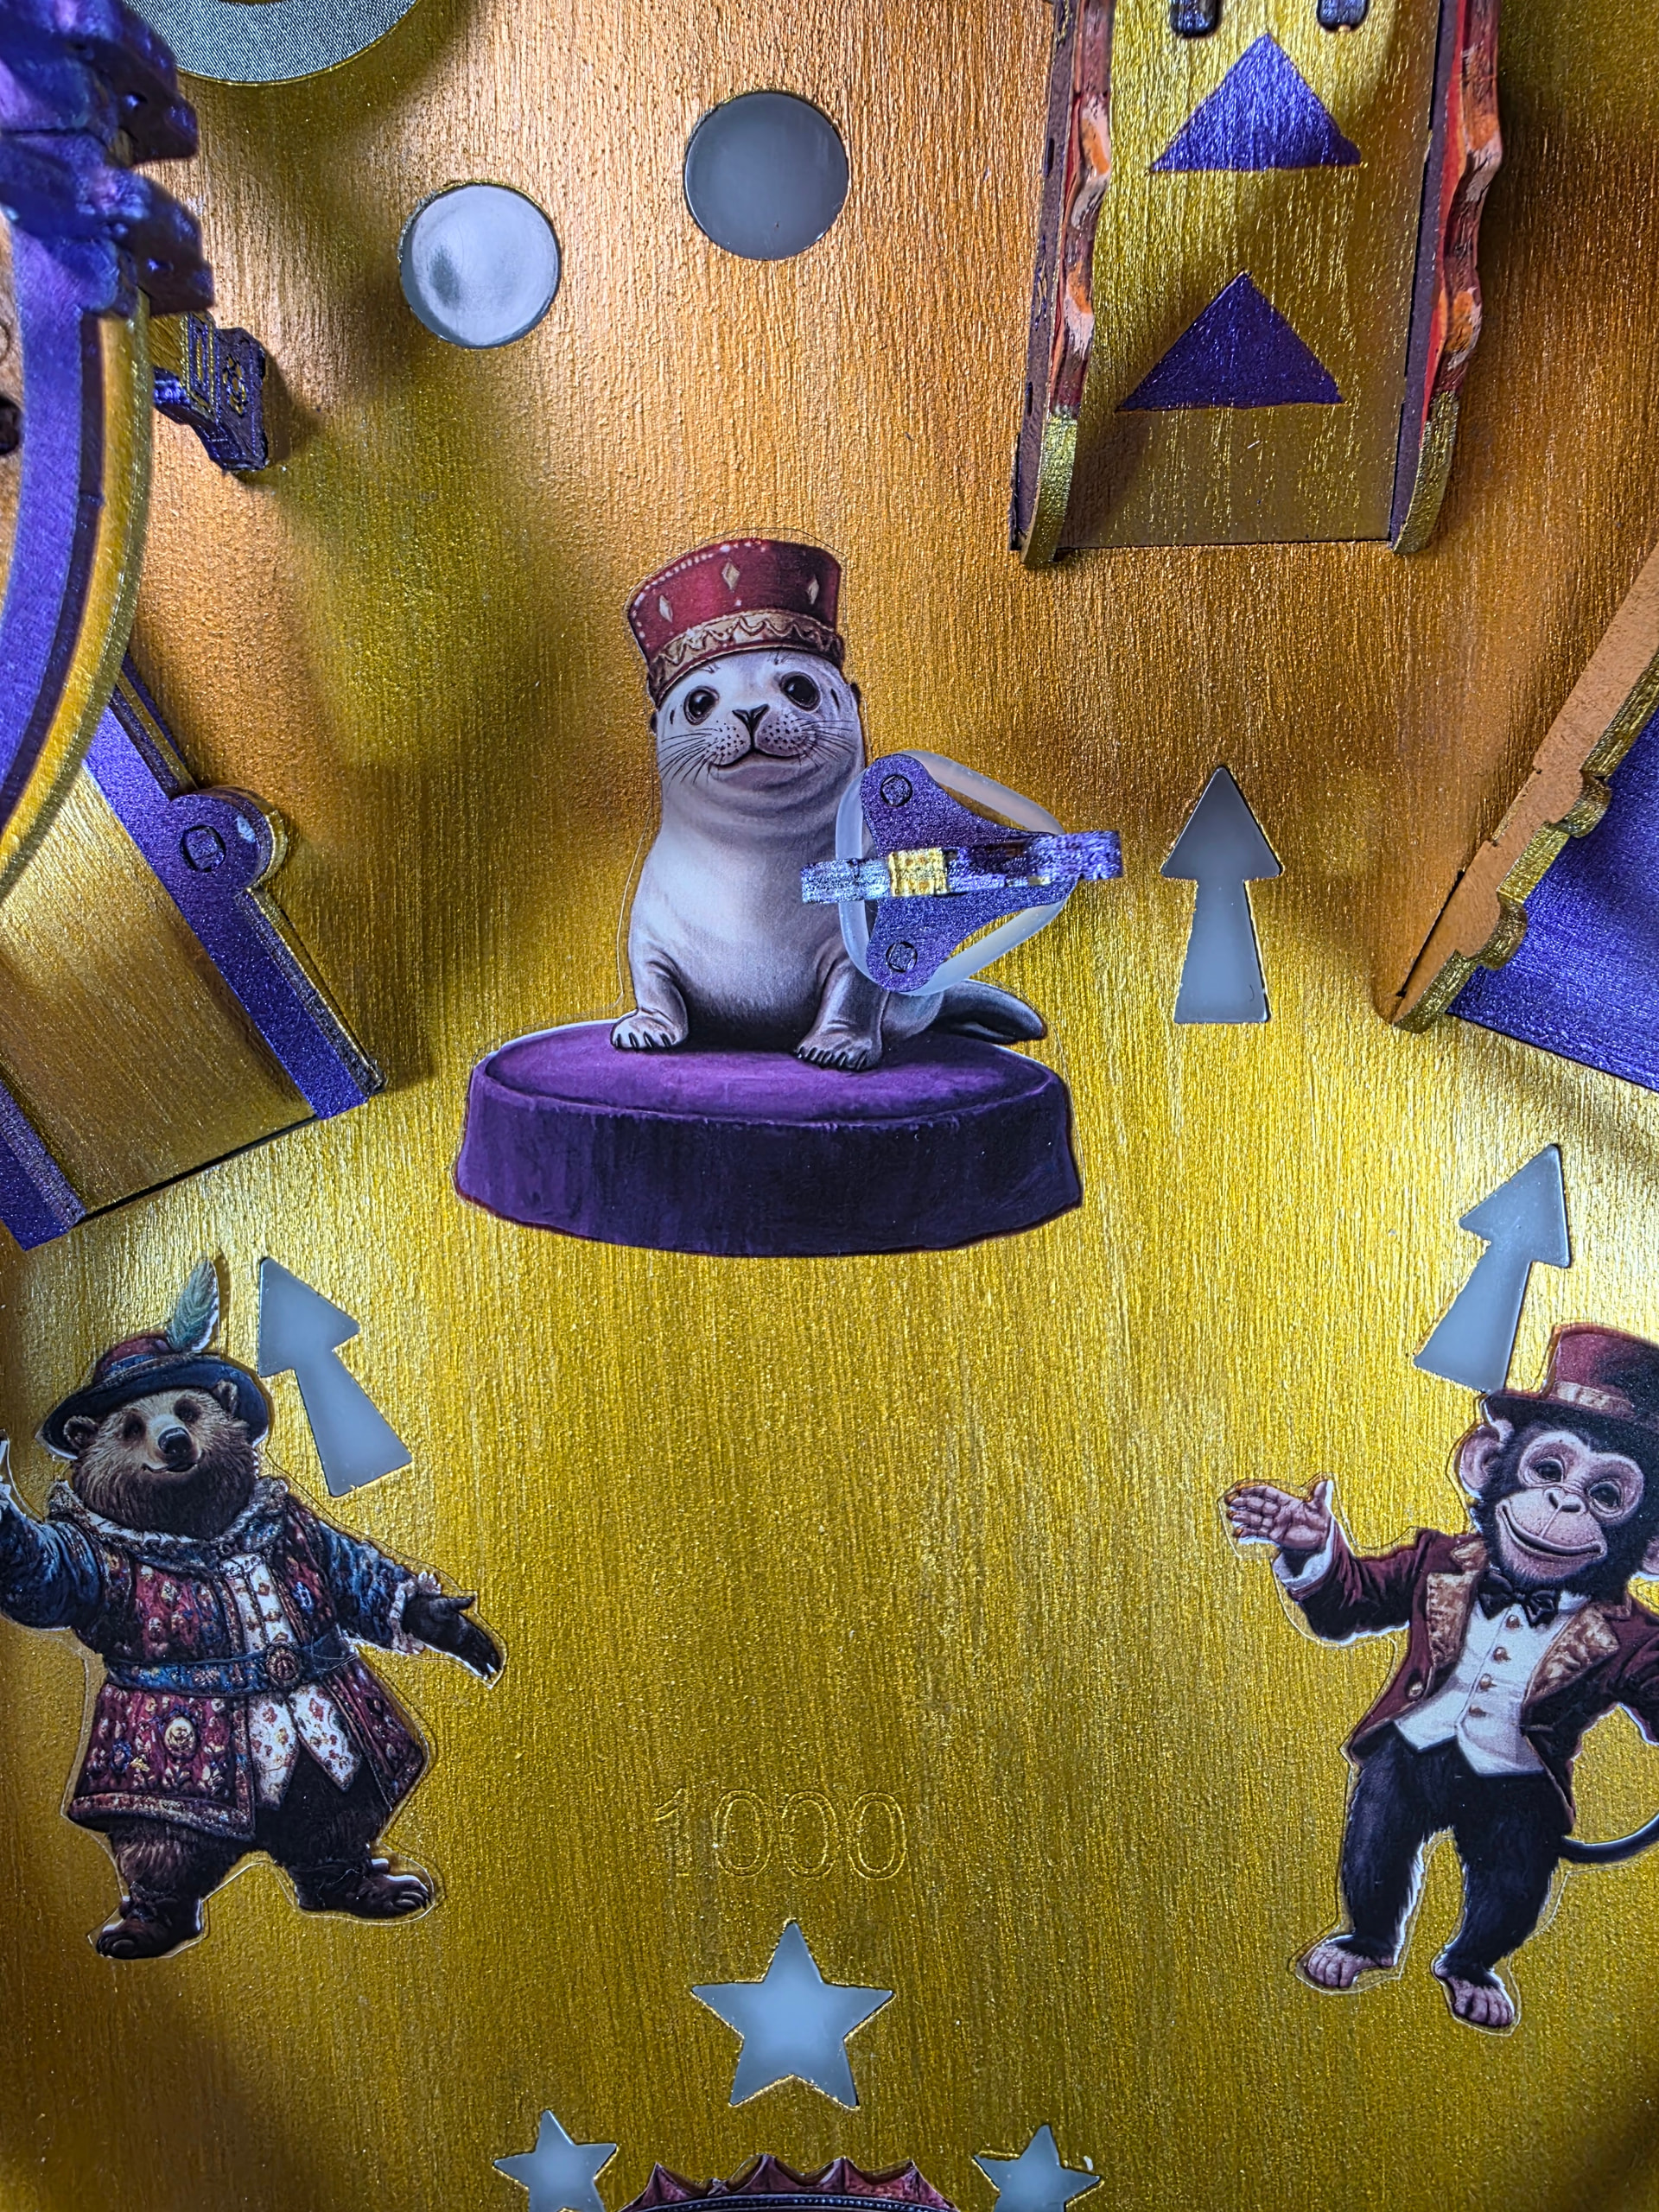
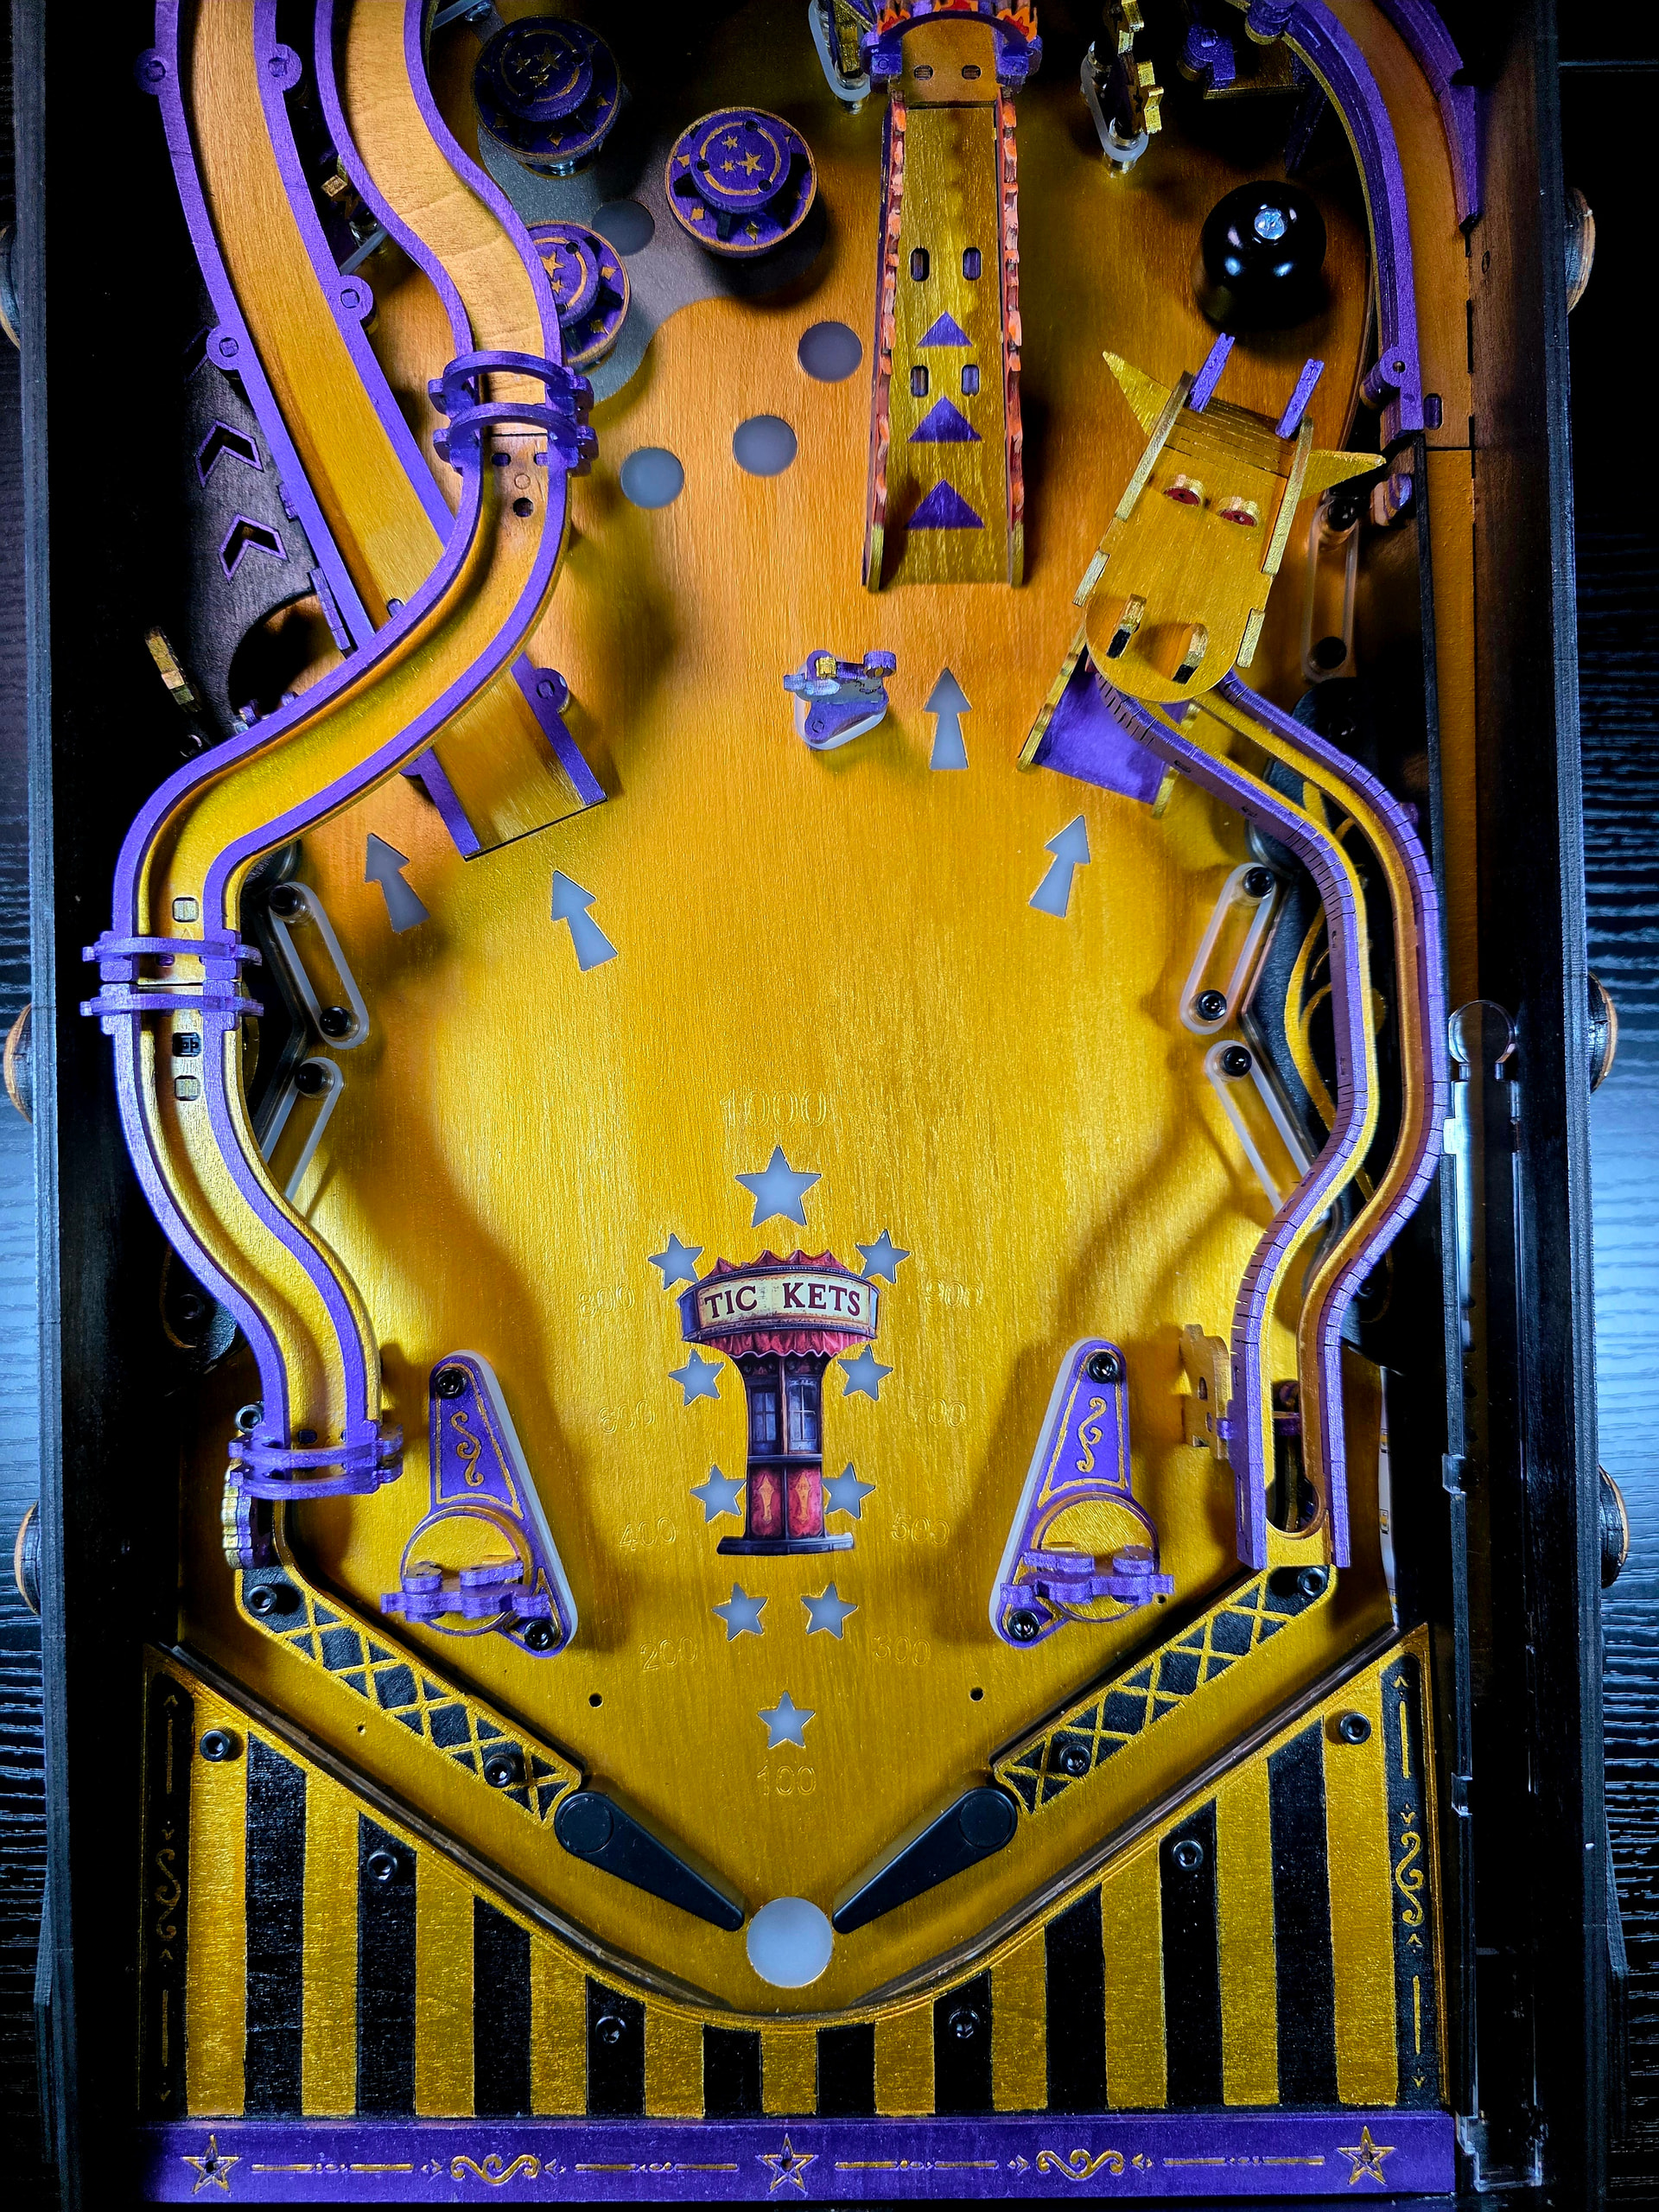
I wanted to do something different with the croc as I felt like he could be a little more 3d. So I turned him into a Dragon! I cut off some of the edges of the puzzle wood board edges with wire cutters(Not a recommended tool). I made him some ears, horns, teeth & nostrils. I had wanted to add an extra tooth to each side, but due to the curve of the track I decided to just add both teeth to one side ![]() .
.

The base he is sitting on makes it look like he has a little tail
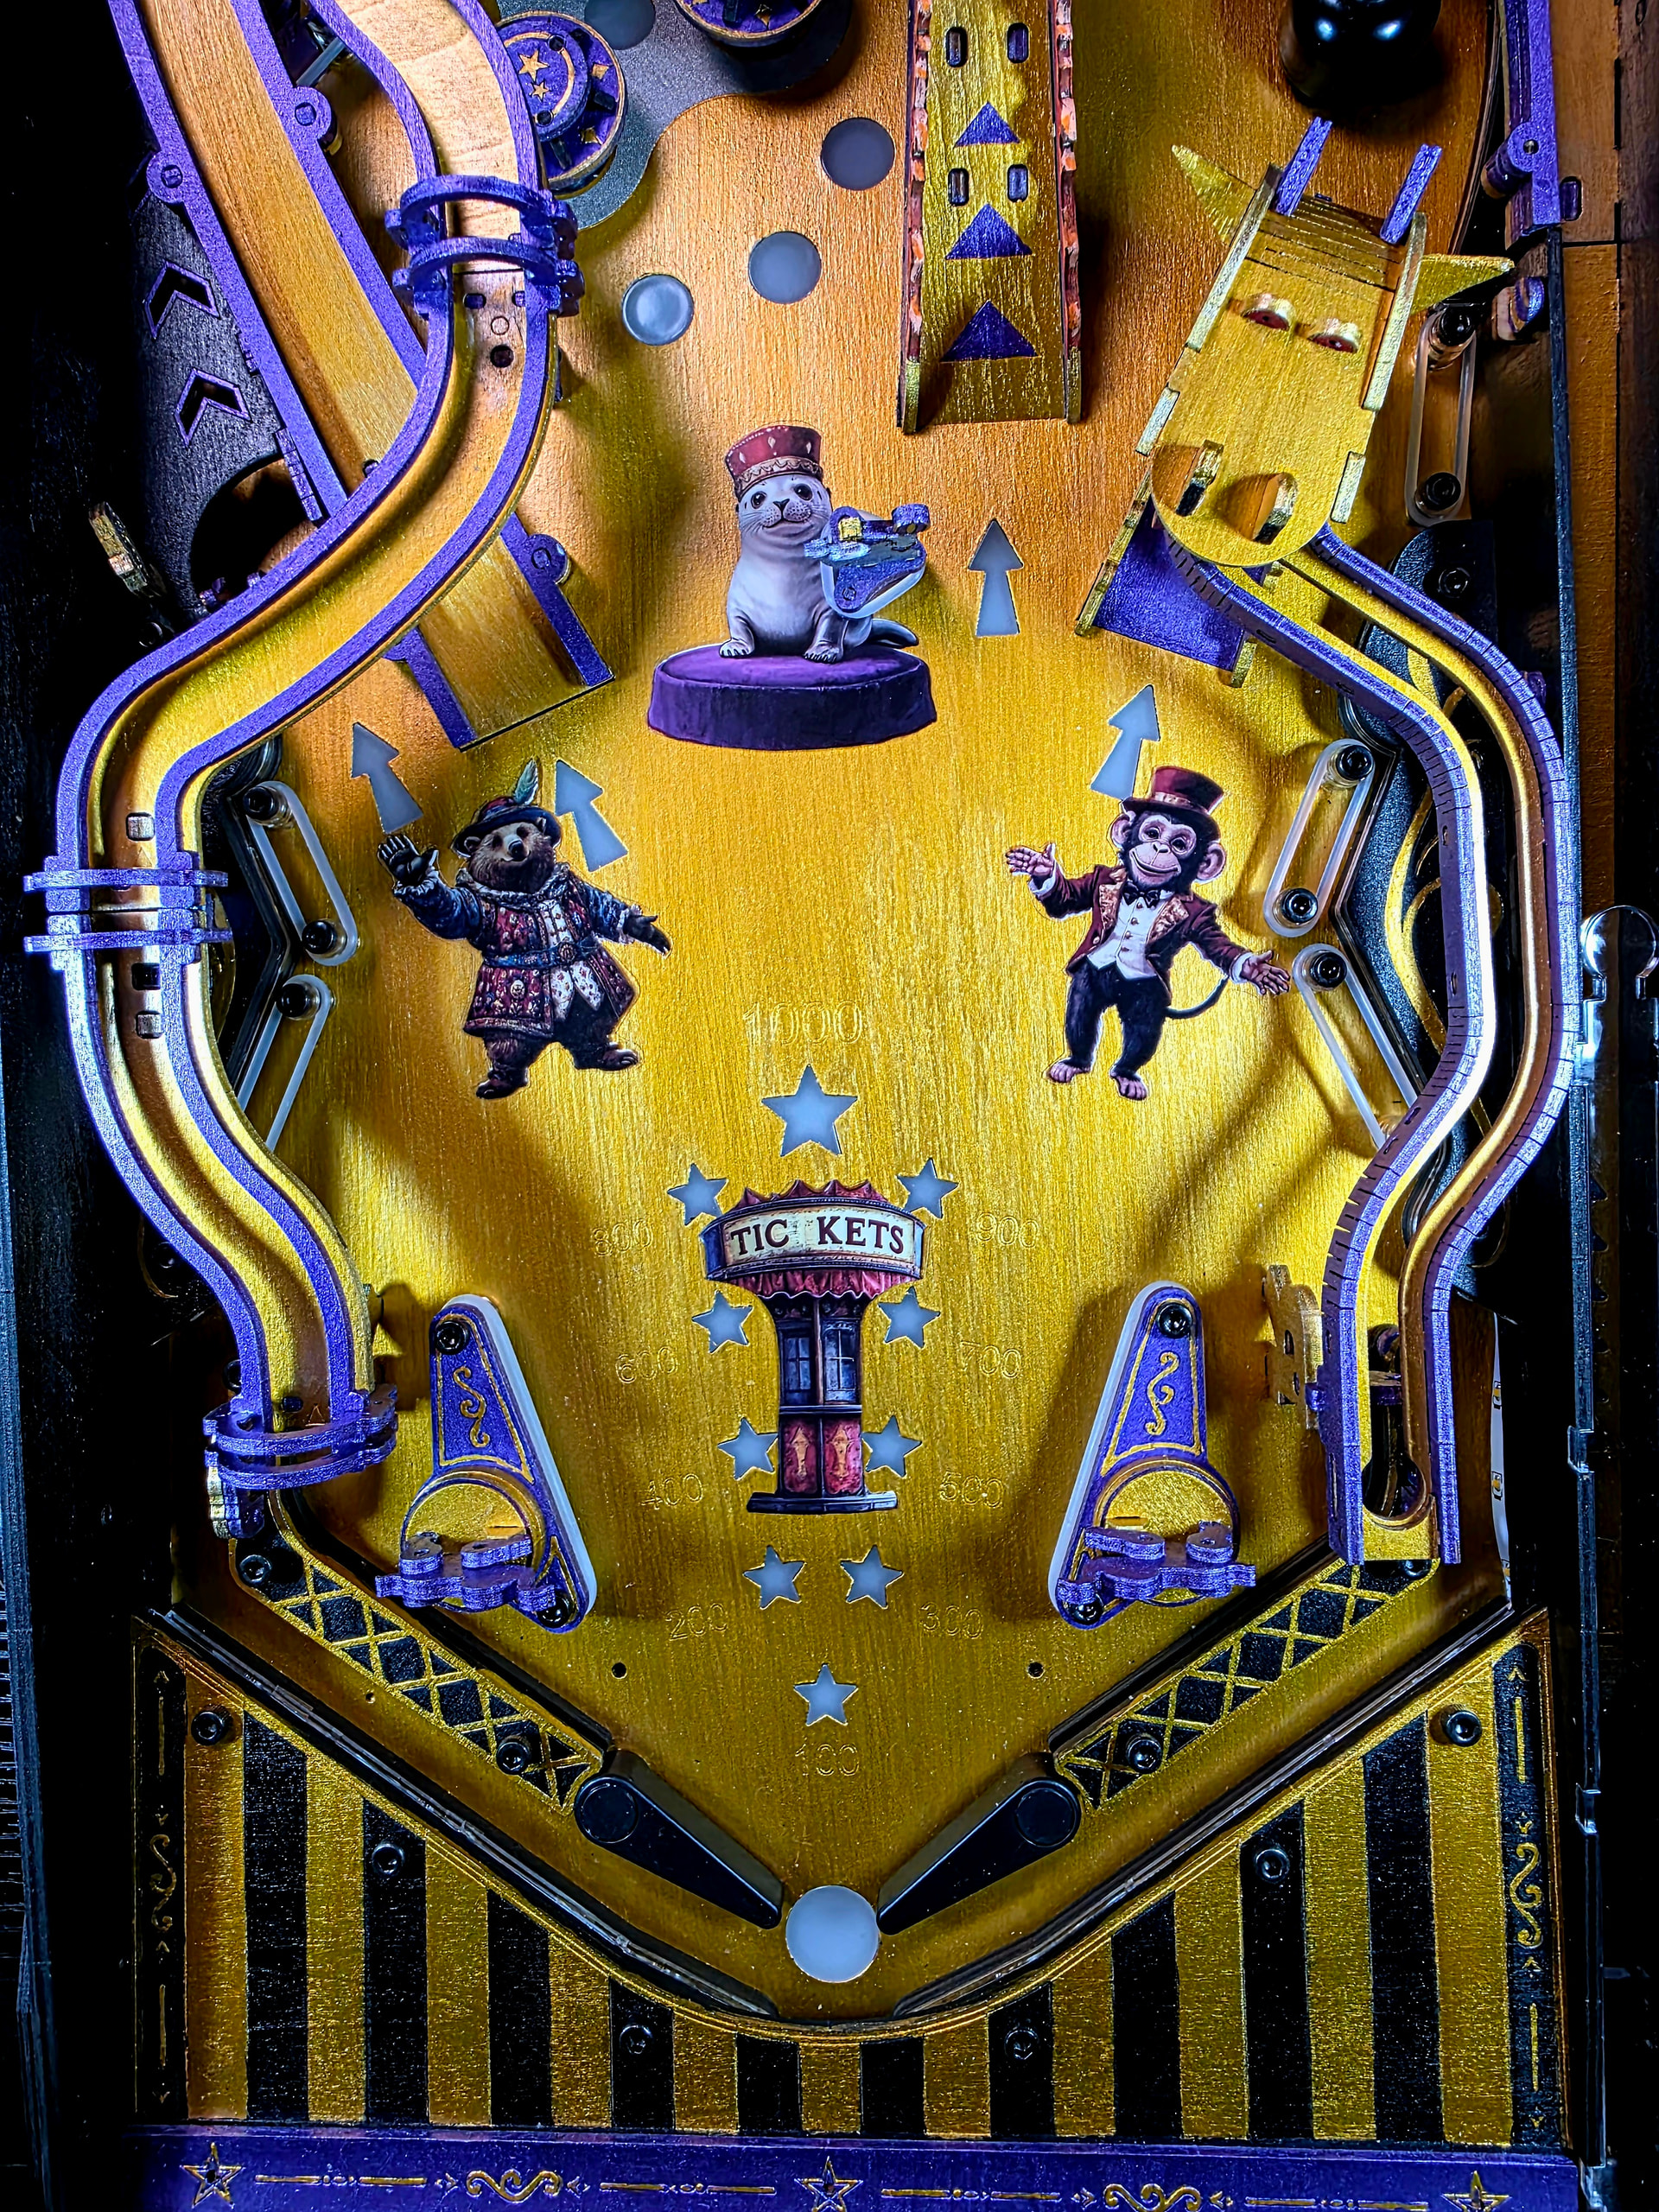
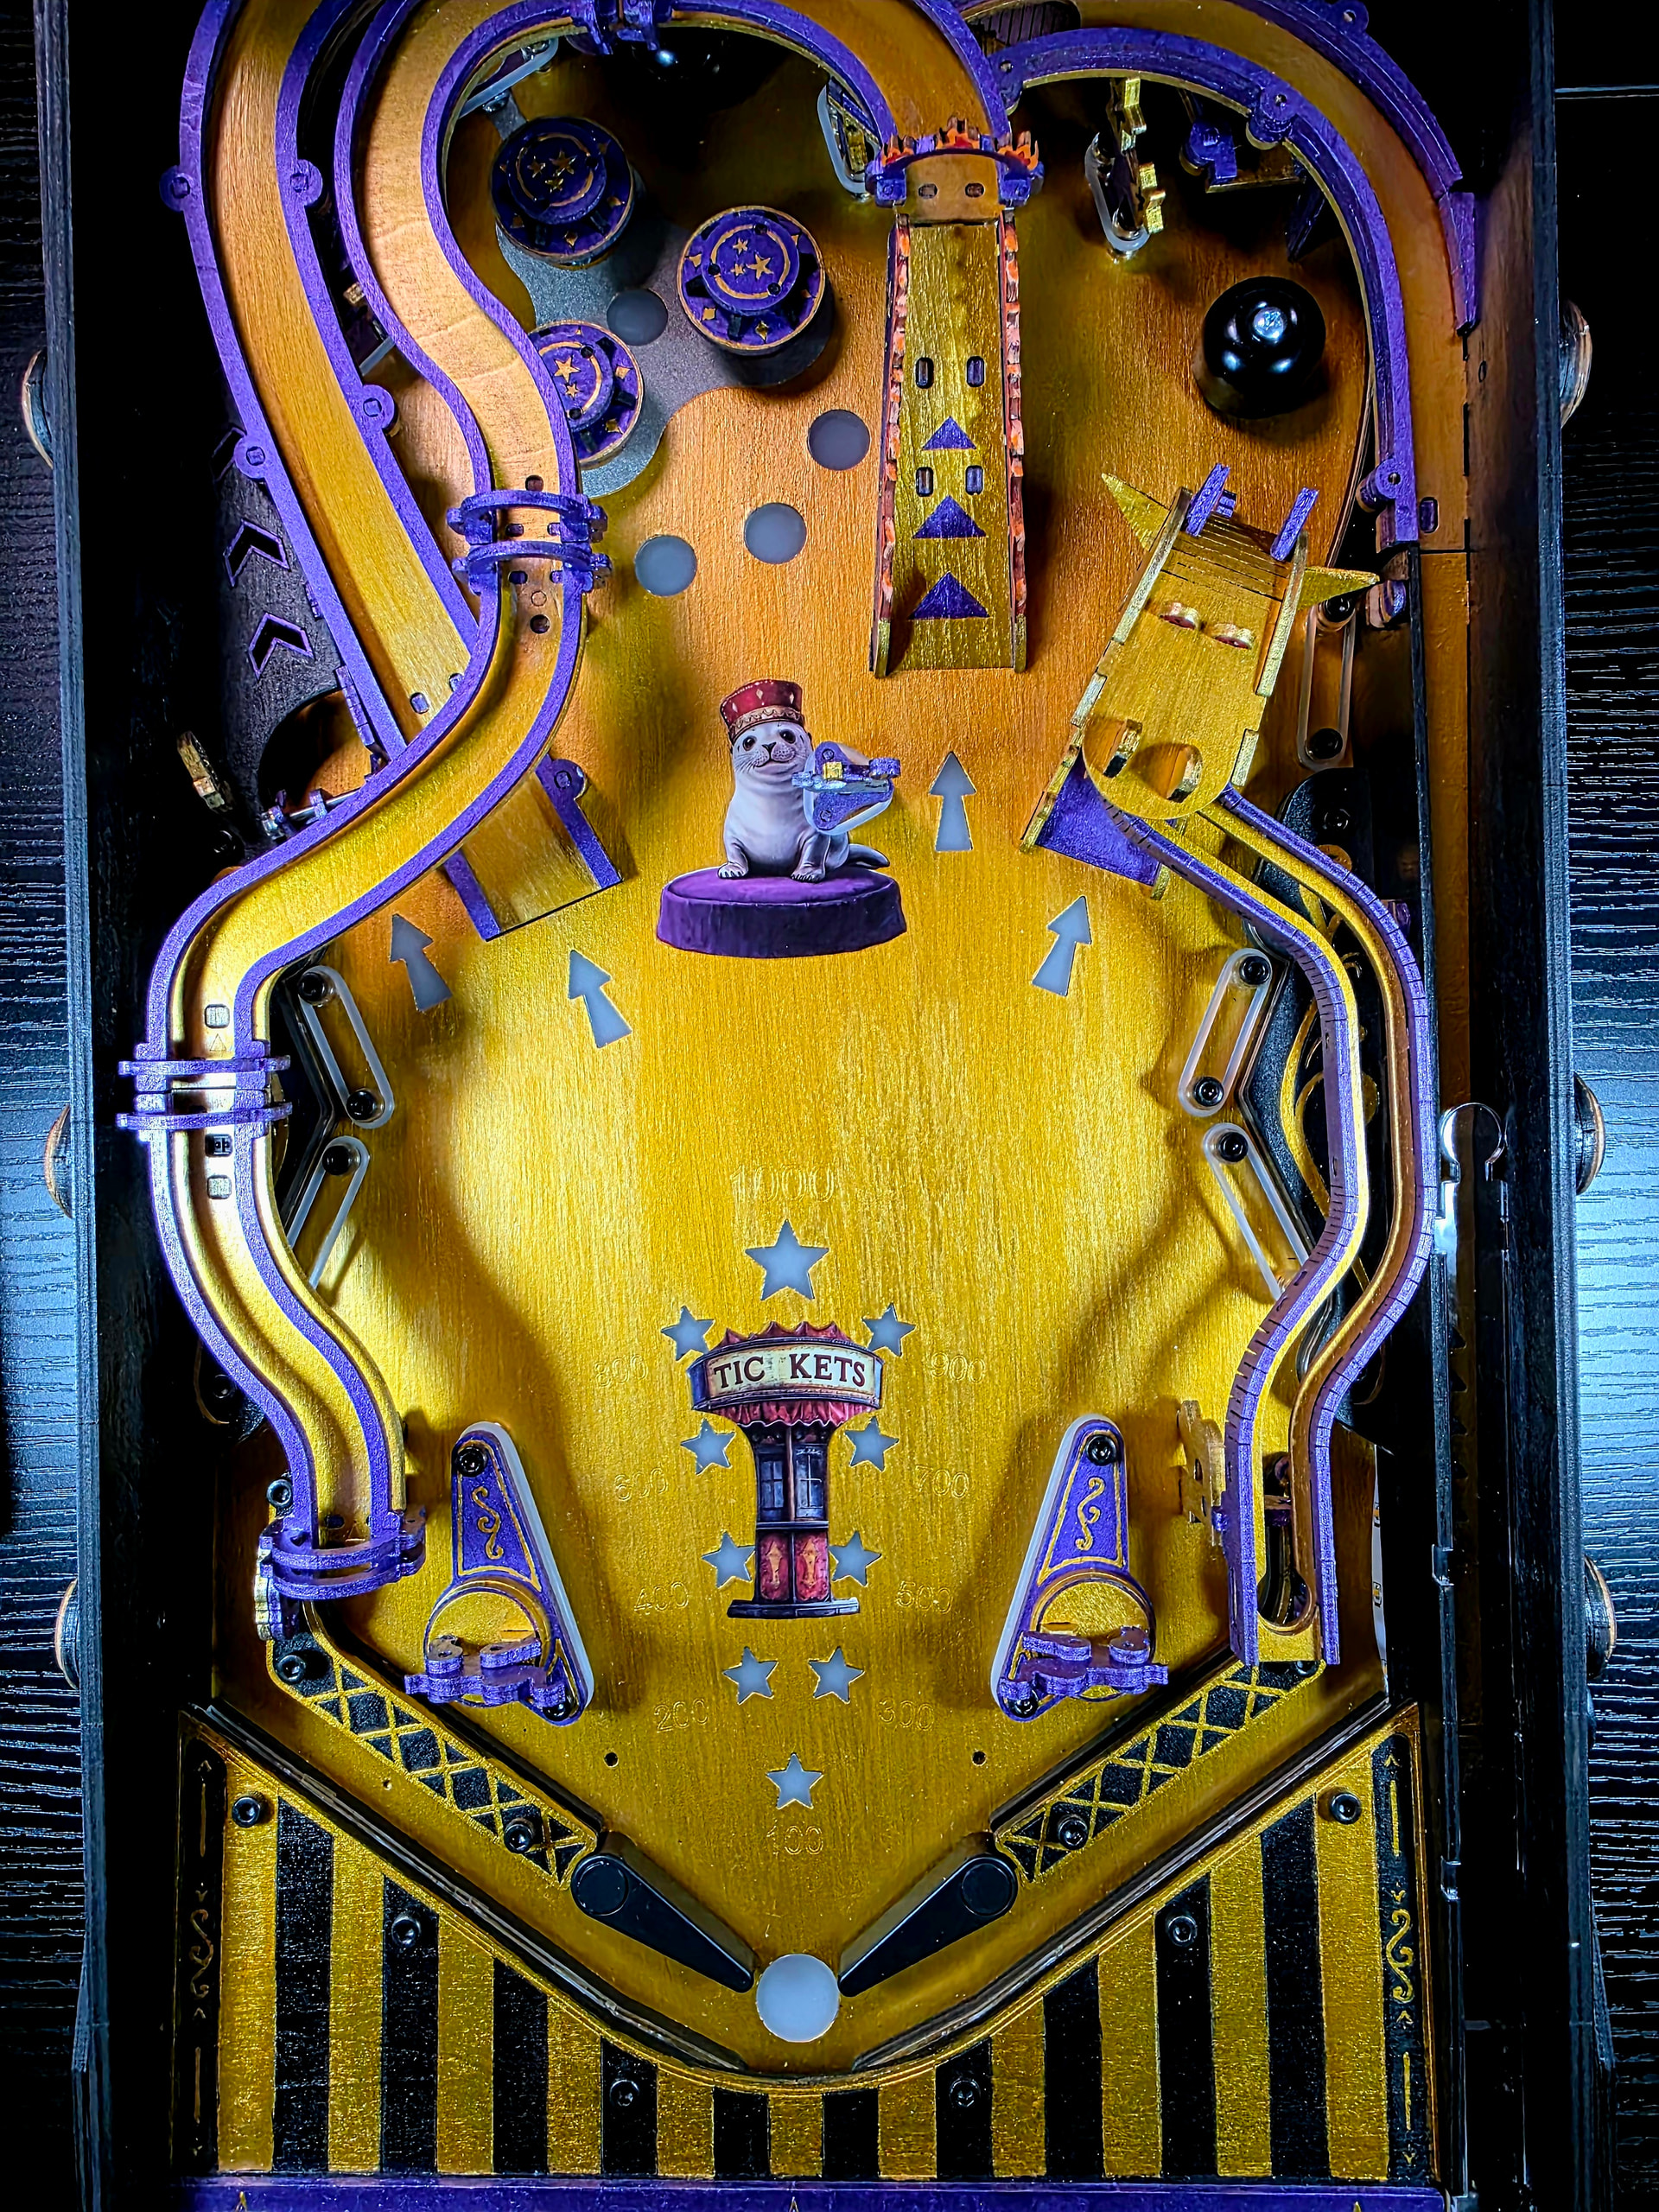
I wanted some input/feedback before its finally done, a vote if you can. Before creating the pinball I saw some people added some stickers which really added dimension to the pinball and made it pop. So I got a circus sticker pack, mainly for the cute seal. It came with 50 stickers, but only 4 of them are really a consideration, because most of them are clowns, and clowns are creepy as hell.
There is a ticket booth that I like as well, that I ended up trimming down to fit inside the stars which I think fits well with the theme. The monkey and the bear I think fit the theme well with their open arms to the ramps, but kinda on the fence on them. On one hand I like the original look, showing off the paint, and feeling like the stickers add a cheapness to it. On the other hand I feel like it adds more dimension & provides some extra durability from scratches.
So exhibit one:

- With just the seal and the ticket booth:
3)Just the ticket booth
Or 4) The Nightmare - They All Float ![]()
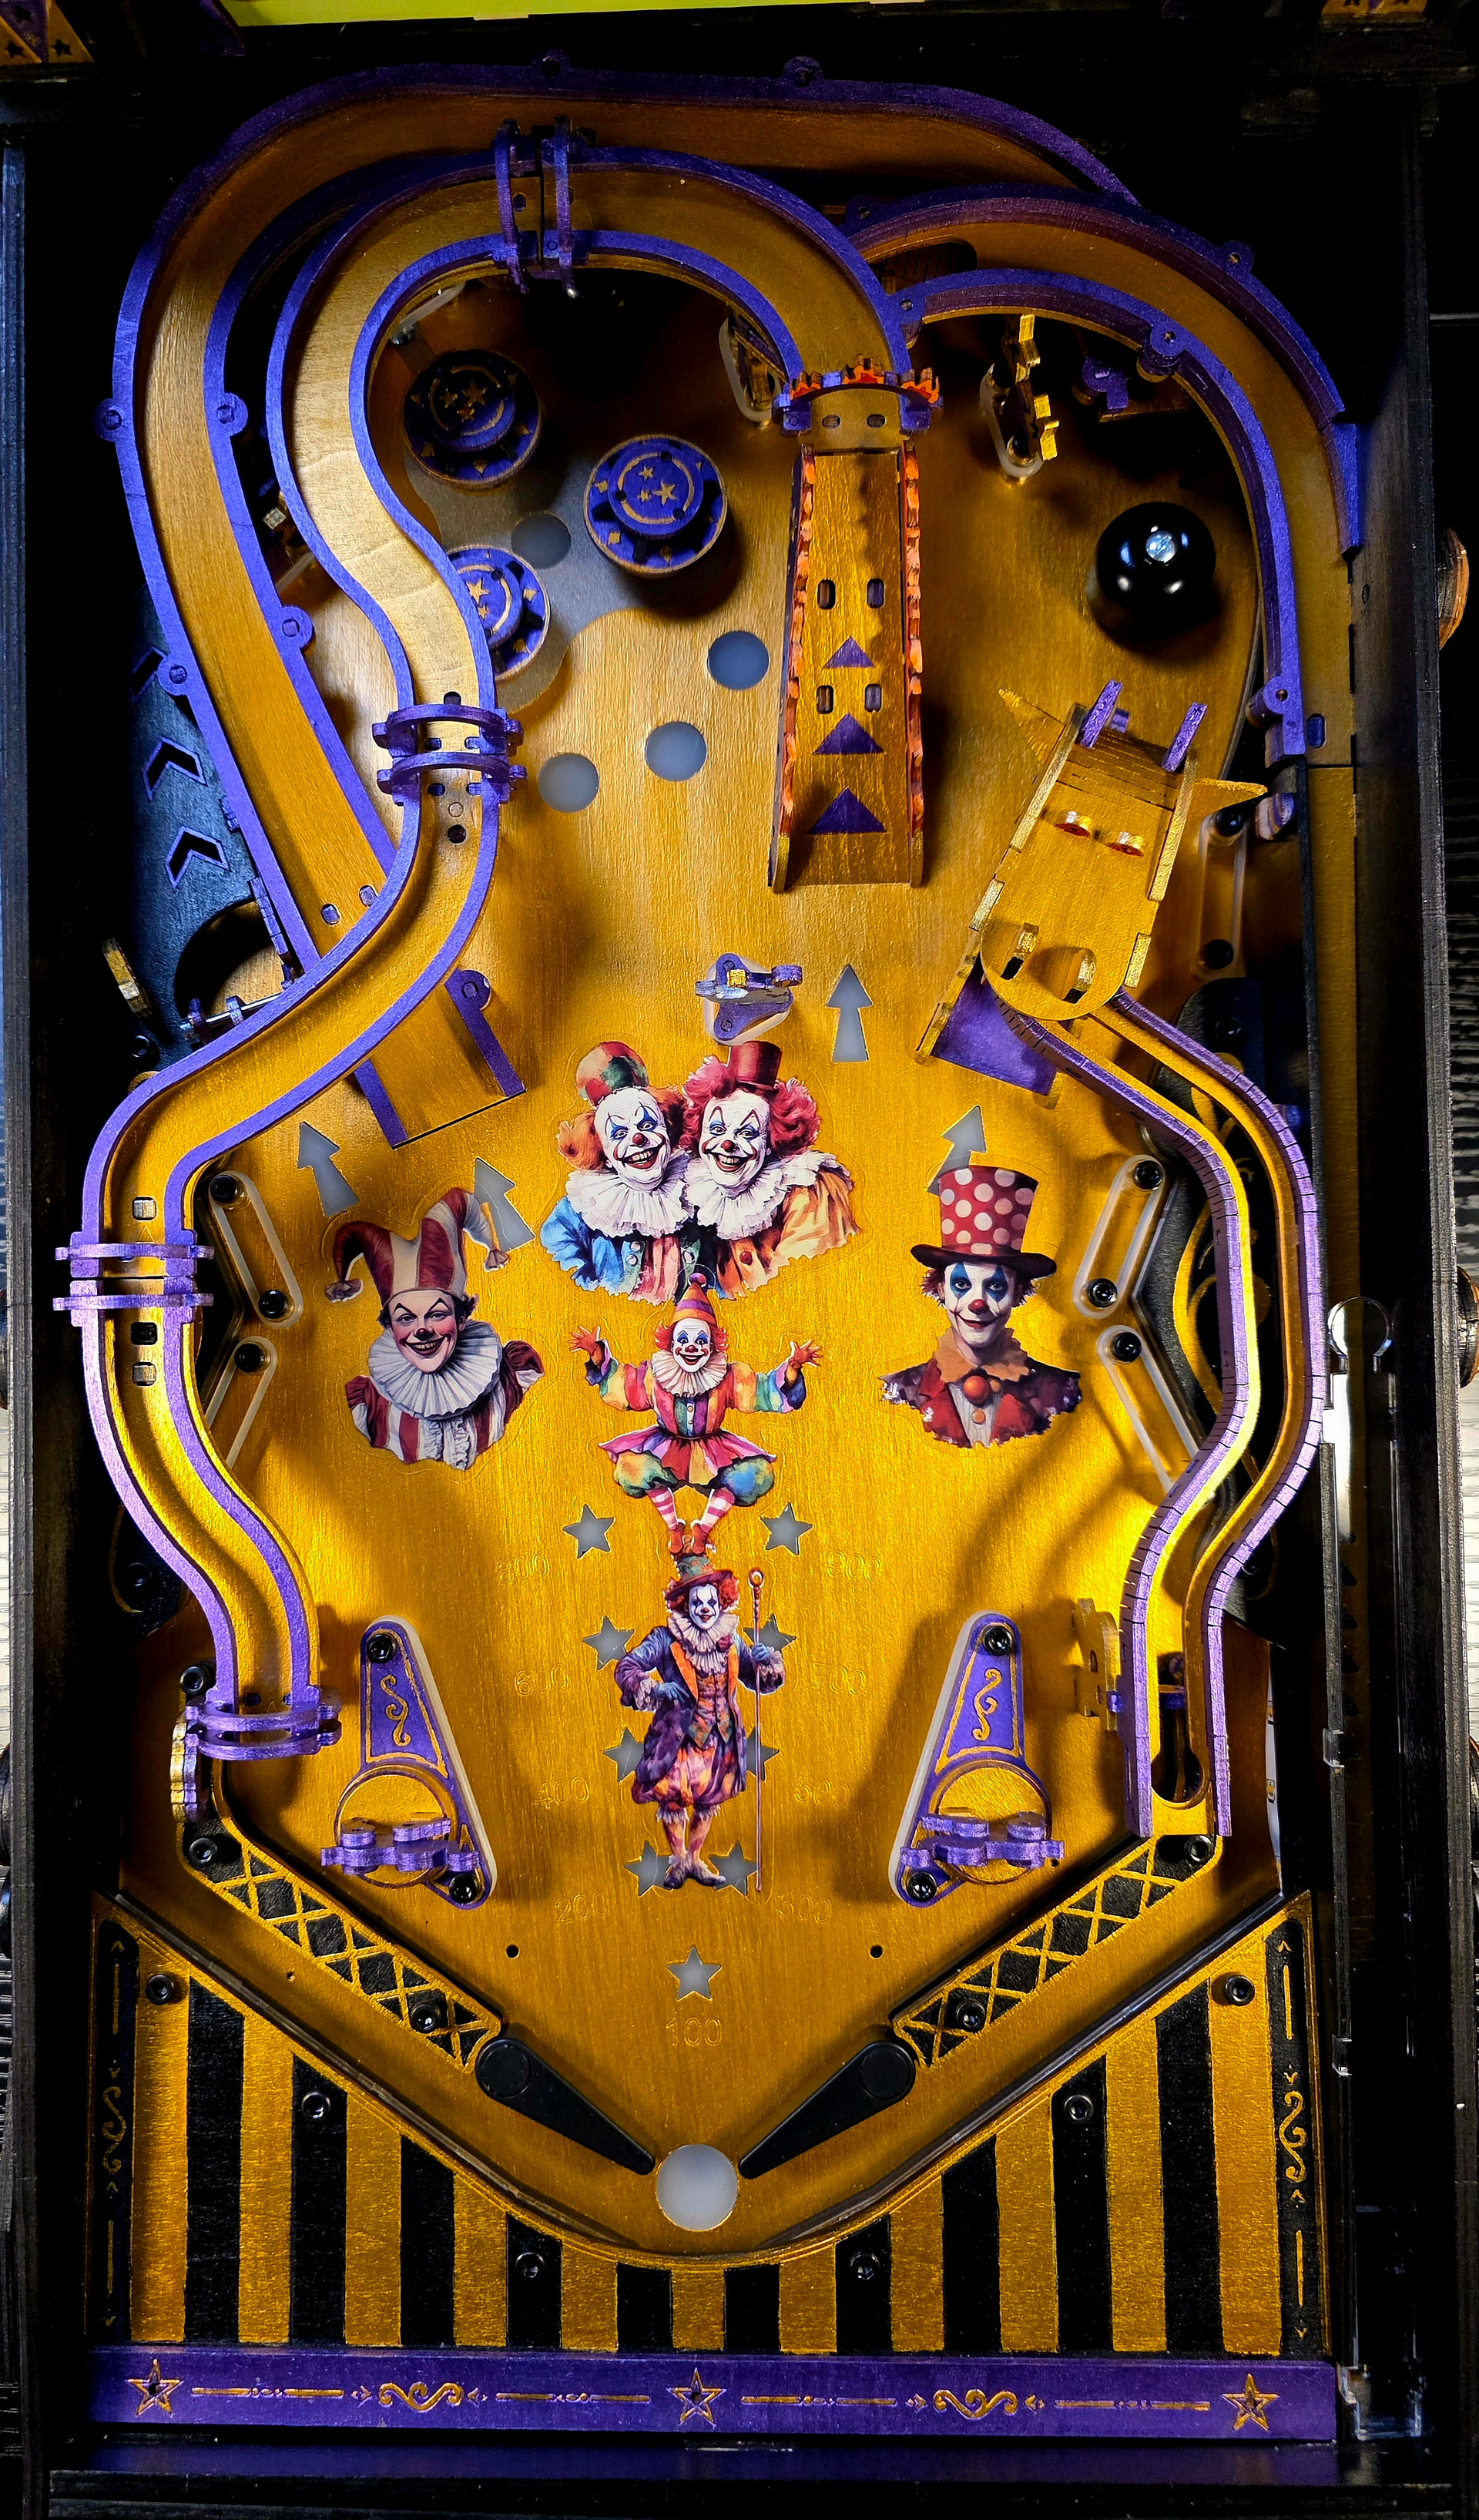
This one was a joke at first, but it actually looks pretty good I think, especially if you want nightmares