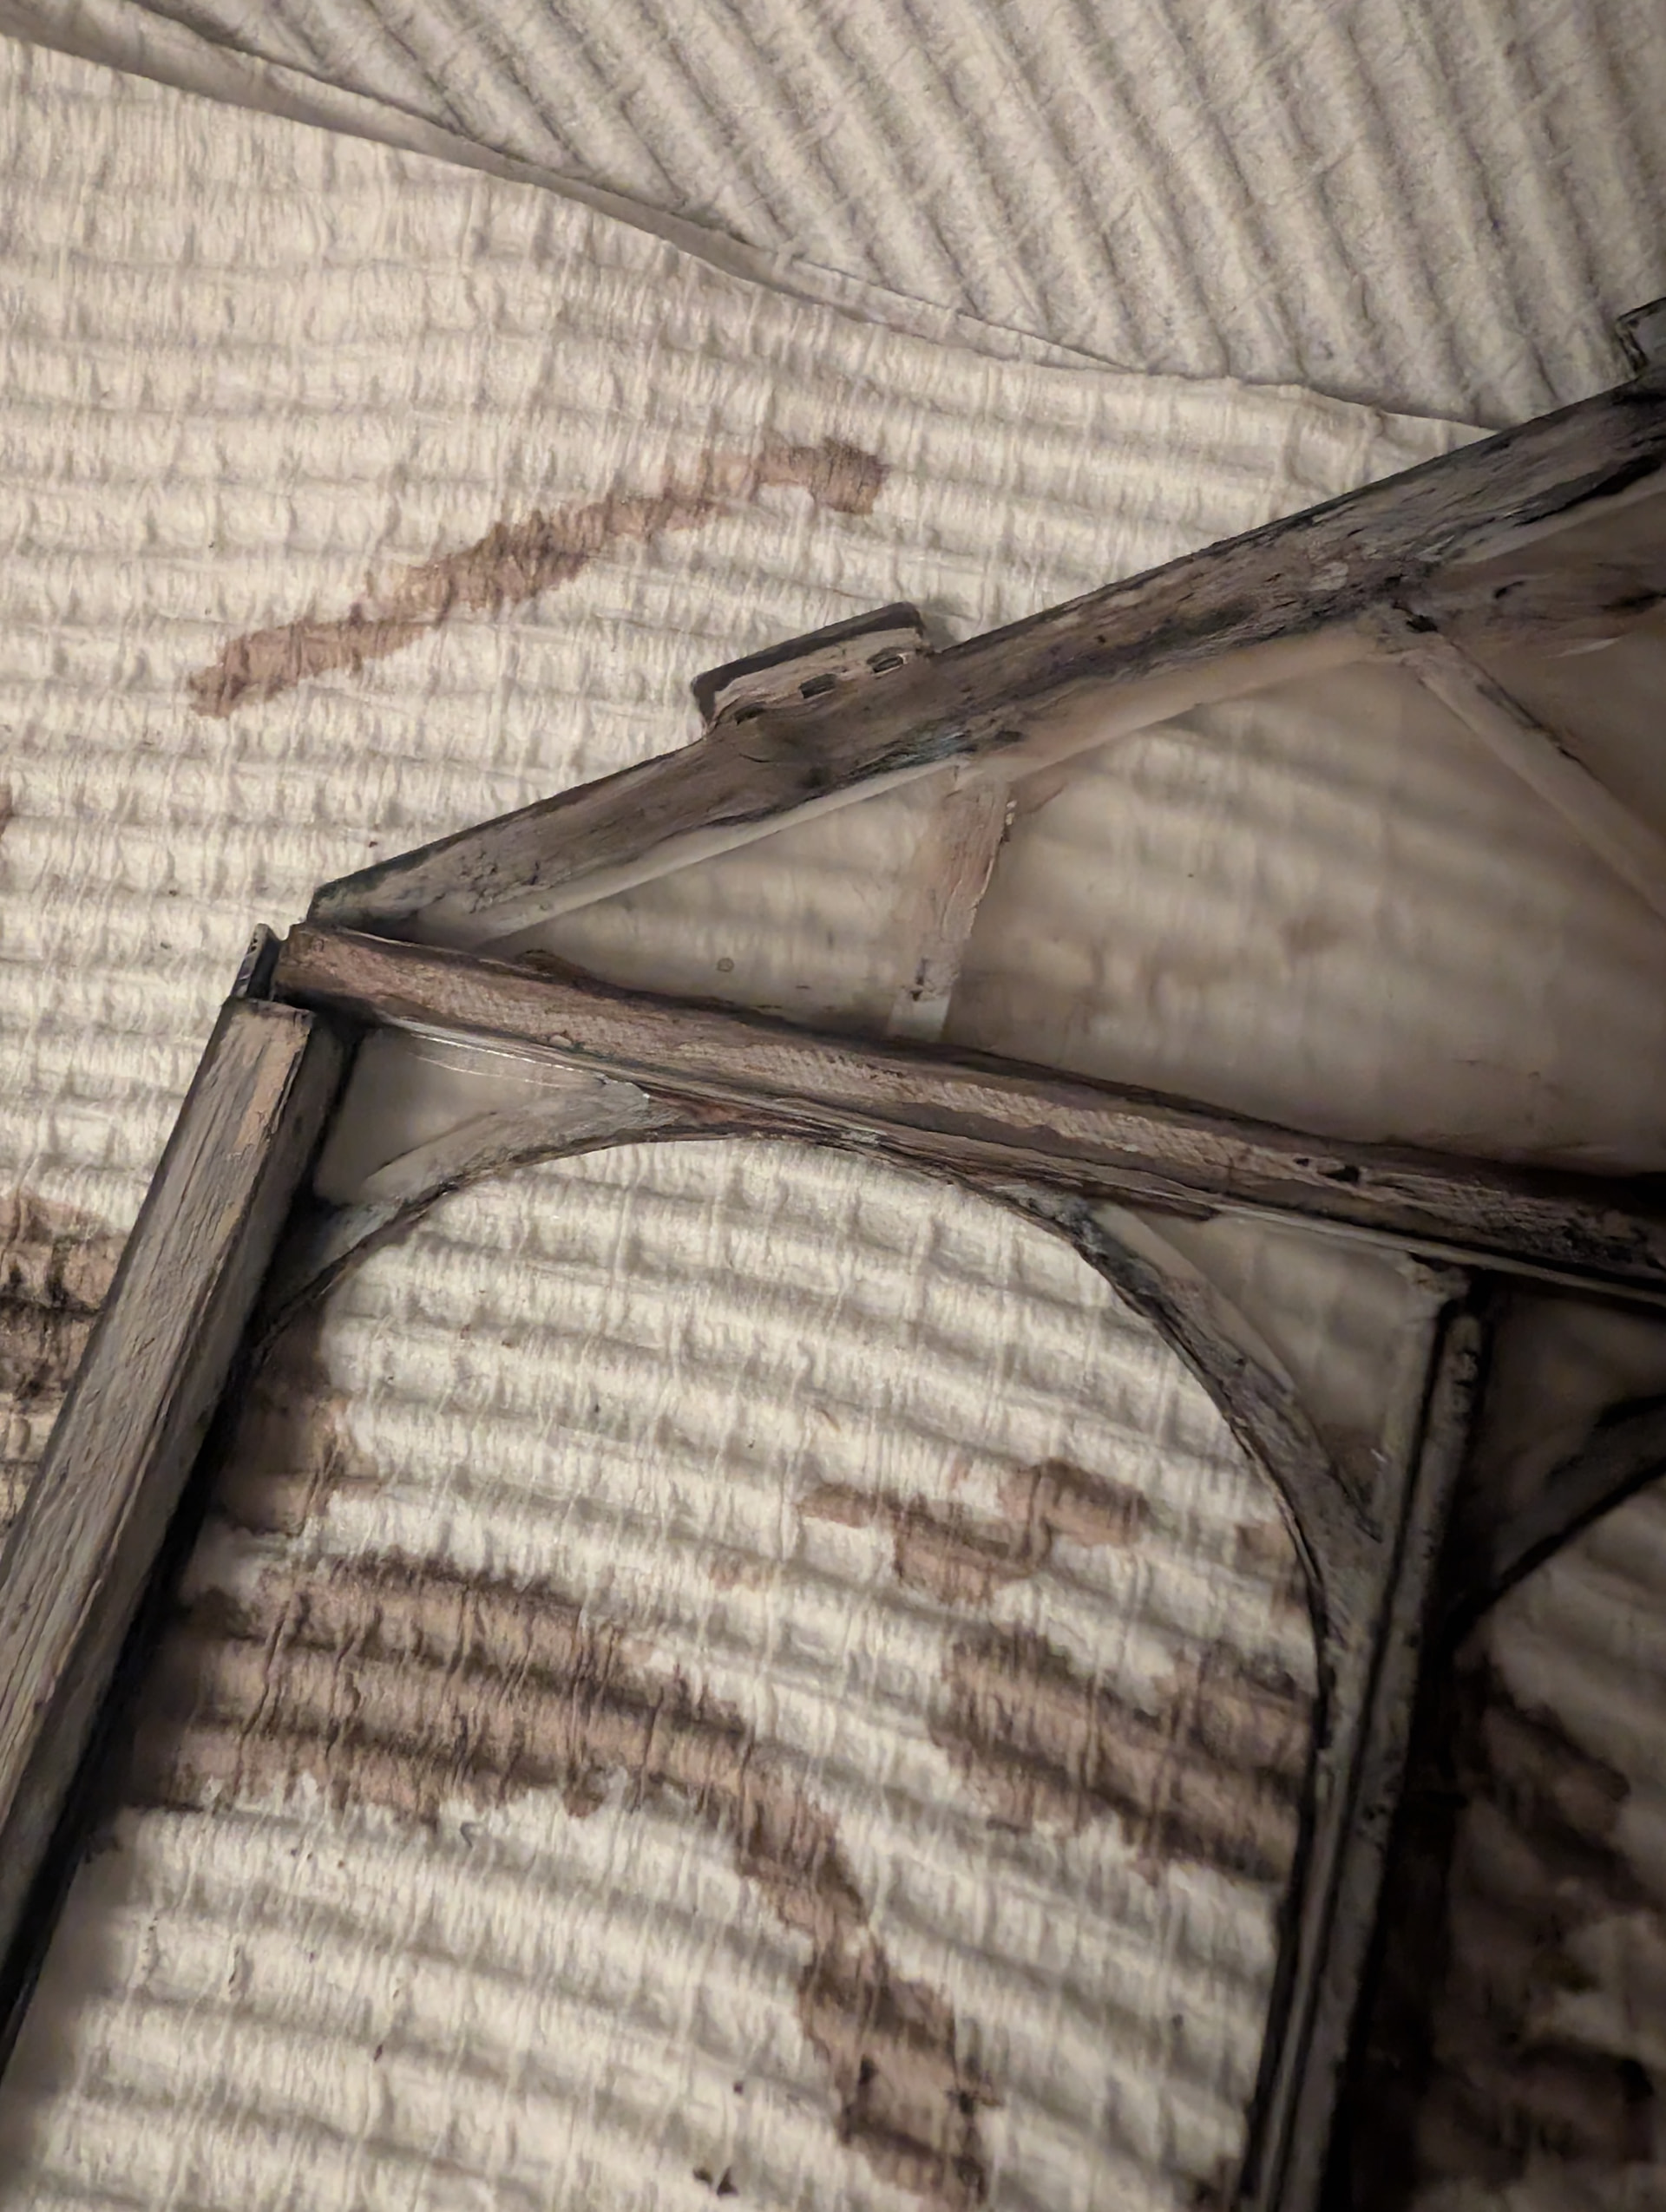
When I did a placement test of the tree after putting a wall temporarily in place, I could see branches were going to interfere with the roof, and I needed to increase the height that the base of the tree sits on by 15mm, so I 3D printed this little platform, which I will incorporate into the base platform. It will not be seen and the base should still make a seamless and natural transition into the old tree trunk.
Gardening pots have been painted, and various other things that came with the model have been dirtied as well.
I also found little mounts for the additional 3mm LED’s that I am adding and I did a test print today. I have not checked that the mount is suitable yet. That will be first off on the agenda tomorrow.
Mr Ghost and other items all had their next layer of their makeover, and now that the layers have built up, they don’t re-soften the previous layer anymore, so I may even get 2 if not 3 coats done tomorrow and they should be finished.
I have also incorporated several themed easter eggs into the build, but more on that when everything is complete and I post my submission. You will have to see if you can spot them all.
I can see light at the end of the tunnel, and it is not a train.
So intricate, so much work is going into this. I can’t wait to see the end result! I’m really curious about your extra lights and mount, I hope you’ll post more about these later as I am keen to learn more about wiring and electrical stuff. I’m wanting to add lights to my Christmas build, but have wondered about whether it’s possible to wire the additional string into the original battery box.
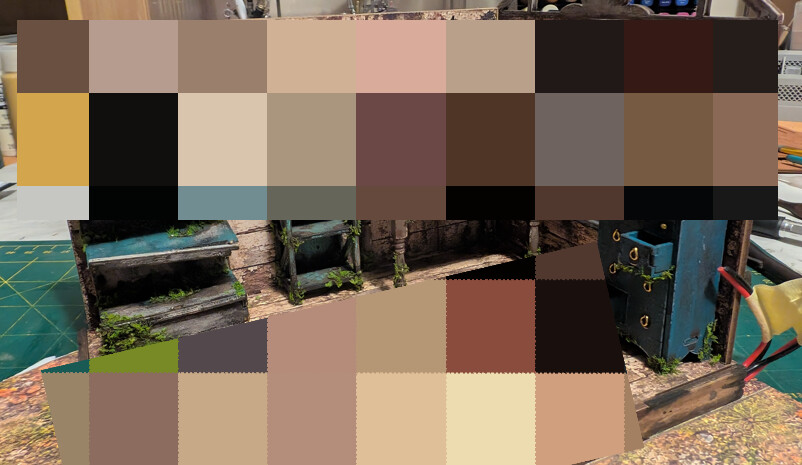
It’s really starting to come together now! The furniture makes such a difference, and I love how much thought you’re putting into every little detail, especially the raised tree platform and all the weathering. You really are getting to the light at the end of the tunnel, and I can’t wait to see all those hidden Easter eggs when it’s finished!
Thanks @Nic_Ozz. I had the concern about the tree from quite early on so I knew there was a good chance that I would have to do something to make it fit better. Thankfully it was just a little extra height that was needed.
The way I look at it is that the Fairyland model had about 13 lights running off the same 1 X AAA battery pack so I new more lights could be added. 2 X AAA also meant they were 3’volt LED’s so stuck with the same type when I purchased them.. I just added enough wire under the flooring for how many intended to use.
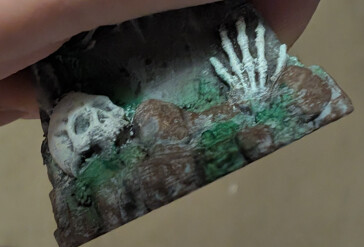

 ) and I love your skeleton
 the skeleton is awesome!
 I spy with my little eye.