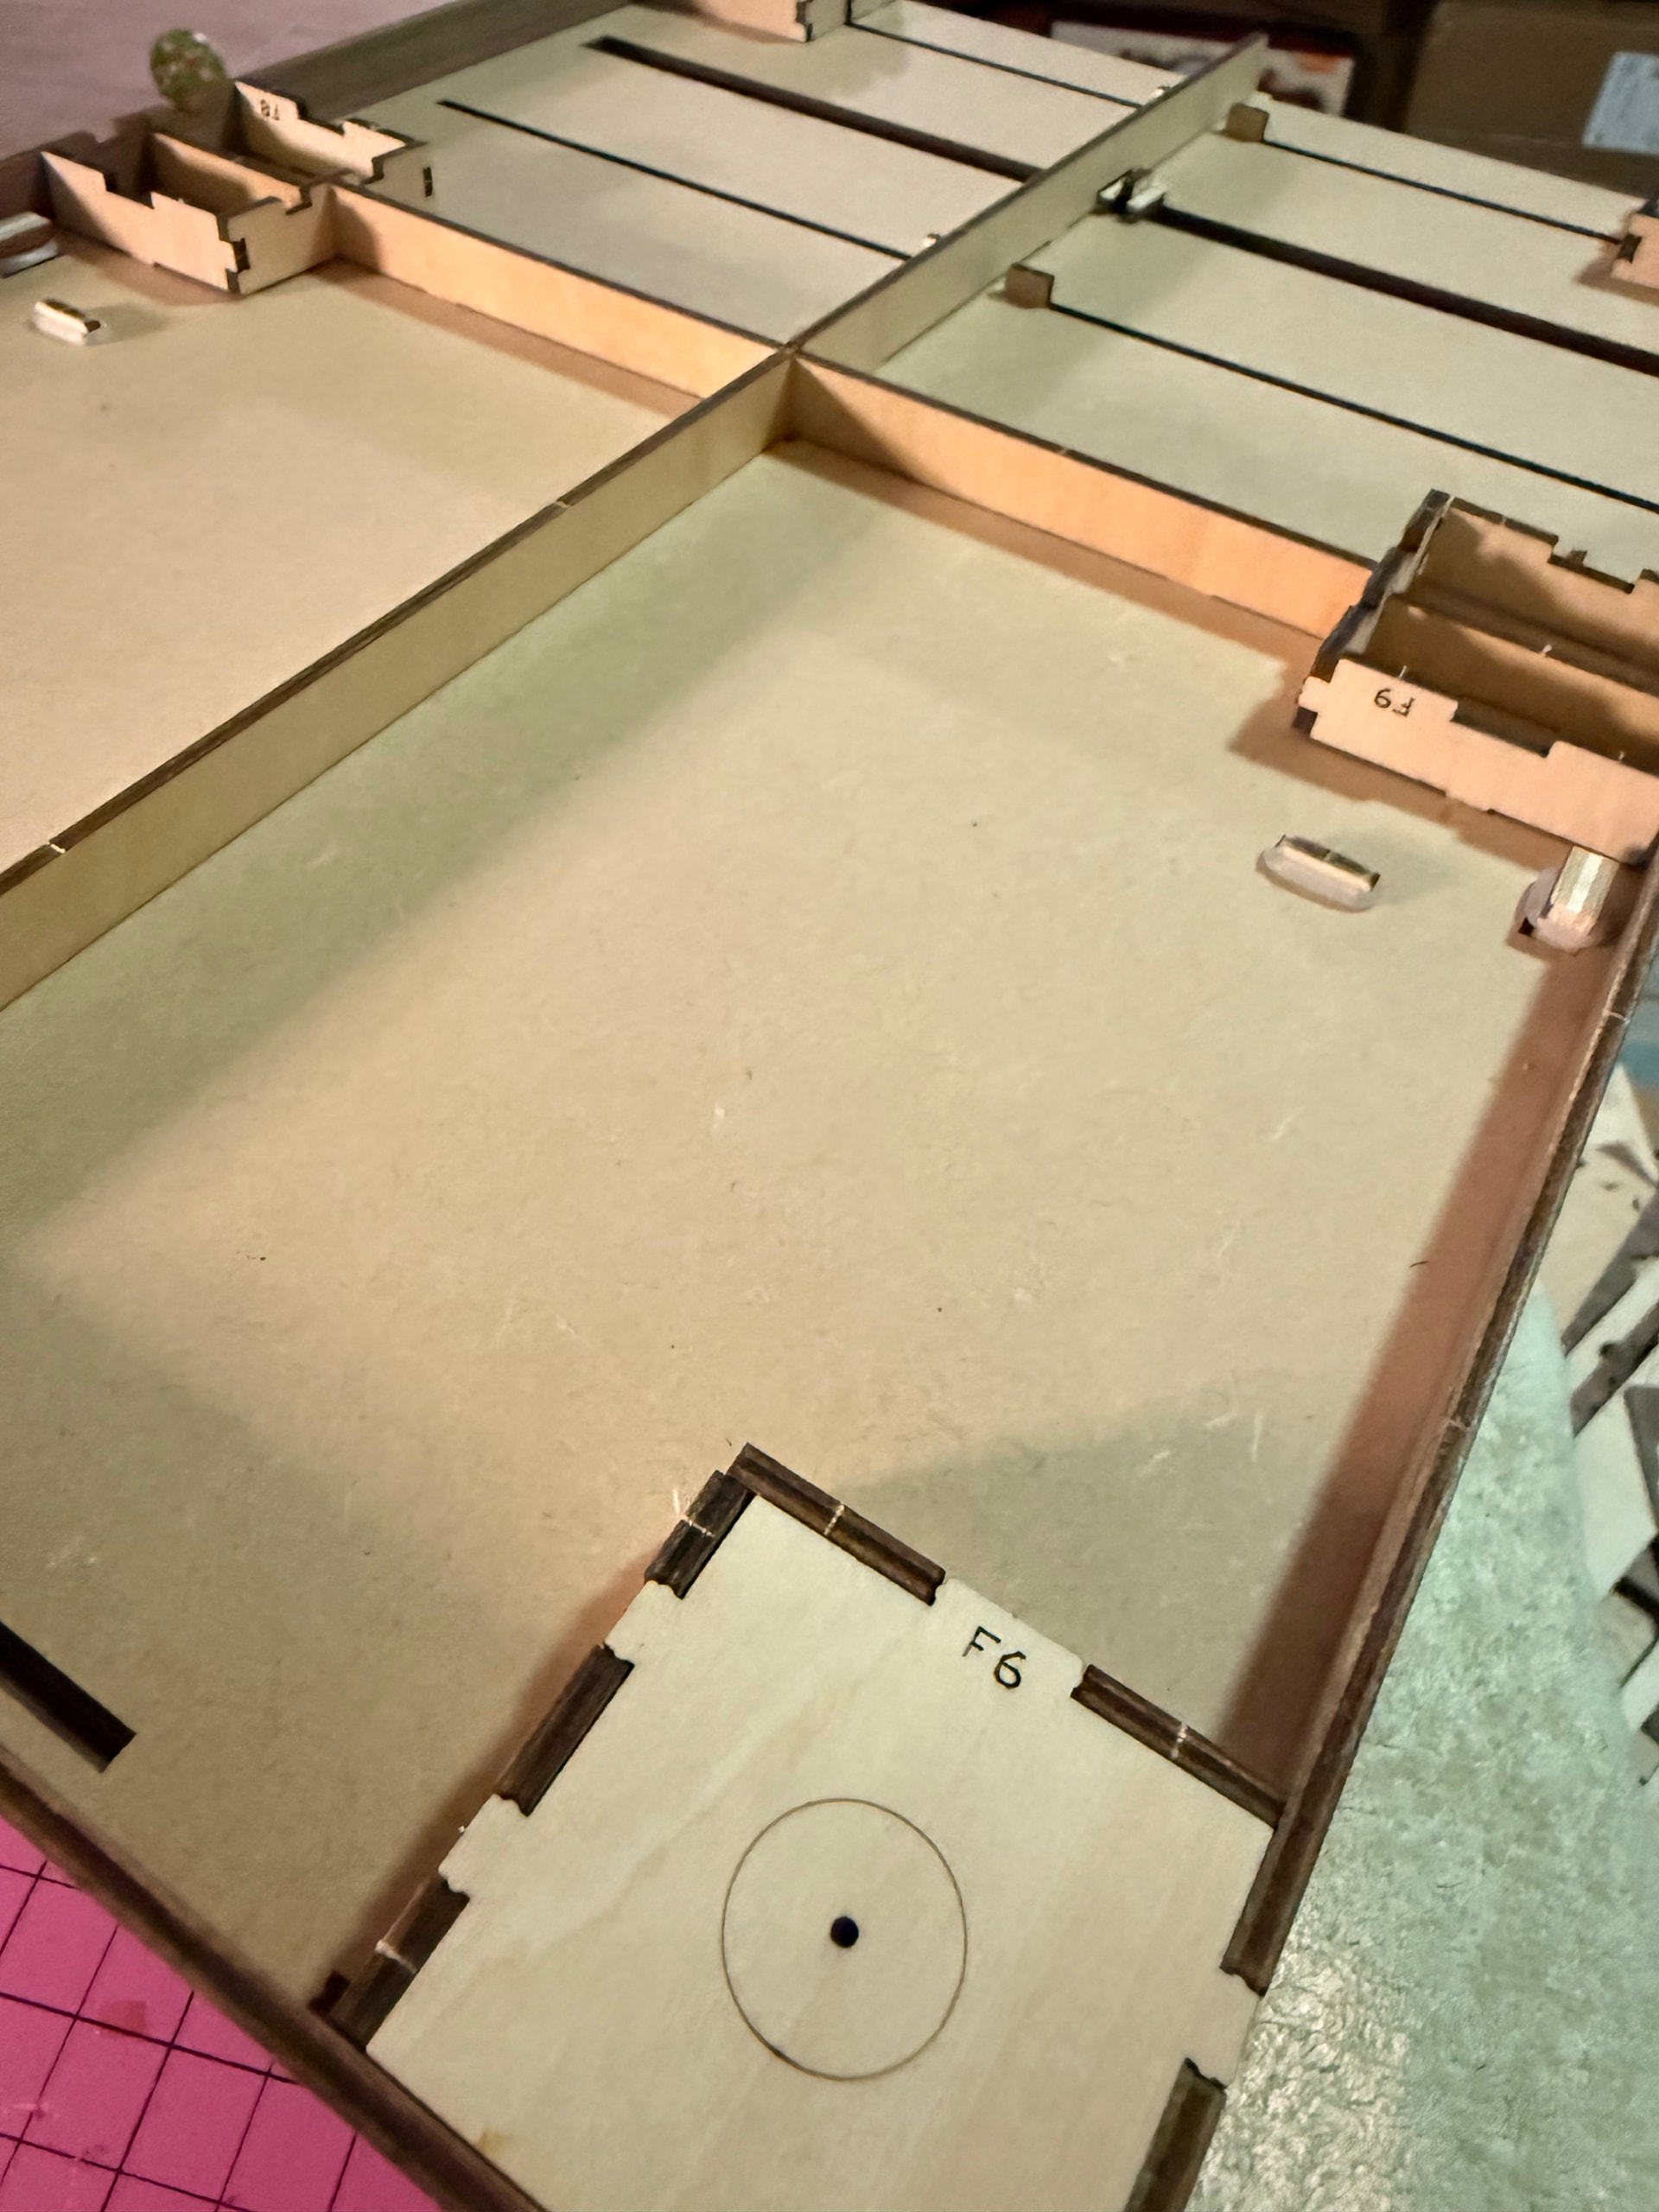
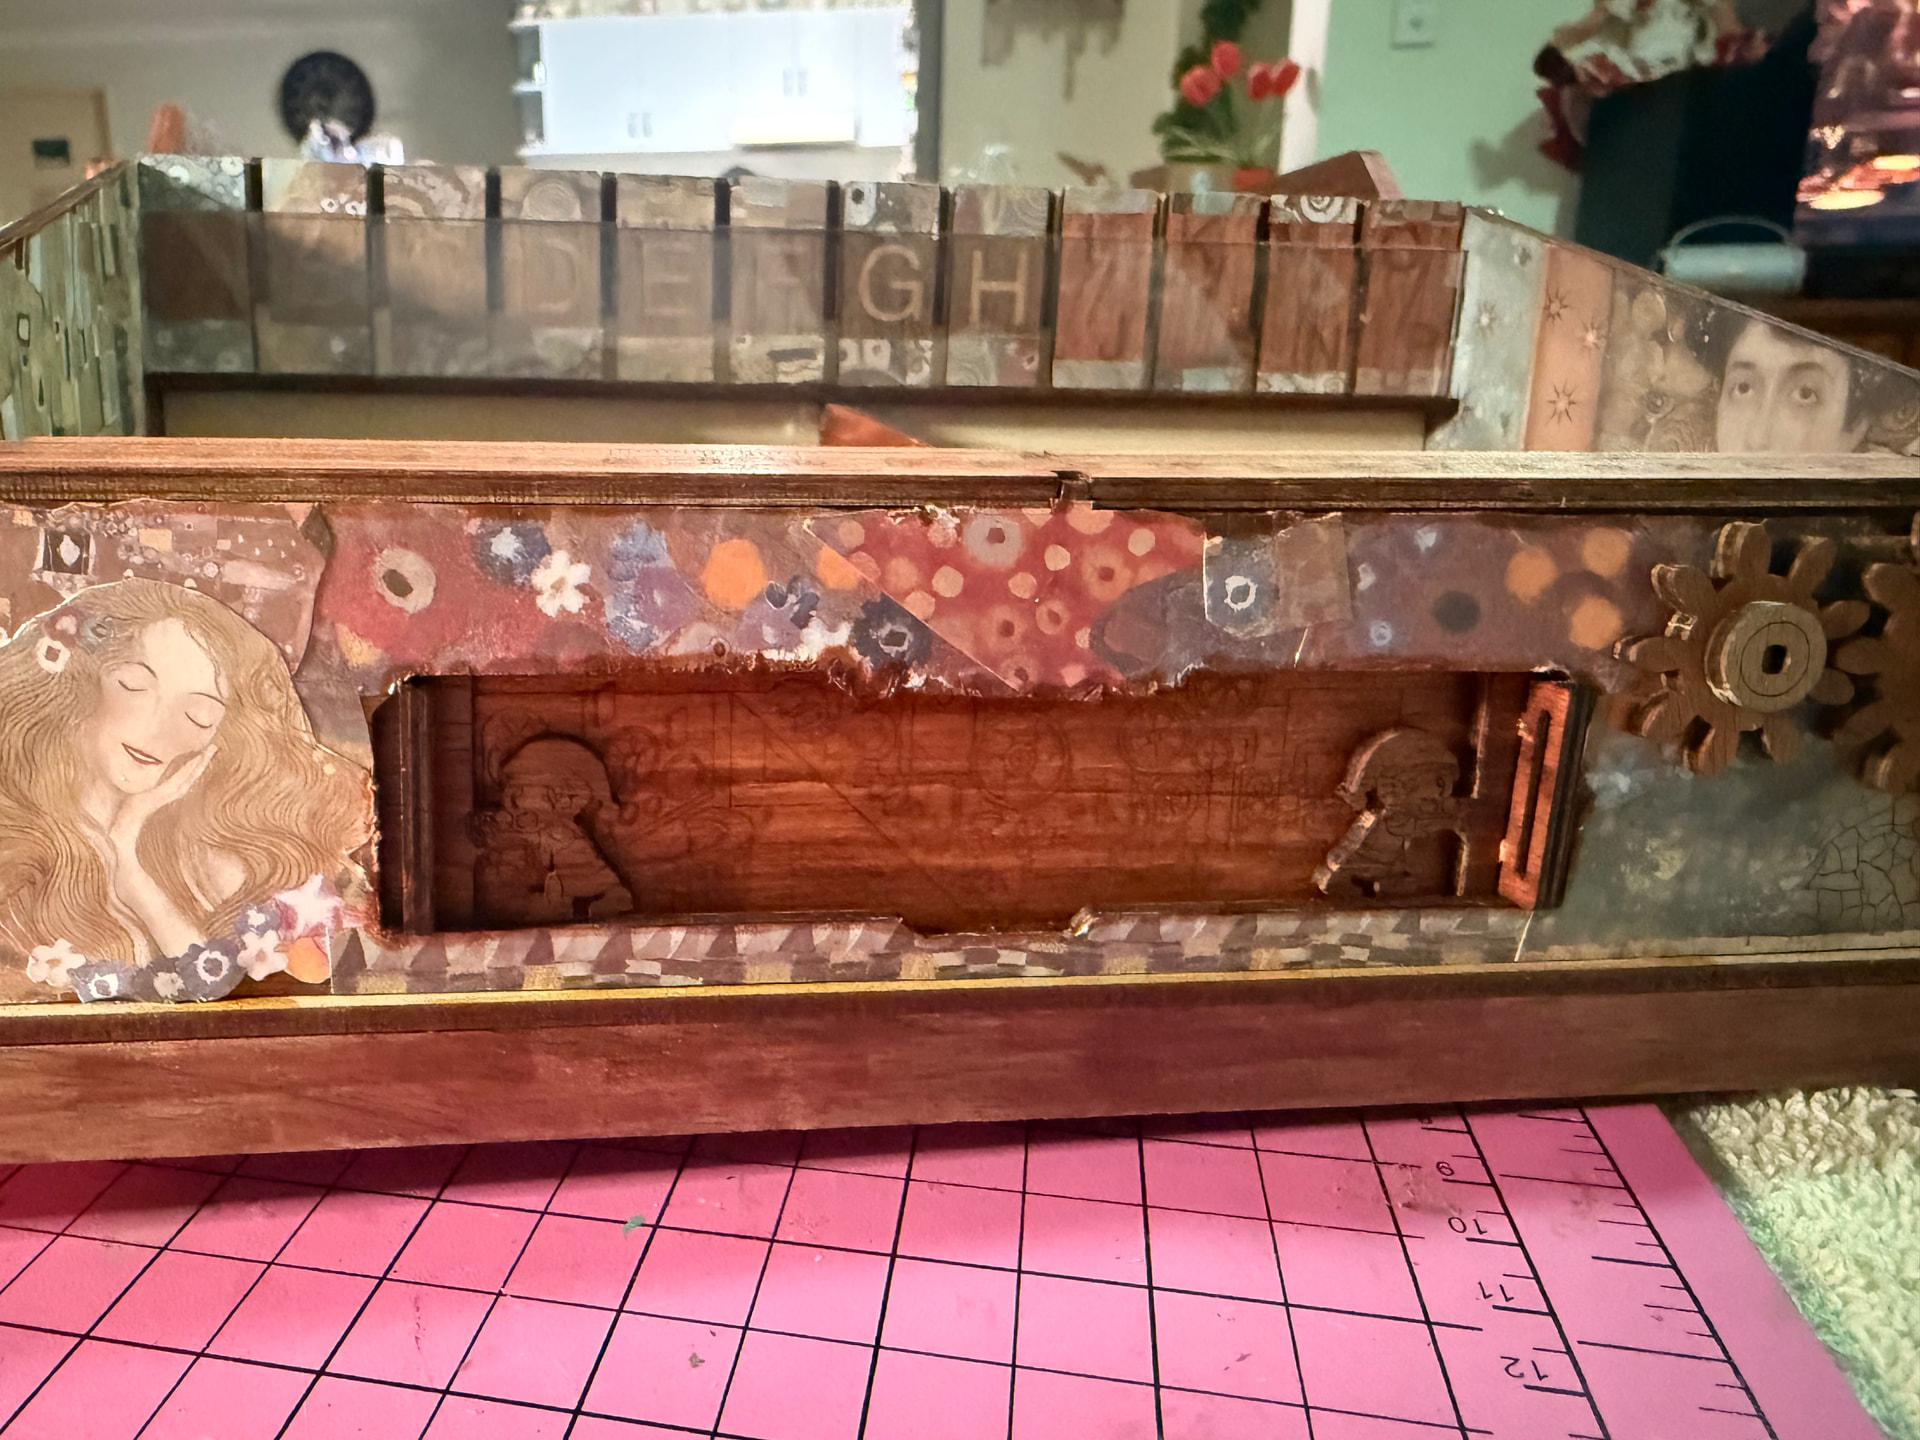
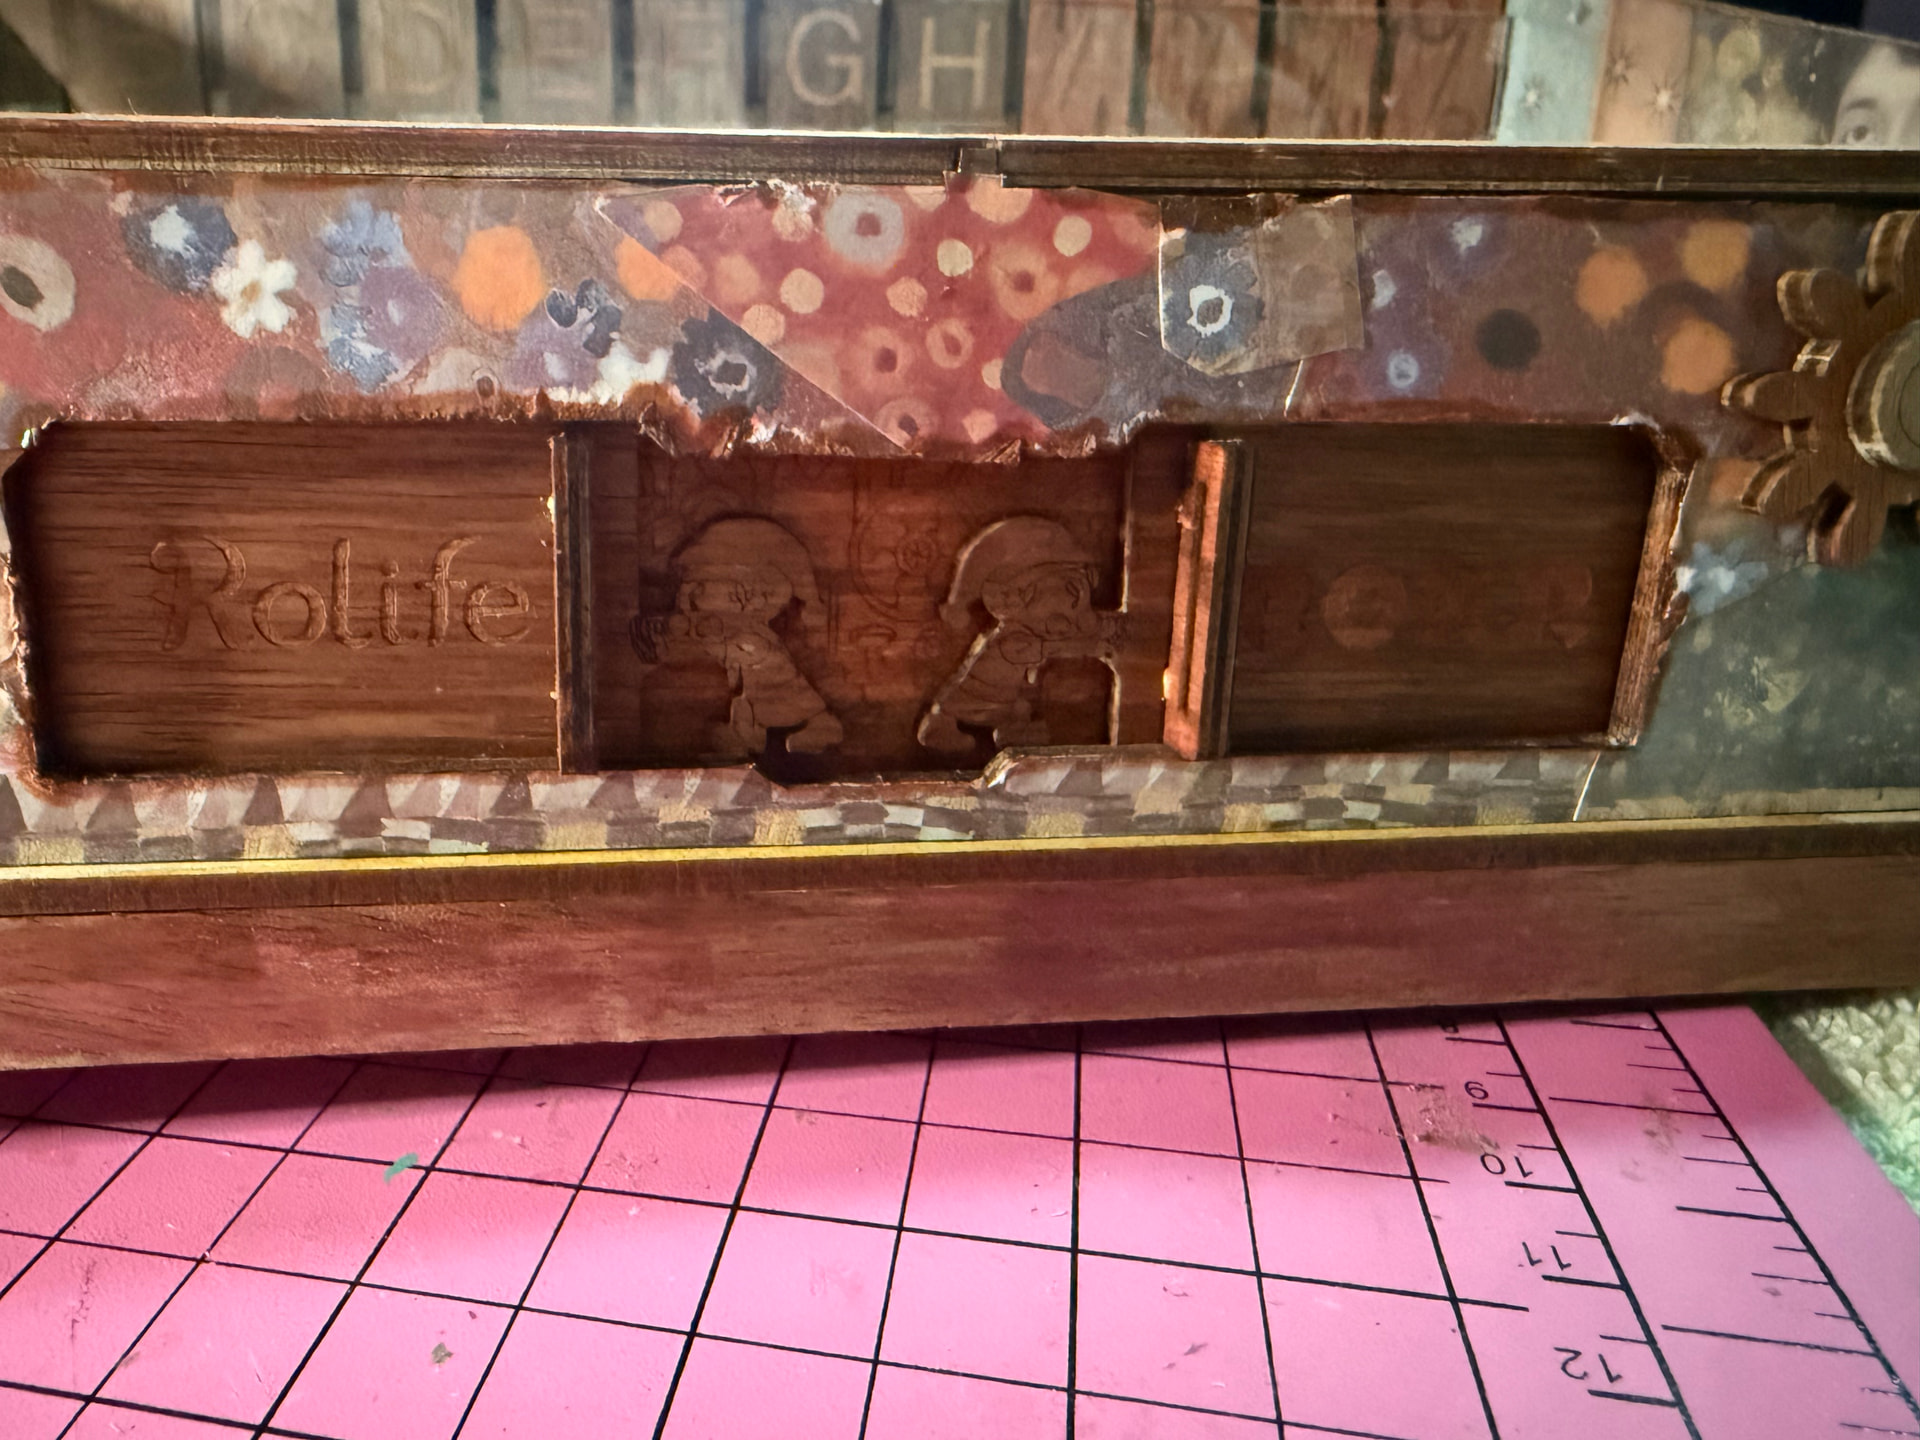
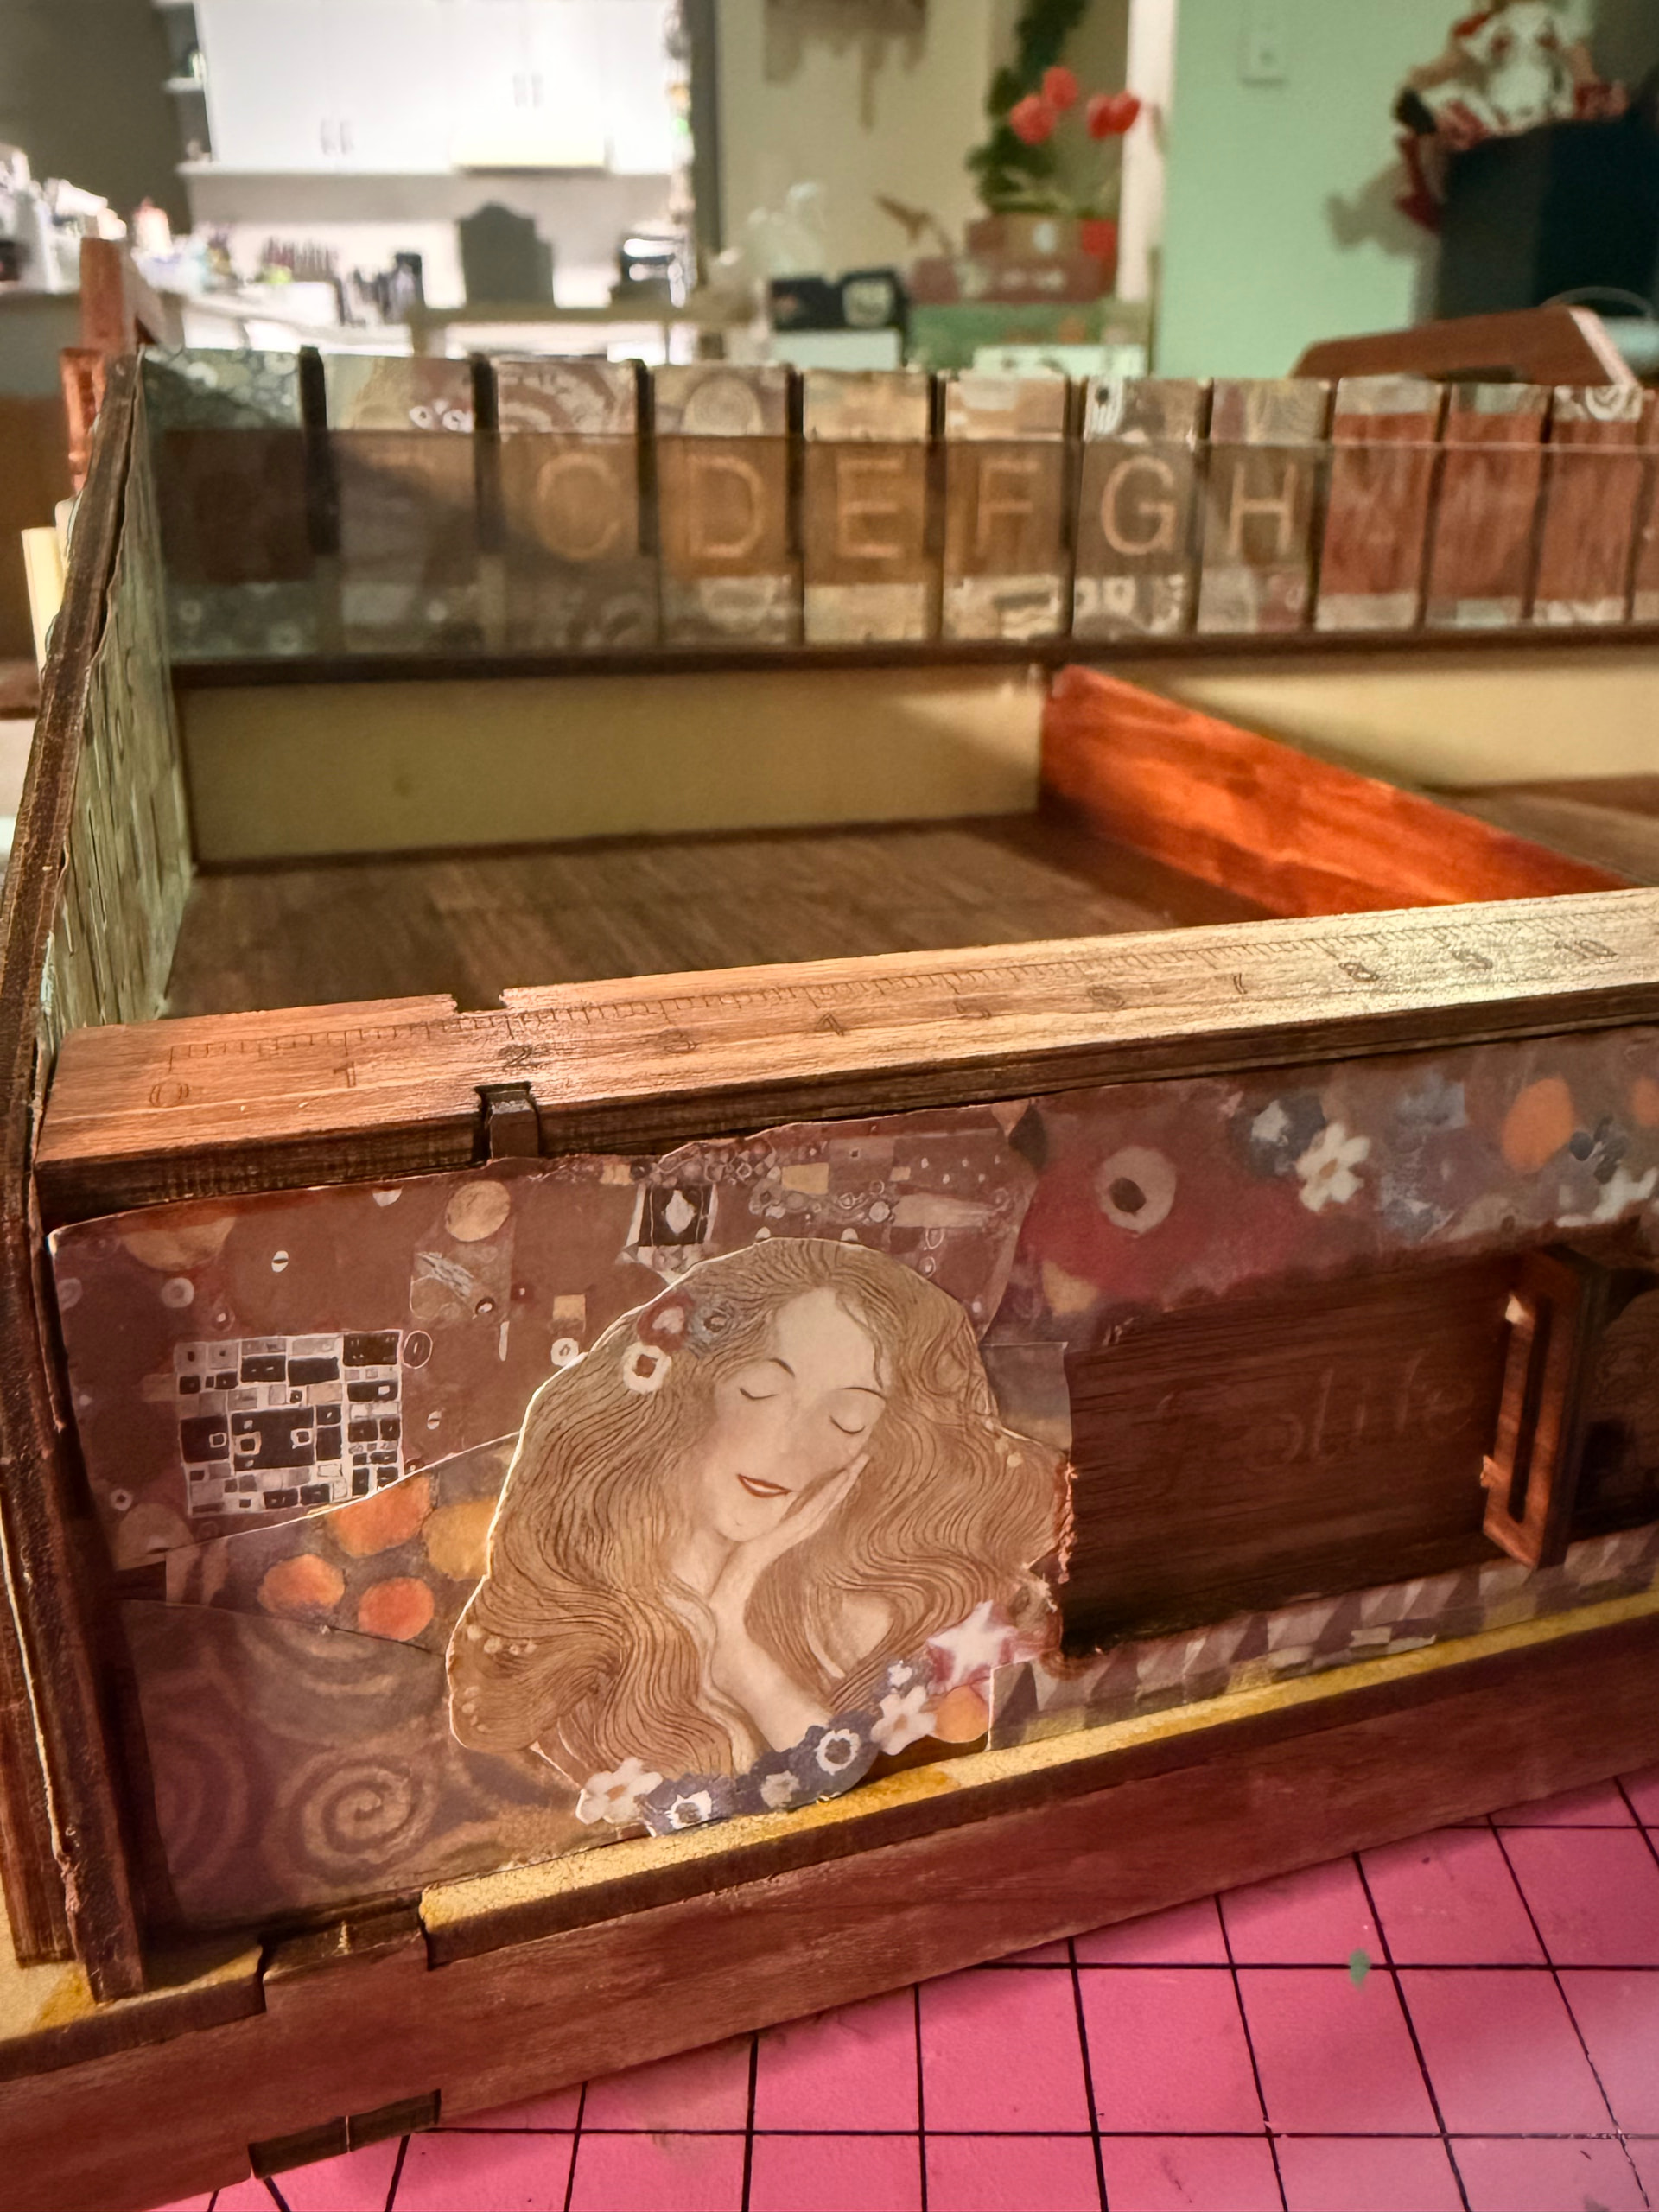
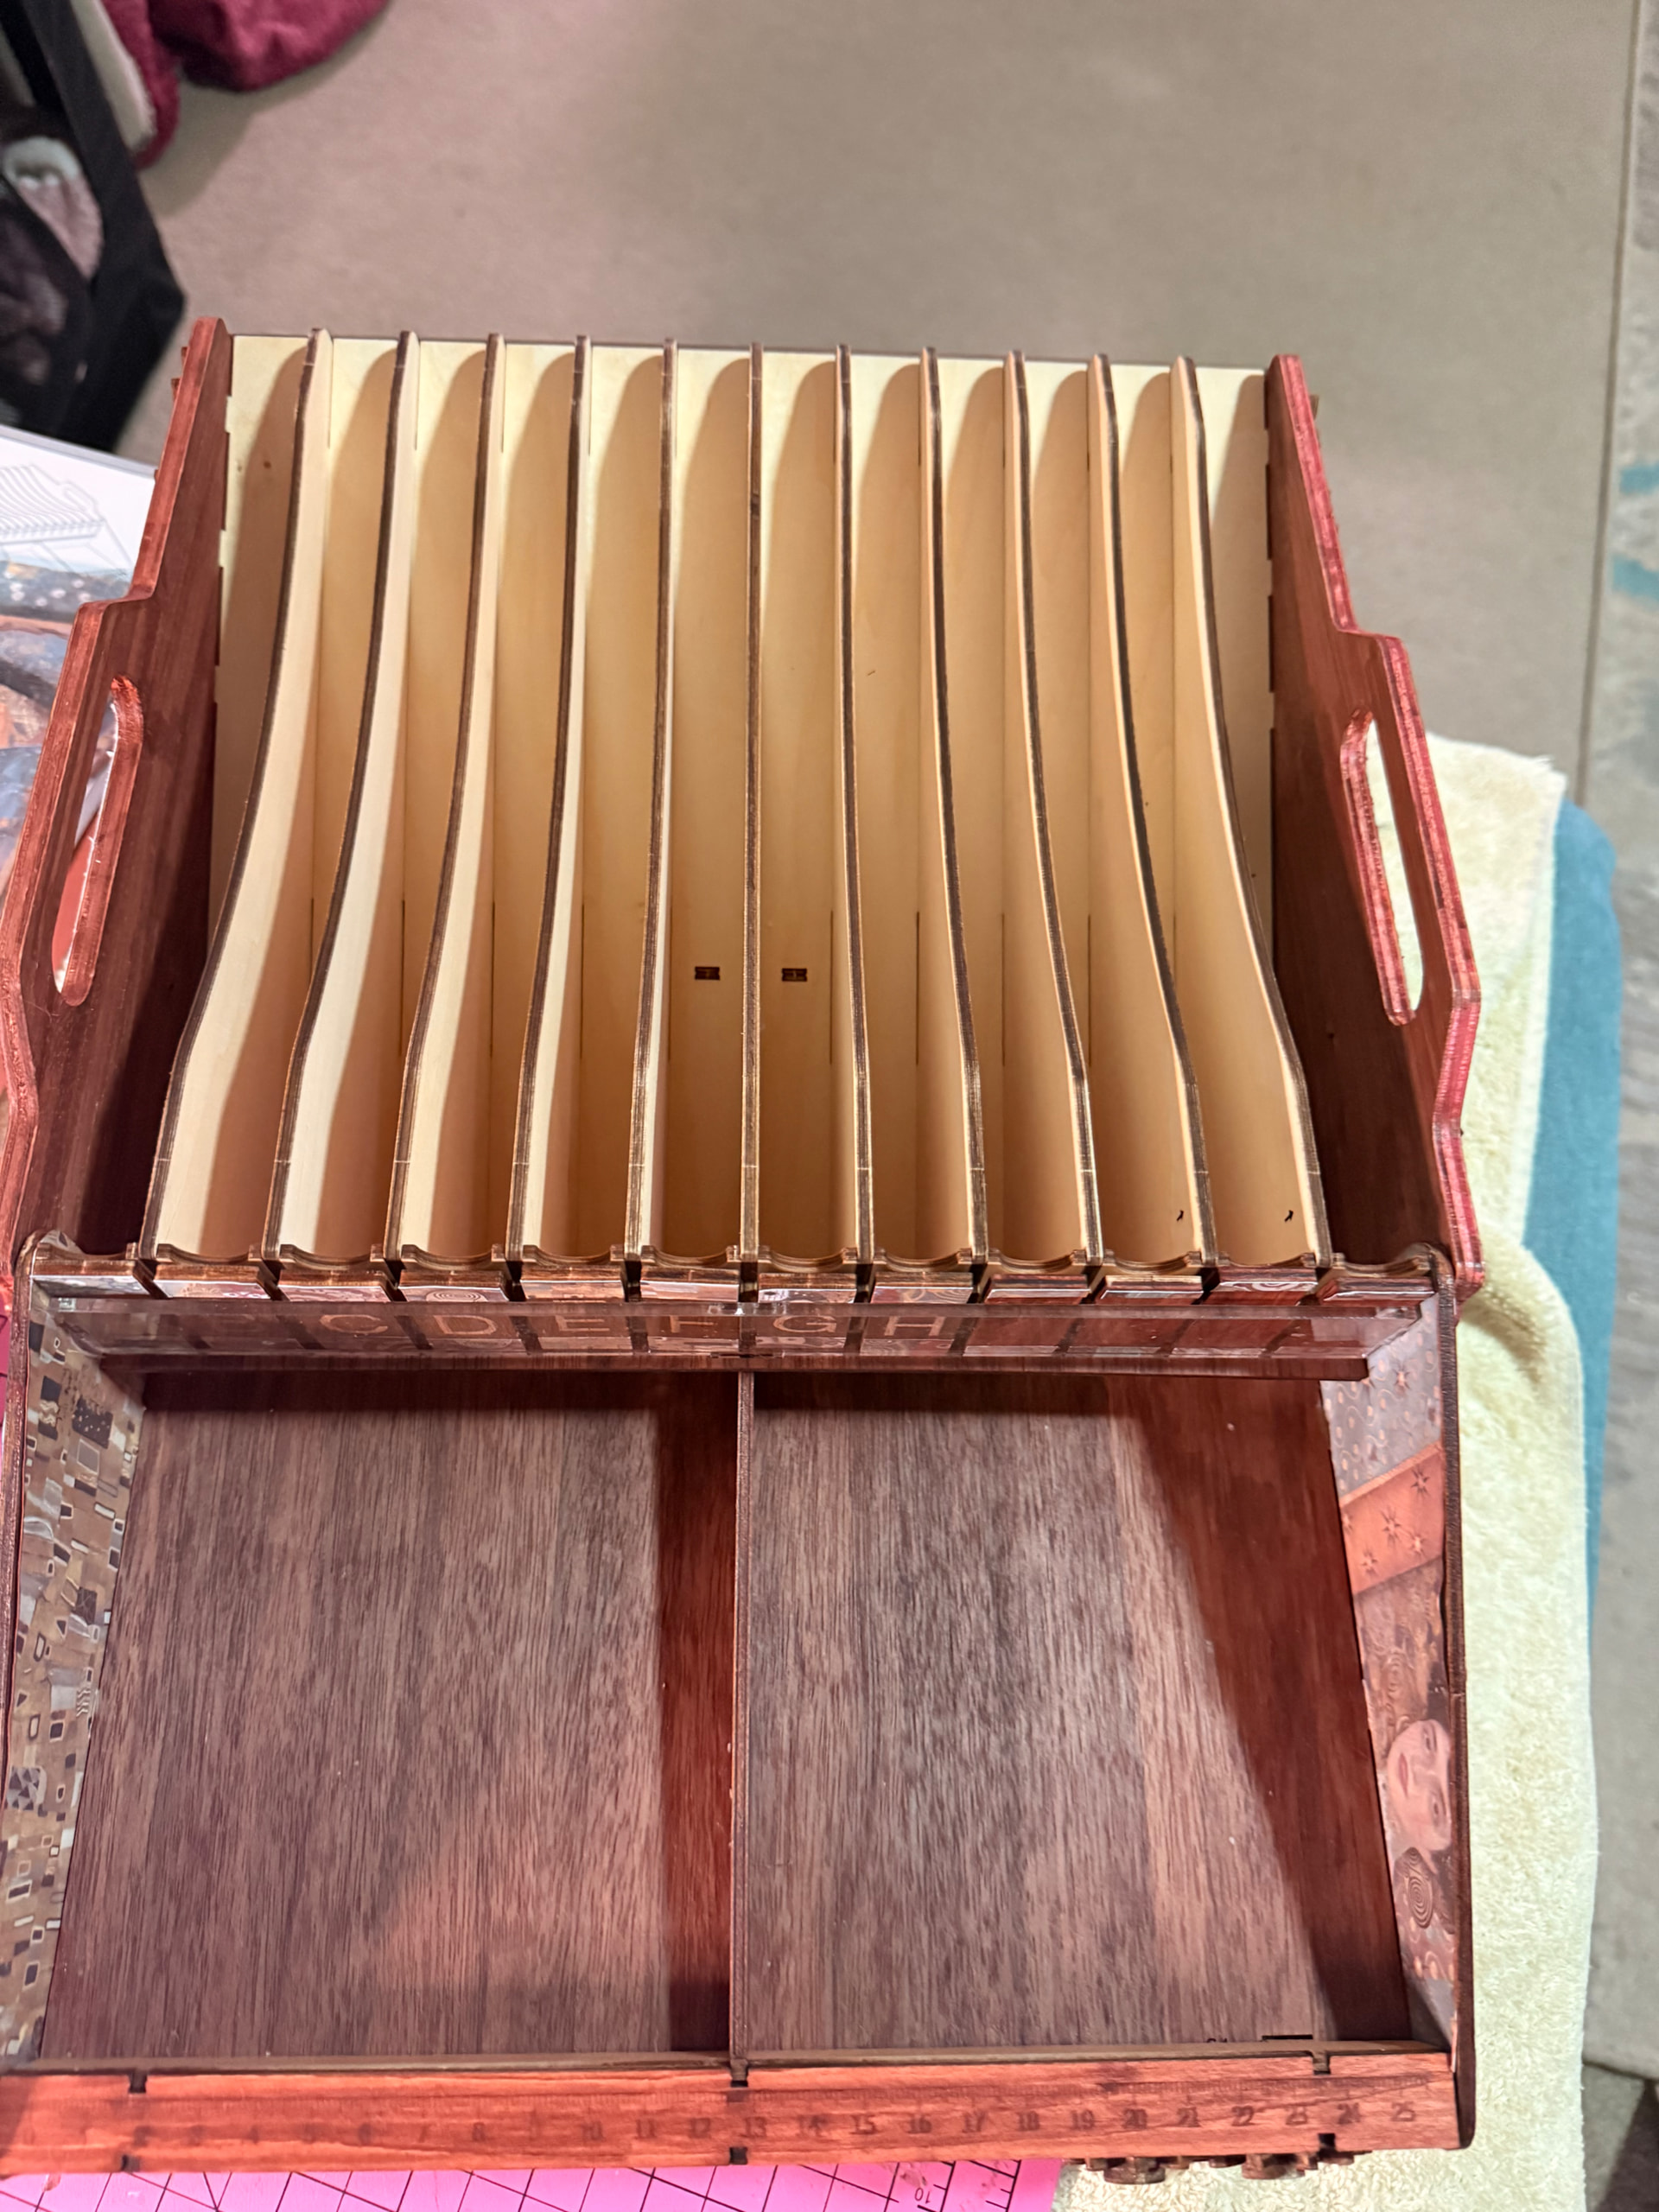
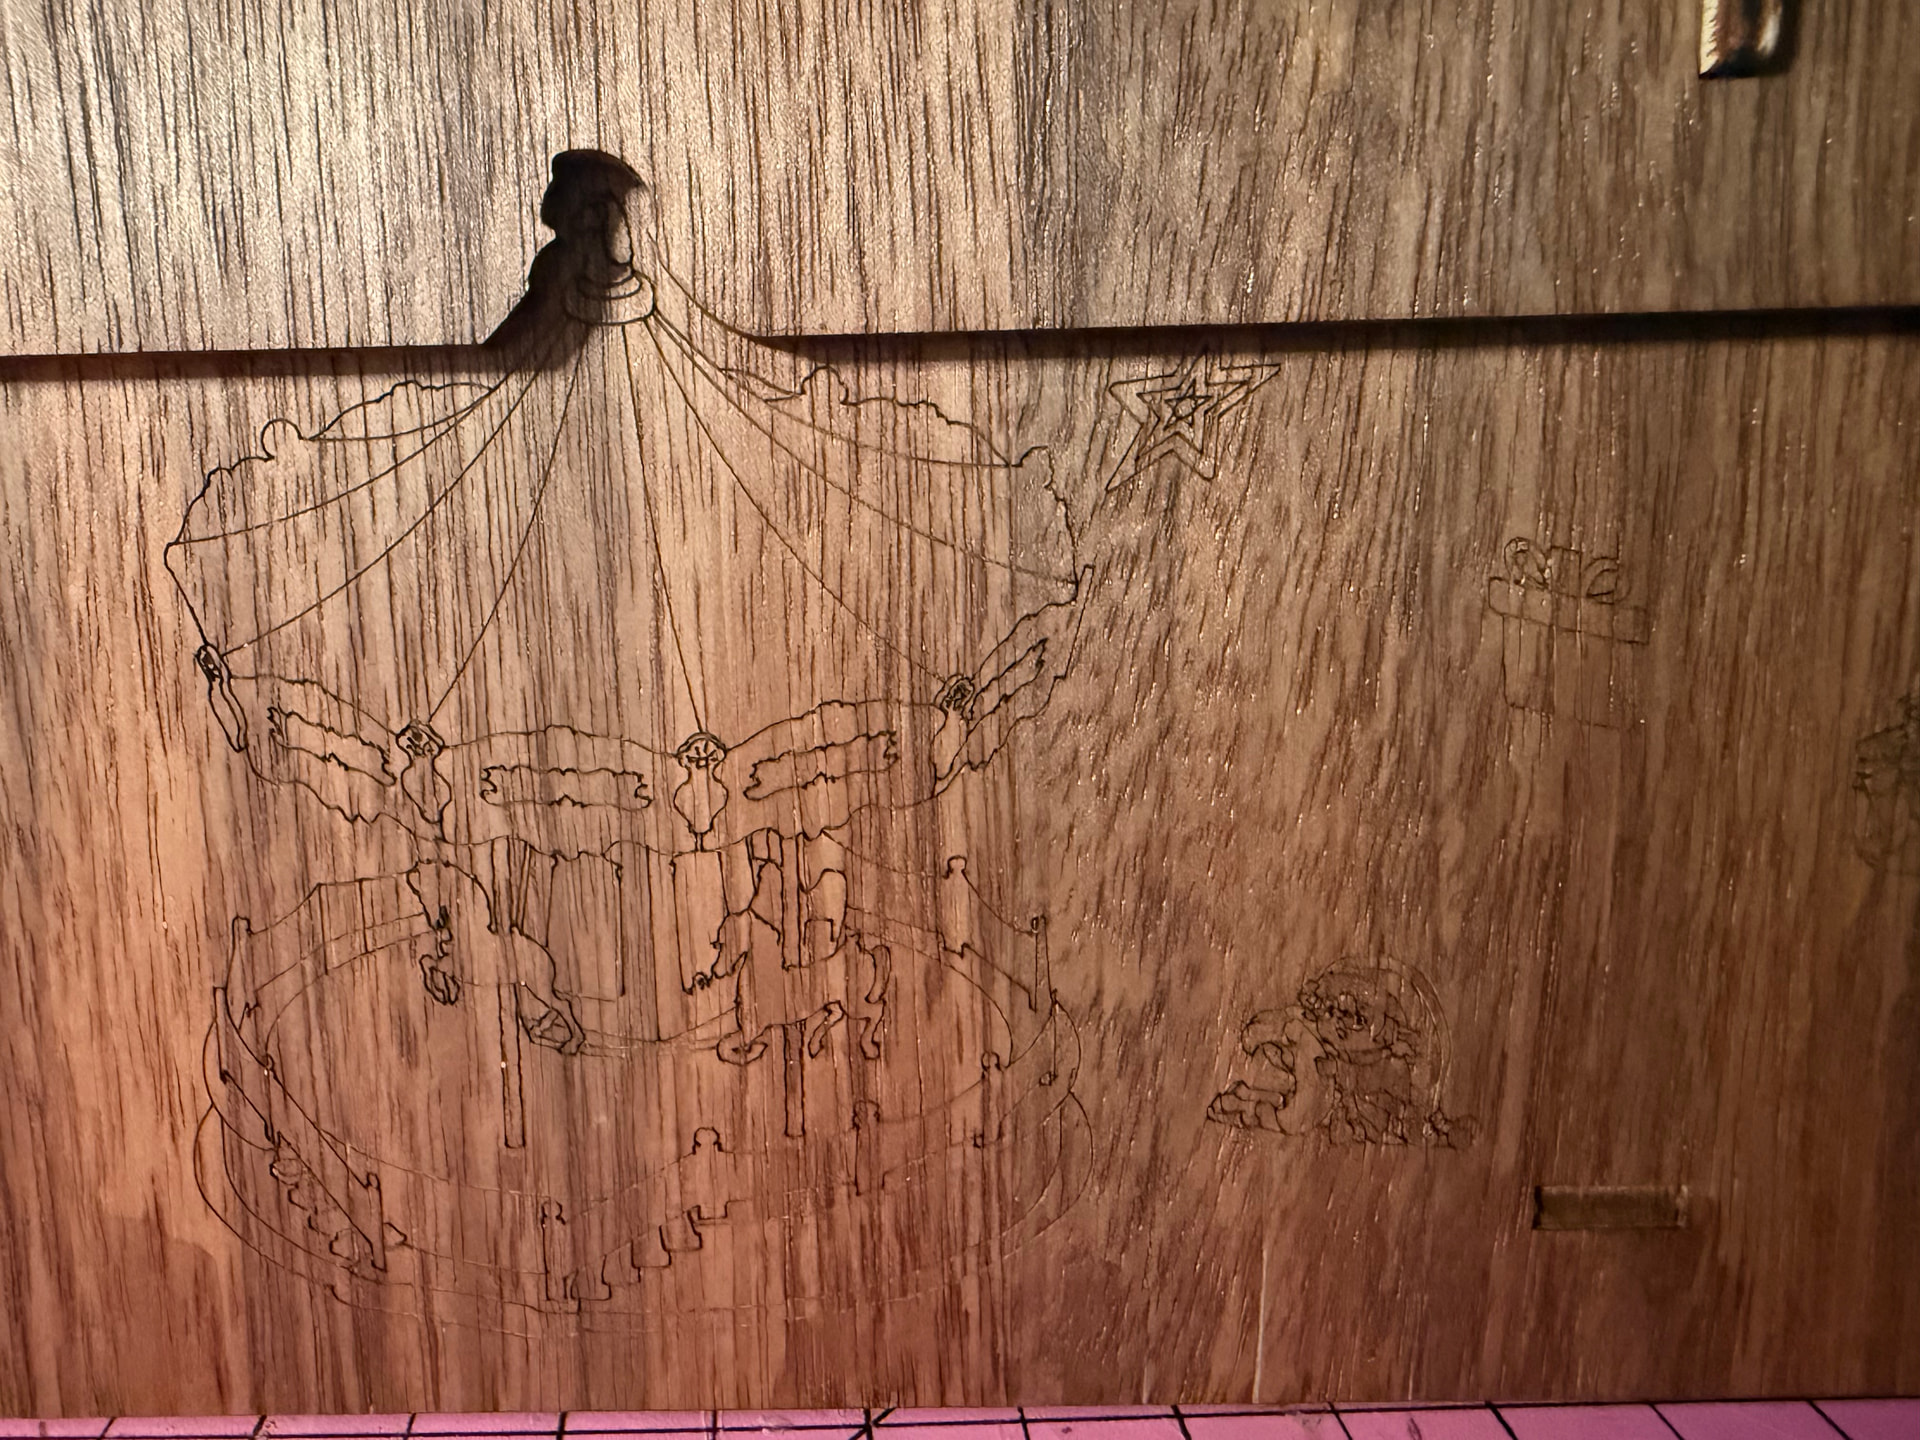
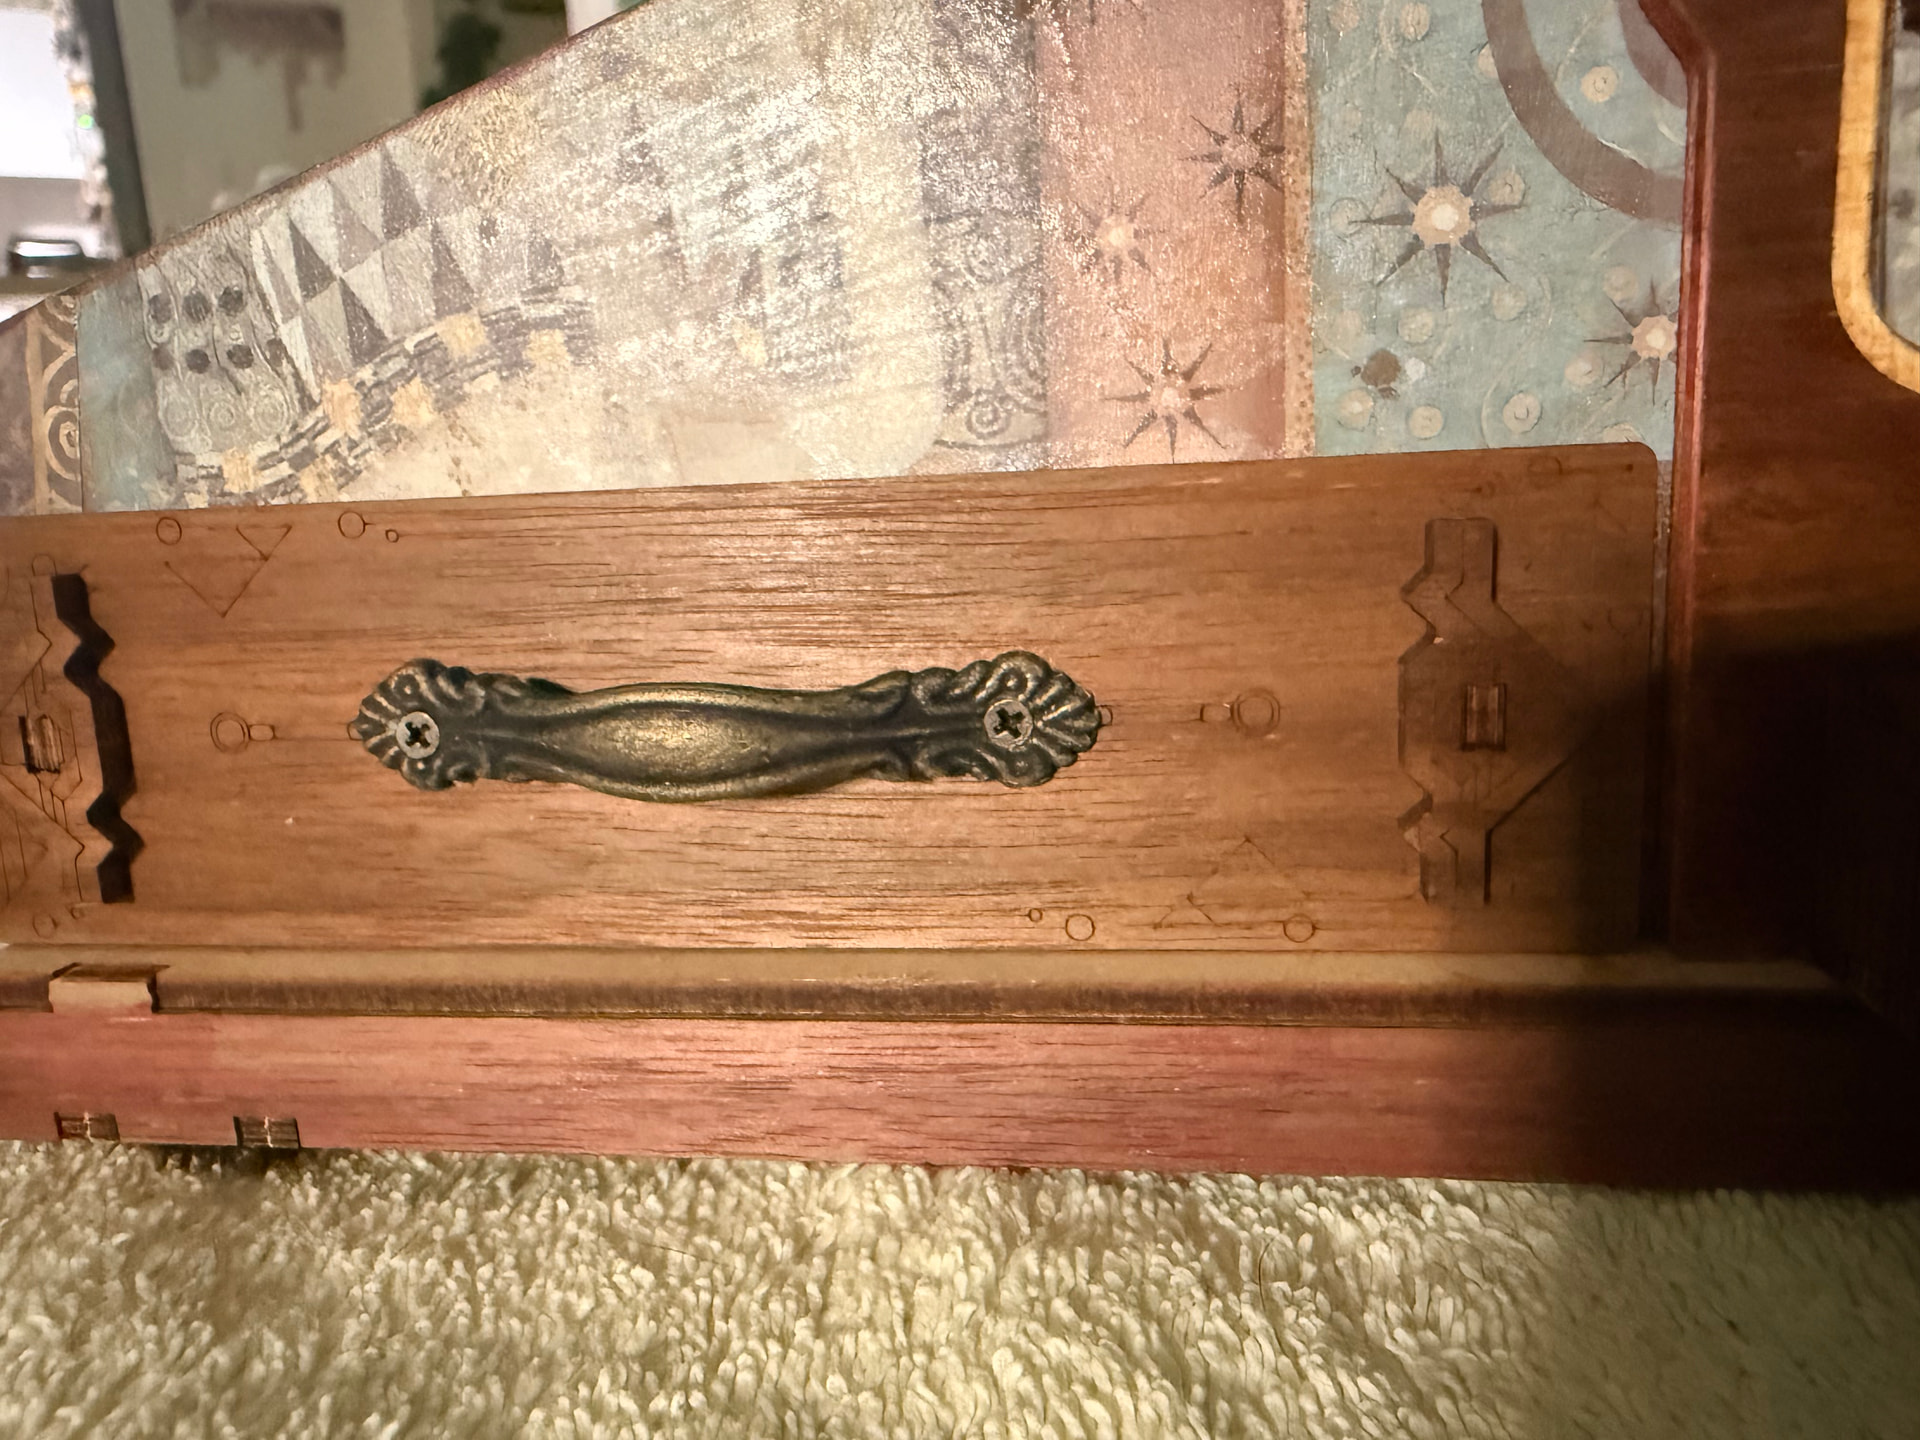
After a day at work, I decided to finish my tray tonight. Because I customised, it takes sooooo long.
My furniture marker died, so I’ve had to change colours. I must admit that I quite like the depth that the furniture markers give to the wood.
This build was so satisfying because it is about making something that can be used.
The fact that it can be personalised is a bonus!
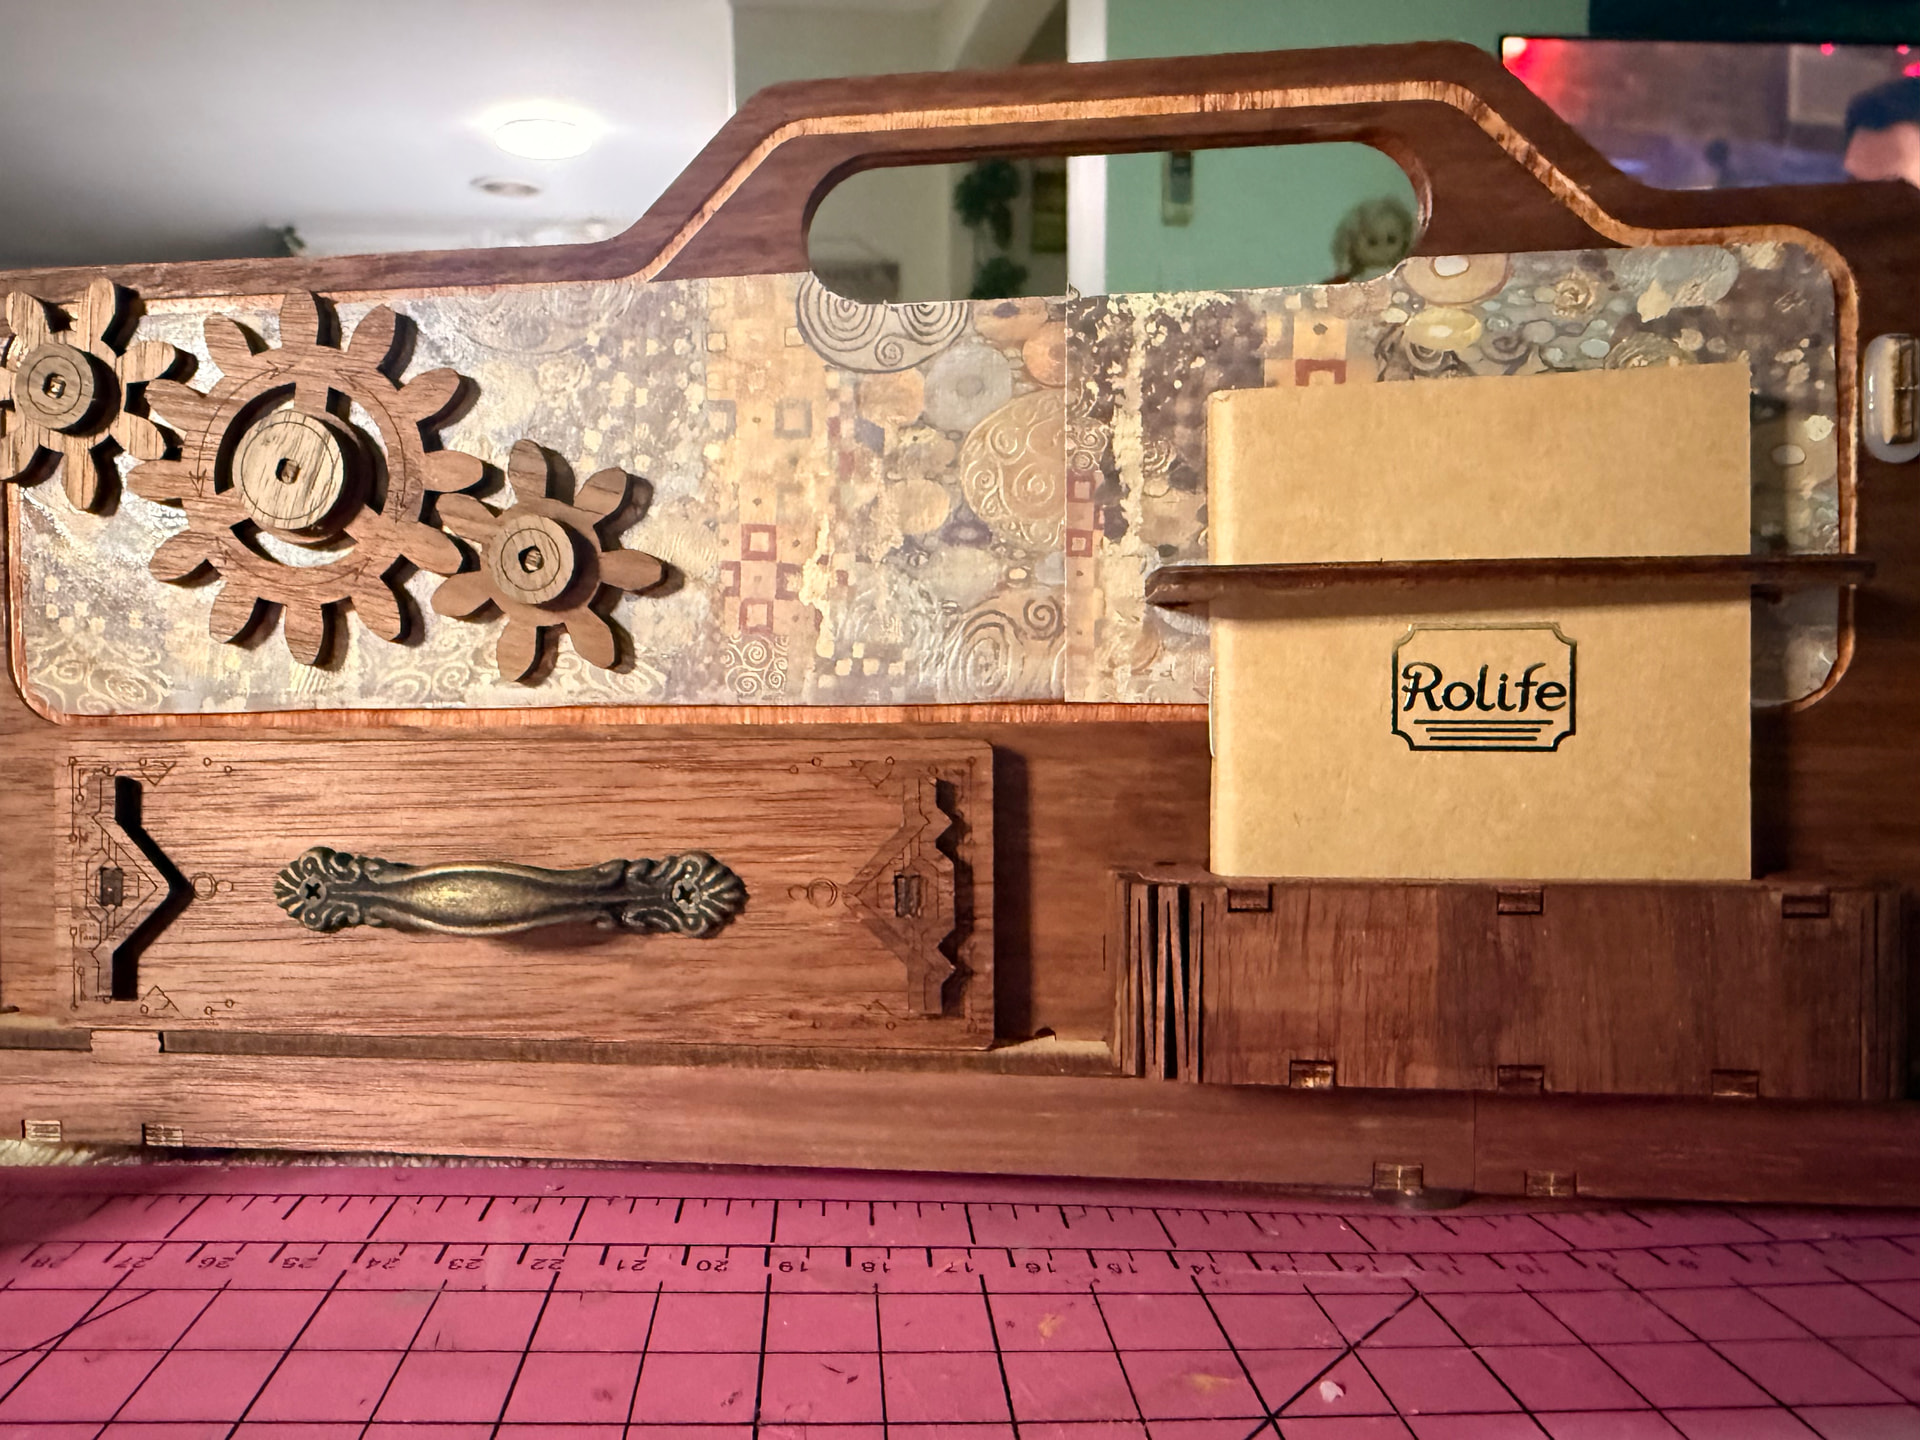
I loved making the drawers and putting the ‘feet’ underneath was so satisfying.
With four drawers, space on the top, holders on the side, and space for boards, this is going to get a lot of use.
I could have used it for all the large boards I needed to make the tray though. They wouldn’t fit in a box so they were in the floor beside me.
The pieces came out of the boards easily (sometimes easily) but I managed to not lose any of the pieces that cut loose too early
Overall, I’m so happy with this build and how it turned out.
And it’s awesome that Robotime has created this.
I don’t think I’d customize this kit; since Rolife kits are all about the wood, I think I’d leave the tray exactly as it is, haha—but yours is definitely unique!
Wow! Your treasure tray looks amazing @Suzanne_Jones your customization made it so unique well done!
I just started with mine and I’m having issues attaching the slots. They were so hard to push thru. They don’t look even too I even broke several of the slots. For now I’m stepping away from it and will try to redo it tomorrow.
It turned out beautifully! I love the custom colors you chose. They really give the tray so much character, and I agree that the furniture markers add a lovely richness to the wood. It’s even more satisfying knowing it’s not just a display piece but something you’ll actually use every time you build. Robotime really came up with a practical and fun design, and your personalized version makes it even more special. Happy organizing and happy building!
Wow, your Treasure Tray looks so beautiful! I love the customizations you made. It’s so nice that you’ll be able to use your customized tray for all of your builds.
Oh Sueeeeee I’ve been waiting for you to finish your masterpiece and I’m so happy I didn’t have to wait for long!
I love it so so much because it’s so you! I think I’ll leave mine as is but might do a coat of varnish or lacquer but I’ll leave that to my partner to figure out.
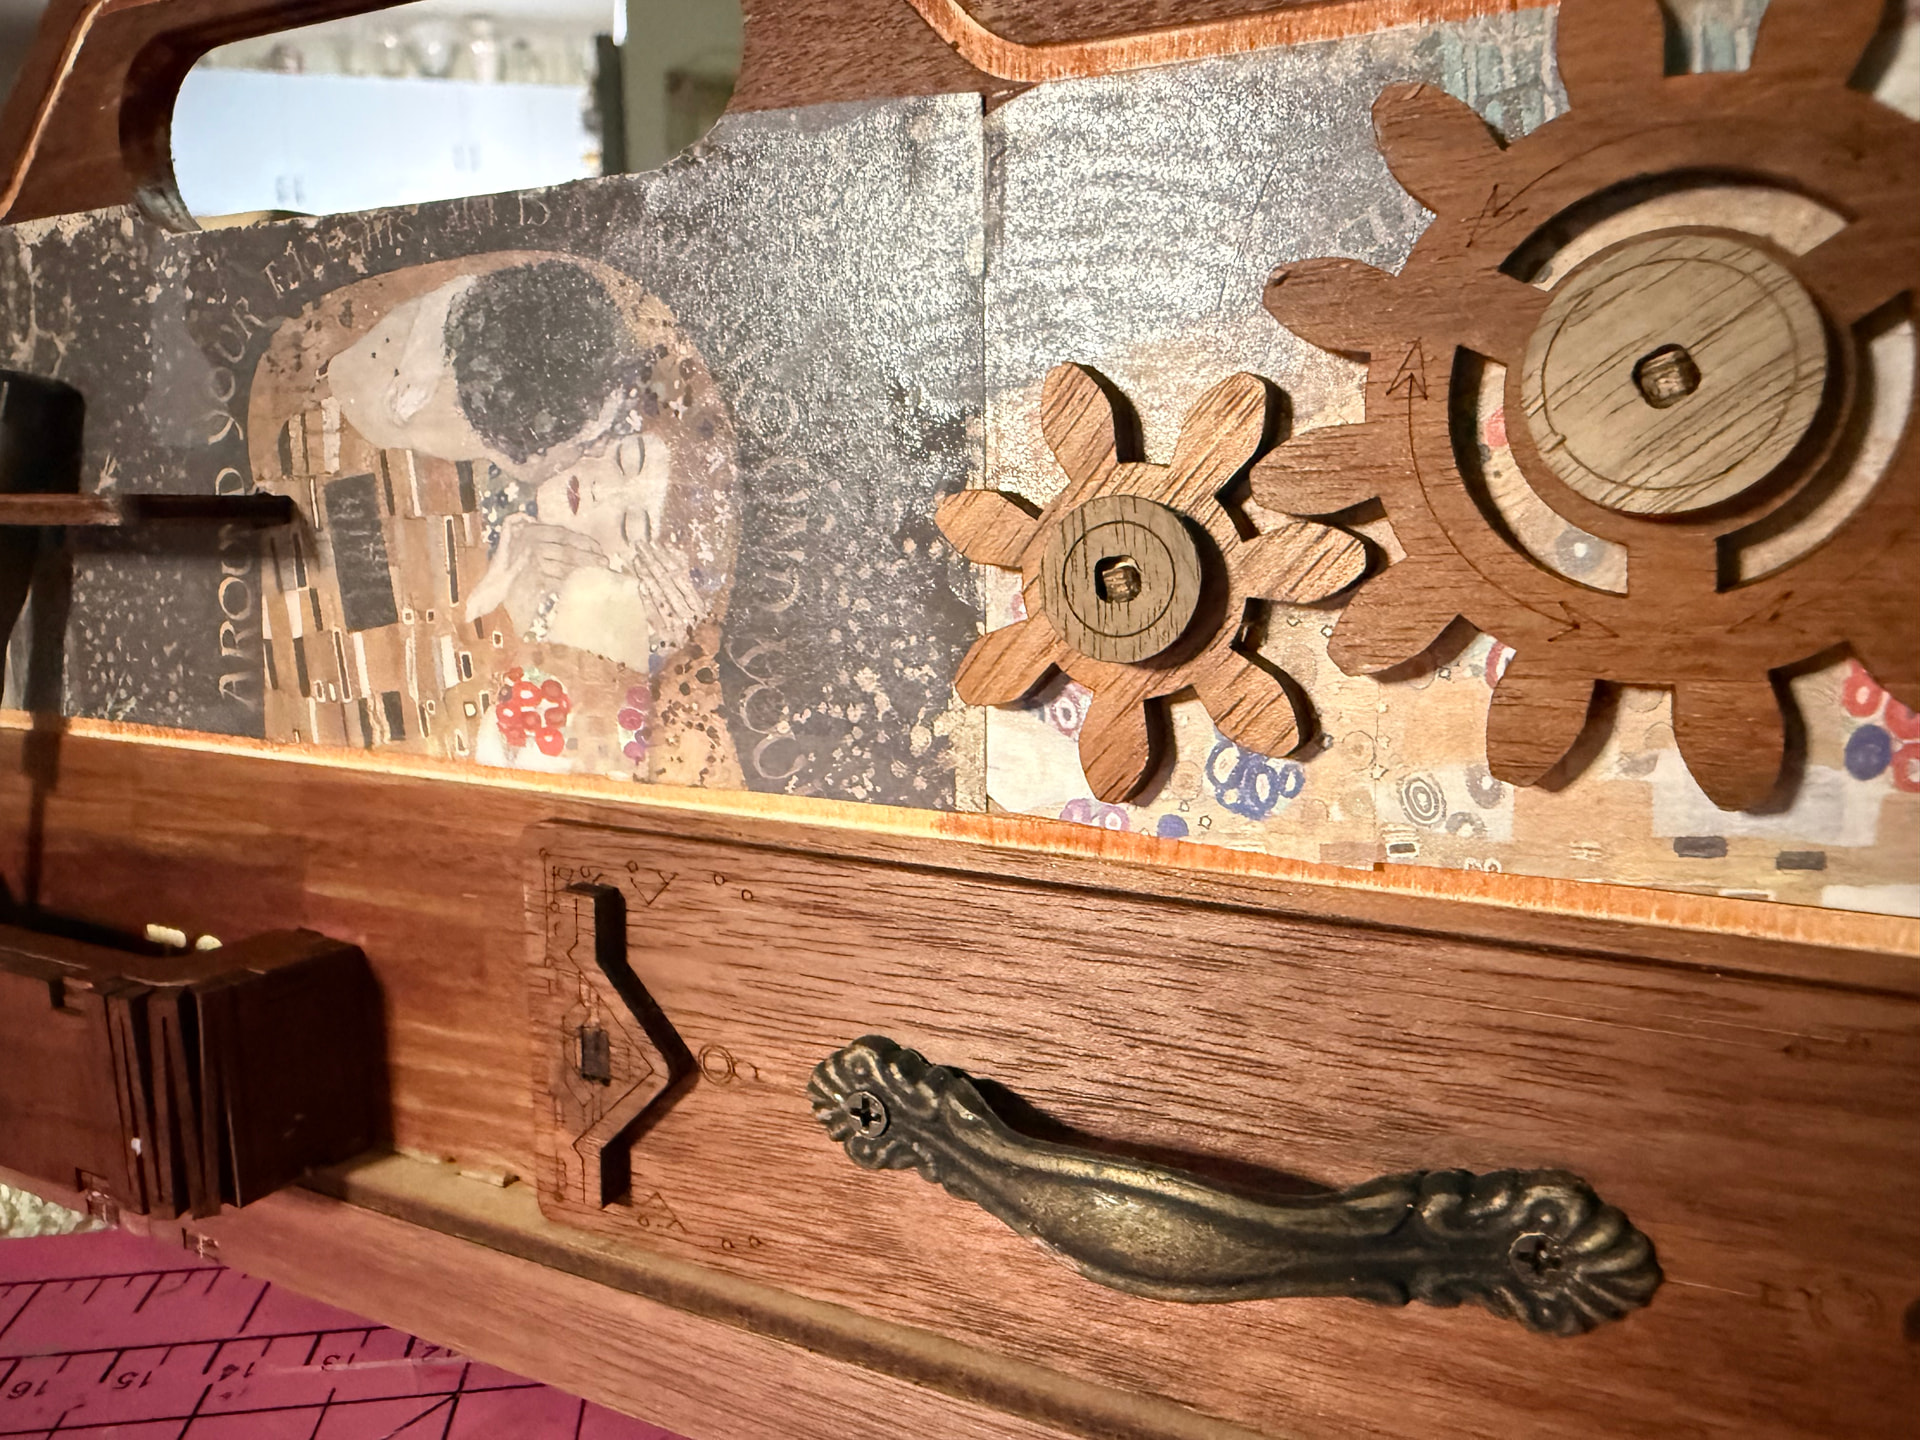
It is junk journal paper that I found on Temu. I just went back to look to see if they still had it before sending you there and found more awesome designs to add to my current order
I used mod podge to apply to the wood and then a craft knife to cut out the holes. I made a bit of a mess in the front because I didn’t wait long enough for the glue to dry before attempting to cut and it tore a bit. After I’d done all the paper work, I applied a coat of gloss varnish before adding all the outside extras.


 well done!
 I even broke several of the slots. For now I’m stepping away from it and will try to redo it tomorrow.


 I think I’ll leave mine as is but might do a coat of varnish or lacquer but I’ll leave that to my partner to figure out.
