Treasure Tray Complete ❤

I just completed building my Treasure Tray :smiling_face:

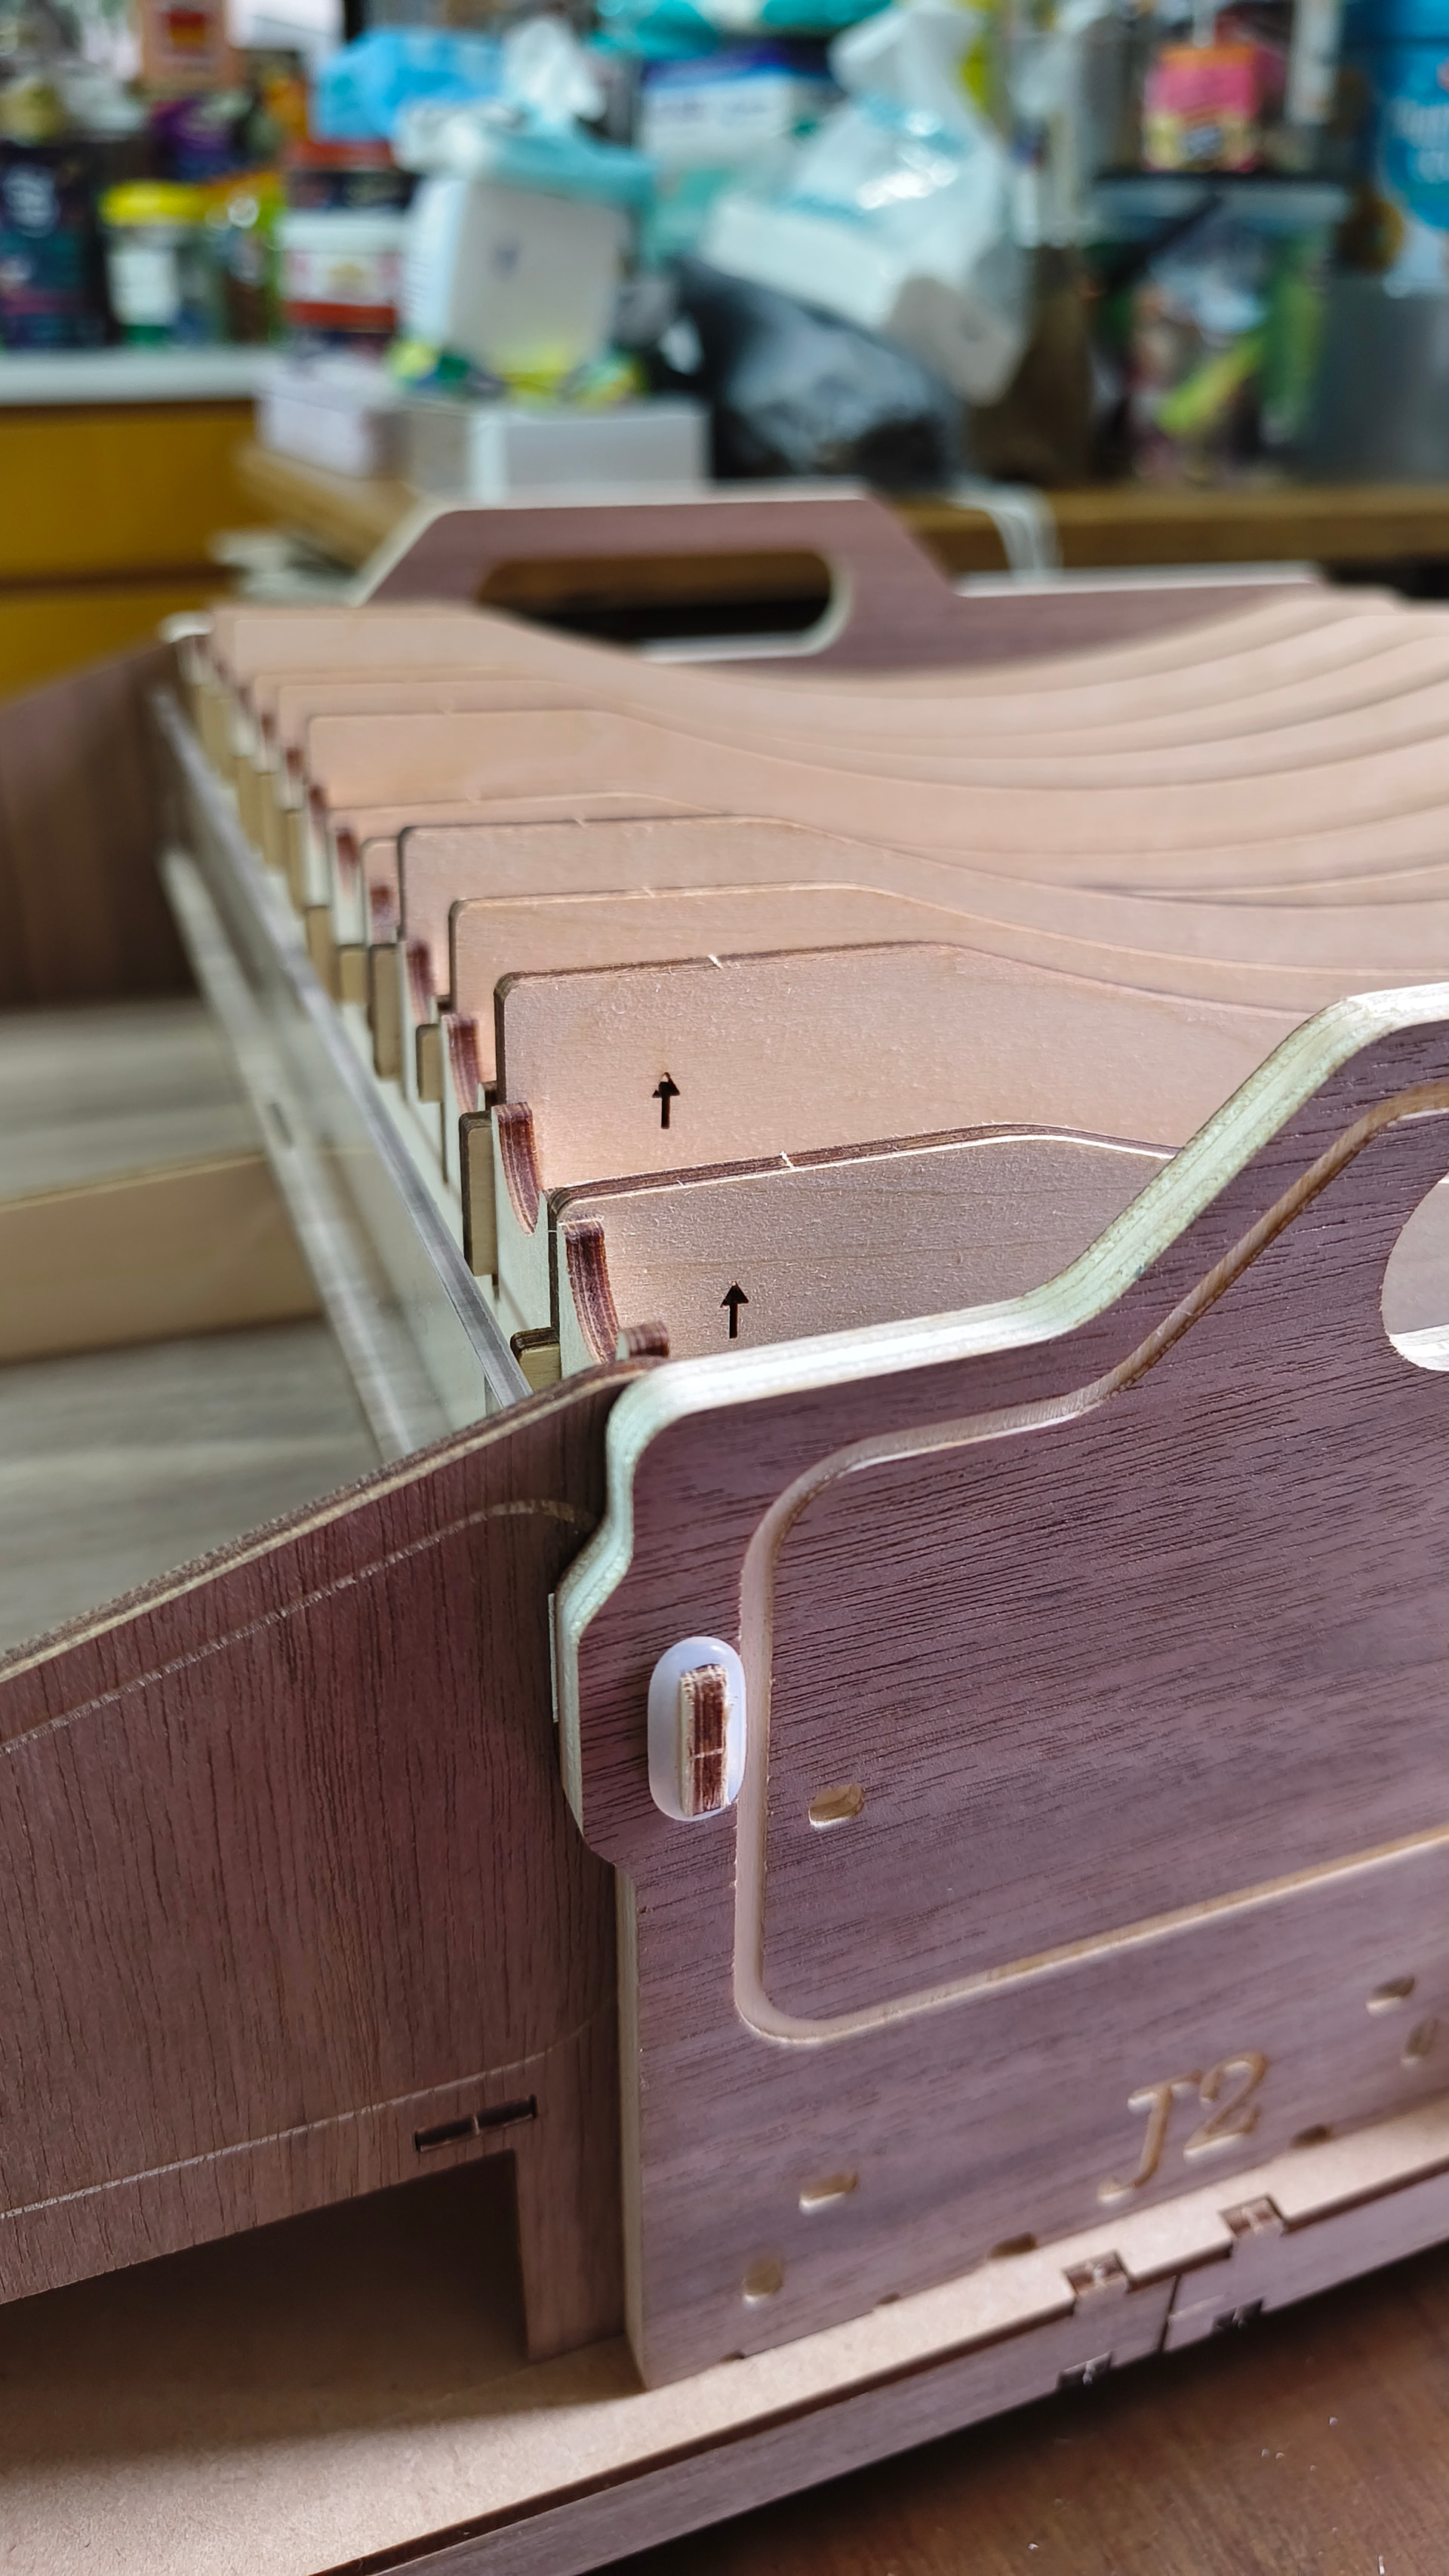
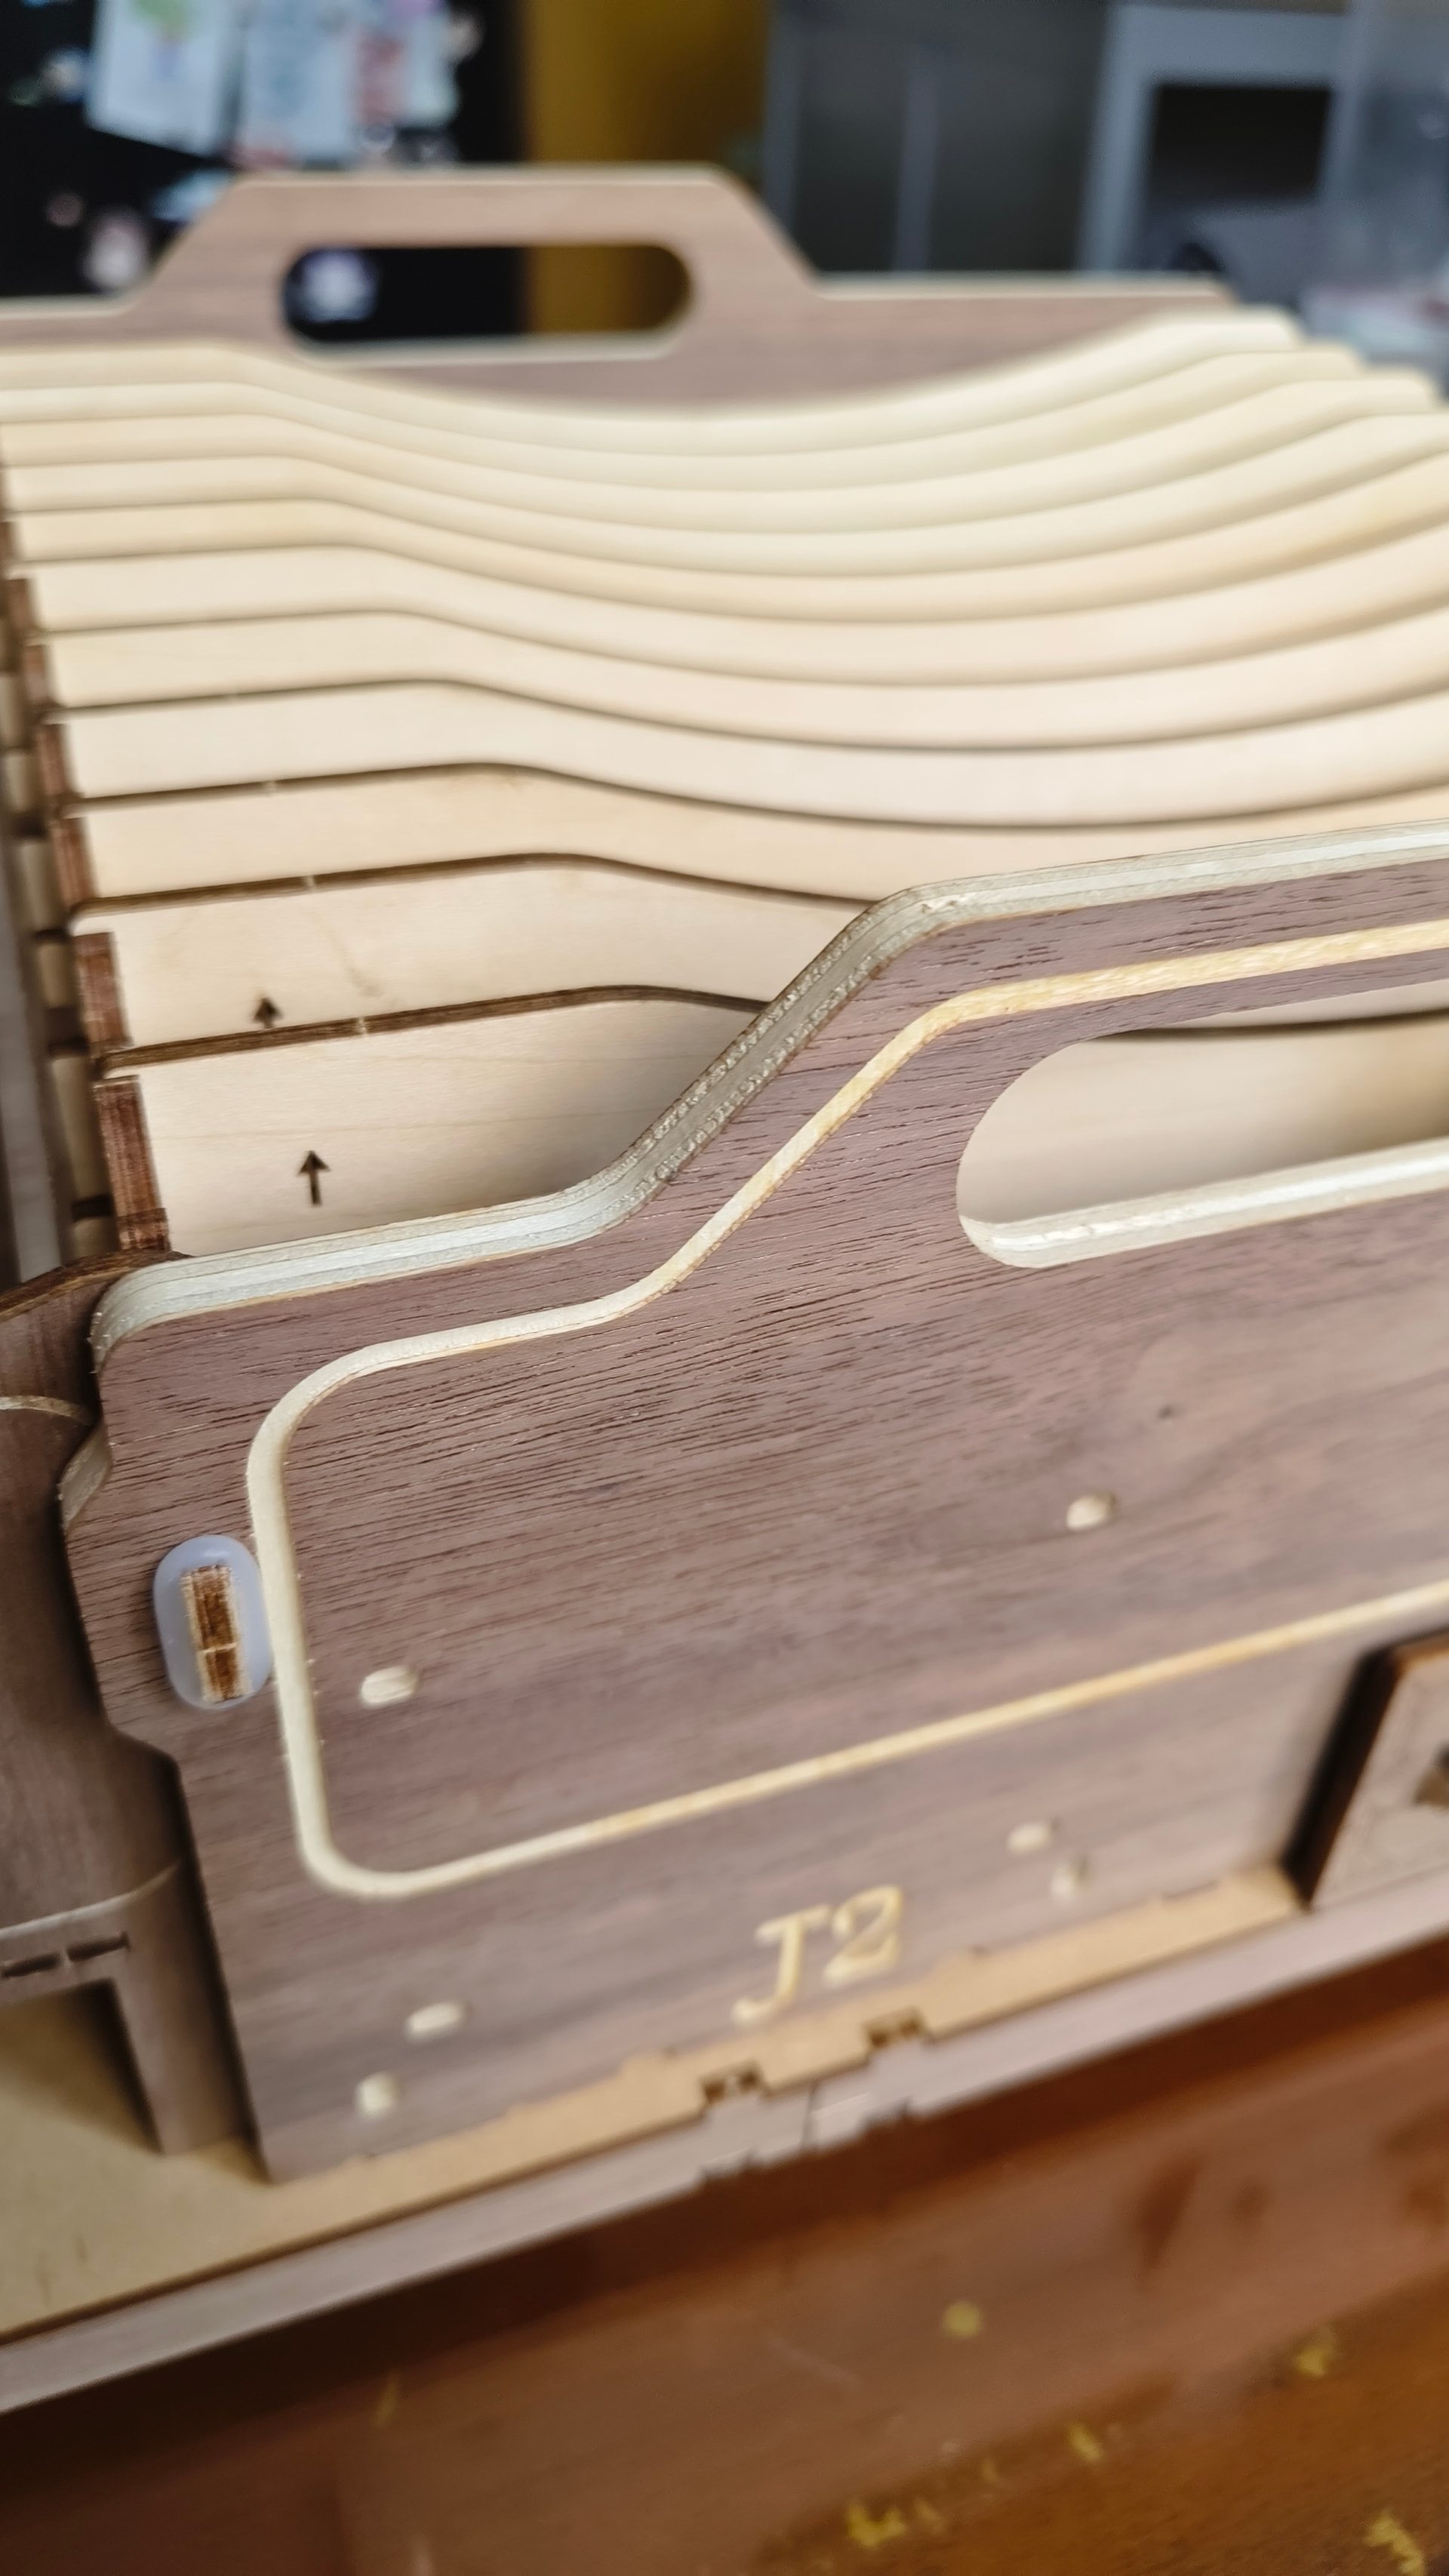
This one needed a lot of sanding and I had a really hard time putting in the slots. At first it was so wonky. I had to step back and get some night sleep before facing it again. This part really made my arms and hands so sore.

The next day, I disassembled the slots and gave them a little sanding and waxing and now I was able to flush the pieces correctly. Whew!

I was suppose to apply lacquer on it but I’m too impatient and I wanted to complete it right away so I can use it :joy:

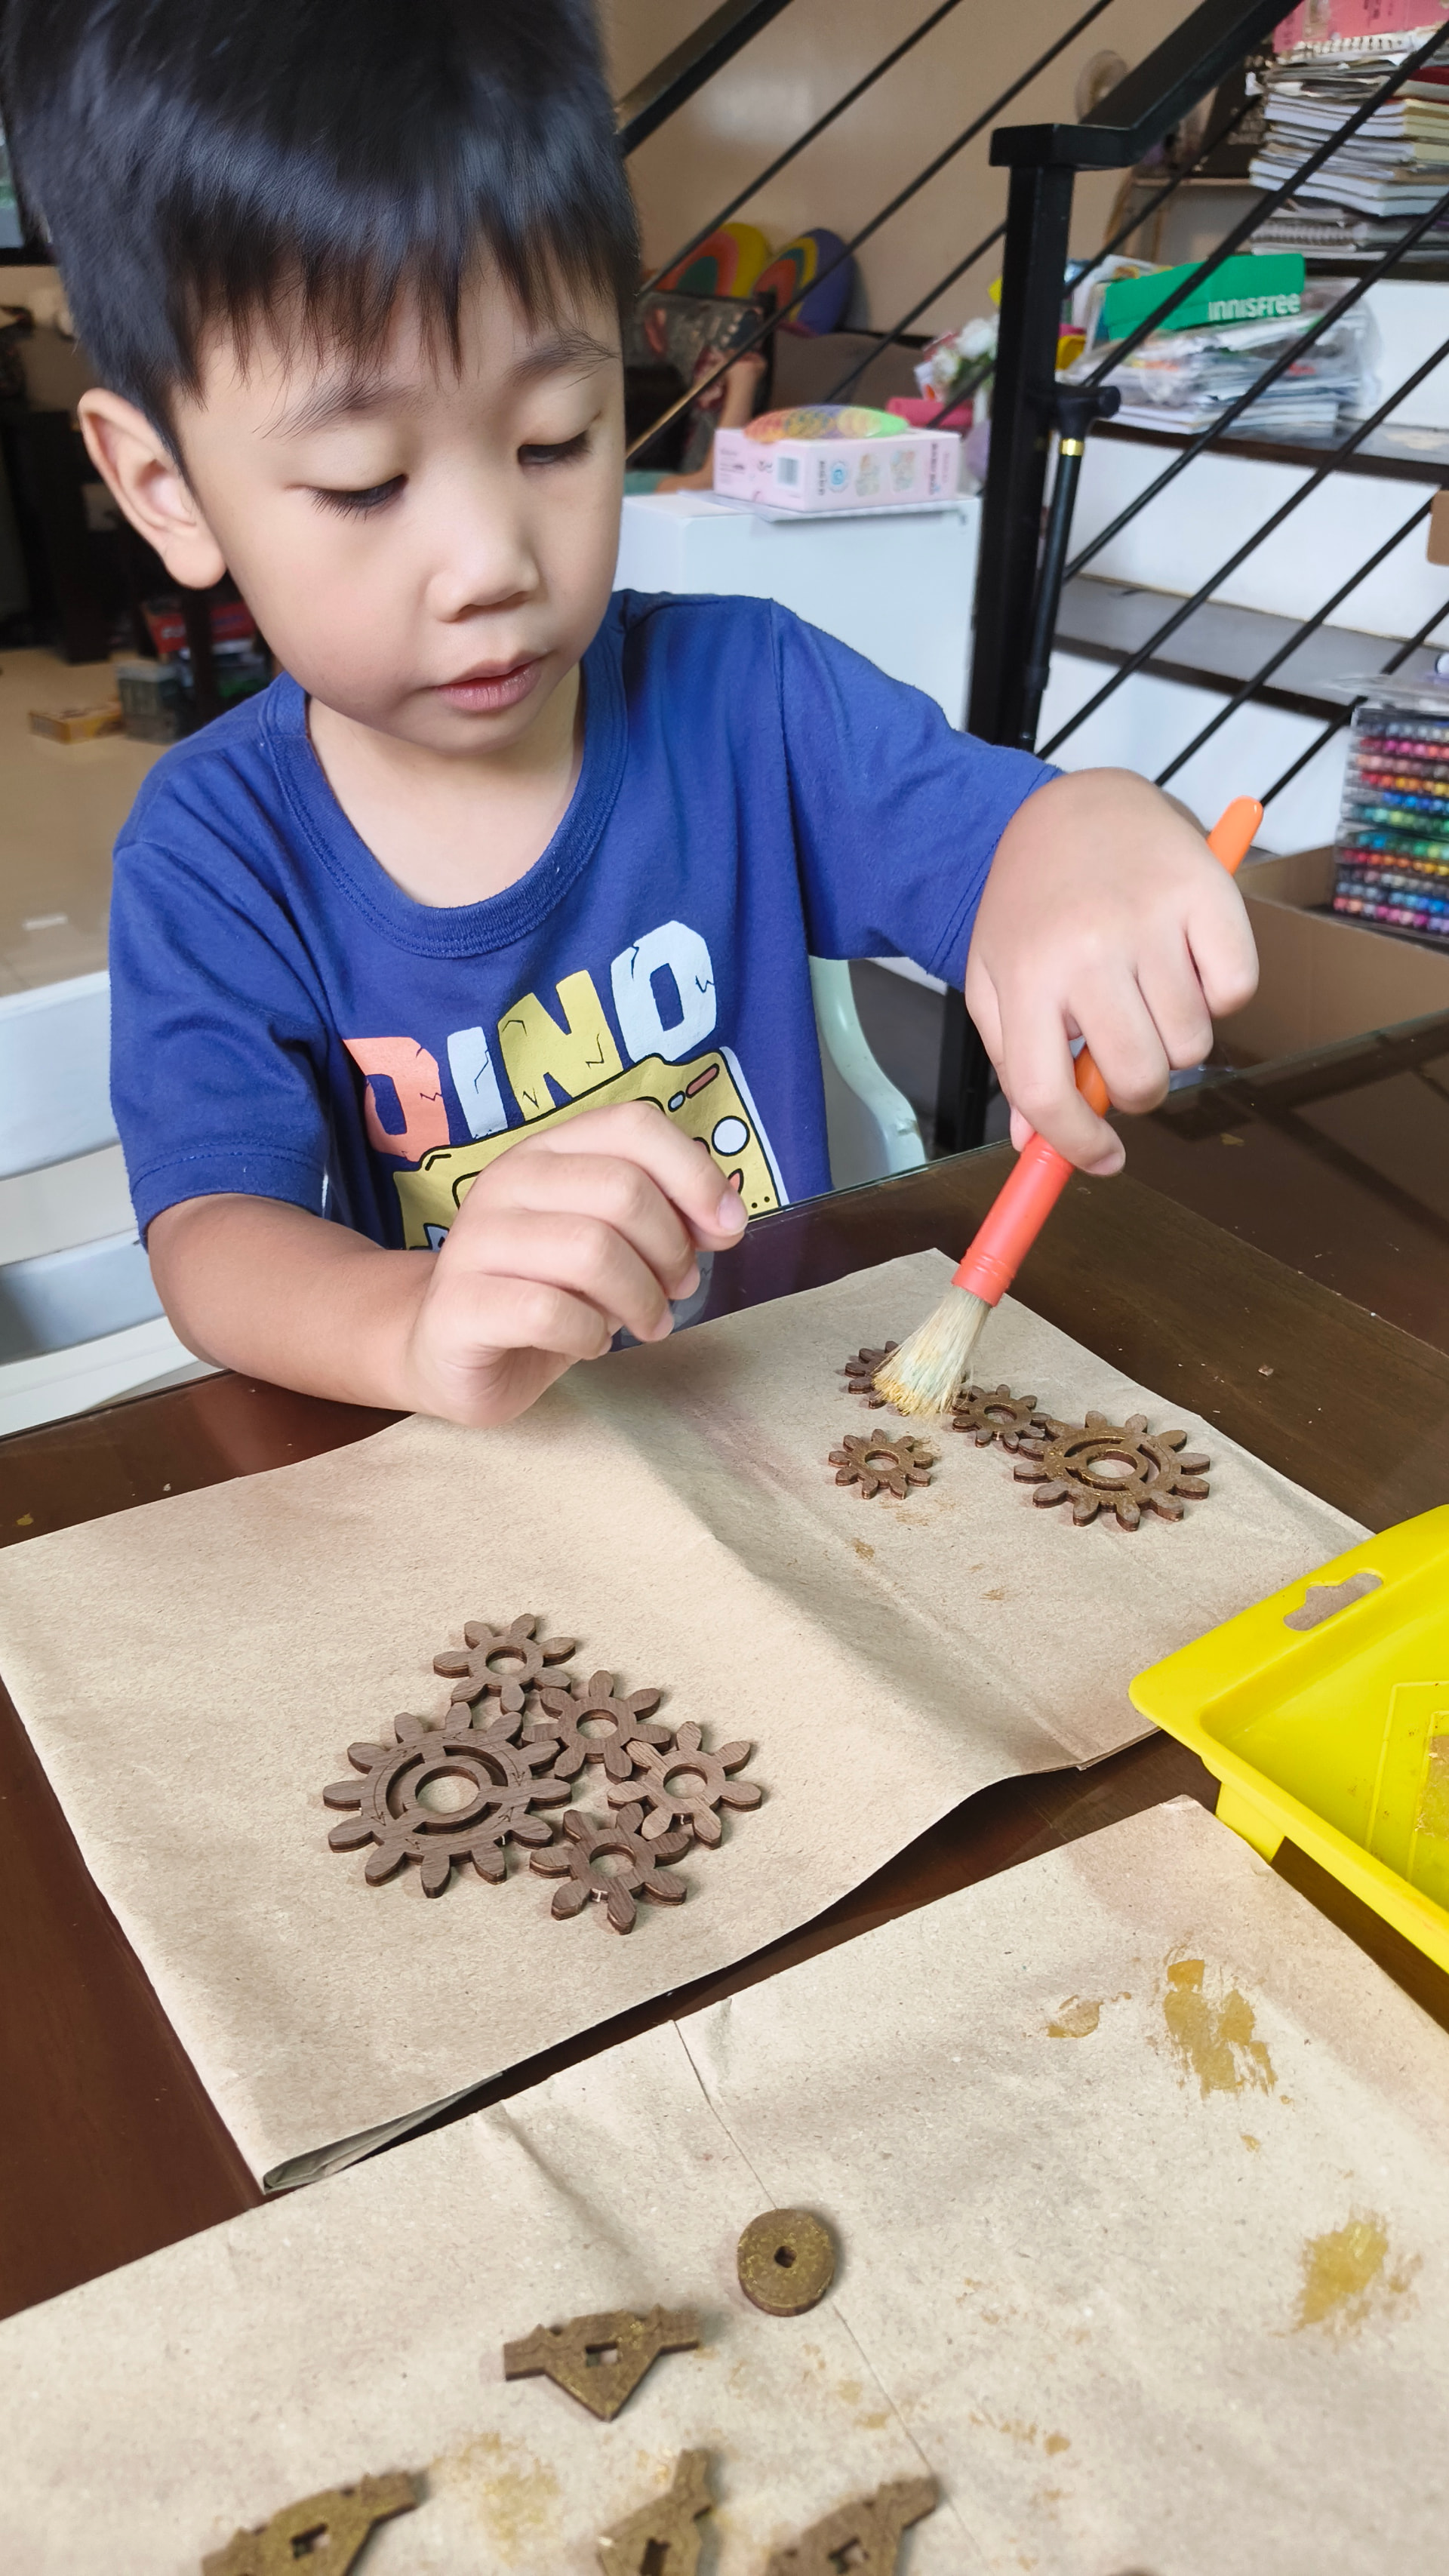
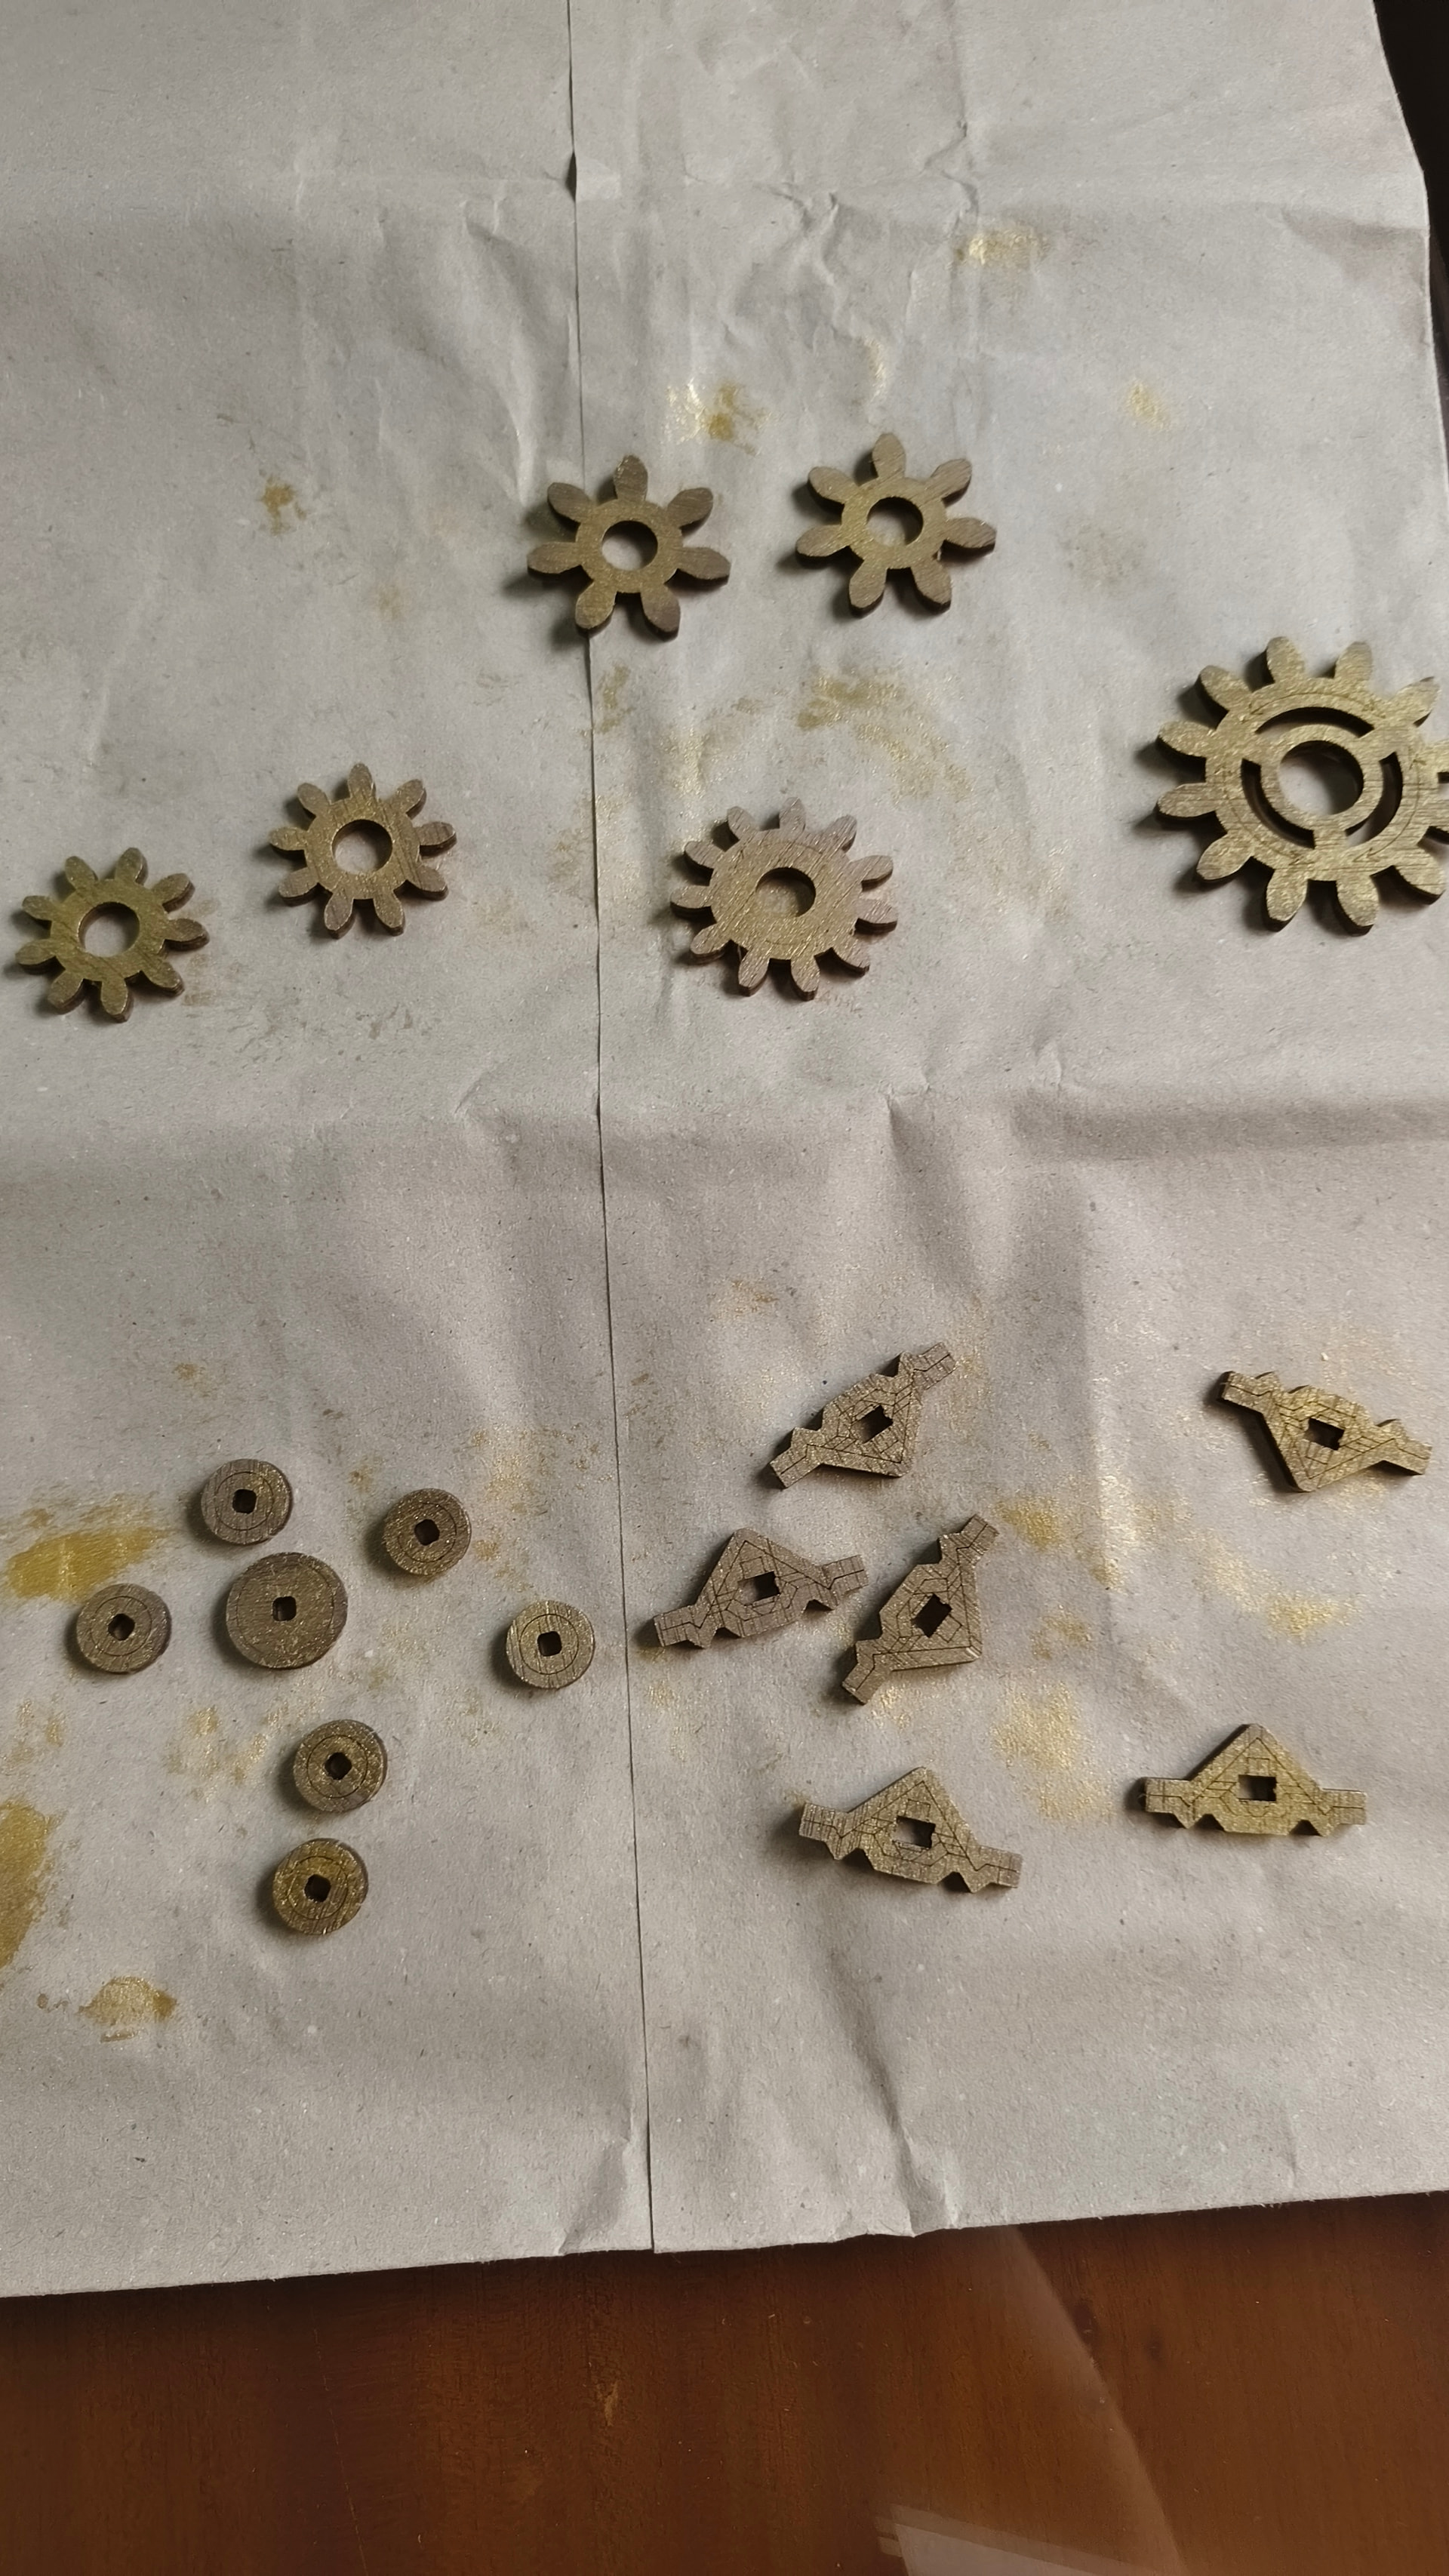
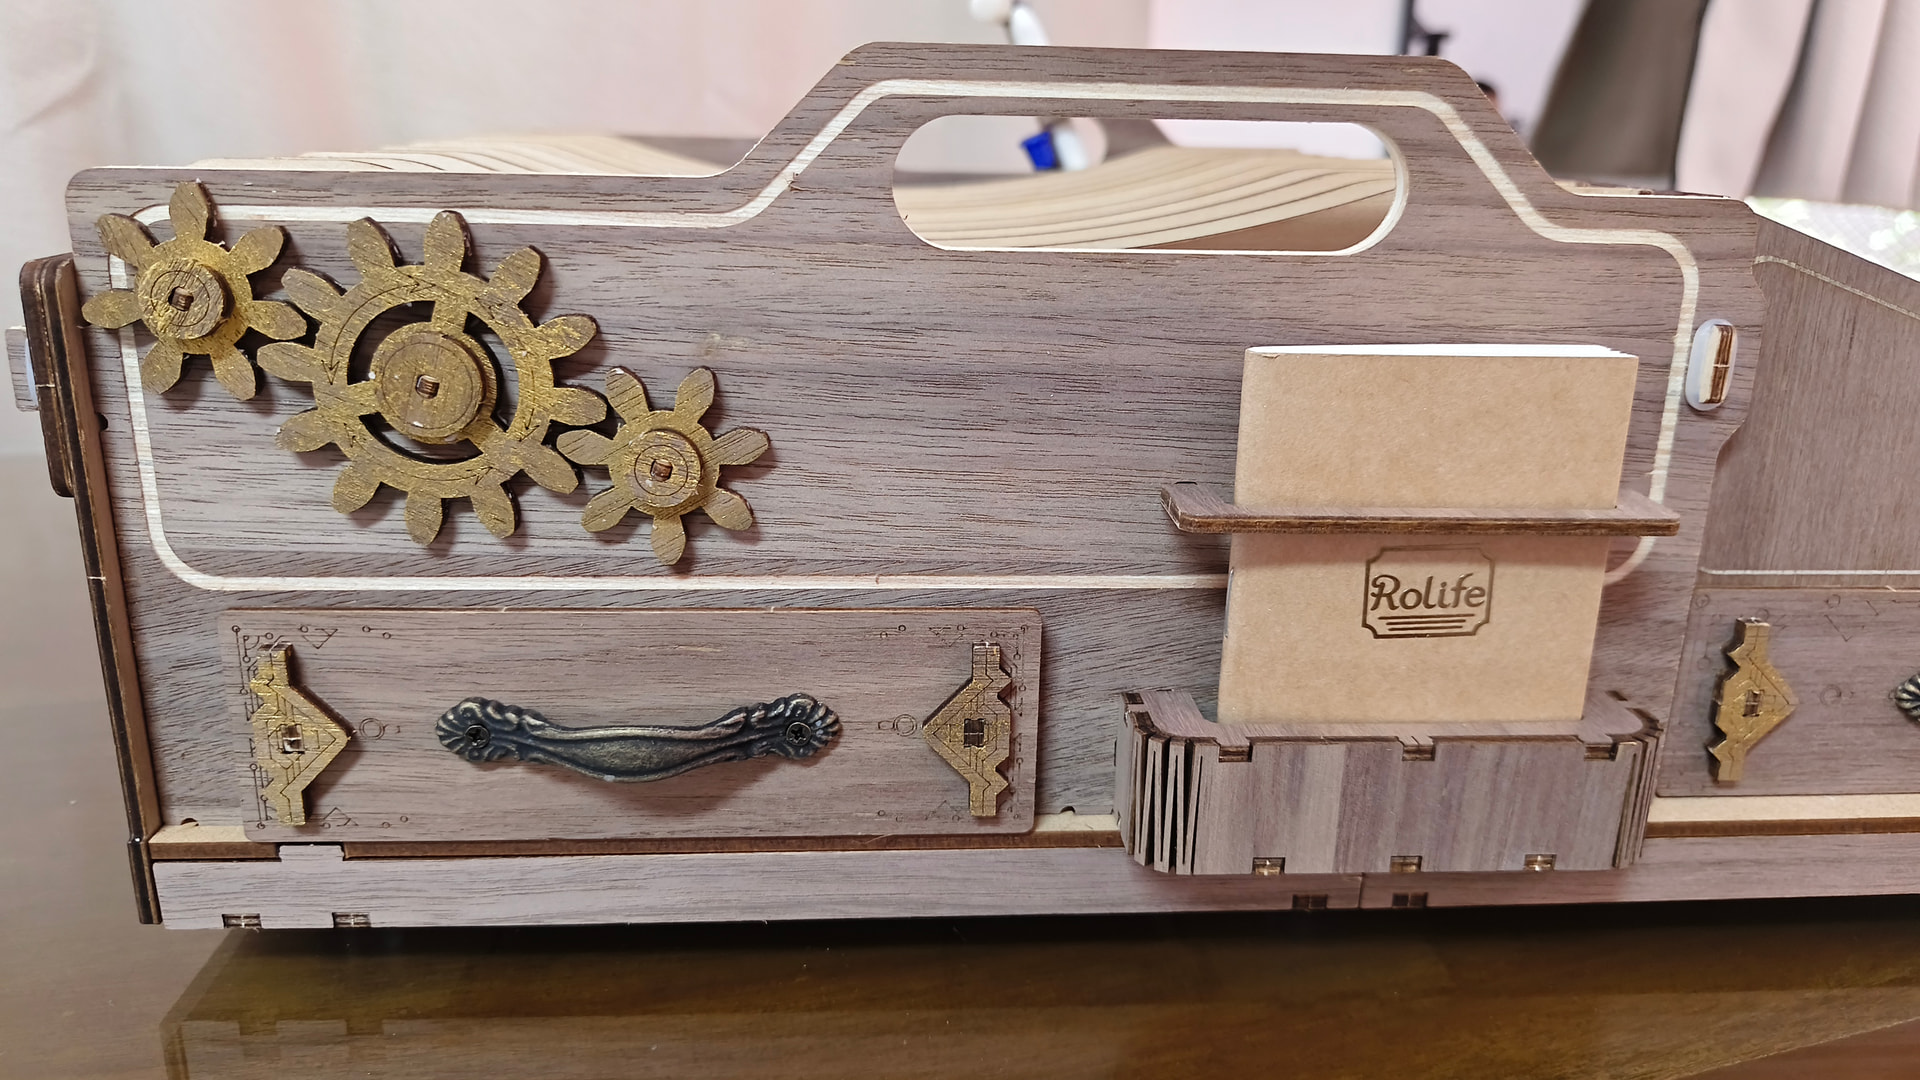
My son insisted to paint, so I let him do some dry brushing on the gears. I think it turned out beautiful :heart:

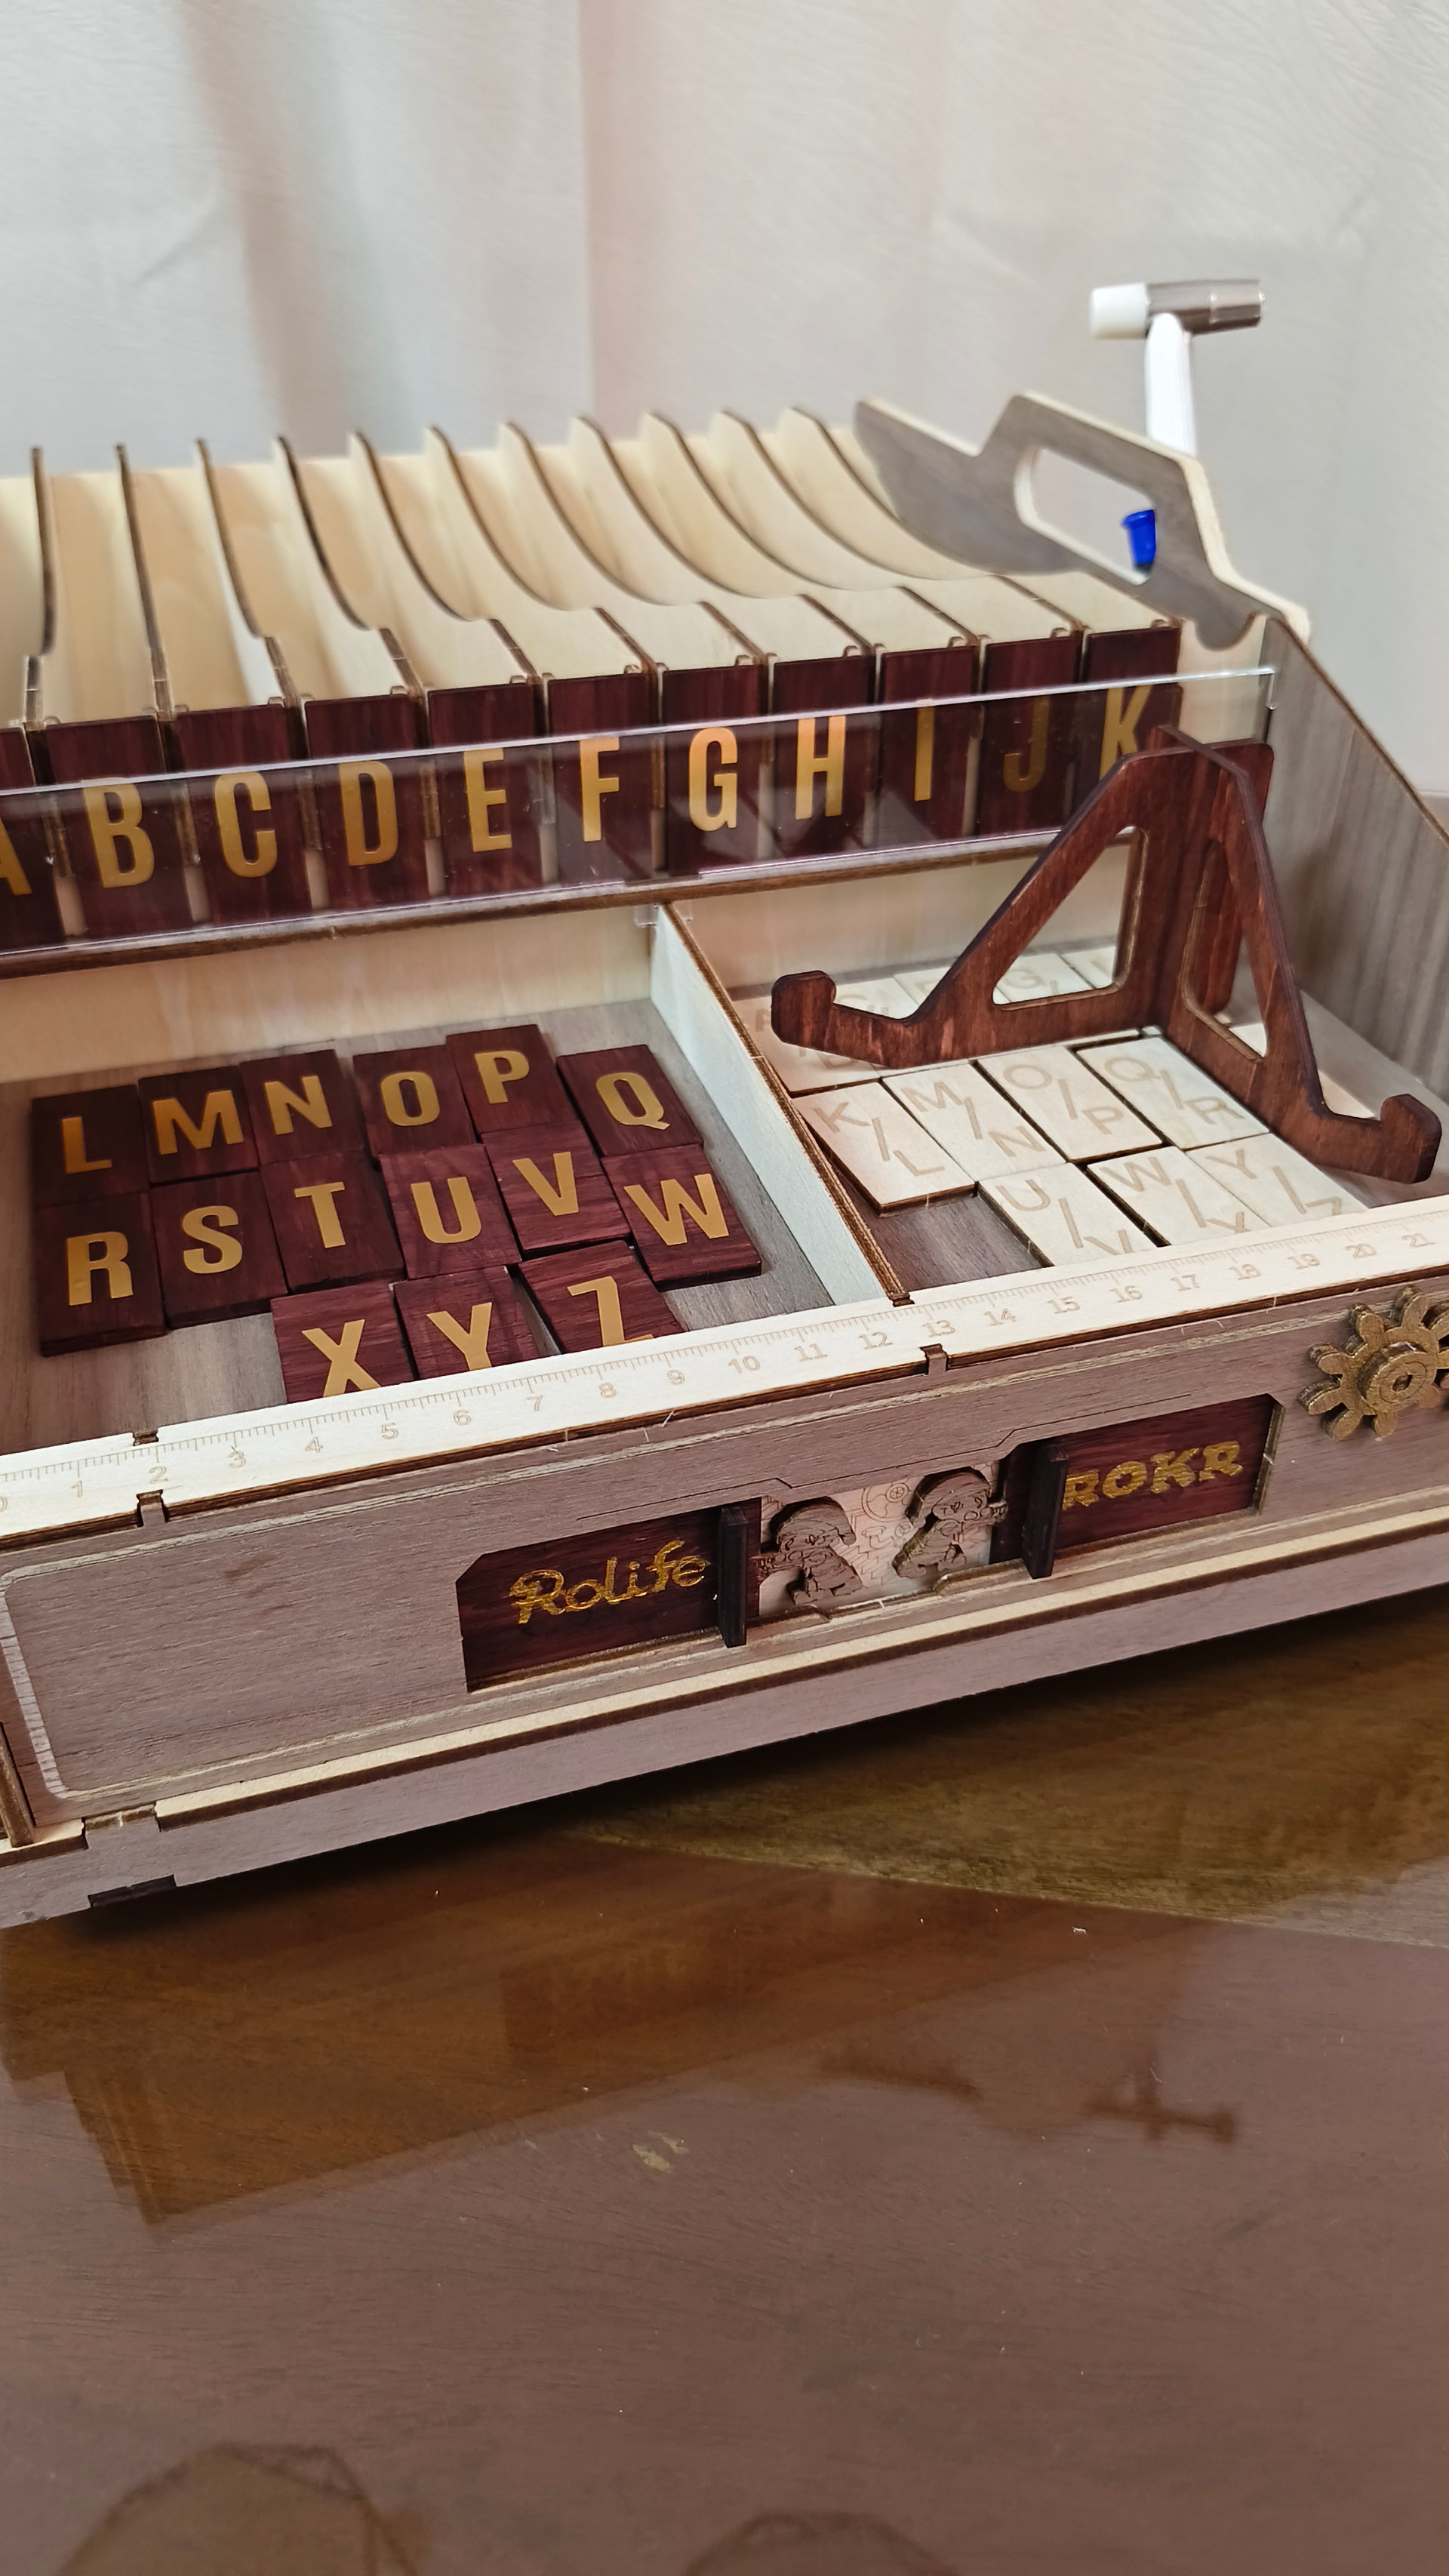
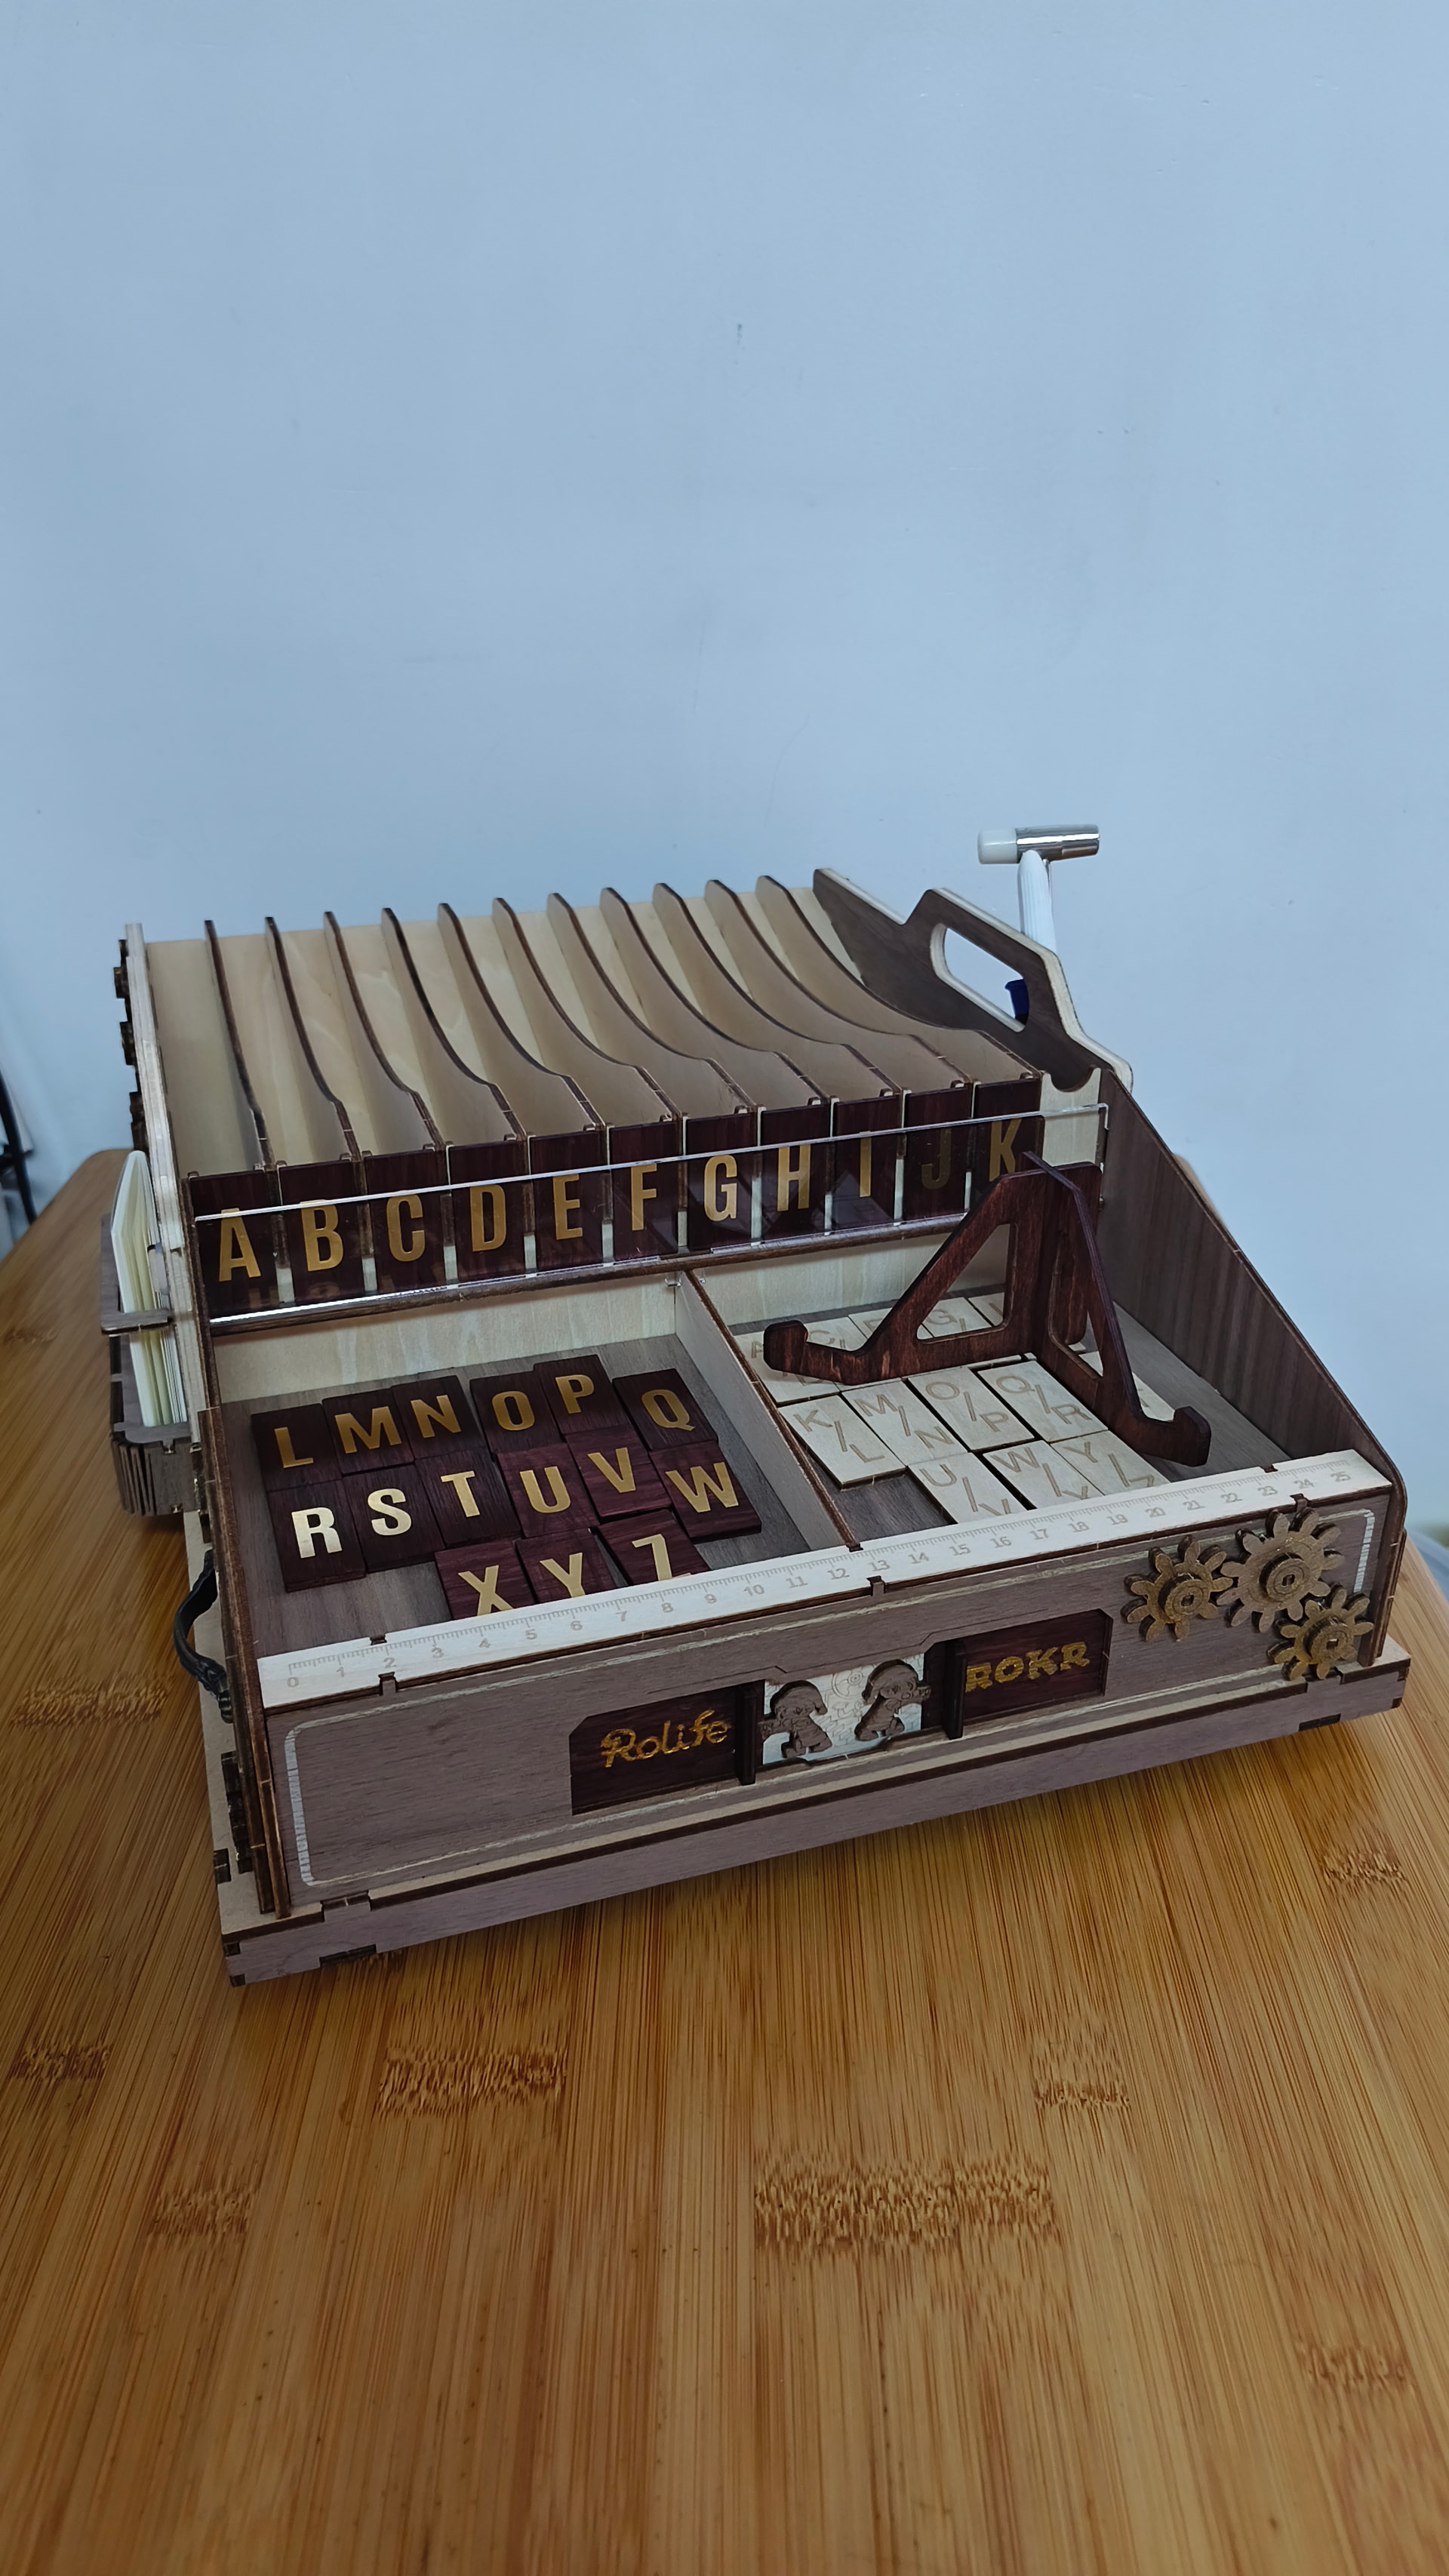
I painted the letter pieces with some furniture marker and used gold letter stickers to make them stand out. I also painted the Phone Stand :smiling_face:

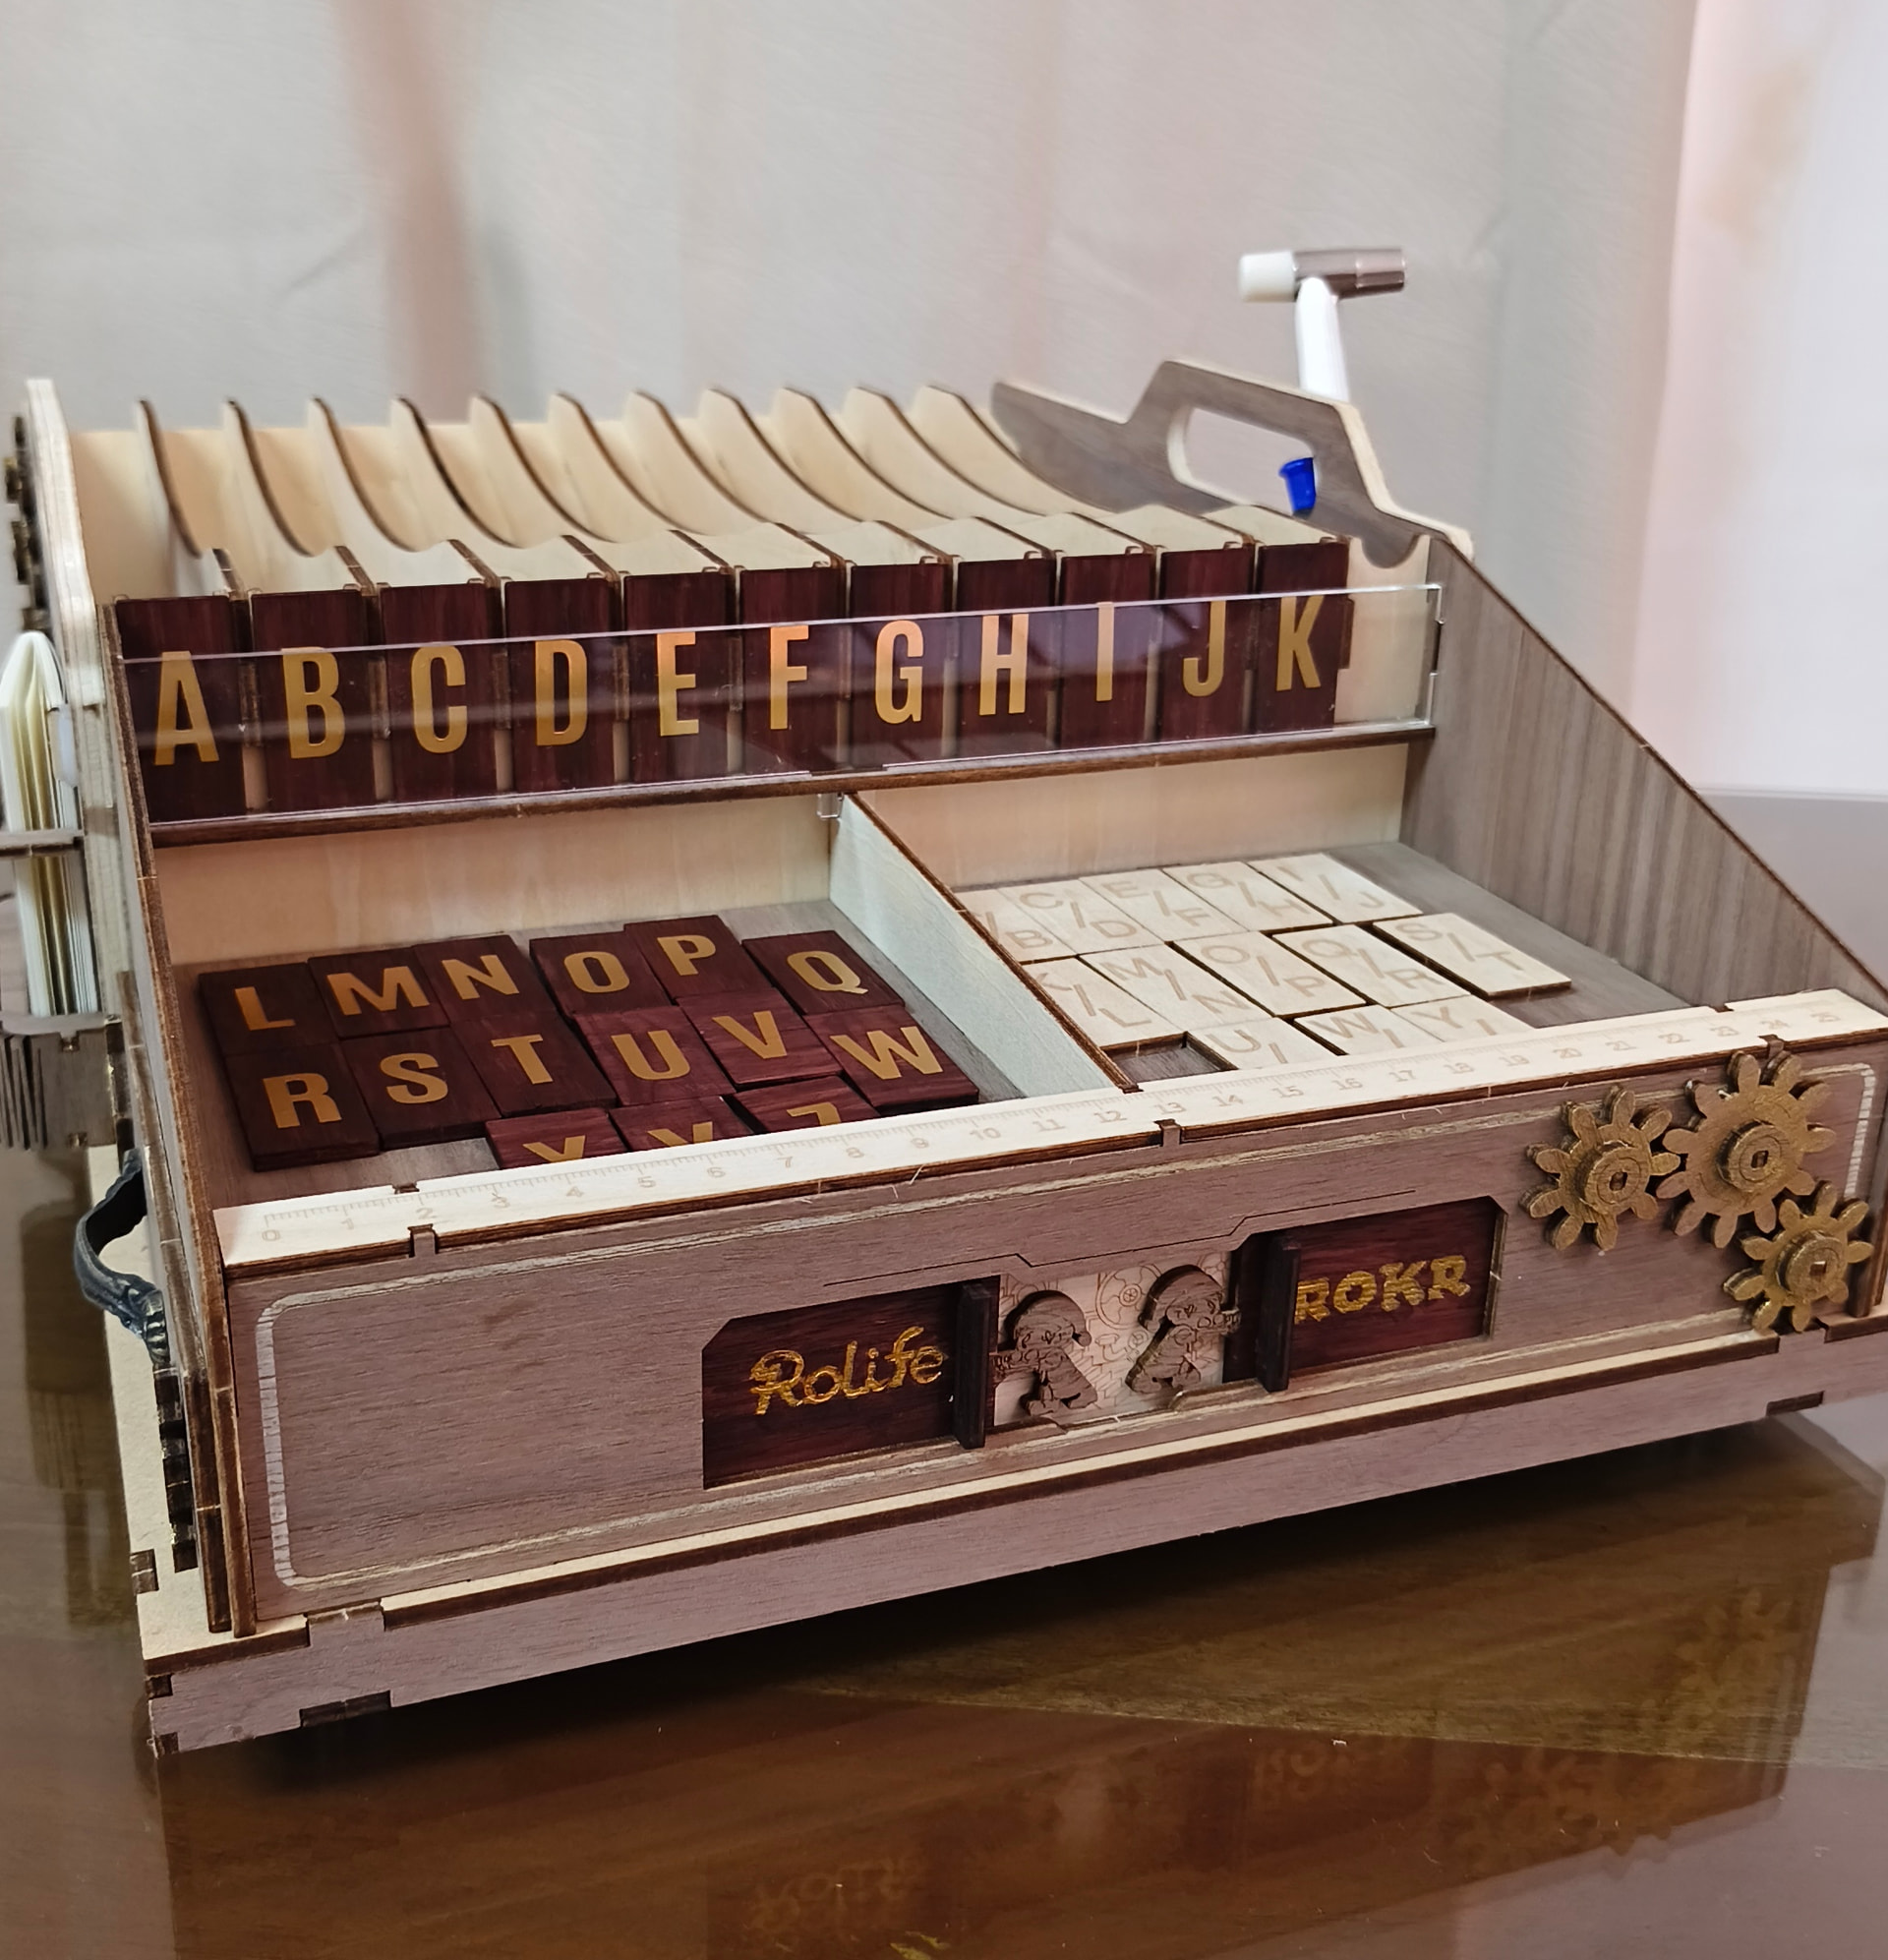
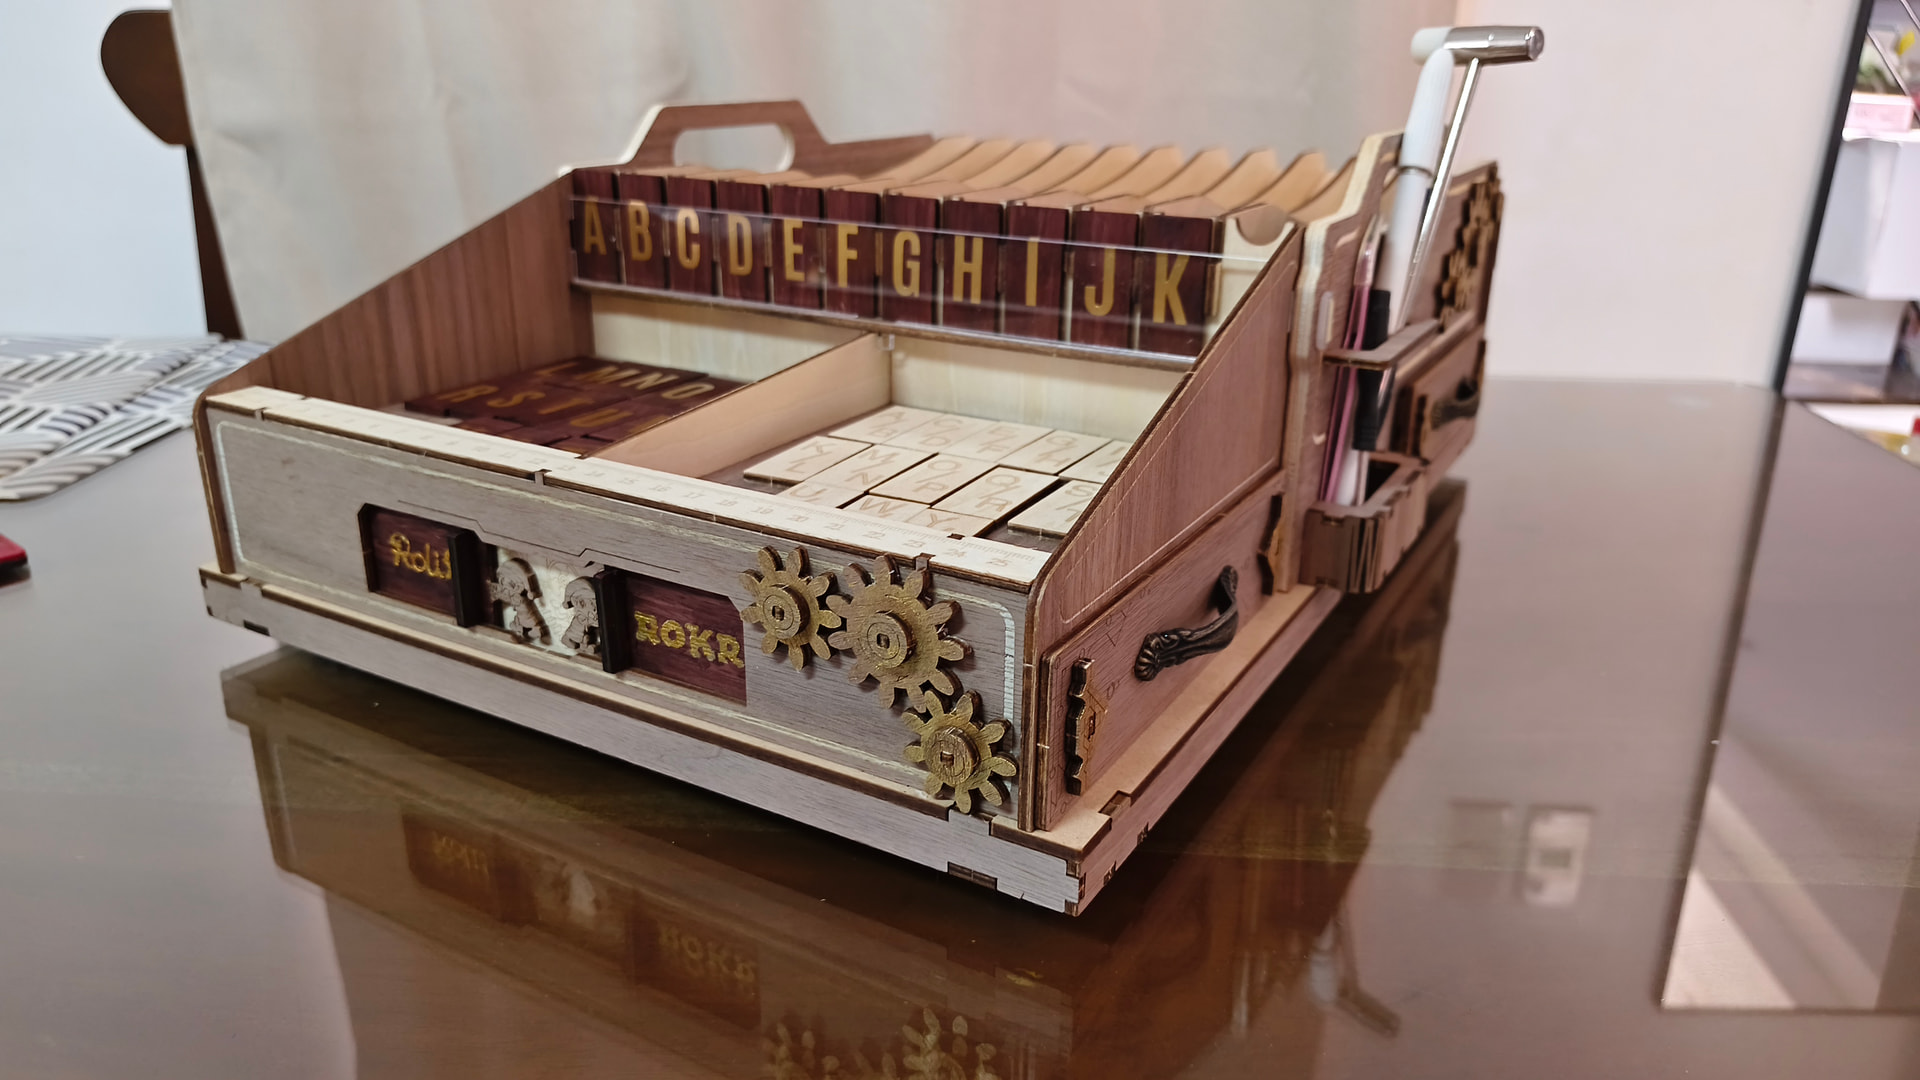
And so here’s my finished Treasure Tray - ready to be used for my next project. :heart:

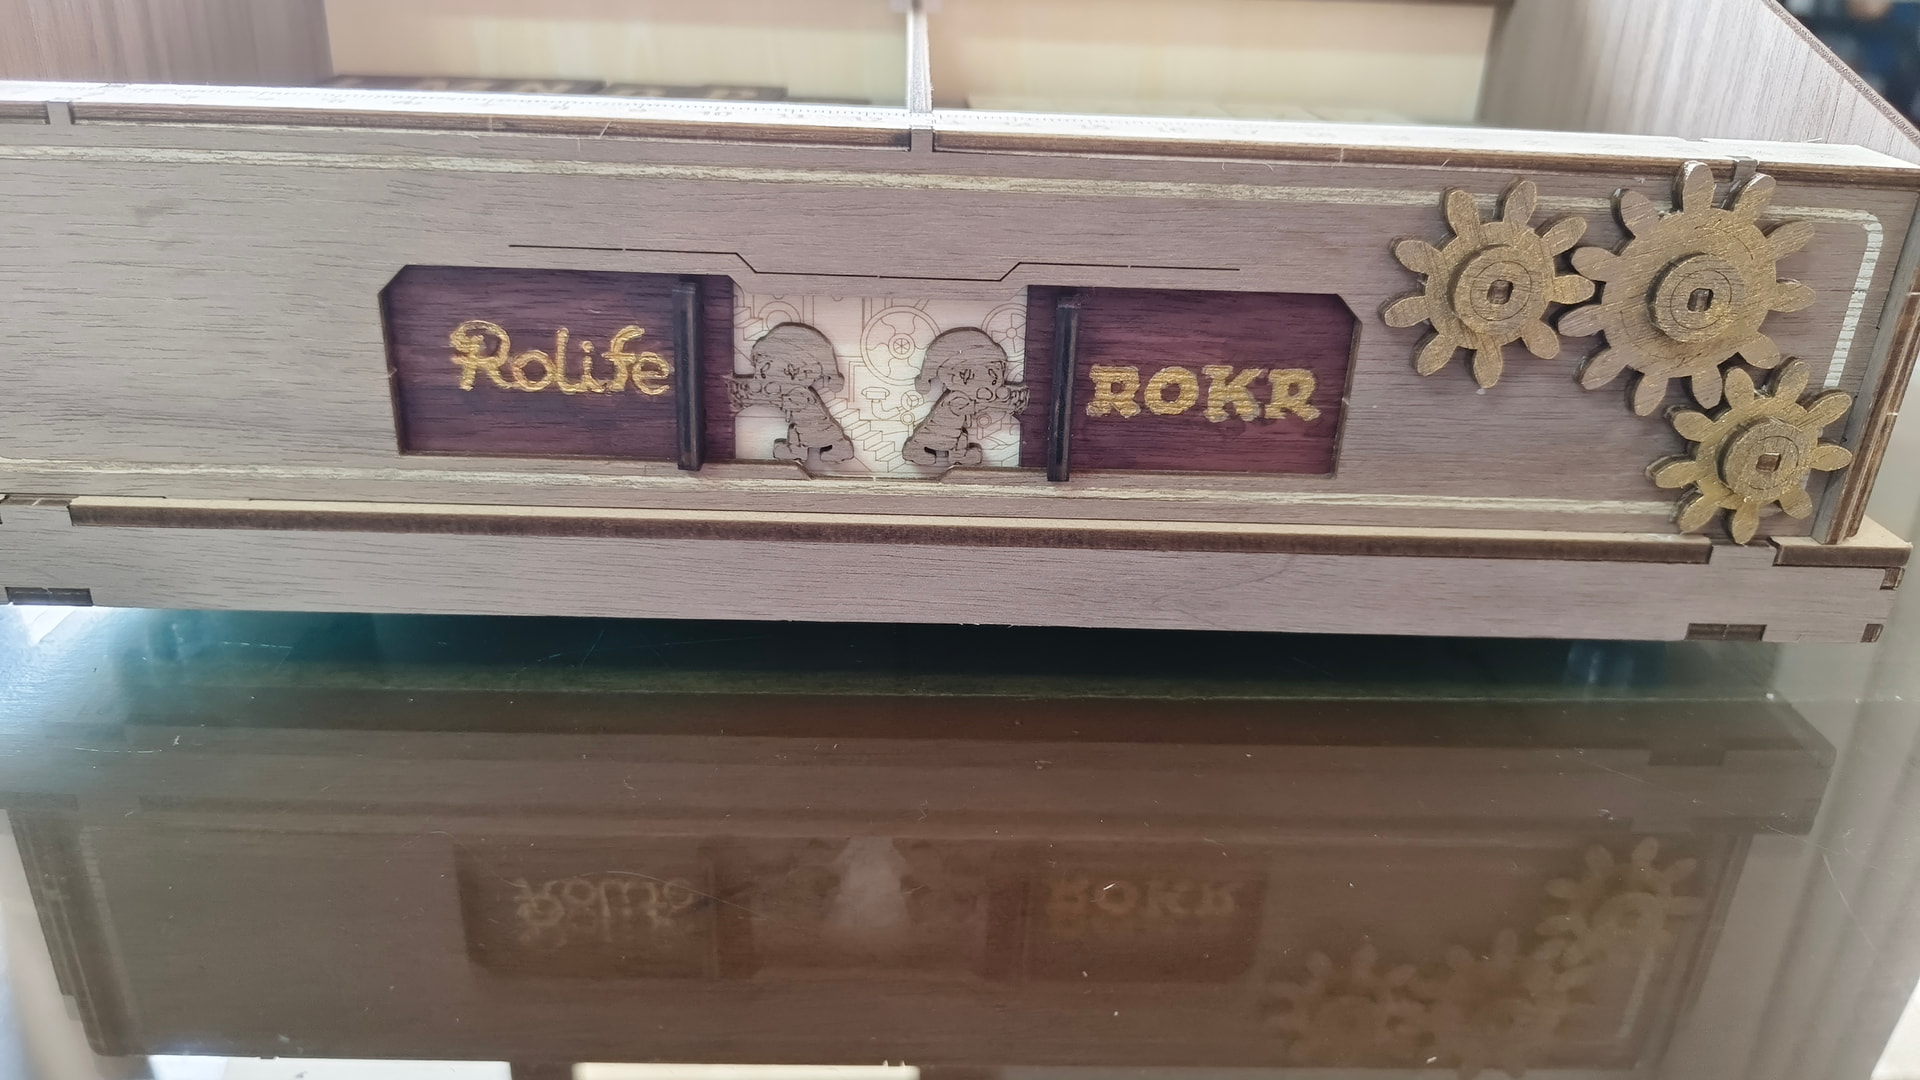
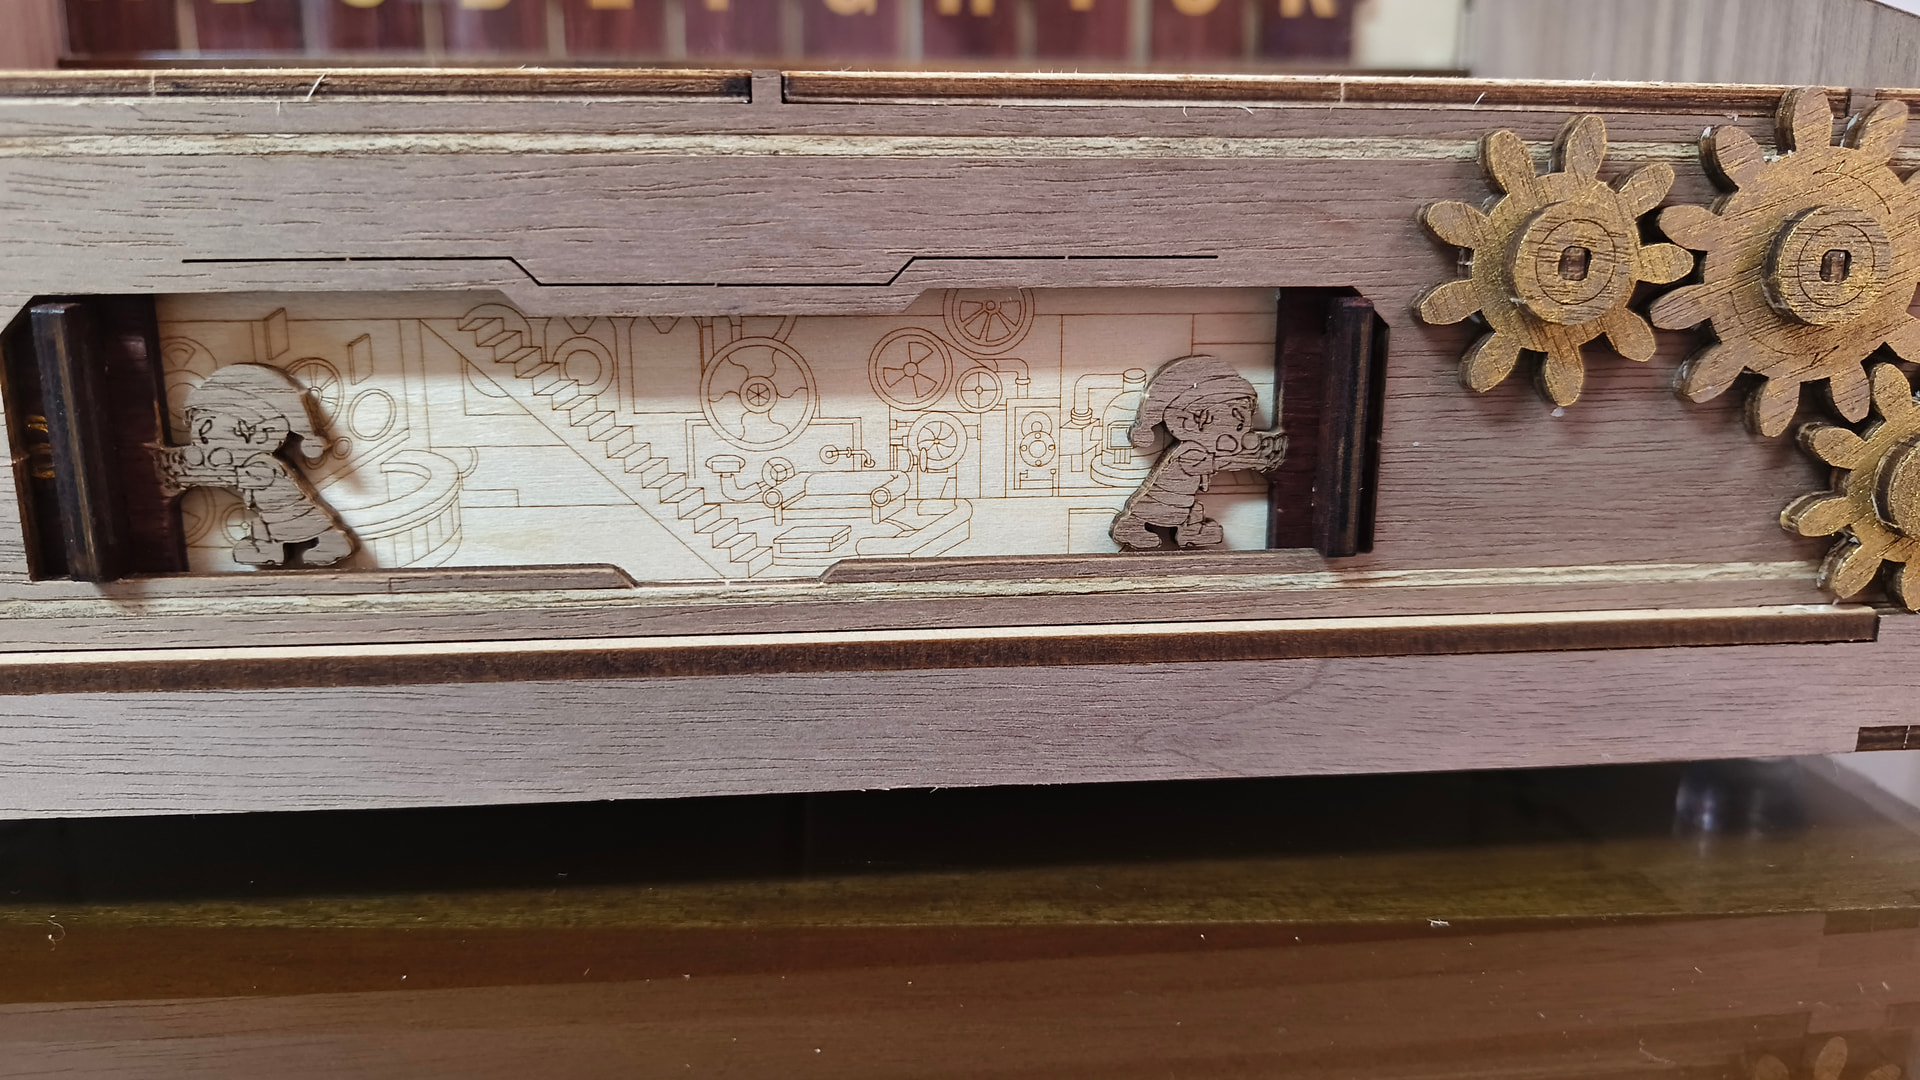
I think it looks awesome! The front has the words Rolife and ROKR, which you can open up to reveal a cute factory etchings. The gears on the side also moves - great for fidgeting :grin:

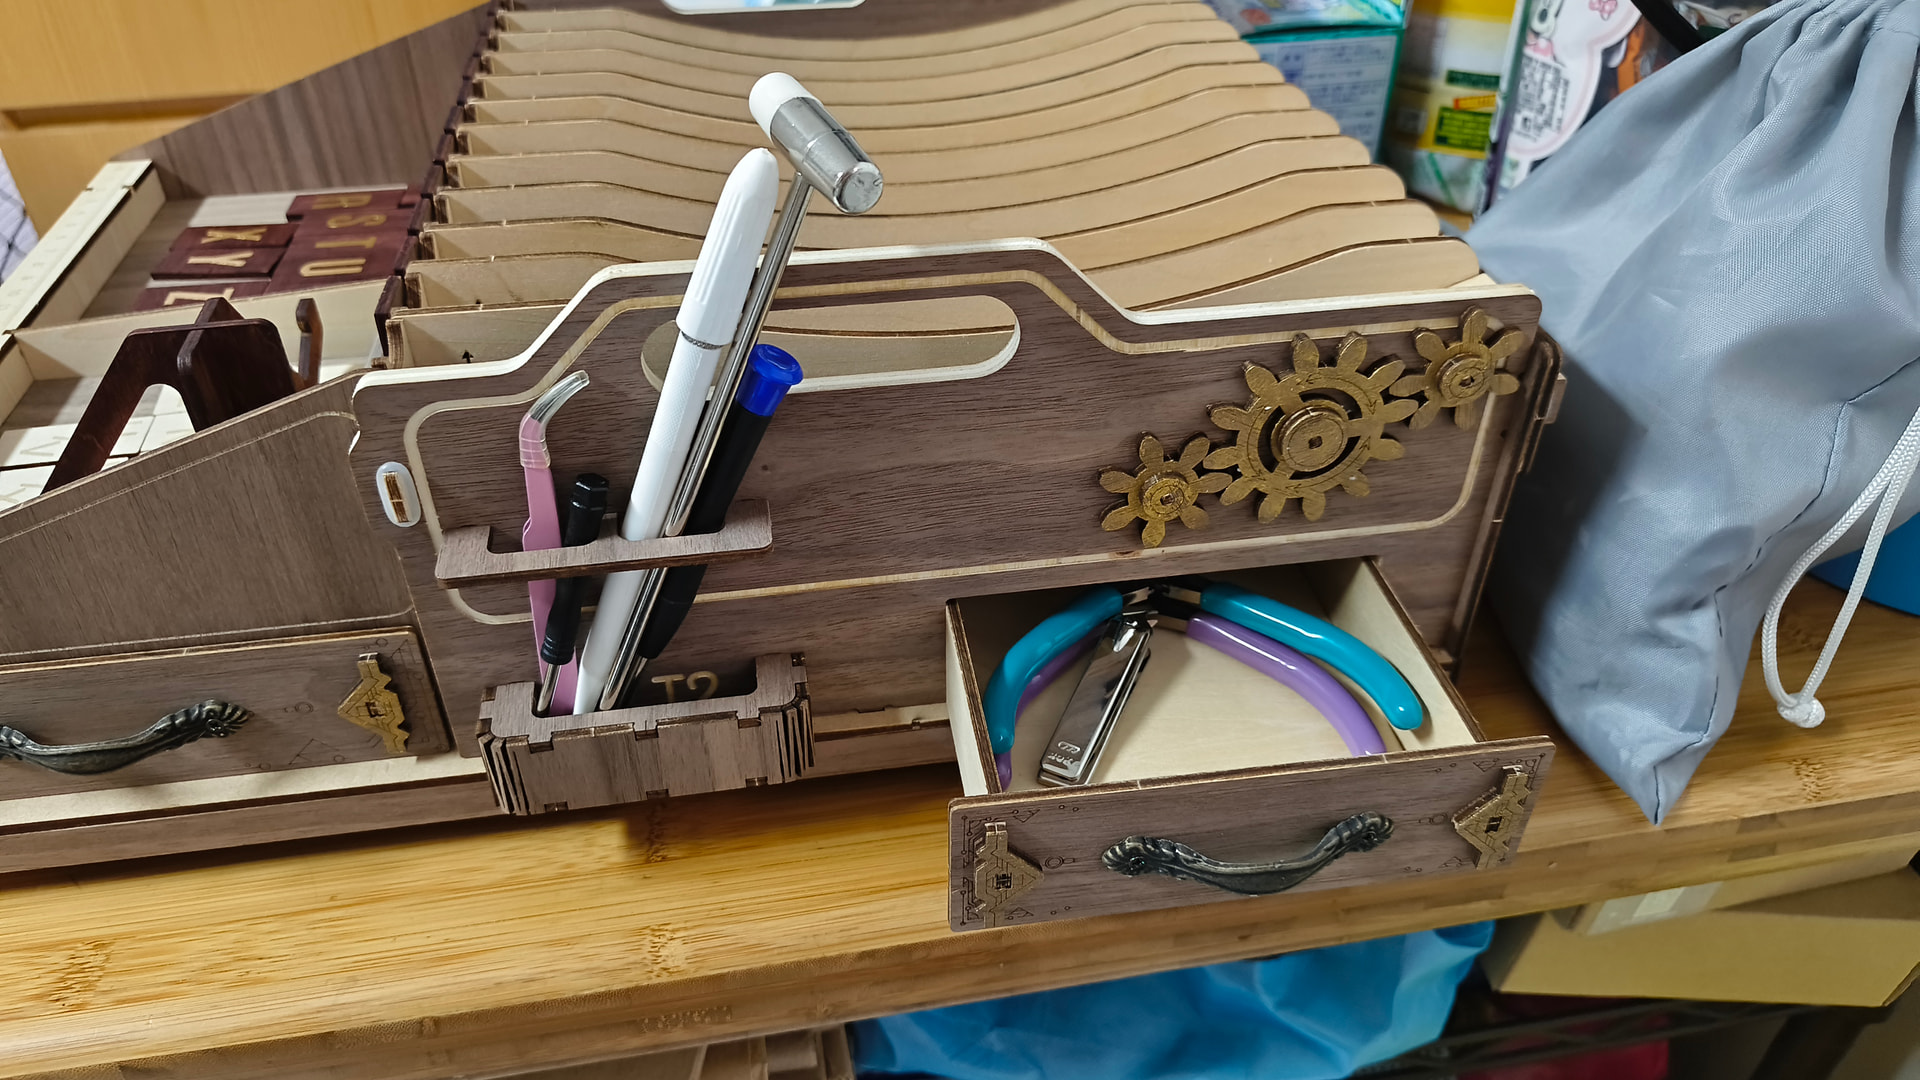
On the sides there are drawers and slots where you can place your tools and little pieces to store. And more moving gears to tinker. Two of the drawers are removable.

And at the back, you can see the Dream Gift Factory and Carousel etched on the wood.

Thank you so much @Robotime for this beautiful tray. I look forward to use it on my next projects.

17 Likes

What a wonderful review. Thank you so much for this post Jill

1 Like

So beautiful!
Thanks for sharing Ms @Jill_Francisco .. mapapa sana all ka tlga minsan.. hehehe :sweat_smile:

1 Like

It looks beautiful! Let us know if it’s useful.

1 Like

I love the color choice! I like how the letters can be seen clearly after you personalized it! Time to test it :blush:

1 Like

Wow, I love the customizations you made, especially the gold lettering! Your Treasure Tray looks amazing!

1 Like

What a wonderful review. Thank you so much for this post

1 Like

It looks amazing Jill. The dry brushing on the gears looks great. And I hear you on the sore arm!

1 Like

That is so beautiful. Nice work @Jill_Francisco . I can’t wait to build mine too.

2 Likes

This turned out so beautiful. Sanding and waxing will always make things much easier when working with wood. I am glad that things went smoothly in the end

1 Like

This turned out really great @Jill_Francisco . Can’t wait to see you use it for your next project :slightly_smiling_face:

1 Like

@Jill_Francisco it turned out so amazingly! I love that you got your son to help with it to. :slight_smile:

1 Like

Very nice and very useful.

1 Like

Congratulations on finishing it! It looks fantastic, and I love the personal touches you and your son added together. The dry-brushed gears and gold lettering really make it feel unique. It sounds like those slots put up quite a fight, but your patience definitely paid off. Sometimes stepping away and coming back the next day is the best tool we have! :joy: I hope your new Treasure Tray gets lots of use on your future builds. Happy organizing and happy building!

1 Like

@Jill_Francisco it looks fantastic hun ! Thank you for a great reaview ! :orange_heart::blossom::cherry_blossom:

1 Like

Such a beautiful kit. I love that you can use it for future builds. So functional.

1 Like

Jillllll this looks amazing! :pink_heart: Your boy has one heck of a talent I think his gears turned out awesome and like I said I might steal the idea! :laughing:

I really love what you did with the letters! Couldn’t even tell they were stickers. :heart:

1 Like

It turned out beautiful, Jill! The dry brushing your son added on the gears is such a lovely little touch, and I really like how the gold letters stand out. I hope it makes your next projects easier and more organized :smiling_face:

1 Like

What a great job you and your son did.

1 Like

Congratulations on completing it. Mabigat padin ba siya after matapos?

1 Like