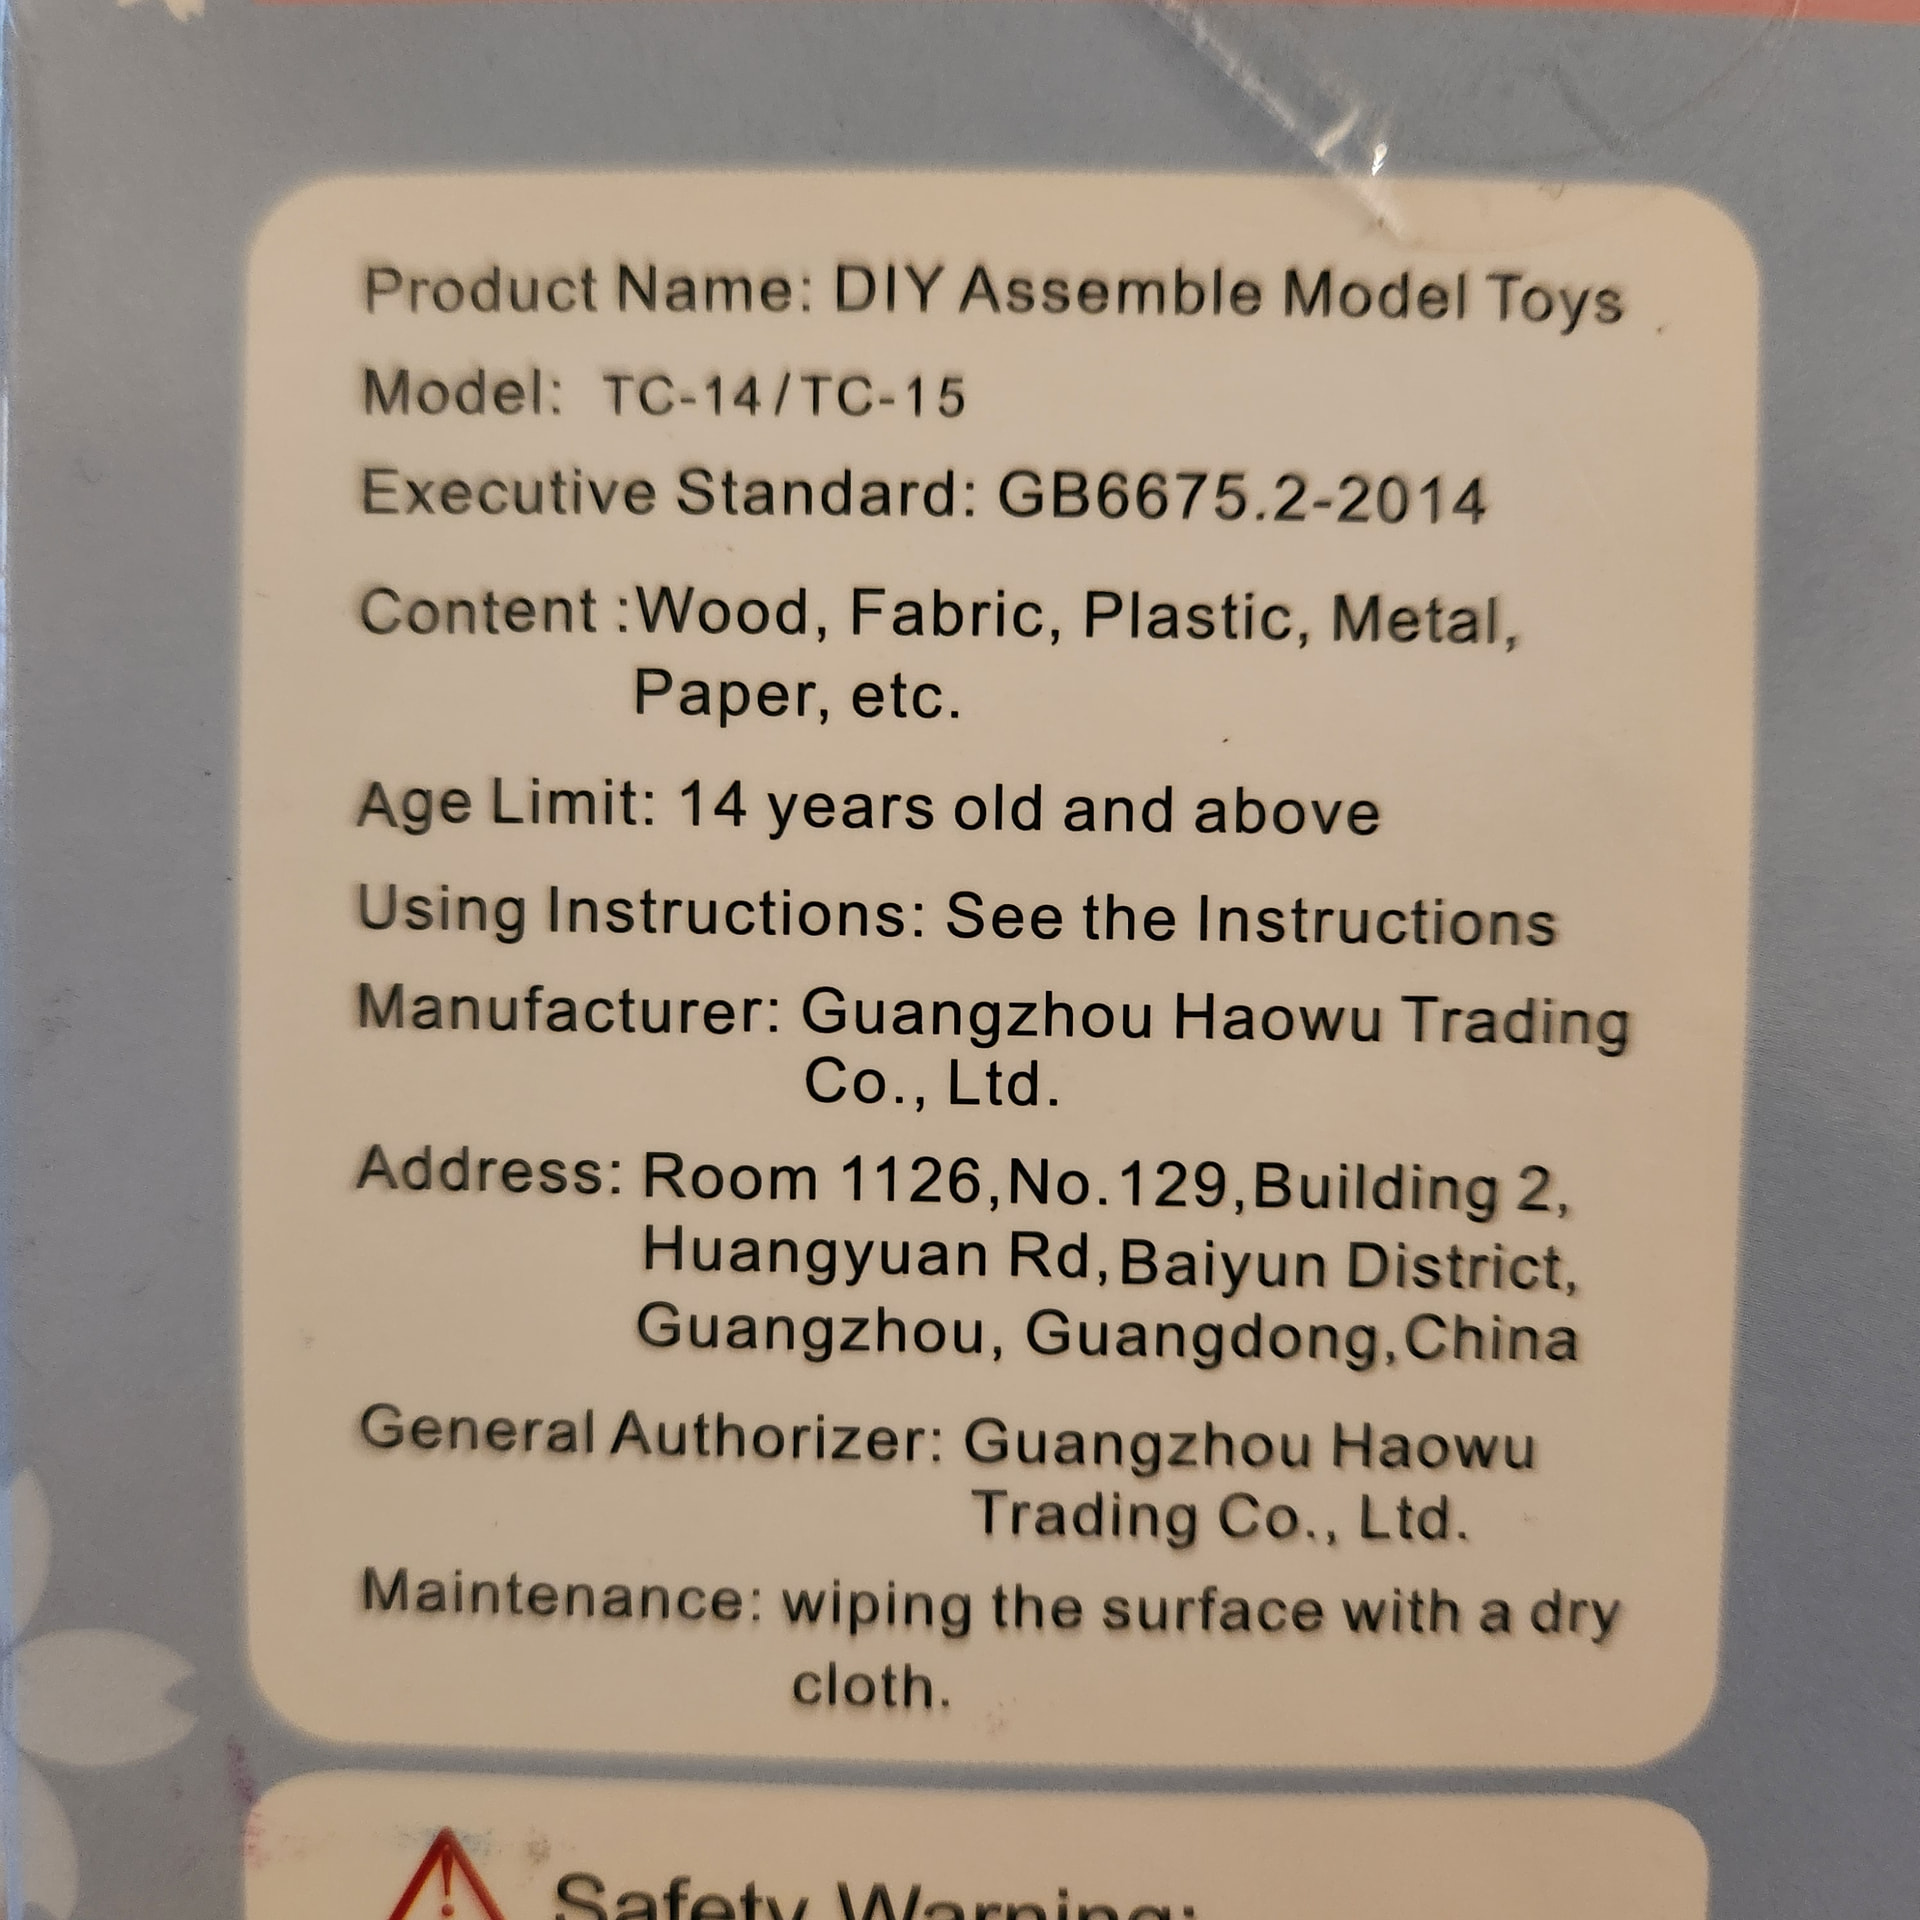
We’re back with part 2 of this bizarre miniature kit! Some people were curious about this kit so here’s the information on the box:
So! Without further ado, let’s keep on keepin’ on.
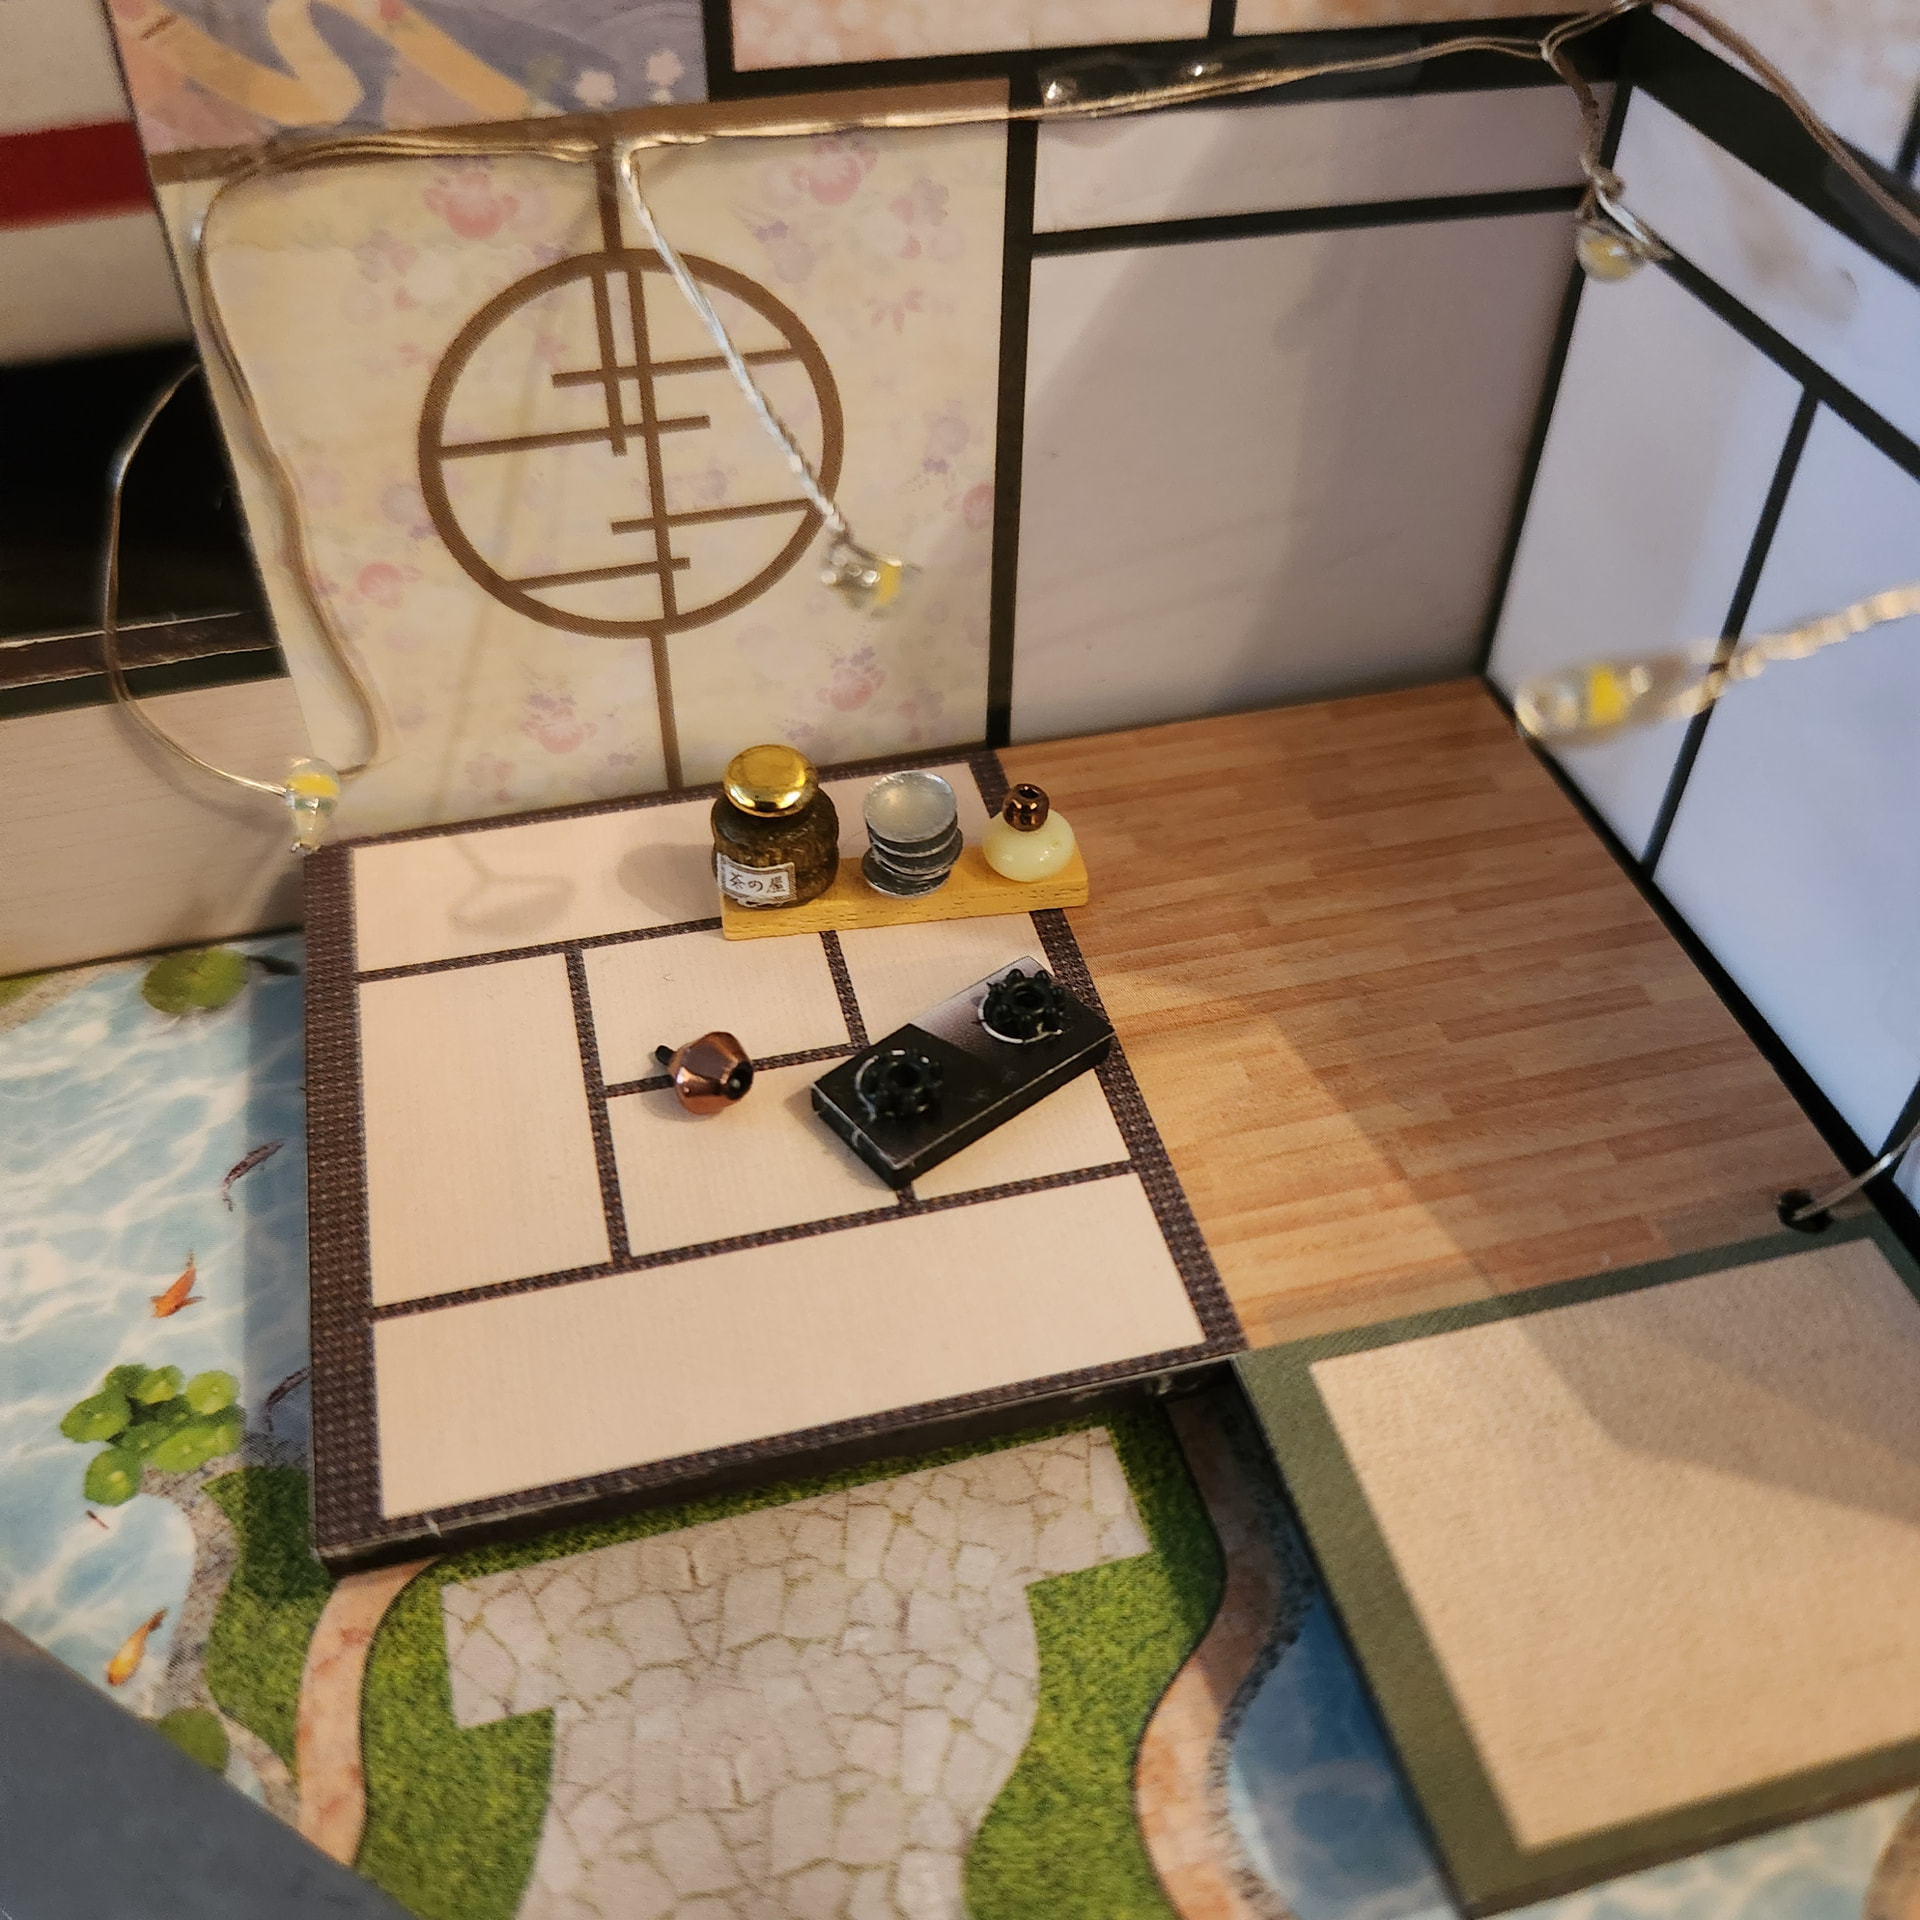
Last time, I left off after finishing this tiny shelf of jars and plates. These plates were shockingly tough to assemble, since they’re so tiny. It’s all so tiny. All of the accessories are seed beads. How could we possibly get smaller?

This was… a choice. They had this sheet of paper with cutout guides for different materials. The instructions said to glue the additional materials on the paper and then cut out the shapes. Surely there was a better way to accomplish this.
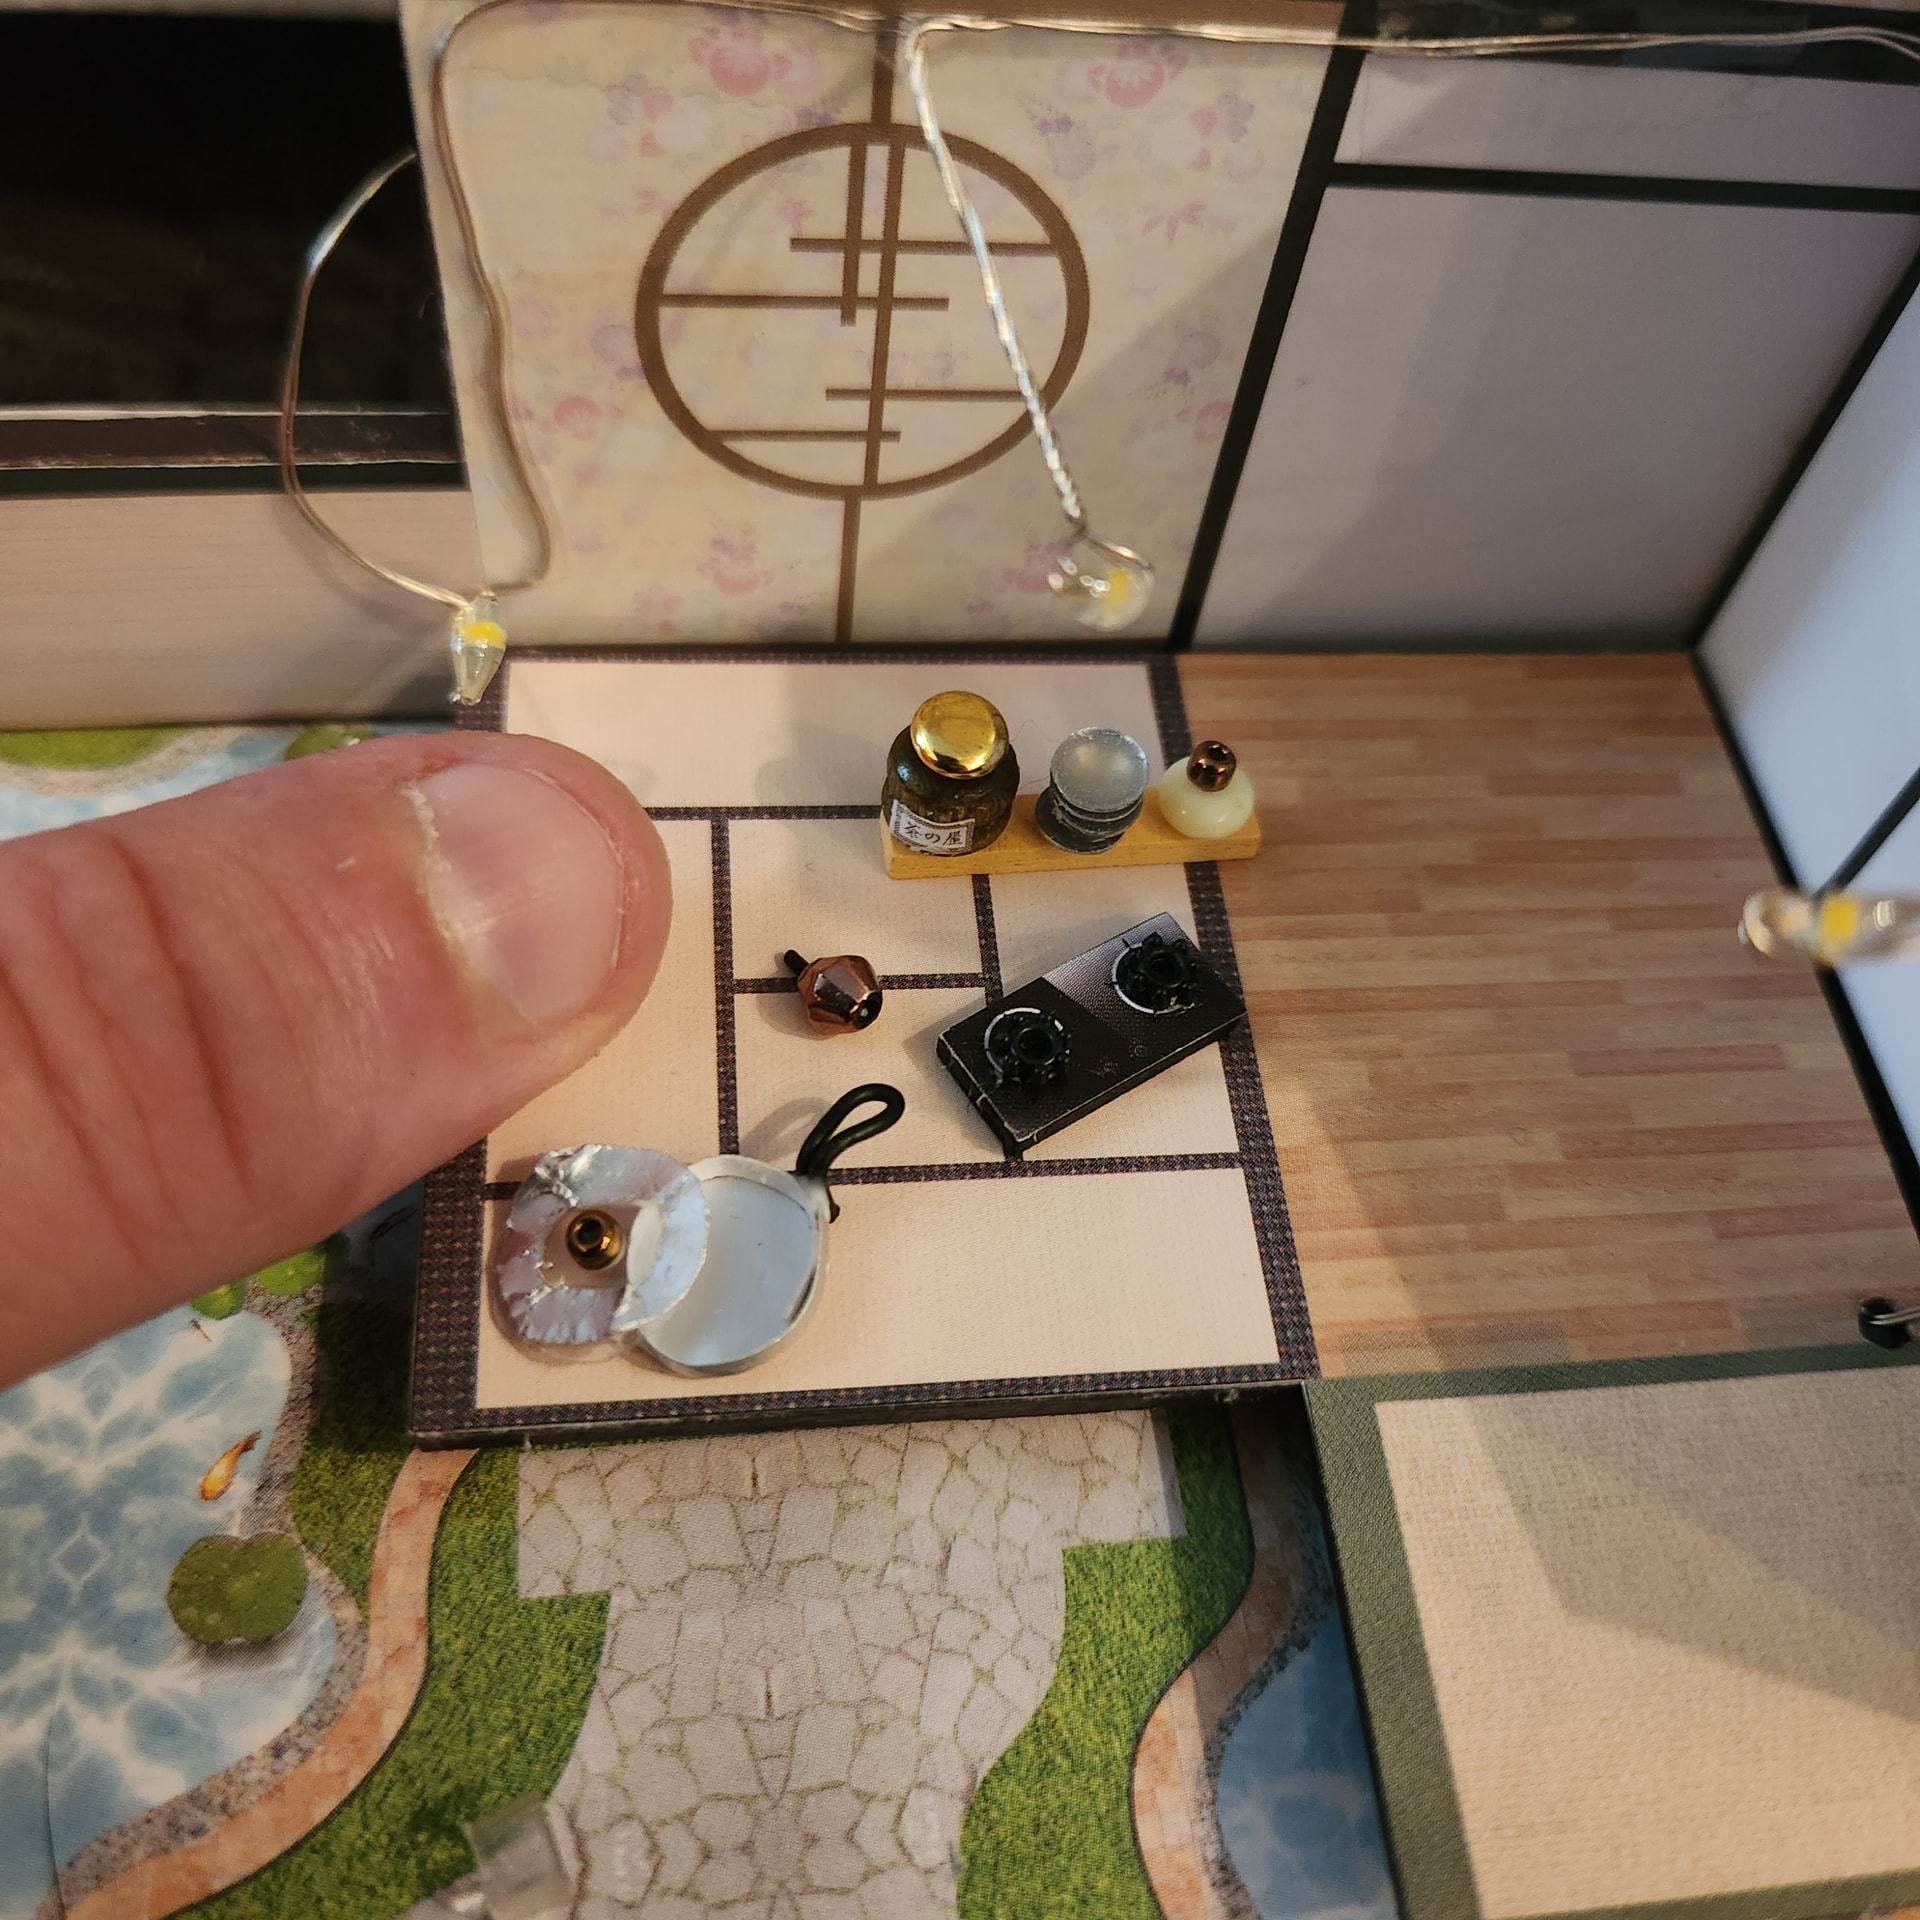
Pretty sure I need, like, a double-lensed magnifying glass and mechanical arms for the next kit.
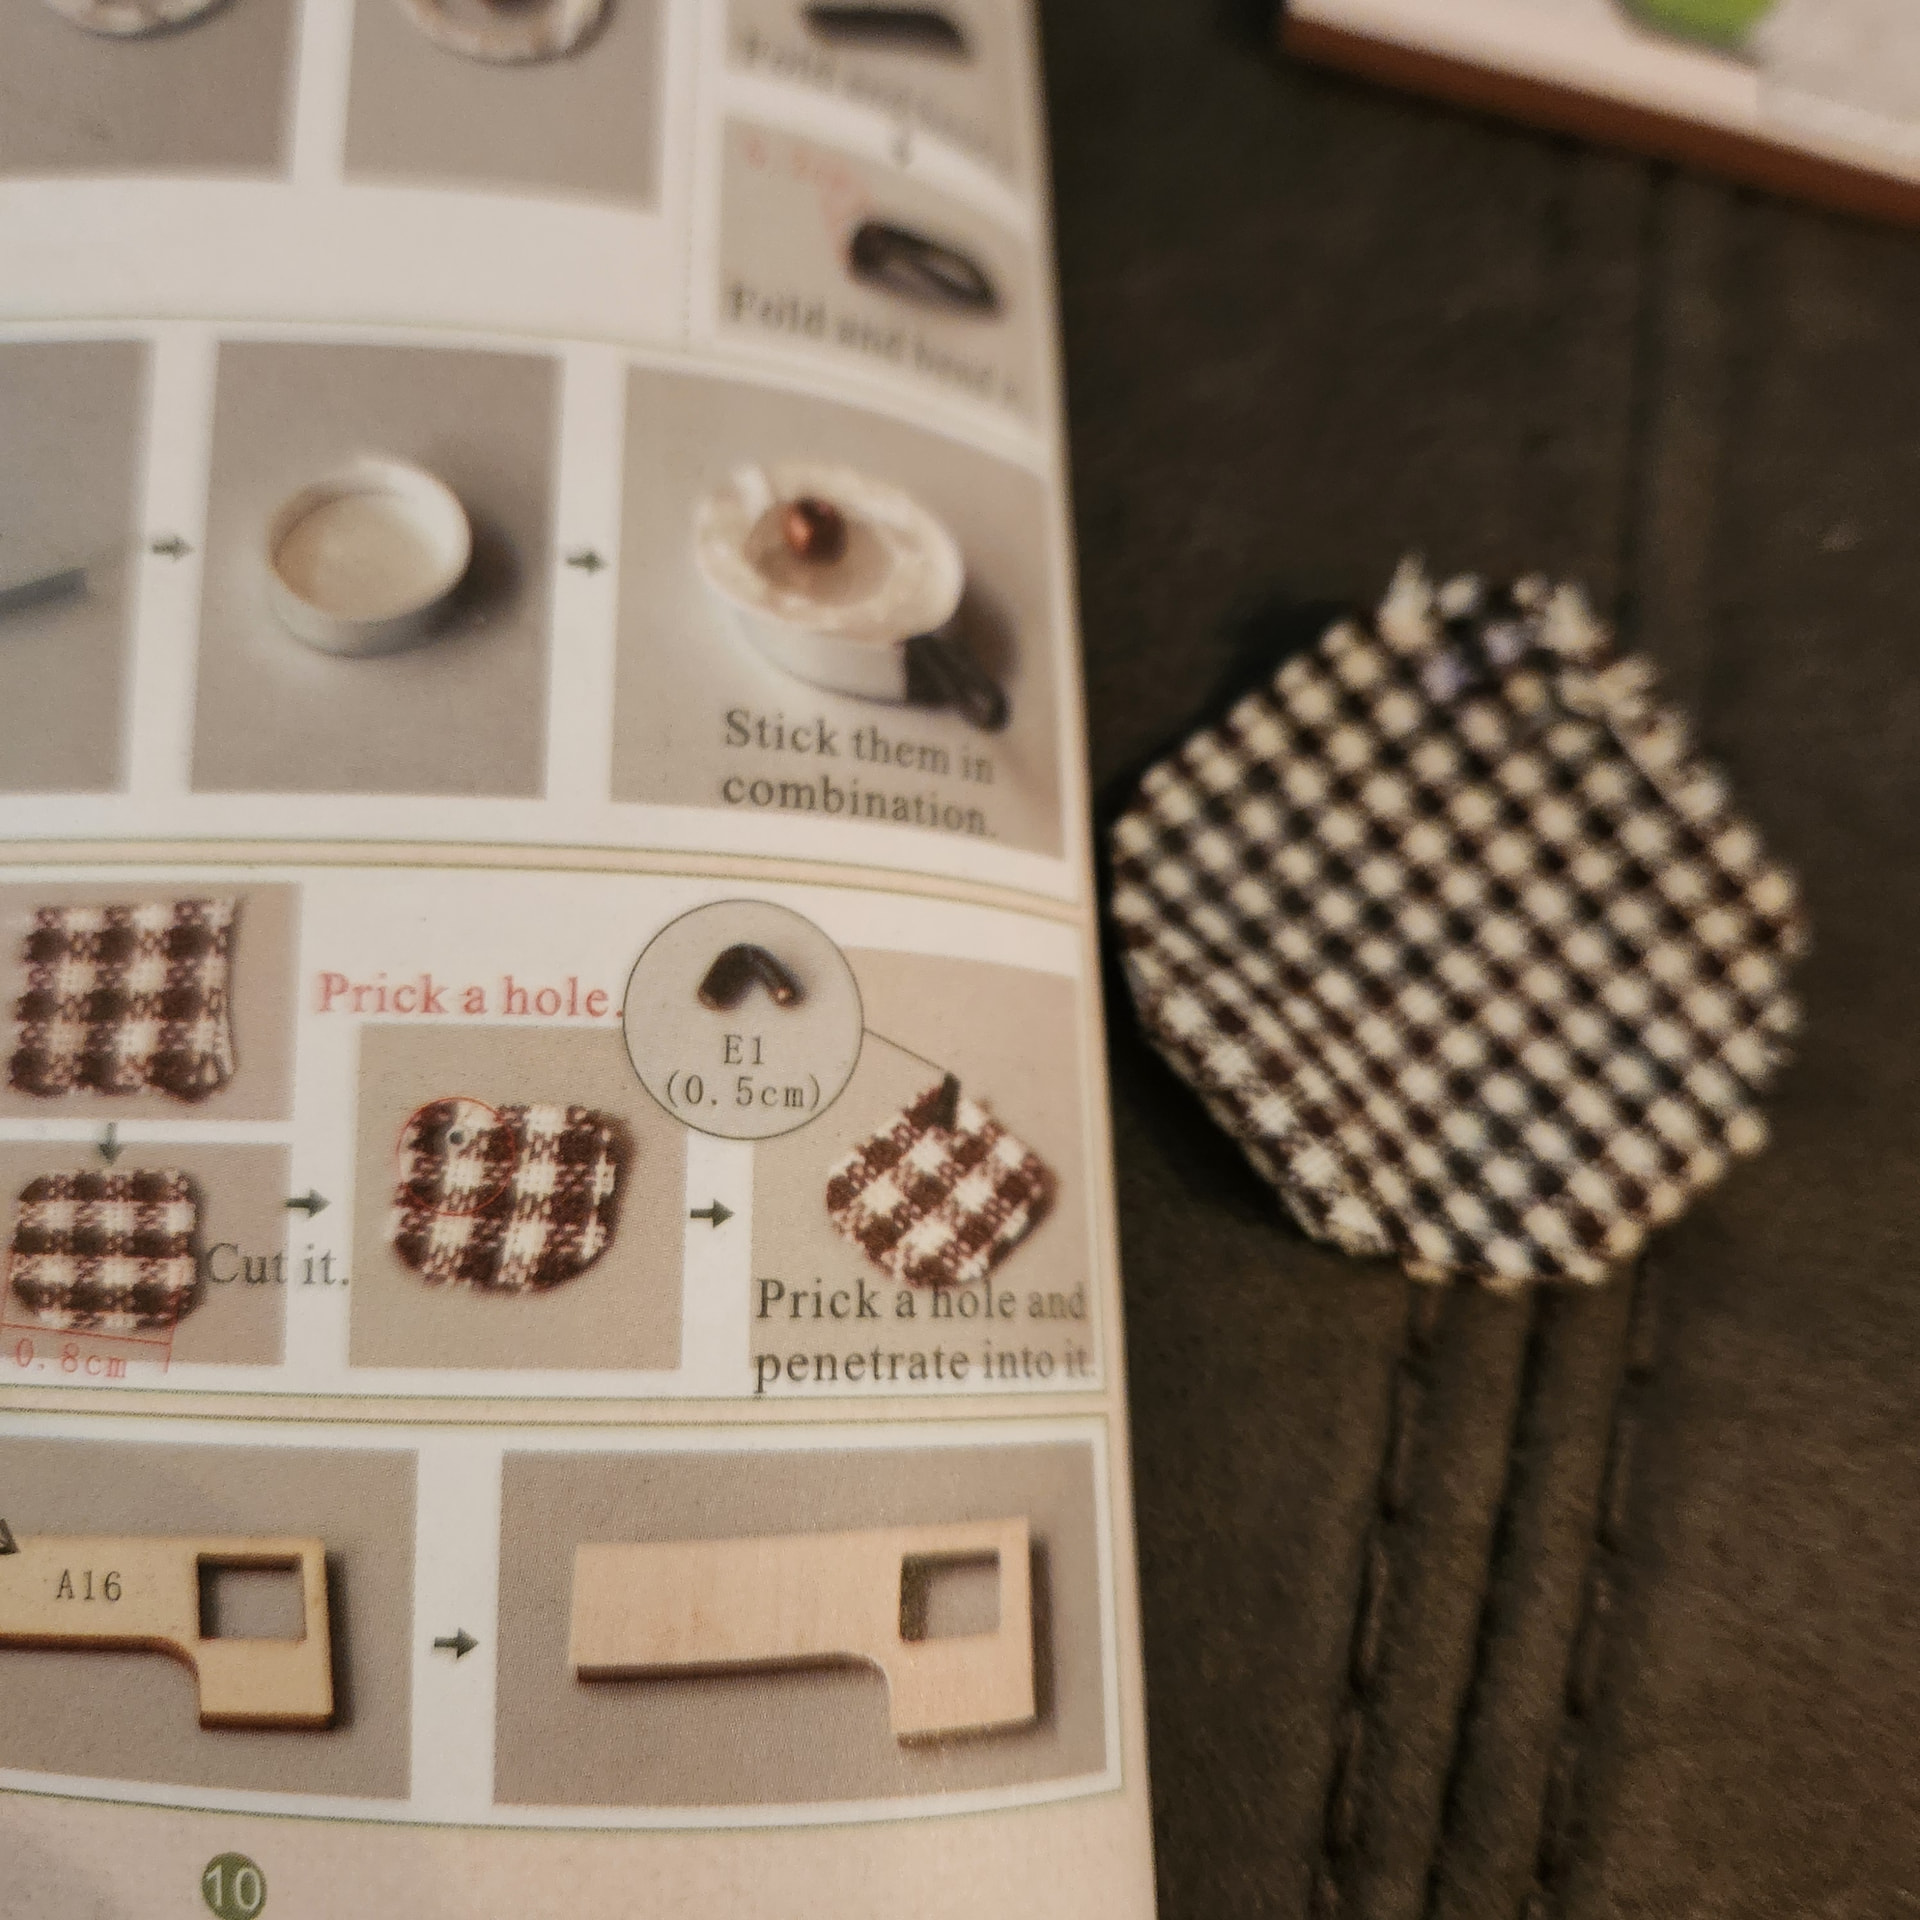
I didn’t pay attention to the measurements they wanted on this page because I fooled myself into believing it’d be intuitive. No. I was wrong. The above (right) was the “final product” of the instructions, but about 4x as big as it needed to be and I used all the fabric. Oops. Hope I don’t need more of that later…
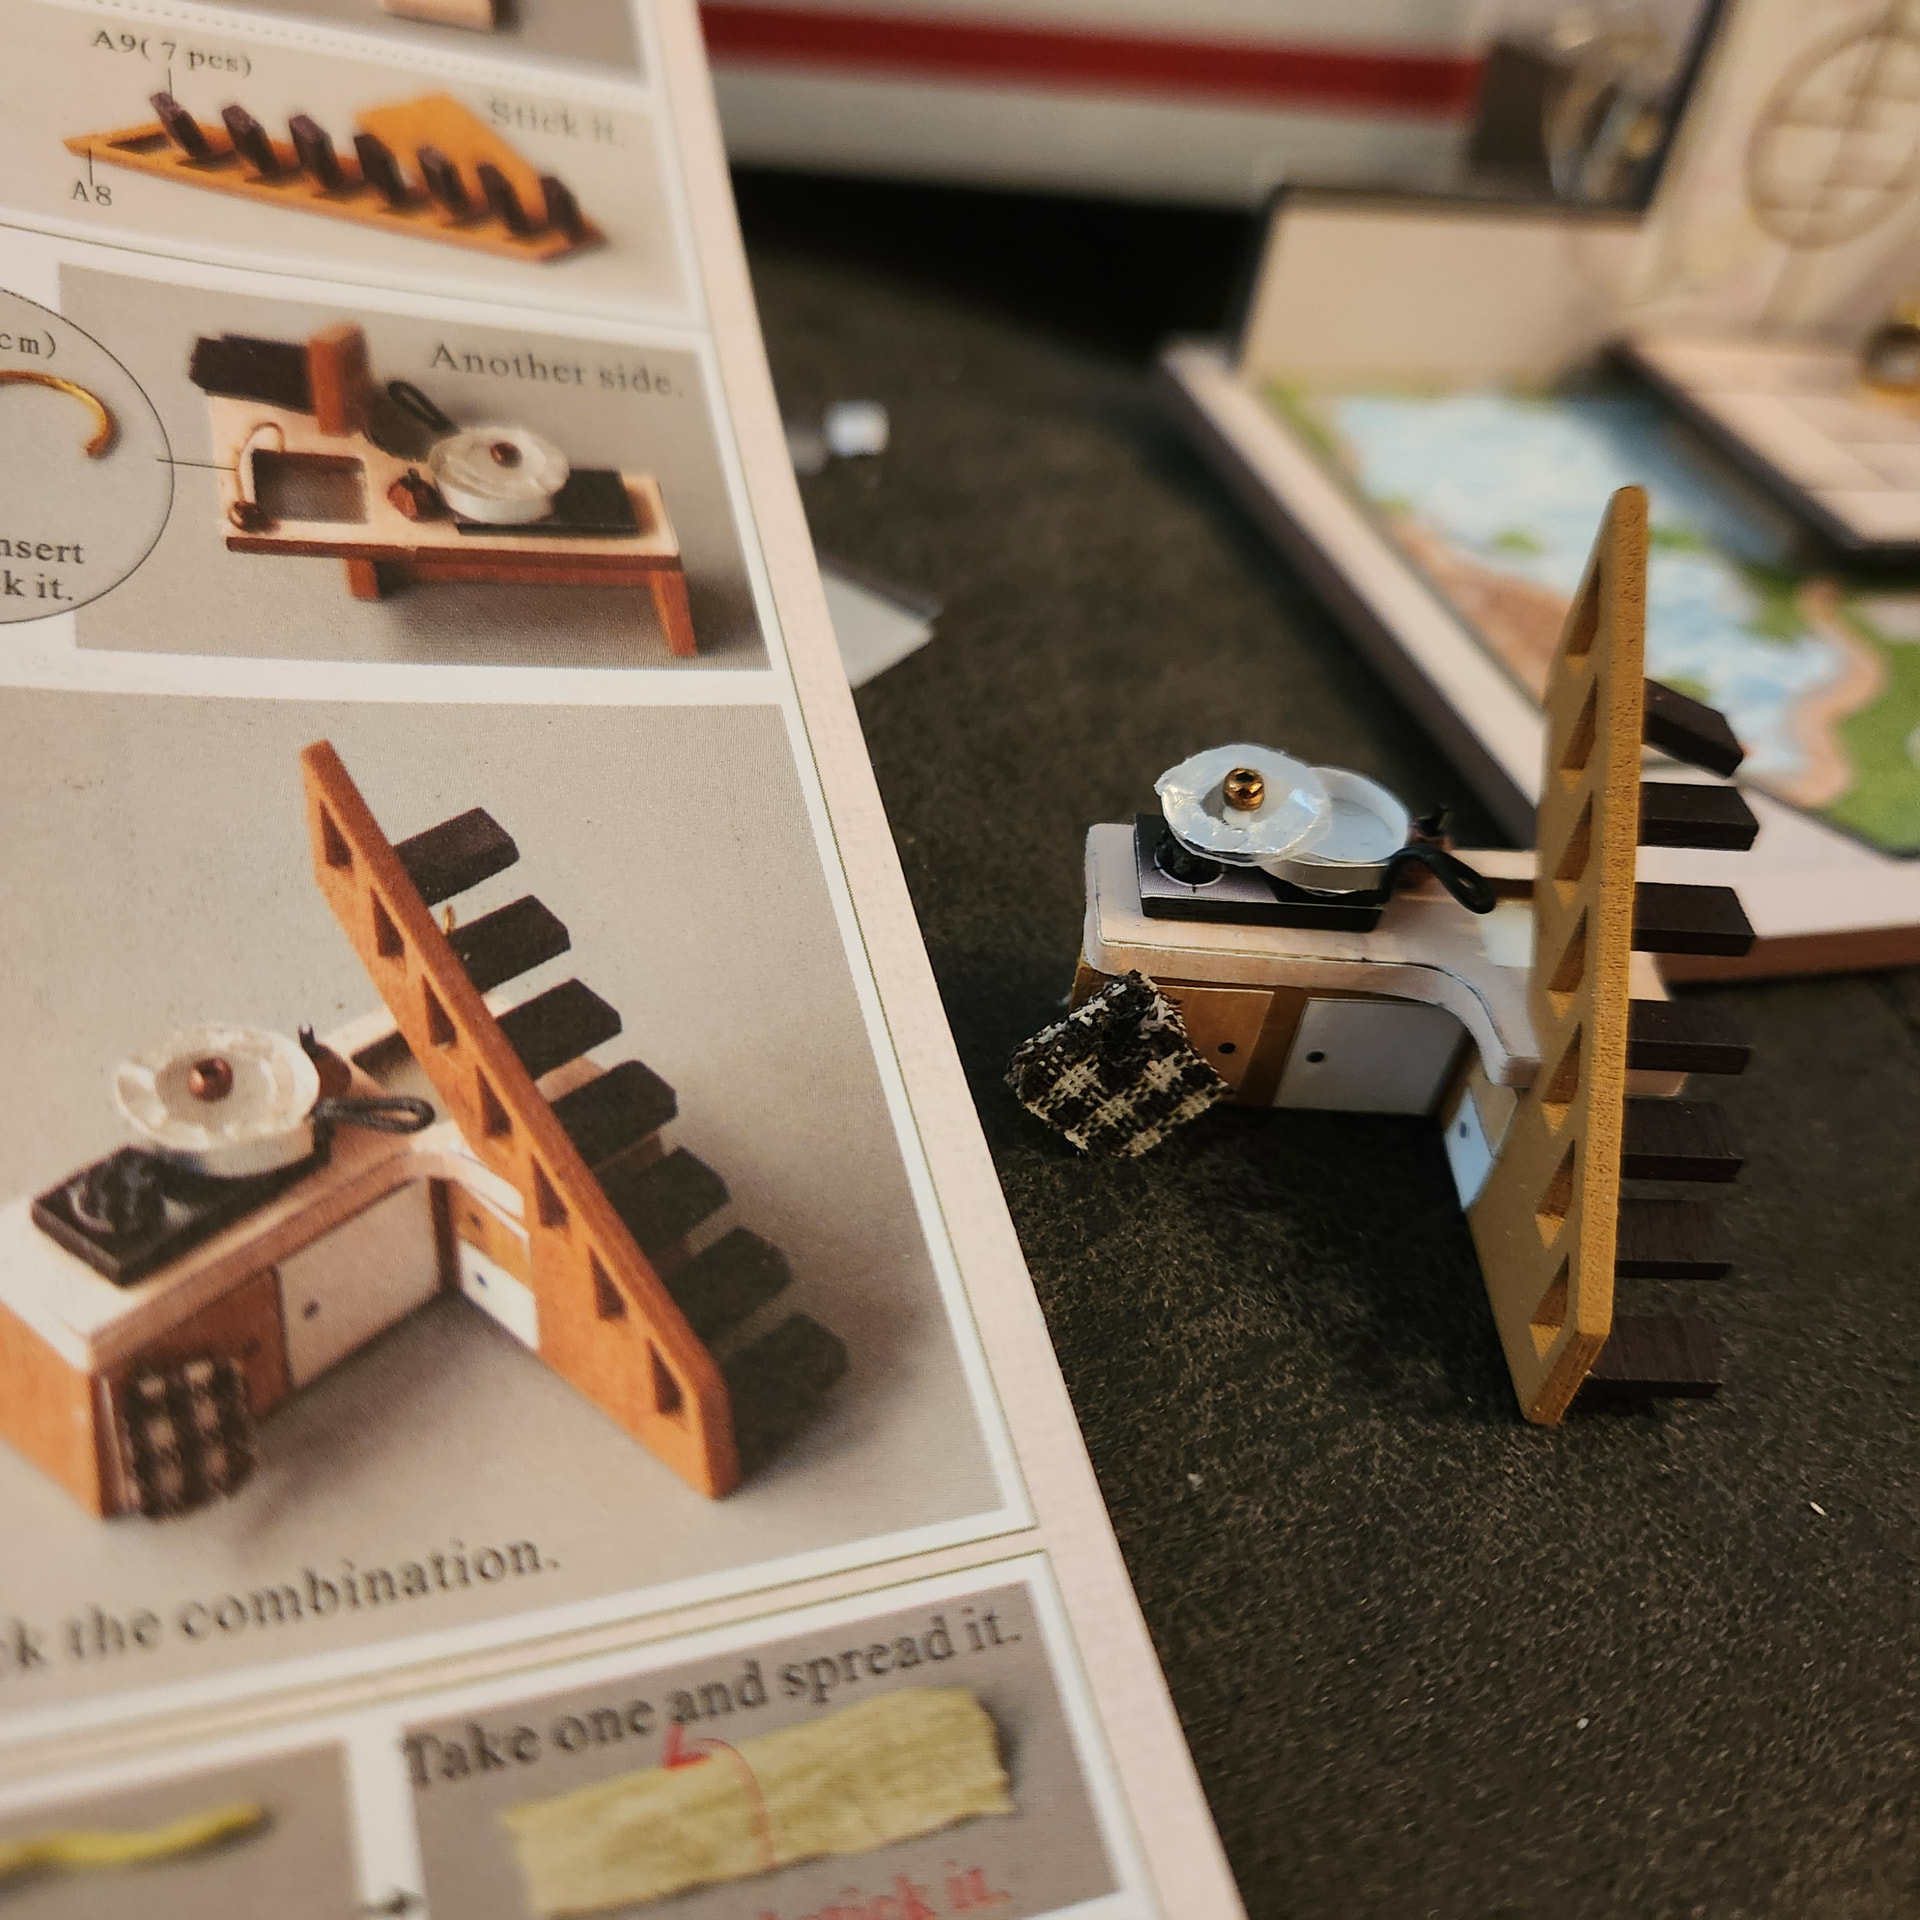
Despite needing cataract surgery after squinting to see all these microscopic pieces, it’s actually all starting to look like something. Look at those stairs! (wait, don’t, one of the stairs is falling off)
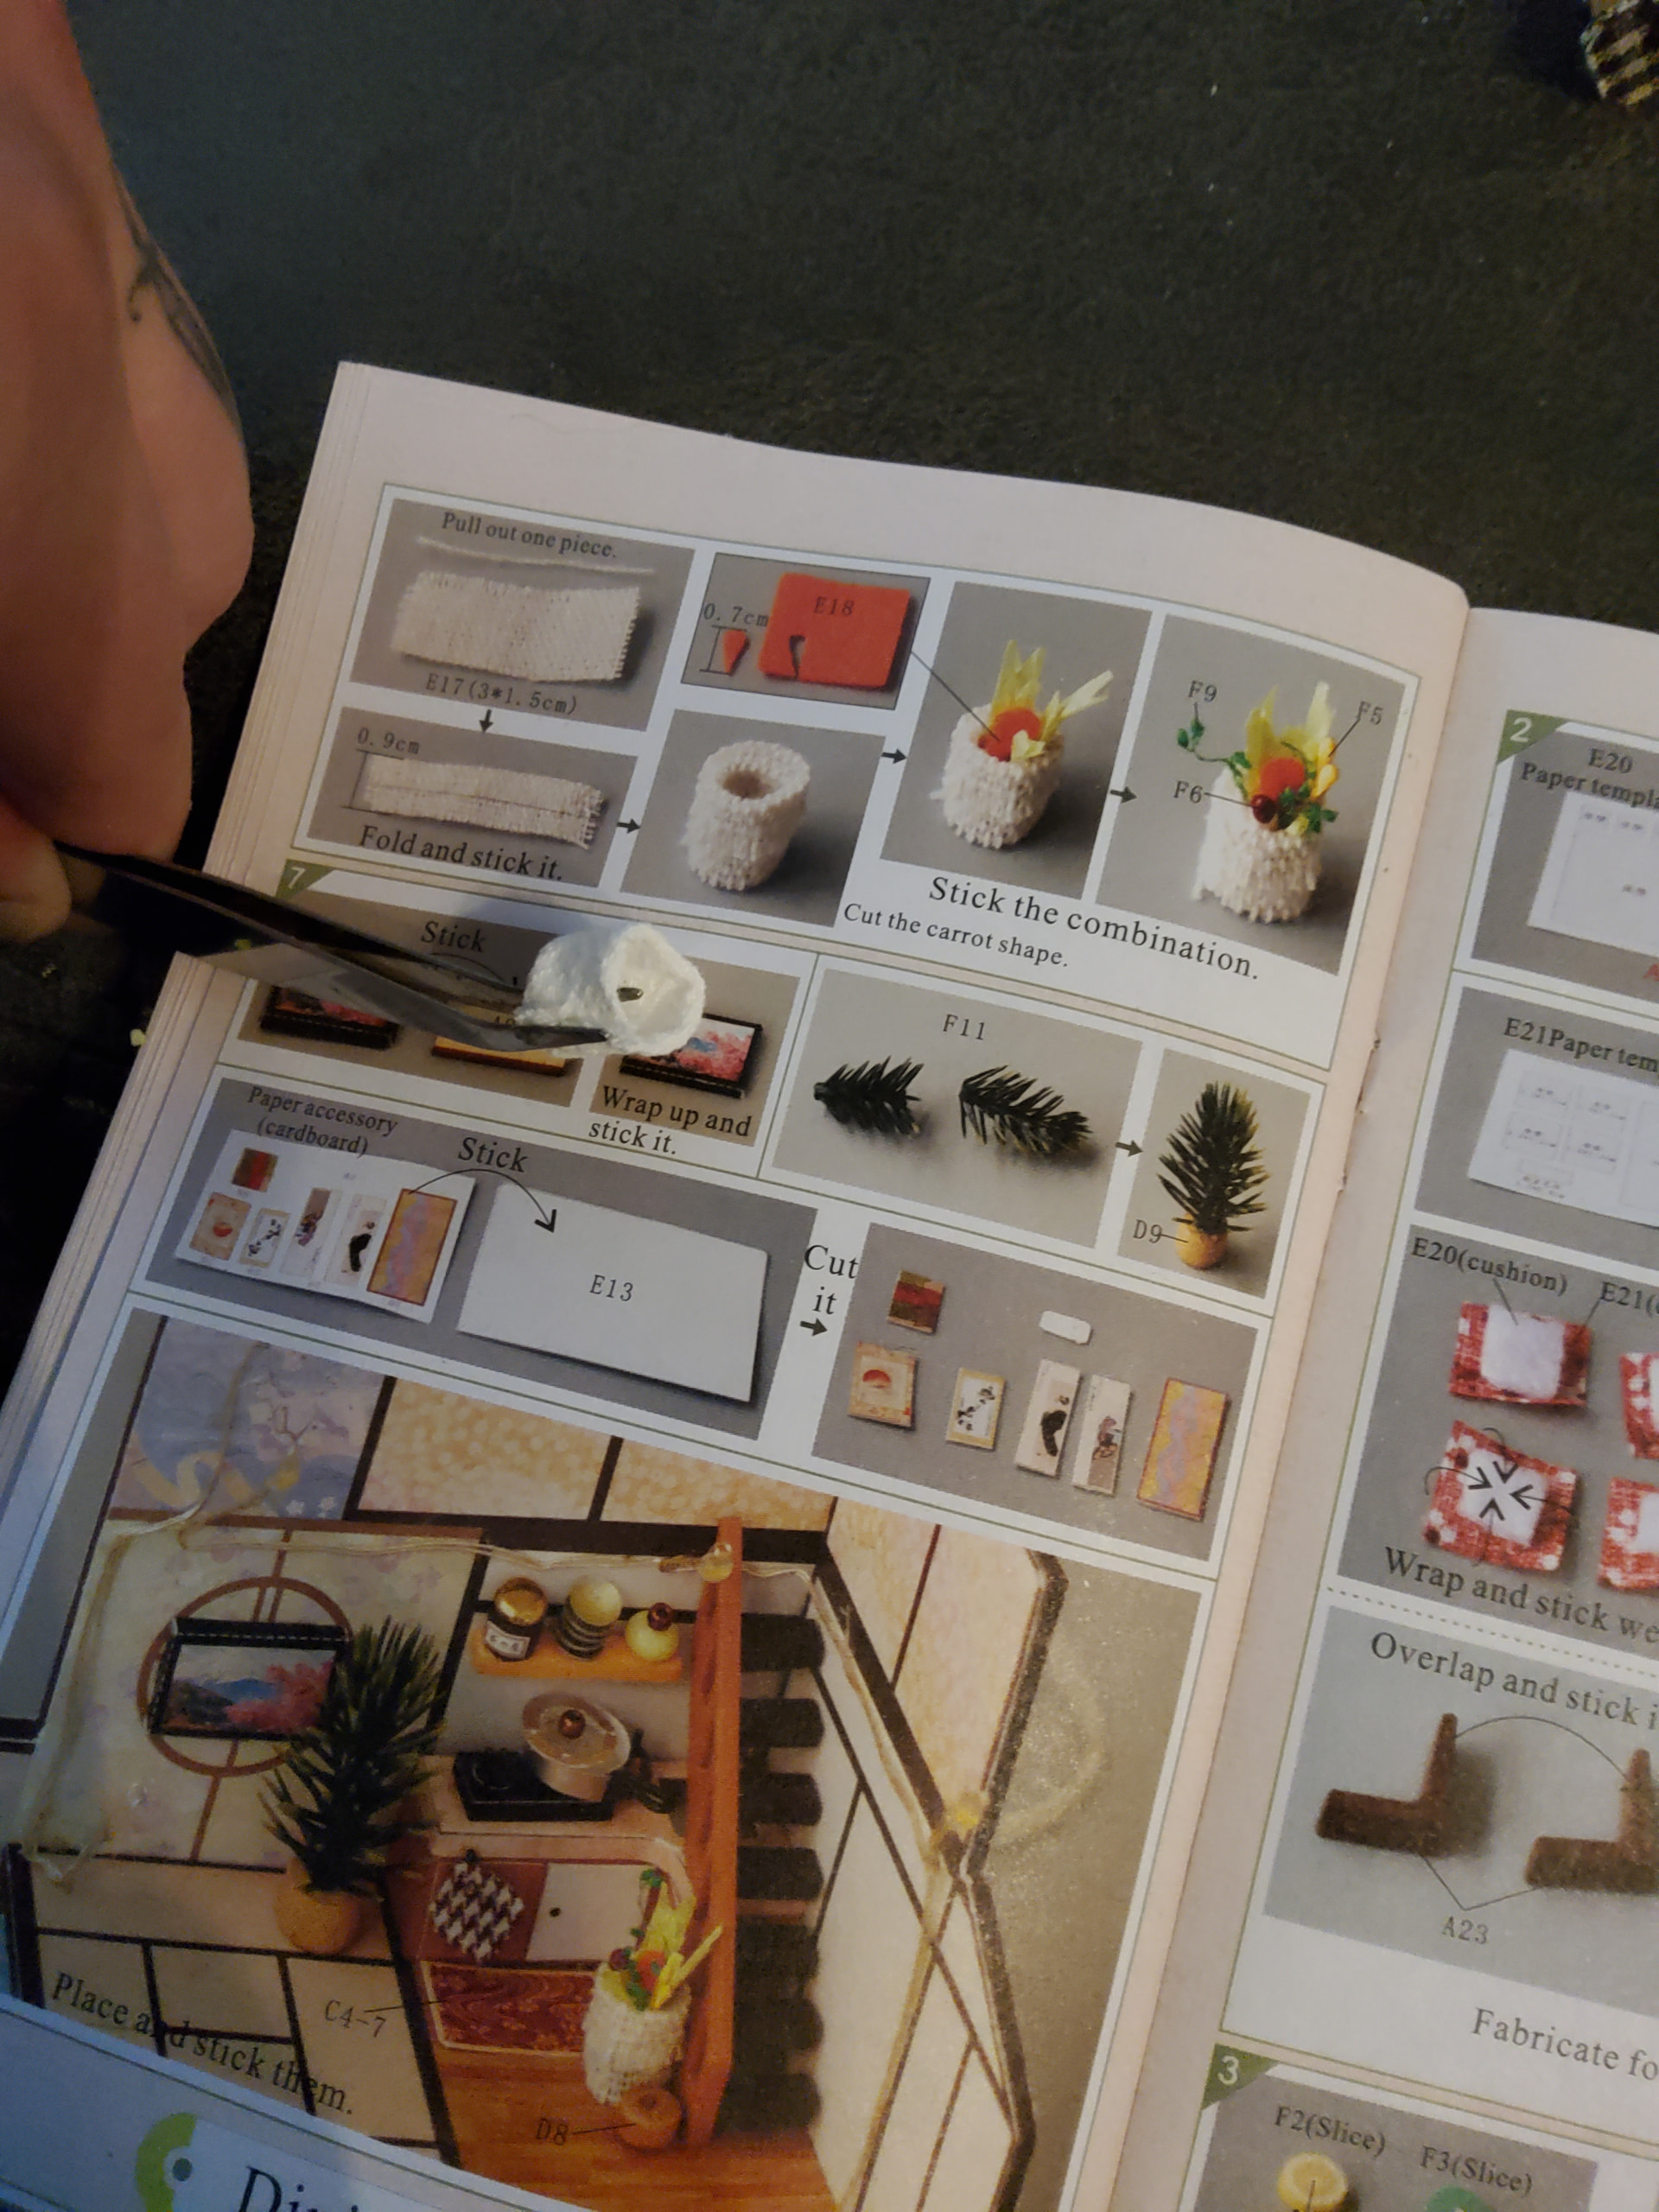
Did I choose the correct piece of fabric? Did I fold it they way they wanted? Did it even do this right? I dunno but it looks like the picture so… (I also finally decided to get smart and use tweezers instead of my fat fingers)
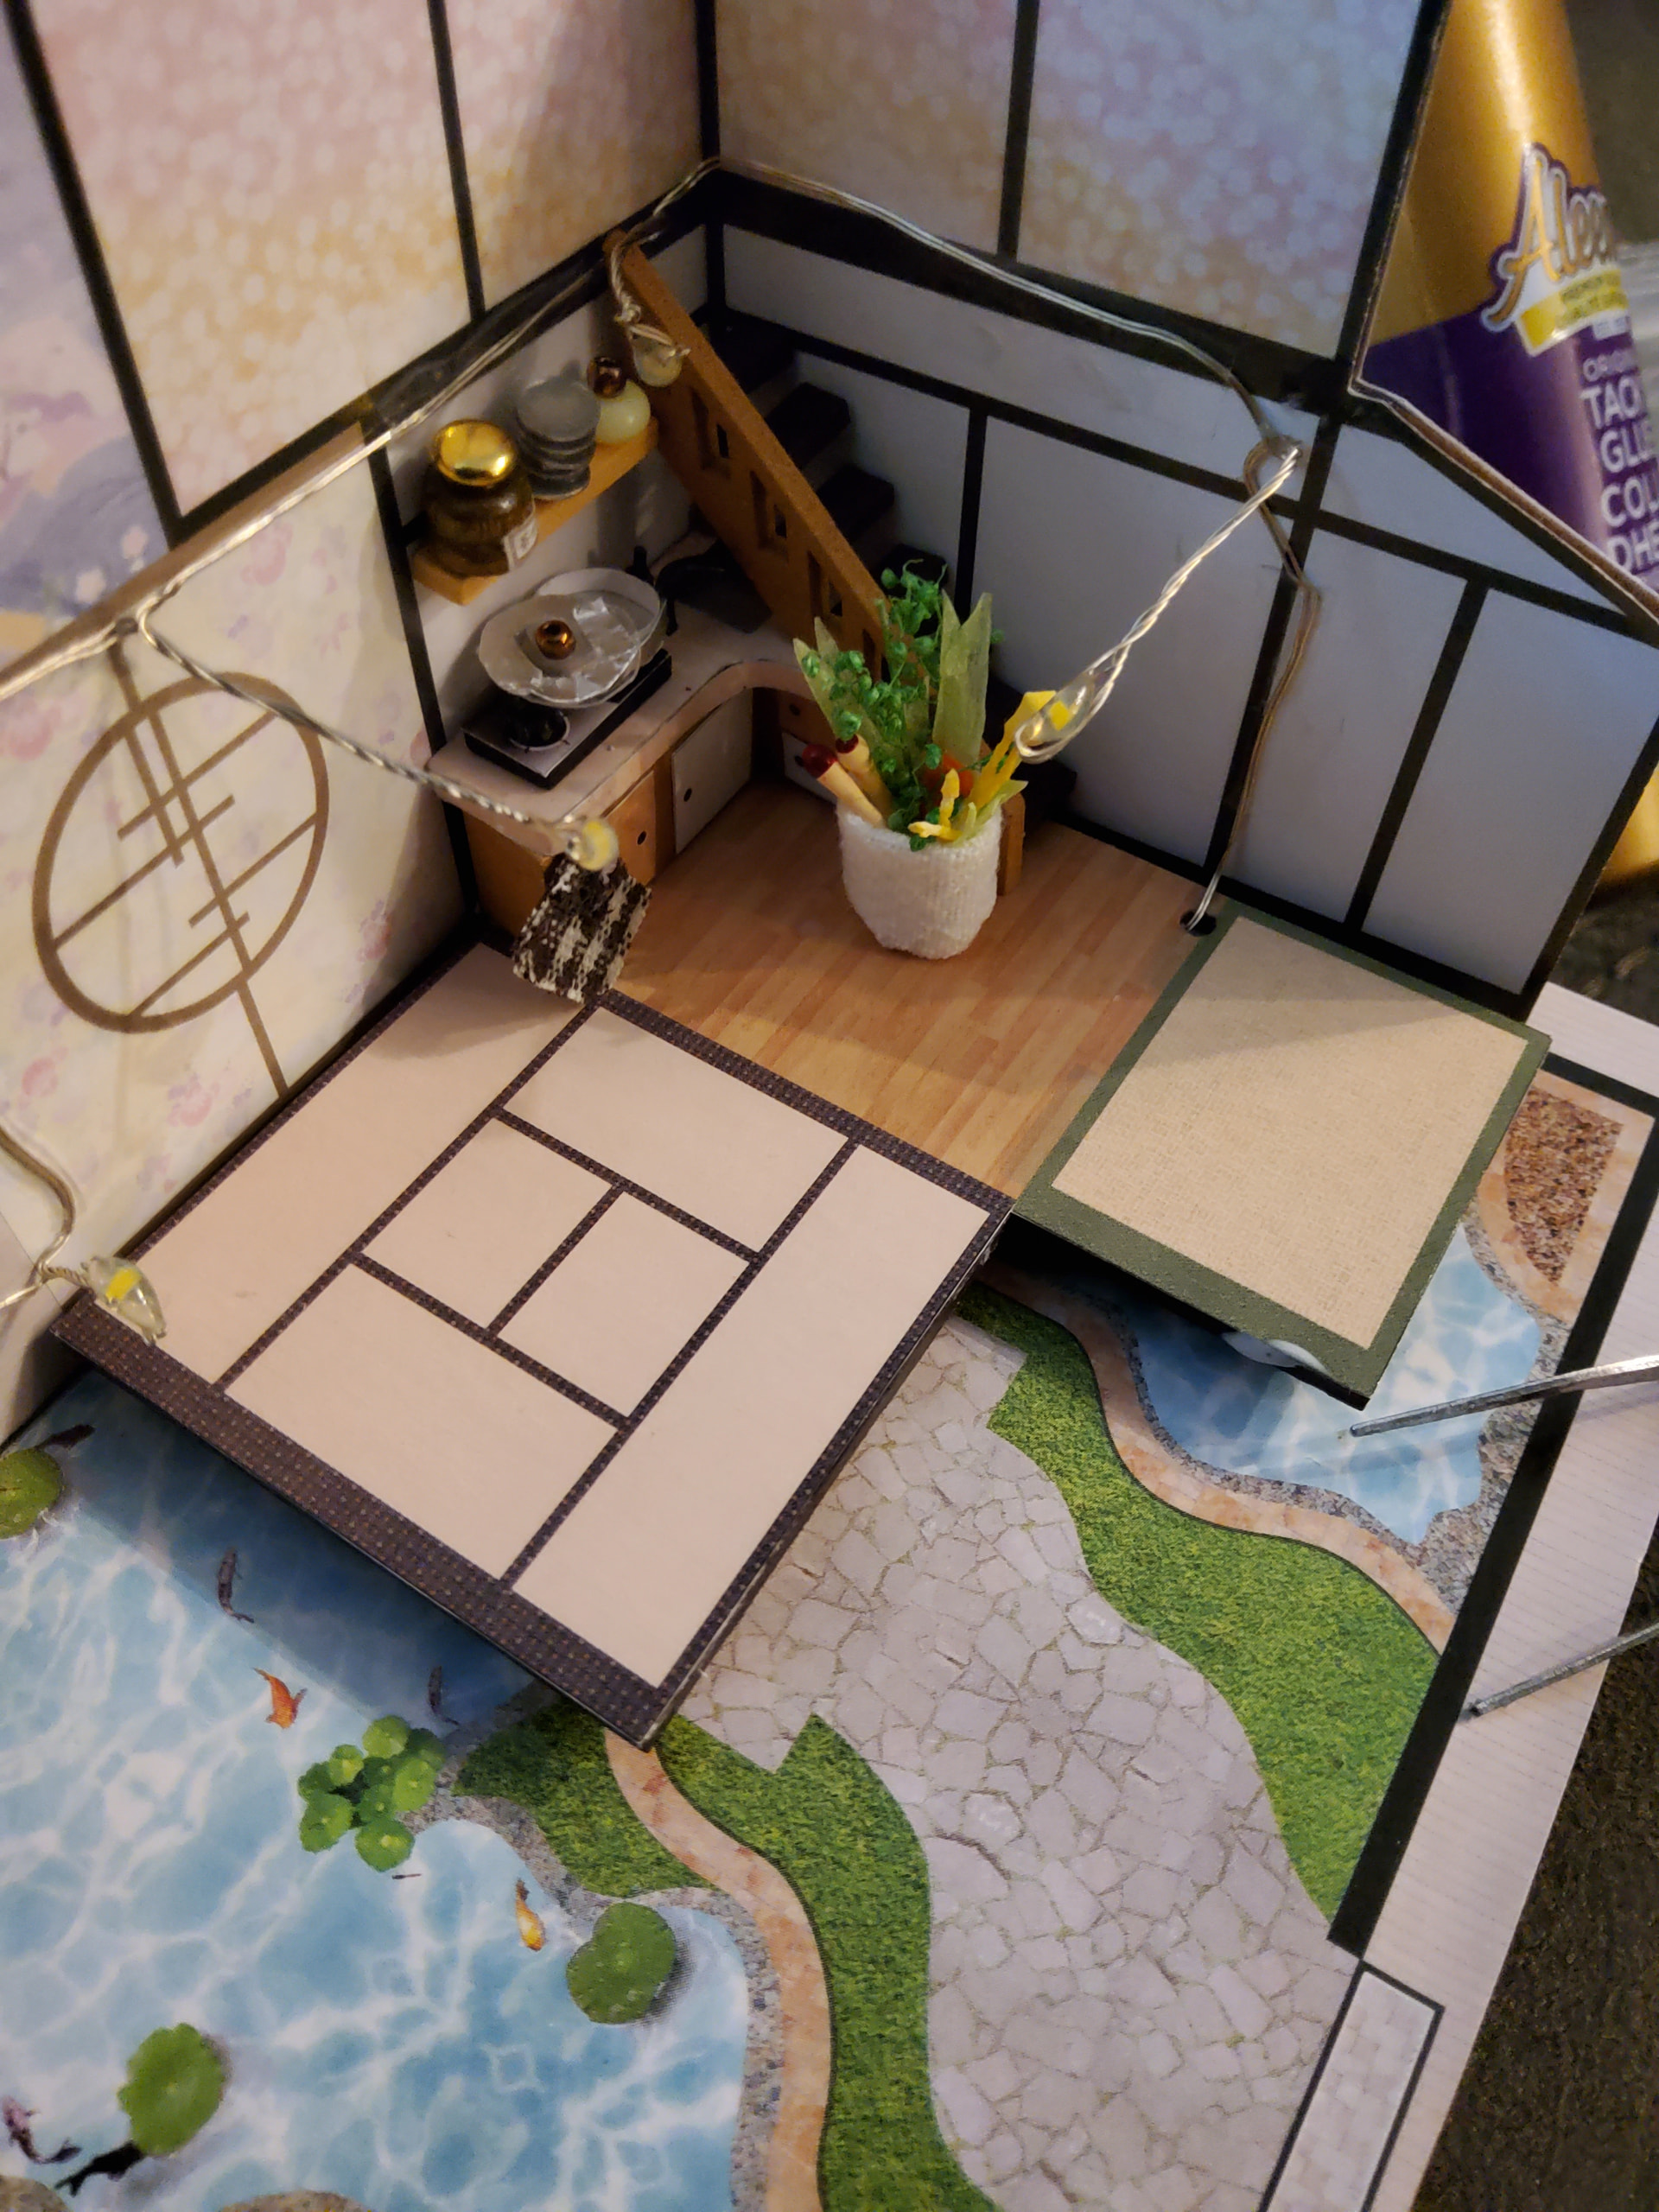
Hey now. This is starting to look cozy. I’ve had a lot of criticisms so far, but there’s something to be said for these minute details. You can’t see it well in this picture, but theres a little sink (the bottom is even metallic-colored) with a faucet, made of a little gold wire and a bead, tucked into the corner. I thought that was clever, though if I were an inhabitant of this abode, I wouldn’t love having my kitchen sink under the staircase.
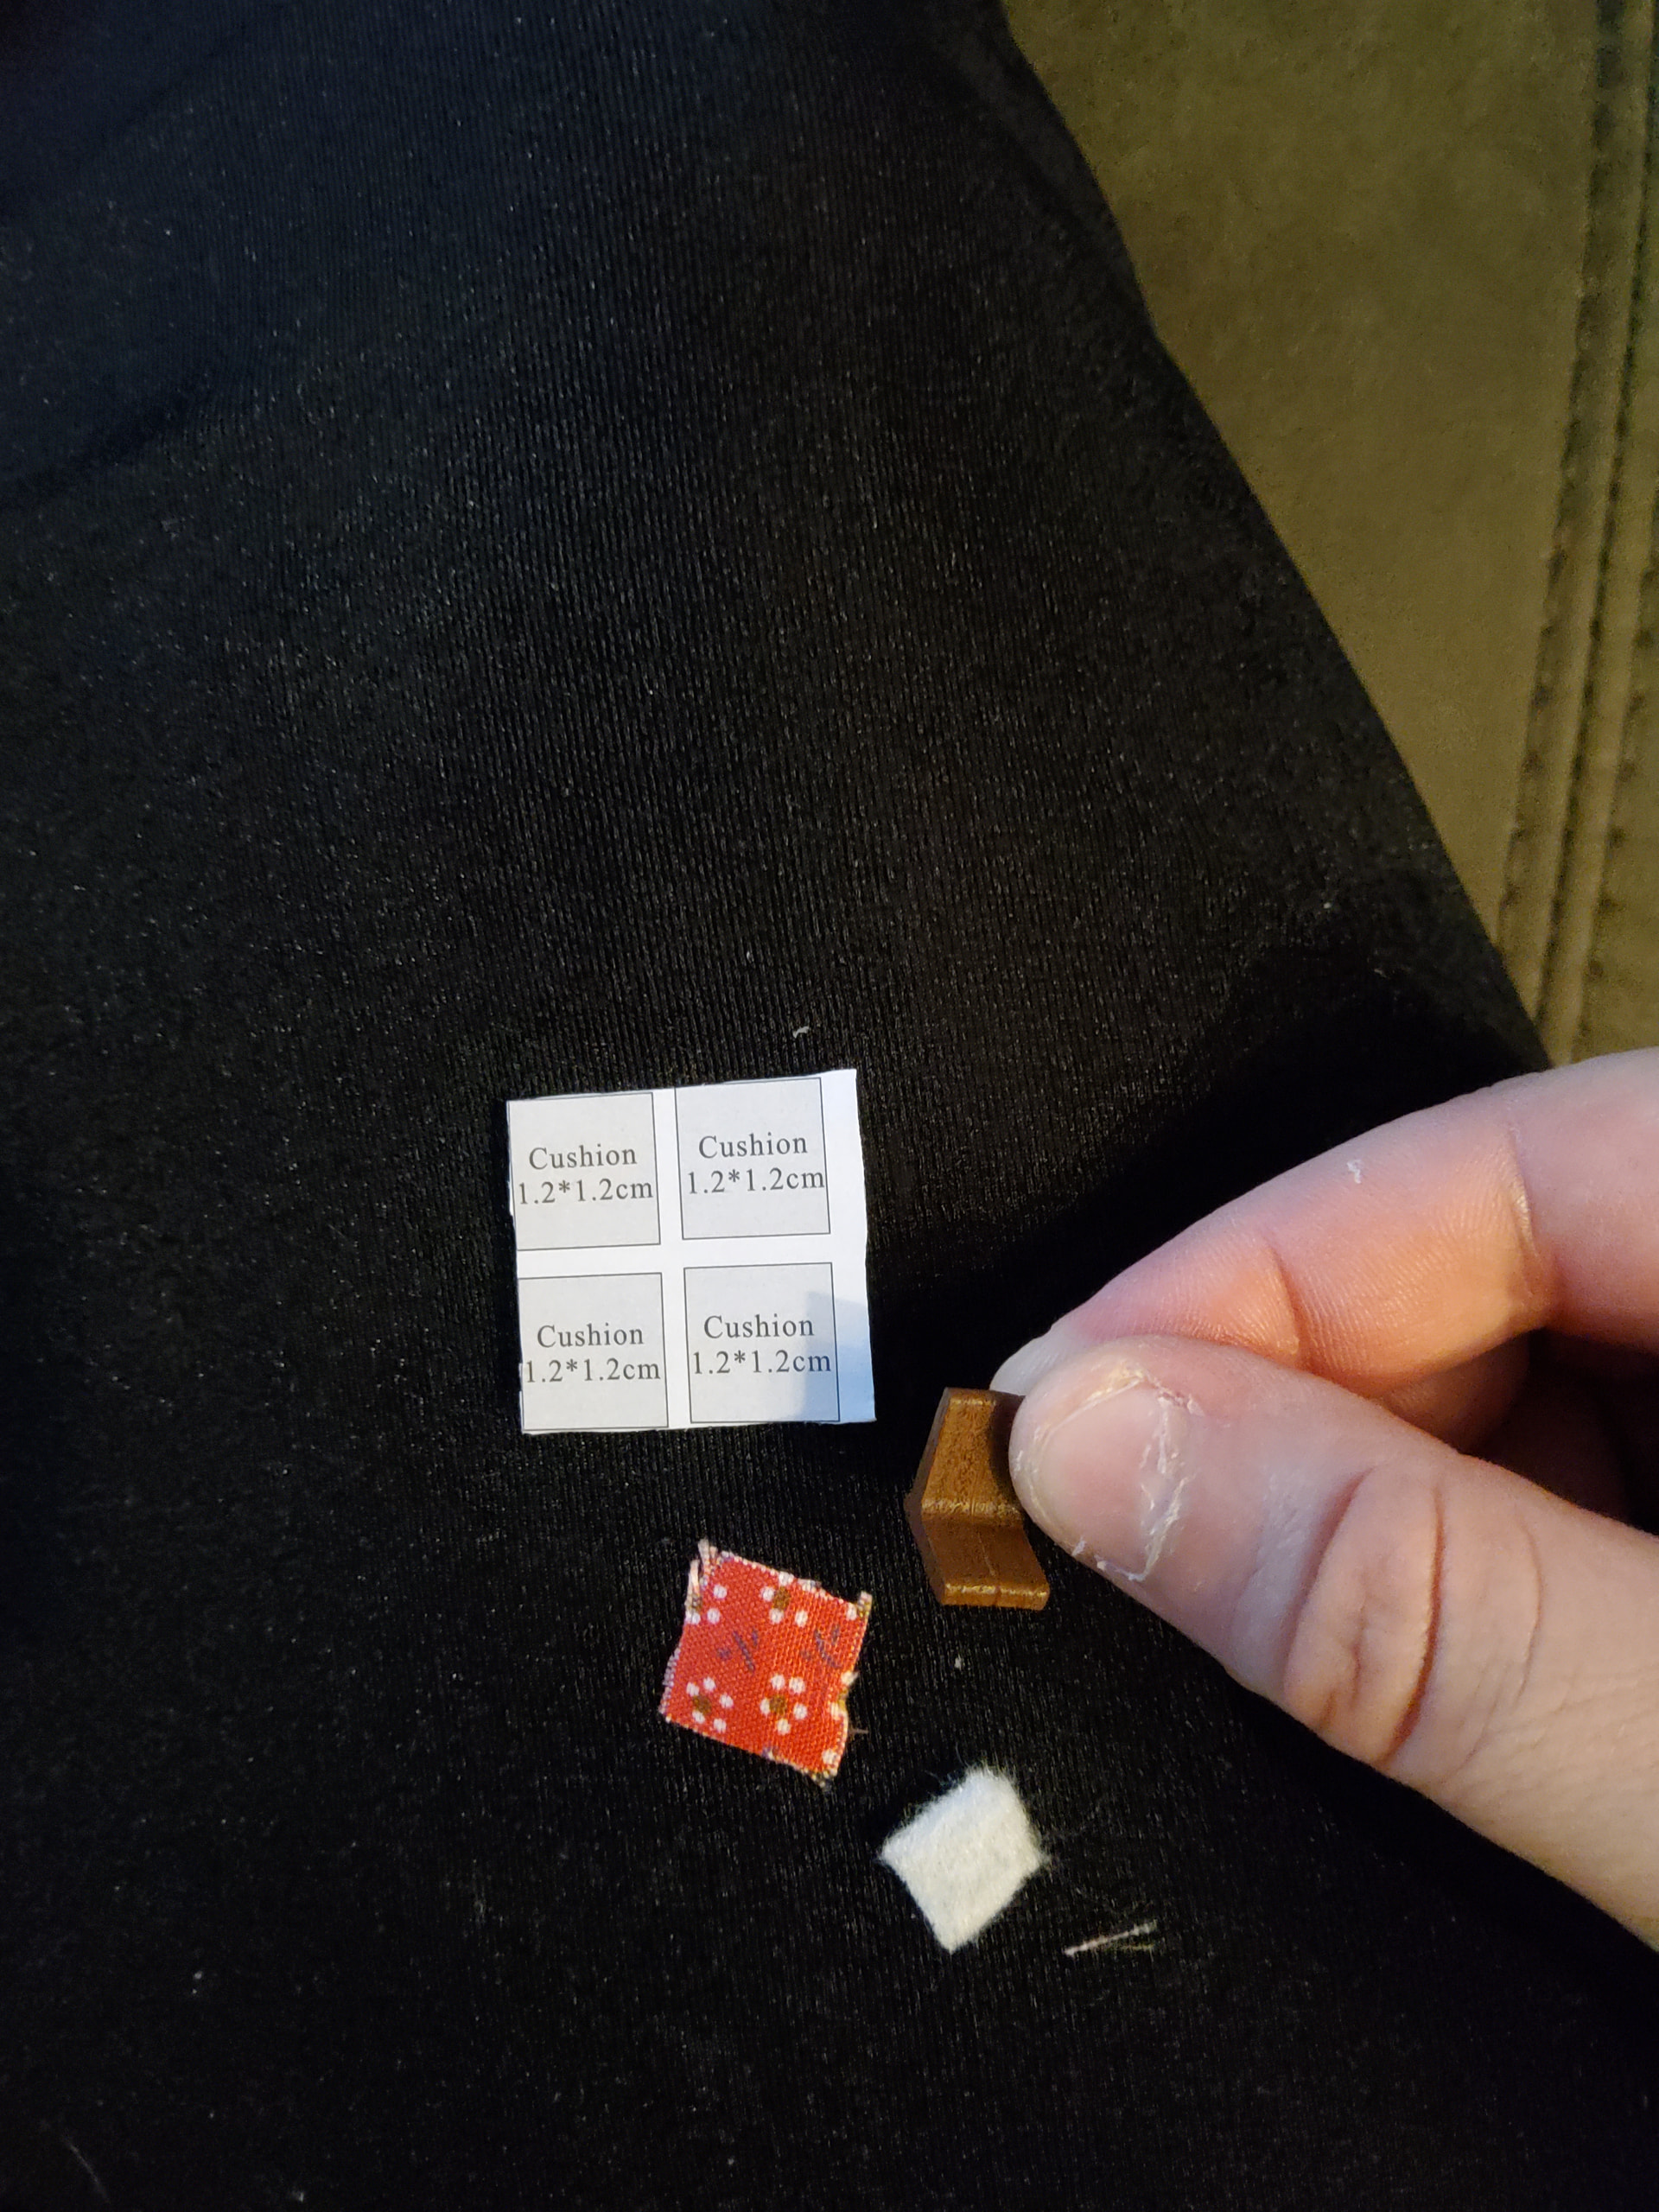
I spoke too soon. I hate this again. You want me to make a pillow out of that?!
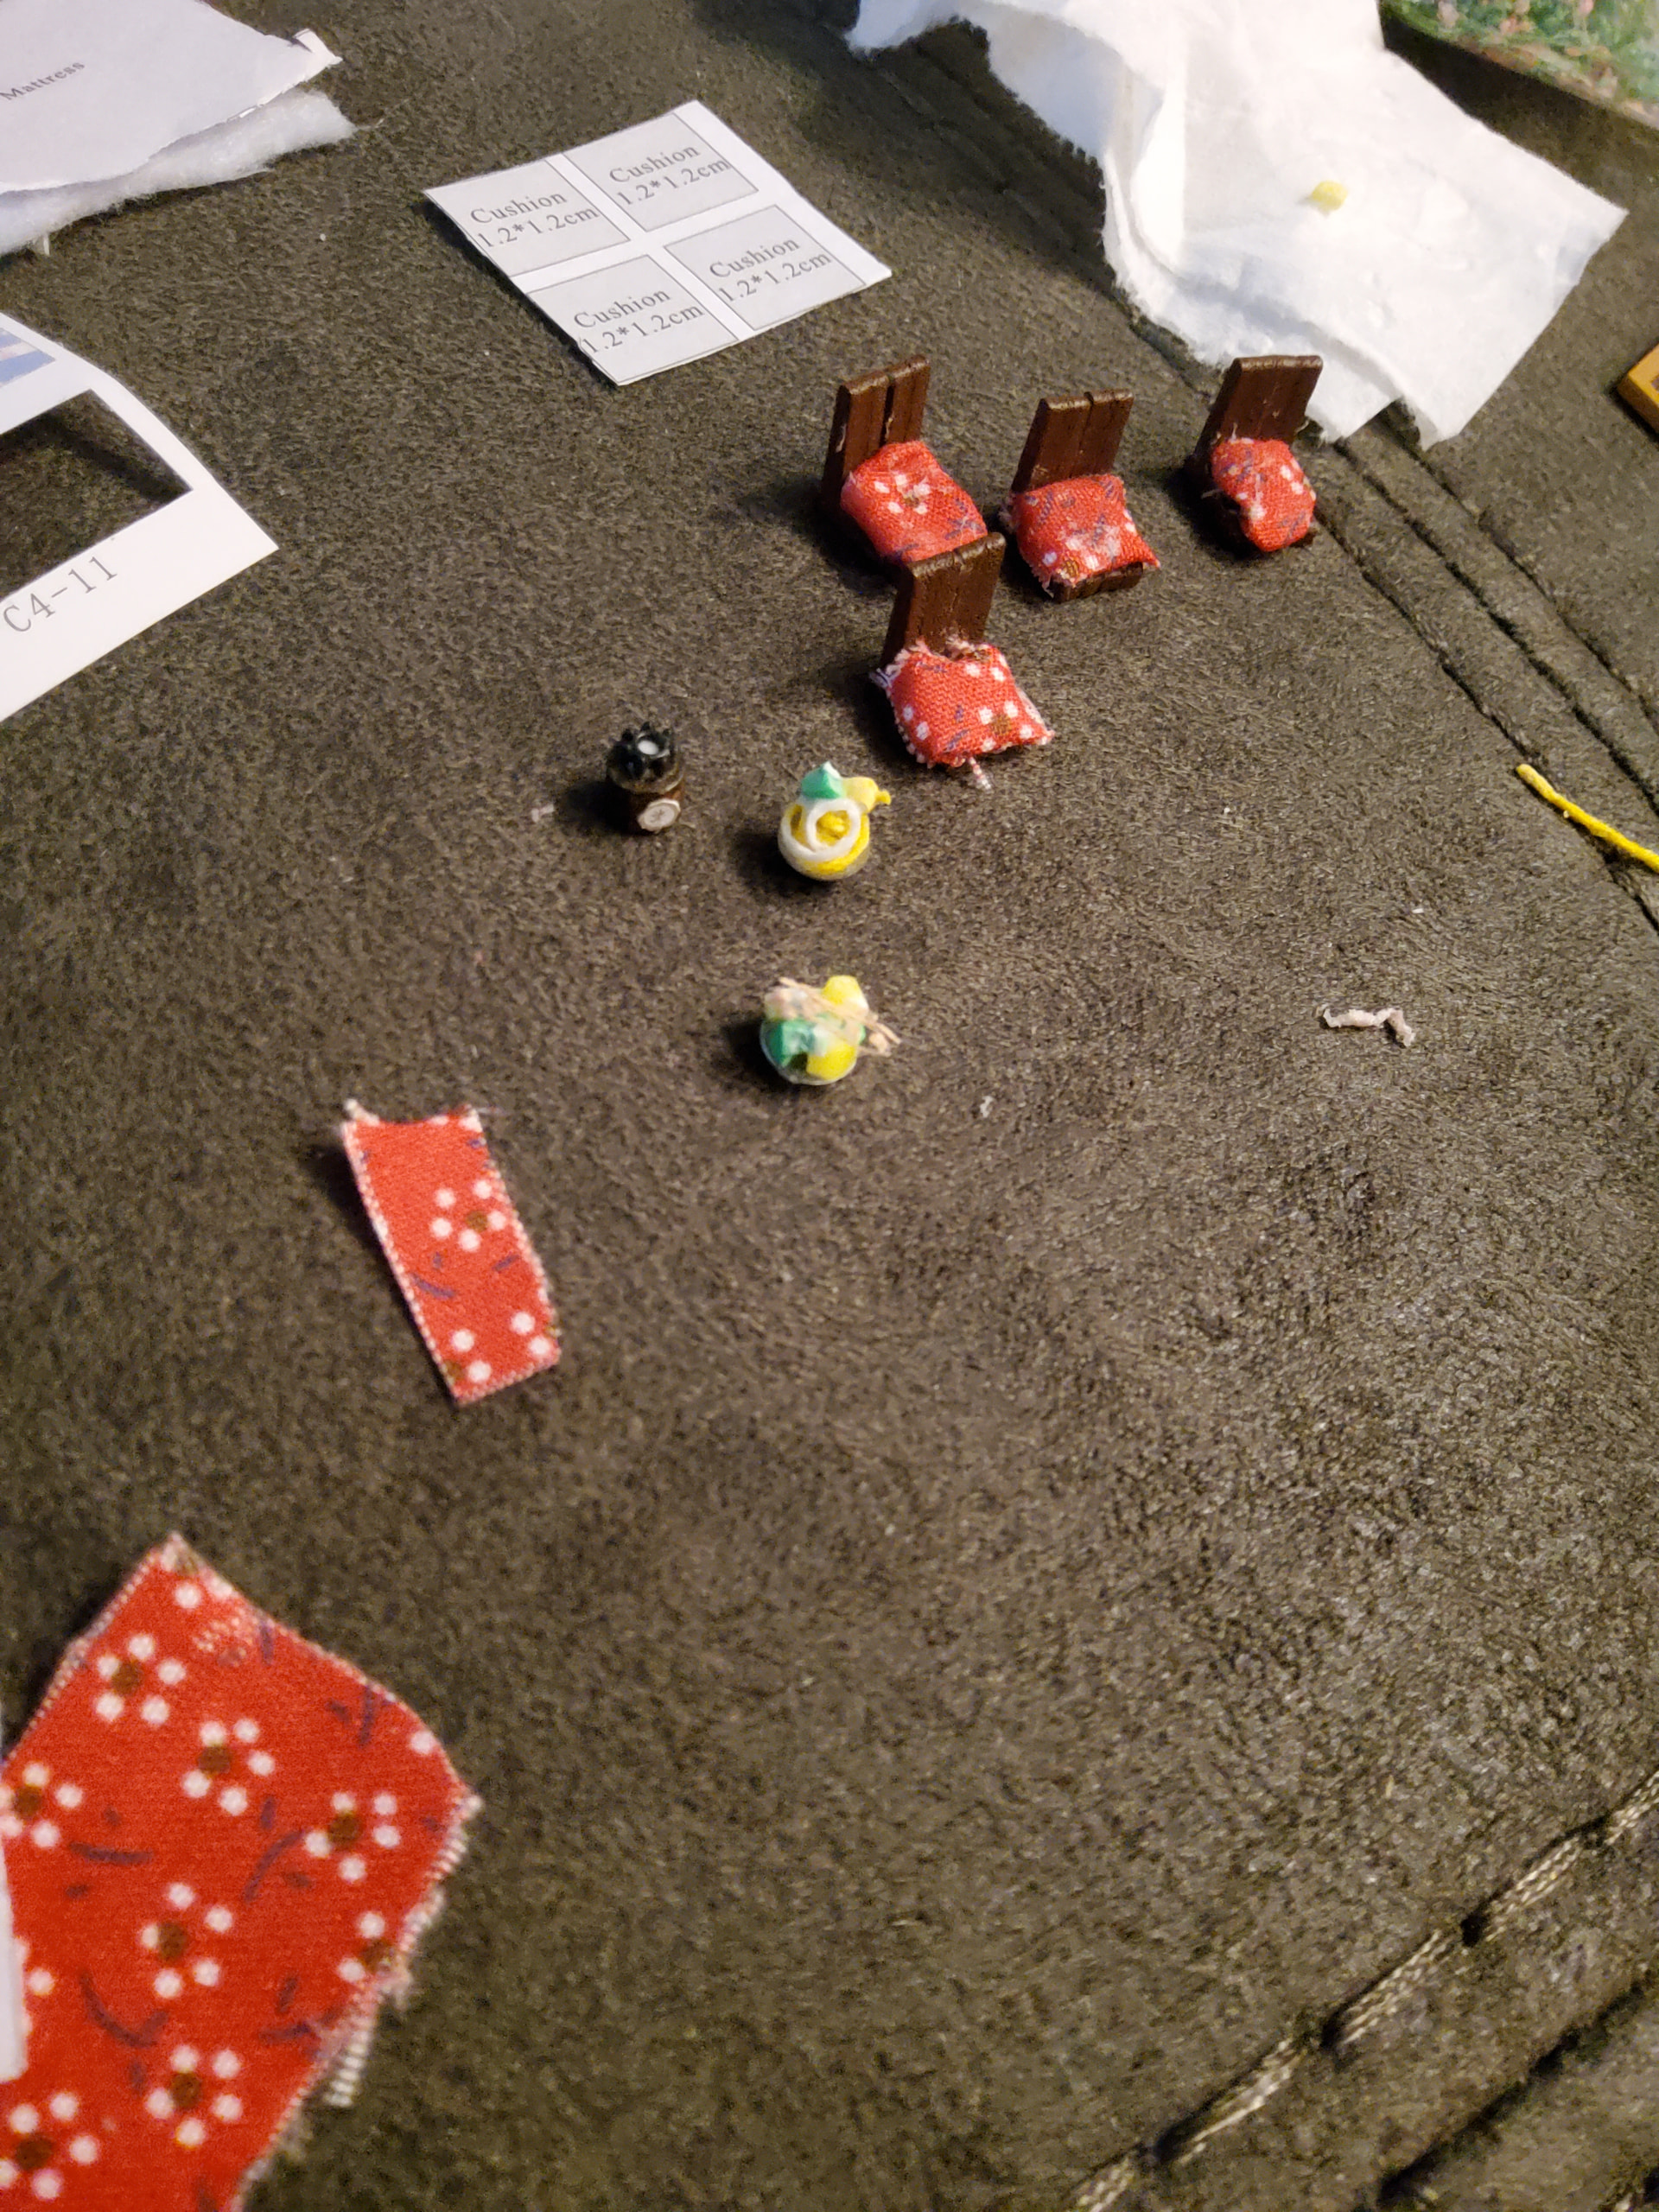
I really didn’t take enough pictures of the process between last photo and this one, but this has easily been the most challenging part so far: the dining table accessories. These chairs were not easy and I had to ignore the instructions entirely to make it work. The fabric is totally saturated with glue, since I couldn’t figure out how to affix the fabric to the cotton pad and then to the chair without the fabric ends sticking out. The instructions didn’t have me cut large enough covers for the cushions, and by the time I realized what I was cutting, it was too late. At least only ants will use these chairs.
It also provided me with much more of the clay (?) food pieces than the kit calls for, which I look forward to keeping for later crafts  (there are lemon slices - my roommate’s nickname is Lemon so I’m gonna make him something neat with the extra bits!). This was also one of the hardest steps so far, though, since I didn’t have a good knife/razor nearby so they ended up cut with my scissors… don’t recommend. Don’t be lazy like me, just use a knife, they’ll look better.
I also had to improvise with the noodles because I had no idea what the kit wanted me to use 
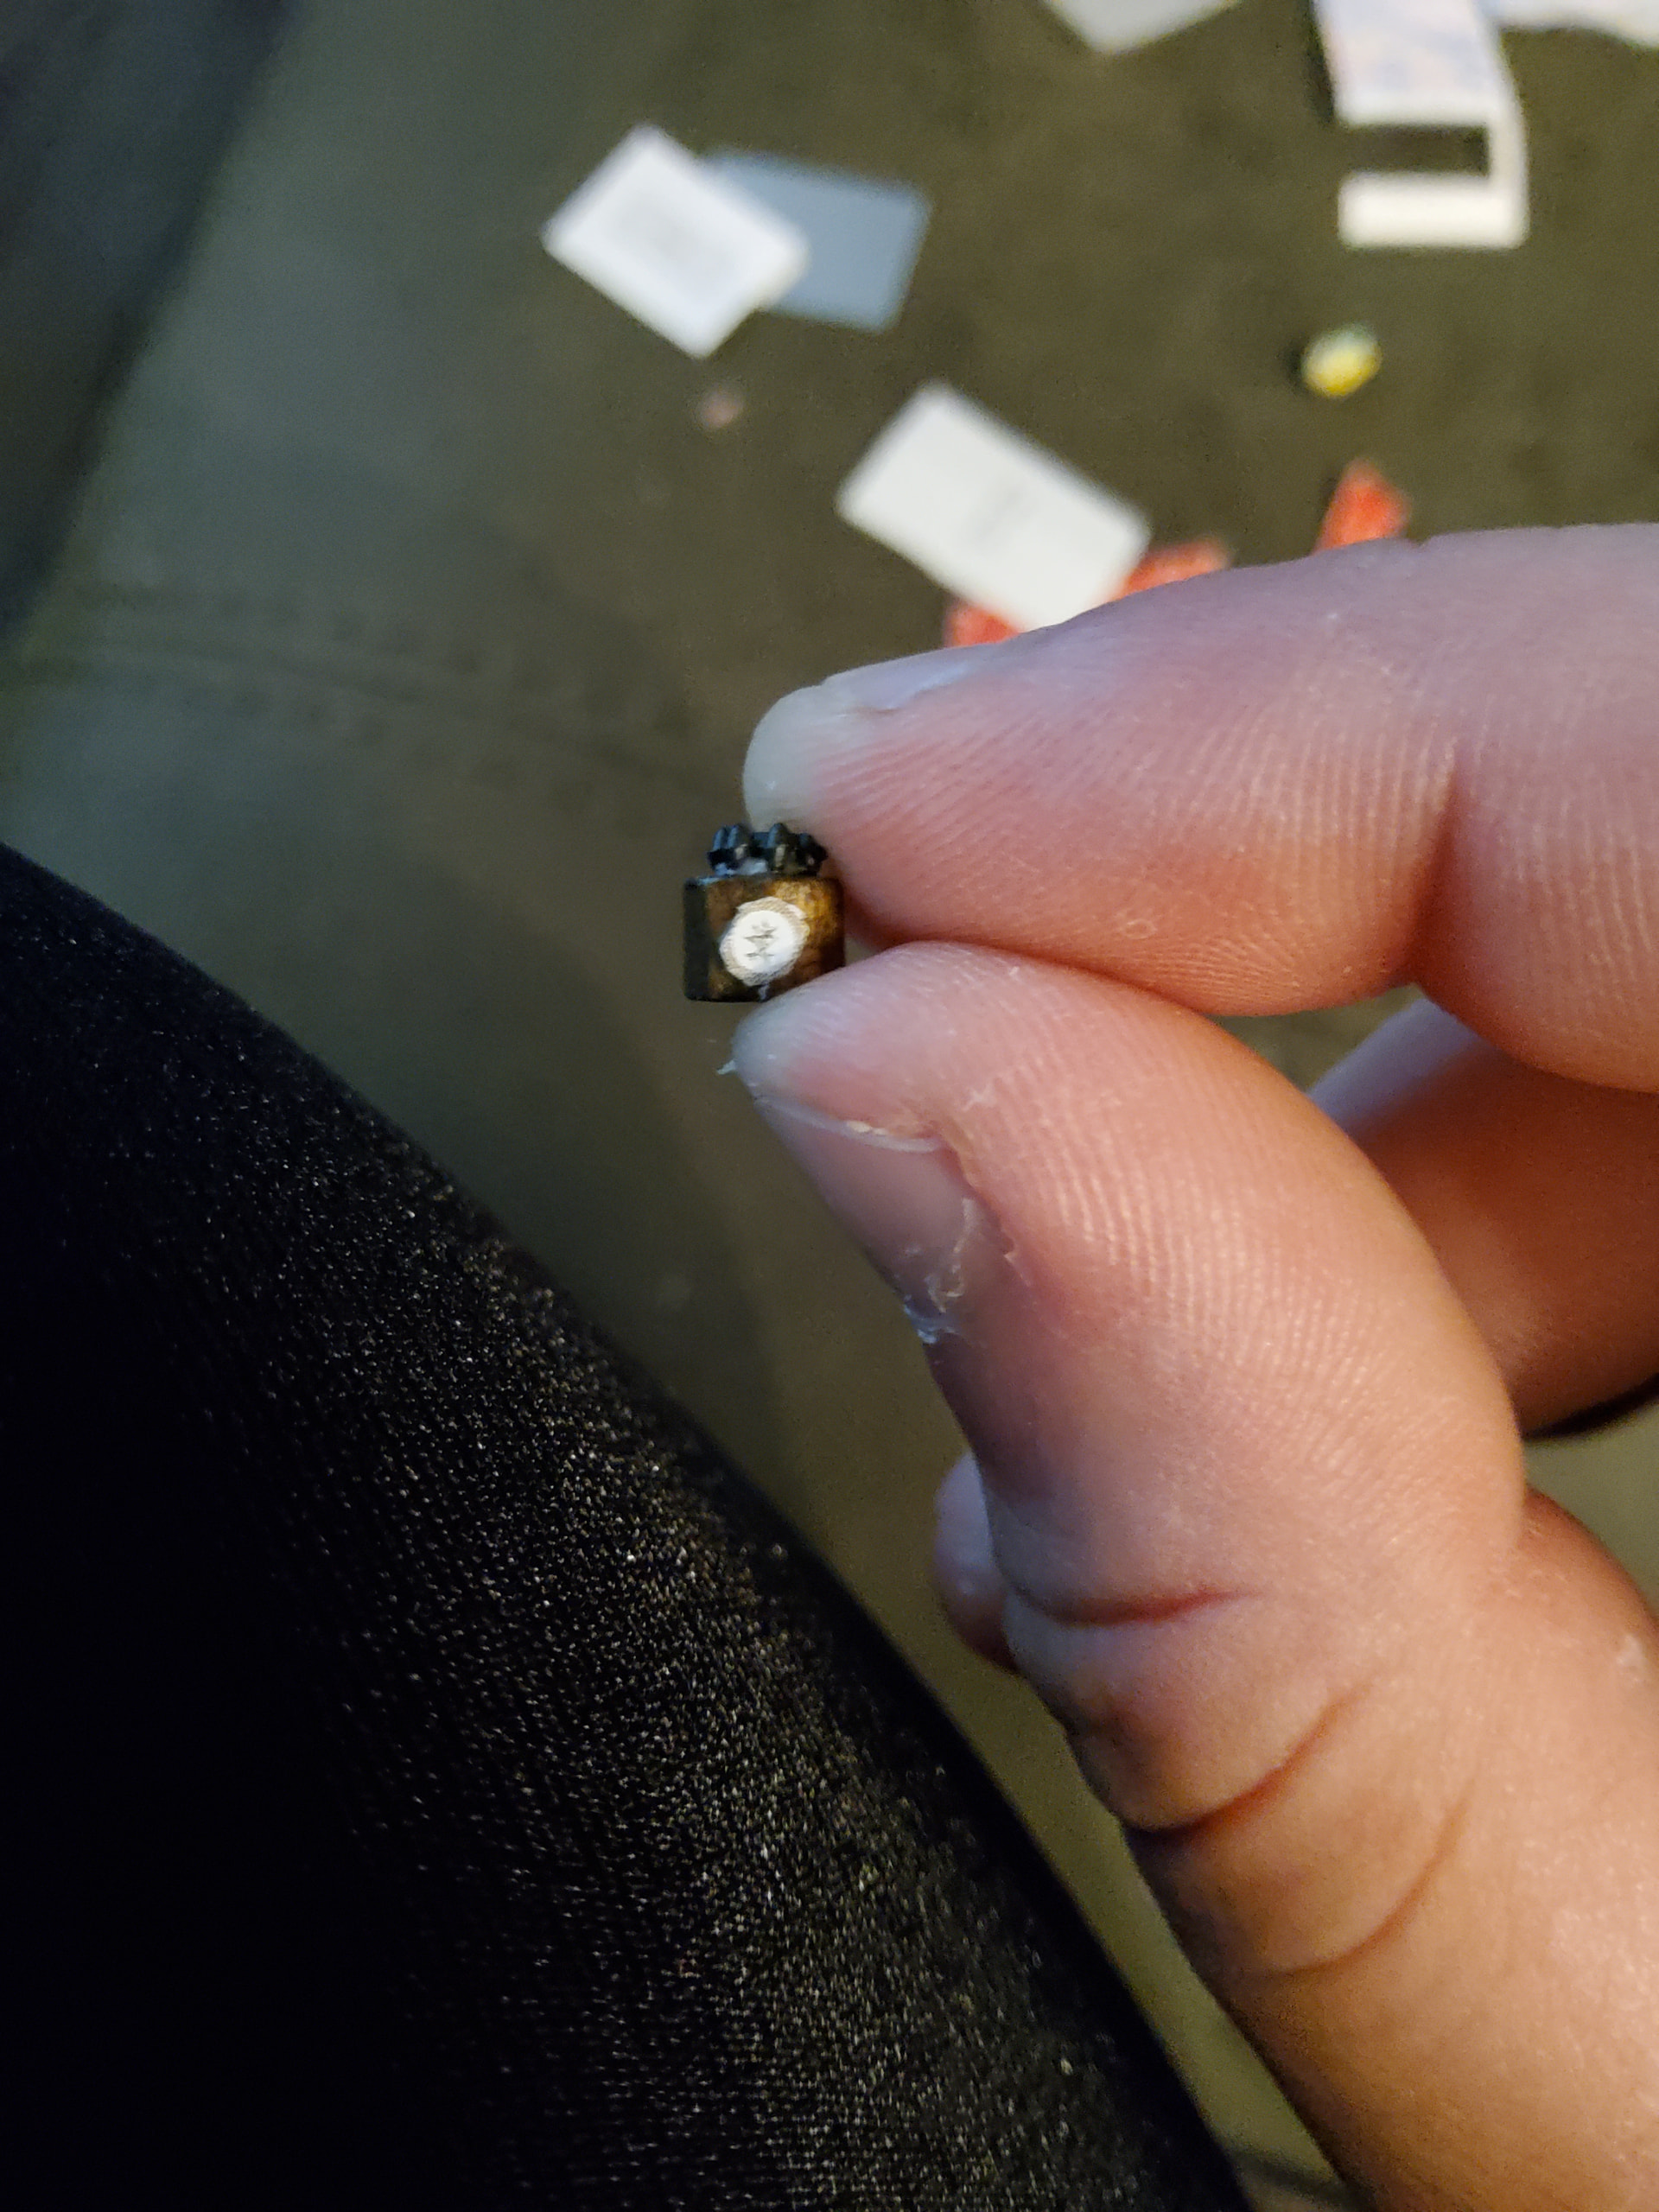
Welp. I was mistaken before. This is the smallest label ever.
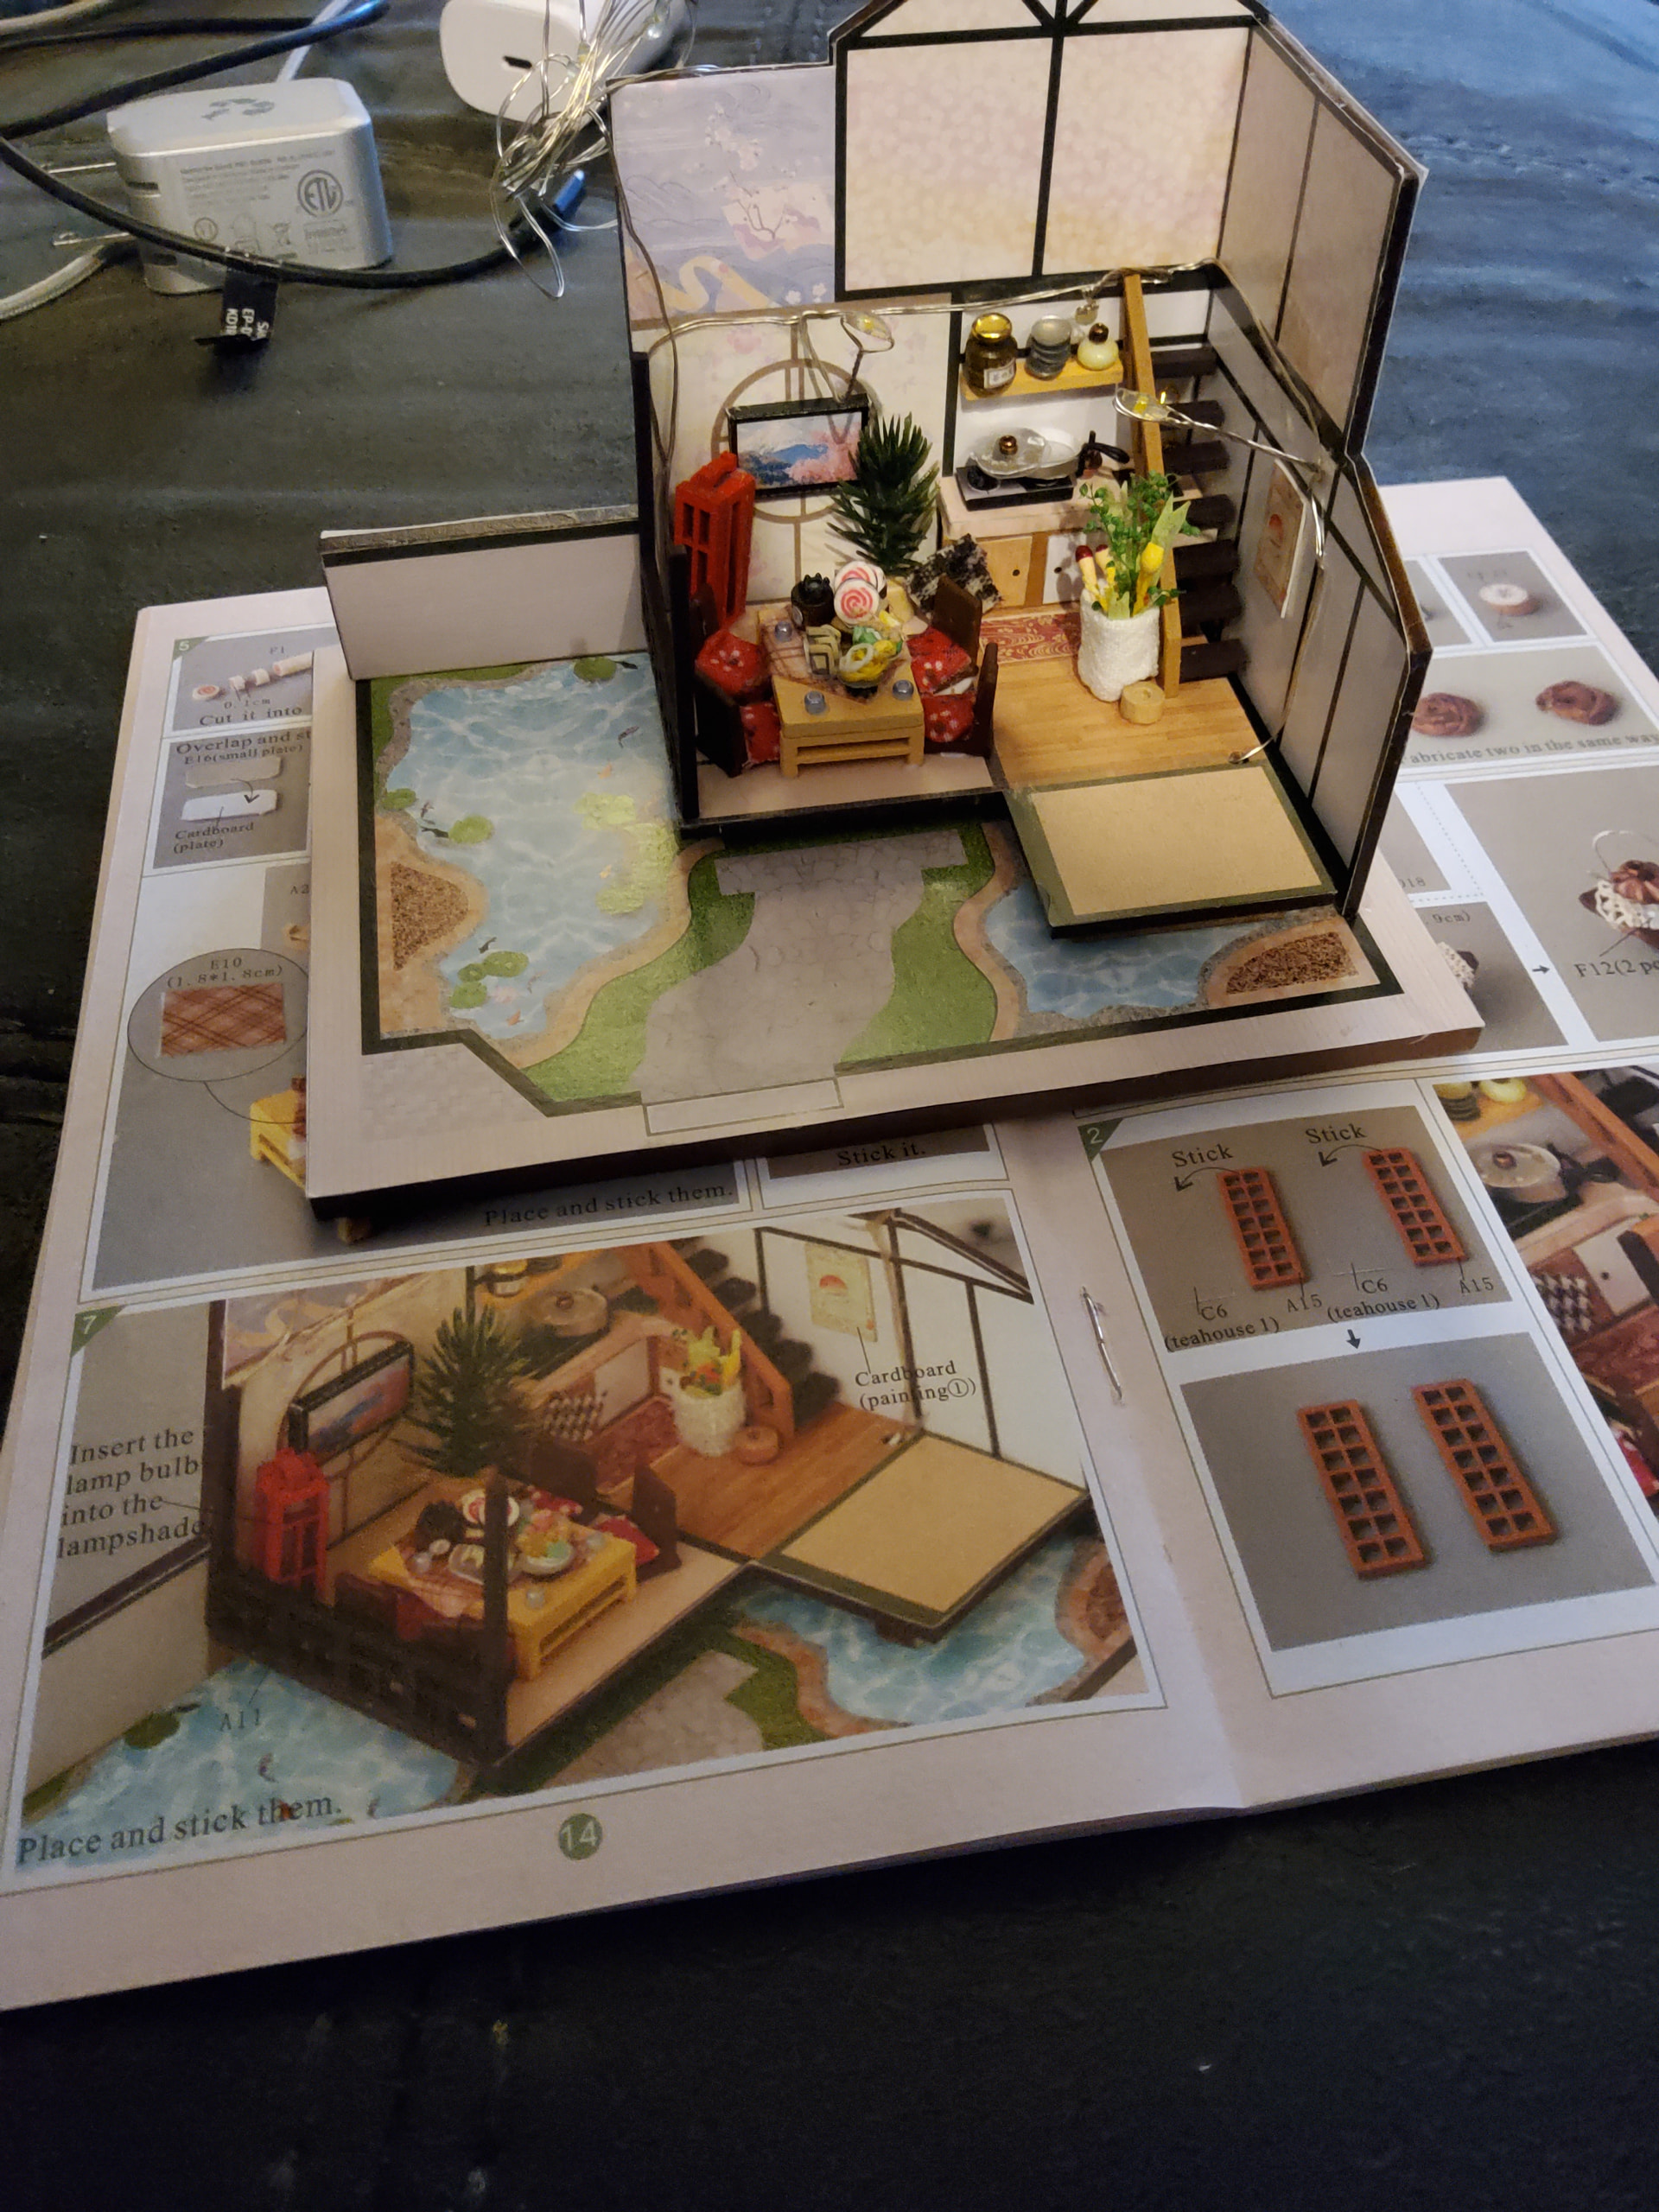
And here we are - I think we’re about halfway done at this point! I said it before, I’ve complained a lot about this kit, but hot dog is it looking sharp now that it’s coming together. The variety of materials makes it feel so lifelike. There are so many different textures, which is really eye-catching, and while the process has been annoying, I strongly admire the design/designer. It’s hard. But it really does look good.
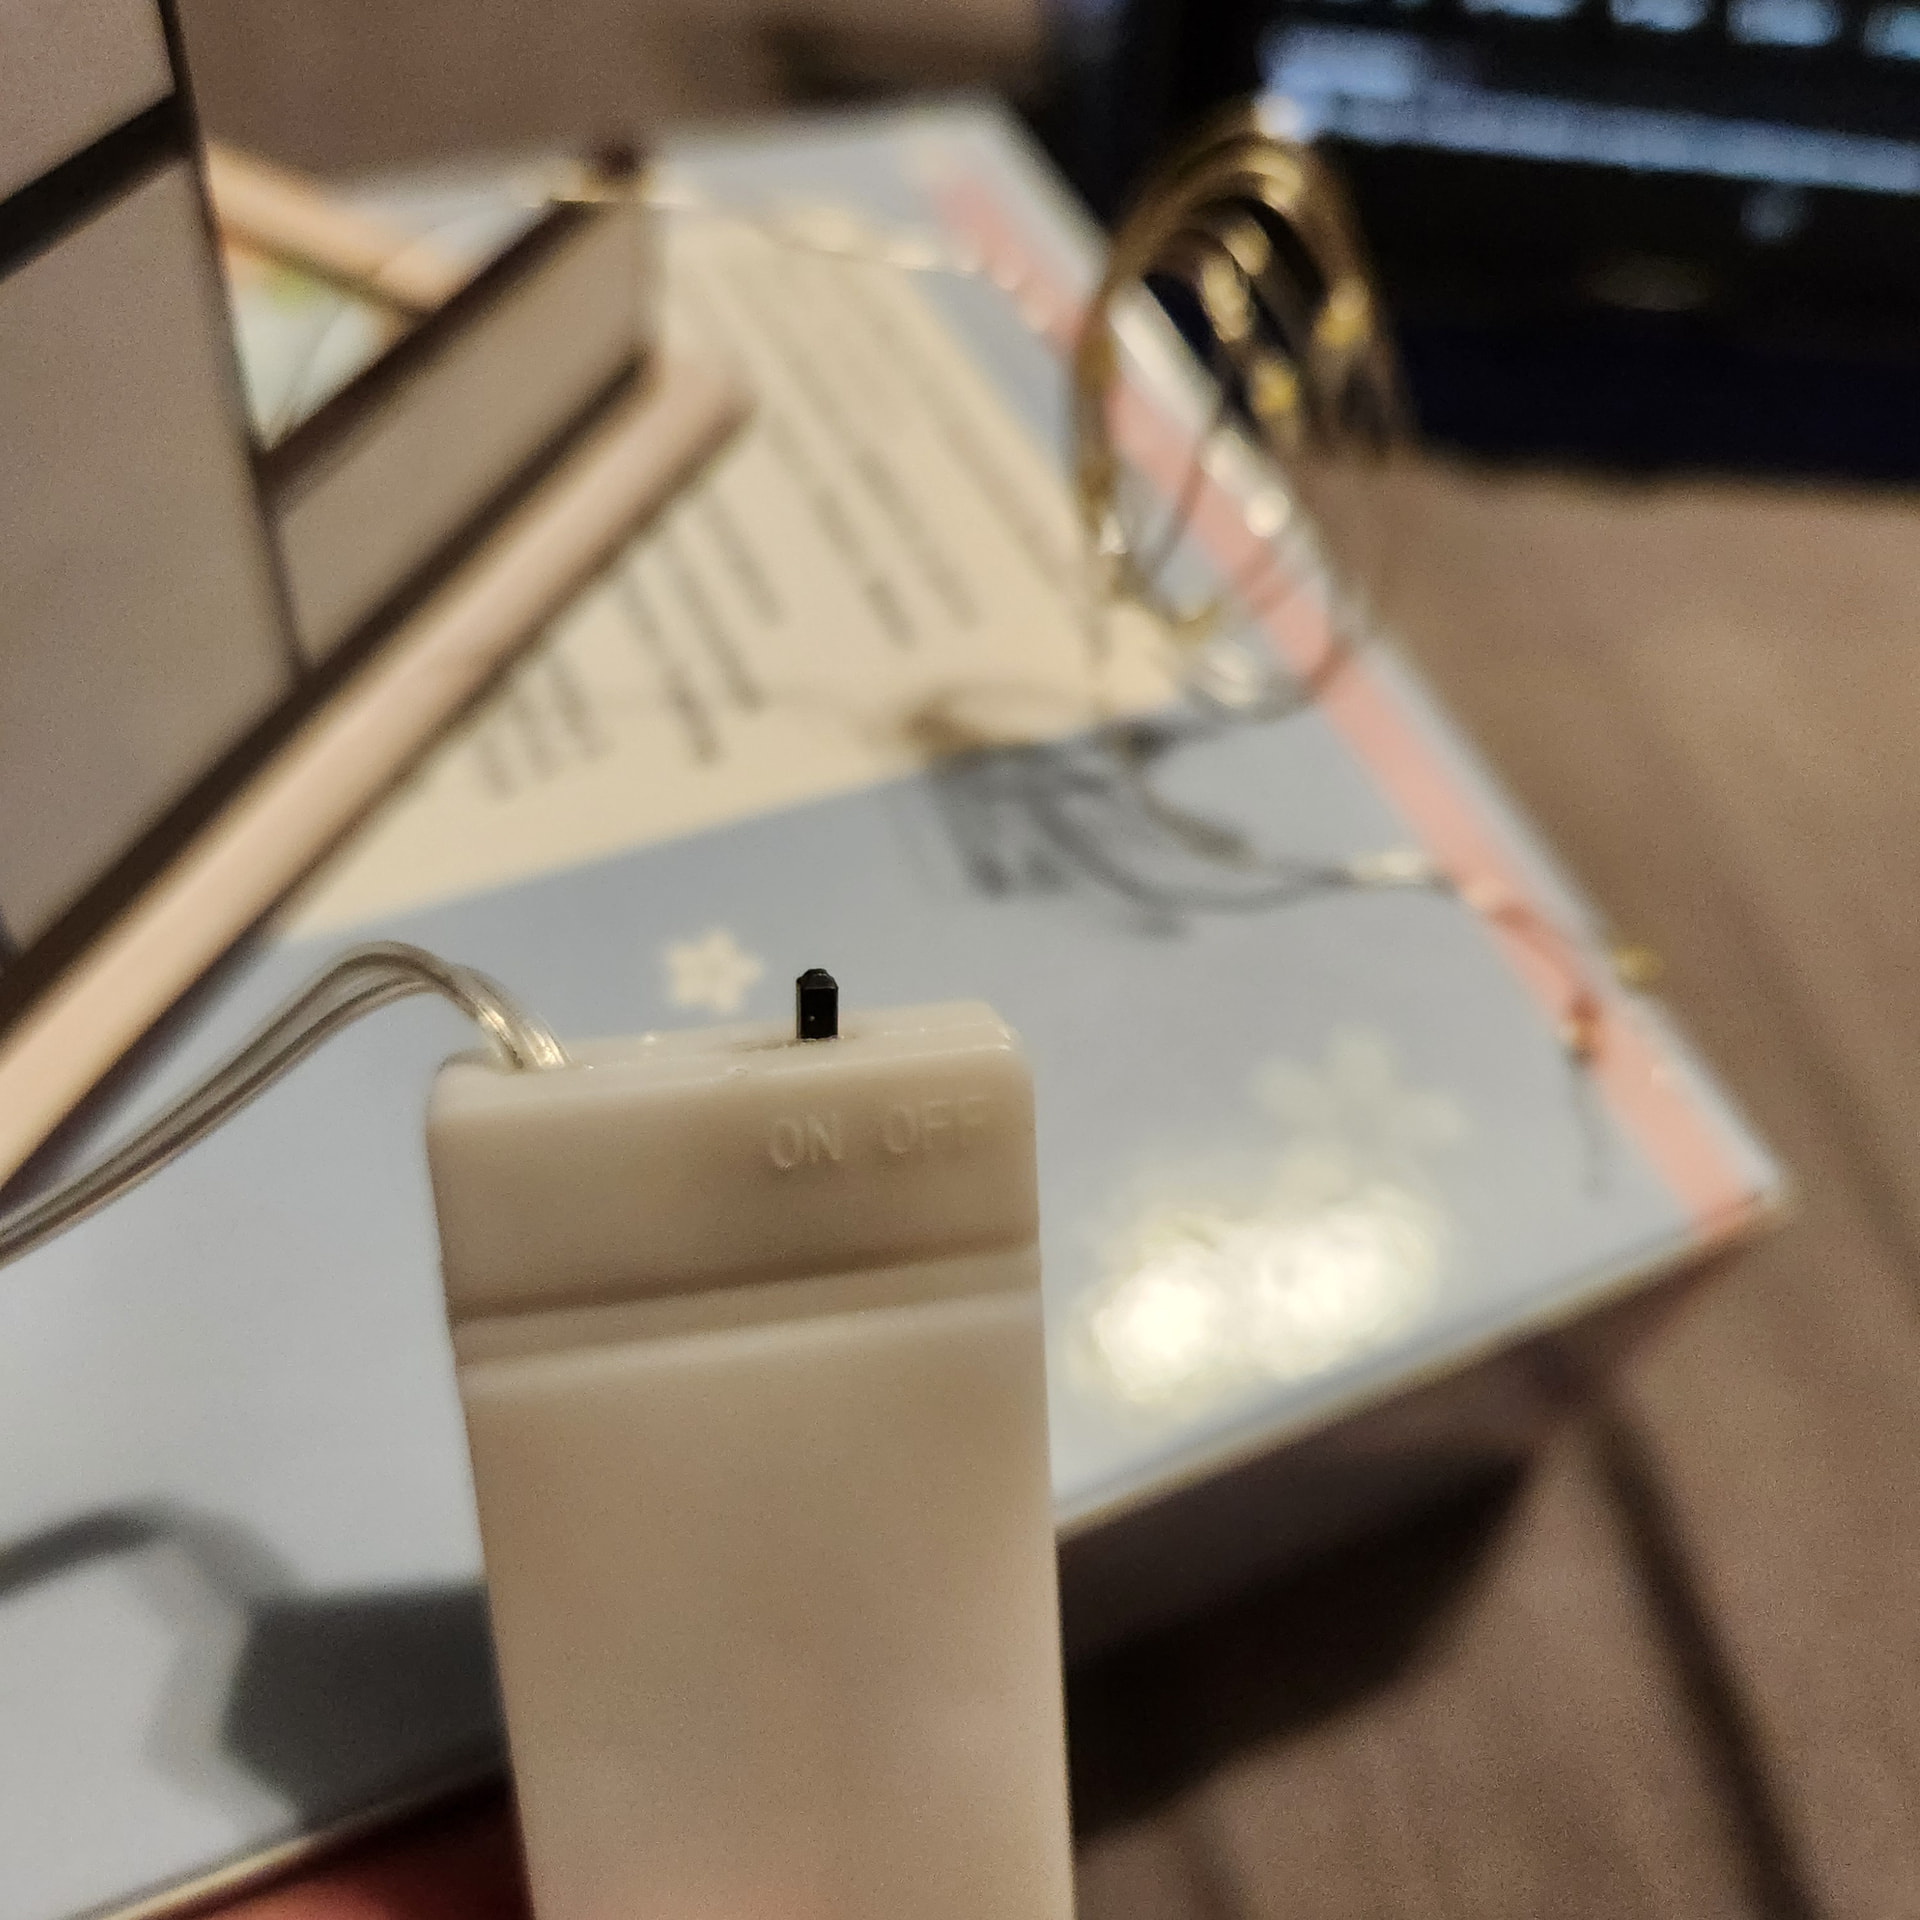
Sadly, we end this part on a roadblock - a fellow crafter noted that their lights didn’t work, and I realized I hadn’t actually tested the LEDs yet. Welp… glad I checked, because they’re kaput. We now get to uninstall the provided LEDs (string fairy-light-style LEDs, which was an odd choice considering wiring individual LEDs will be much simpler…)
However, it is the weekend, and my work is closed over the weekend, so I have to wait til Monday to get replacement lights.
What do y’all think: will it be easier to wait until this guy is finished and install the LEDs when it’s all put together, or should I wait 'til I have the LEDs to continue in case installation after it’s finished is too difficult?
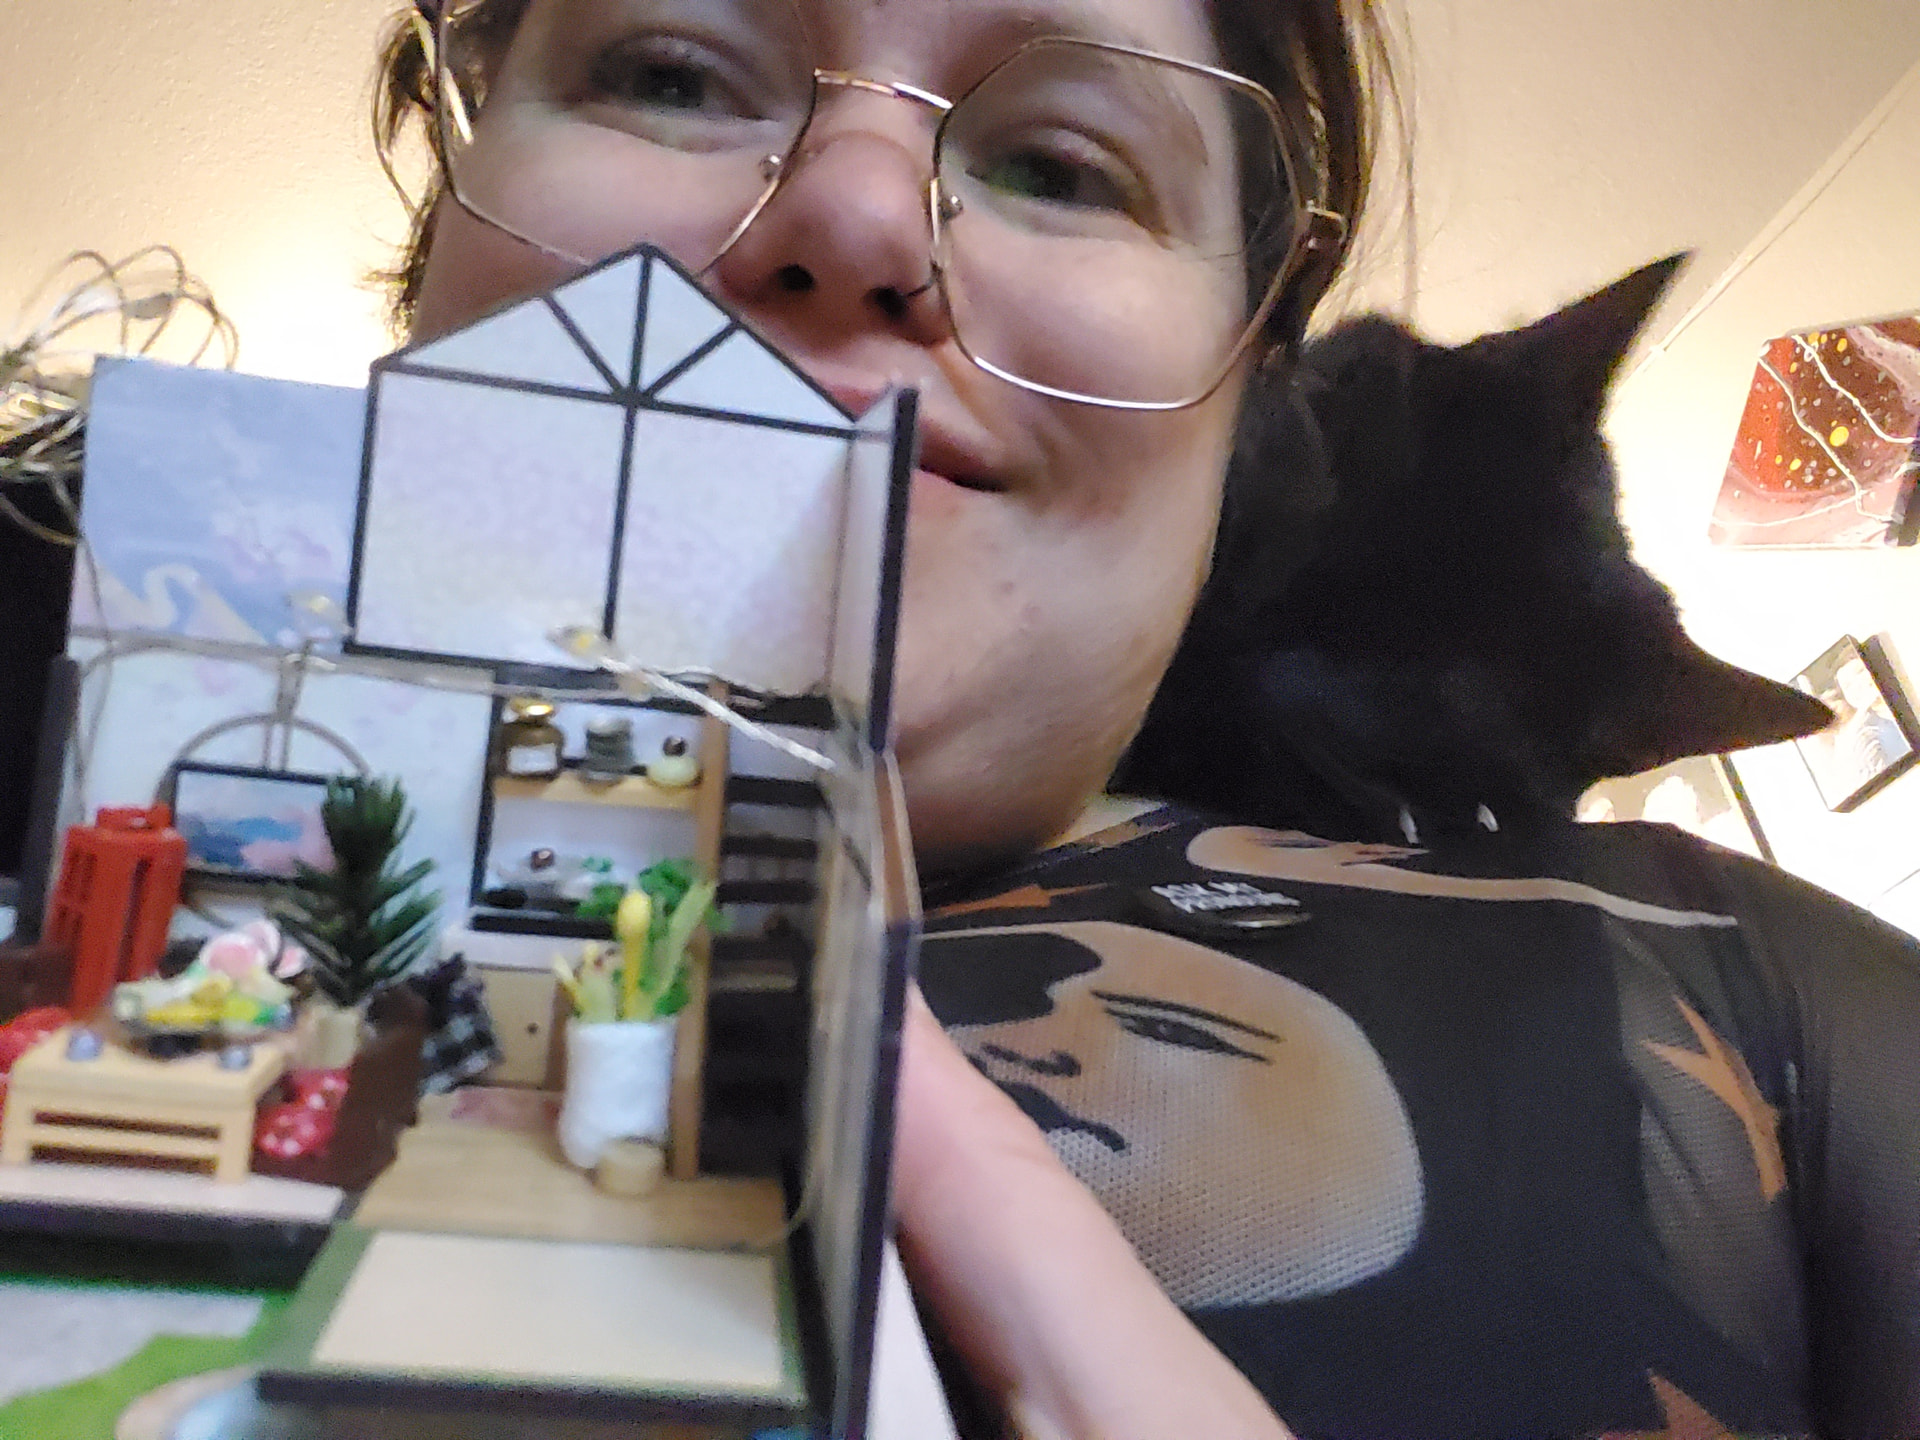
obligatory cat tax - baby boy needed a snuggle (and also a mark off my bingo card )
see y’all in part 3! 


 My eyes will be hurt to build that mini kit.