There is a plethora of options for sanding tools besides the standard sand paper that comes with most models.
I did some research and compiled a long list of sanding tools that are used by crafters in the miniature world. Be aware that some of these would be overkill for Robotime kit models as some are geared more towards crafters who make things from scratch including cutting the wood themselves.
Personally, I started with the standard sand paper, then tried a longer wooden sanding block, then miniature hard foam sanding blocks which I found a lot more comfortable. They come in different grades. I also have mini files of different shaped blades which were very handy for tight corners or unusually shaped edges.
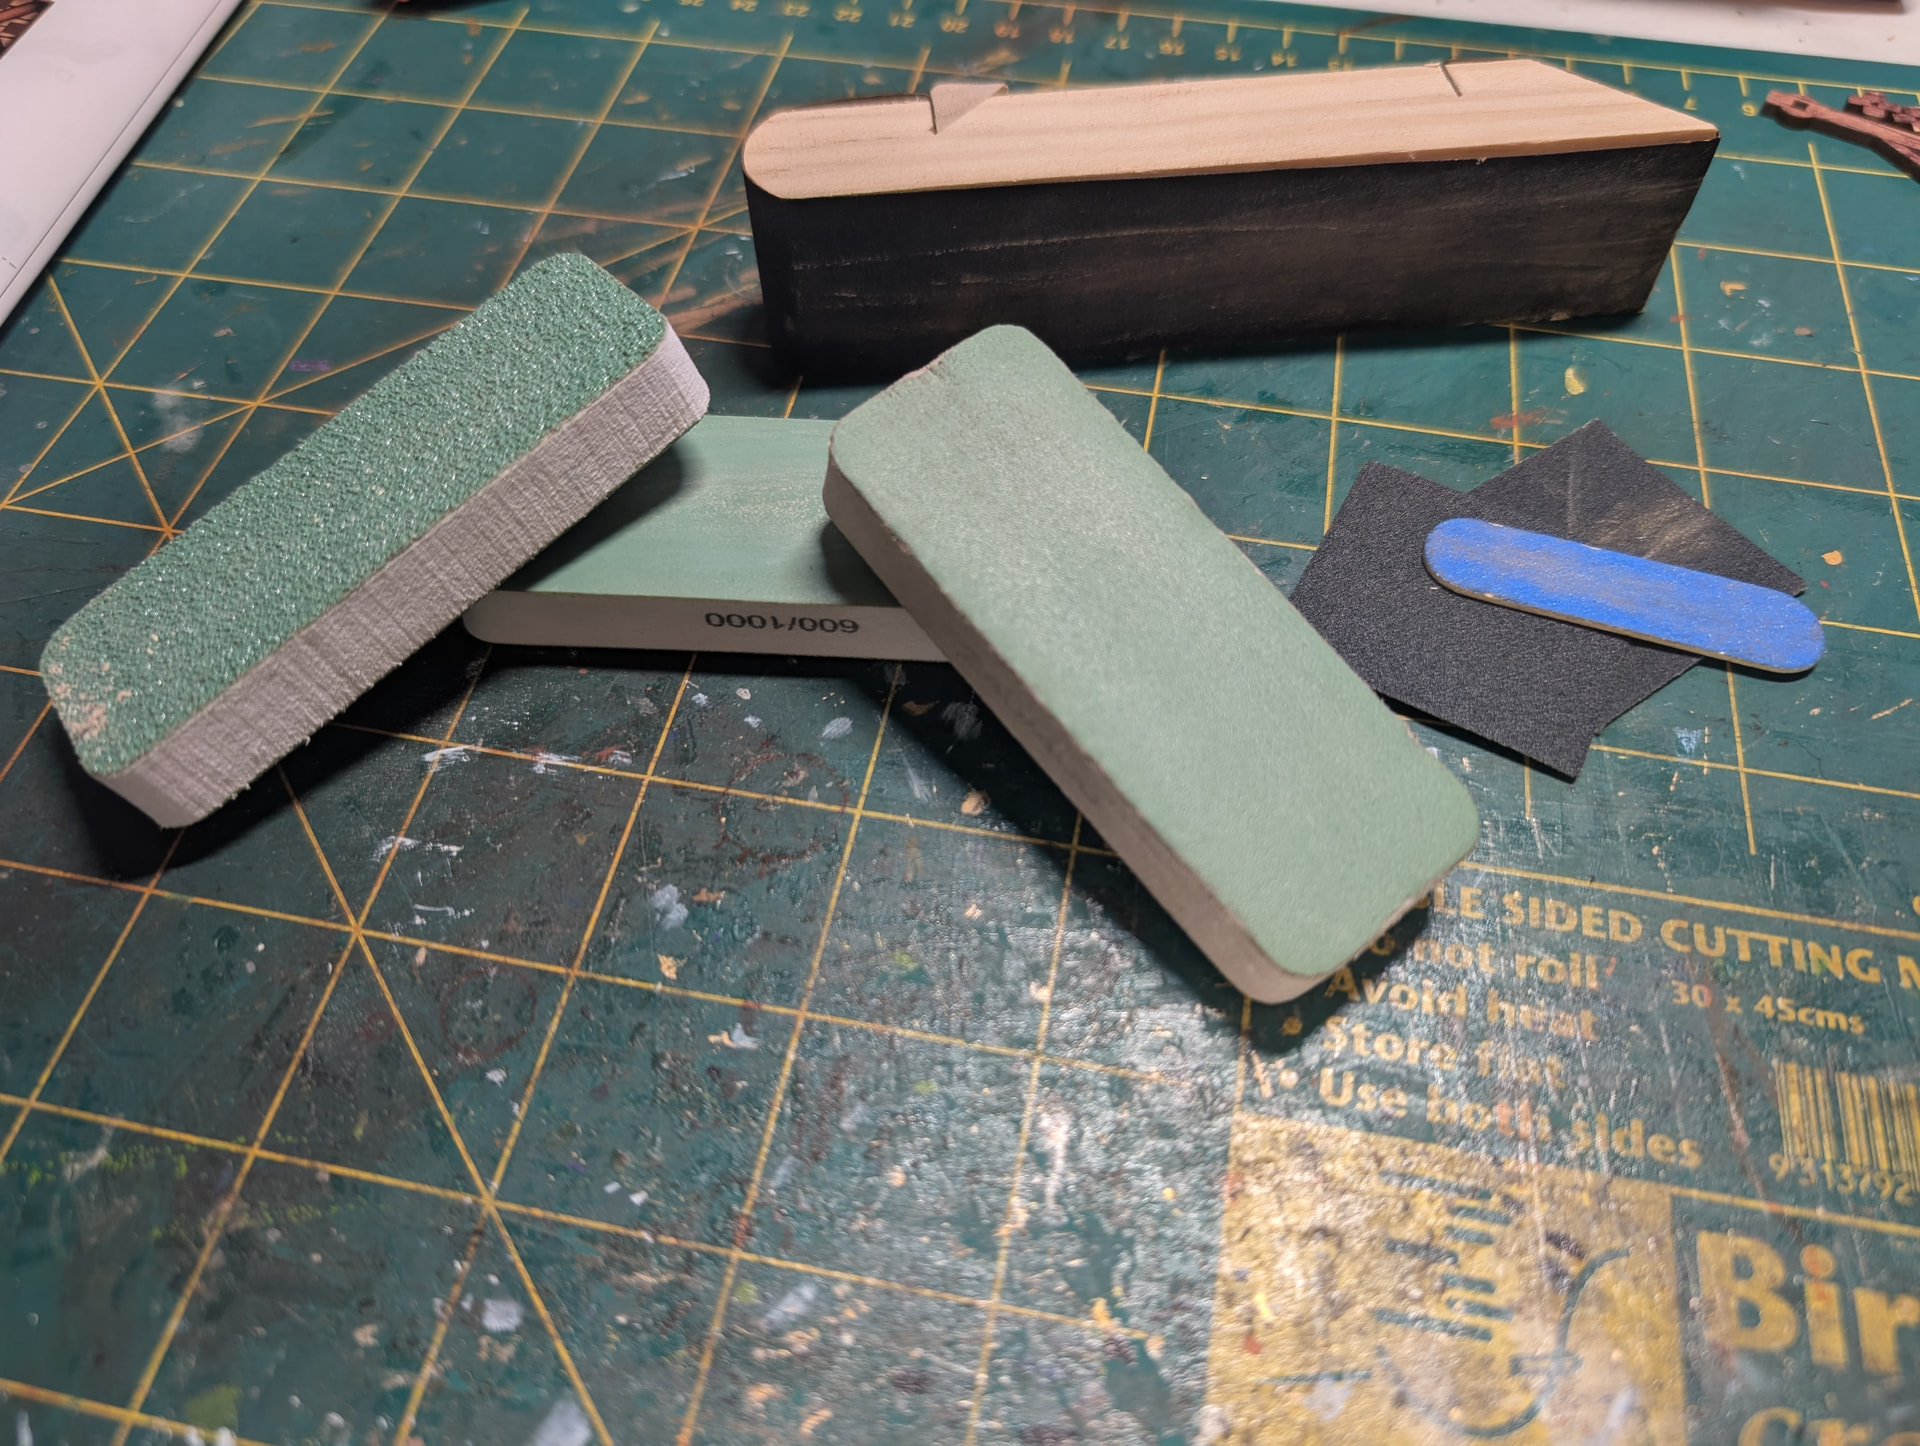
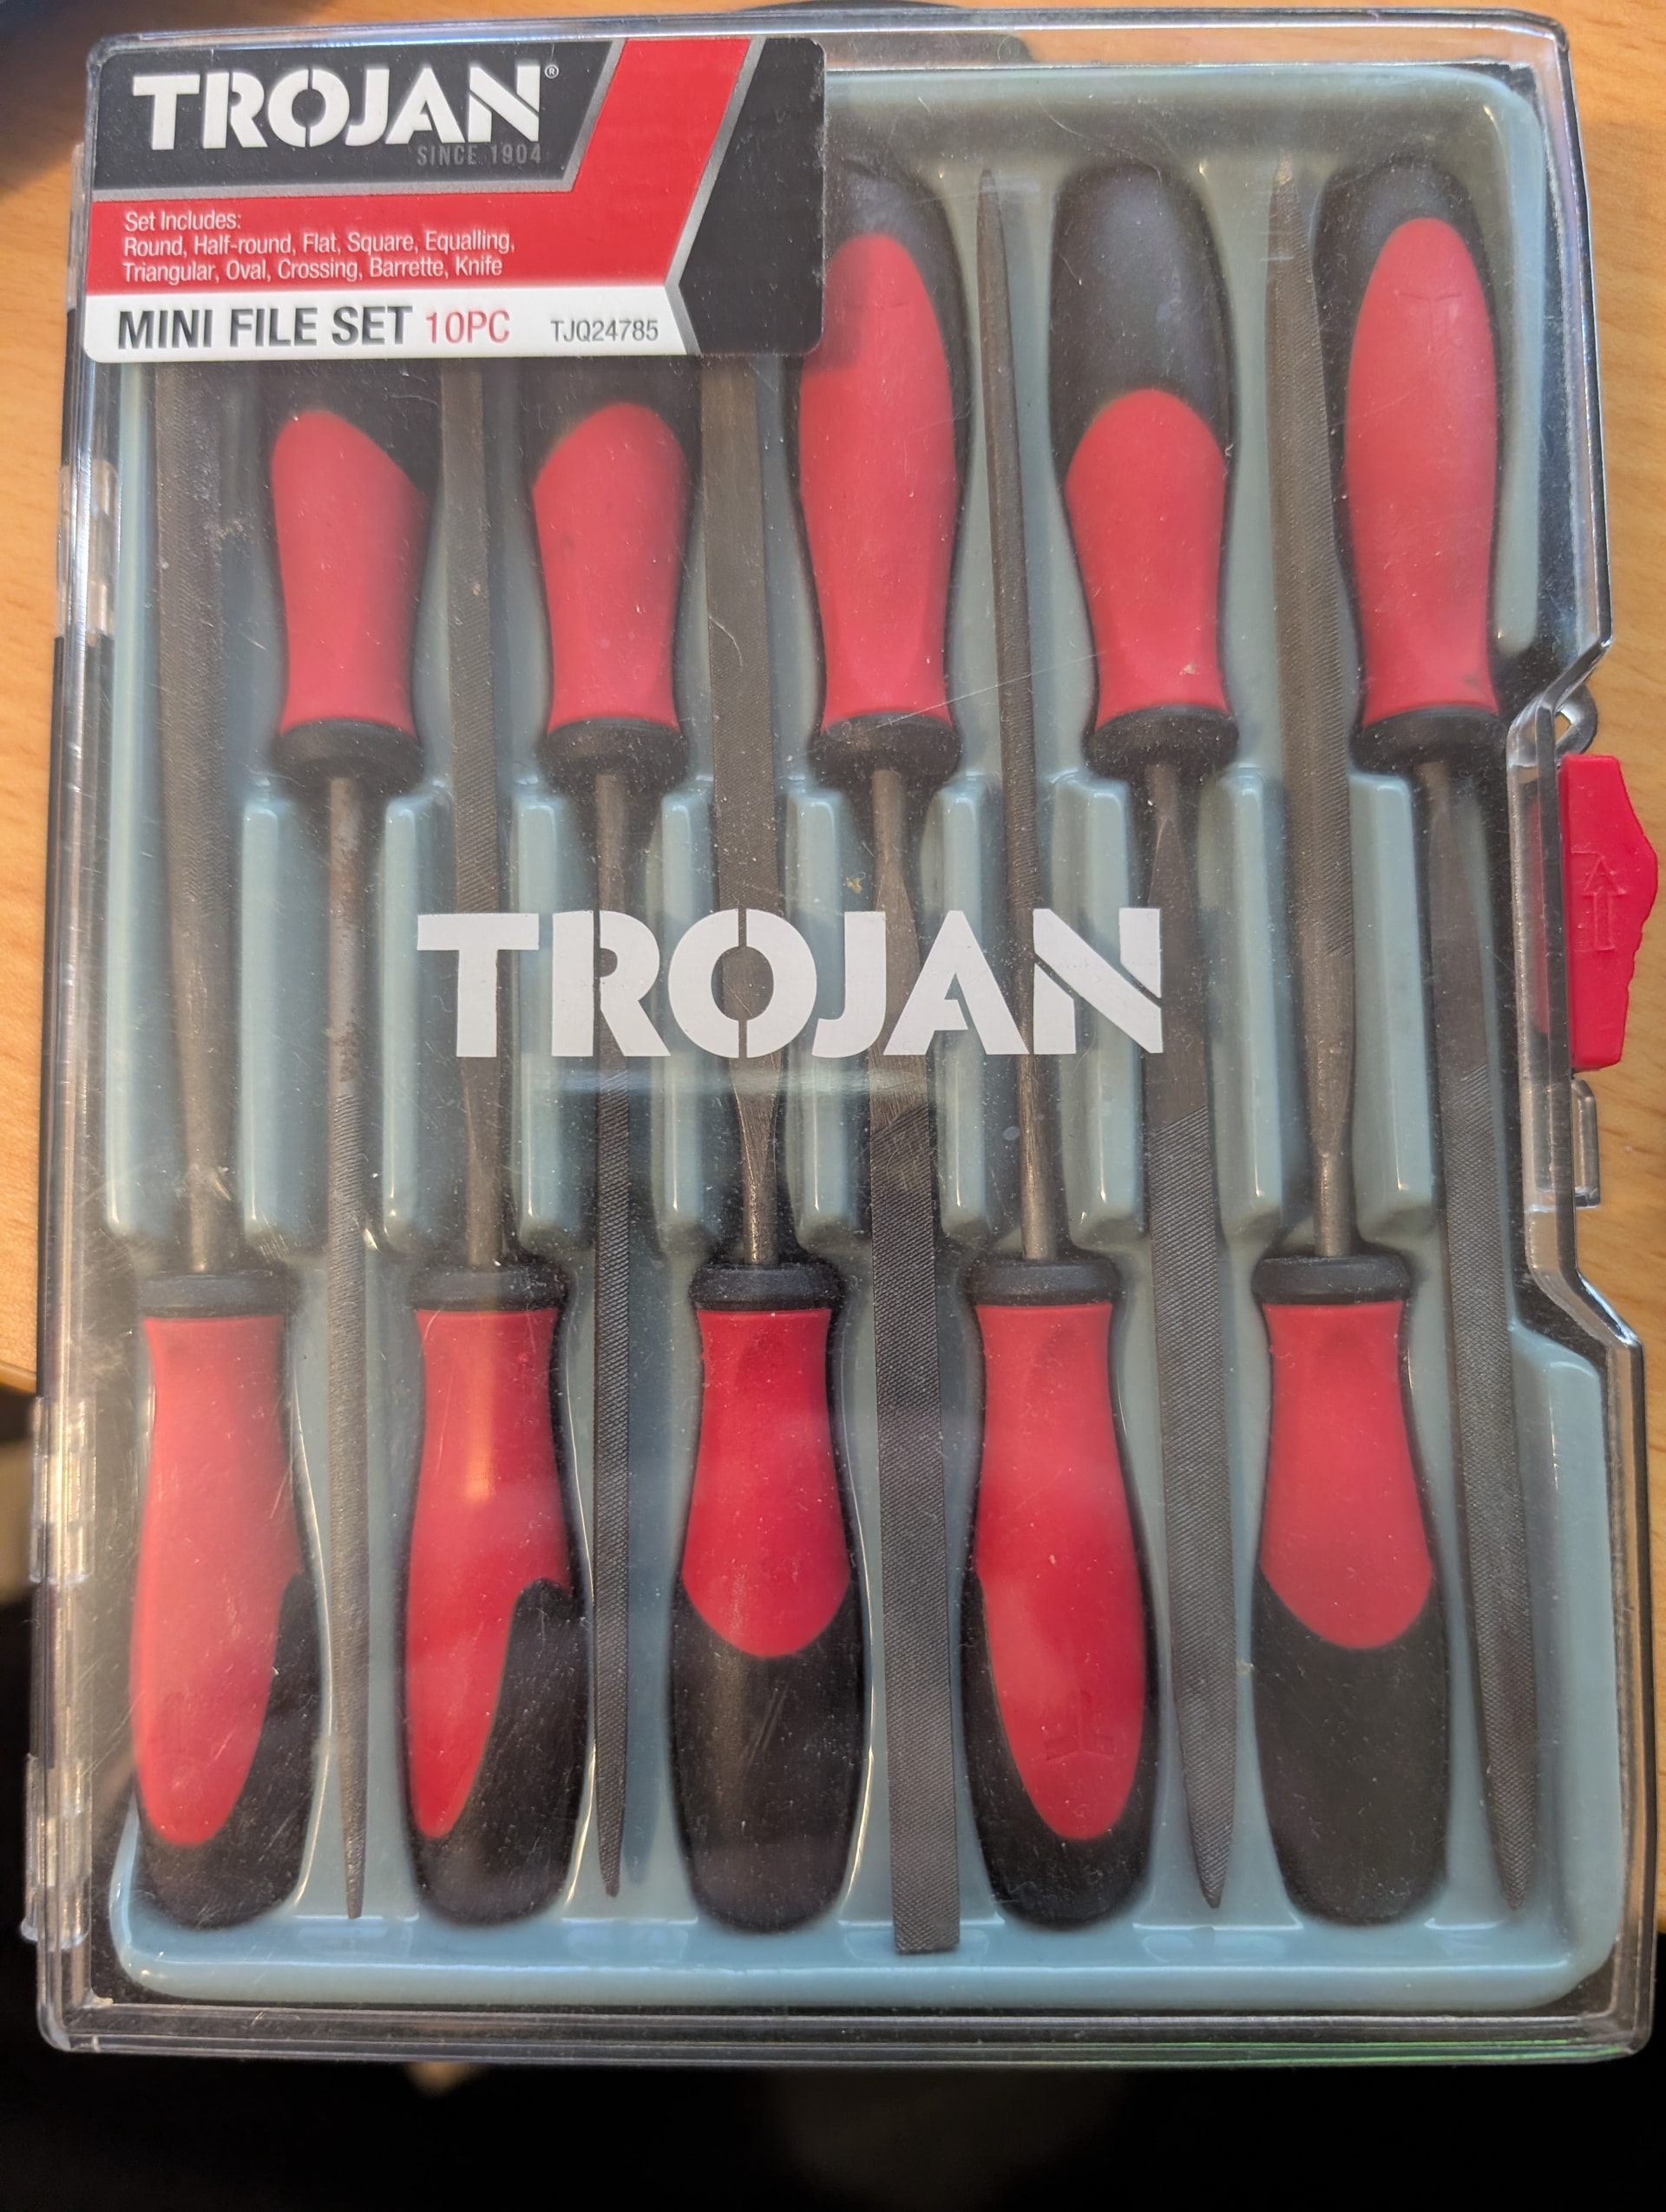
I have some arthritis in my left thumb joints, so I needed to look at something where I could hold the object being sanded stationary in my left while my right hand did the job for me with very little effort as it is the back and forth of sanding that puts the pressure on my left thumb aggravating the joints.
The game changer for me was my USB rechargable mini engraver. It has plenty of tool heads that slot in place and I use it on EVERY model. It is rare i pick up a normal sanding tool like my old ones anymore, unless I am wanting to sand the entire length of the edge of a long piece, in which case, I prefer my foam sanding blocks. The engraver is very comfortable to hold and run along the edges, and you can also hold it like a pen if you want to try your hand at engraving details.

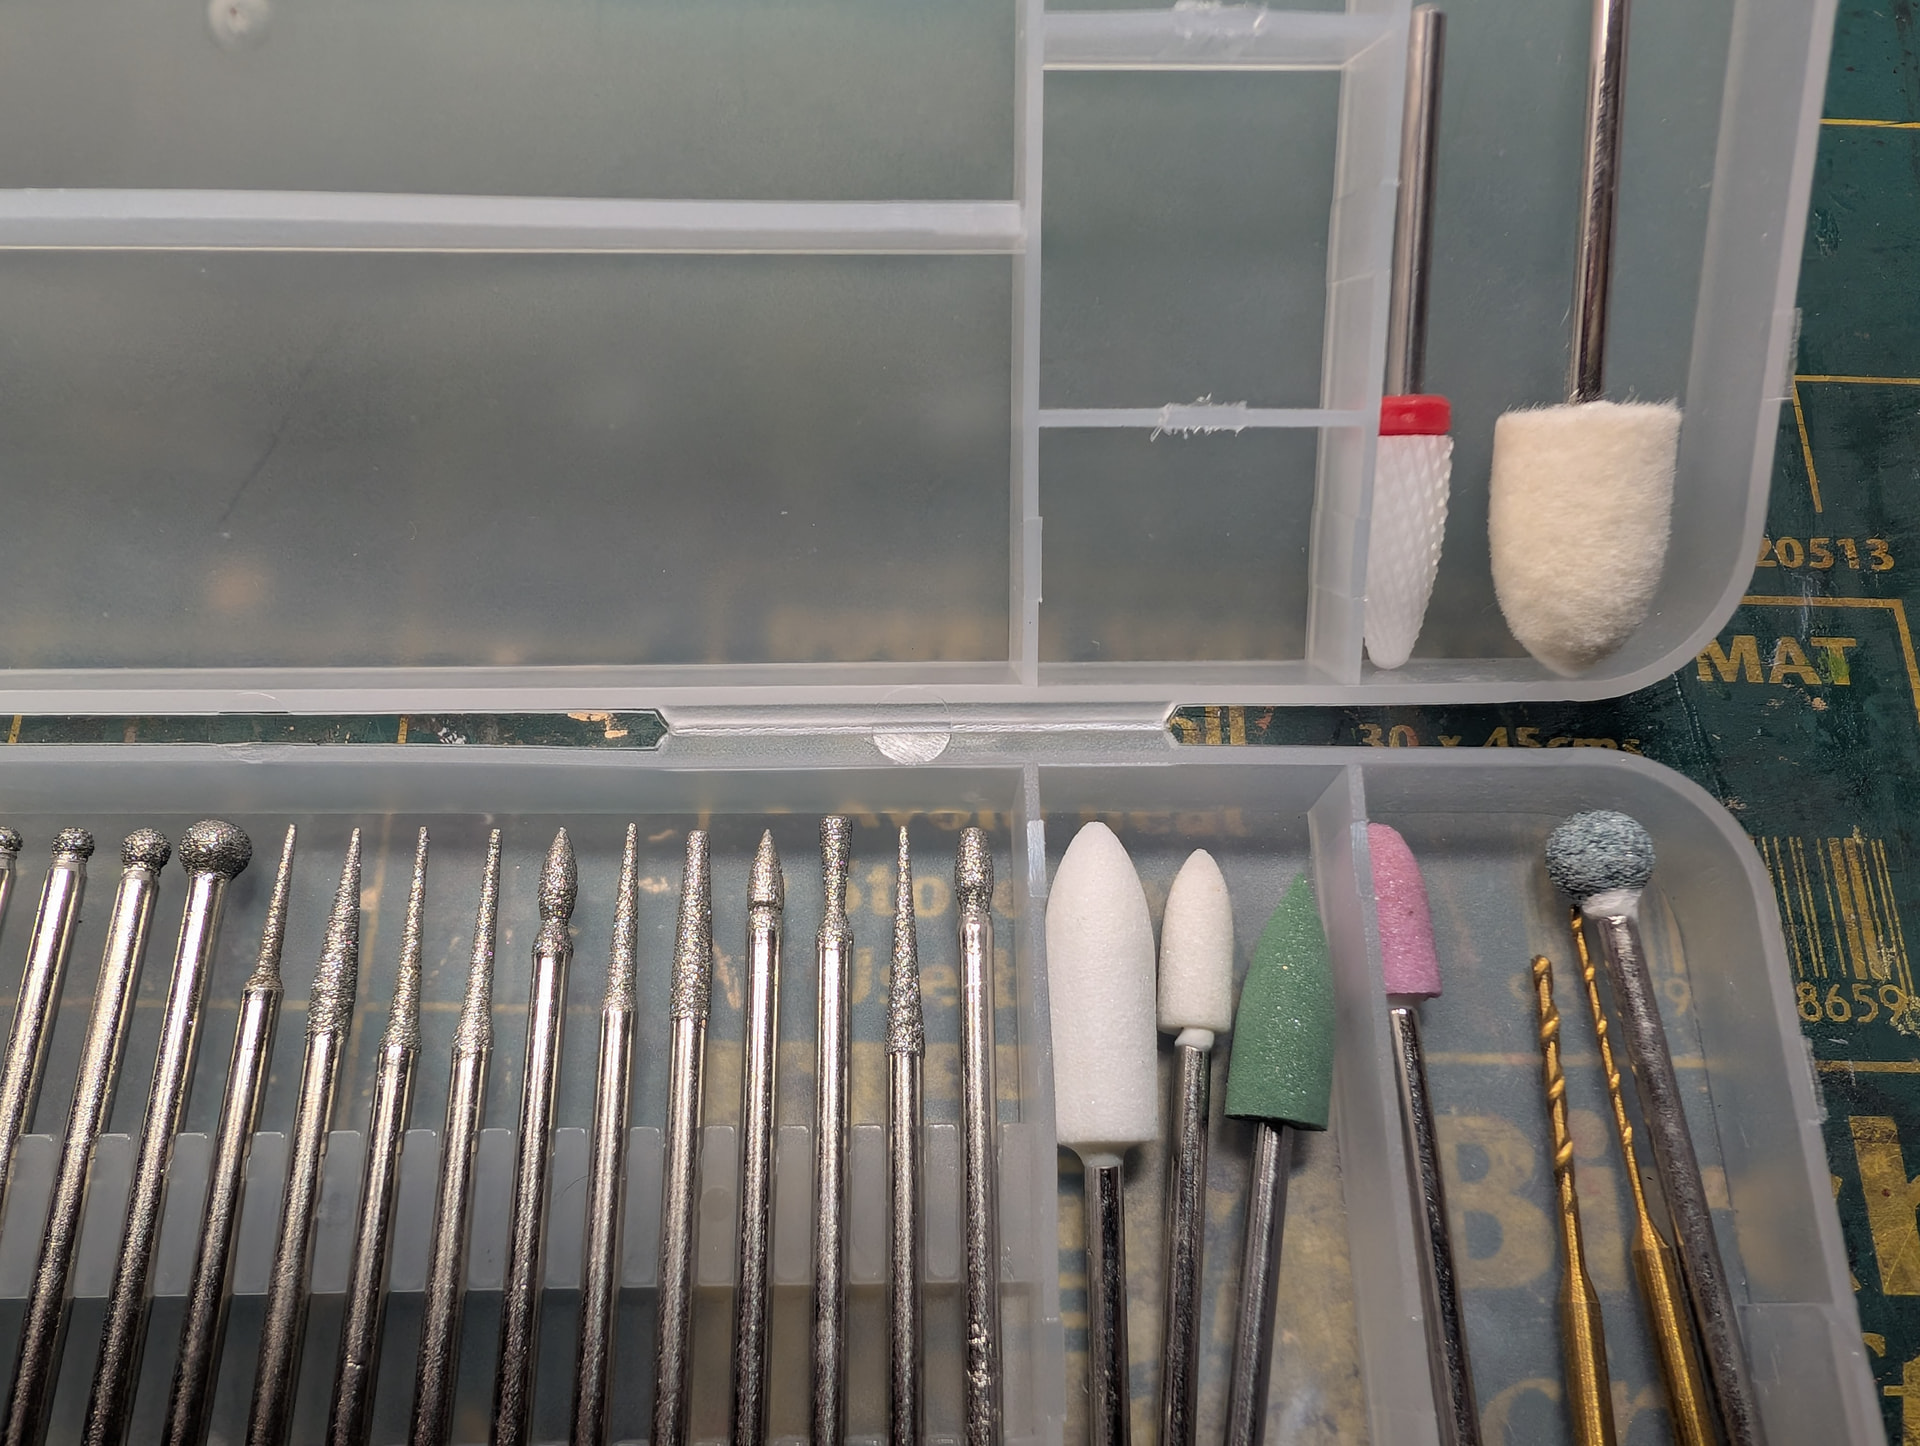
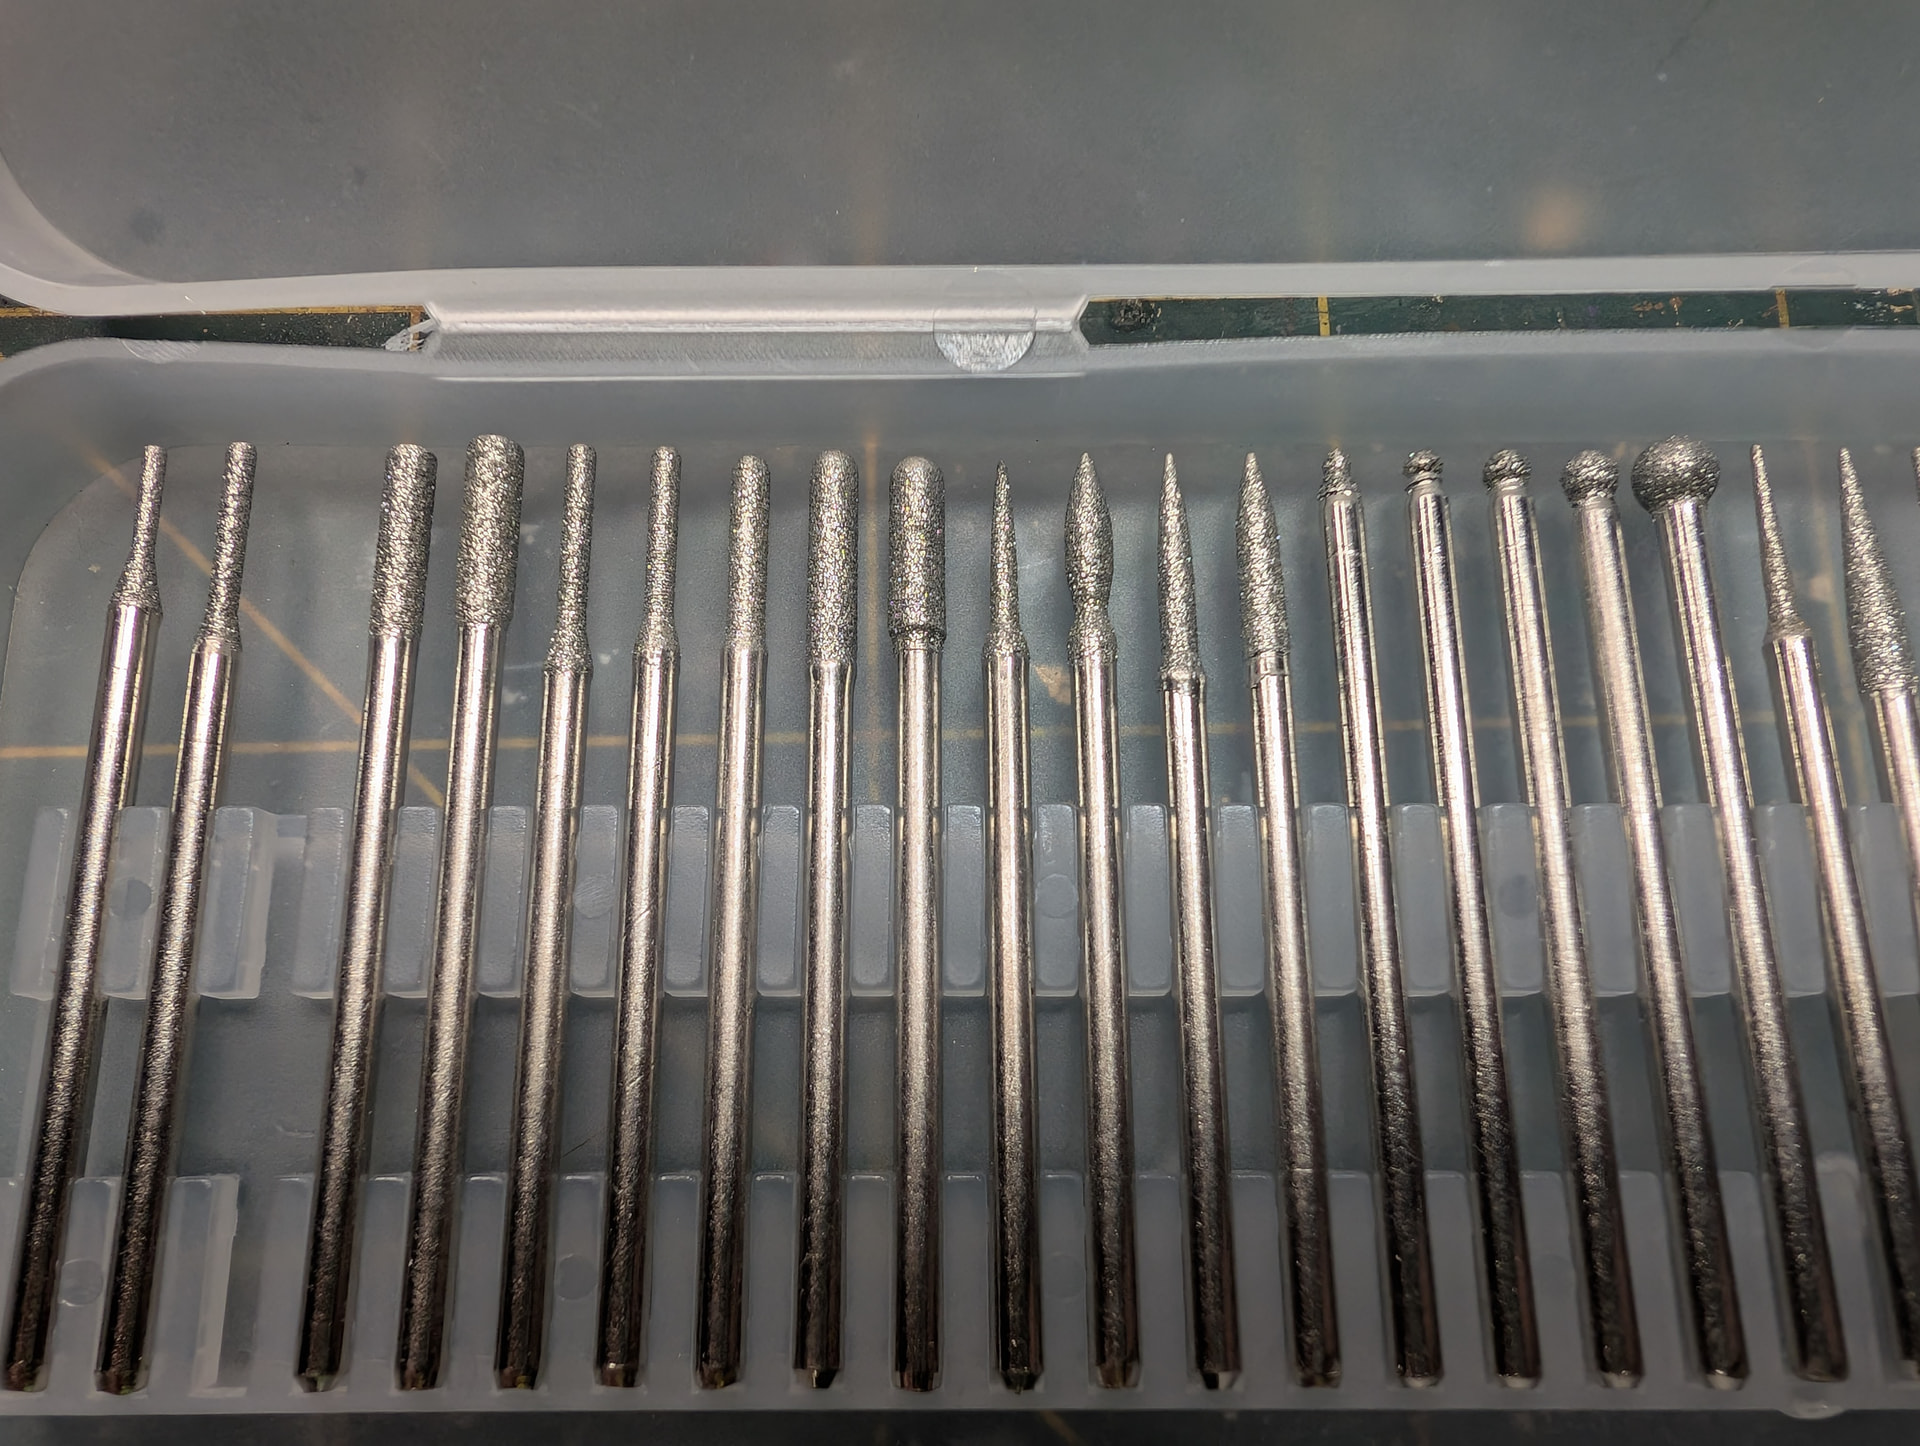
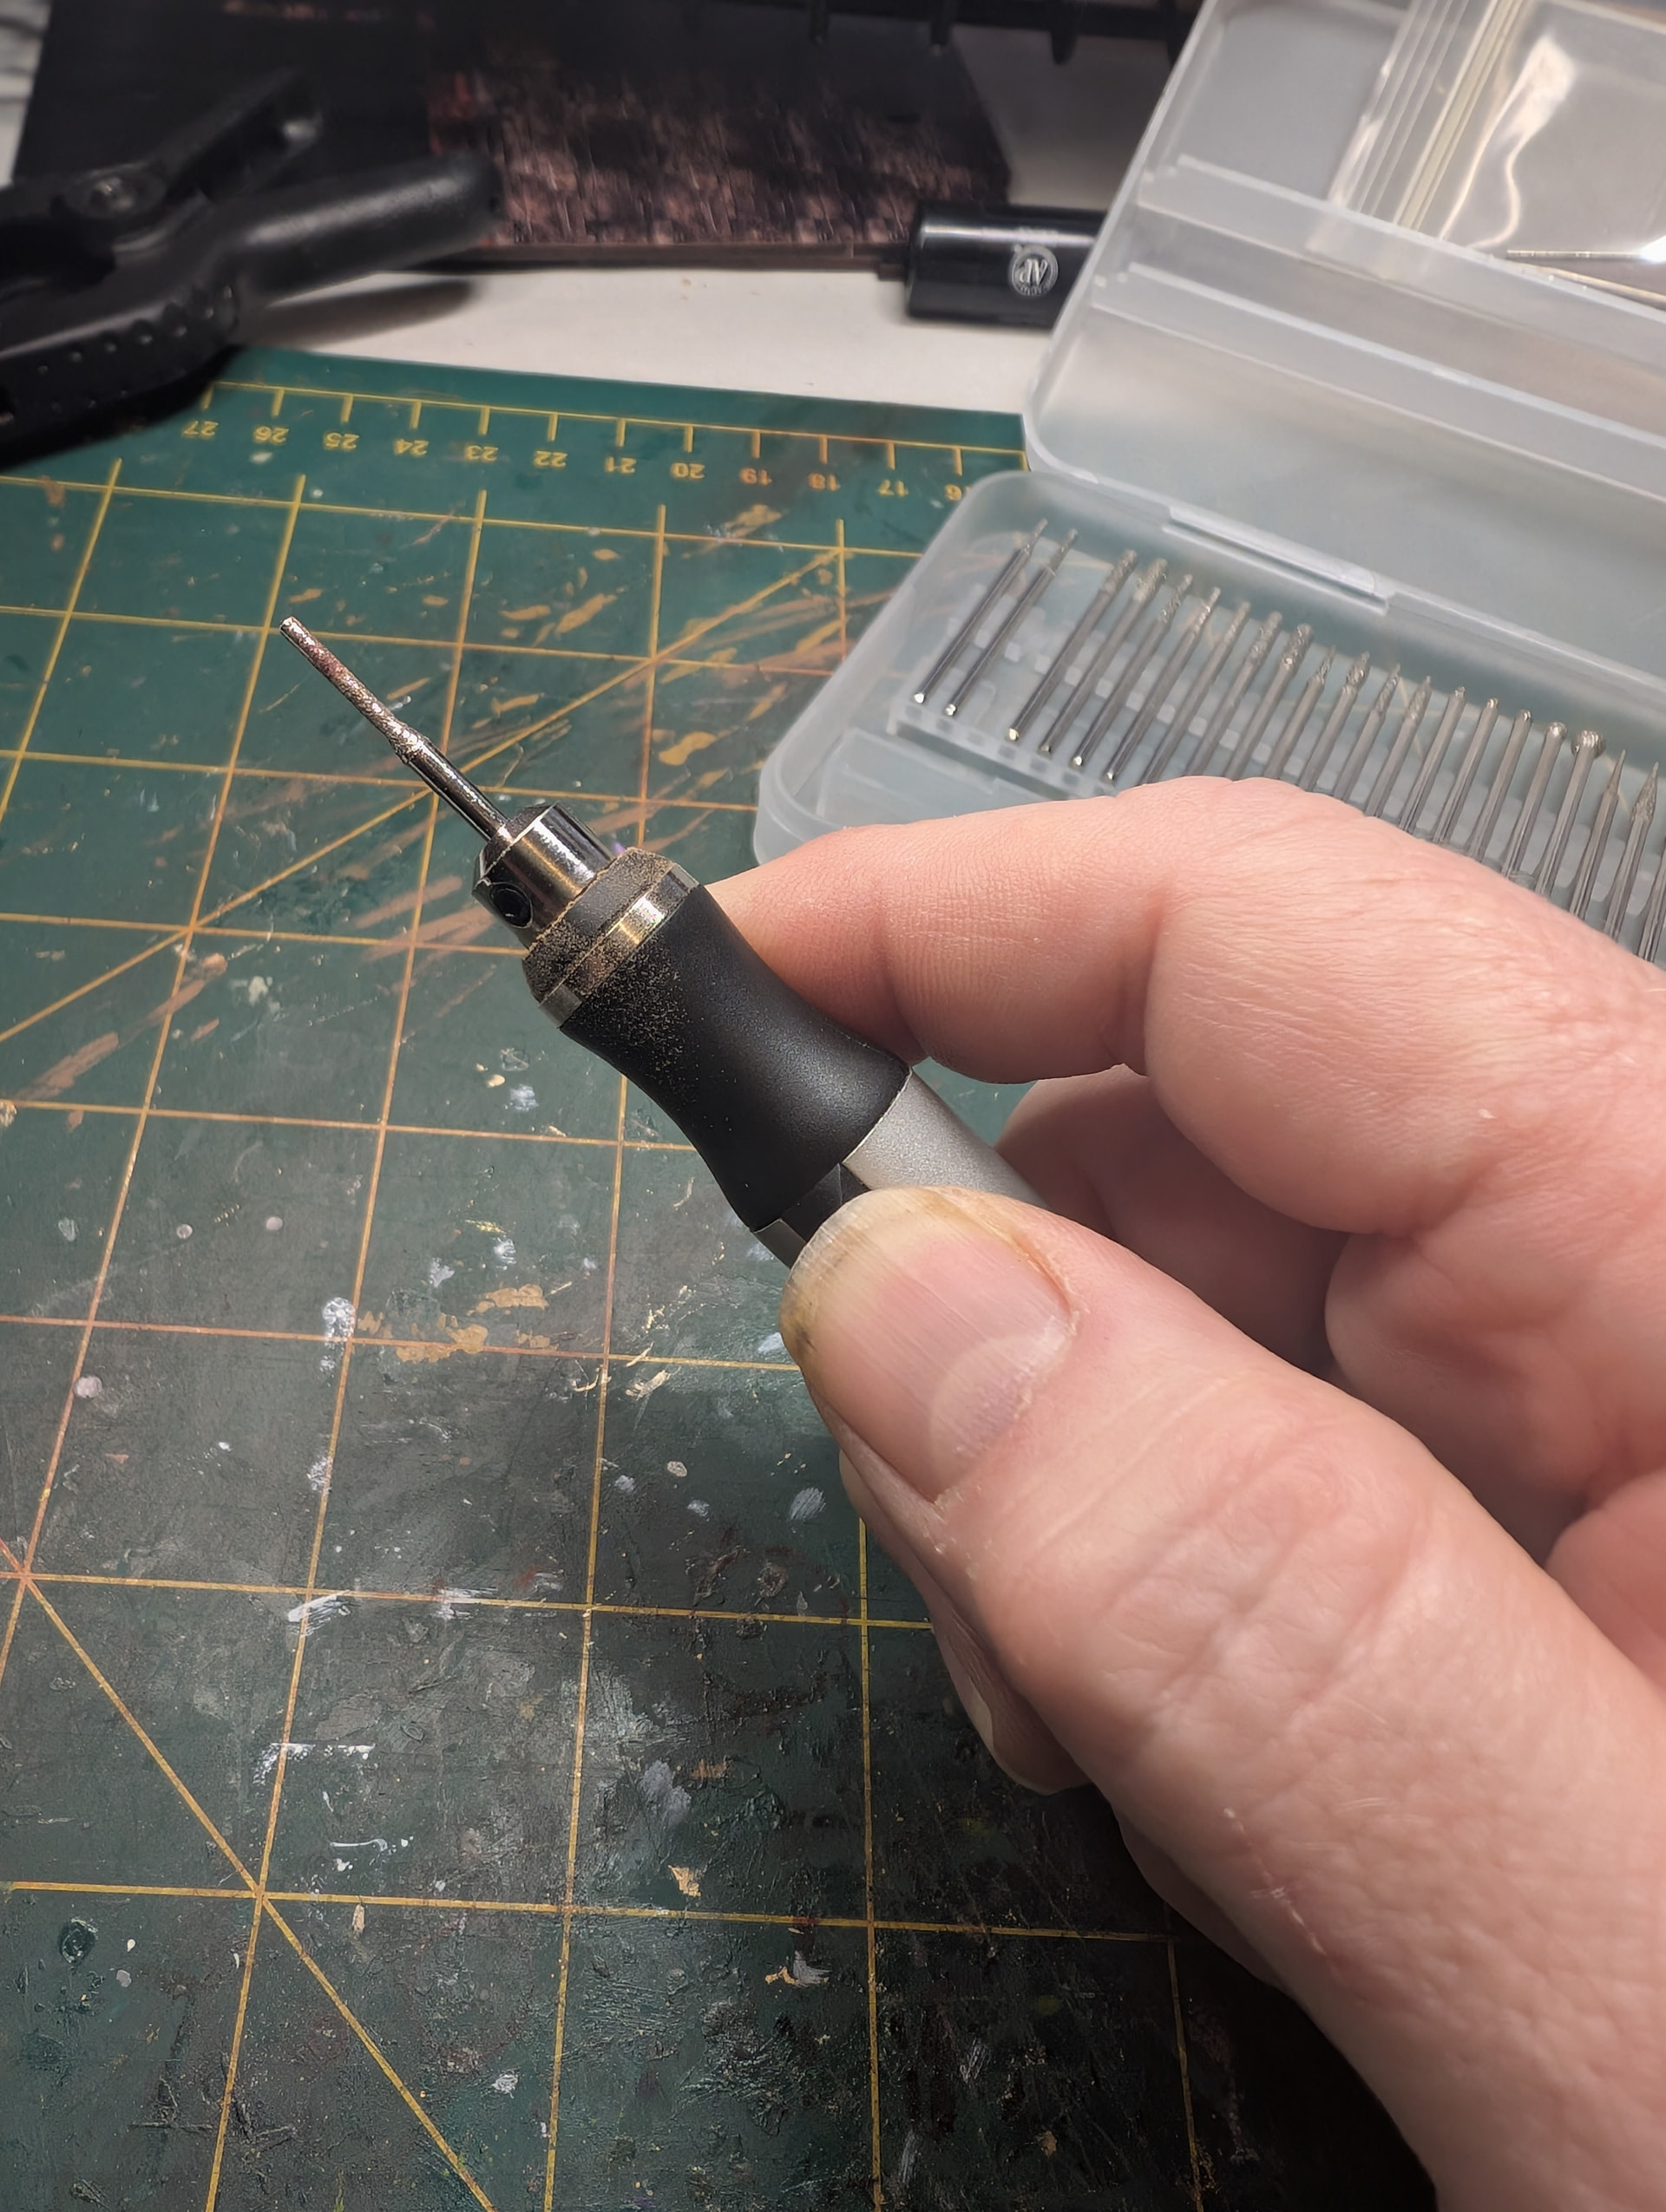
So as mentioned earlier, below is the long long…long list of sanding tools that miniature crafters around the world have been known to use. Do you have a game changer in your arsenal of sanding tools?
 Basic hand-sanding tools
-
Standard sanding paper/sheets
-
80–120 grit — aggressive shaping
-
180–240 grit — general smoothing
-
320–400 grit — finishing
-
600+ grit — very fine finishing
-
-
Sanding sponge
-
Flexible and excellent for curved pieces.
-
Particularly useful on thin plywood and MDF.
-
-
Sanding sticks
-
Sandpaper attached to a rigid stick.
-
Excellent for straight edges and small surfaces.
-
-
Emery boards / nail files
-
Surprisingly useful for miniature work.
-
Great for tiny edges, slots and joints.
-
-
Diamond nail files
-
More durable than ordinary nail files.
-
Excellent for detailed fitting of miniature parts.
-
 Miniature-specific sanding tools
-
Mini sanding files
-
Flat
-
Round
-
Half-round
-
Square
-
Triangular
-
Useful for adjusting joints and openings.
-
-
Needle files
-
Much smaller than conventional files.
-
Ideal for very small slots and intricate details.
-
-
Sanding twigs
-
Thin wooden or plastic sticks covered with abrasive.
-
Excellent for getting inside miniature openings.
-
-
Sanding cord / abrasive cord
-
Flexible abrasive cord that can be pulled through holes and curved openings.
-
Particularly useful for rounded cut-outs.
-
-
Micro-mesh abrasive sheets
-
Extremely fine abrasives.
-
Useful for achieving very smooth painted or finished surfaces.
-
 Powered miniature sanding tools
-
Rotary tool
- Dremel-style tool with sanding drums, discs and abrasive points.
- Very useful, but needs a light touch because miniature plywood can disappear surprisingly quickly.
-
Miniature rotary sanding discs
- Good for trimming and shaping small wooden pieces.
-
Sanding drums
- Excellent for enlarging holes and smoothing curved edges.
-
Flap wheels
- Useful for gentle smoothing and shaping.
-
Miniature abrasive wheels
- Useful for detailed shaping and removing small amounts of material.
-
Pen-style electric sander
-
Much easier to control than a full-size rotary tool.
-
One of my preferred powered options for miniature work.
-
-
USB rechargeable mini sander/engraver
-
Compact and convenient for occasional sanding.
-
Particularly good for model makers who don’t want a full rotary tool.
-
 Specialised sanding tools
-
Mini belt sander
-
Excellent for rapidly reducing the thickness or width of wooden pieces.
-
Requires care with tiny parts.
-
-
Mini disc sander
- Very useful for getting perfectly square miniature edges.
-
Oscillating/detail sander
- Useful for larger book-nook components, but generally overkill for tiny pieces.
-
Sanding blocks
-
Small rigid blocks provide a perfectly flat sanding surface.
-
You can make your own from scrap wood.
-
-
Custom miniature sanding blocks
-
Small pieces of coffee stirrer, paddle pop stick, plastic strip, etc., with sandpaper glued to them.
-
Fantastic for getting into specific shapes.
-
-
Sanding sticks made from toothpicks
- Particularly useful for tiny grooves and decorative details.
-
Sanding needles
- Very narrow abrasive tools for extremely small areas.
-
Flexible sanding pads
- Useful for curved or irregular miniature surfaces.
 For getting into tiny spaces
-
Folded sandpaper
- Simple but very effective.
-
Sandpaper wrapped around a toothpick
- Excellent for tiny holes and grooves.
-
Sandpaper wrapped around wire
- Allows you to sand inside very small curved openings.
-
Interdental brushes with abrasive attached
- Can be adapted for extremely narrow spaces.
-
Abrasive polishing strips
-
Similar to miniature sanding floss.
-
Excellent between closely spaced components.
-


