DIY Miniature World Challenge update 18

So today was LED wiring day.

4 additional white LED’s
3 blue LED’s
1 green LED
1 orange flickering LED (which is in transit with an ETA of October 13)

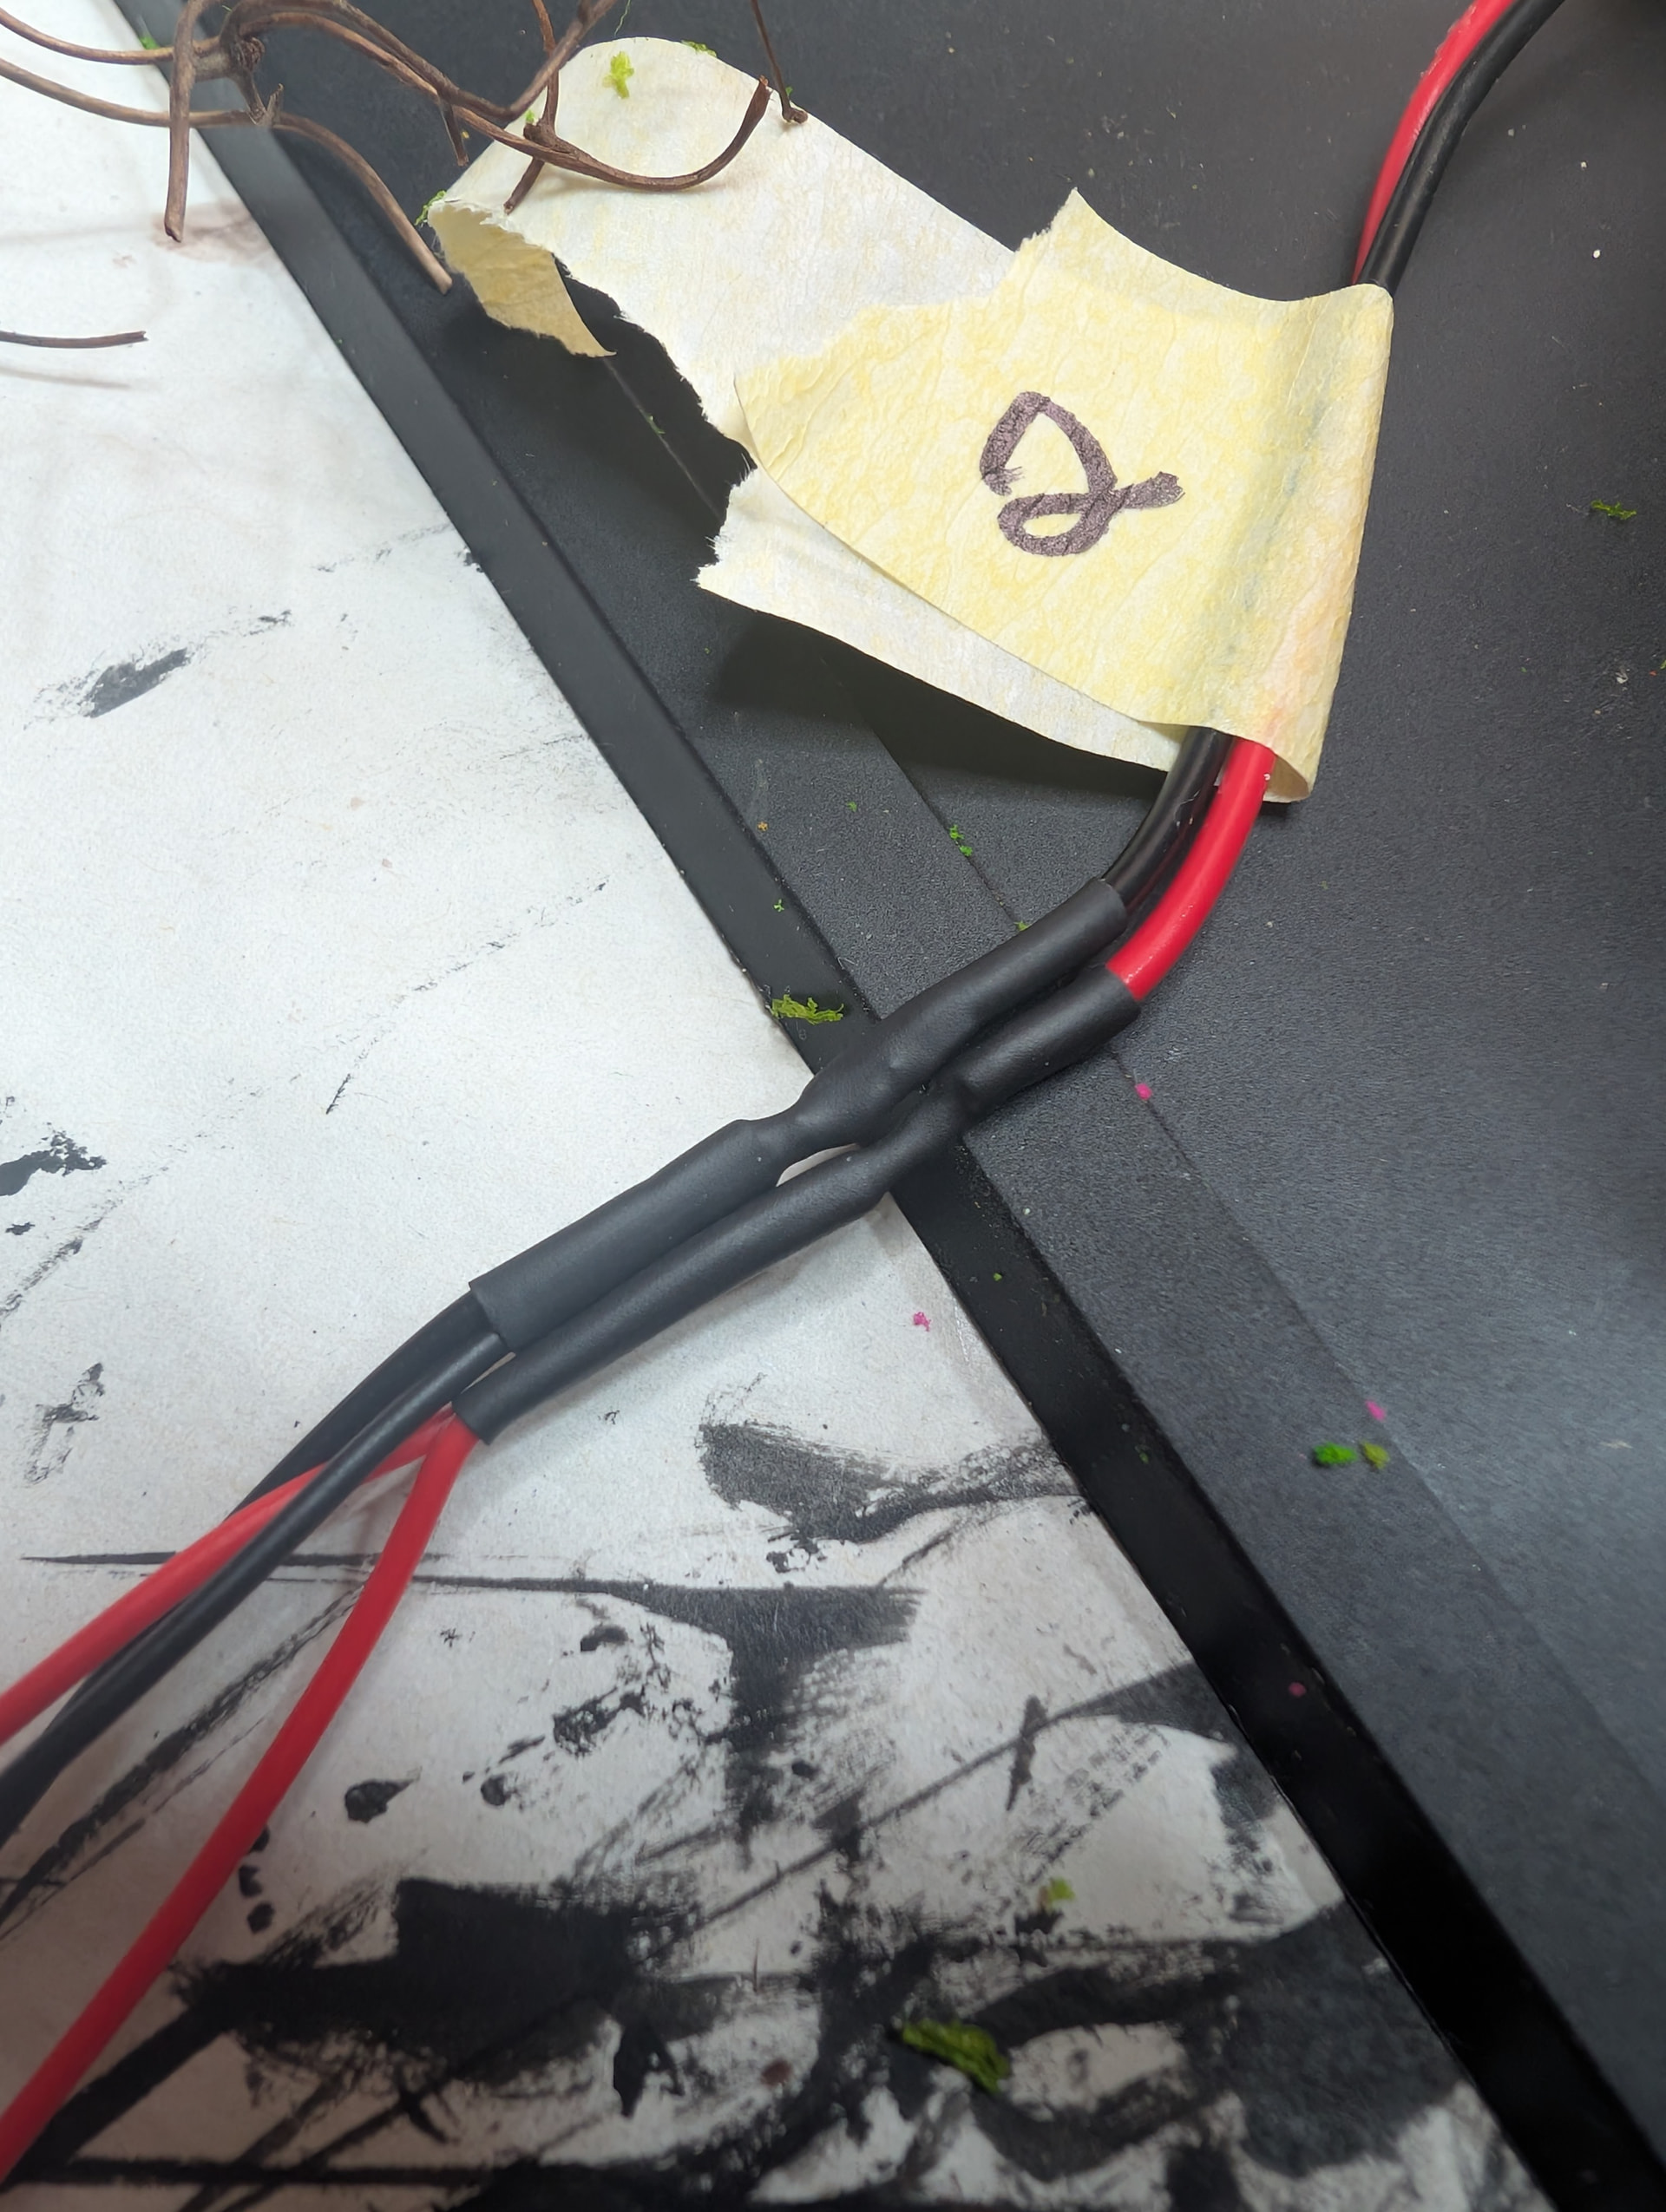
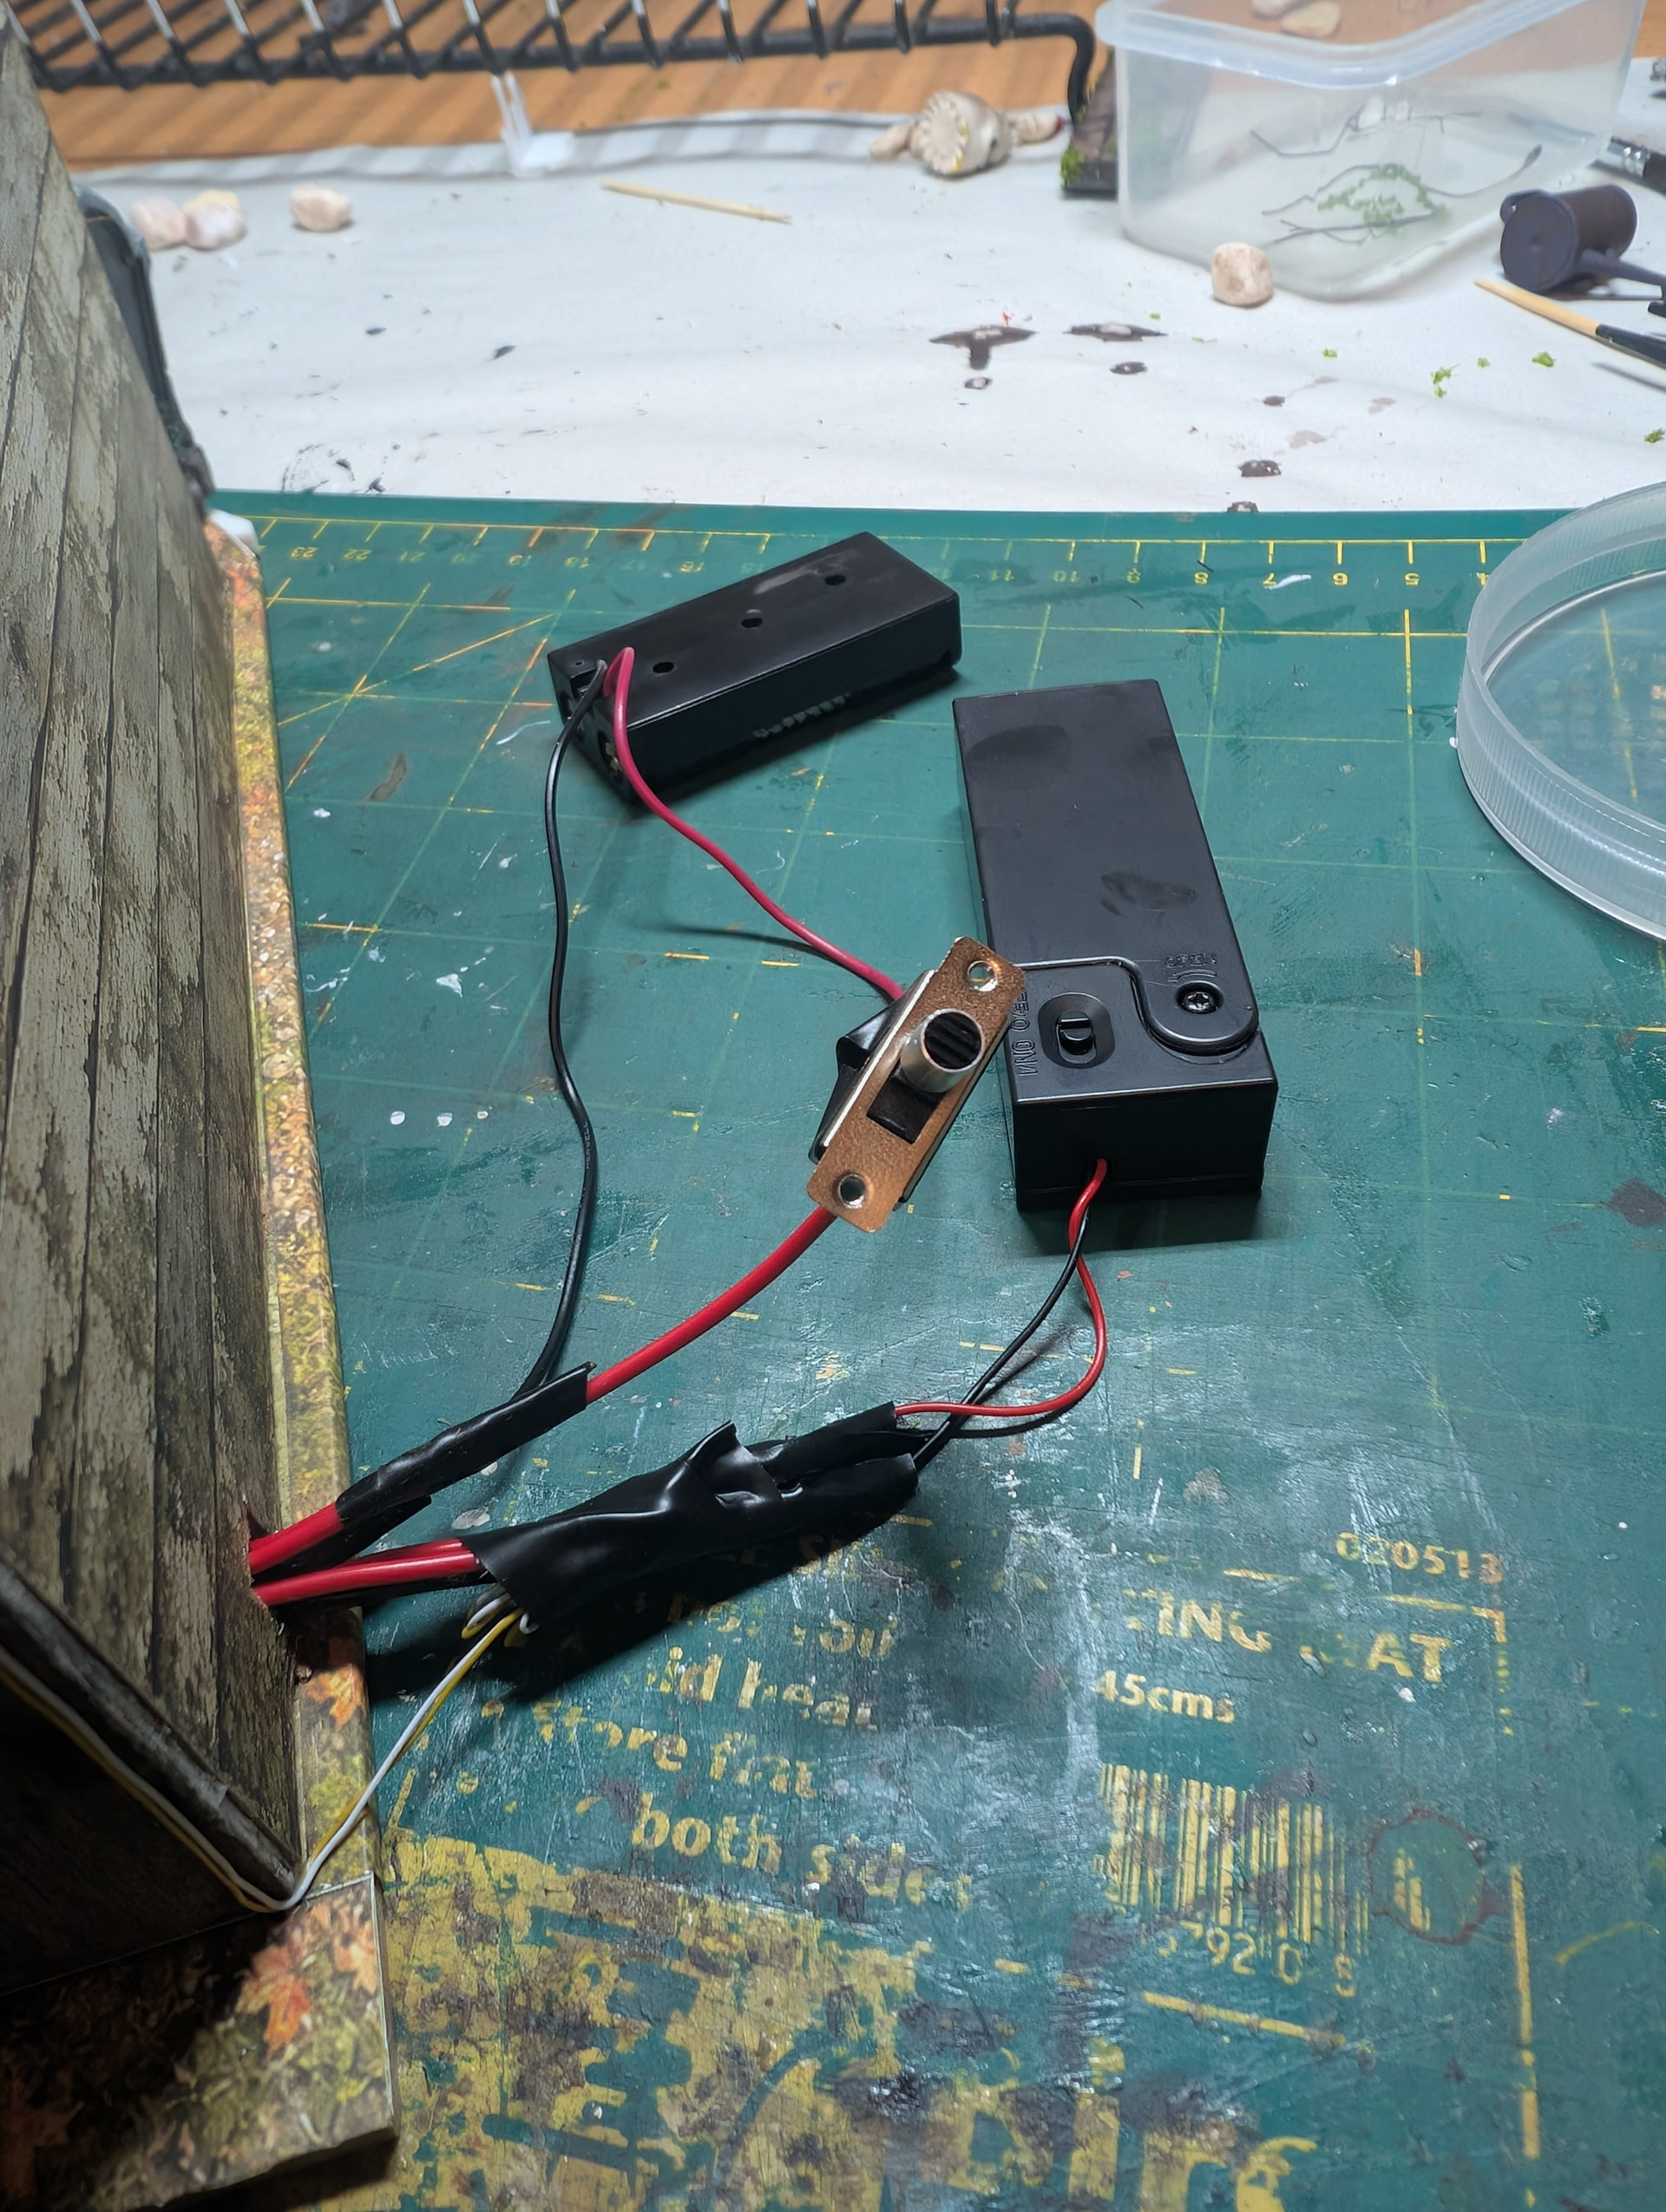
My second circuit with power switch went in fine, although the electronics shop didnt have battery boxes with covers or built in power switches, so I had to learn how to solder in a power switch. Chatgpt told me how to do it, and how to use my multimeter for testing the circuit as well as how to test an LED works without having to temporarily wire it to the battery box. Big help for future models.

I don’t think I did too badly for my first time soldering.
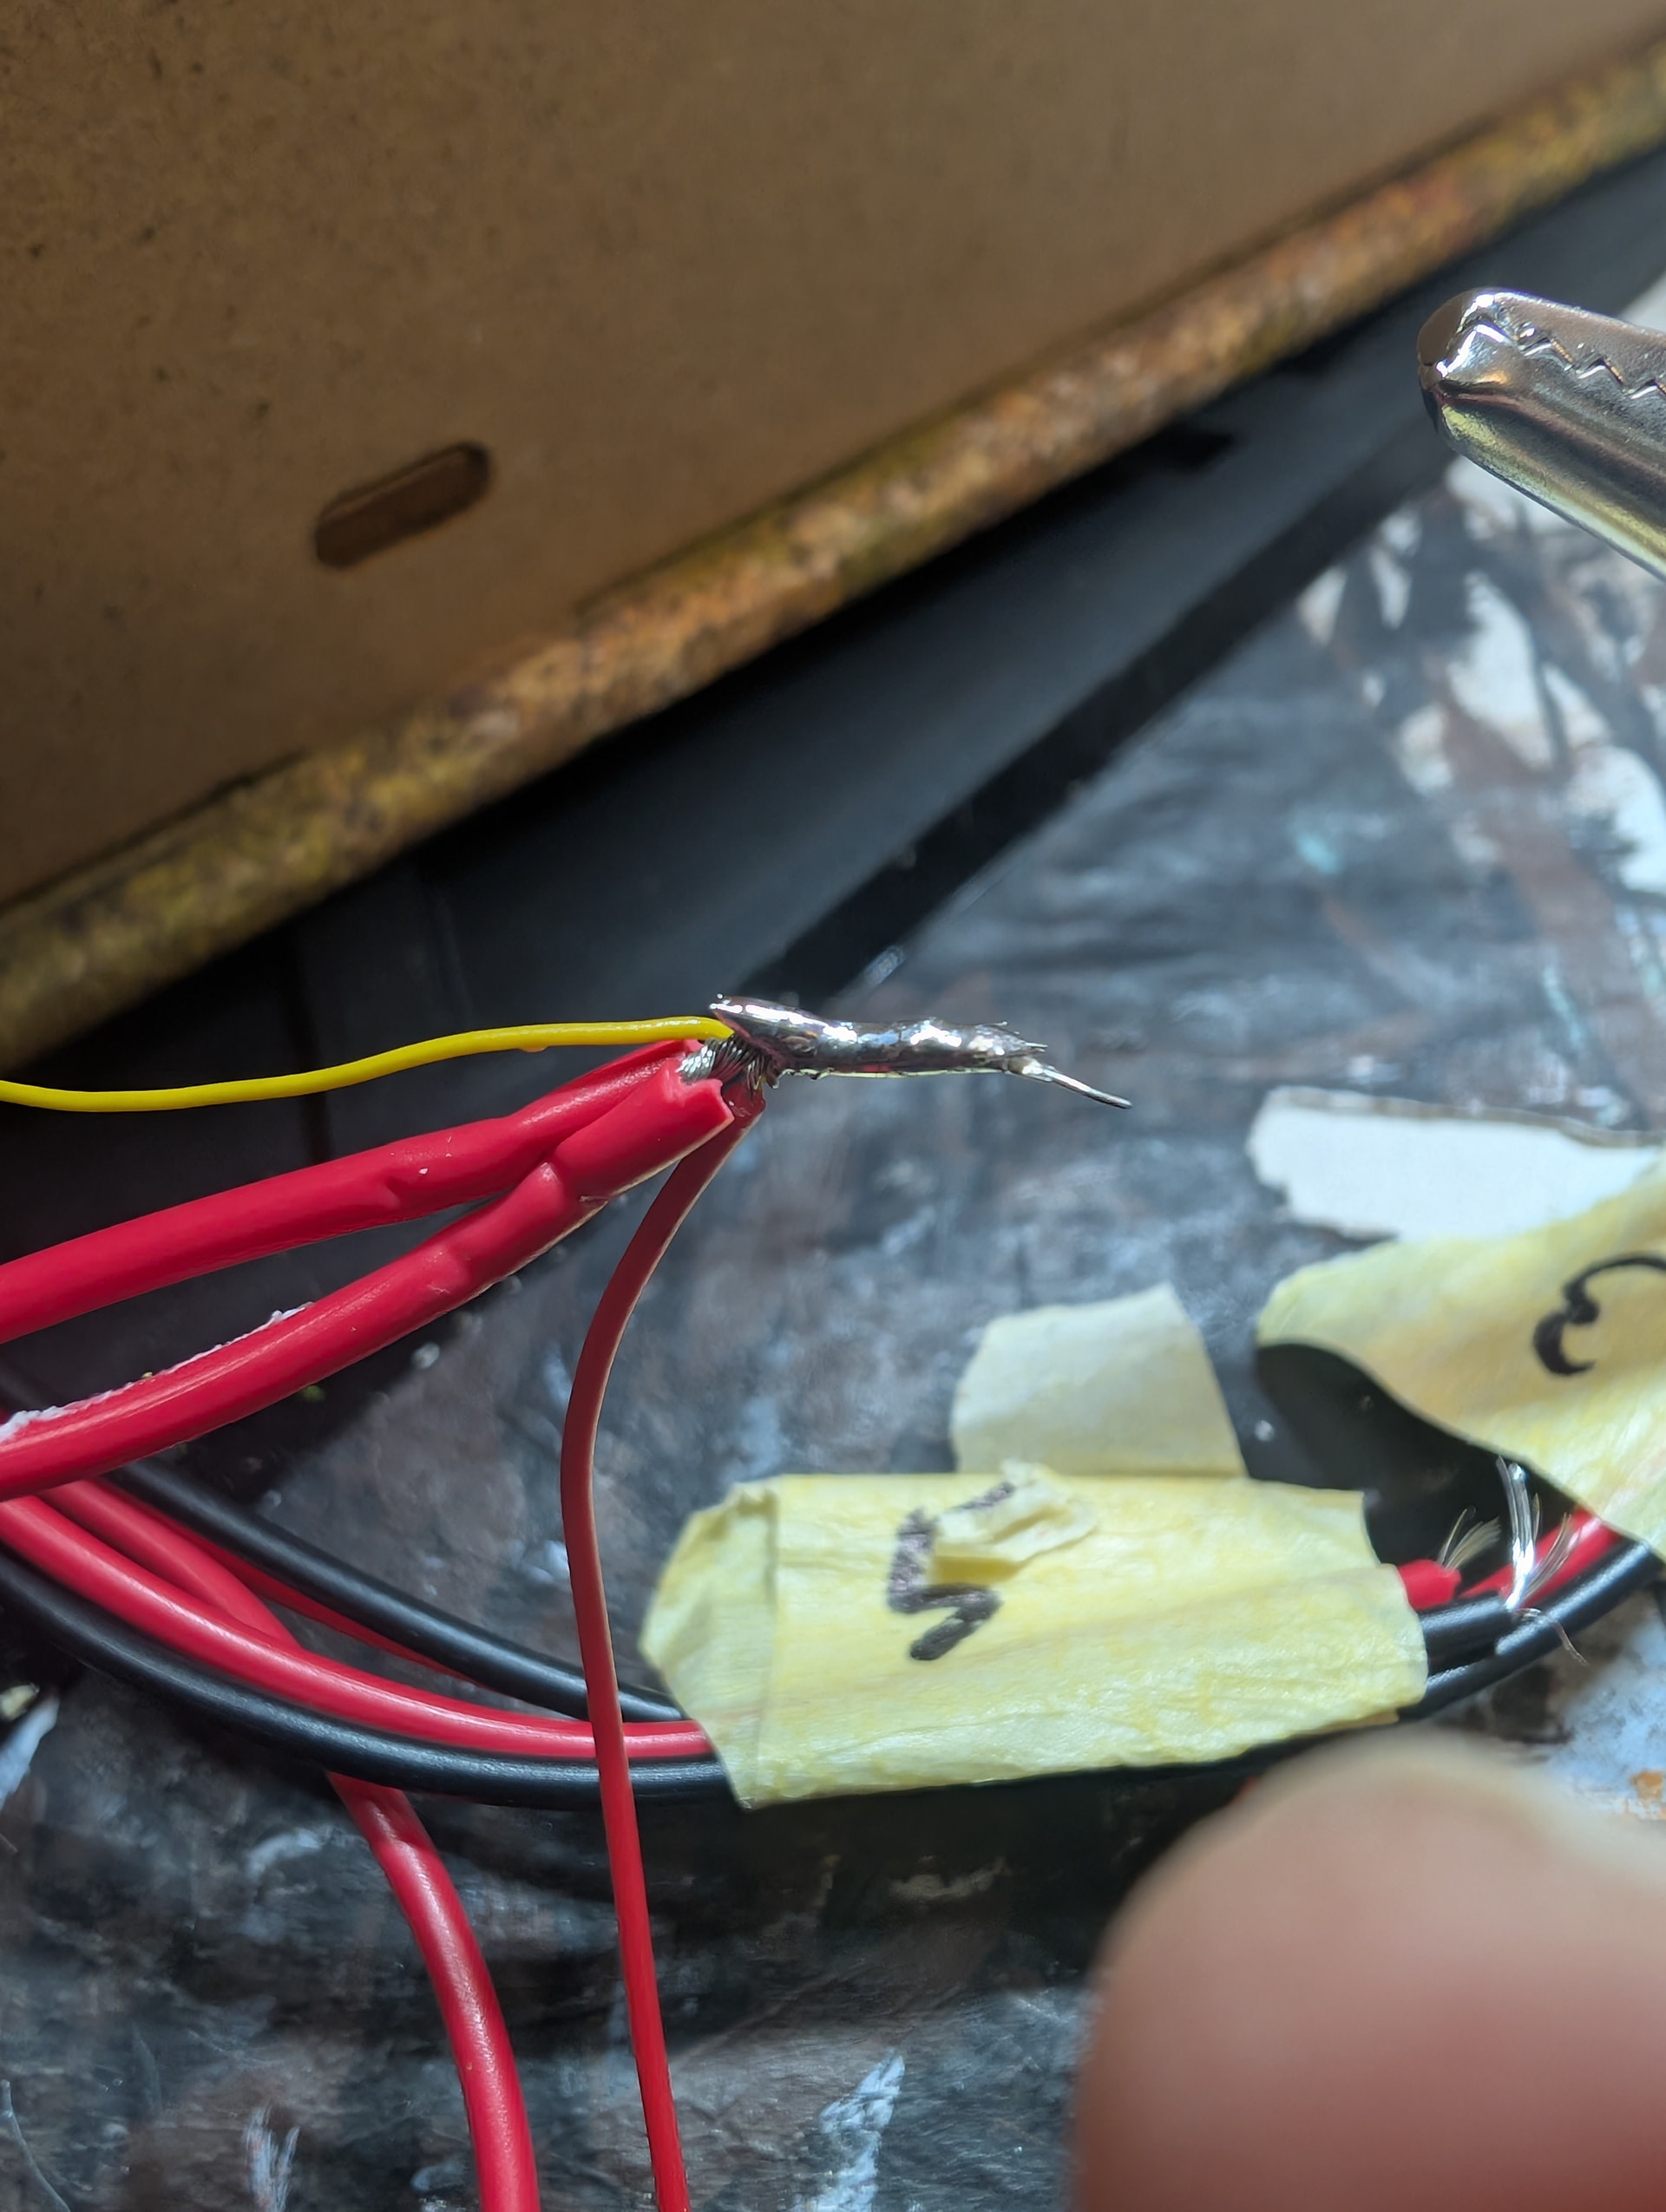
I did make one very rookie mistake. Well 2 actually.

The first was that I must have mixed up a purple LED with my white ones as the purples I have don’t have a visible colour to the bulb until they are turned on. I had soldered everything and it was not until I did a power test that I discovered by mistake, so I had to cut that one out and replace it. :rofl:

My second mistake is a lot more obvious as I cannot fix it at this time. I never planned anywhere for the second battery box and switch to go, nor did I take into account that the additional wires being added to the original battery box would not fit into the compartment built into the model for the box to be hidden. At this time for the competition unfortunately both battery boxes will sitting be hidden behind my model. At some point, I will make something to cover them and paint it up to look like part of the mode. Who knows, I might come up with a solution before submission cut-off, but I am going to Rottnest Island for 5 days on the 18th and won’t be able to take anything along to build :frowning:

I had also 3D printed some 3mm LED spotlight housings (designed for a RC Car) and diffusers for some of the LED to be mounted into. They turned out well I think.
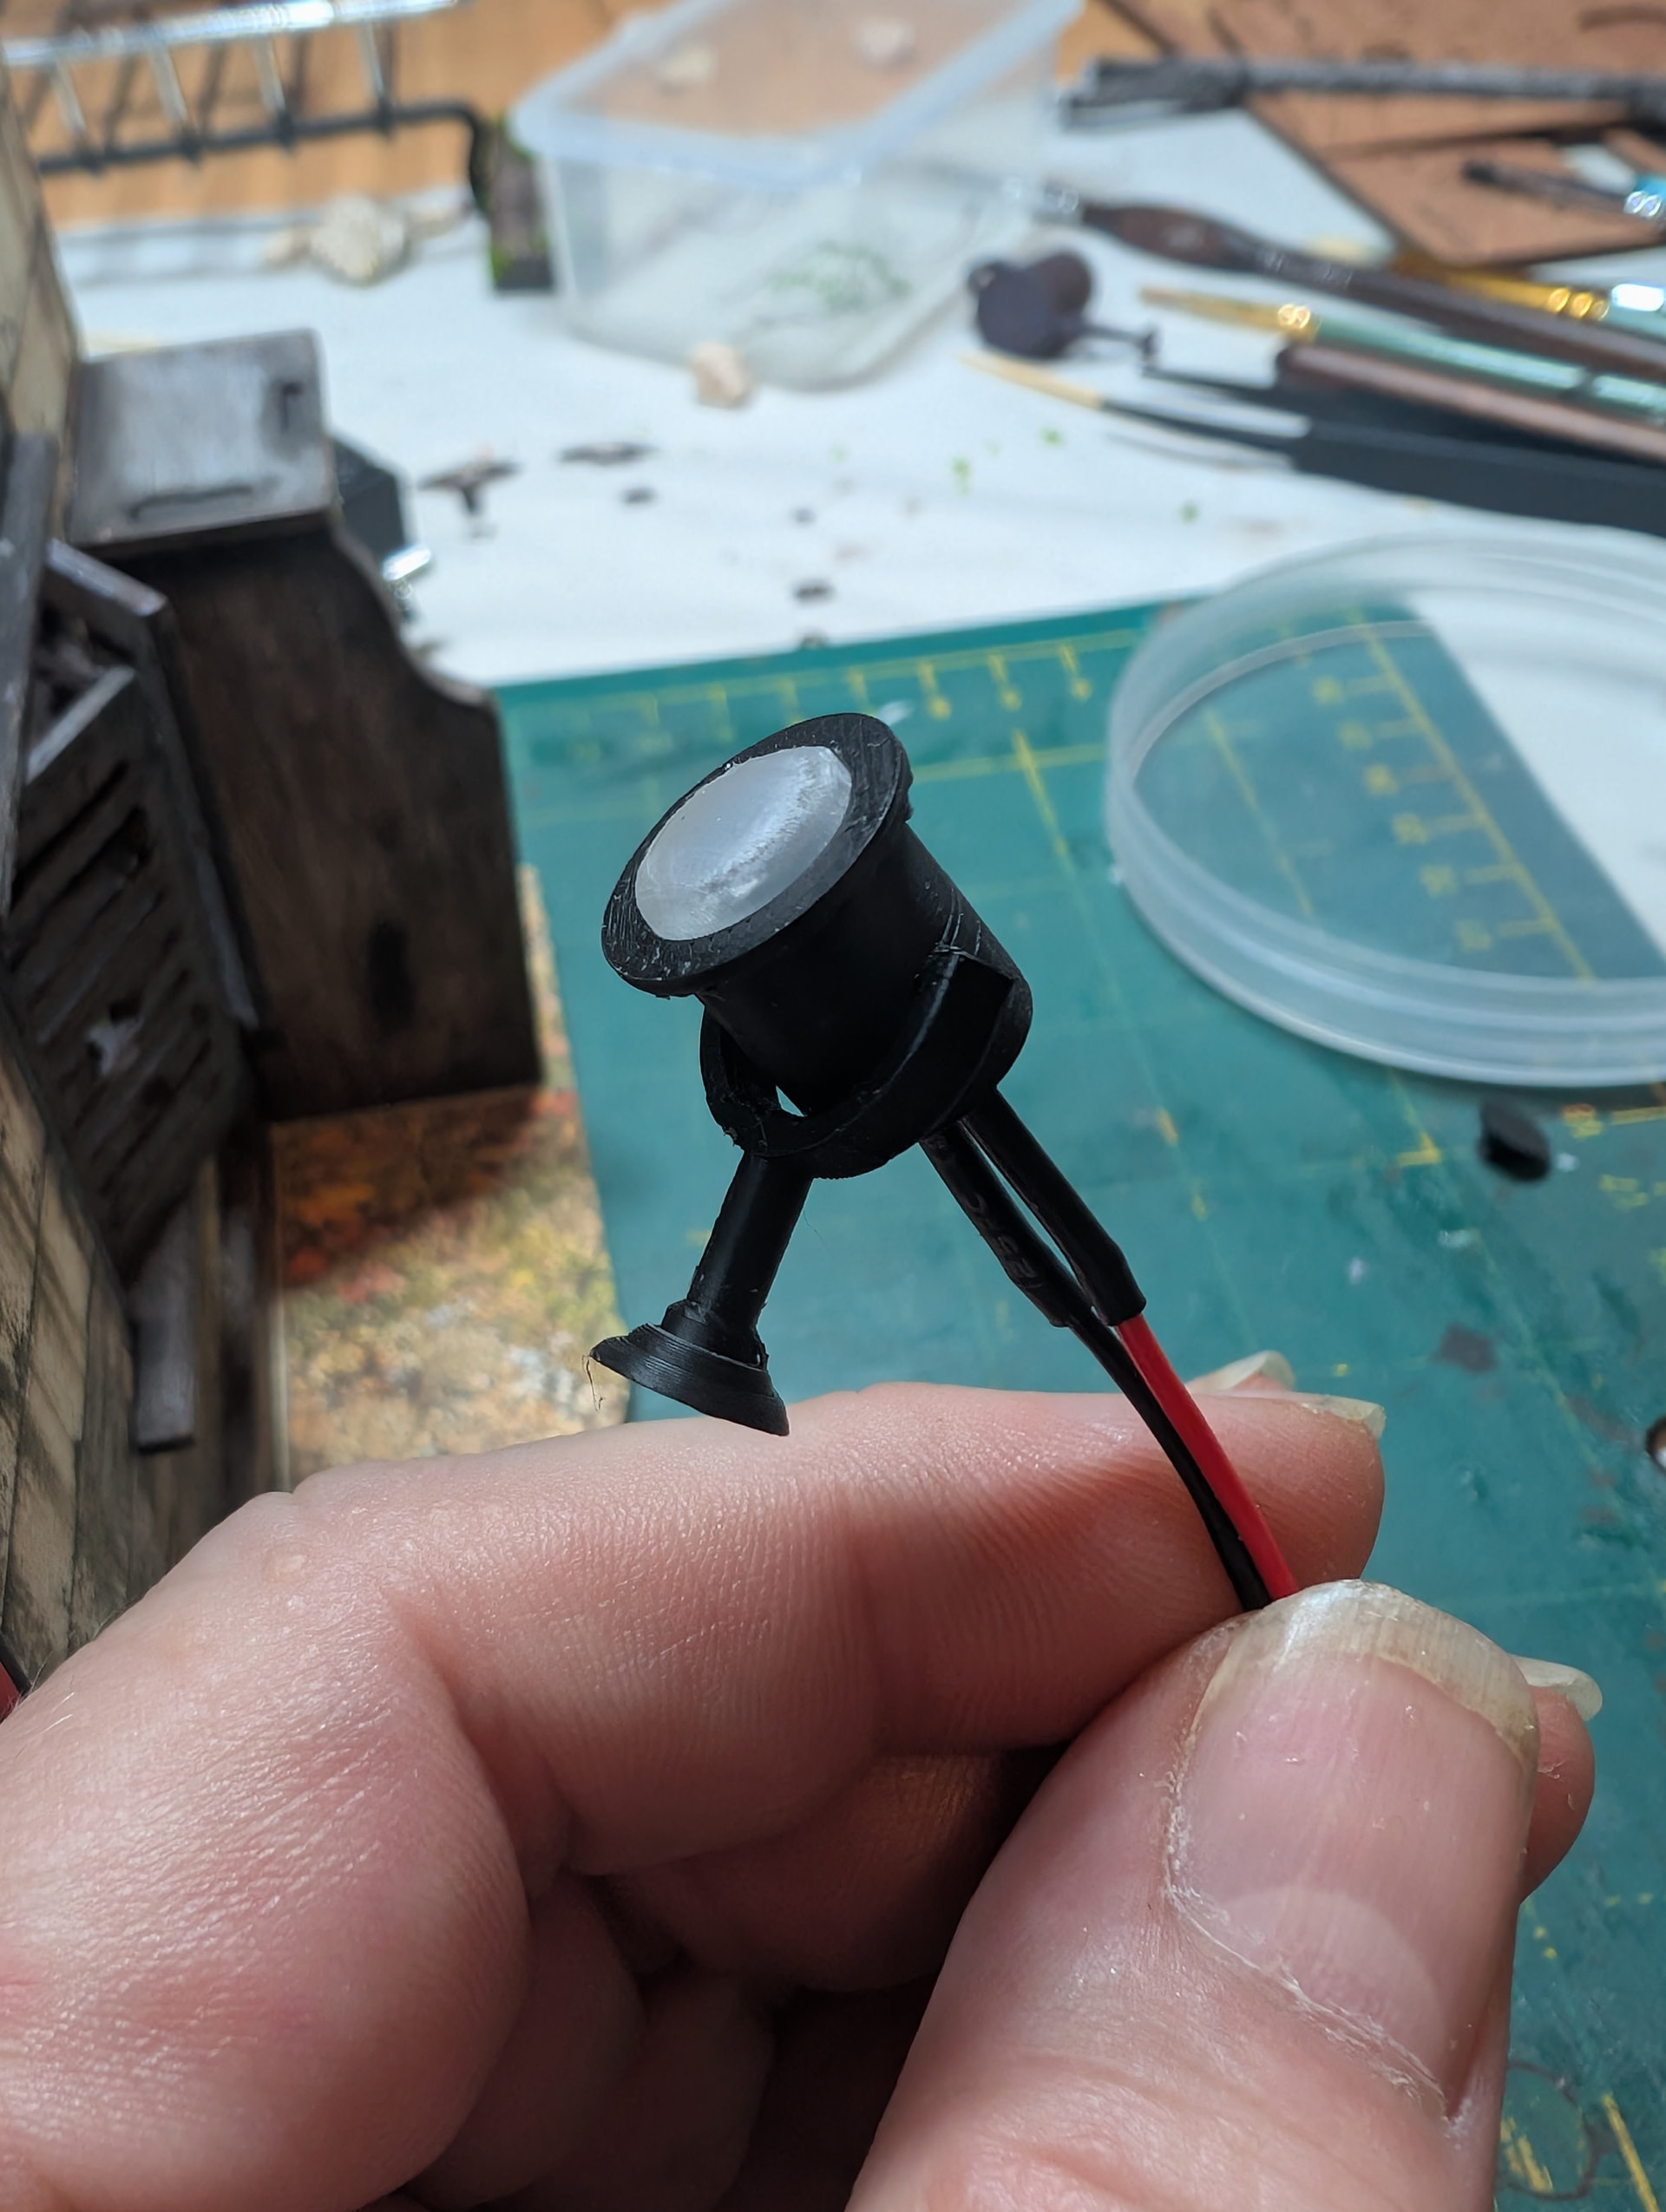
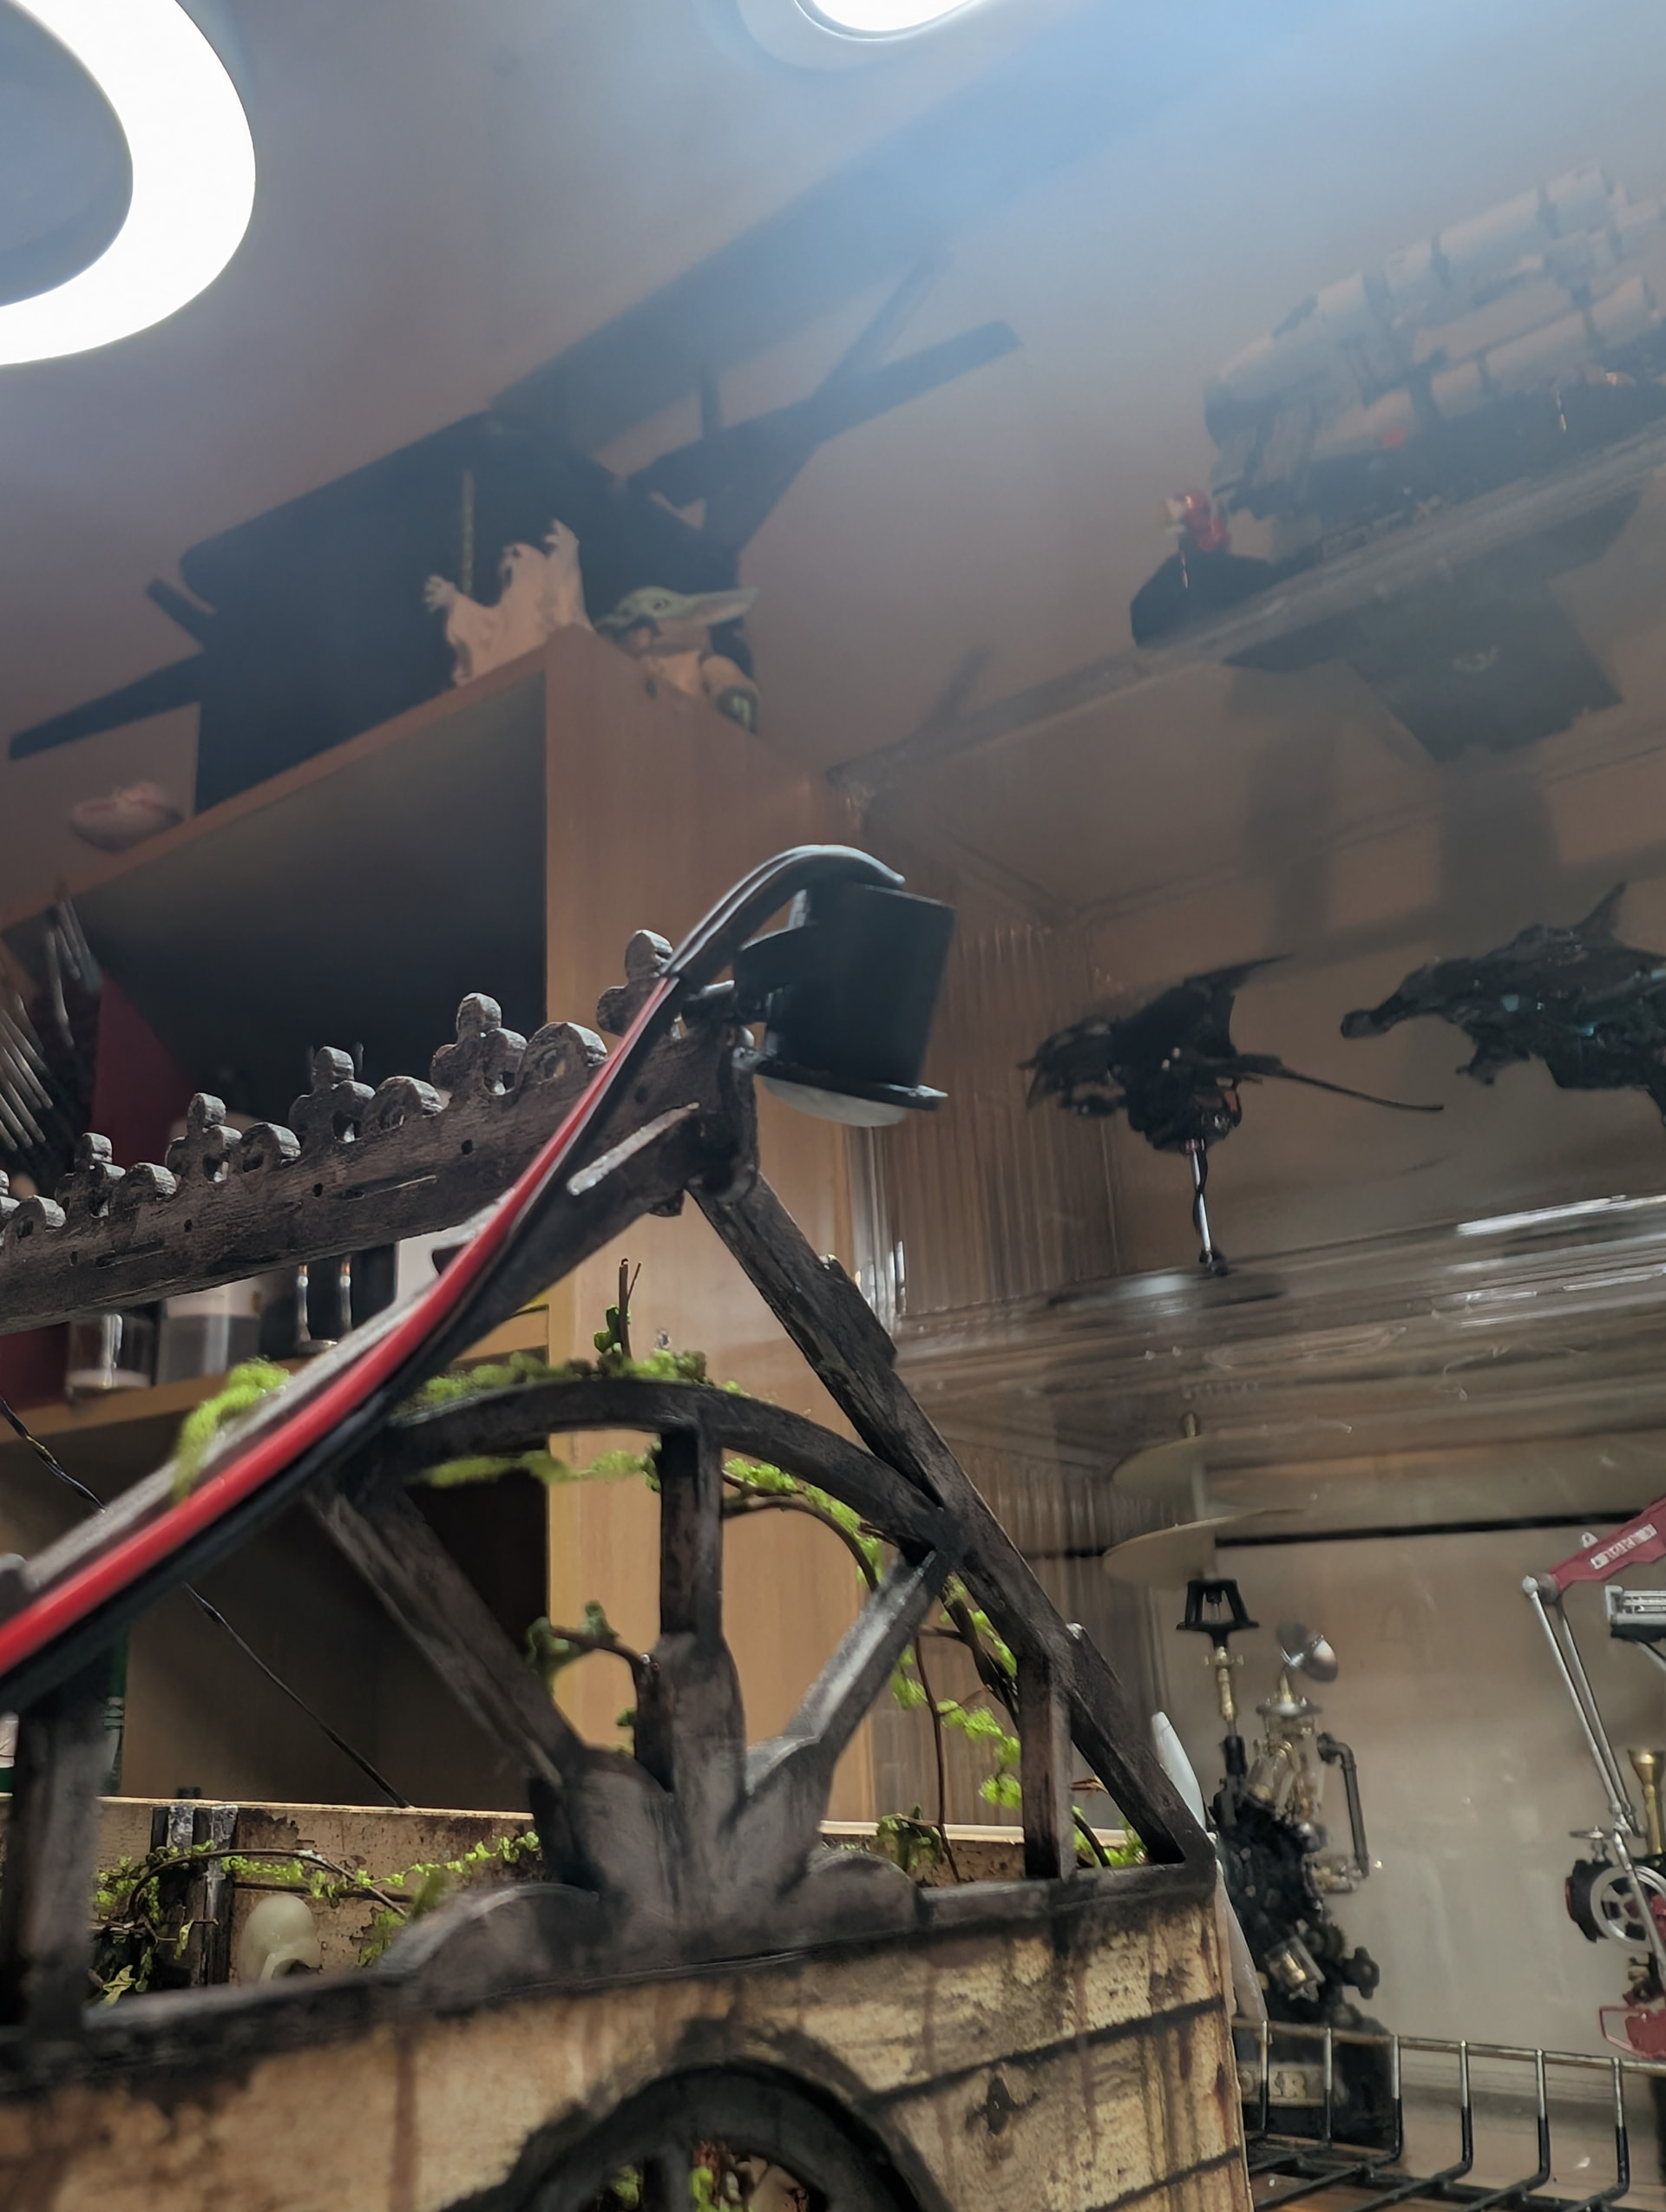
Wiring for the one above will be painted black and hidden under external dead greenery.

Here is how they look lit up. These are white, but my photo makes them look bluish. I was unable to get warm whites to match the interior one, but I think cold white suits outdoors better. If I want to change them, I can always colour over the difusers with one of my alcohol markers to tint them.
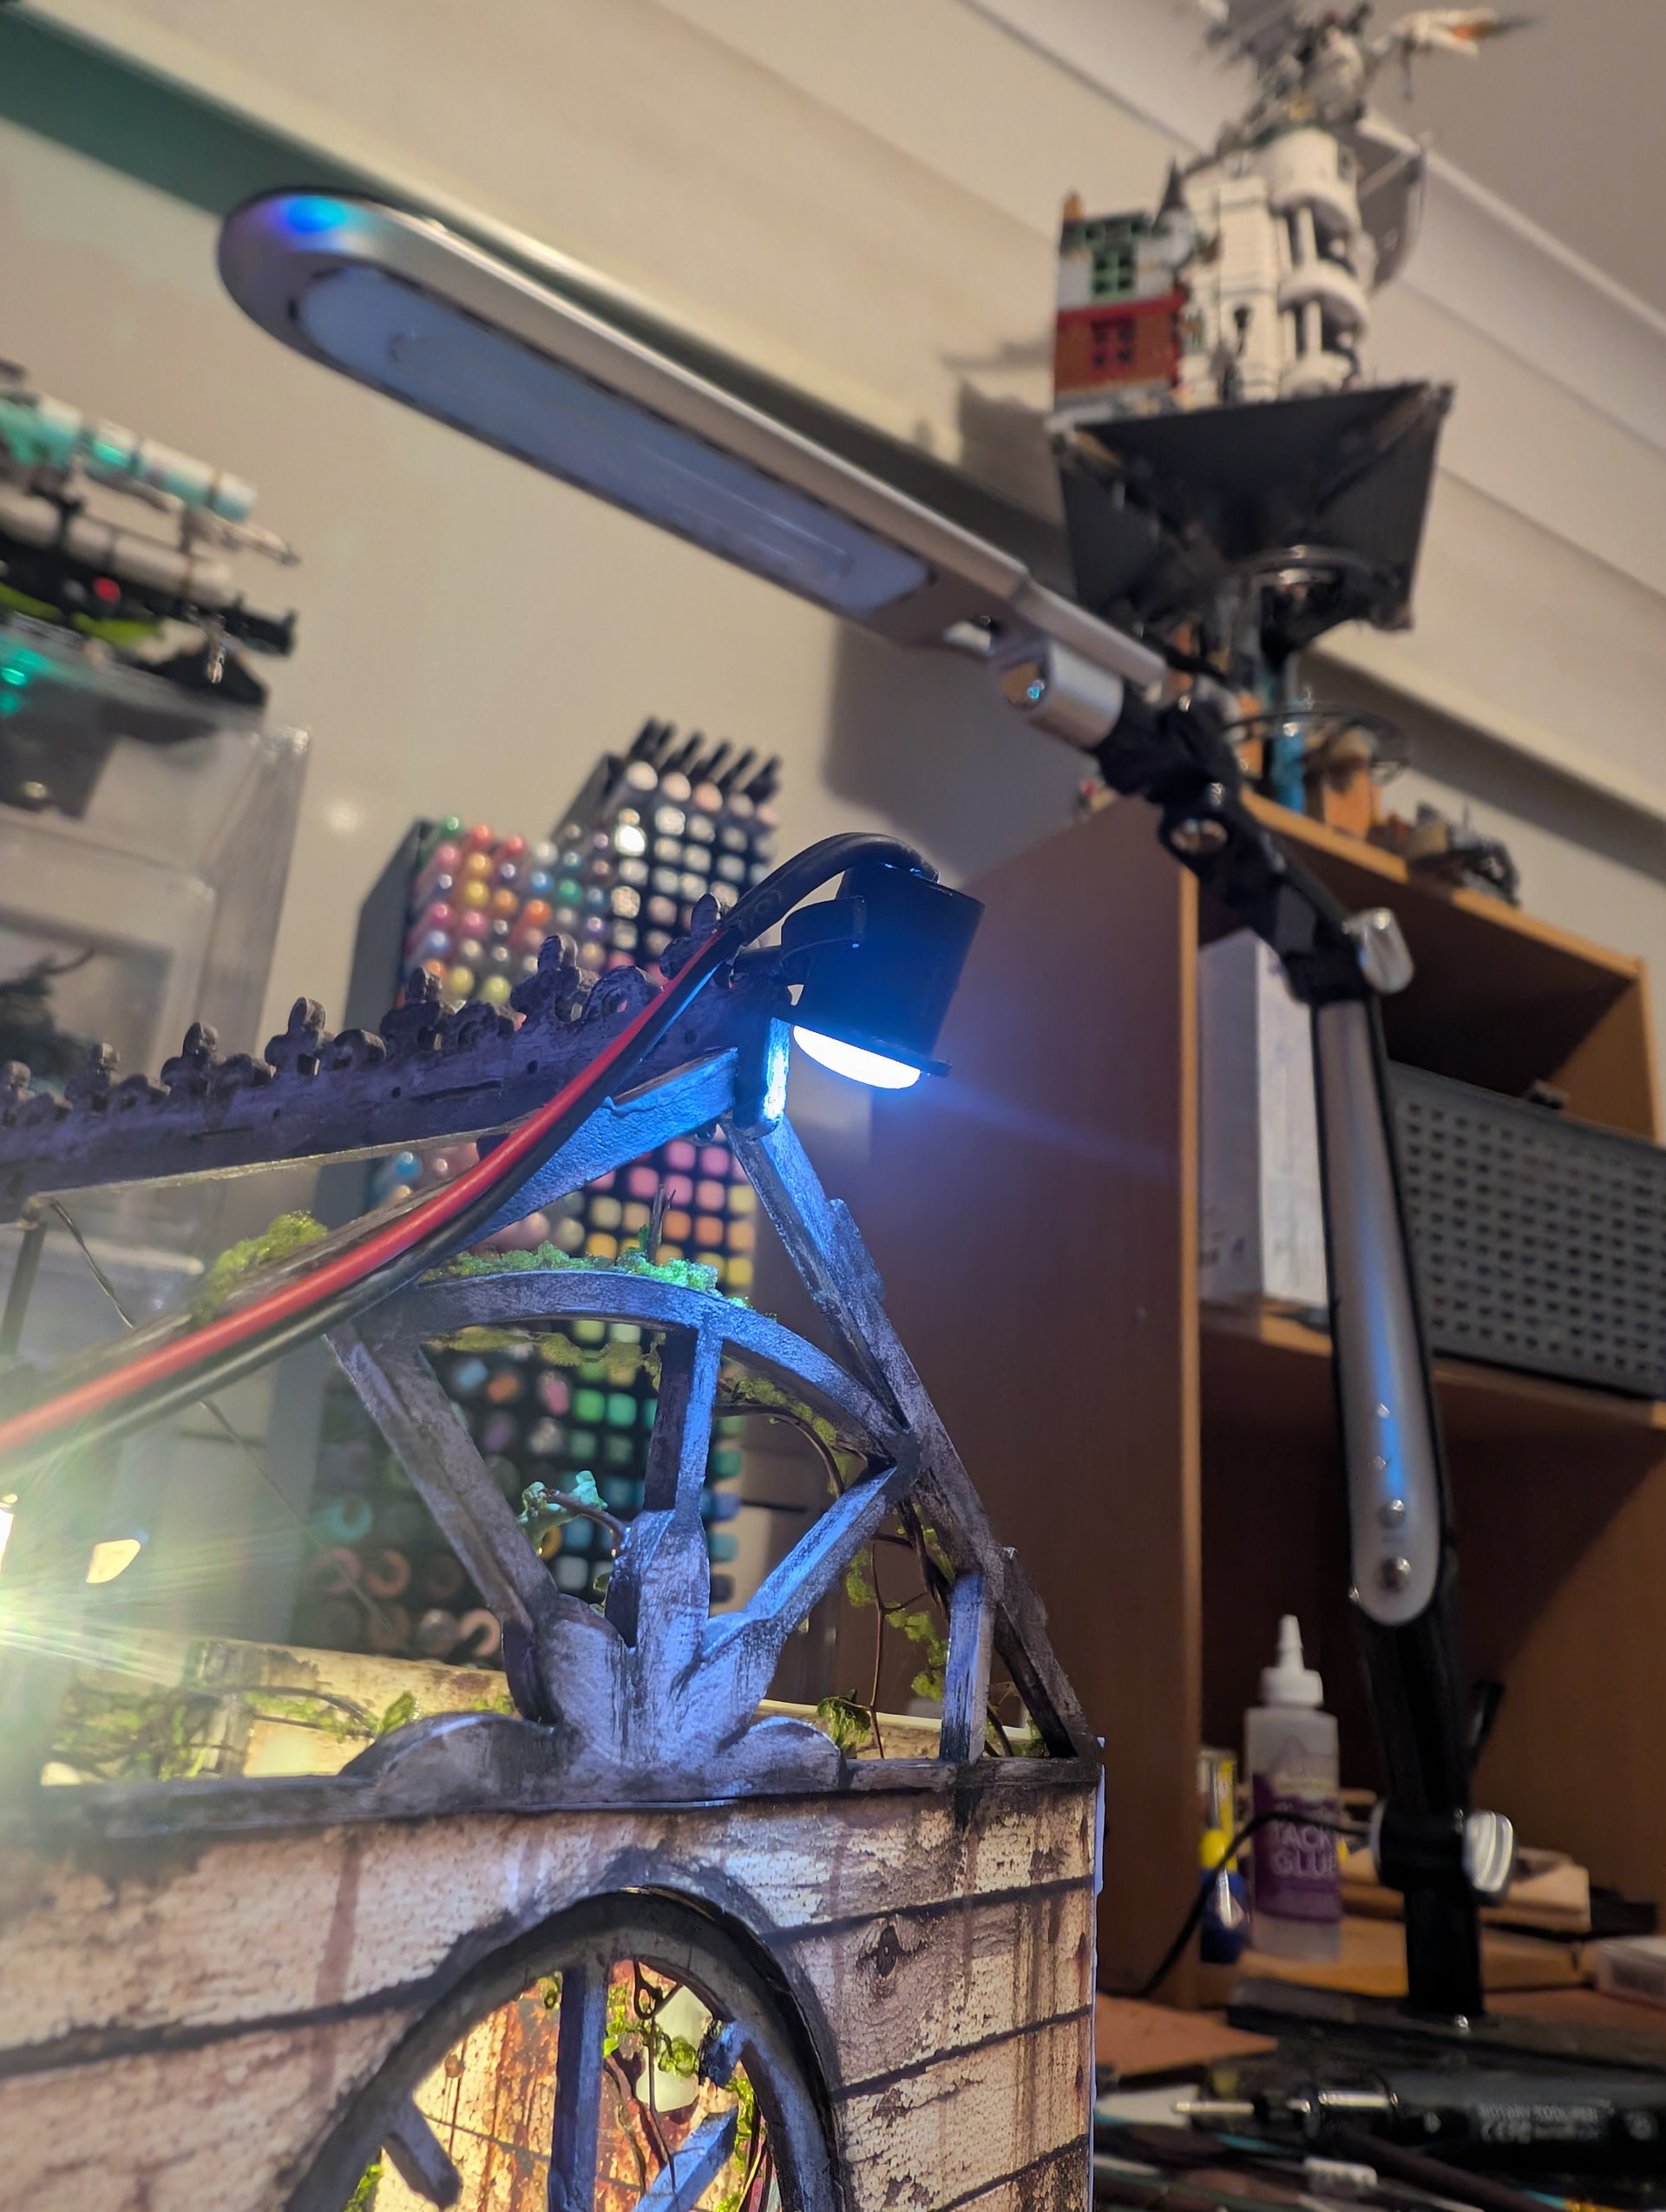
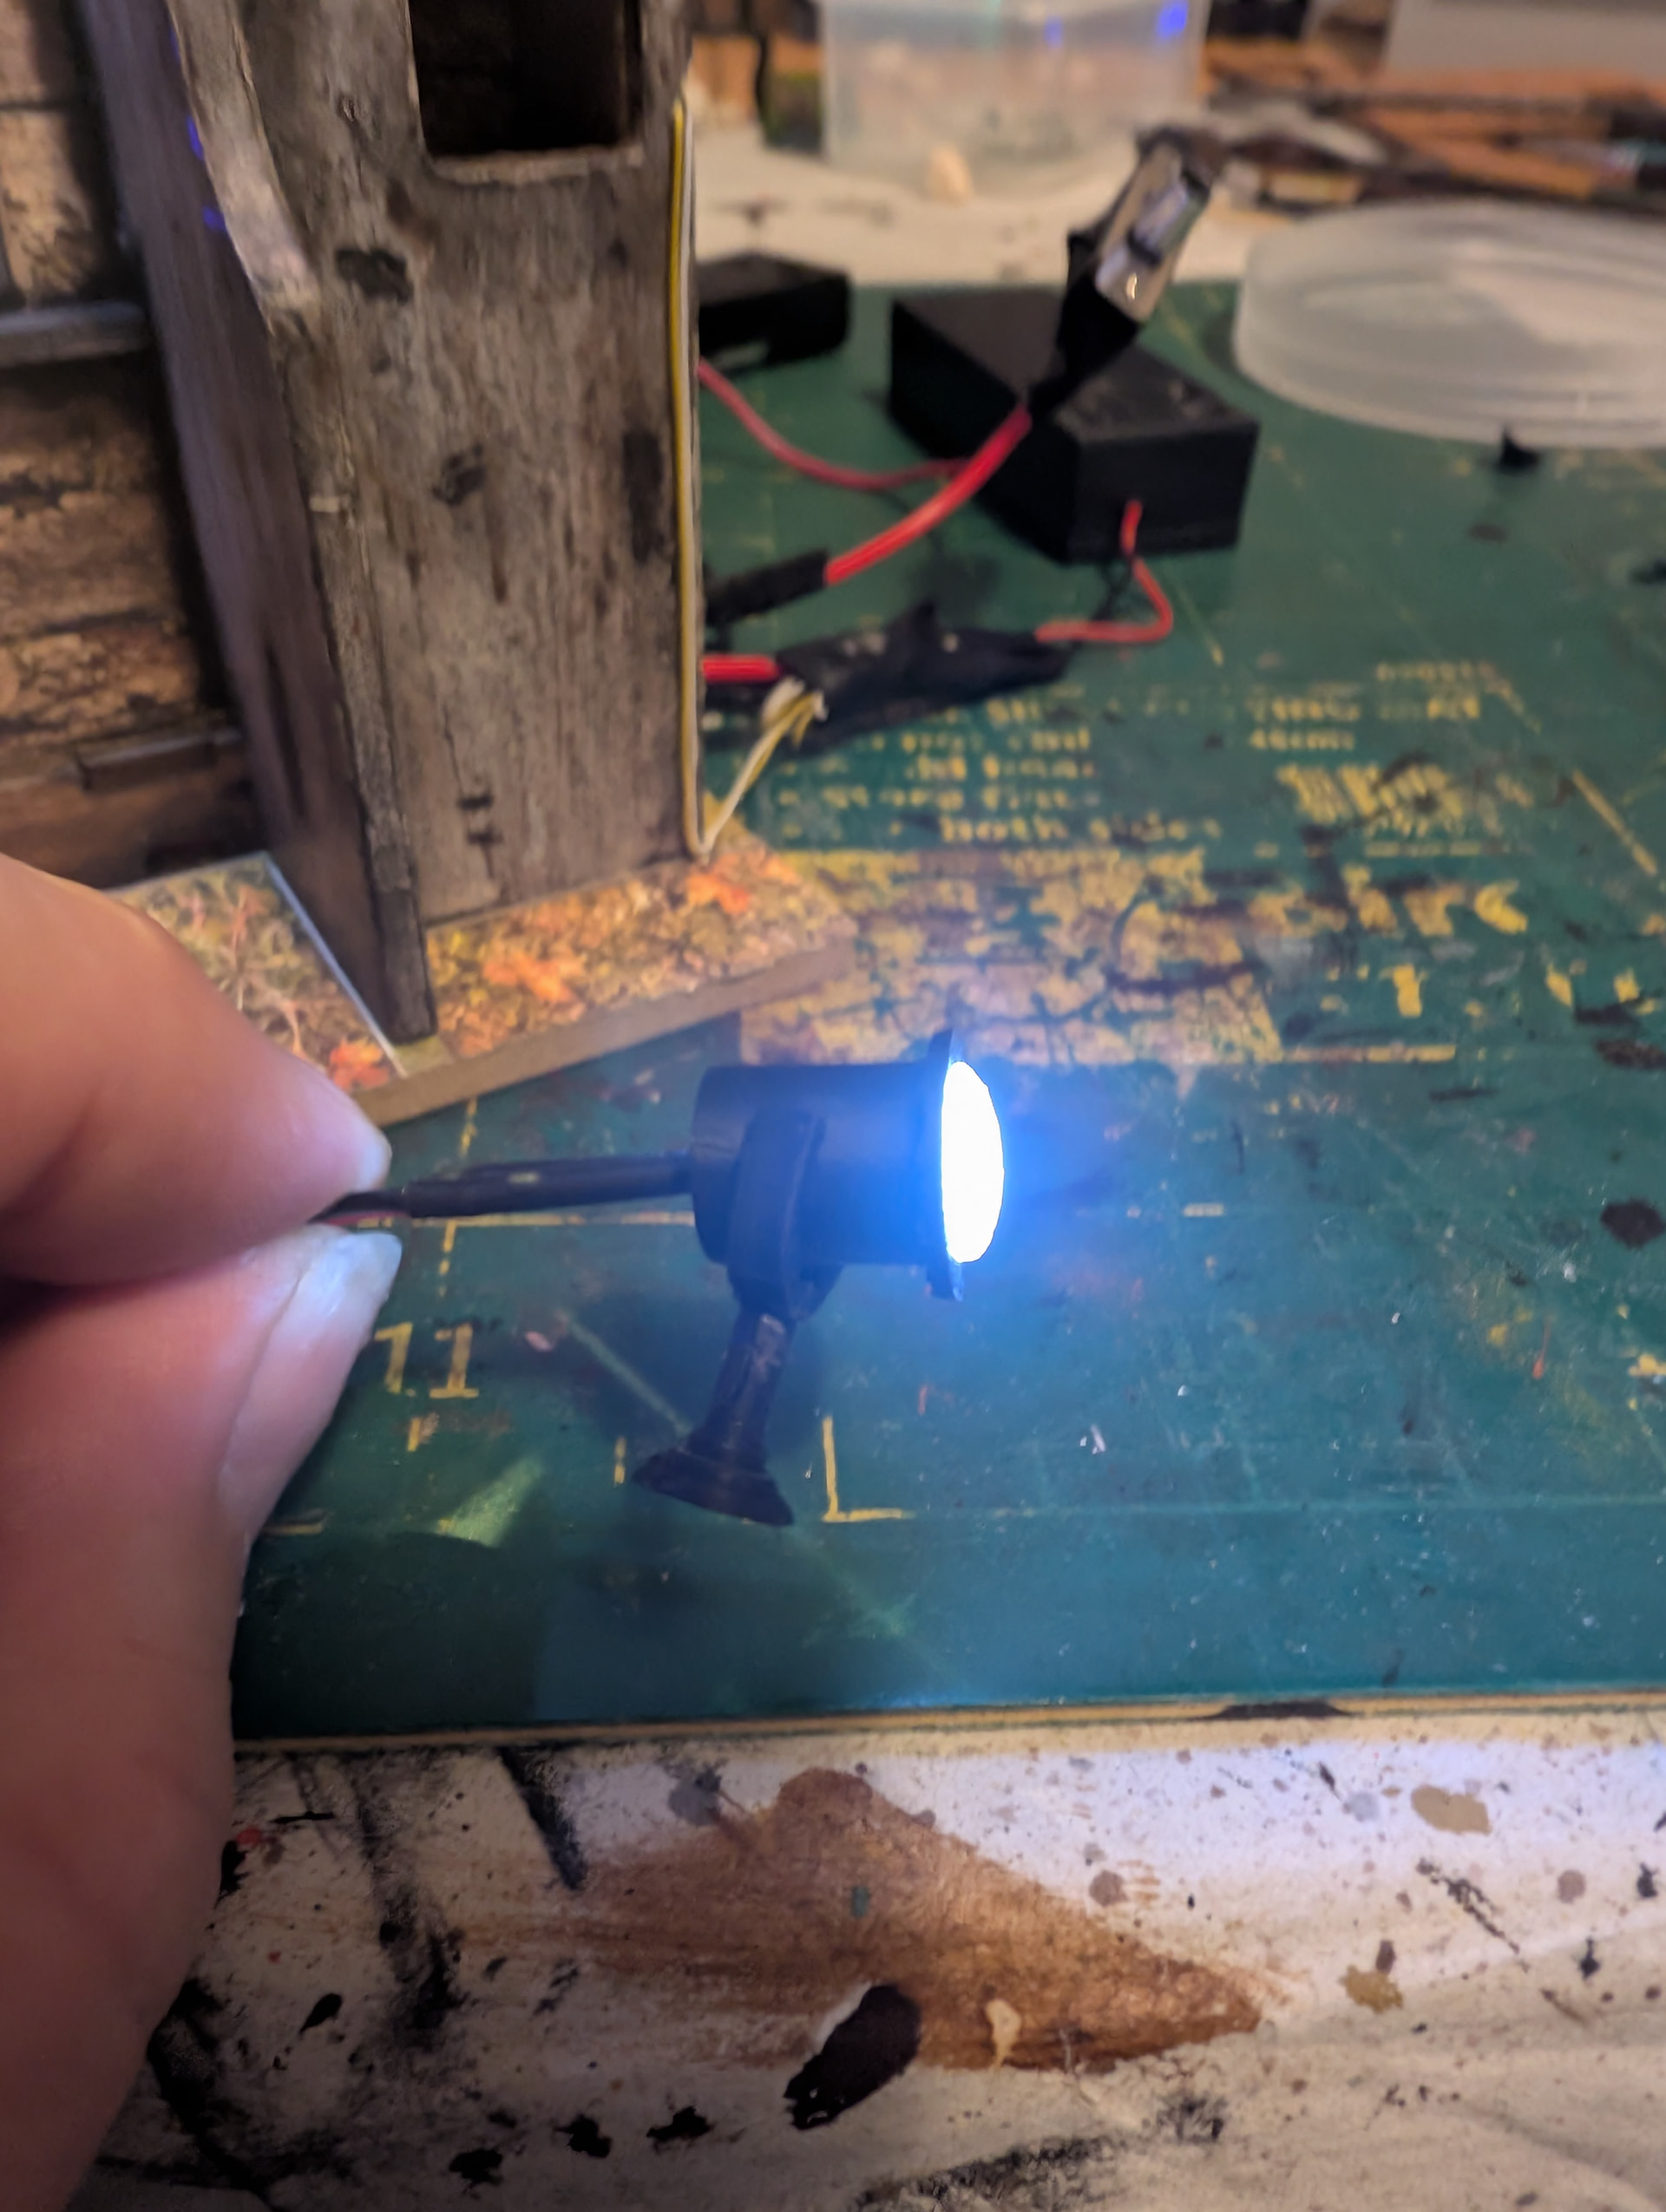
So even though today was all LED’s (except for grocery shopping), I think it was very productive.

I think I will be finished at some time in the next week, with the exception of the one flicker LED that I am waiting to arrive and the necessary work to hild that ones wires.

How are you going on your models?

Happy Crafting folks.

10 Likes

Wow you are quite busy! I did some soldering job before when we used to own a hardware store. Your kit is slowly coming to life. I will start mine when I get back from my vacation

1 Like

@chamelionboy wow your doing amazing your creativity is fantastic … I cant wait to see this ! :blush:

1 Like

Ooh, those spotlight housings are exquisite! A shame about the hiccups but it sounds like you’re on top of it all. Rottnest Island sounds lovely, I hope you get to visit with lots of quokkas. They’re so cute :face_holding_back_tears:

1 Like

How big is the light inside your 3D printed housing? Could have entered the housing from the side versus the end to hide the wiring loop up and down to conceal it a bit more? Just a thought. Must be nice to have free access to a 3D printer. Endless possibilities for deeper customization with one !

2 Likes

You are really busy with this job.

1 Like

So you know your way around the tools of the trade then?

1 Like

Thank you. It’s so nice to see all the seperate components coming together.

It’s been years since I was there last. Going for my besties son’s 18th so it will be messy. :joy:

1 Like

The LED are those 3v 3mm flat topped ones. They go in from the back as there is a rim inside that the base of the LED gets glued to. It would be possible to make them longer, but then they won’t fit in the mounting bracket. It was surprising how had it was to find LED mounts to print. Maybe I would learn the CAD side if things and design my own one day.

Yes busy busy busy :joy::joy::joy:

1 Like

That’s a lot of work done. Wires, soldering, 3d printing oh wow I think I’m starting to realize the customization is going to be more than epic :sparkles: the spotlight looks so fantastic too

2 Likes

Thanks @300. I appreciate it. I can’t wait to show it in full.

1 Like

@chamelionboy congrats on getting your first soldering experience! It’s going to help a lot if you continue to do customization of your kits! It’s a lot of work you’re doing and I know it’s gonna pay off when we finally see this!!

2 Likes

This is fascinating to see. The spotlight is very cool. I am excited to see this all come together. Have a great vacation.

2 Likes

I’m particularly love working with wires. Your wiring looks really neat

1 Like

@chamelionboy you worked really hard on this so I bet its great now its takeing shape !

2 Likes

Thanks @Grey74. Now that so much is complete I am really happy with the amount of time I put into this one.

1 Like

Thanks @Nita_Davis. I am really happy with the little spotlight mounts. I am so looking forward to getting away. It will be a nice change from being at home for the last 6 months. While I won’t be building, I am sure I will still be checking in daily as I imagine we will see a lot more finished customisations being posted and I am looking forward to seeing them all.

2 Likes

This is great and really inspiring - I wouldn’t know where to start when it comes to wiring and putting in my own lights :sweat_smile:

1 Like