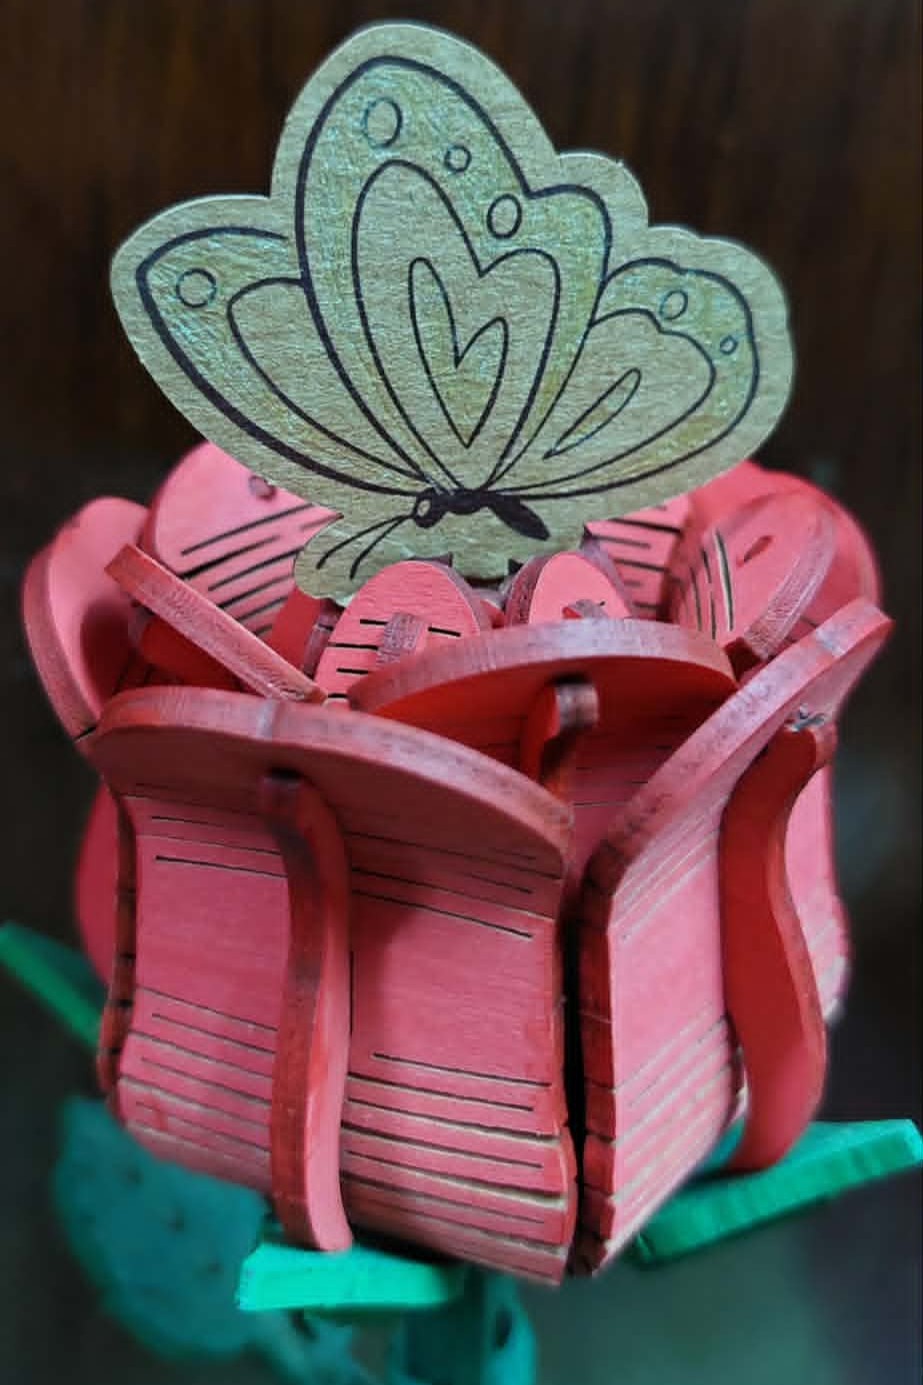
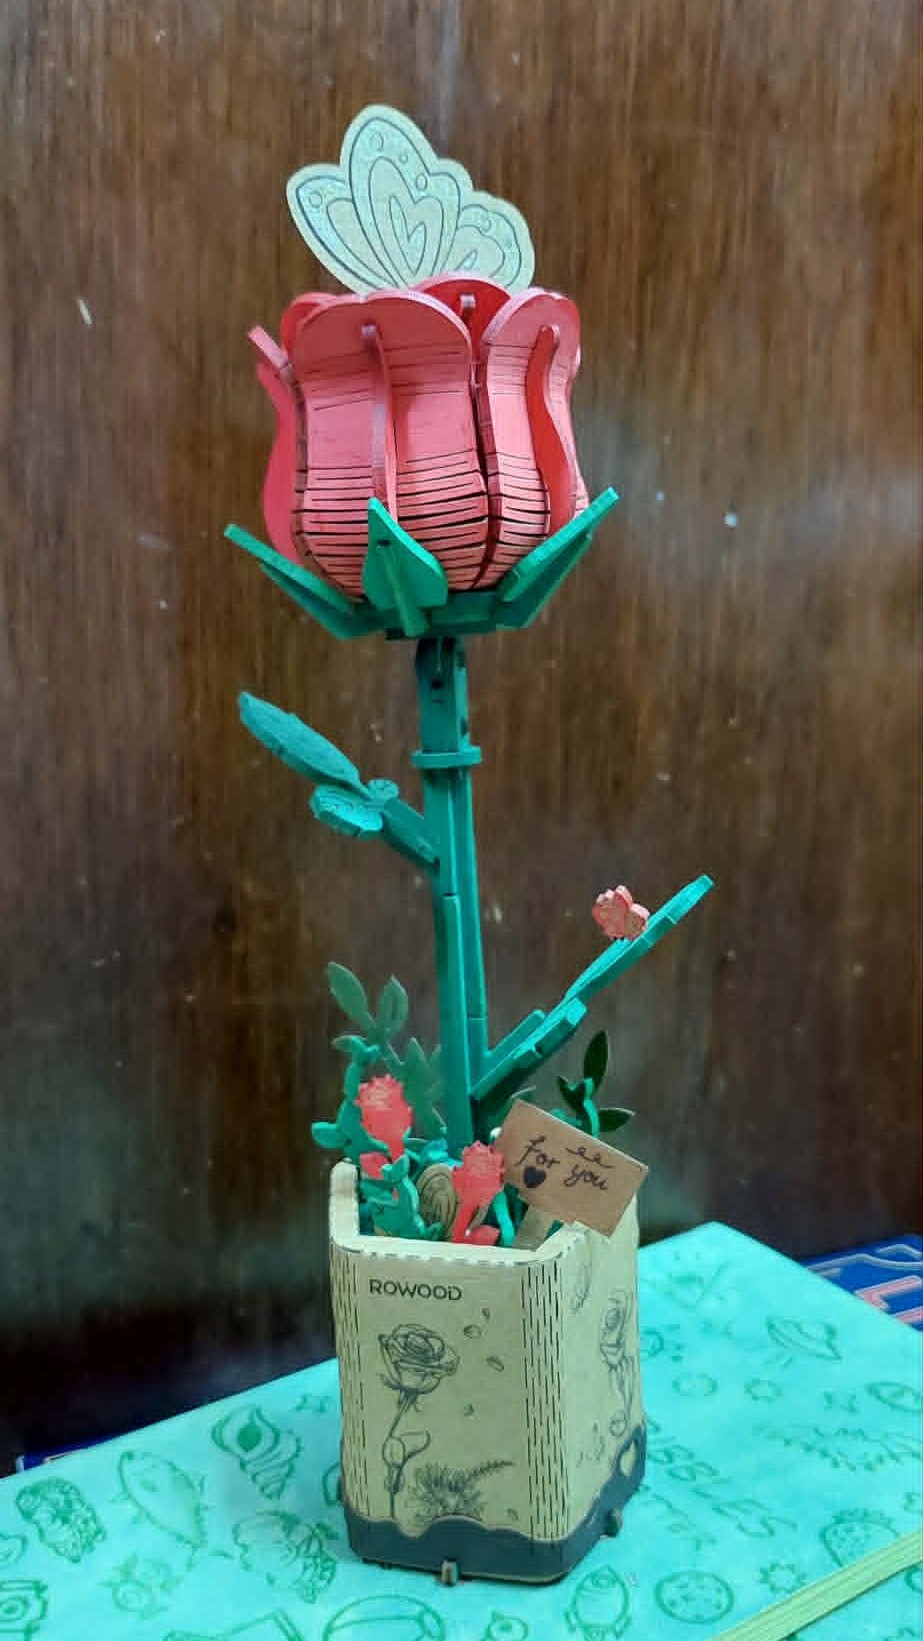
I’m so glad I listened to all who suggested to paint the edges. It was an extra step, but I think it was absolutely worth it. The flower looks much more polished, and the painted edges really make the layers stand out.
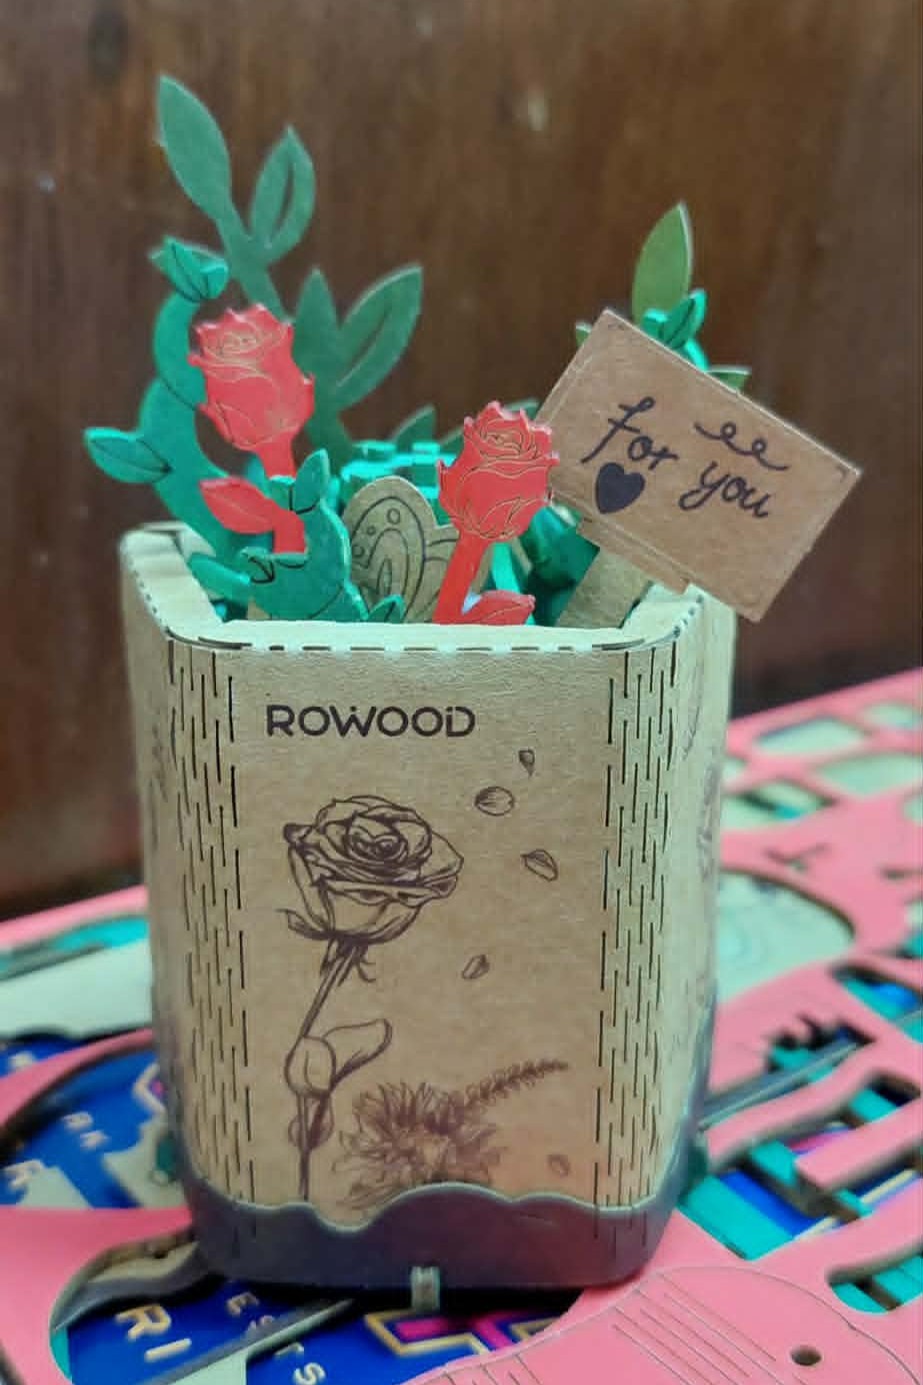
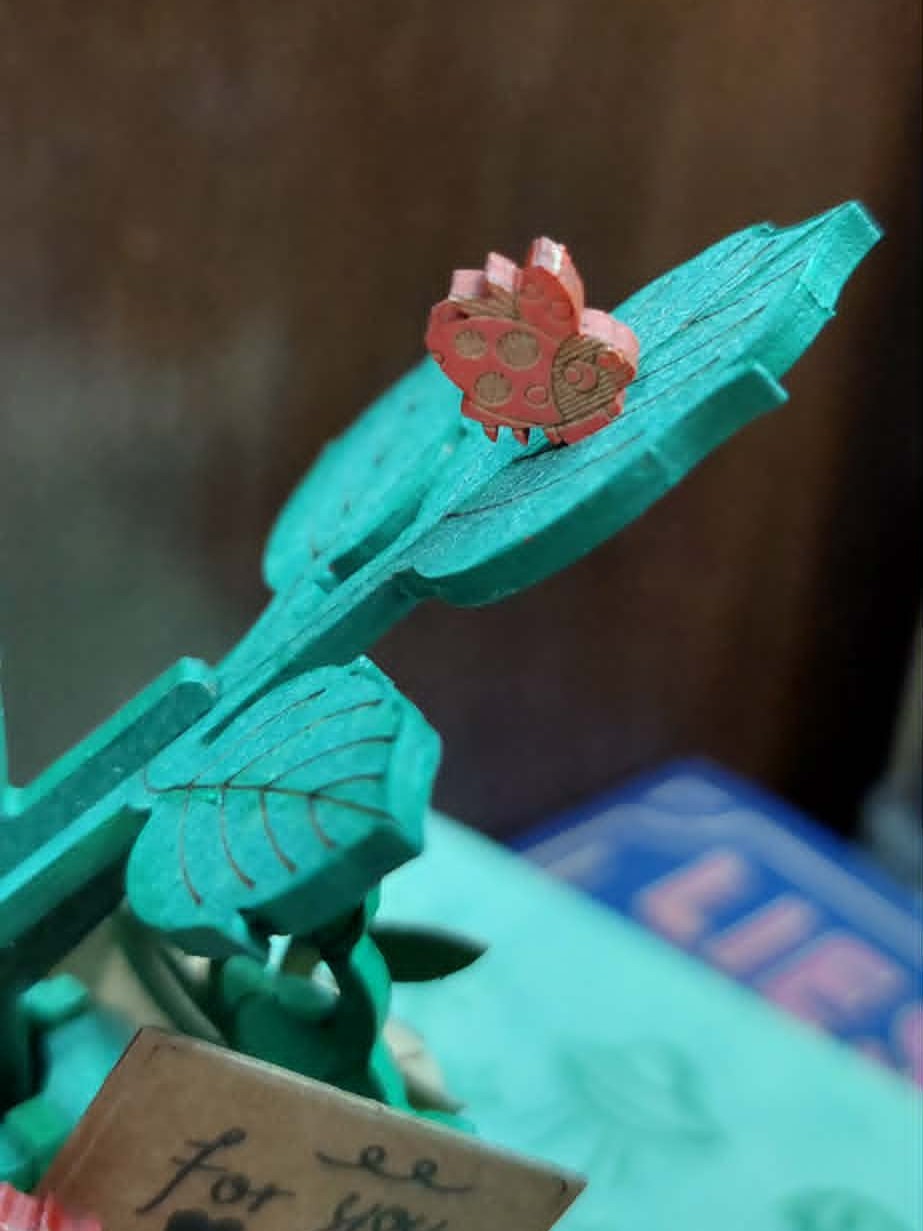
For the base and the little butterflies, I decided to keep things simple. Instead of painting them, I used a gold pen to add just a subtle shimmer. It also ties in nicely with the tiny red roses and the tiny ladybug on the leaf, which have the faintest hint of gold outlining. I didn’t want the base to compete with the rose itself—it should always be the star of the display.
Overall, I’m really happy with how it turned out. It’s a small project, but it was such a relaxing build and the perfect companion for a few rainy days. Now it has a permanent spot on my shelf to remind me that even a little crafting time can brighten a busy week.
It turned out absolutely beautiful! Painting the edges was definitely worth the extra effort. It gives the petals so much more depth and makes the whole rose look incredibly elegant. I also love that you kept the base subtle with just a touch of gold. It complements the rose perfectly without taking away from it. What a lovely reminder that even a little crafting time can brighten a busy week. Congratulations on another gorgeous build!
You’ve done a lovely job so far. I’ve never seen that extra little piece that goes around the bottom of the vase…but it adds a lot to this kit. Very nice!
Thank you very much @jeanneL. I’m happy that this community encouraged me to paint the edges. I was hesitant since I thought it would take too much time to dry
Thank you @Sasa. What I did was after painting the edges, while it was still wet, I would just use a damp brush to ‘clean’ the edges through to the flat surface so the paint could blend in a little with the original surface paint, hoping that it could get a little light and shadow effect. It’s not that obvious though.
Thank you @Smith42 Looking at it now, I think it would have looked ‘unfinished’ if I didn’t paint the edges since a most of the edges of the petals and the leaves and stems are very visible. I just got carried away as I also painted the edges of the wood pieces used for the base which are completely covered anyways




 good job I love the details in your description of what you did.

